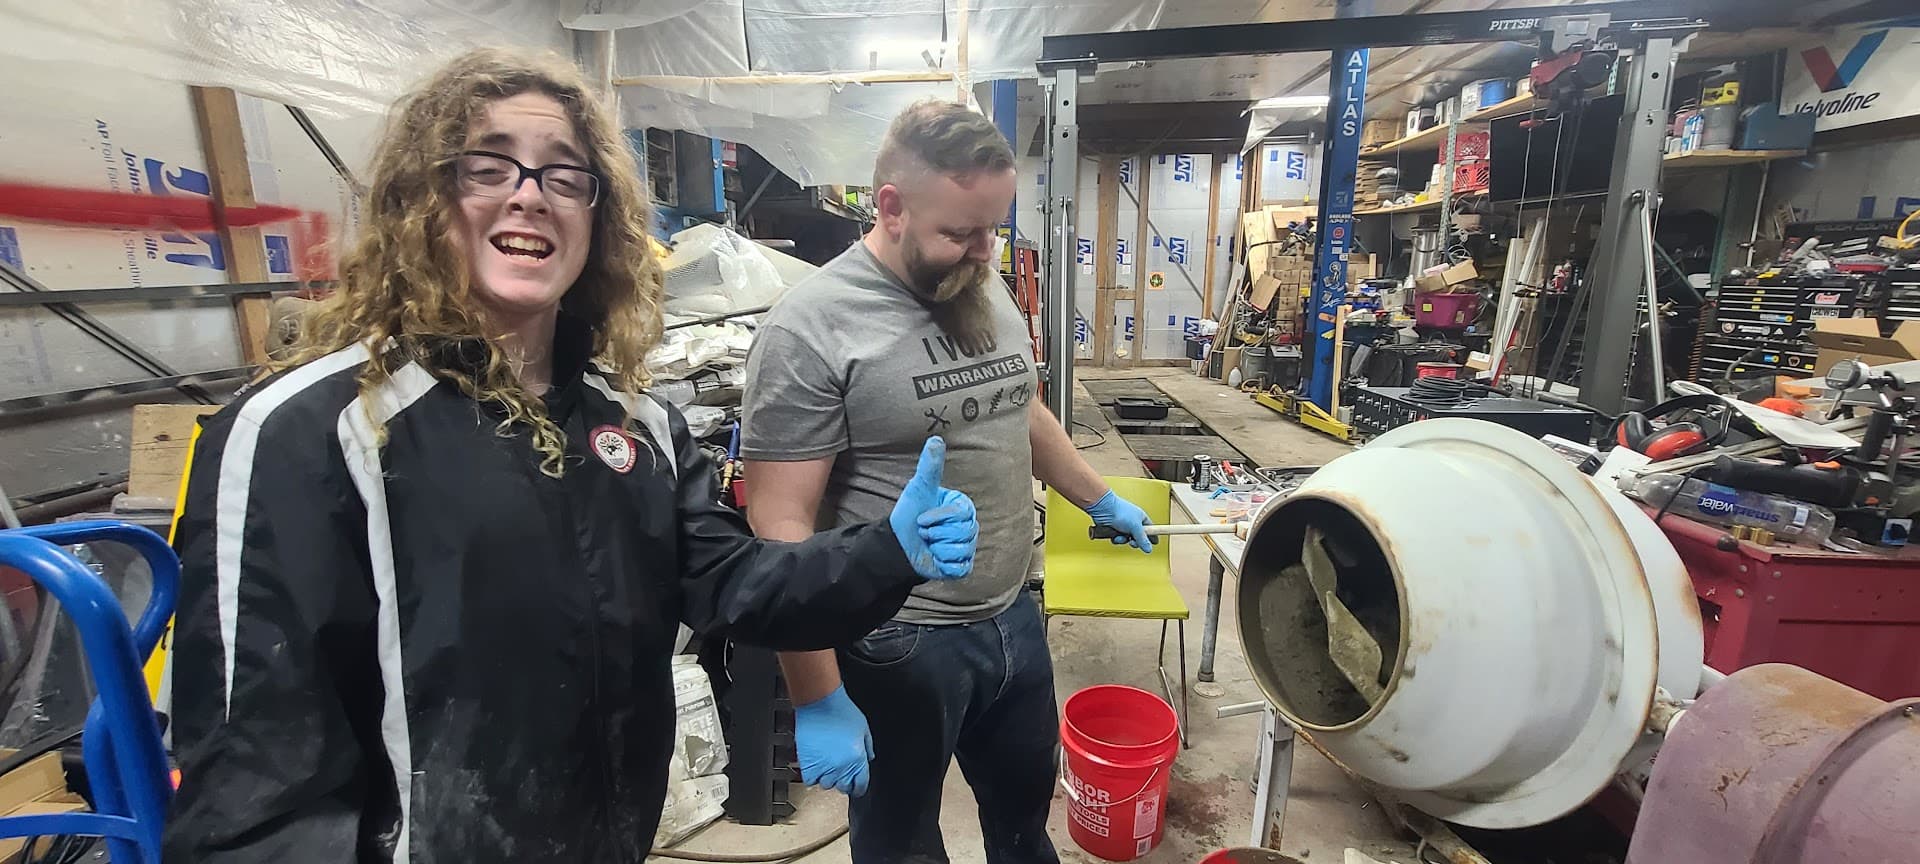
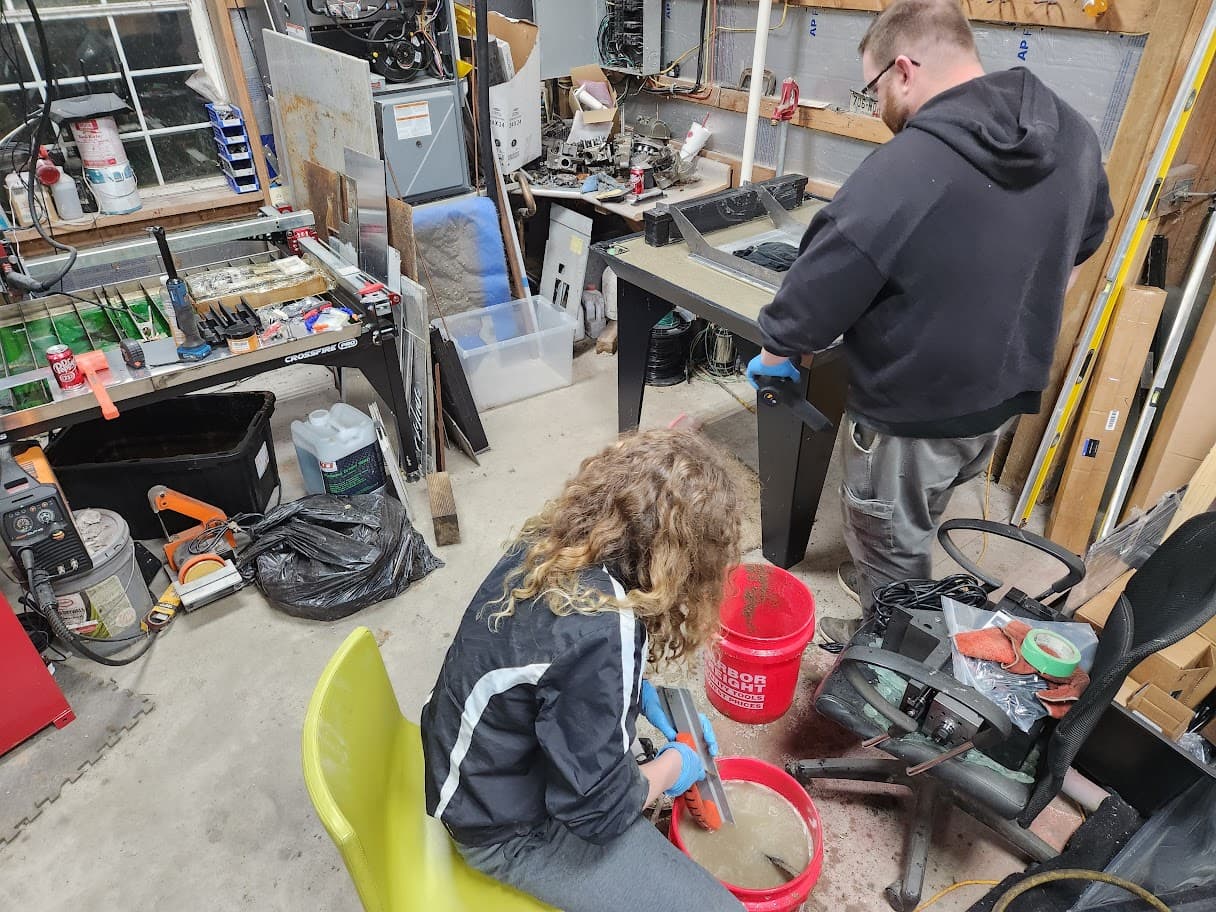
Thought some might find this helpful. Here’s a couple pics from our concrete day and I thought to try out the massage gun my kids had got me for Christmas this year. Worked fantastic!
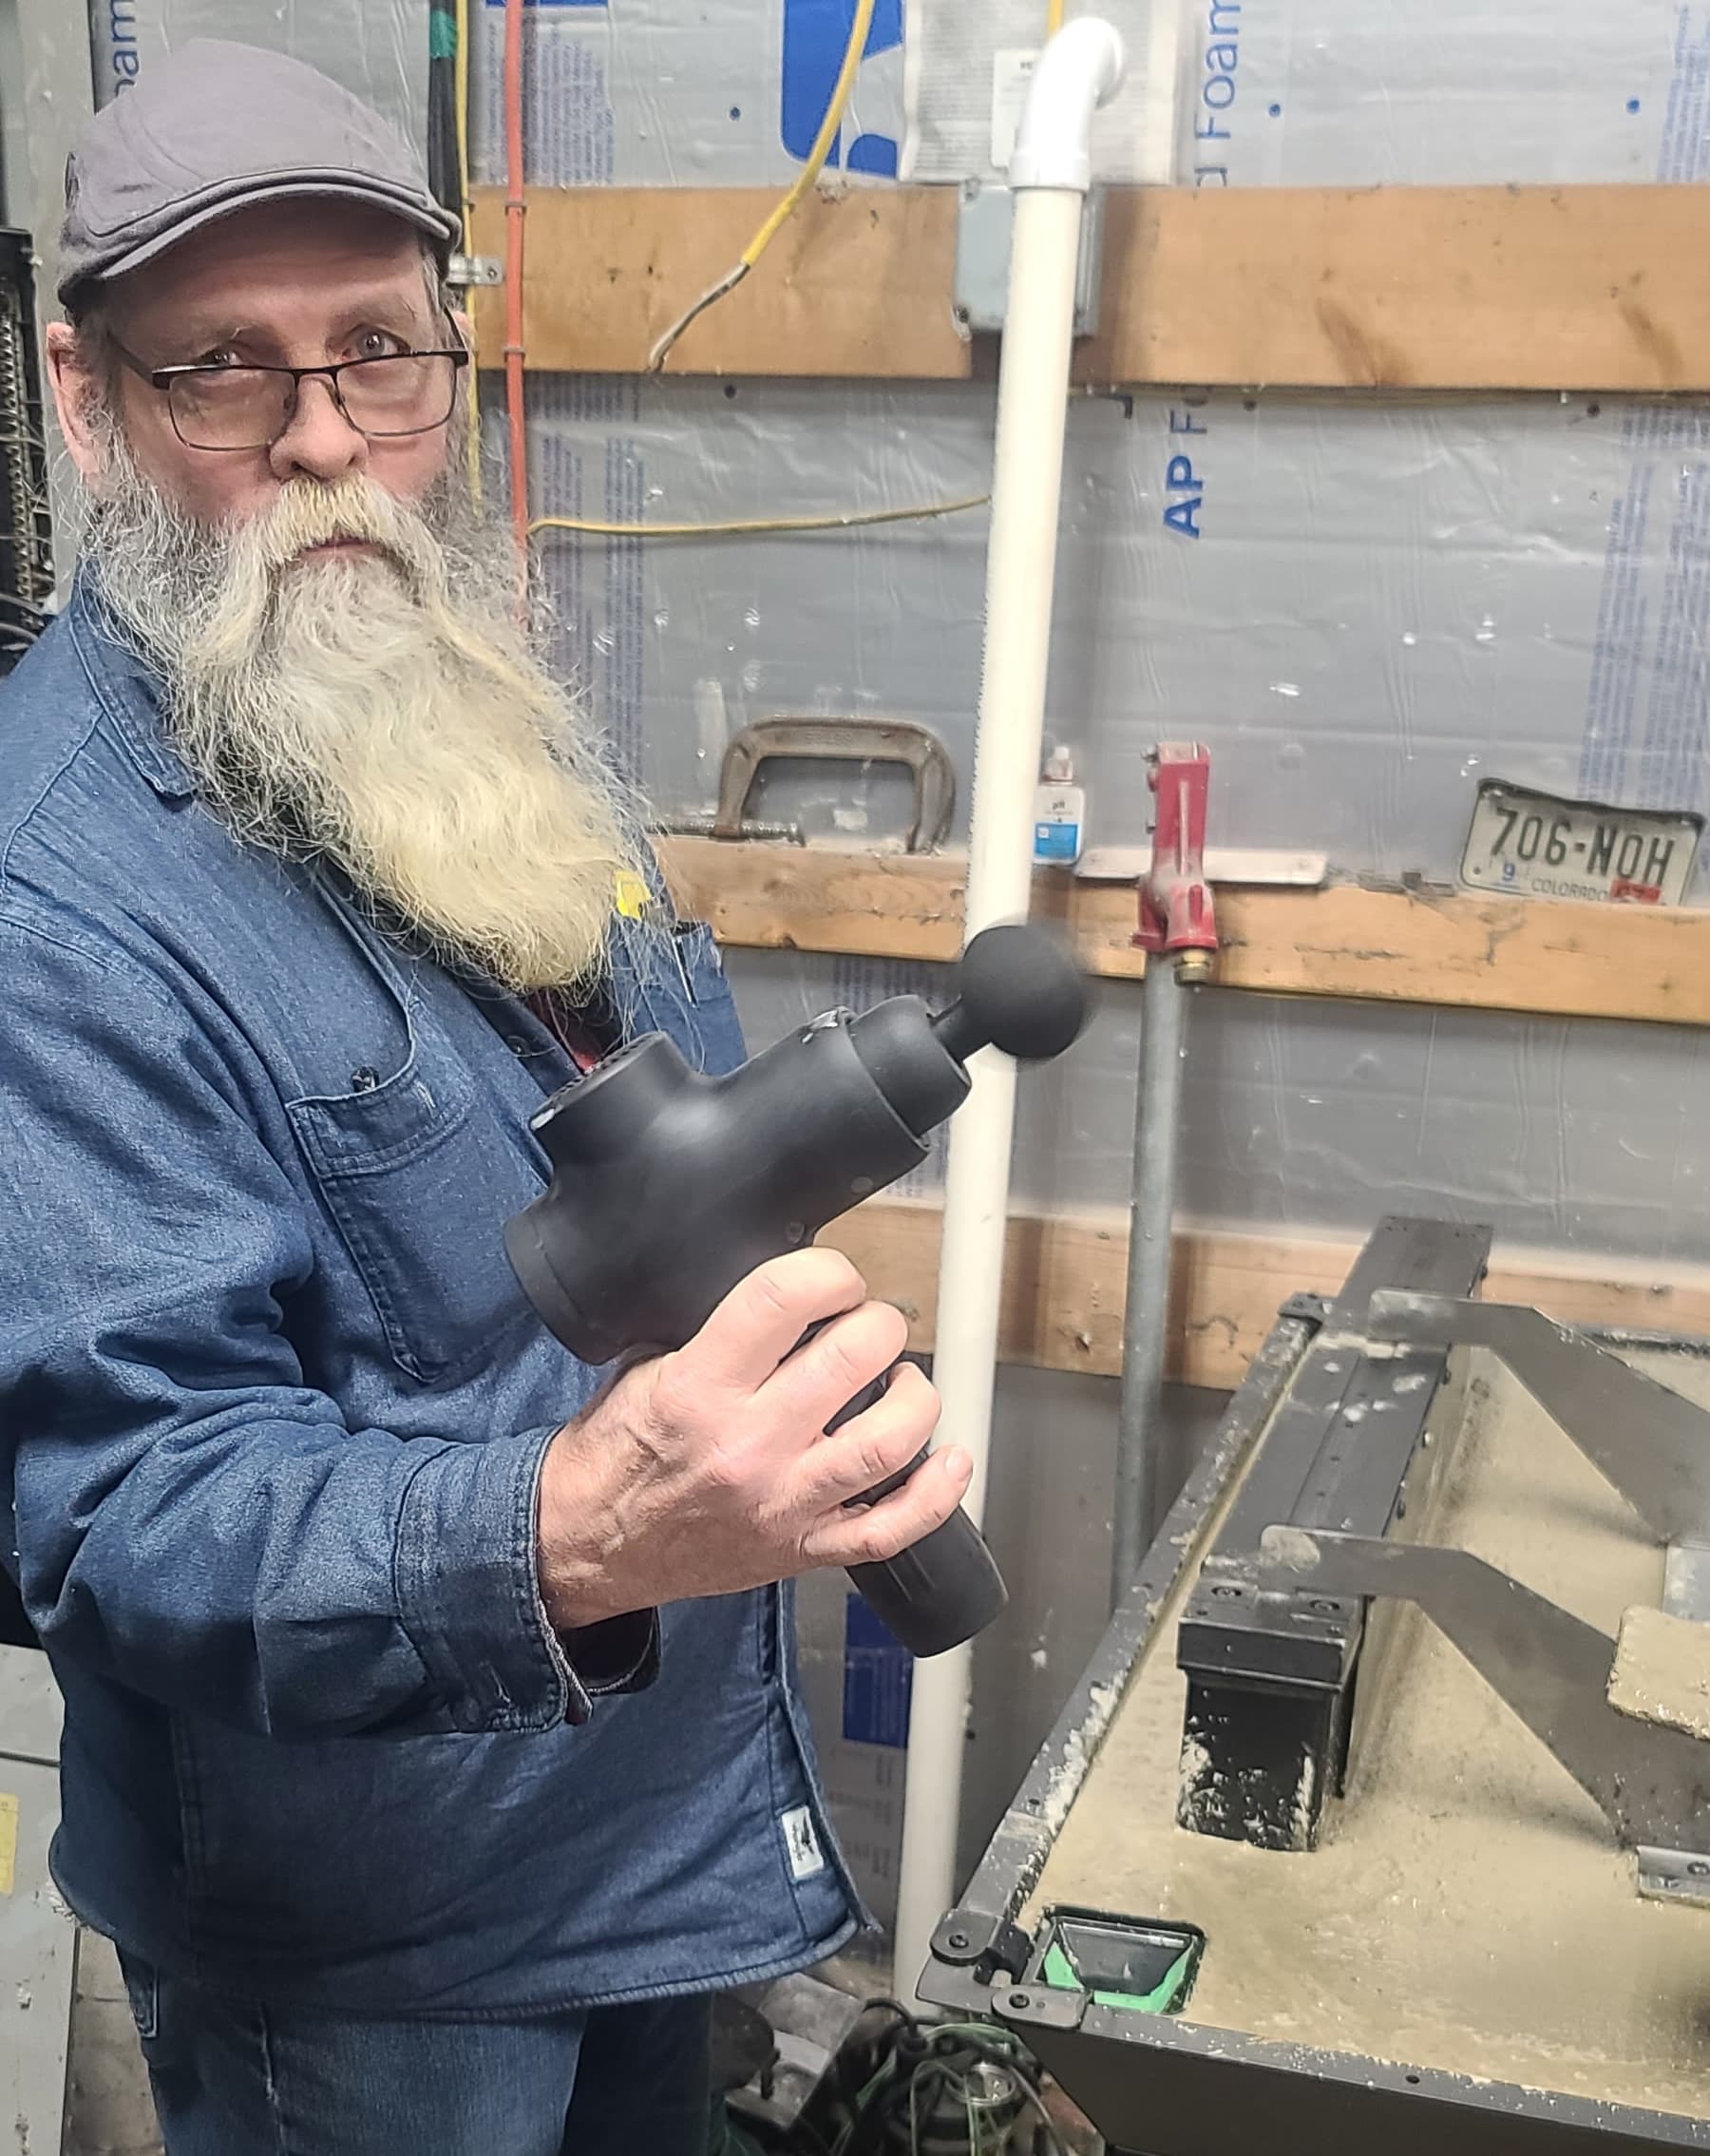
My Dad taking over compactor duties. This little guy worked wonders! Only have to be careful that you don’t over compact the concrete under the drains. It compacts so well that it can actually start to force the drain bases up and out of the concrete a little.
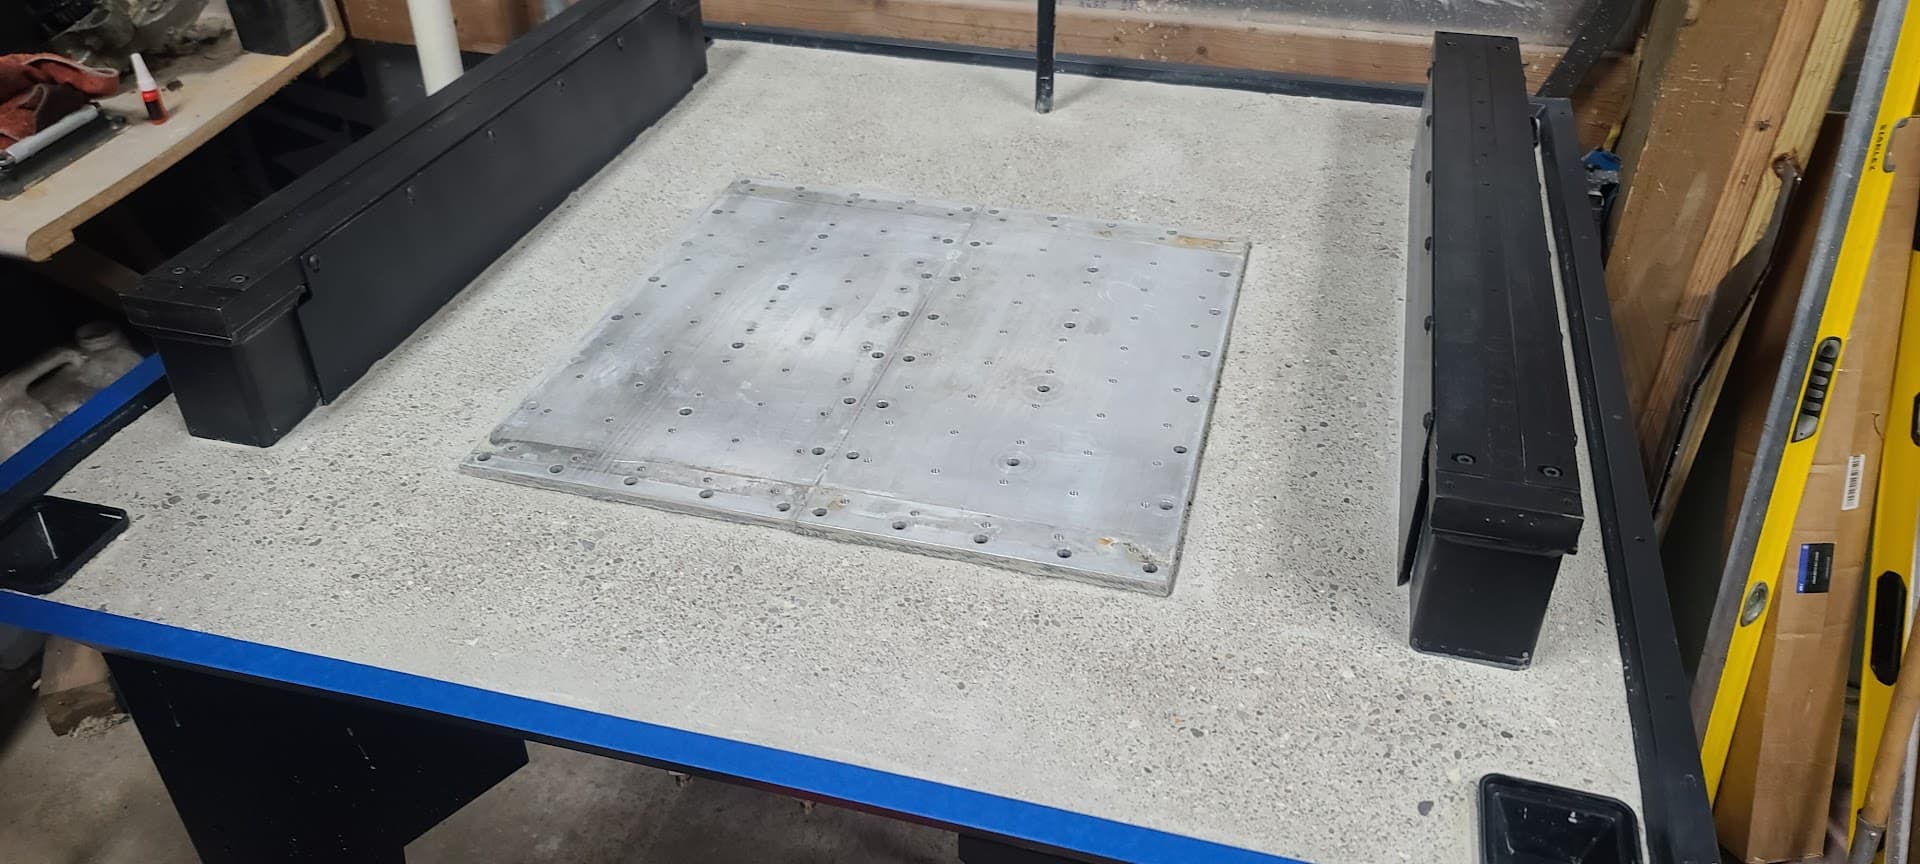
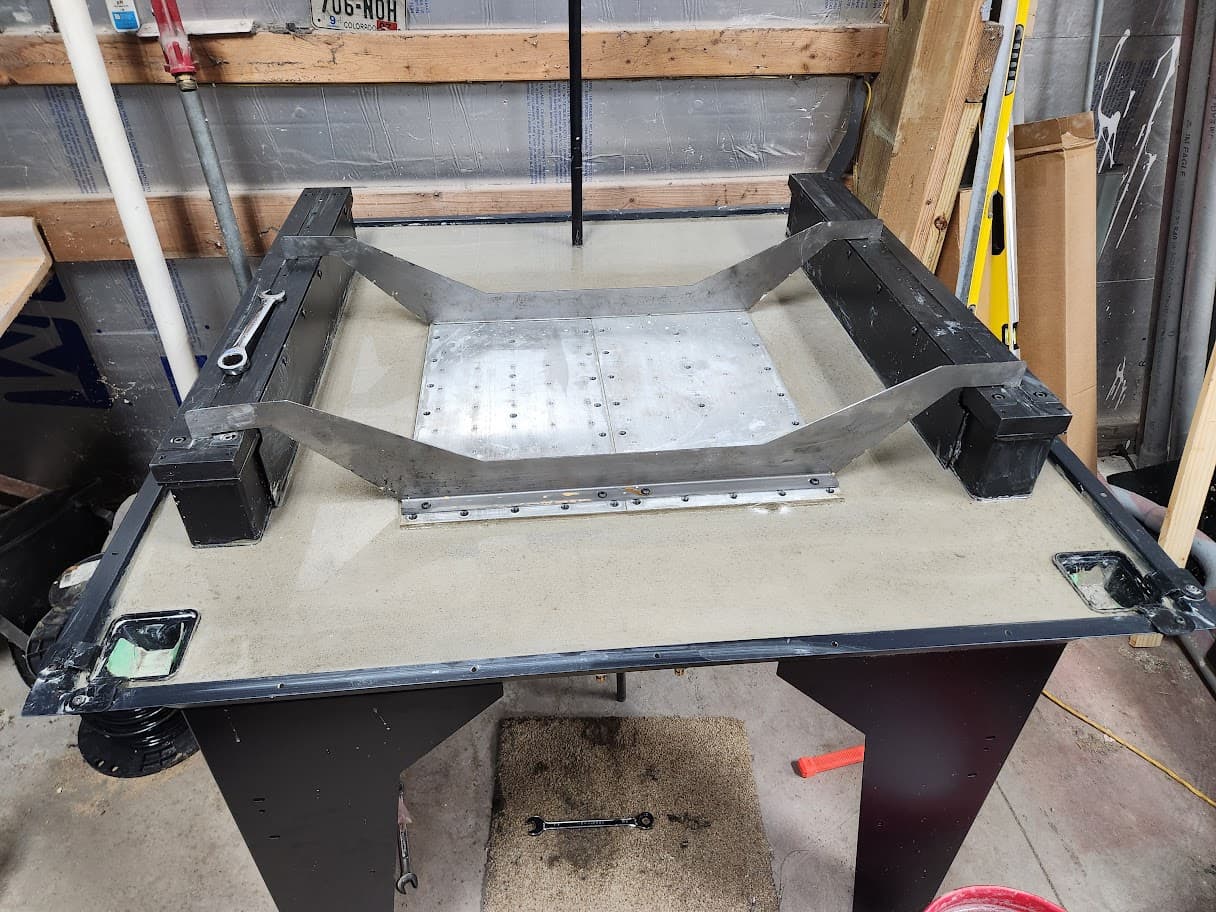
Lastly, the design of the MR-1 base made it a no-brainer to pond cure the concrete for the 5 day period. Pond curing also makes it nice to be able to get a sneak peak of how the epoxy will lay down. Actually surprised Langmuir doesn’t recommend it.
Lol brilliant!! I’ve seen cement guys use modified tools (like padded reciprocating saw) to vibrate forms to get rid of voids… this seems simpler. I may still strap a palm sander or something to the base in conjunction…
Also what’s the pond cure? I did a little research and it sounds almost like what Langmuir said not to do (excess water pooling at the top) or do you need to let the cement “kick” before adding the water? I know someone else mentioned that recommending epoxy so quickly after pouring the cement may yield similar results since it would effectively encapsulate moisture
I am “pond” curing right now .as well … if you research concrete curing you will find that this method is very good for getting super strong concrete. Mine will soak for 7 days and the I will let it dry out for another 5-7 days before epoxy. Yes, its the opposite on what Langmuir says lol. As Arcnsparks said above, a mixer is essential, and I had 3 helpers assisting so it made a good time rather than a rushed time. We have an old Wahl vibrator which I used on the tub, also a Milwaukee oscillating cutter as well, but found a smaller weighed nylon hammer to work the best.
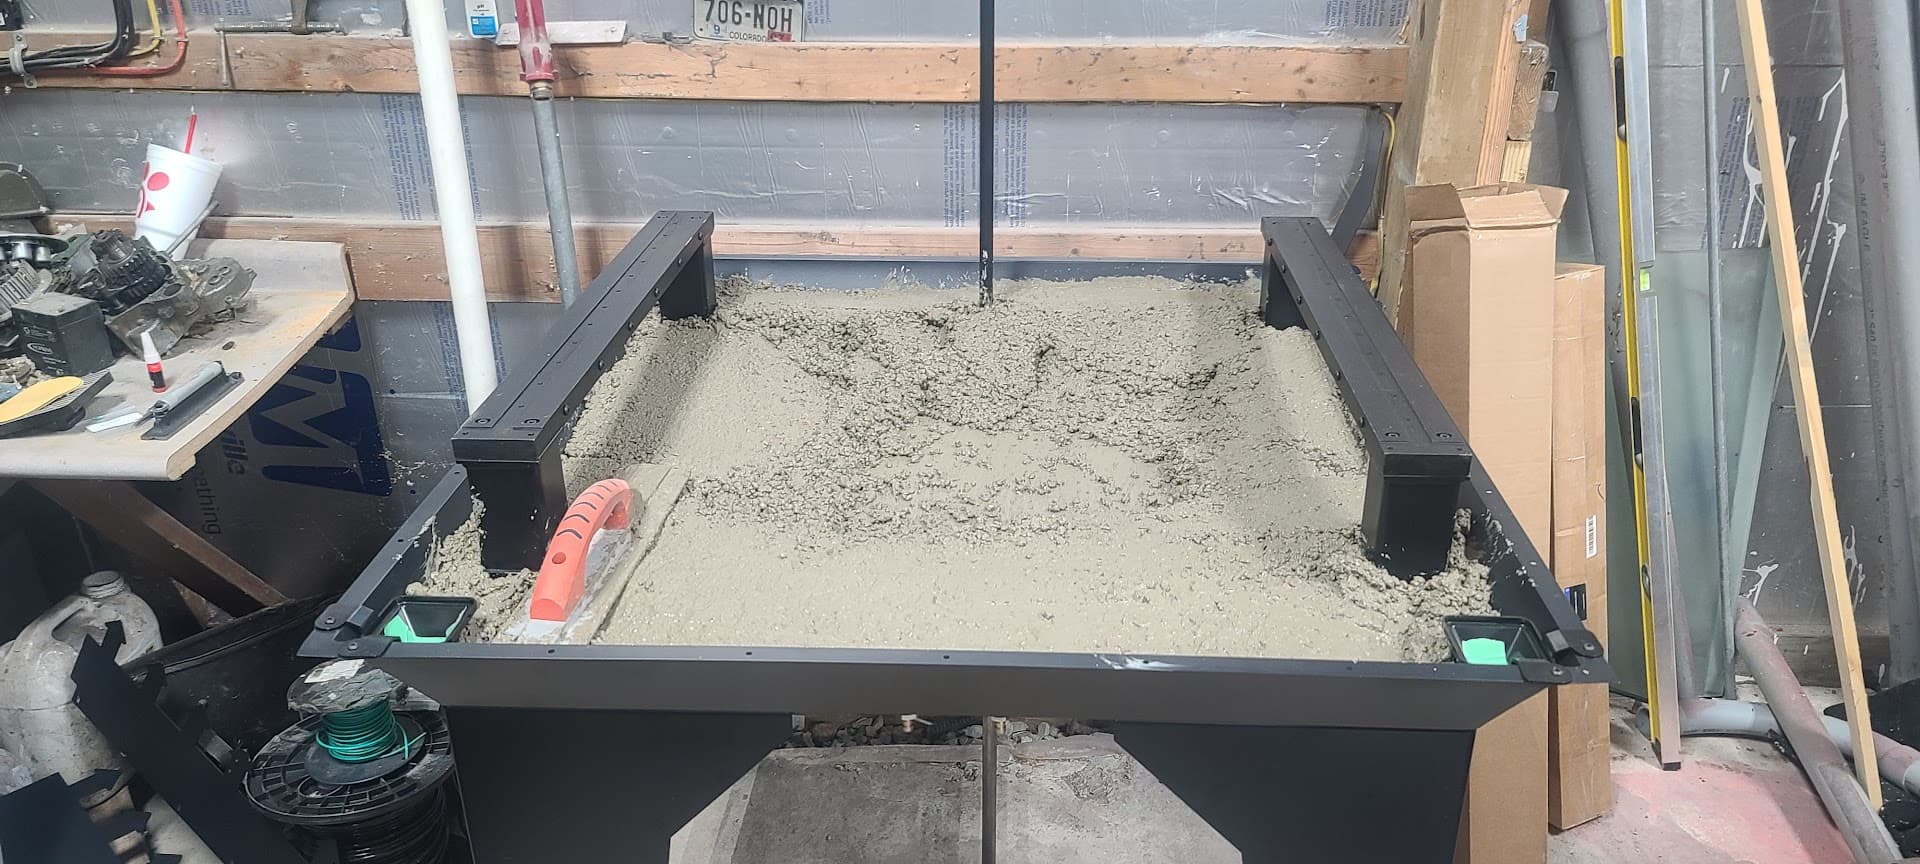
Oh, I started the pond curing a few hours after finishing the concrete which had firmed up but the surface still had moisture. I just poured a bit of water on the aluminum plate and let it fill the tub up to the top of the drains.
For Pond Curing, you finish the concrete as you normally would and I also blotted up excess bleed water once it began setting up. Any remaining “slurry” was given a chip-brush finish. I figured this would help the concrete bond well to the epoxy. You can see in the final picture that the final surface showed very little top slurry remained and it was almost entirely an exposed aggregate finish. After about the 4 hour mark the surface was firm and so, like MikeJ, I slowly filled the entire tray with water until it just started to trickle into the taped corner drains. For me, the best part about this was it gave me a really good preview of how well the epoxy was going to flow once I start that step. I left mine in the pond state for 6 days.
This method also makes the concrete surface cleaning step, as also recommended by Langmuir, a breeze. I began scrubbing the surface with a nylon brush while the concrete was still under water, then simply opened the corner drains, popped the screens in just in case any large aggregate remained, and continued rinsing using the corner drains to drain any of the remaining dust or loose particles down into a couple five gallon buckets.
I like the scrub and rinse idea!- I was going to use a shop vac to complete the clean, remove the Y axis plates to get behind there as well. I am going to do a measured test fill with water to double check I have enough epoxy. Only just passed day 2 anyways so have lots of time.
Here is the recipe for the concrete that I used in my base pour. I’m from Canada so measurements are metric.
1 litre water
1 litre latex admixture
1 bag premixed concrete (25kg) standard 27 mpa - 4000 psi
500 ml CSA cement
1 handful of glass fibre
20 ml plasticizer
This mix is almost self-leveling, and flows like crazy. Mix and dump, a little tap-a-tap with a rubber mallet, repeat. I didn’t have to use a trowel other than to push thing around a bit. Covered with poly after a bit. 8 hours later, I could barely scratch the surface. 24 hours after pouring, concrete was probably 70 MPA (10000 psi). Continued with my build and was up and making chips in about 6 days.
CSA cement is awesome! 28 day Portland cement strength in 24 hours, even with only 30% of cementitious weight. Latex admixture adds flexural strength and reduces shrinkage. Glass fibre adds reinforcement. Using the recommended water volume, the mix is horrible to work with, and you still end up with bleed water on the surface after a while. Adding the plasticizer makes it super easy to work without adding additional water. The CSA cement uses more water in its reaction than Portland so covering with poly helps keep things moist.