So while my MR1 and CutControl definitely worked well for a couple dozen or so parts that I machined back during the spring months … I’ve had enough experience with other CNC platforms to find myself missing quite a few features. I can provide a full list of features gained with this conversation if requested, but didn’t want this to appear in any way to be a “hating on CC” conversion post.
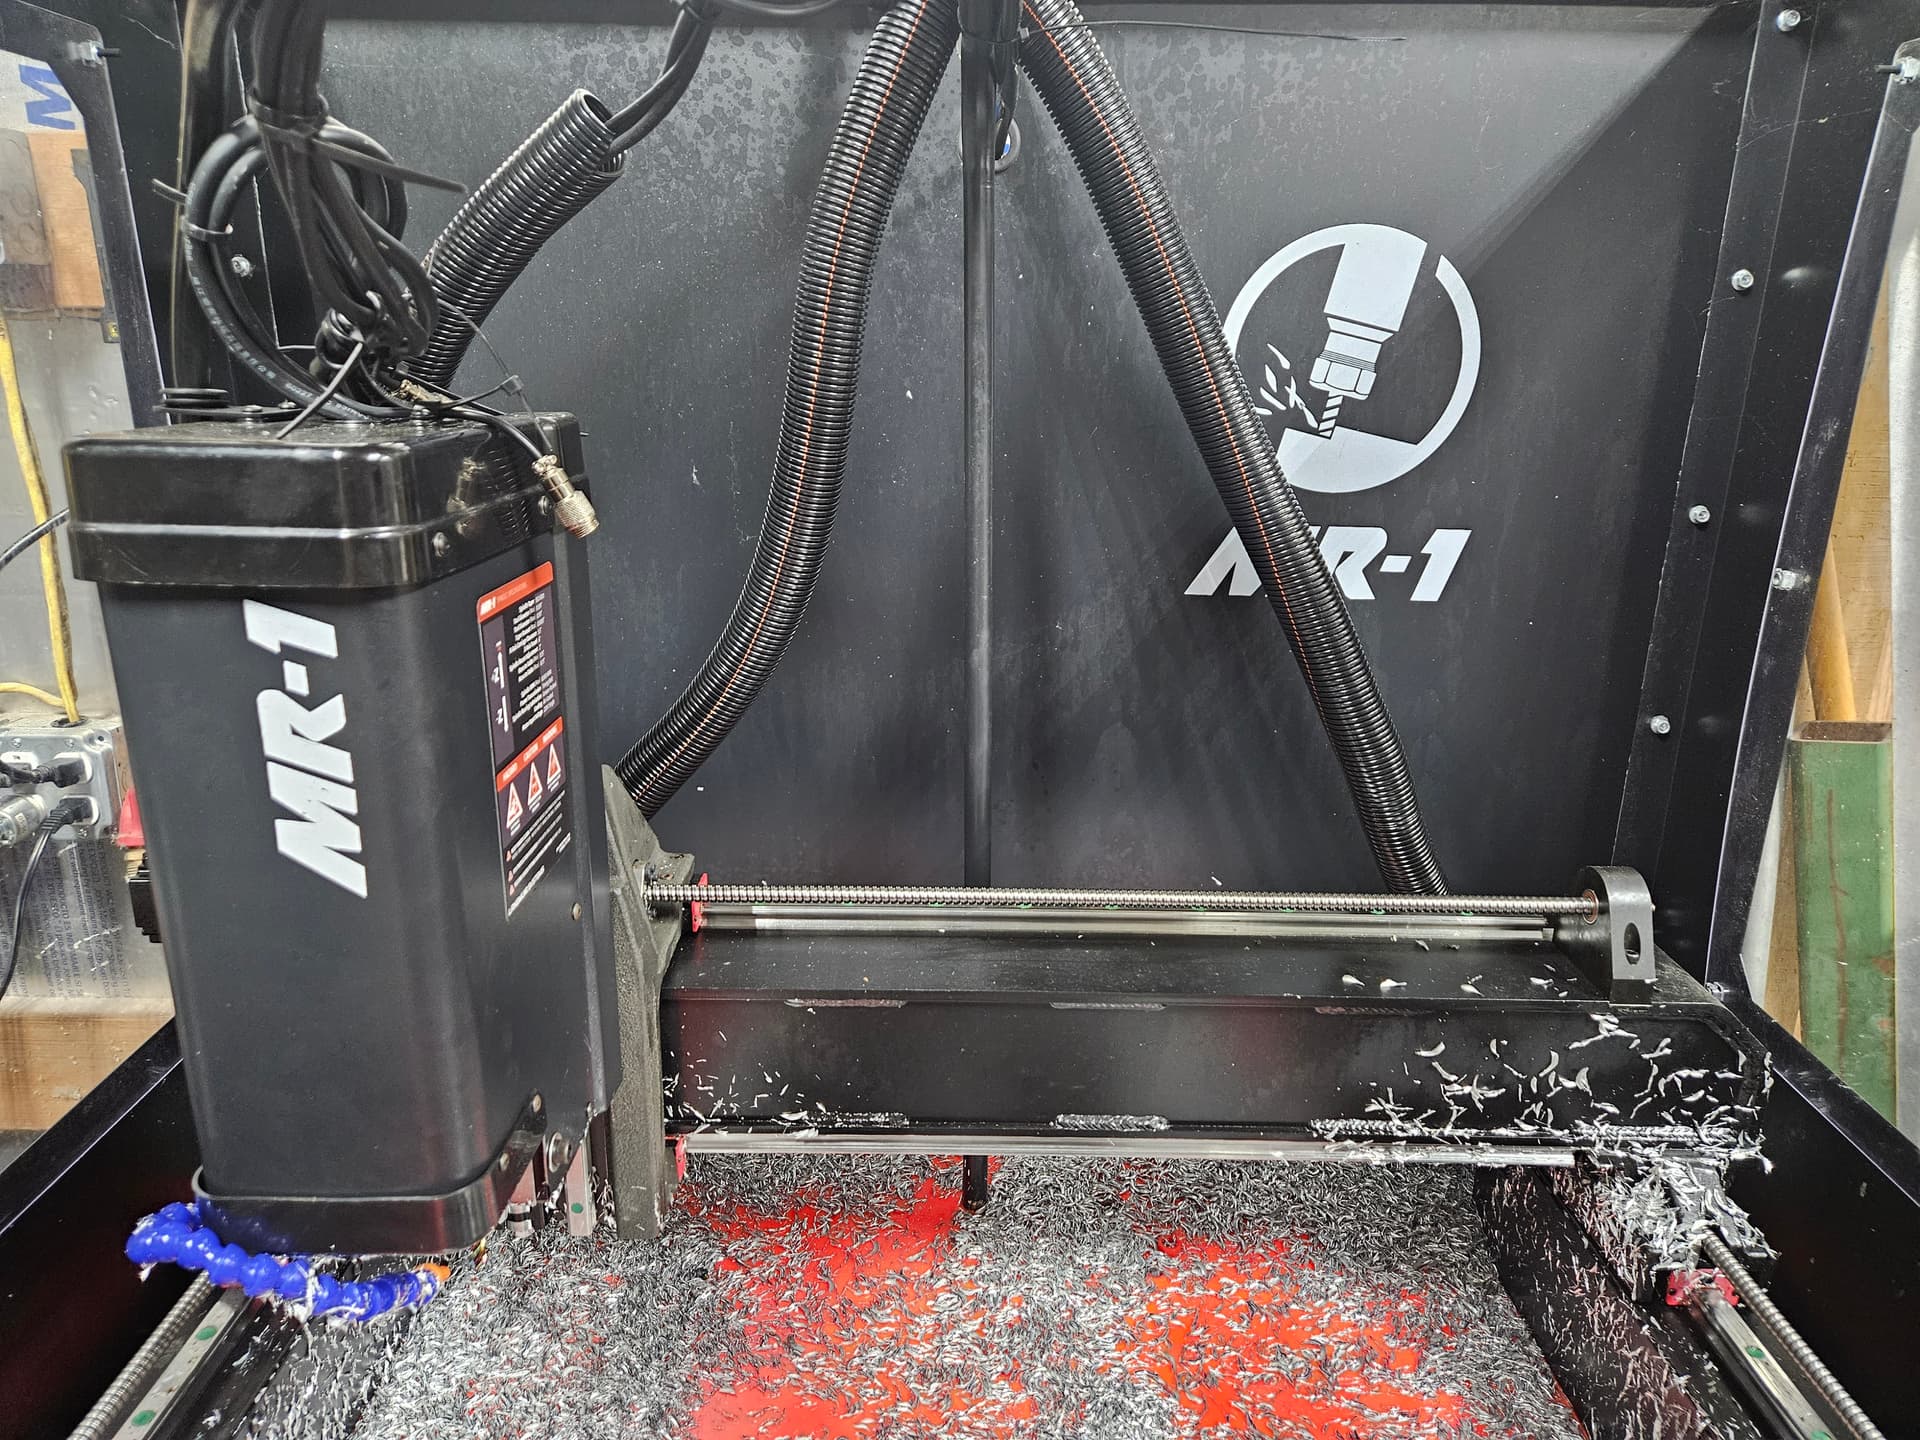
While extremely straight forward, I still managed to stretch out this conversion throughout the entire summer. Recently though, I’ve got caught up on my overdue jobs with it and felt it was officially ready to make a forum appearance. Here’s a couple pics of the fun parts and an action video of the first cuts done with it, in true action/promo, YouTube video fashion.
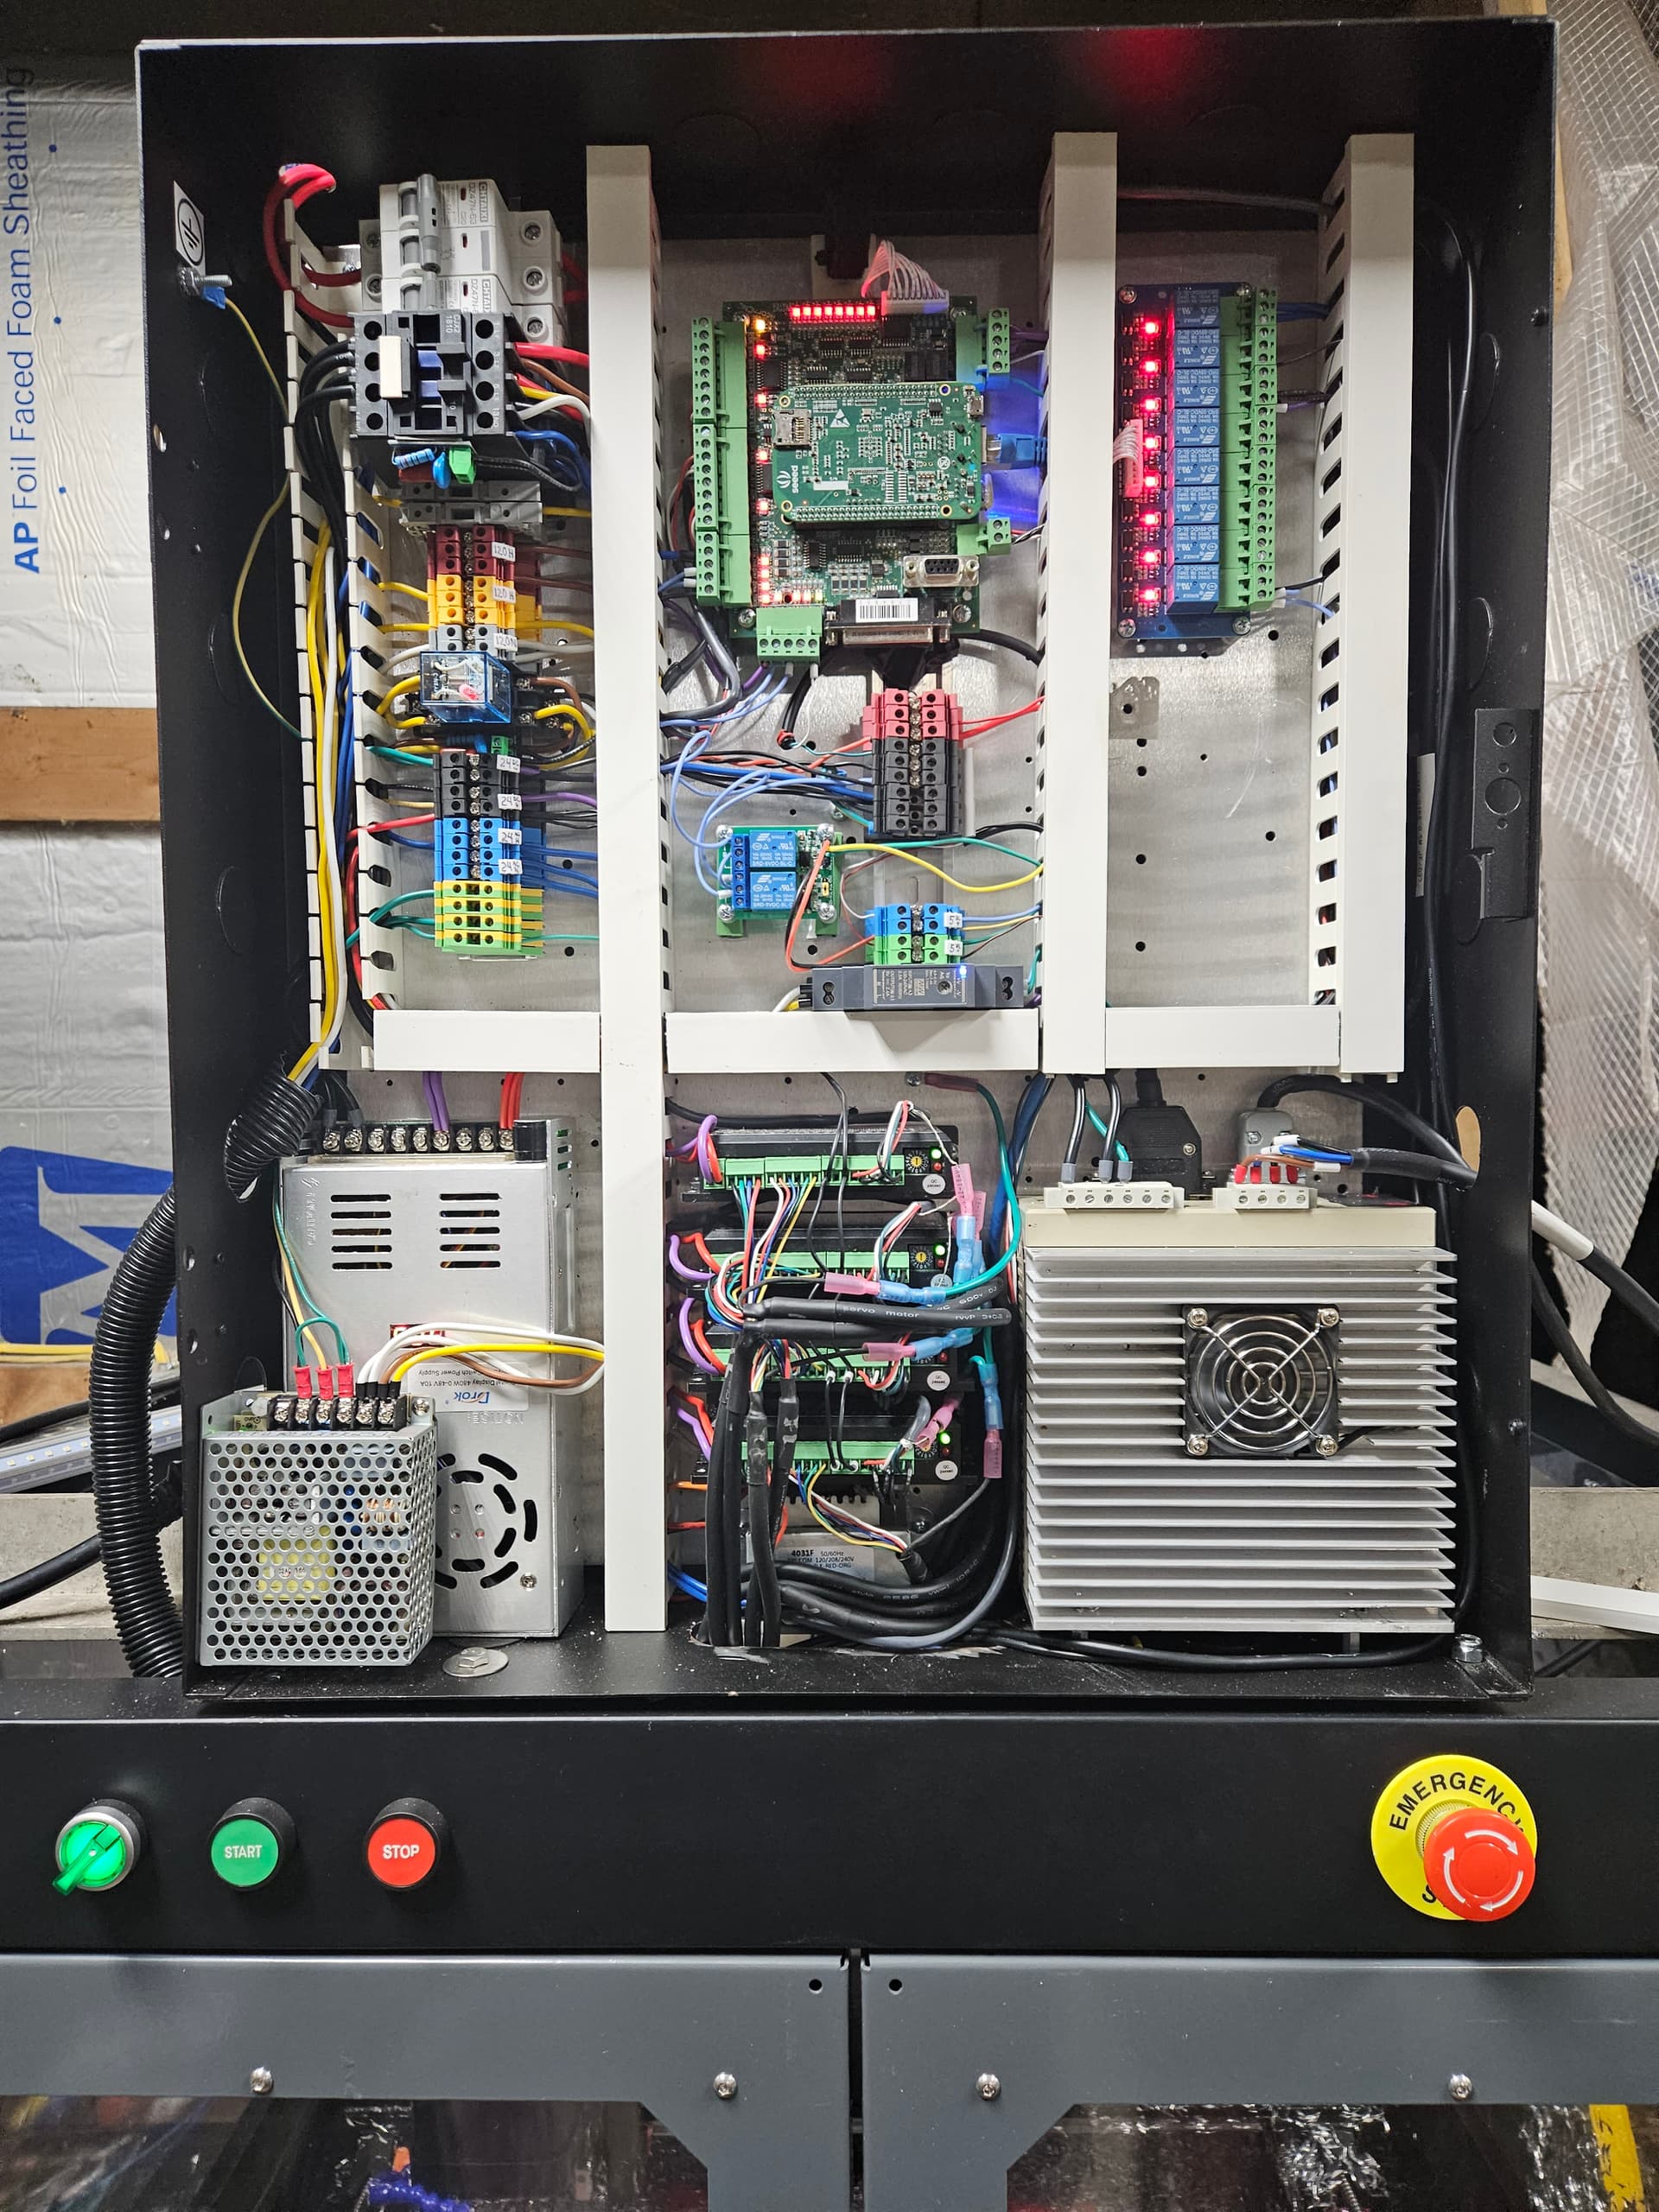
The specifics:
X and Z Axis - 4.0 Nm/566.56oz.in Nema 24 Stepper by StepperOnline
Y1 and Y2 - 2.0 Nm/283.28oz.in Nema 23 Stepper
Drivers: CL57T with closed loop alarm wired into E-stop/drive fault circuit
Drive Power: 48VDC 10A
Acorn control power: 24VDC
Langmuir Probe/Tool setter: Isolated 5VDC
Haha, I thought it looked cool at about 3am last night while editing it. Might have been a tad much. Probably should watch it again now after some sleep and see if it does the same here. I’ll plan to stick to my day job.
Nice! It’s great to see a second example of a machine moved off of CutControl. I hope that you’ll document your wiring and config.
What speed are you running the Z axis at? I actually just switched to a 48v supply myself in efforts to speed up my Z. I was running it at the stock 60ipm, now it is up to 100ipm (my X/Y are at 180ipm and can probably go higher now). I’m using the stock steppers but upgraded stepper drivers and LinuxCNC.
My new spindle should be here in a couple of weeks!
That’s cool that you can run at different speeds in different directions. I haven’t seen that option with LinuxCNC or other controls. Fusion 360 loves to program in Z rapids for not very good reasons, so that’s one that I have been trying to get faster.
I keep meaning to move all of my notes over to a README on my github page so that they are in one place (right now things are split between github and my OneNote).
I recently upgraded to a 48v/12a power supply and your conversion prompted me to play again with speeds and accelerations. I’m using the stock steppers but with replaced drives (stock drives are limited to 40v).
48v makes a big difference! I didn’t find the limit but I have it running at 300ipm x/y and 120ipm on z. That’s plenty! In comparison I was at 180ipm x/y with the stock 36v power supply and 60ipm on Z (everything else was the same except for the power supply).
Good tip on the power supply and motor controllers. I just finished upgrading my MR-1 to run UCCNC. Took about a week and has all the features I think I could want. Semi auto tool changer with future ATC option. Better probing and more probing options, mdi, tool wear compensation, 150-175 ipm rapids for now.
Who is interested in my notes on the conversion? Doing it again would take about 1 day.
You can’t change the rapids speed without also changing the control hardware and software. My conversion to LinuxCNC is documented here:
Now that we have 3 conversions done, all using different control systems, you can see examples of different controls and pick what works for you. When @MrmachineTX and @Arcnsparks share their documents and configs I can link to them from my github.
Once you have a new control system (and probably new stepper drives) it’s just a matter of tuning the drives for the best speed. 48v power supply helps with faster rapids because it increases stepper torque. Thankfully power supplies are cheap these days, no-name ones similar to what Langmuir uses are $40 or less, or top quality ones like Meanwell 48v/10a power supplies are around $100.
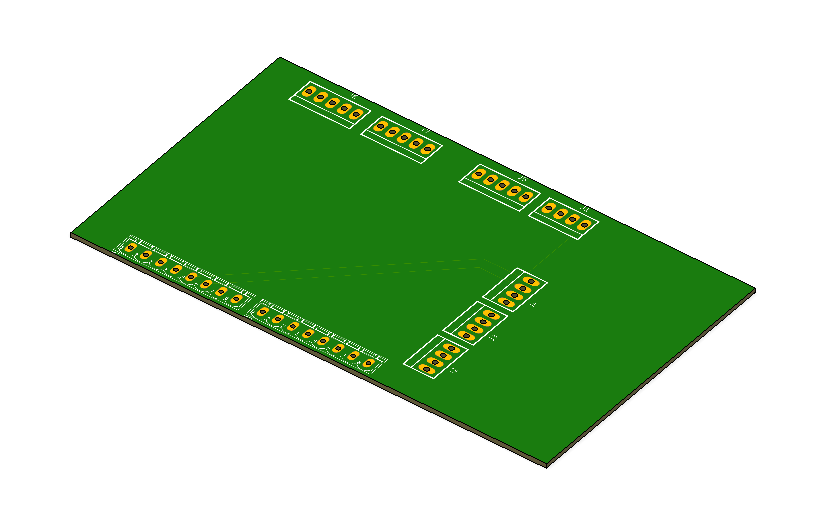
@AlexW still compiling my notes then I will post. I really want to make a wiring harness so people can unplug their LS controller and plug a wiring harness to connect all I/O to a new controller. This would have made my conversion so much faster and also took some of the “No going back now” fear out of cutting into what was already there.
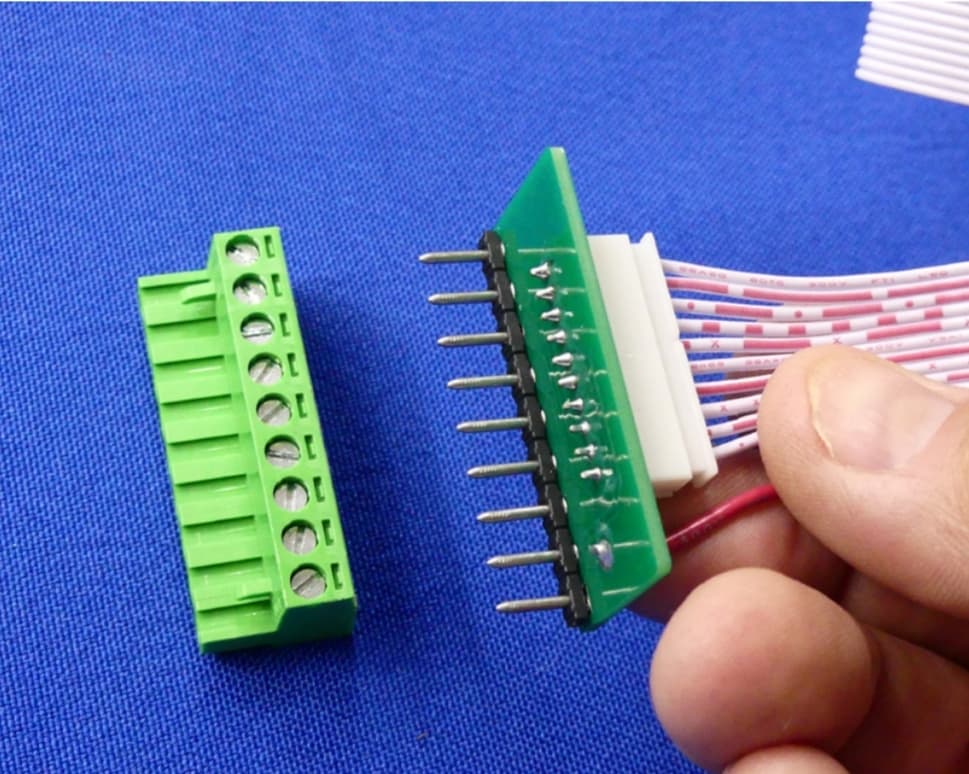
Anyone happen to know what type of connectors those are on the LS Controller?
@MrmachineTX I have actually been thinking along the exact same lines. I wonder how much forum interest there would be in a PnP conversion route? I have been tinkering with a custom interface board that will take the stock board connections and adapt them to (in my case) the Acorn control for a quick, in place, plug and play upgrade. The board connectors are the standard AMP MTA series as far as I can tell, 0.156" (3.96mm) pitch. Was envisioning something like this:
Making a reversible harness kit is a good idea. I considered going that, but just went to town with the wire cutters instead. This let me fix some of the wire colors that drove me nuts in Langmuir’s system (who in their right mind uses black as DC positive?)
Sick! I was thinking the same thing. Ideally wire for wire and then whichever controller you choose just wire it based on a table (Acorn, Linux, or UCCNC). Considering we now have 3 different controllers; someone could just wire in whichever board they want. I am really excited to see these machines “unlocked” and reach maximum potential.
@MrmachineTX and I both have alternative spindles on the machine now and have posted a few things in the Facebook group. I haven’t used my new spindle yet, hopefully that will change this week. I’m using a CNCDepot FM30F (16k rpm max, ISO30 tooling). He is using a chinese spindle with 24k rpm max and ISO20 tooling.