Has anyone thought about chip management/ cleaning? I was thinking of modifying a squeegee on a stick to reach in the back of the cabinet to scrape chips forward and out into a bin and around the Y axis rails. I have seen the machine in person and figured it would be hard to reach the rear of the cabinet without arm extensions or the sides off. Another thought was somehow washing down the system with the optional coolant pump and a sprayer. Are there drawbacks to doing this like electronics getting wet or could this work?
Our approach to cleaning depends on what we are trying to do. If we’re just trying to get 90% of the chips out we leave the side windows on and use a shop vac accessing through the front doors. You can’t get all the chips doing this, but can get most which is usually good enough.
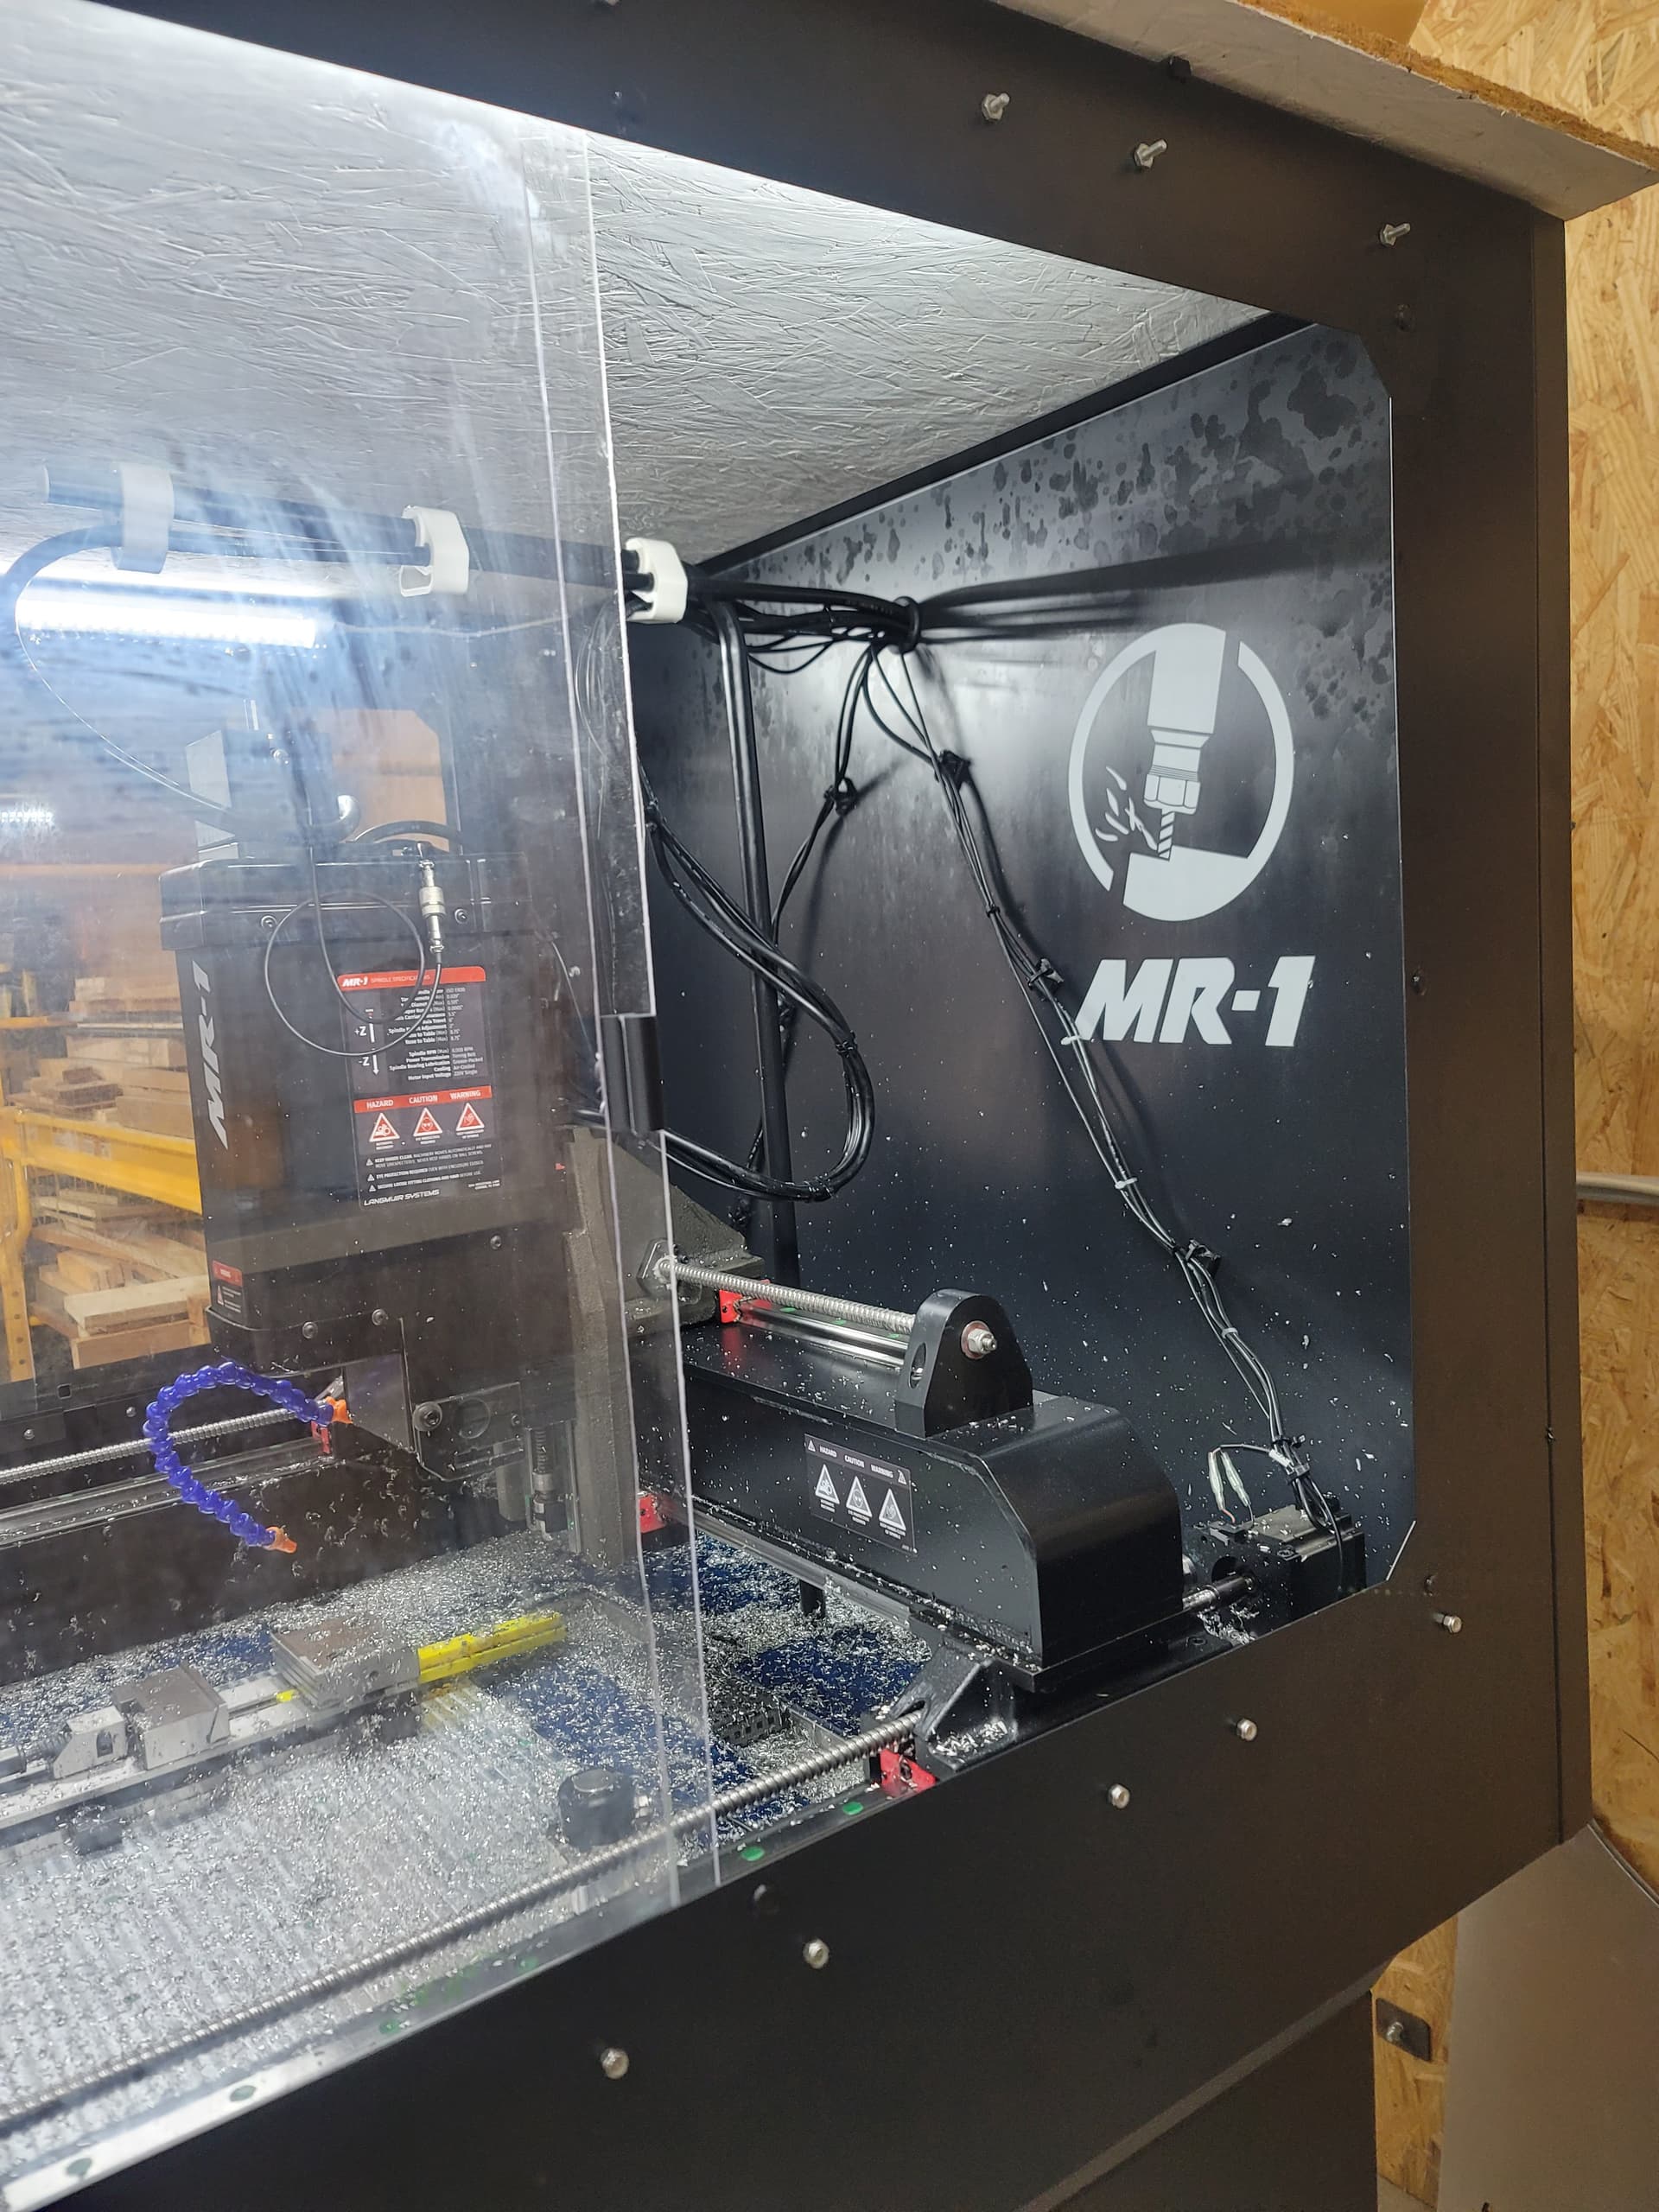
For a deep clean we’ll remove the side windows. Note that doing this is a tooless job and very easy/convenient.
We also have a hose tee’d into the feed line off the coolant pump and will use it to wash down the inside on occasion. All the electronics inside the enclosure are washdown rated so no issues doing so.
I personally would not wash down the inside of the machine unless you really have a very dirty area ,or excessive chips to clean.
We used to do this at my old job on a Mitsui Seiki vert machining center, the only reason we did this task is because we sometimes did not have the time to actually clean the excess chips during our production runs.
The better way is to just use a modified squigi to clean the work area. It’s faster, less water splatter and will keep you moving about you tasks.
What, you guys didn’t get the optional sliding side windows with your machine? Here’s what it looks like. Ok, it wasn’t an option, I admit I did it because I couldn’t reach the back of the machine. Printed up some parts on the 3D printer and now I have access.
I made the tracks using a 3D printer. They are made in sections since my printer can’t print a 36 inch long track. Simple to design. When installed I left the track pieces spaces about 1 inch apart to allow for coolant to drain and not collect in the tracks.
Ah, that makes sense and is easy. This might be one of my next projects, I get very sick of pulling those panels out when I need to access the back of the machine.
Here is a pic of the CAD model. The brackets are 230mm long. The bottom bracket channel is shorter than the top to allow for the panel to be lifted and removed if necessary, The bottom channel is 3mm deep and the top is 6mm. Overall height is 28mm and 31mm respectively.
Absolutely love it! I do a poor job of keeping things as clean as they should be due to the hassle of the side windows. I will have no excuse after adopting your concept. Thanks for sharing.
Walmart sells a $6.00 squeegee that has a telescoping handle. I cut mine down to fit in between the table and gantry (4"+/-). Sweep them to the front and shopvac.
I just added a wash down and tilted the machine to flow everything to the front. so far I have piles of chips. when I switch to a fog buster im sure the coolant will go bad but so far its working well.
I have considered many options for removing chips. I think I have come up with the best compromise for my situation. I installed a small box fan that I purchased at Lowes on the plywood ceiling that I made for the mill enclosure. After a long day of making chips I run the fan over night to help evaporate the coolant from the chip pile. Then in the morning I just vacuum the chips up with my shop vac. I originally tried to vacuum the chips while they were still wet but even though my shop vac is a wet/dry model this just made to much of a mess. Additionally, an added benefit I found was to run the fan while machining. The enclosure gets pretty hot and swampy inside but with the air flow it is much cooler and way less humid.
Another problem I have run into is stepper failure because of wash down. Water got into my Y axis steppers and seized them both. I have recently replaced both Y steppers with water proof steppers which has solved that problem. Additionally, I flipped over the X axis stepper motor so the cord exit is on the bottom. According to Jake the water gets into the steppers through the cord hole in the motor. The water proof steppers are only a few bucks more and I would think that Langmuir should, at the very least, offer them an option for future sales of the MR1. I have seen other post on this forum regarding the water getting into the steppers. If you are still using the original steppers at least flip them over so the cord entry on the bottom. Or possibly you were smarter then me and installed them cord down.