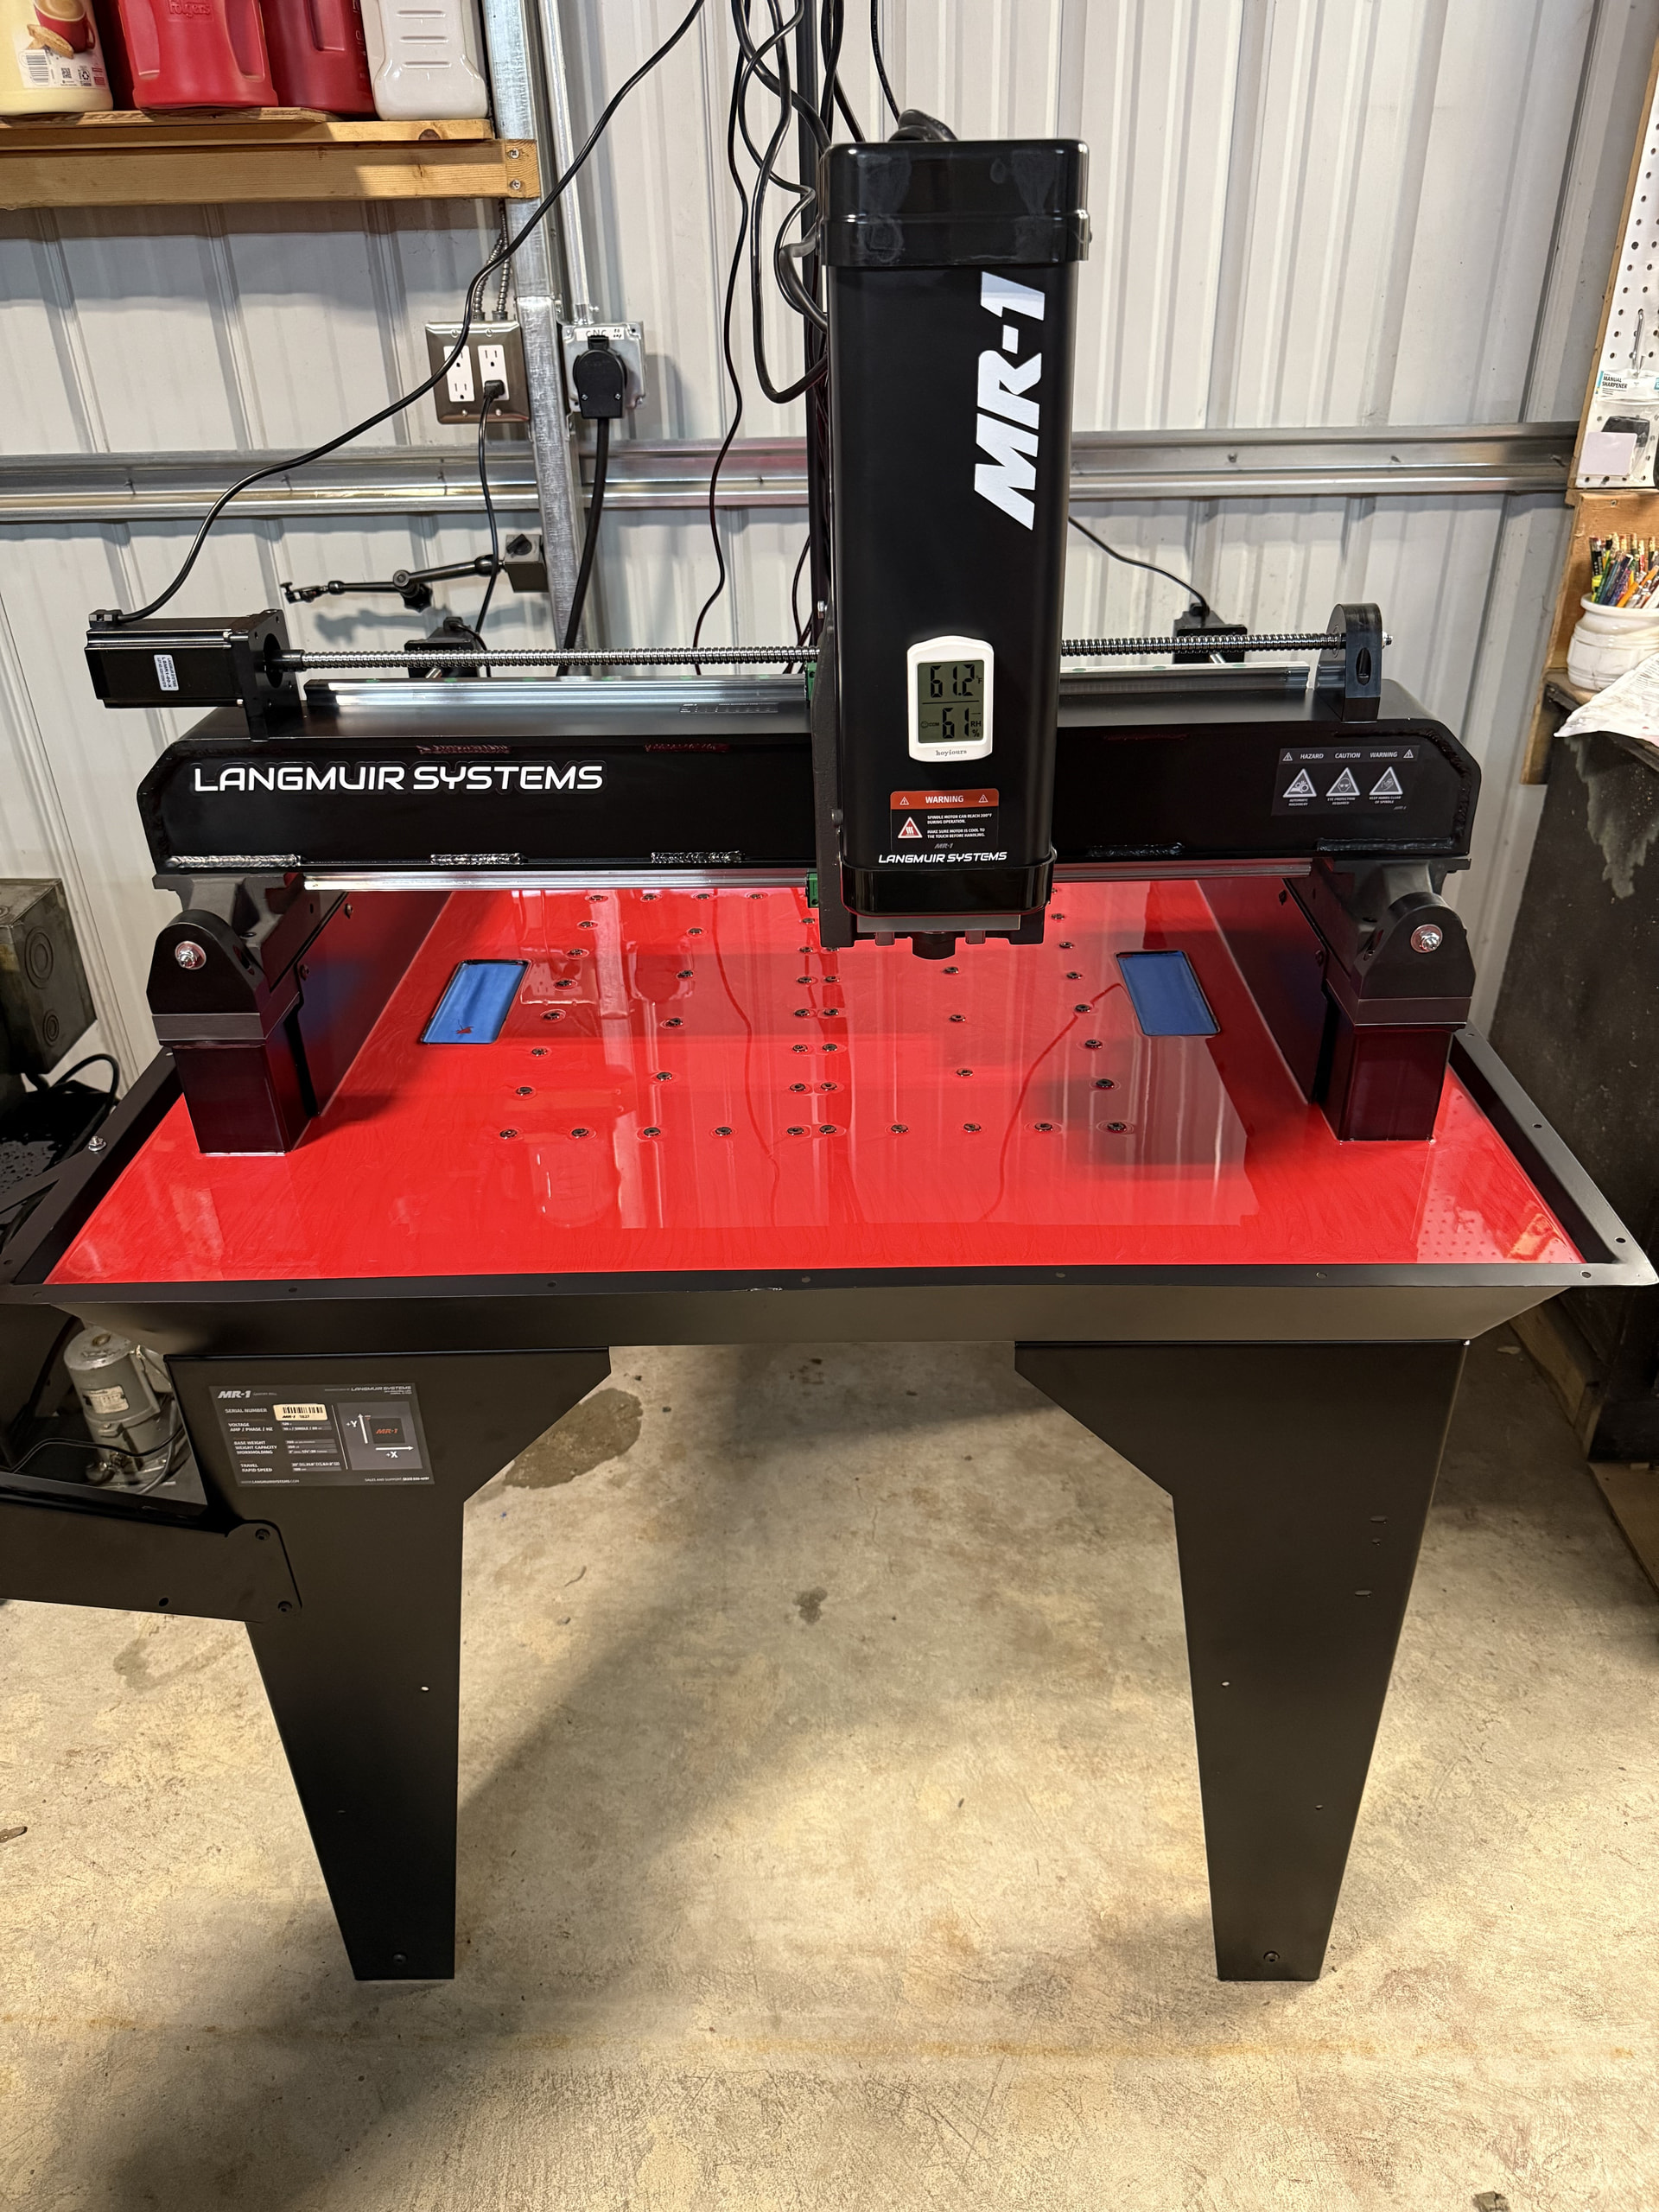
Hey party people. So I bit the bullet and purchased an MR-1, of course after they raised the price.
I have a few questions. Hopefully someone has experienced this and hopefully im not up a creek.
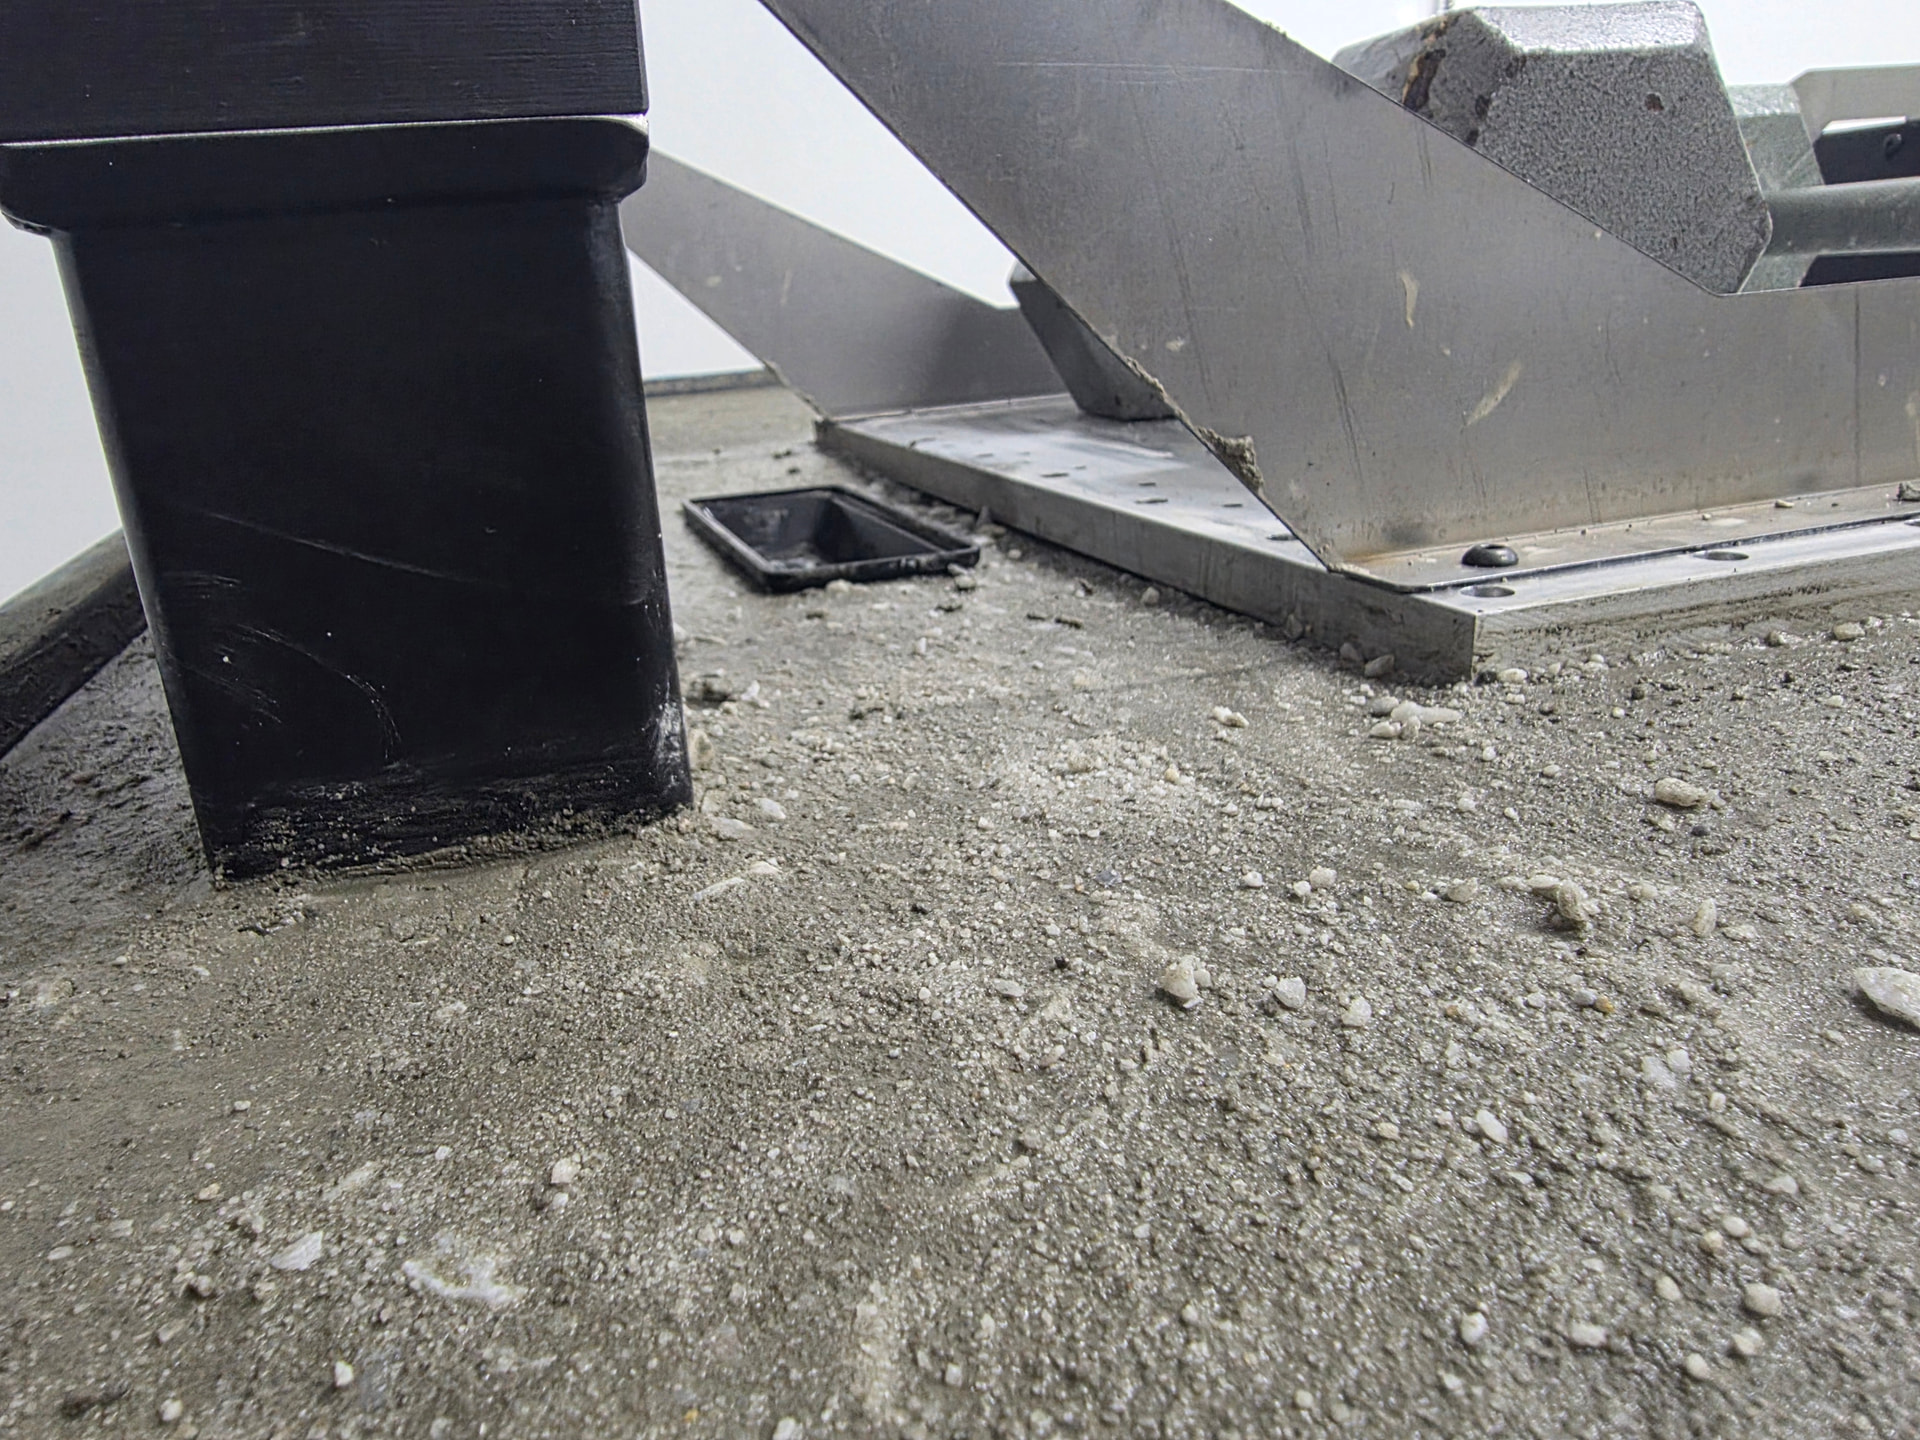
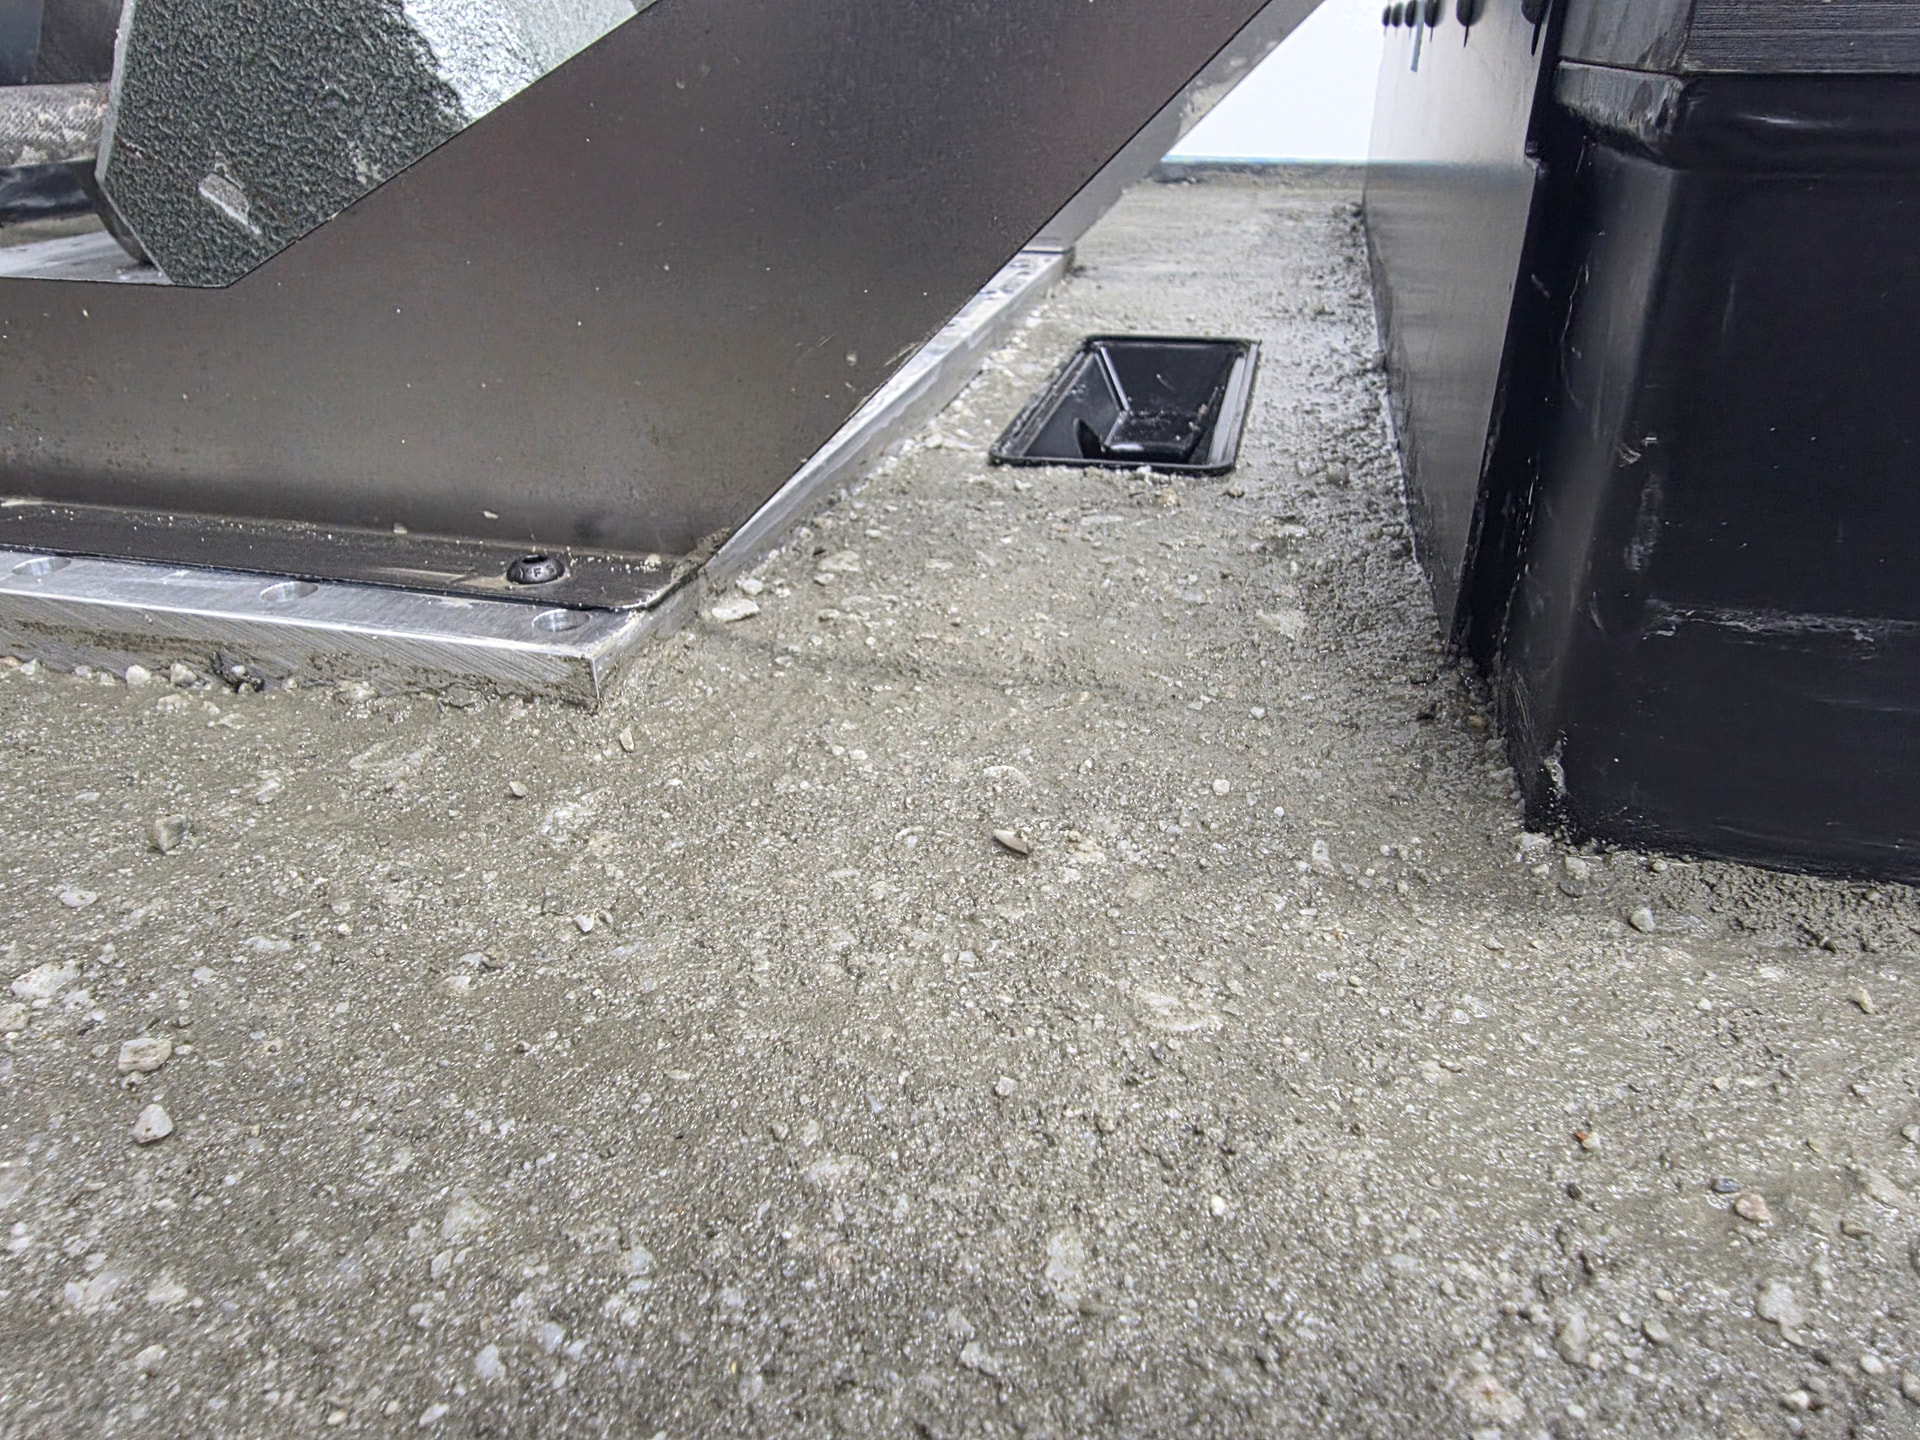
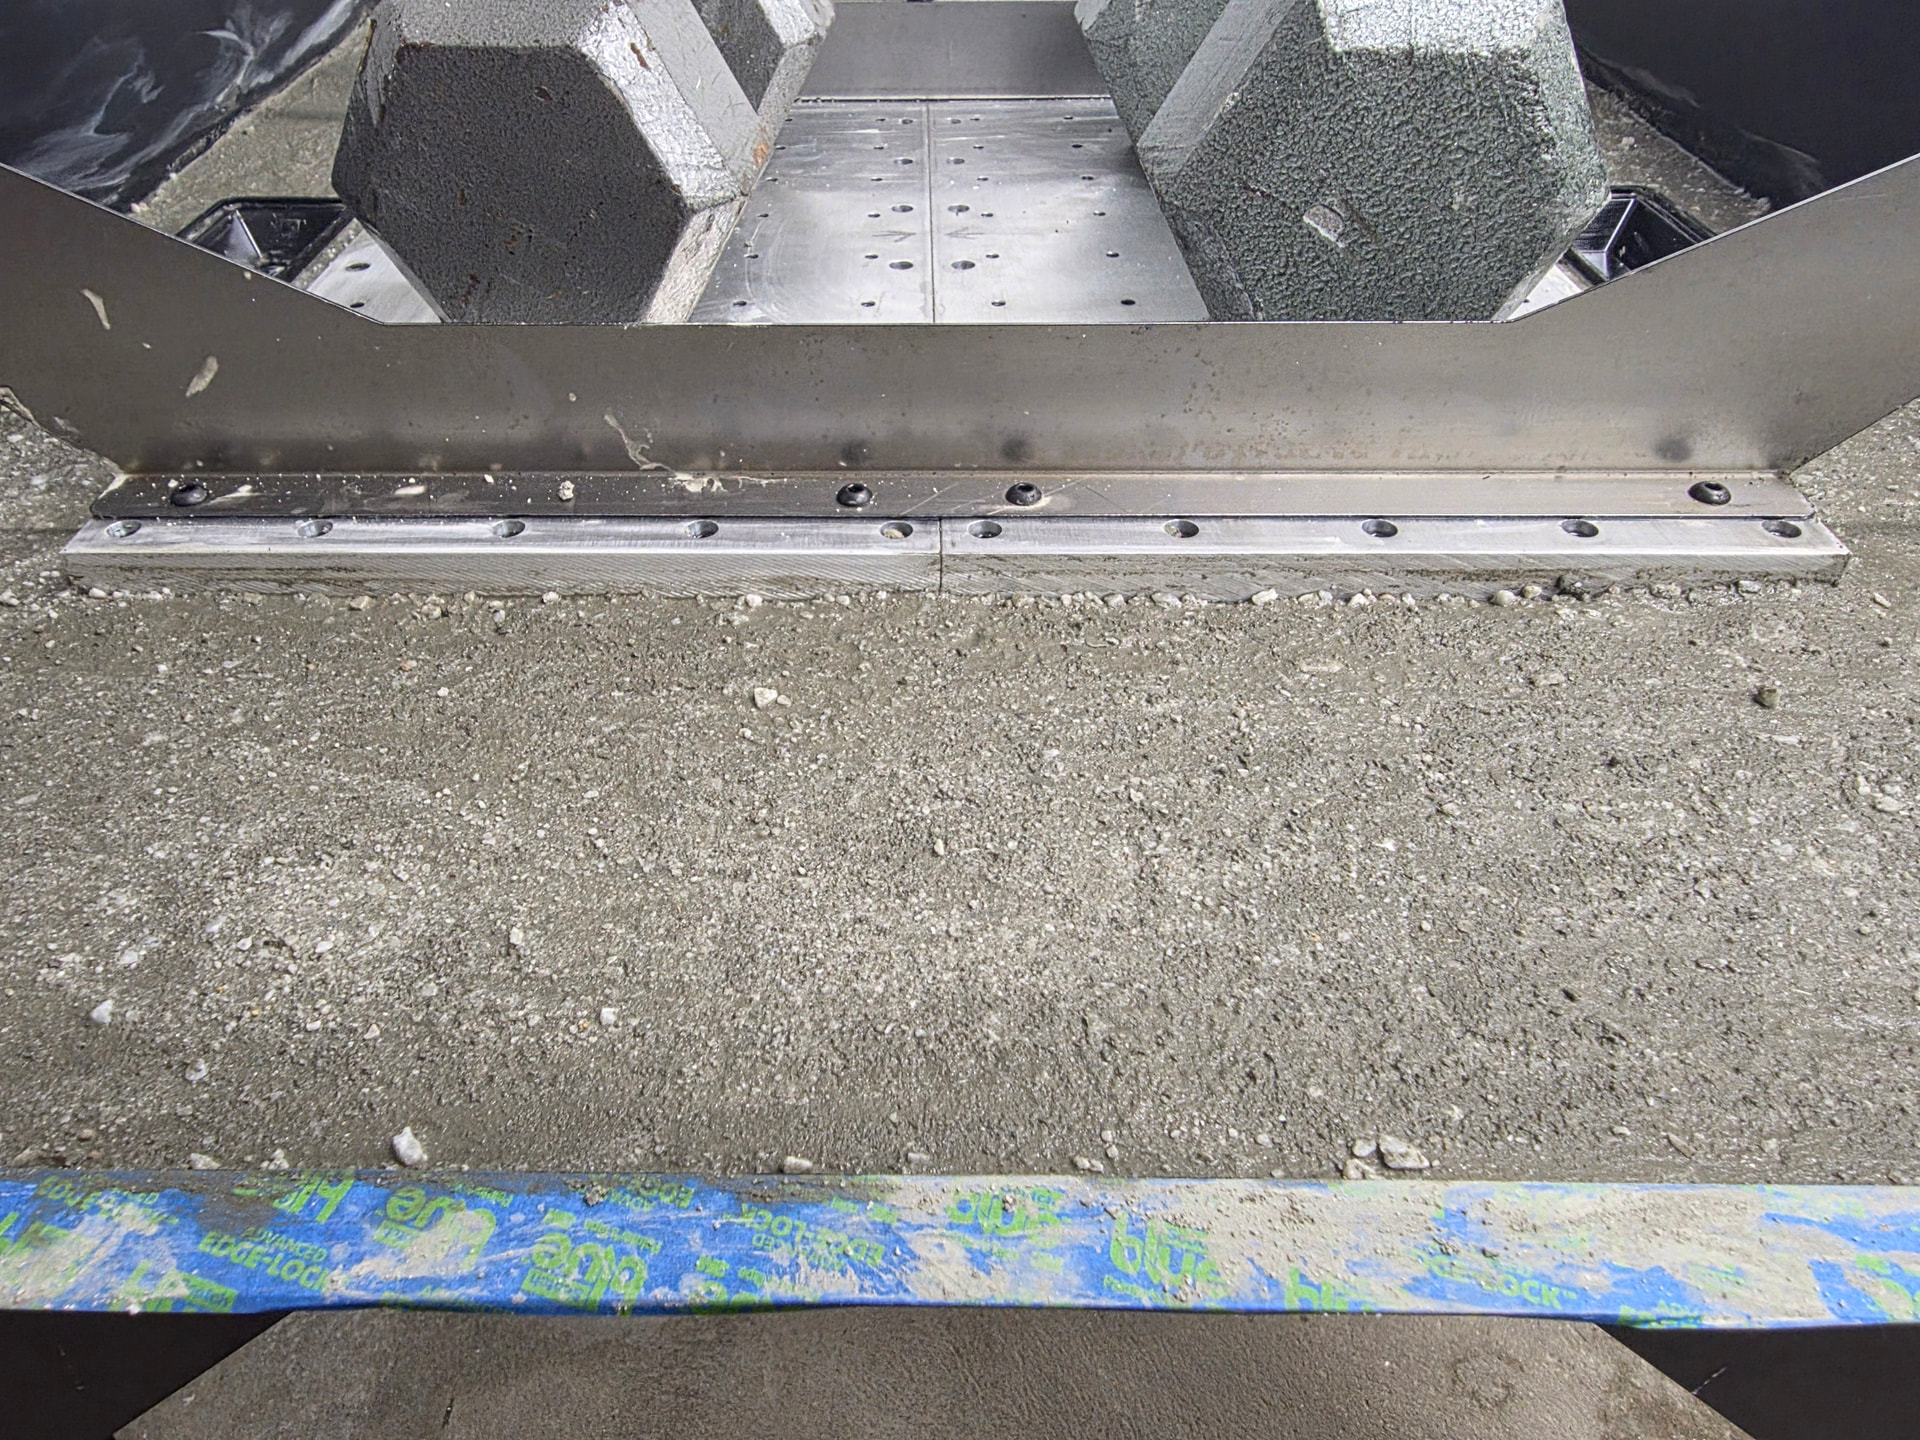
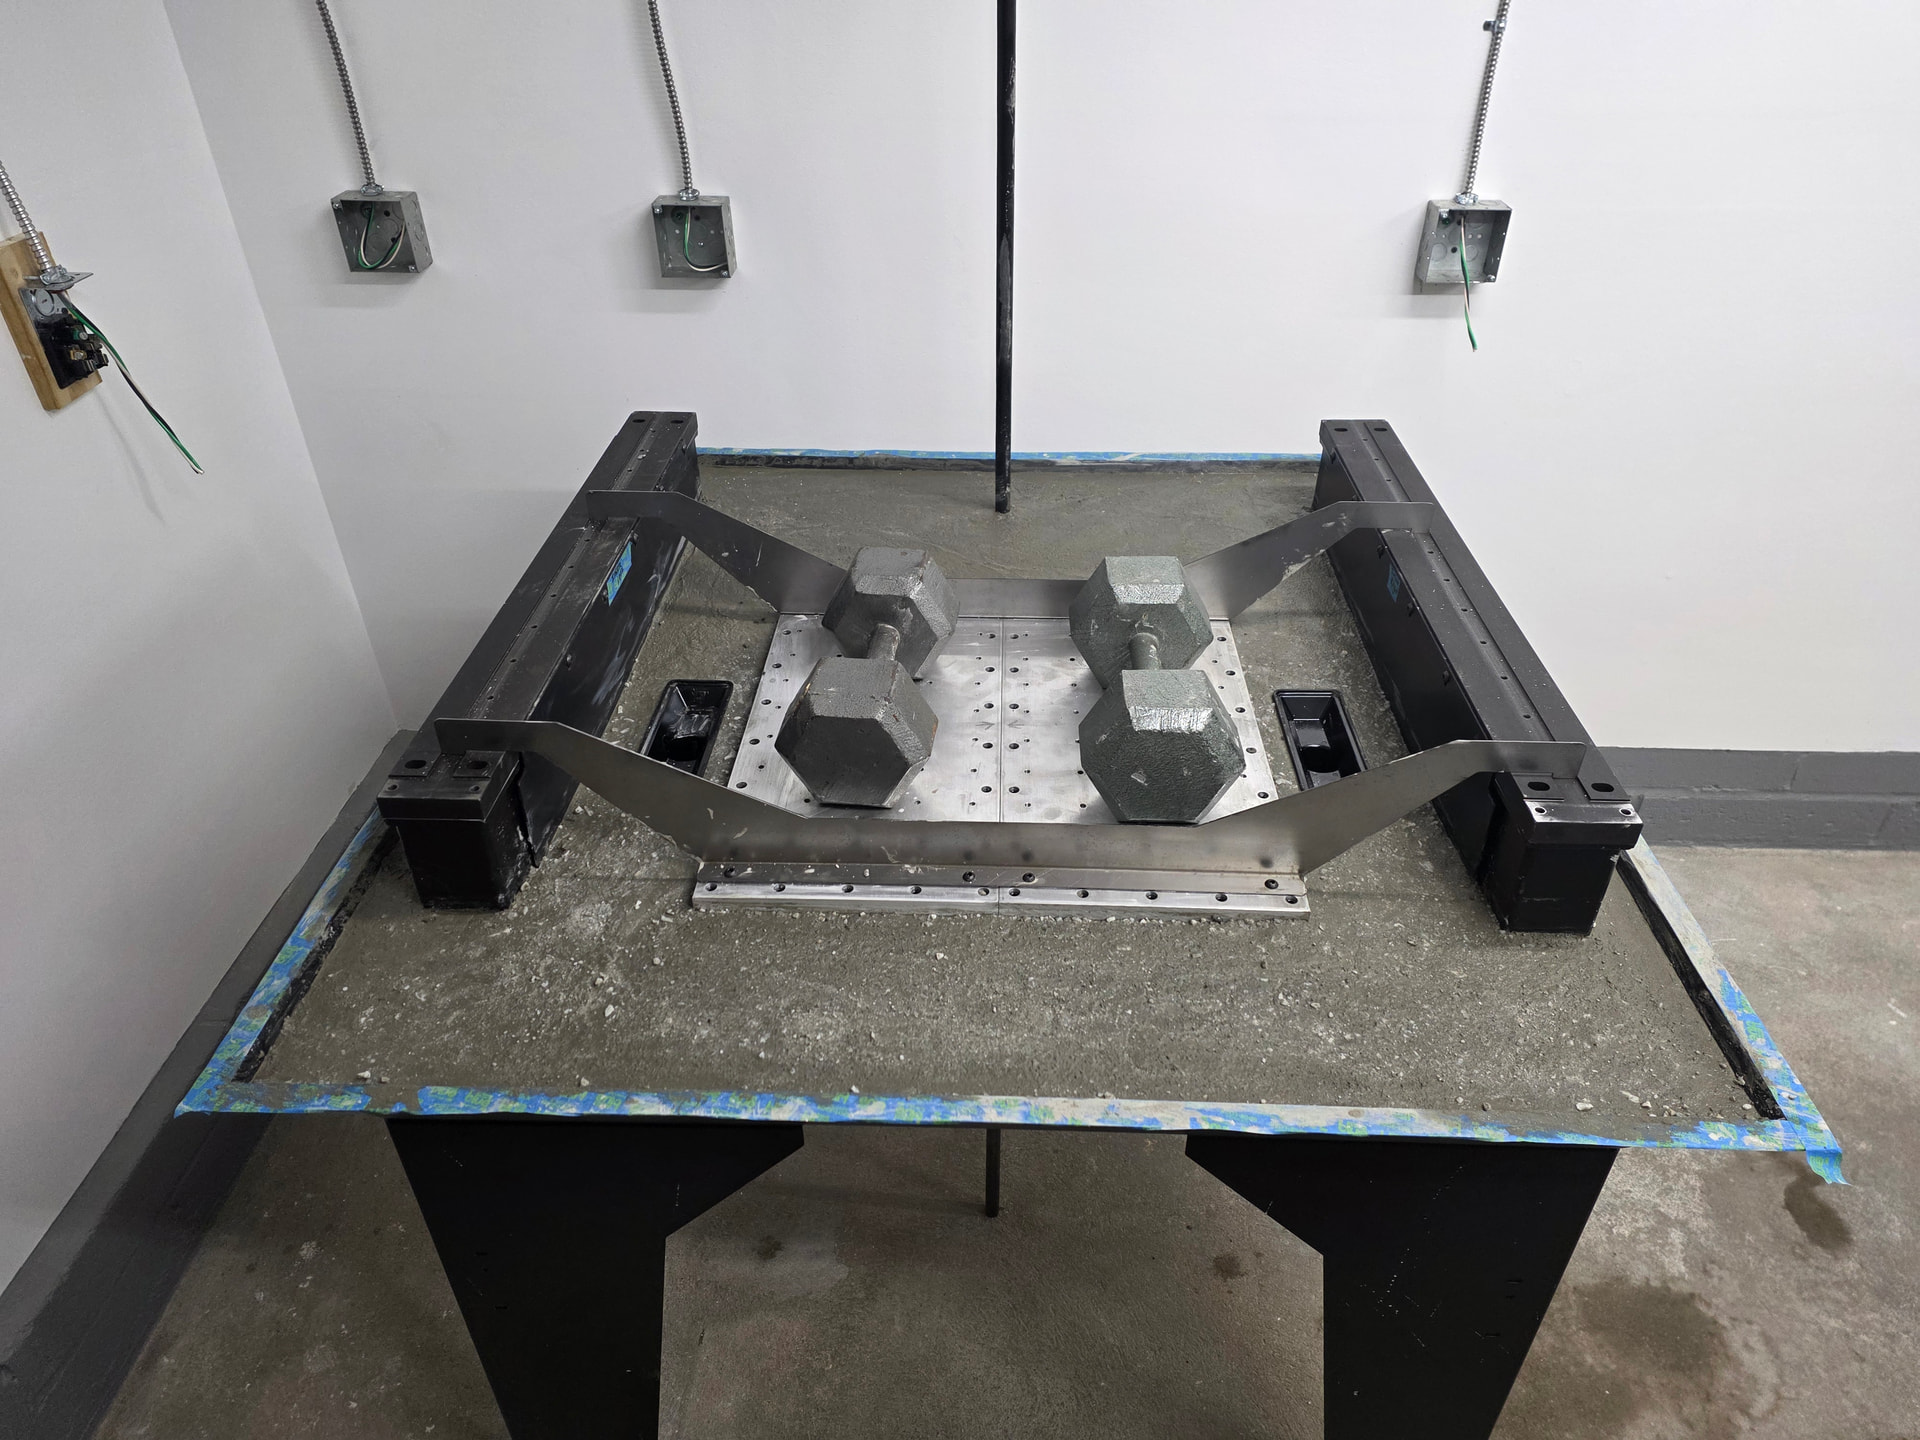
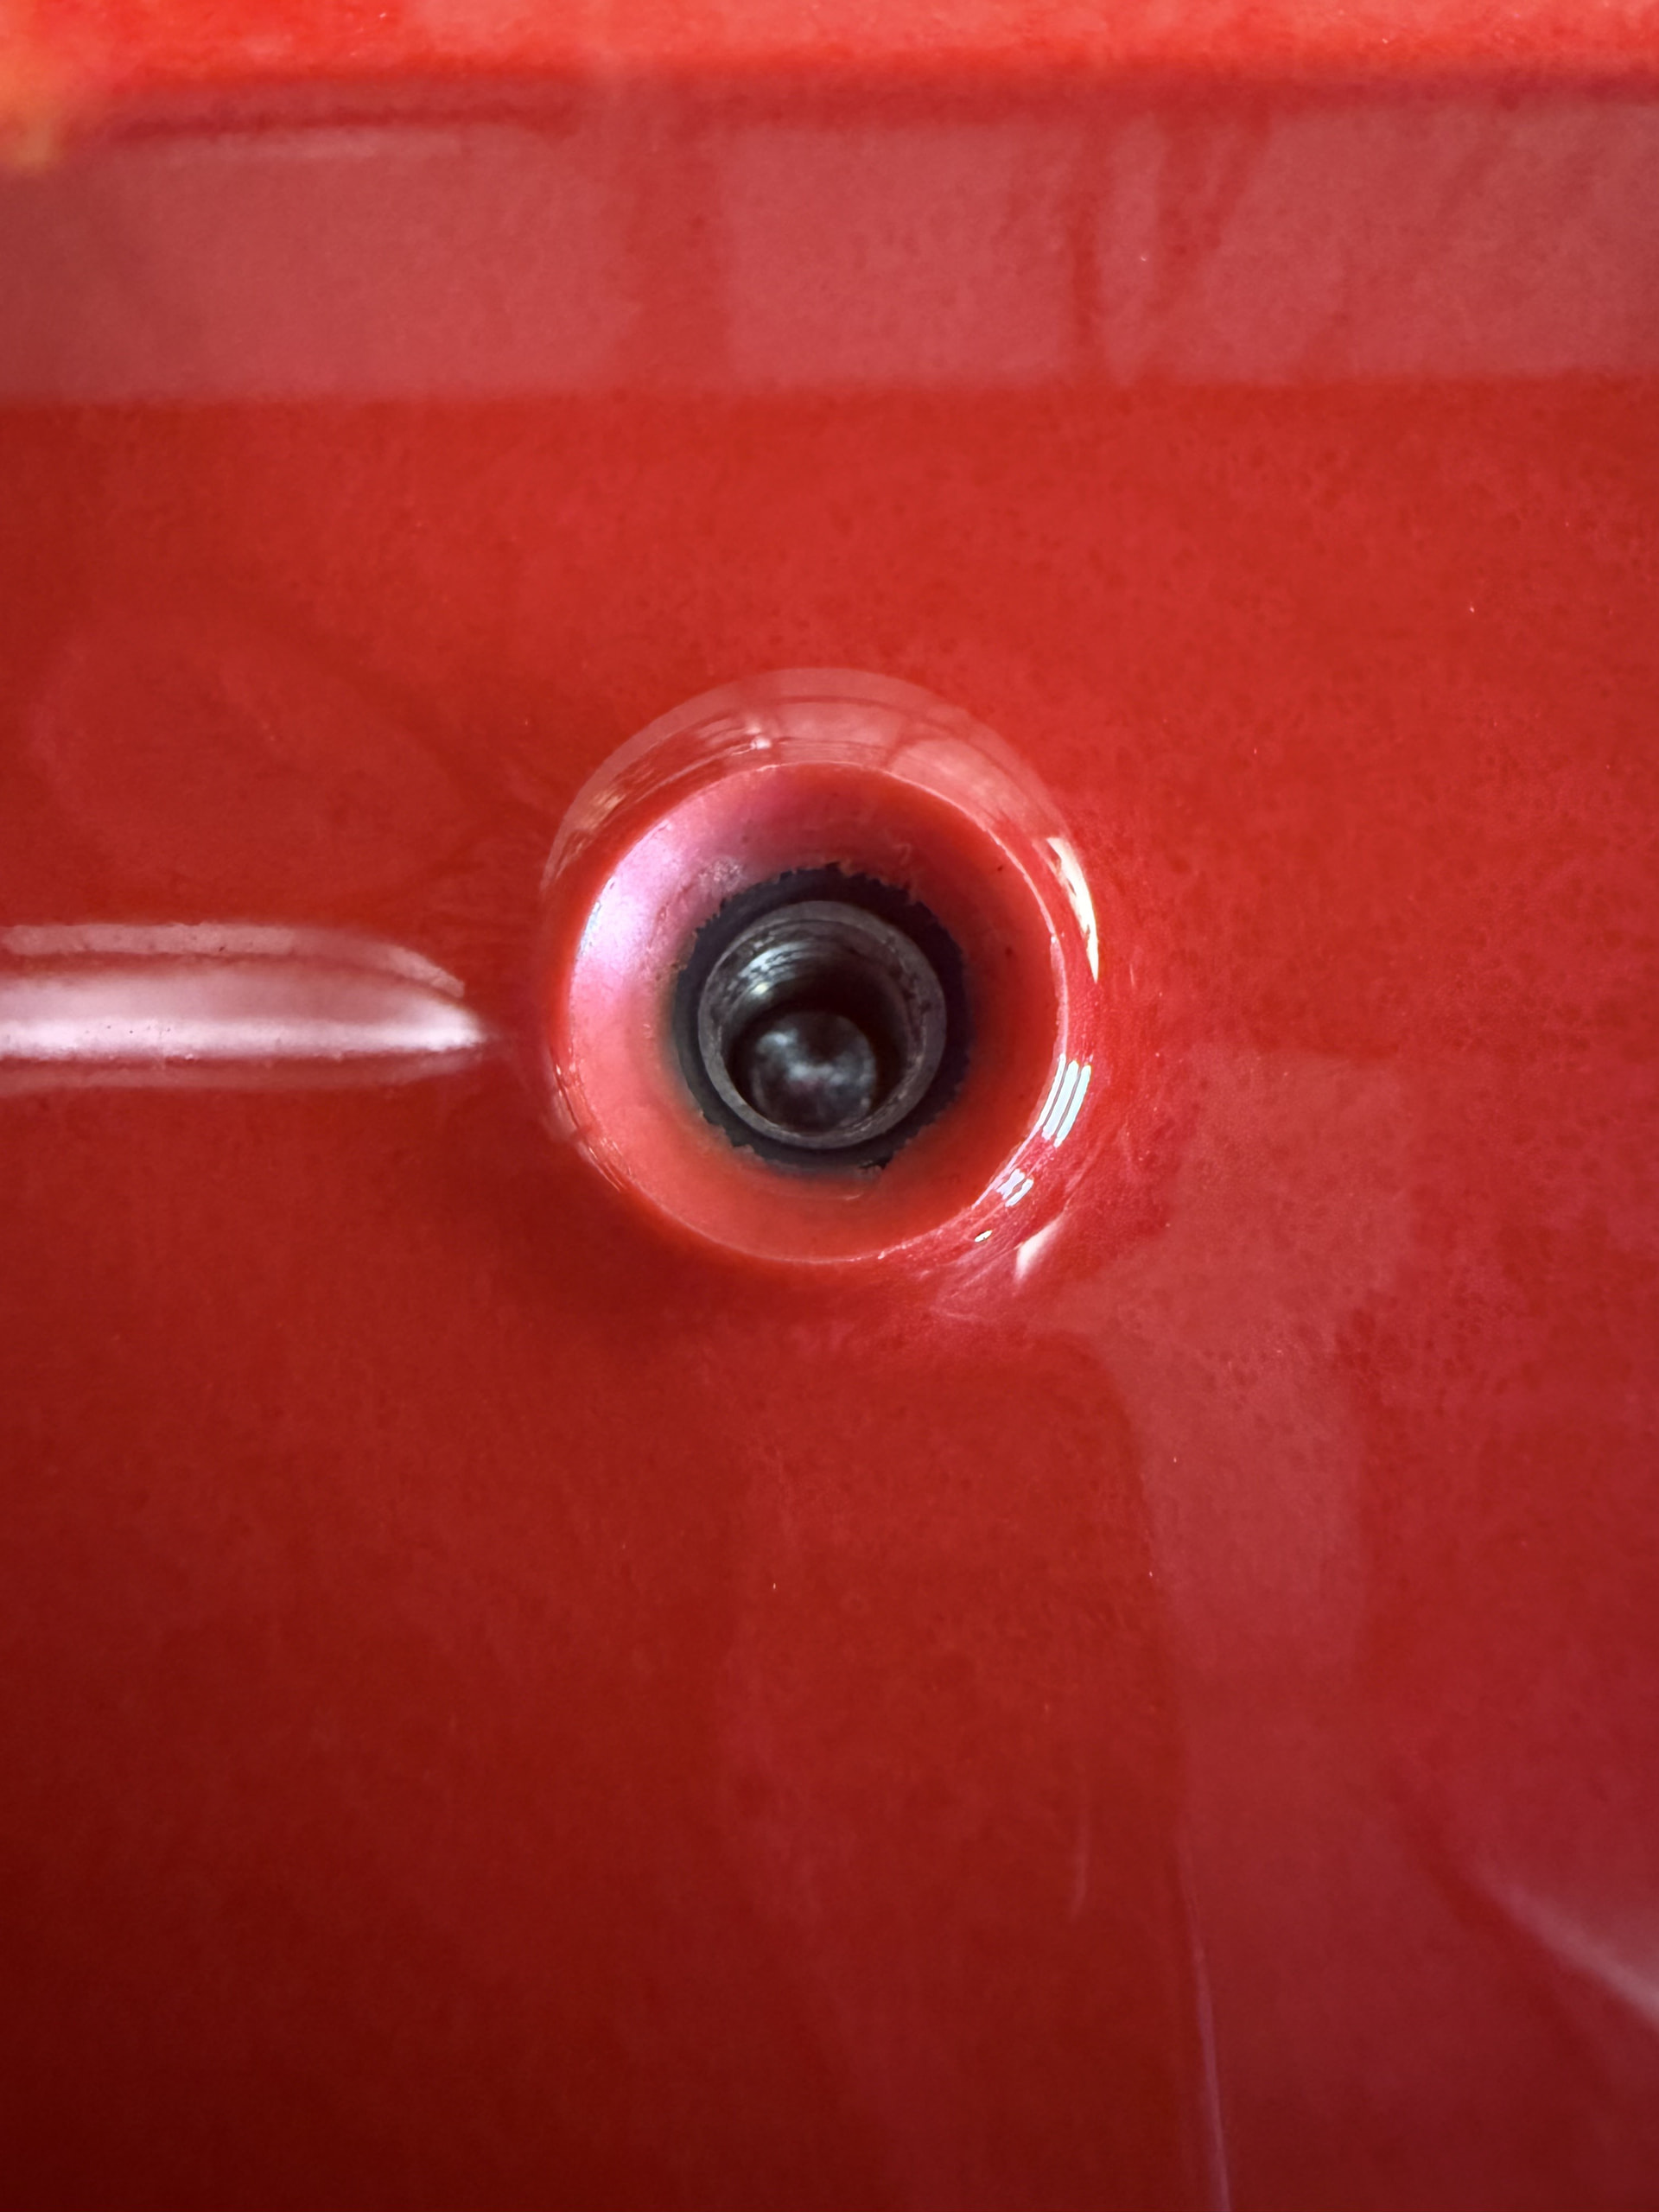
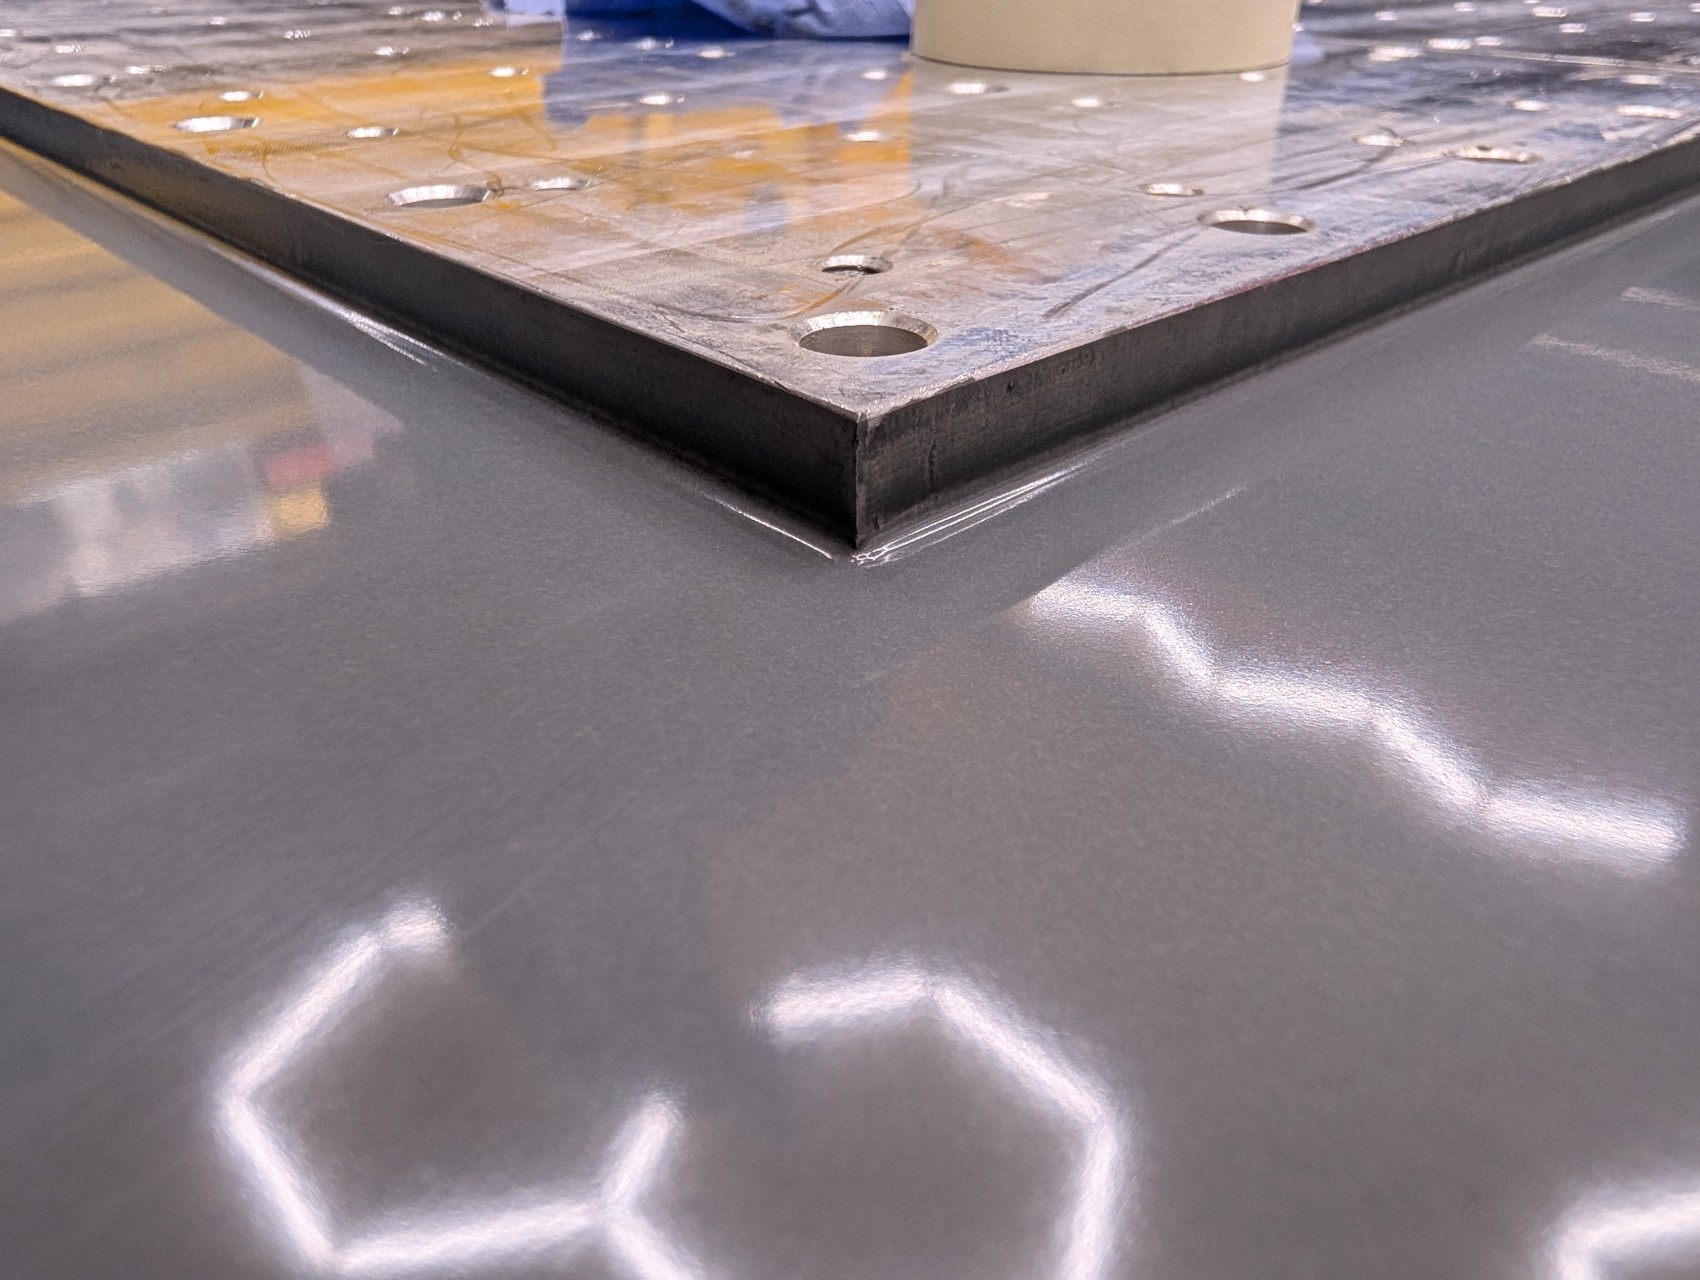
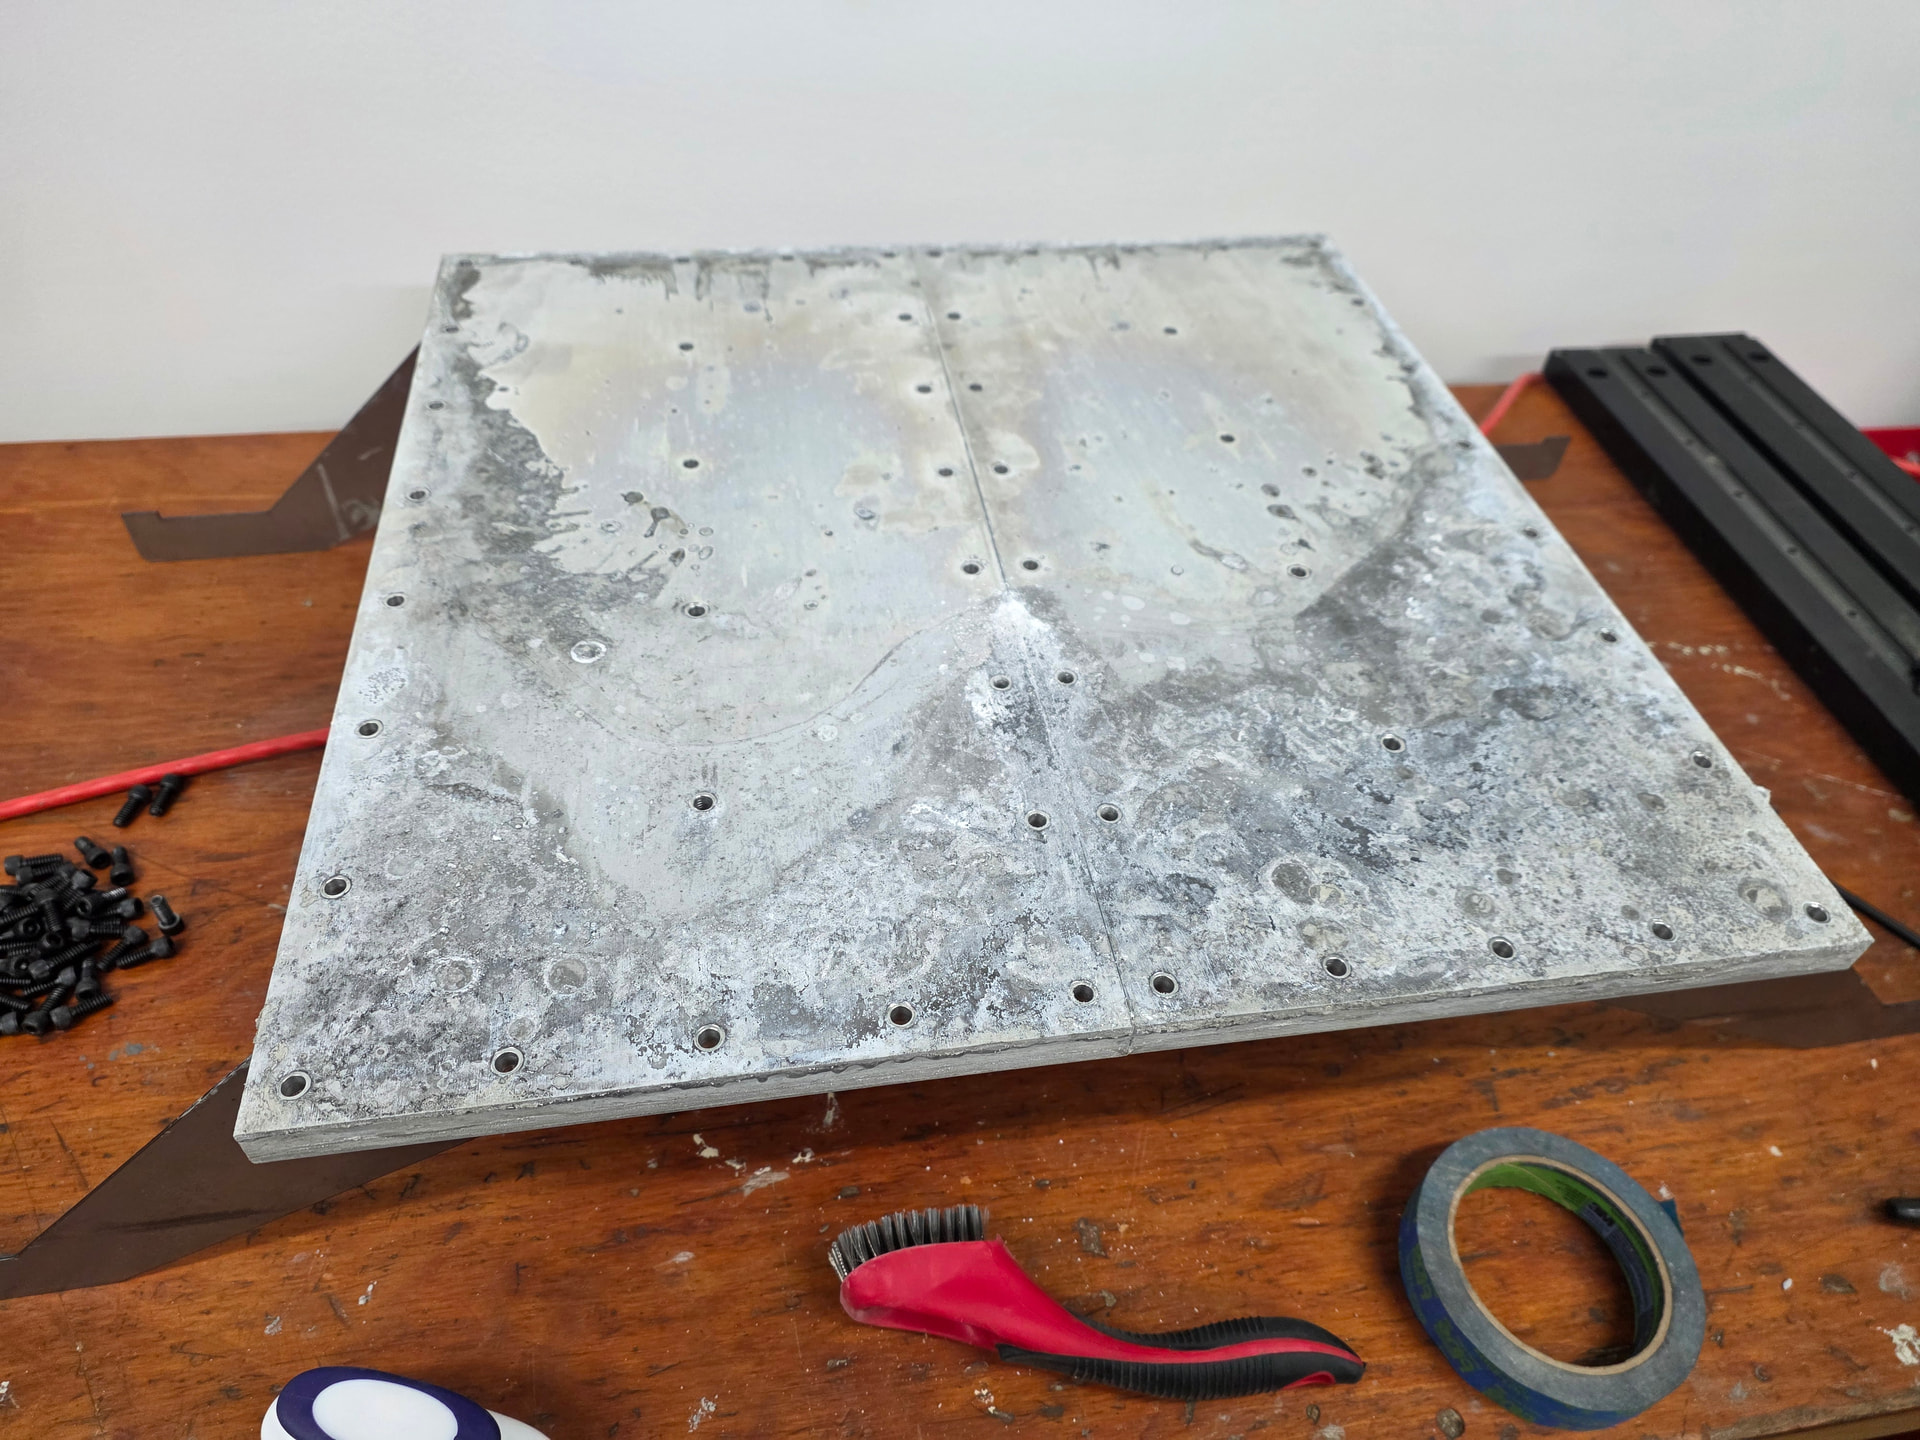
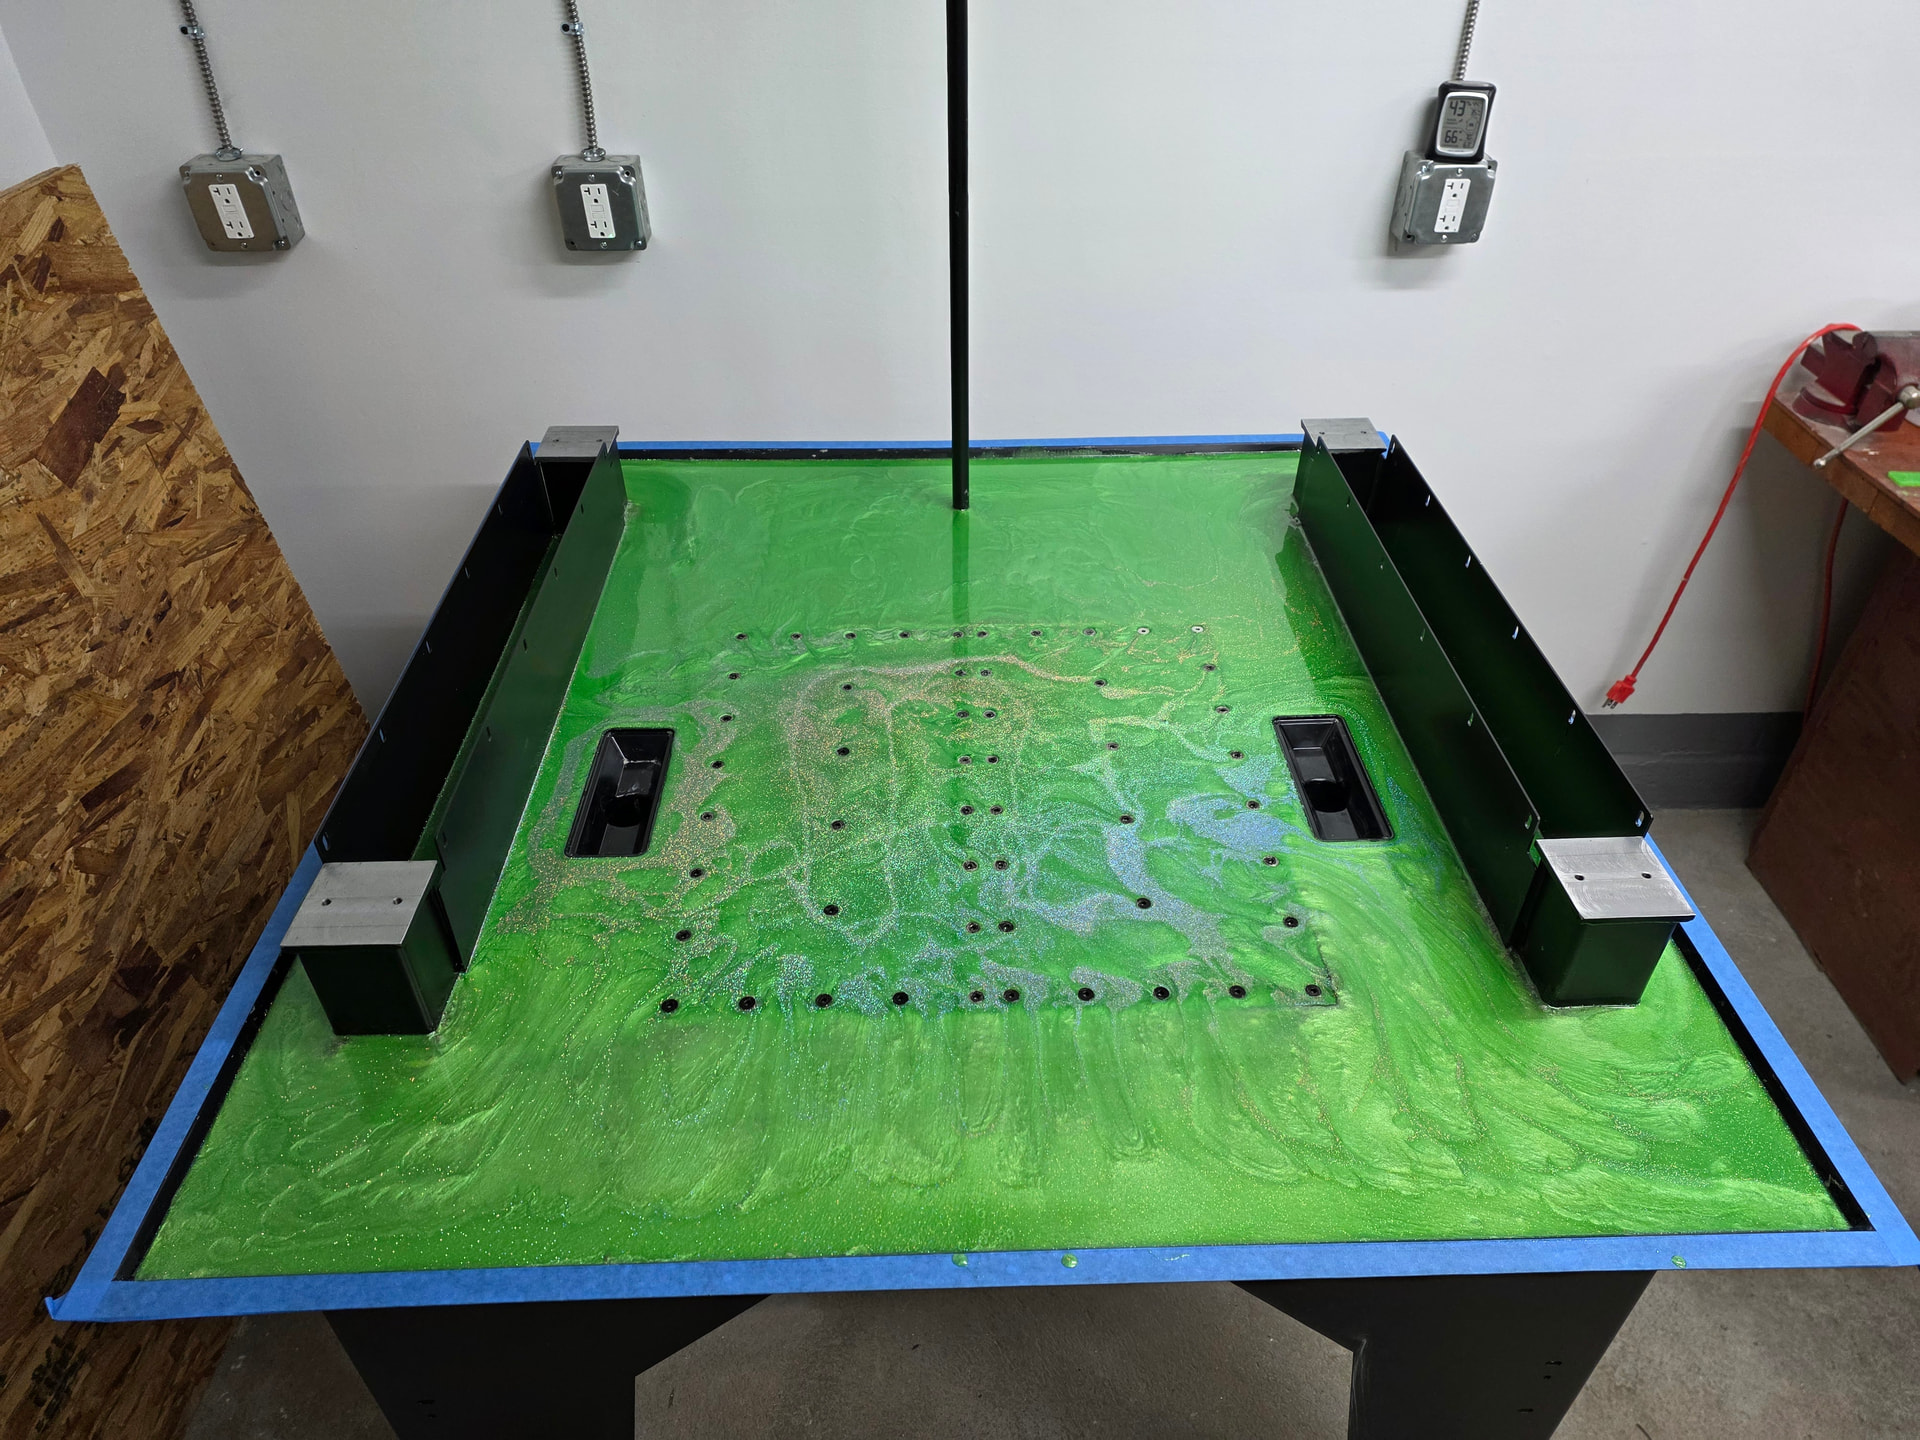
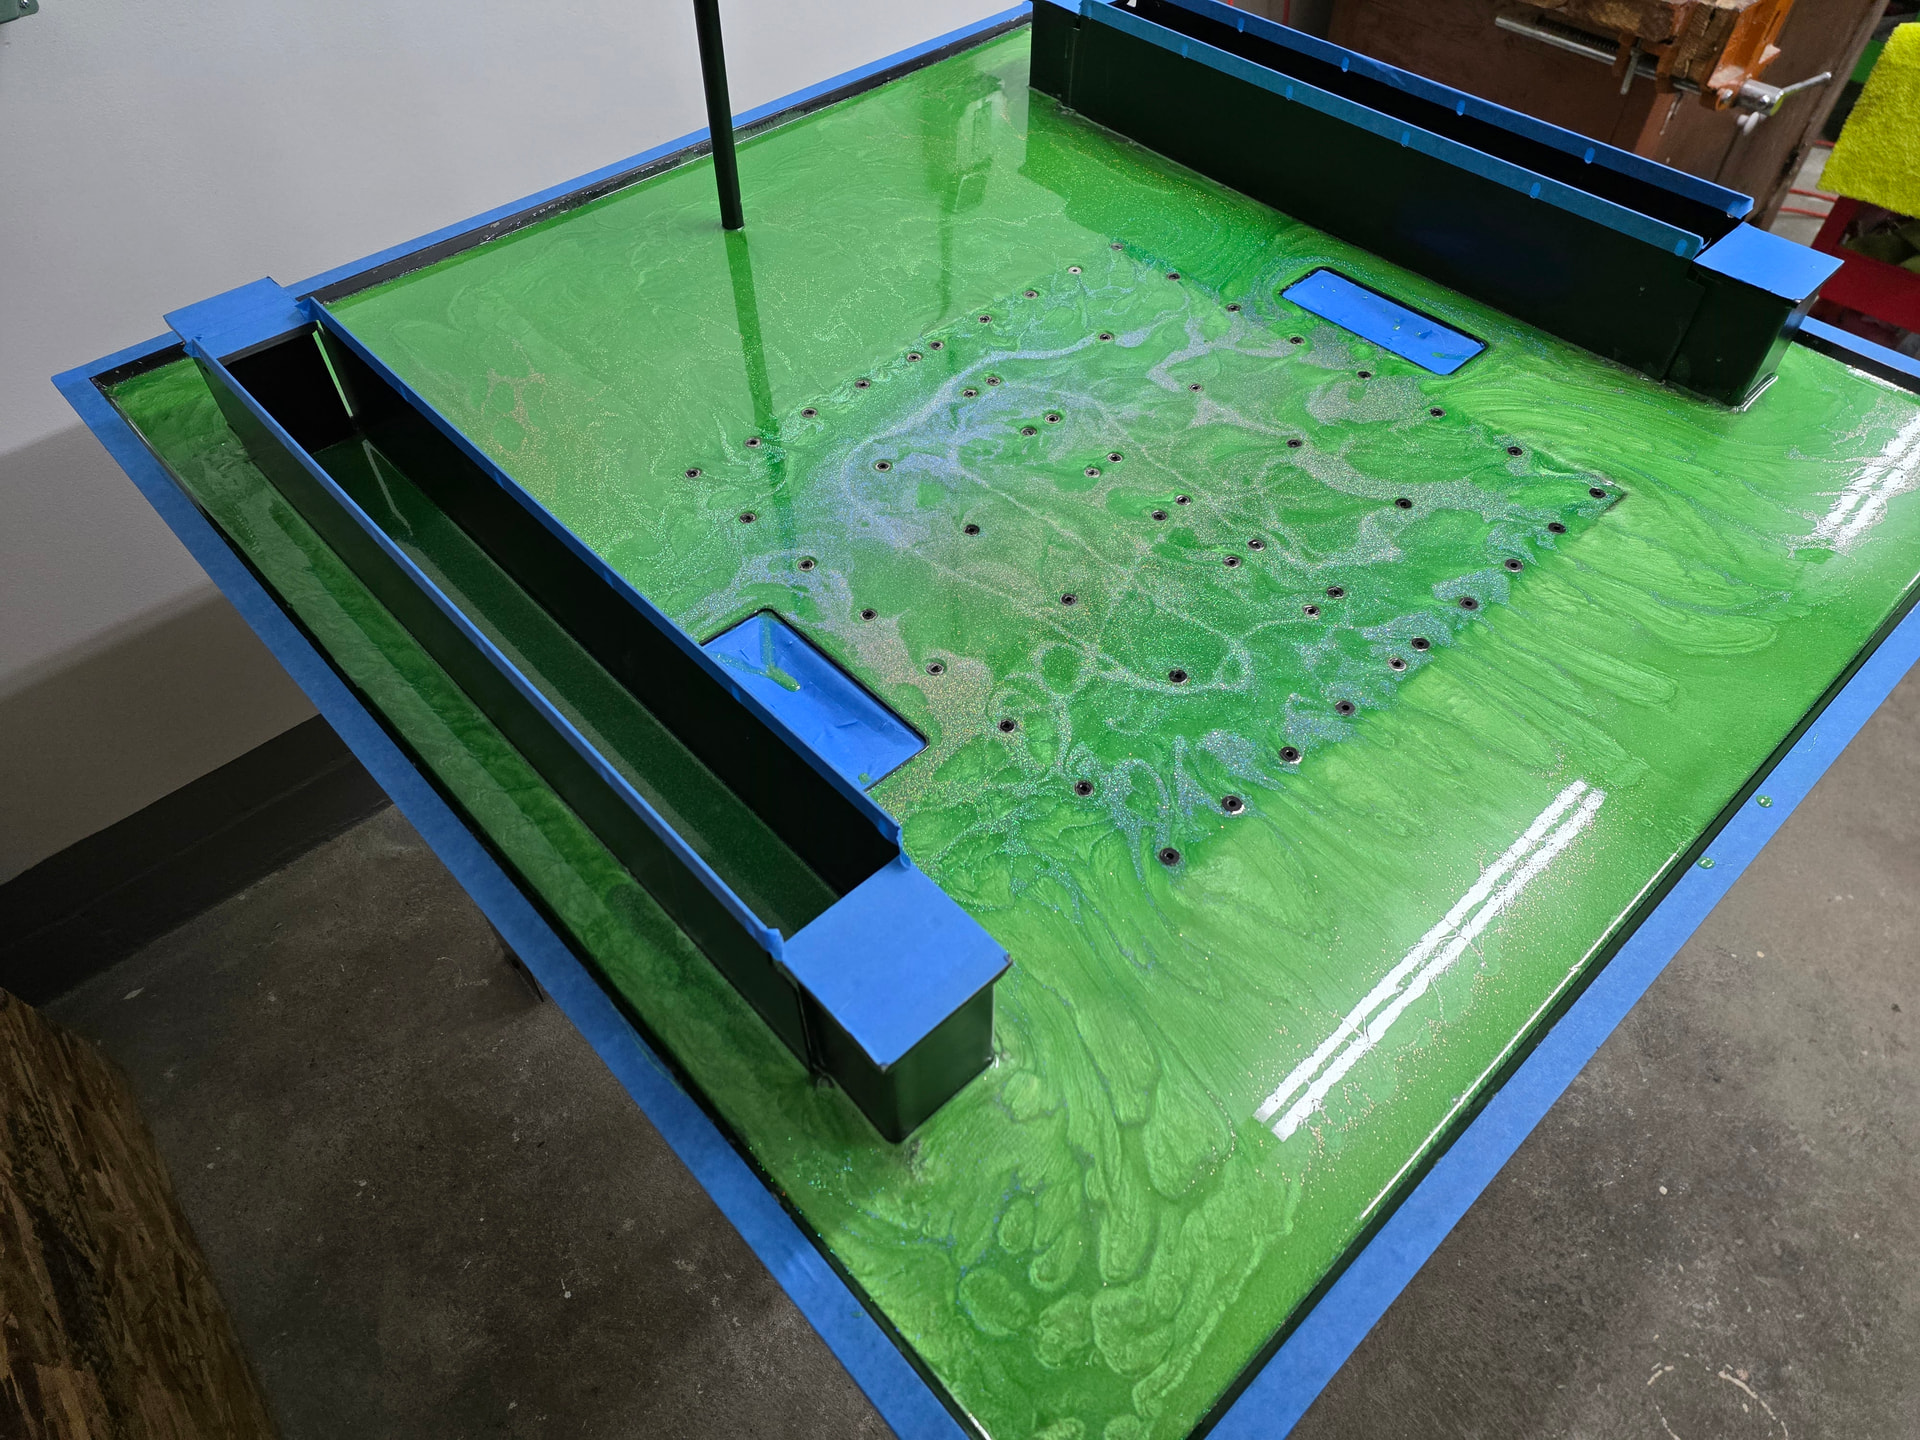
I poured the concrete yesterday and noticed after I tamped and soaked up the excess water that there is a slight air gap between the baseplate and the concrete. And all 4 corners of the baseplate jigs were flush against the Y-Axis rails.
Coolant drains were pretty much 1/8th in or a lil lower and was scared to bring the level up too much higher cause I would like to pour the epoxy.
Wondering if the gap is normal or am I going to have to break it all up or get a new pan.
The epoxy will take care of the gaps. Note the epoxy needs to be mixed and mixed and mixed some more. Especially on the sides of the mixing bucket. That’s my tip.
You can take and angle grinder and knock off any high spots or stones that might be sticking up. it’s a messy process but I think it really helped me get an even layer of epoxy. You don’t want to find out after you pour it all in that it doesn’t cover some of the high spots.
Thanks for the response! Yeah I figure the epoxy would cover it all but worried about any unwanted harmonics that may arise from the air gap beneath the baseplate.. ;(
What I did to make sure I have enough epoxy and to make sure that all the stones get covered is I carefully measured and poured water on the cement until it was just seeping into the drains… yep I had to order more epoxy before pouring but when I do (Friday) I know that all the stones will be under the epoxy.
Sopped the water up with towels and let it dry for days. I have read (don’t know) that water or moisture on the surface is the bane of epoxy.
You could do what I did, but it might be a bit overkill.
I didn’t want any coolant soaking into the concrete and I wanted to prevent galvanic corrosion by trying my best to isolate the aluminum base plates from the concrete & steel anchors.
So I did the following:
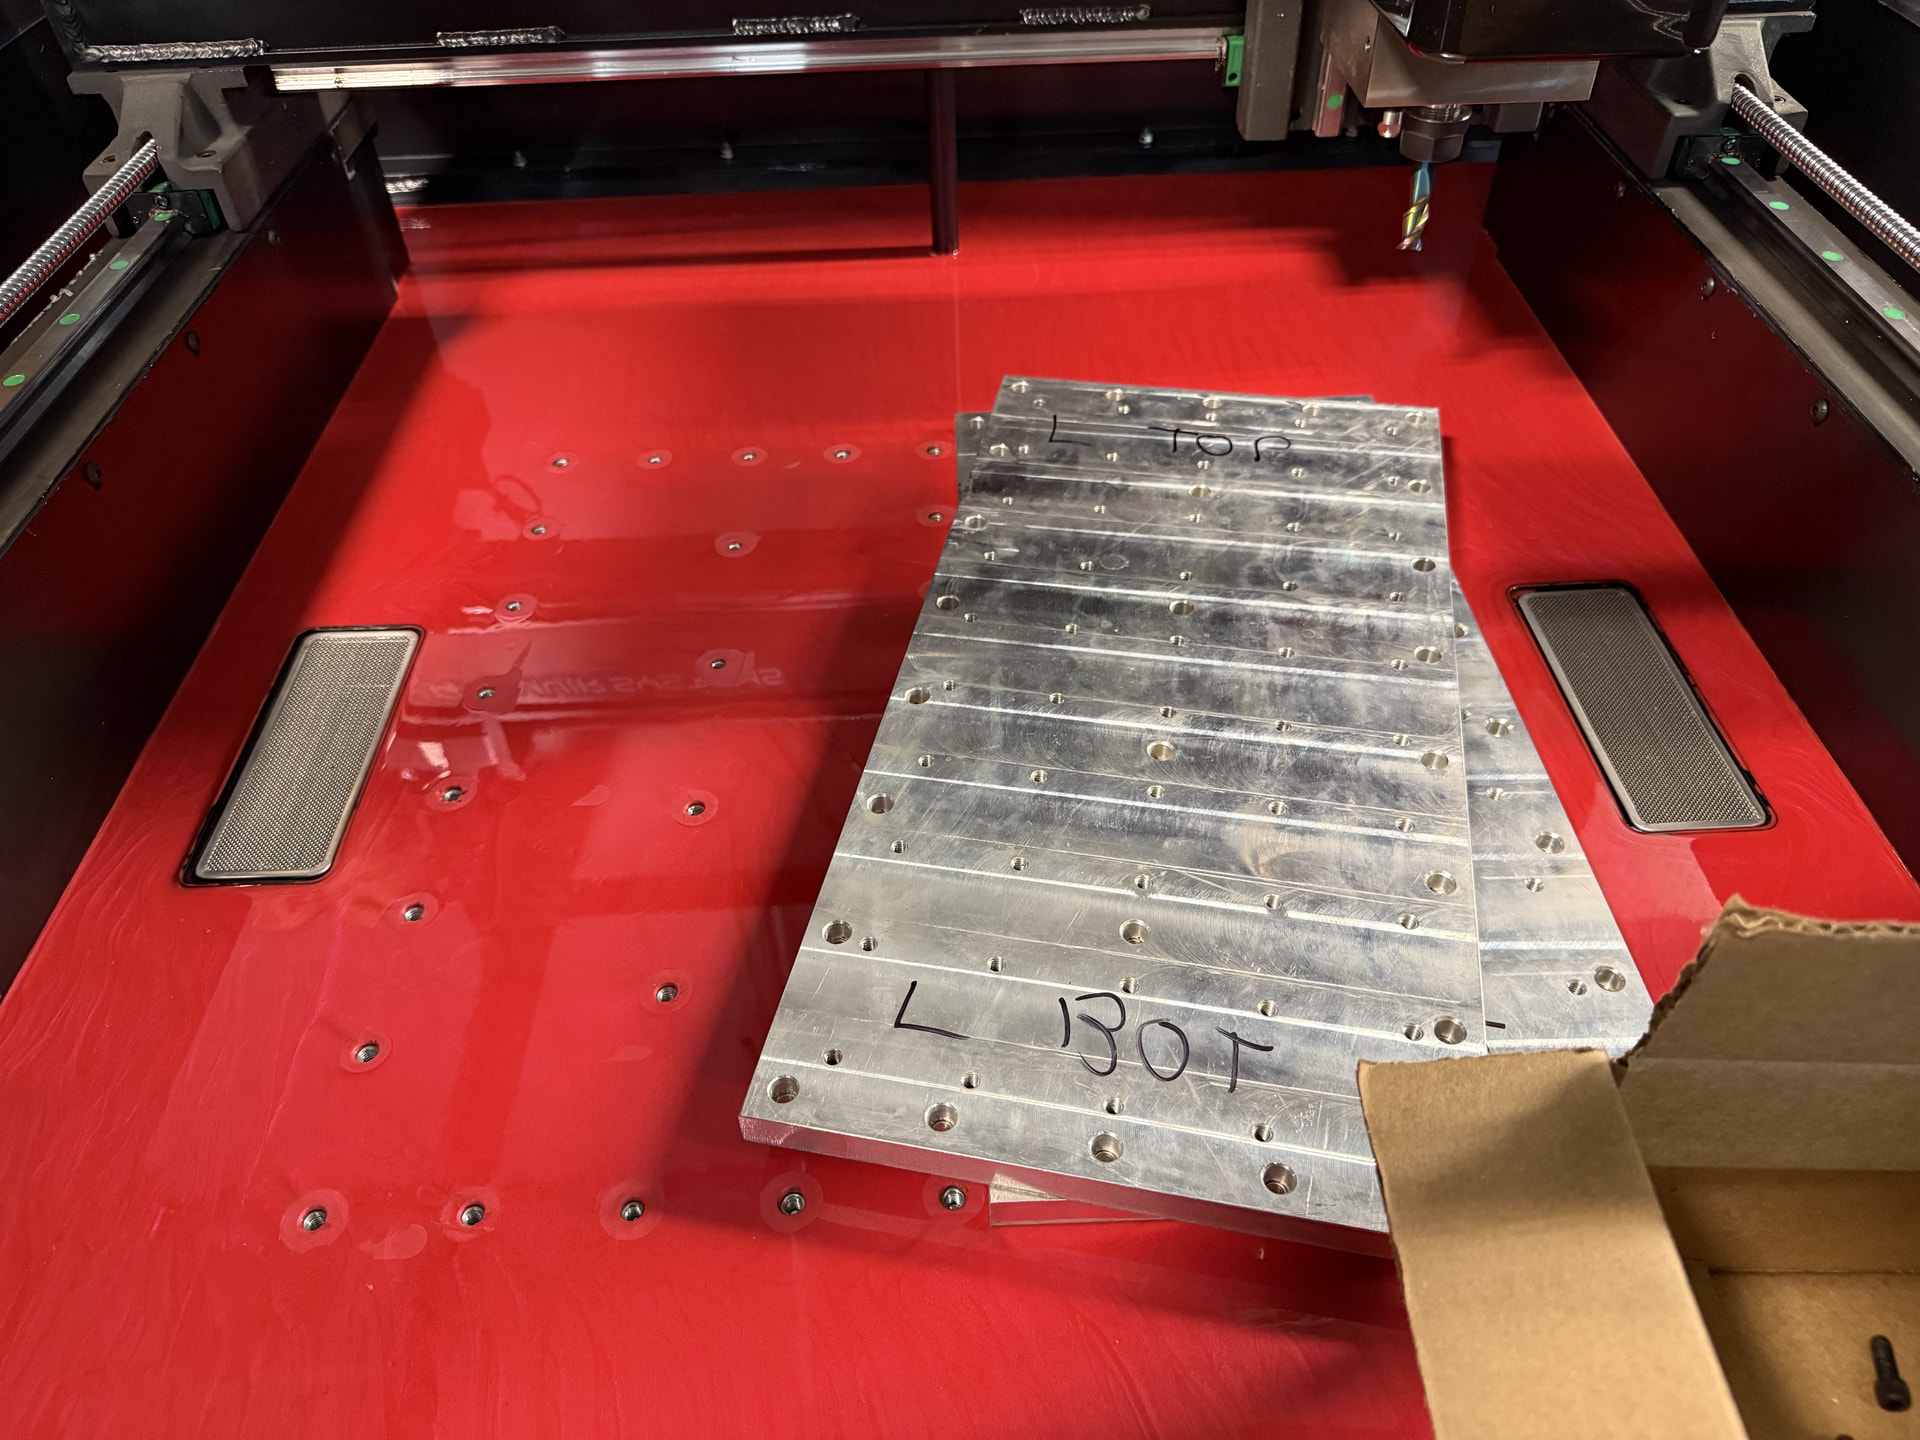
Remove base plates prior to epoxy pour.
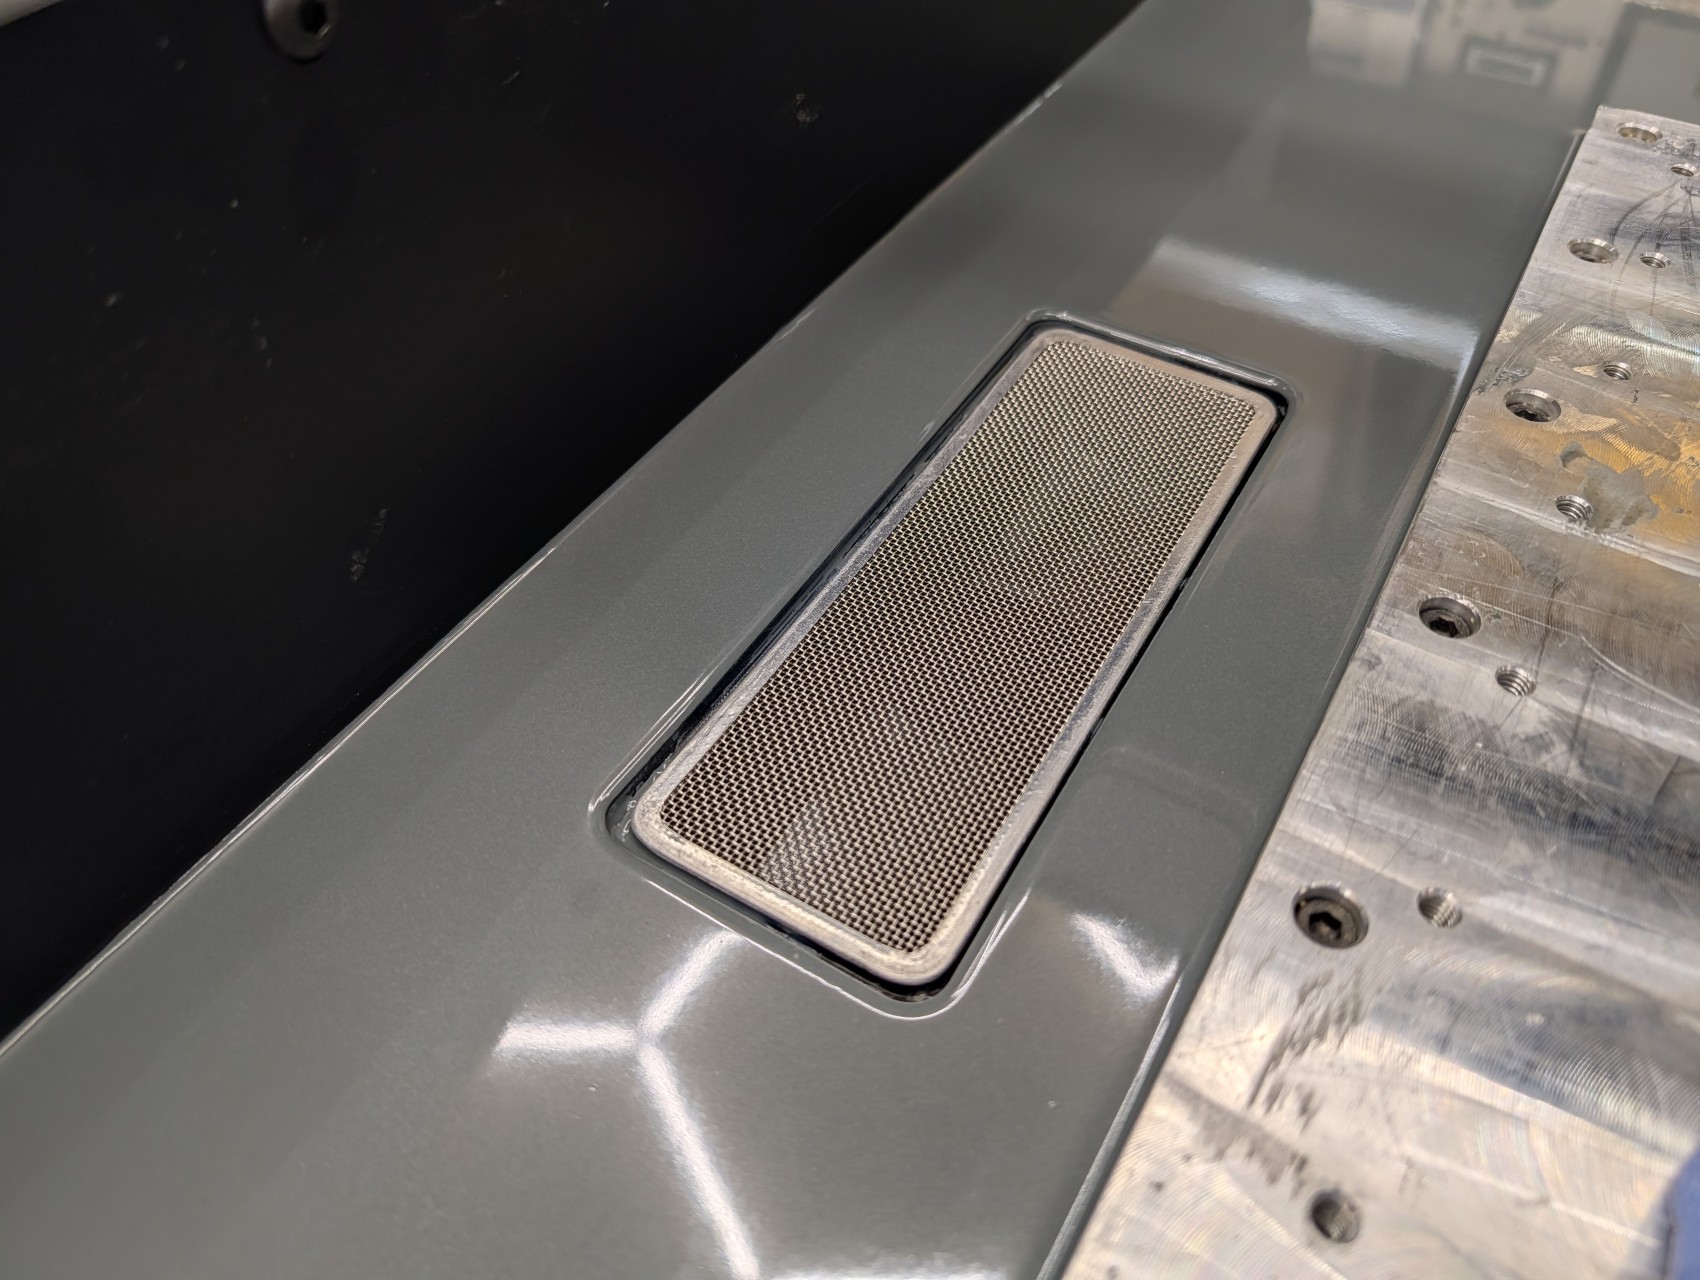
Threaded in 1/4-20 countersunk screws with an o-ring slipped over the threads into every concrete anchor as a plug.
Epoxy pour .
Make sure it’s minimum 65°F in the shop.
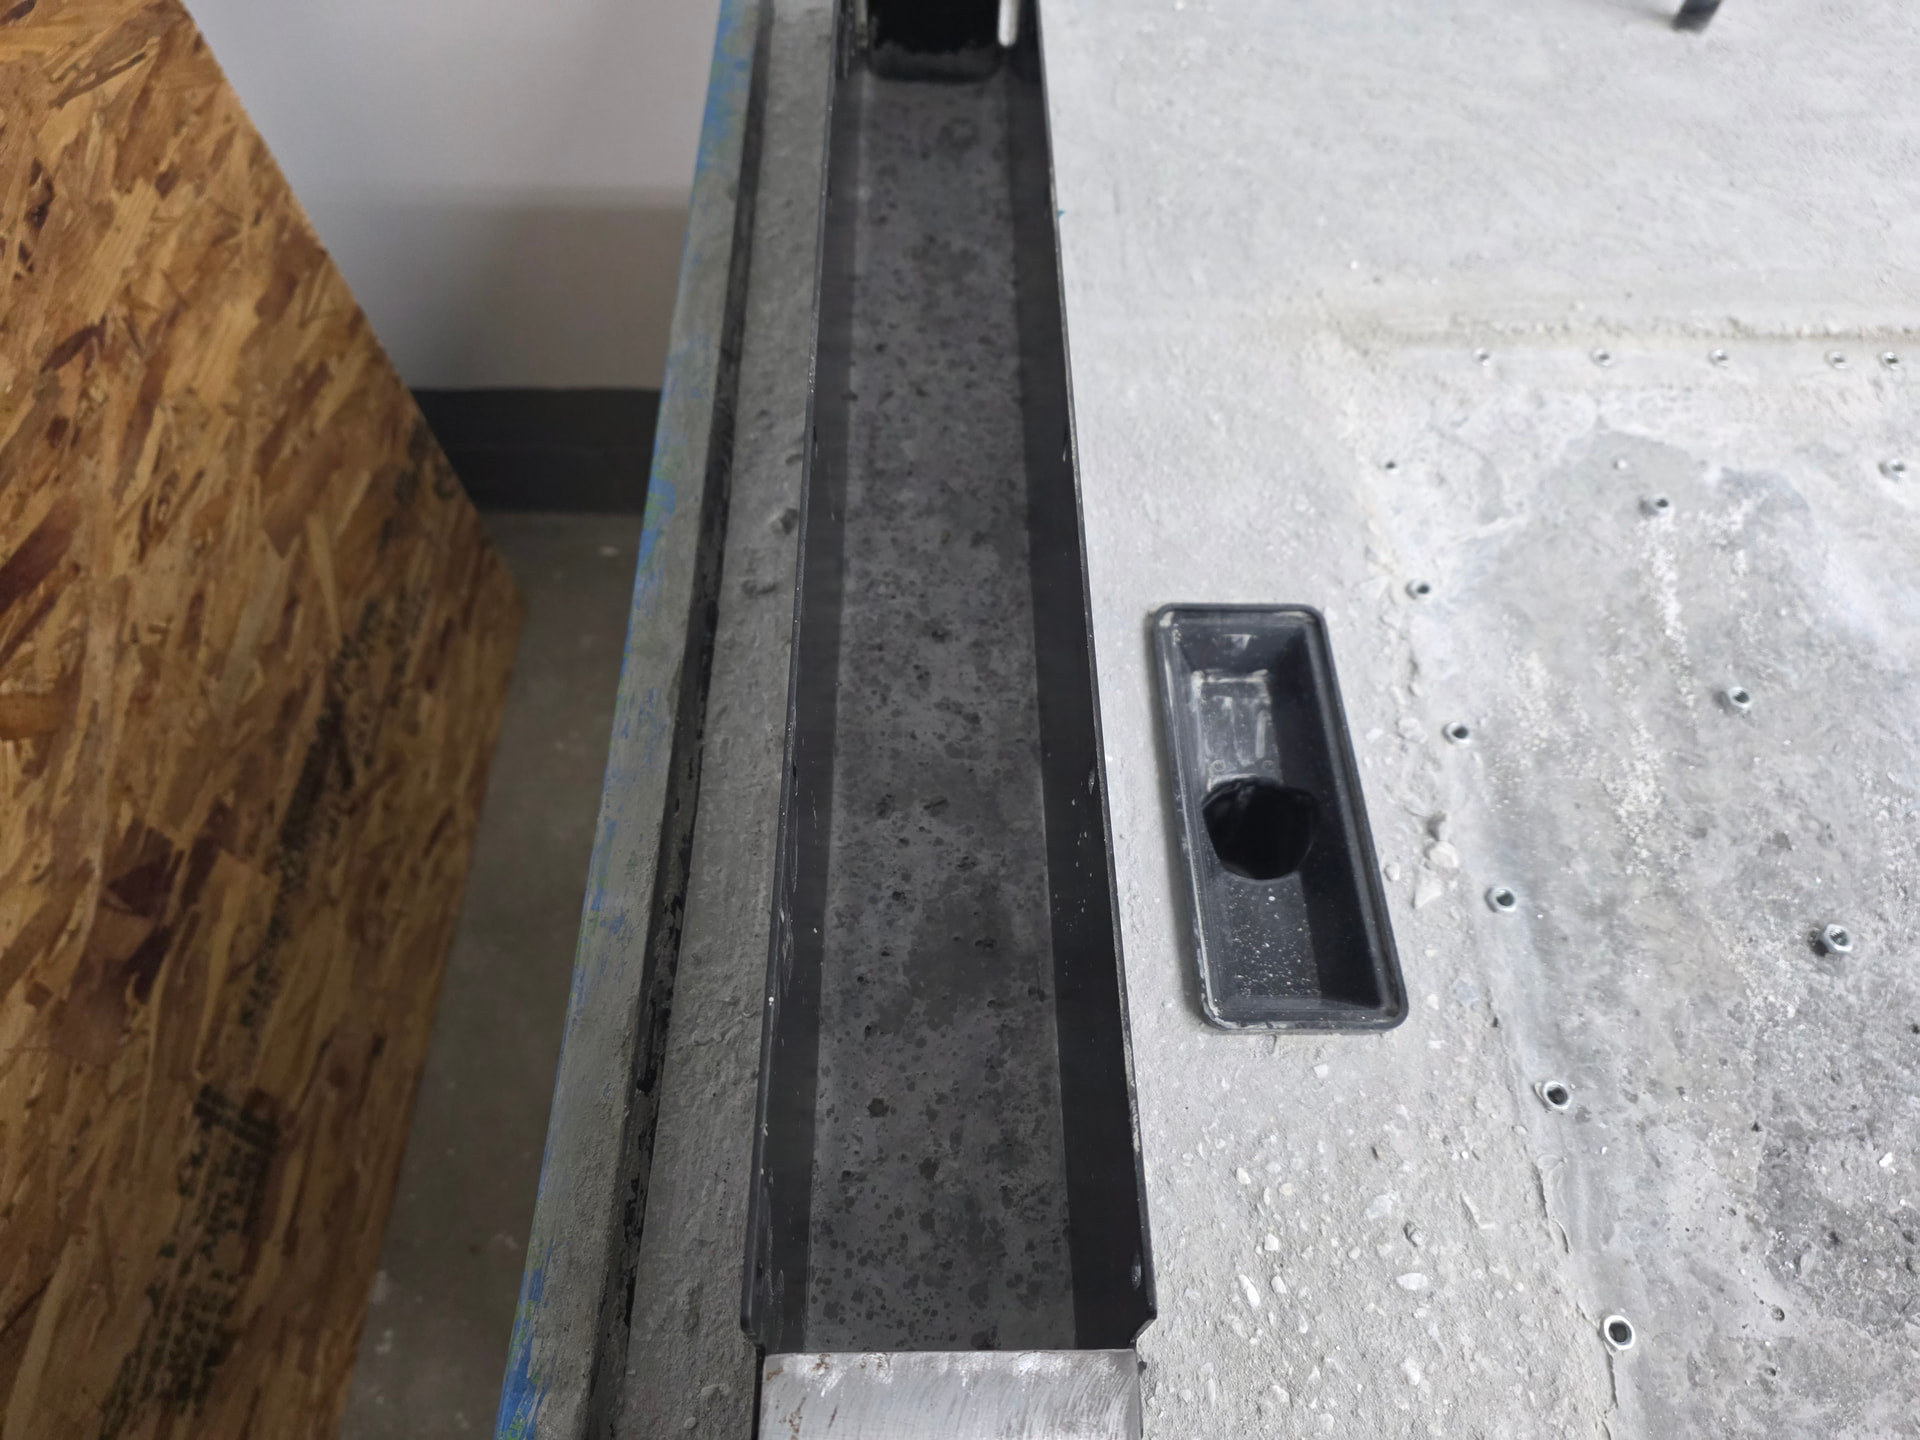
Make sure to get under the y-axis rails too. It will struggle to get under there if the y-axis rail stiffeners are too deep into the concrete.
Try not to make a mess, but after the pour and before it cures, you can use IPA & some elbow grease to clean up whatever mess you make.
Remove bolts after epoxy cures, optionally remove o-rings.
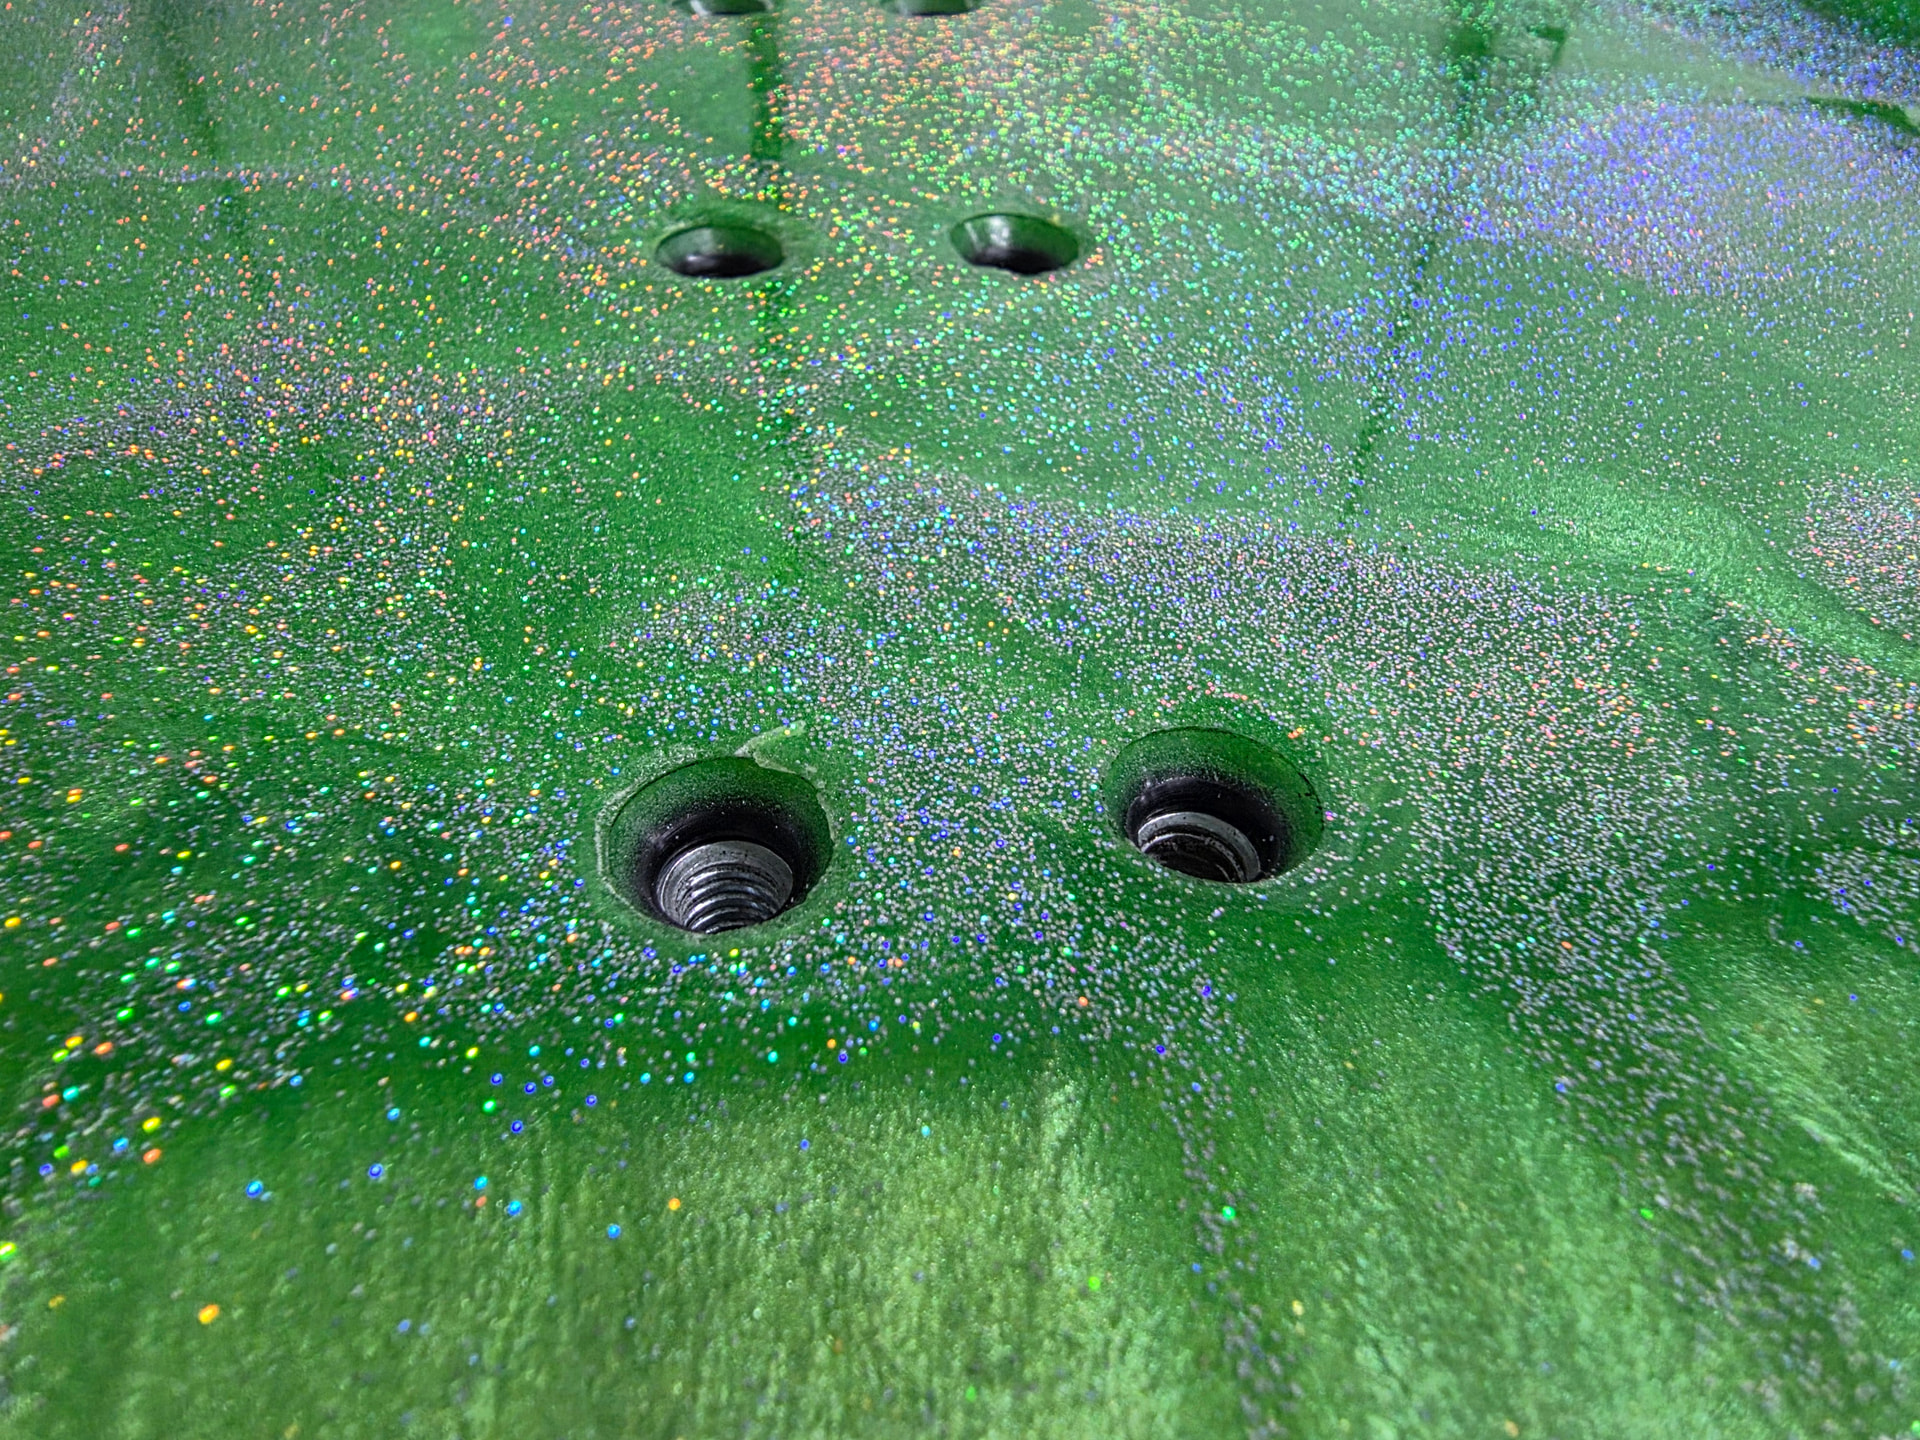
You’ll be left with peaks of epoxy around each bolt hole where it wicks up the bolt.
I manually jogged the machine to each bolt location and milled this excess epoxy away.
Each one will be slightly different in Z since its not flat relative to the machine.
Probably a better way to do it, but just be careful not to ram your endmill into your fresh coat of epoxy.
Mount base plates and smother mounting bolts in Tef-Gel.
Wow amazing! That is a great idea! What o-rings and screws did you use?! Mc master link? Also how did you get epoxy under the y axis rails? I was thinking a syringe or something of the sort, or is there any downside to just popping off the rails while pouring? Also would it make sense to just mill a flat pocket for the baseplate to just fall into instead of just milling off the high spots of wicking? And is that silicone I see between the stiffeners and the rail mounts?
If I could do it over, I’d pop the y-rails off to make it easier to get epoxy in there.
Also I just went to the hardware store. As long as you can thread the countersunk head in enough to gently squish the o-ring, and is not too long that the screw bottoms out beforehand, you should be fine.
The silicone is a bandaid for now because there’s a smidge of concrete exposed under one of my y-rails, but it does keep chips out which is nice. Probably isn’t leak proof and traps a little bit of coolant so I’ll eventually get around to popping the rail off, sanding around the bald spot, and pour a bit of epoxy in there. Then just leave it open or put some mesh or something to keep chips out.
But I’m reluctant to do that because I spent *HOURS* making sure there was no twist or bow in my rails using a Starrett #199 Master Precision Level.
For those interested: If you pickup a used one, it’s super easy to calibrate it with a surface plate. HAAS makes a great video on levelling machines (to eliminate bow and twist). But it won’t help you with checking your twist across both y-rails because we have a gantry mill. So to do that, you can use a cheap 4ft level, lay it across both y-rails at the front, of the machine, and place the Starrett level in the middle, and somehow keep it fixed in place. Then mark the 4ft level with a sharpie so when you move it to the rear, you can keep it in the same spot left and right. It doesn’t need to be level, the (Starrett) bubble location just needs to match the front.
Doing that, my tram is dead nuts doesn’t move at all no matter where I jog my spindle to it stays dead on. Which is contrary to what ALOT of people seem to experience during fly cutting.
That level on level approach is good for getting it really dialed in. A good straight edge or something that you’ve checked against a reference surface (like a granite surface plate) would be even better than using a cheaper level – since there is no guarantee that those are straight.
For coarse adjustment before that step I found it useful to use a laser level. If you set it up in the same plane as the Y rails you can see it just kiss the top of the rail everywhere and it’s obvious if it’s out by even a small amount.
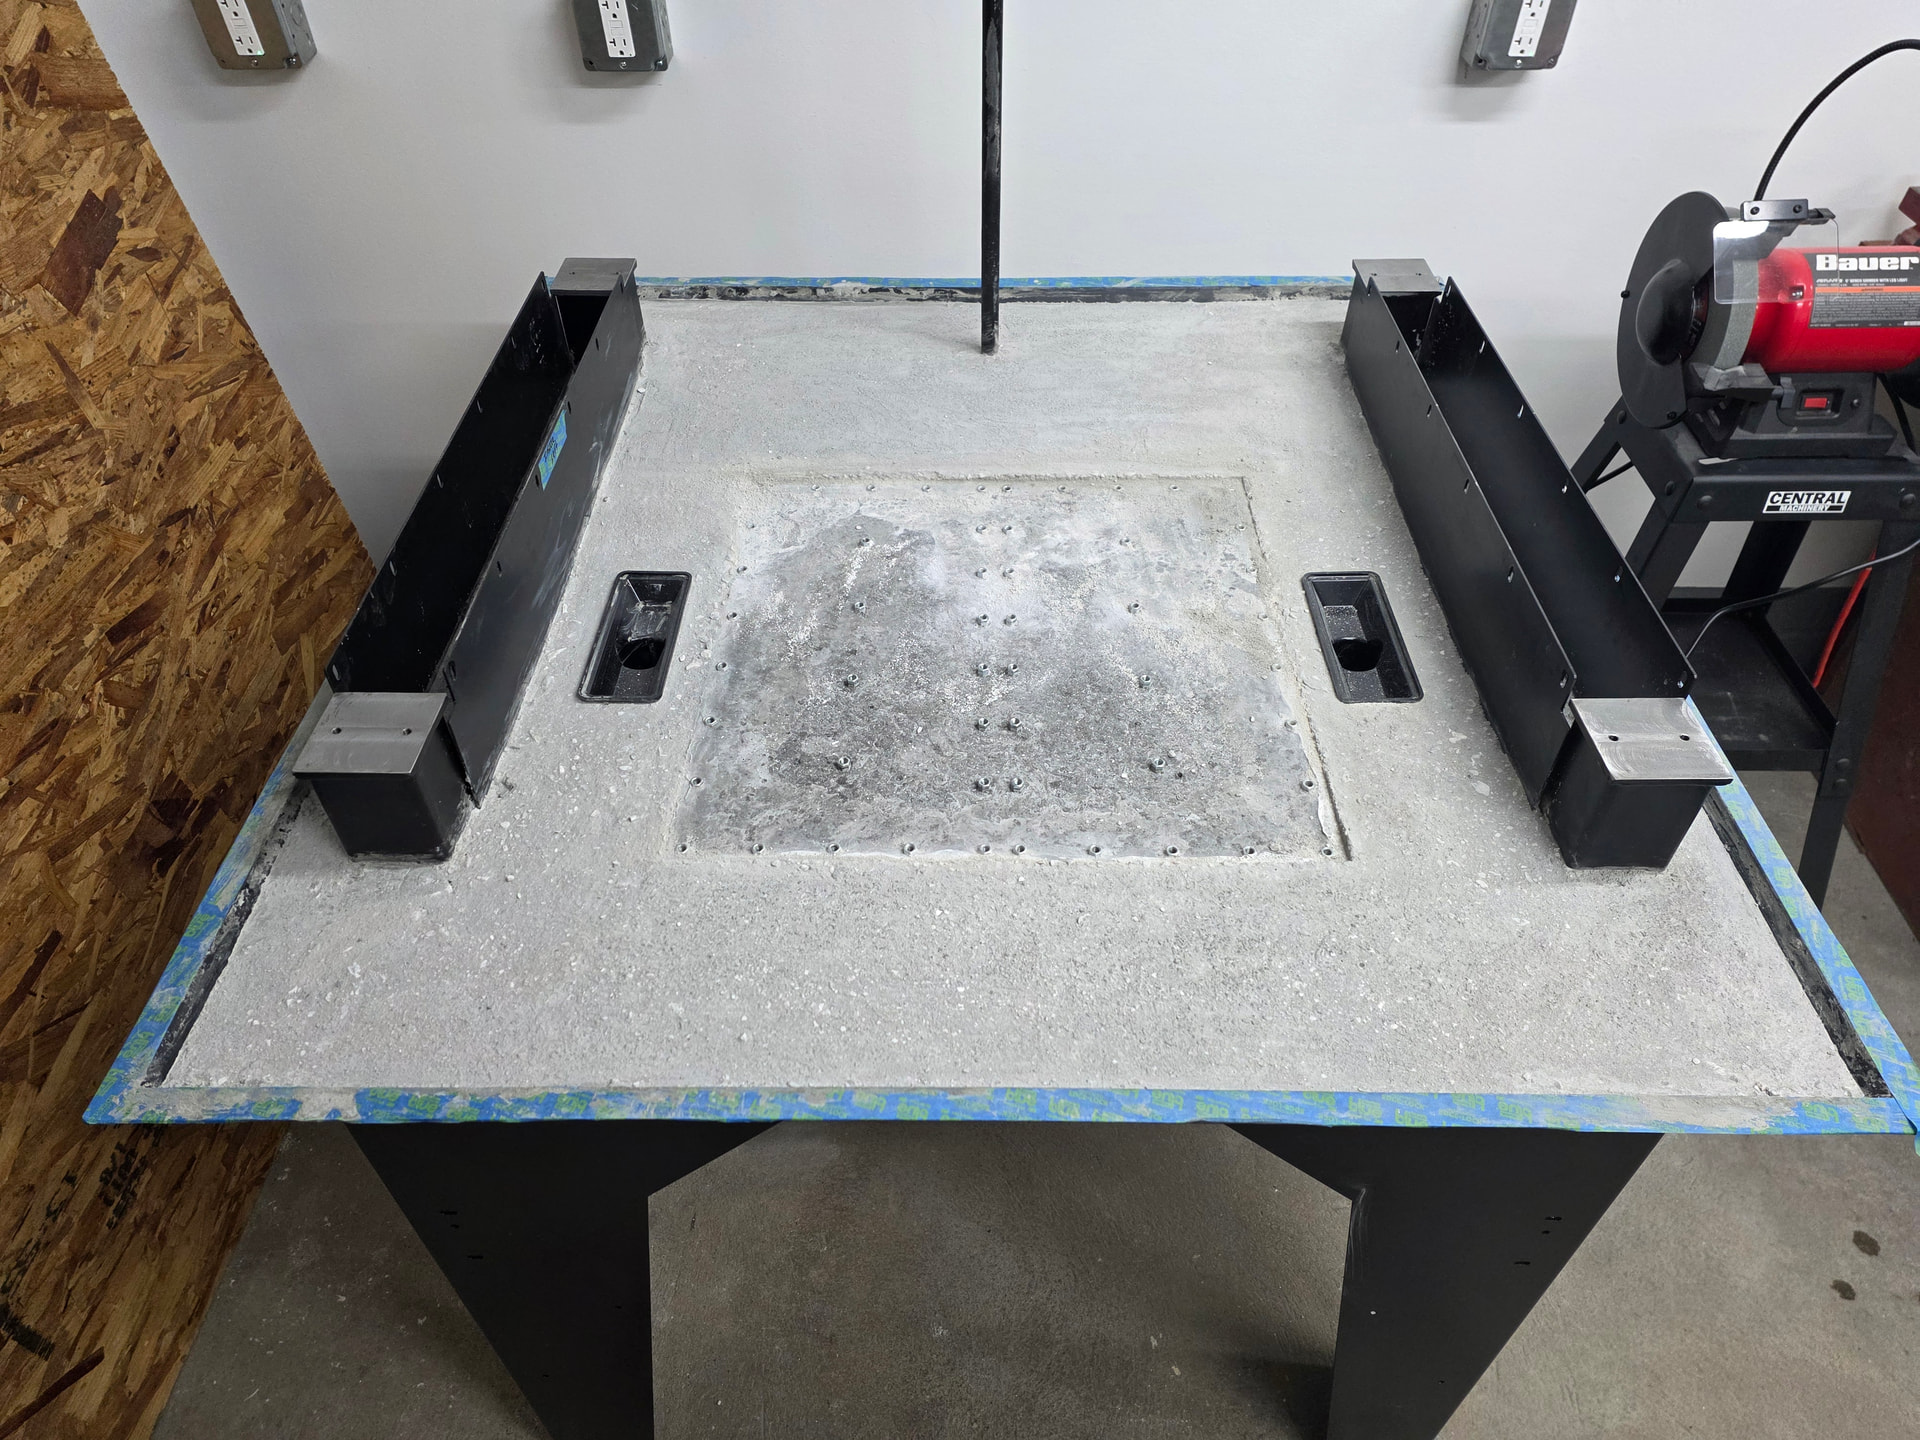
I actually drilled 3 big holes into the outer backing plates to allow epoxy to be poured inside. Worked out beautifully! I should be fully sealed everywhere.
Super super glad you talked me into taking the rails and the baseplate off for epoxy! Will get screws and orings this week and probably pour epoxy this weekend! I took the baseplate off and definitely looks like some form of corrosion happening! Also the gap between the baseplate and the concrete probably would of made my parts sing!
Also found a few minor surface cracks in the concrete under the baseplate so glad I will be sealing it up with epoxy! Picked up an extra gallon from amazon just incase! Surprisingly amazon had the exact stuff for cheaper!
Ill get some peace in mind having every nook and cranny sealed with a nice thick layer of epoxy!
Thank you again for all the pointers everyone! Much appreciated! Glad we’ve got a good community here!
One more thing, I know ive been asking 21 questions but I want to build my machine like the masters here! Would you happen to have a picture of your screws and o rings you used? Just so I get the dimensions right! Yours came out perfect so I want to copy best I can!
Can’t wait to see how it turns out. Hopefully everything goes well. One last thing I forgot to mention, doing the epoxy this way, I’d strongly suggest getting extra epoxy just in case since more will need to go down and you want to make sure you have enough to get up to the drains. And amazon’s return policy is great so there’s really no reason not to.
Could be wrong but if I’m not mistaken, I used 1/4-20 X 3/8” Long Black Oxide Flat Head Screws from Ace Hardware. For the o-ring, if the ID is reasonably smaller than the thread major diameter, and it’s roughly .062” thick, it’s probably what I used. You could probably go to Ace and just test fit some and then order the size you need on Amazon since it’d be cheaper.
Thanks soo much for all the information and help! I ordered o rings and flat countersunk screws poured my epoxy came out pretty awesome! Concrete was pretty low so I used almost 2 gallons of epoxy glad I got that extra!
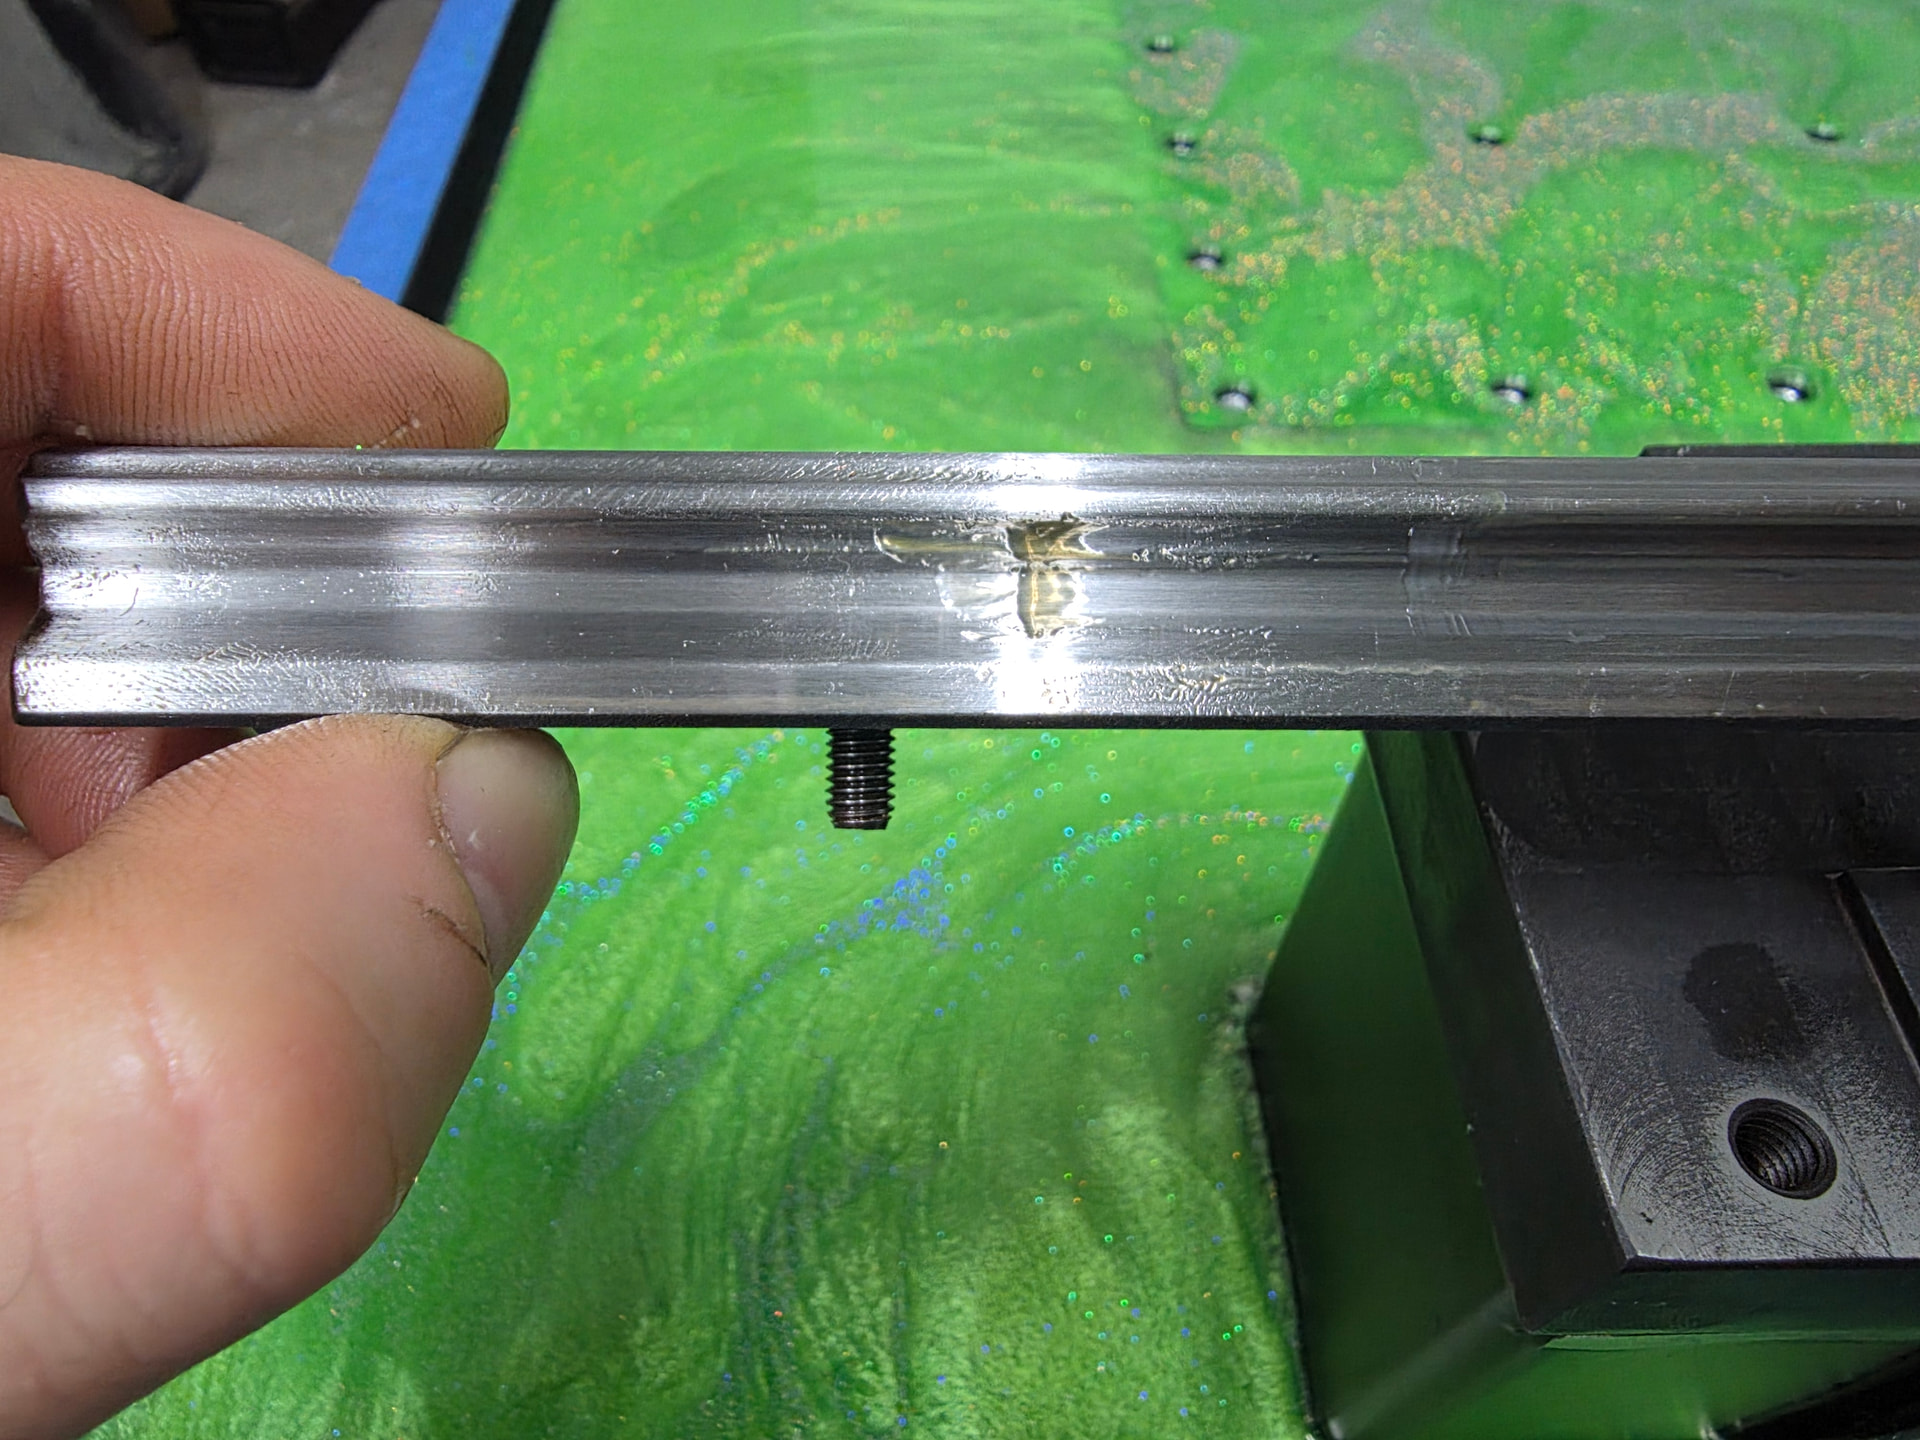
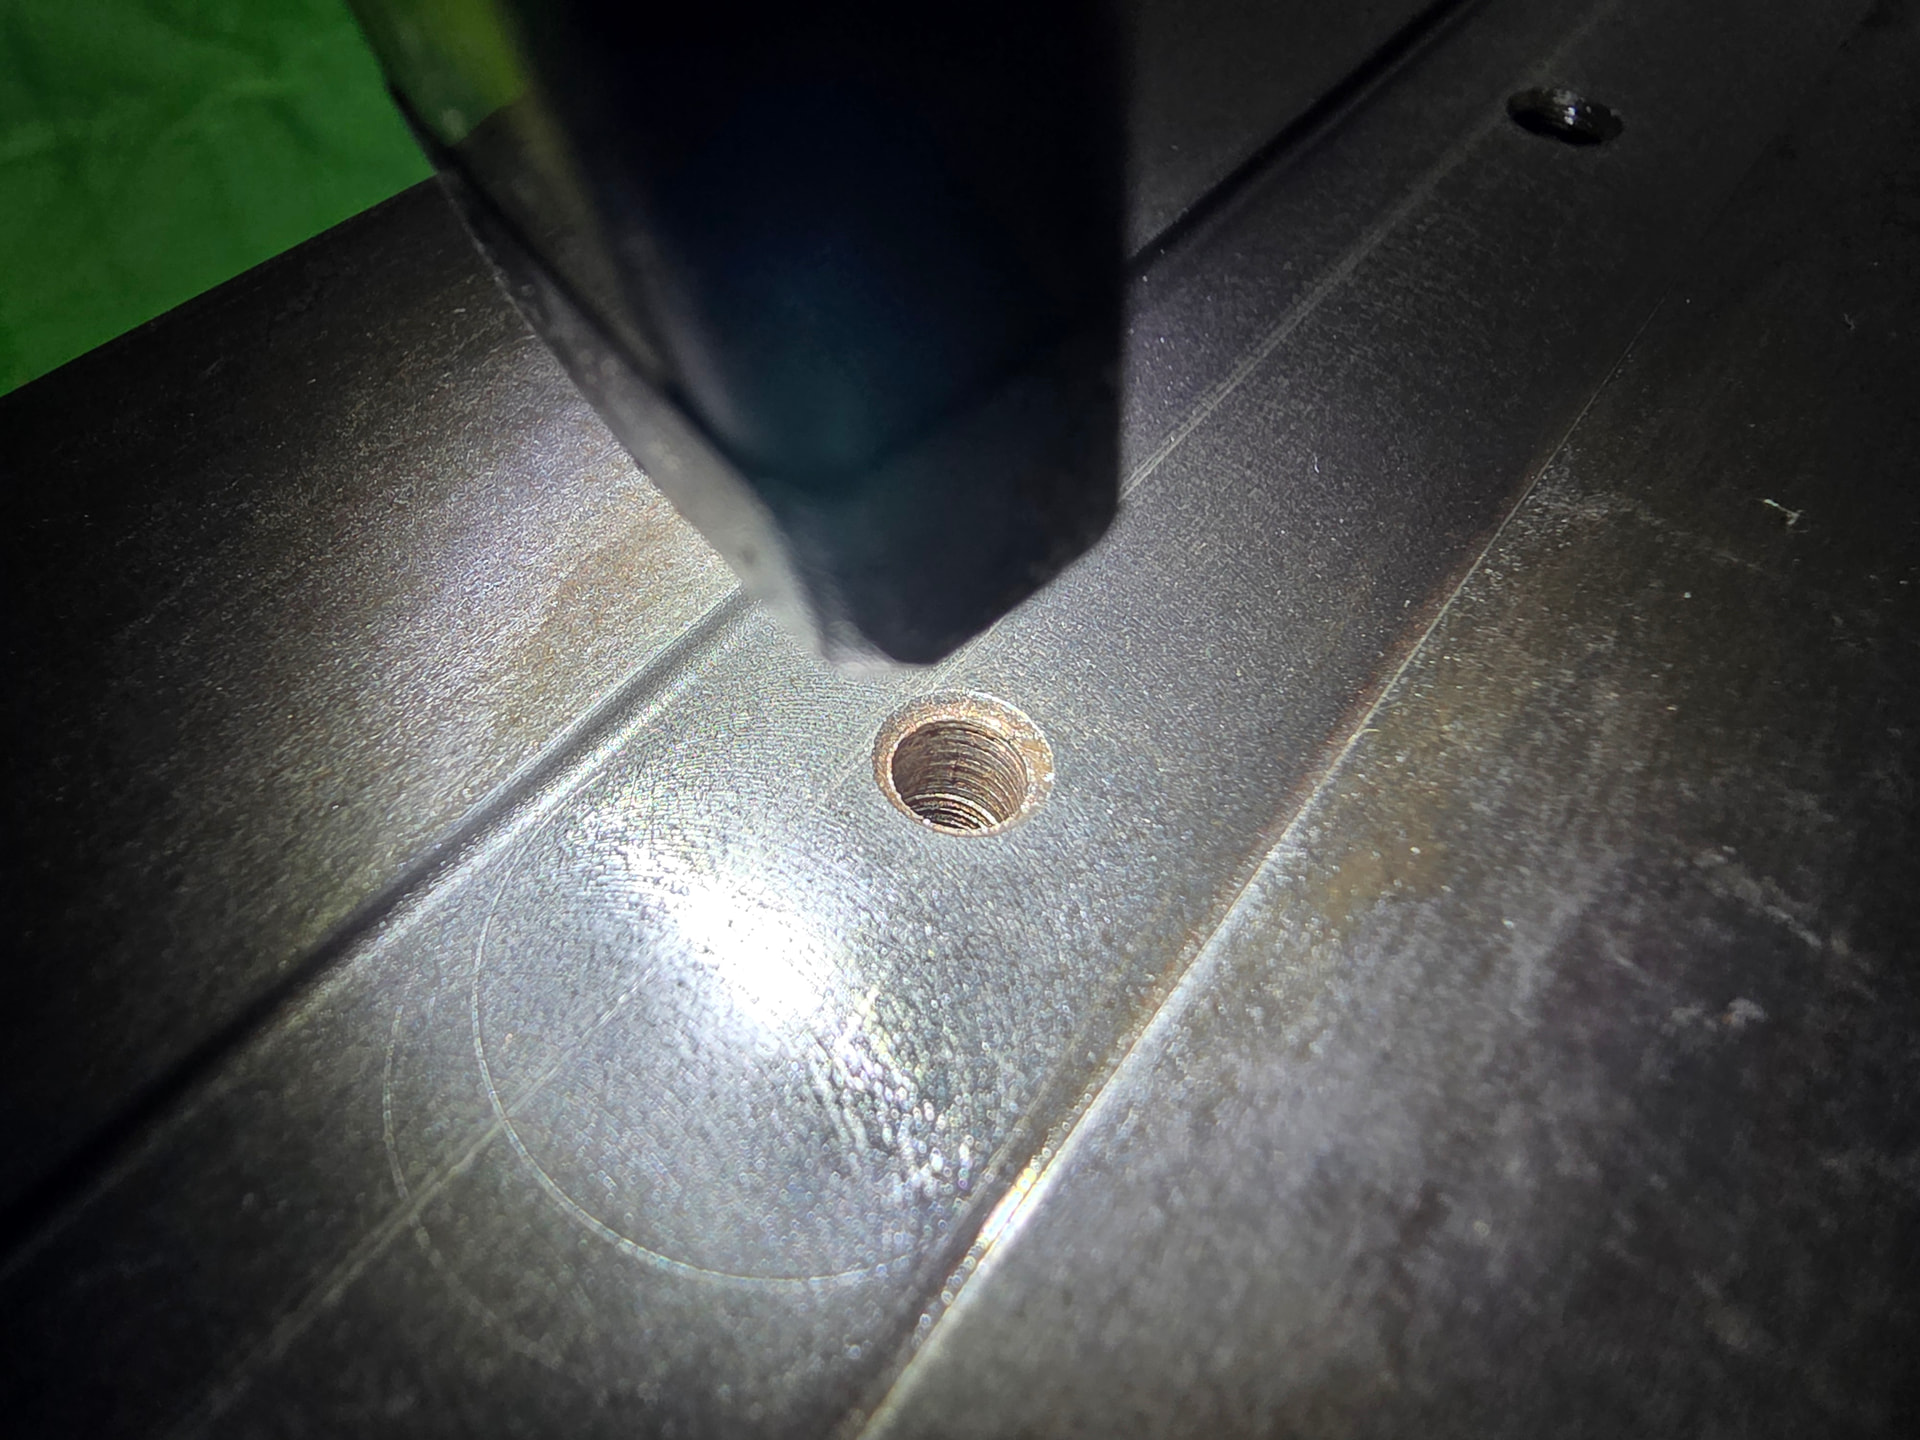
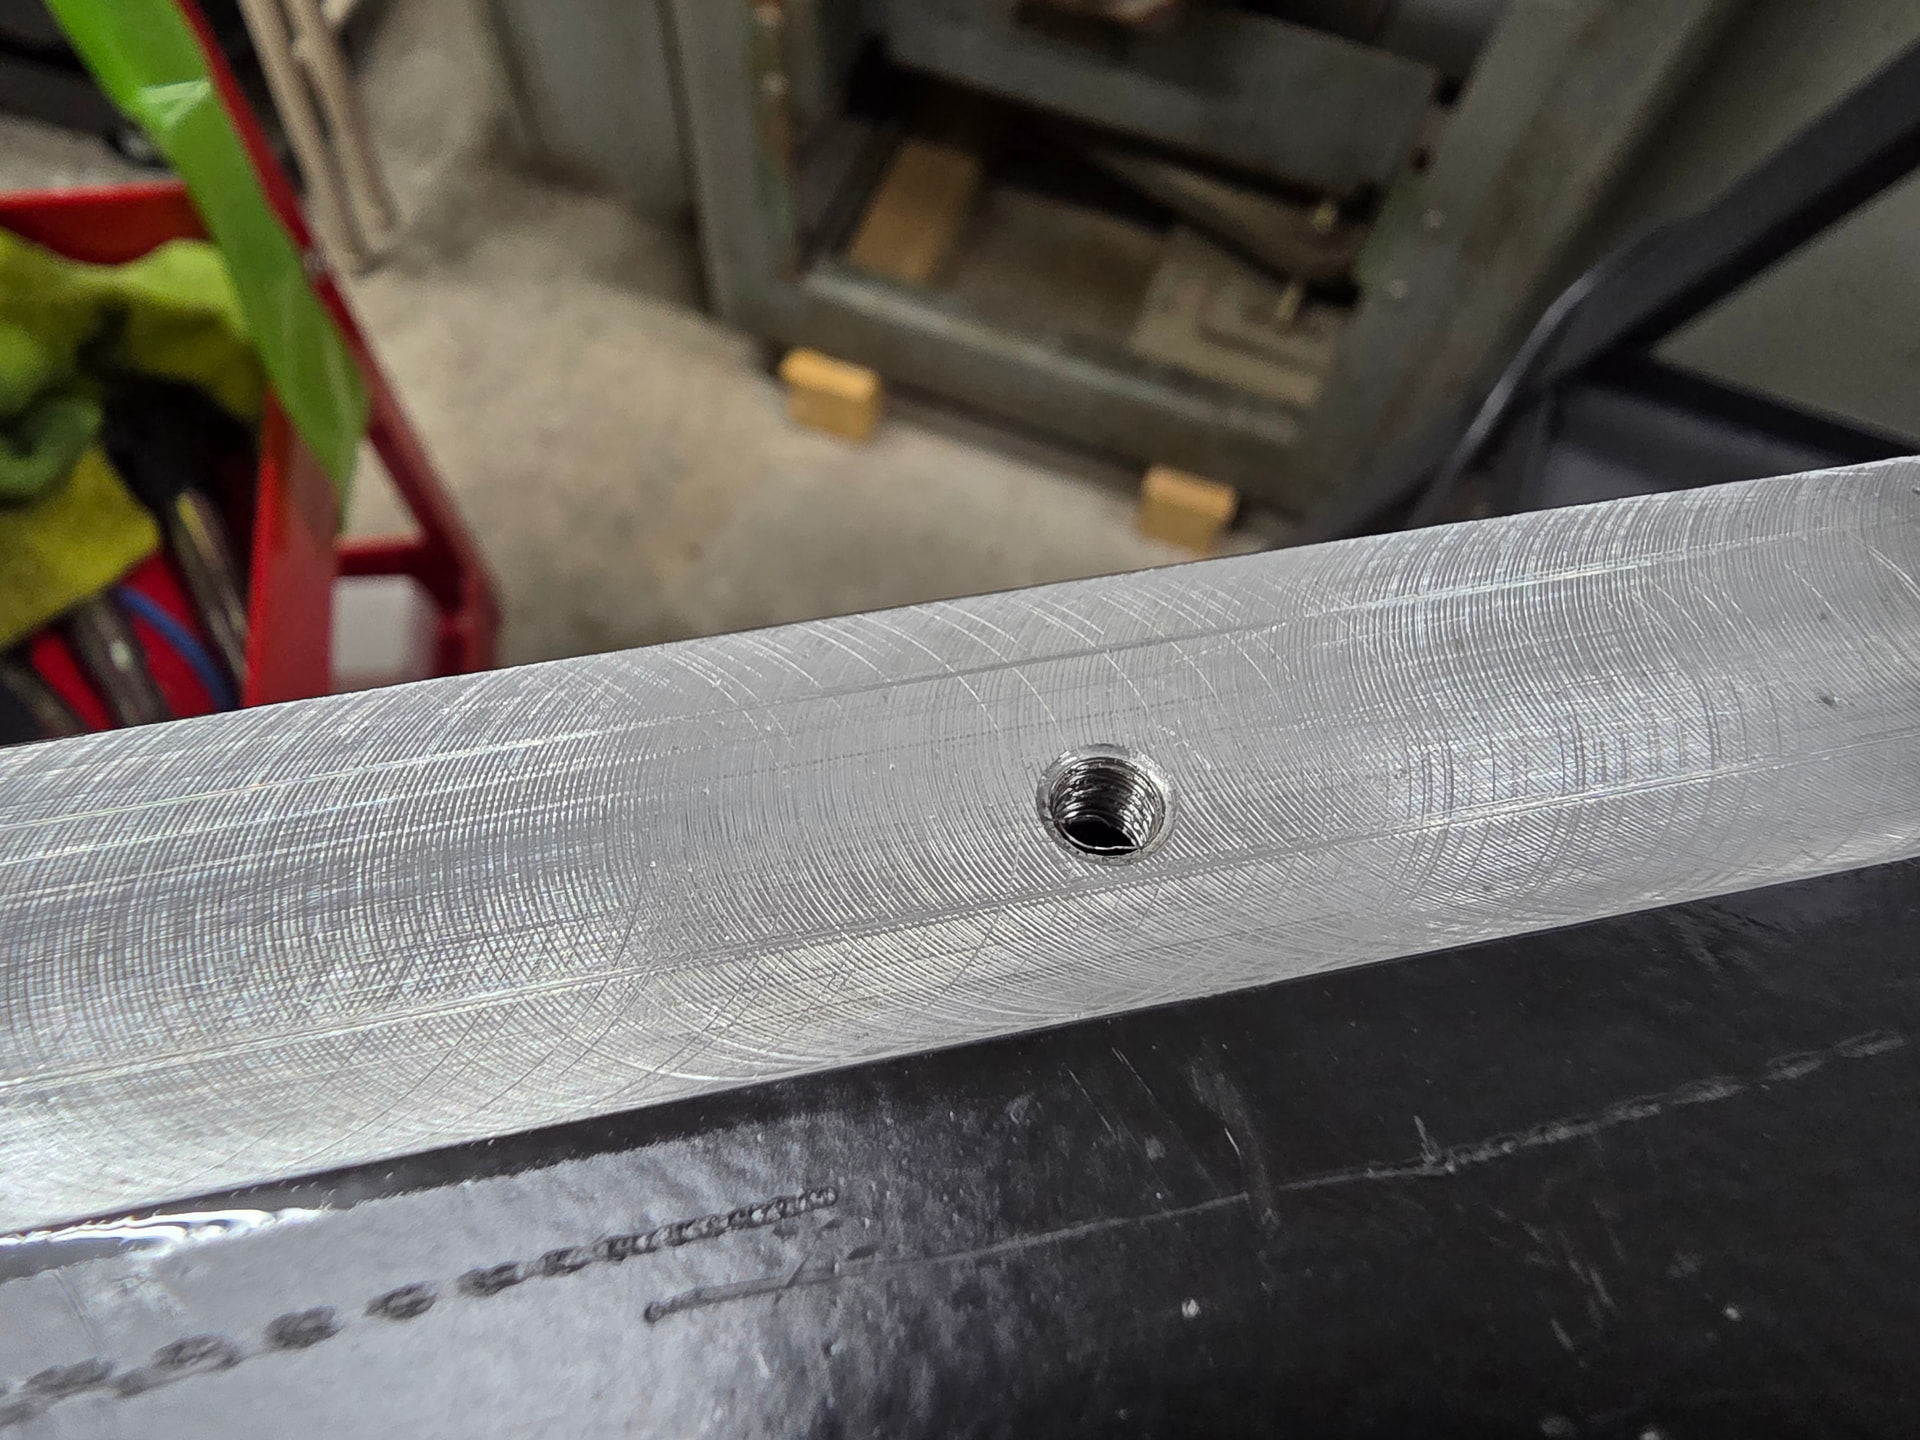
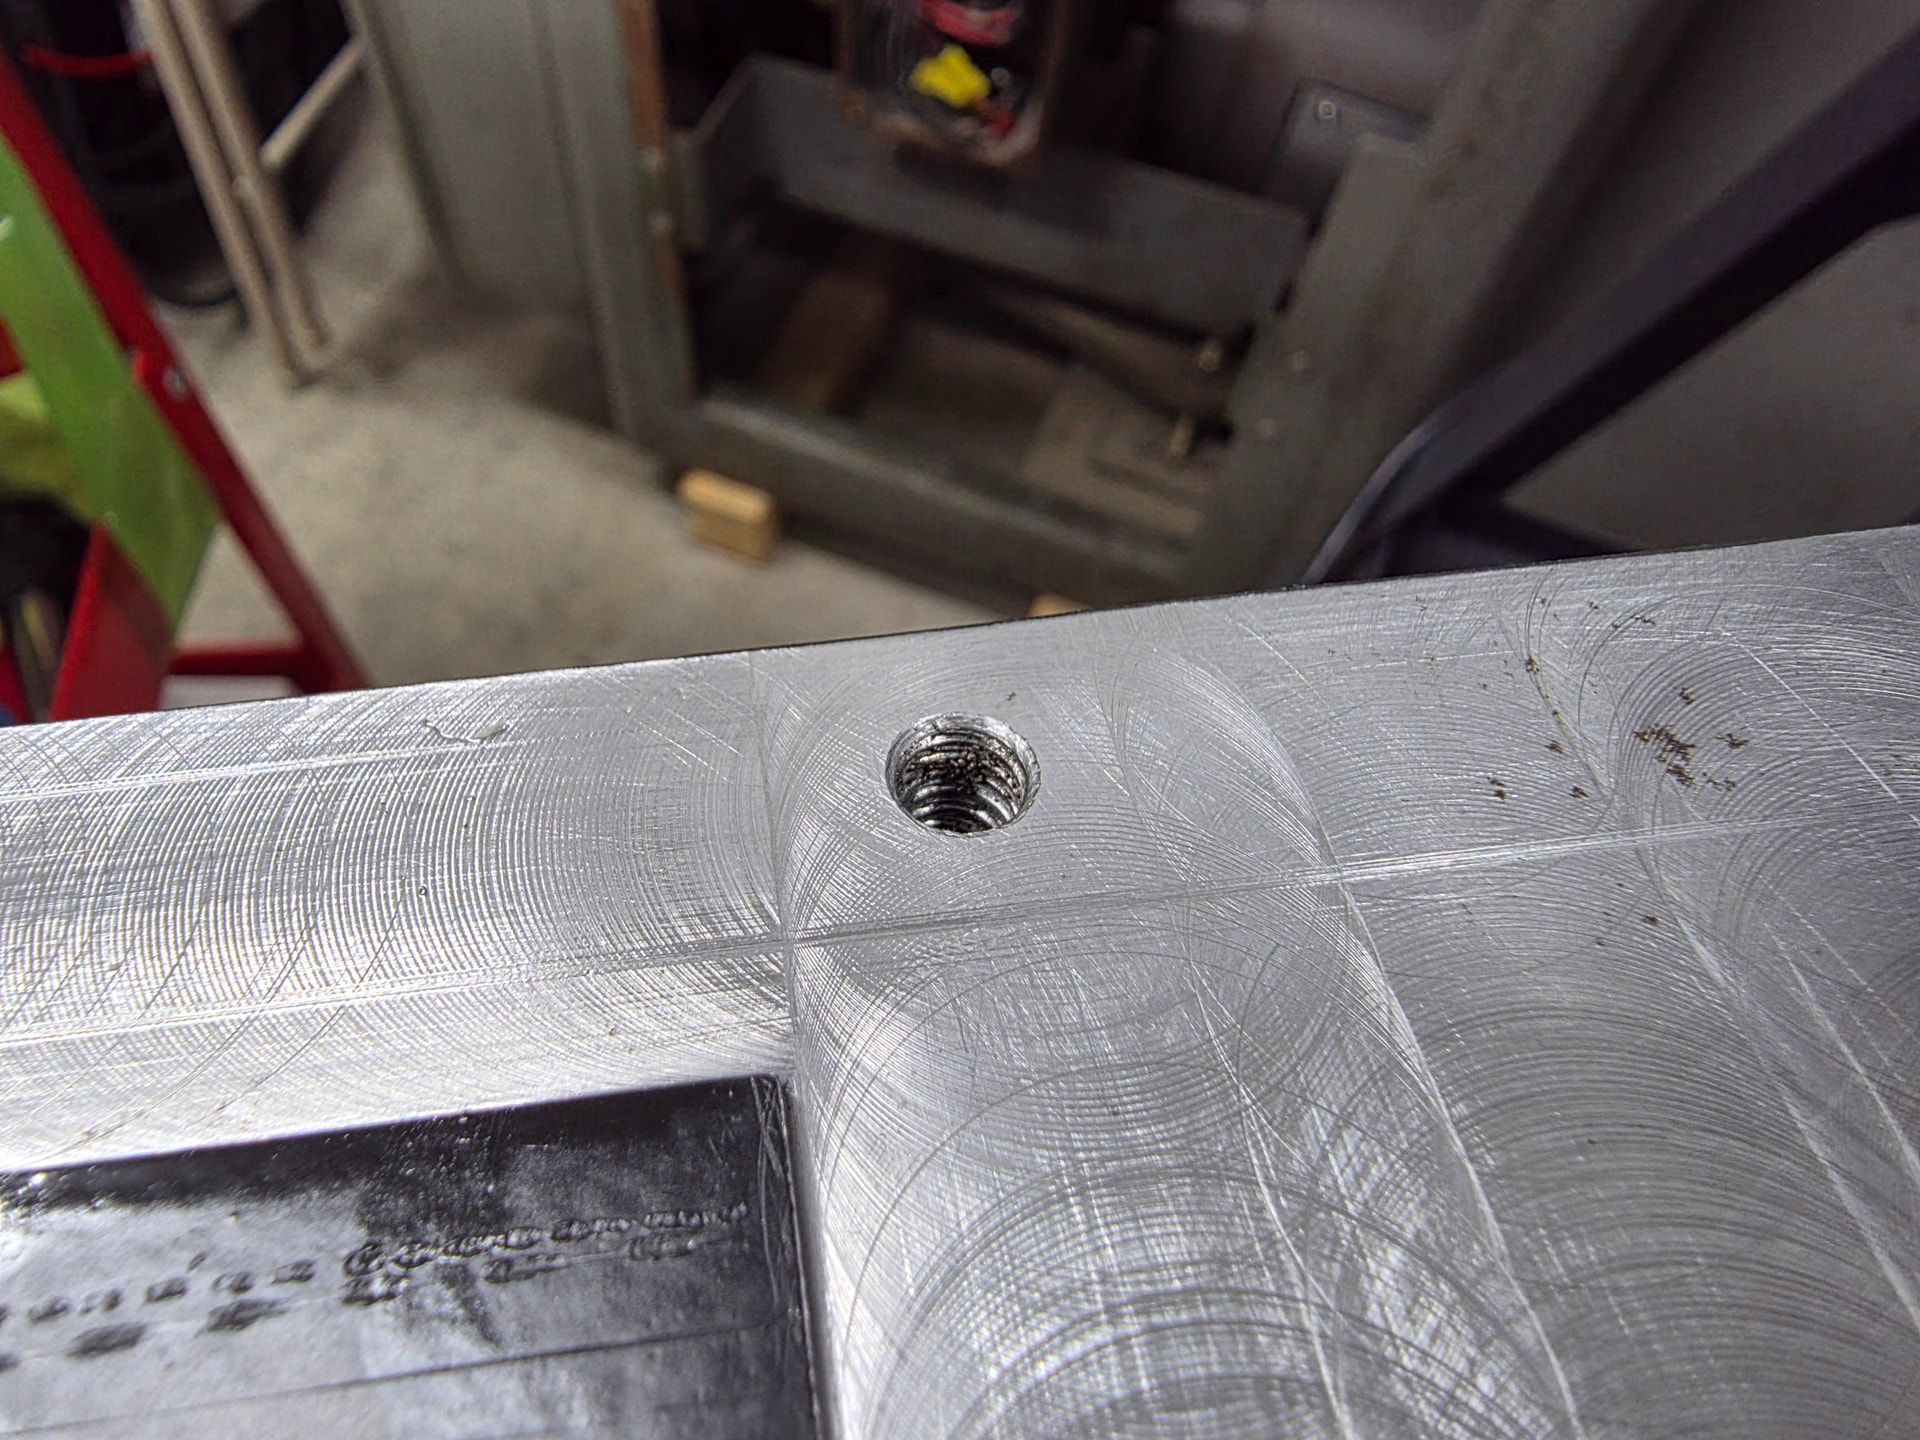
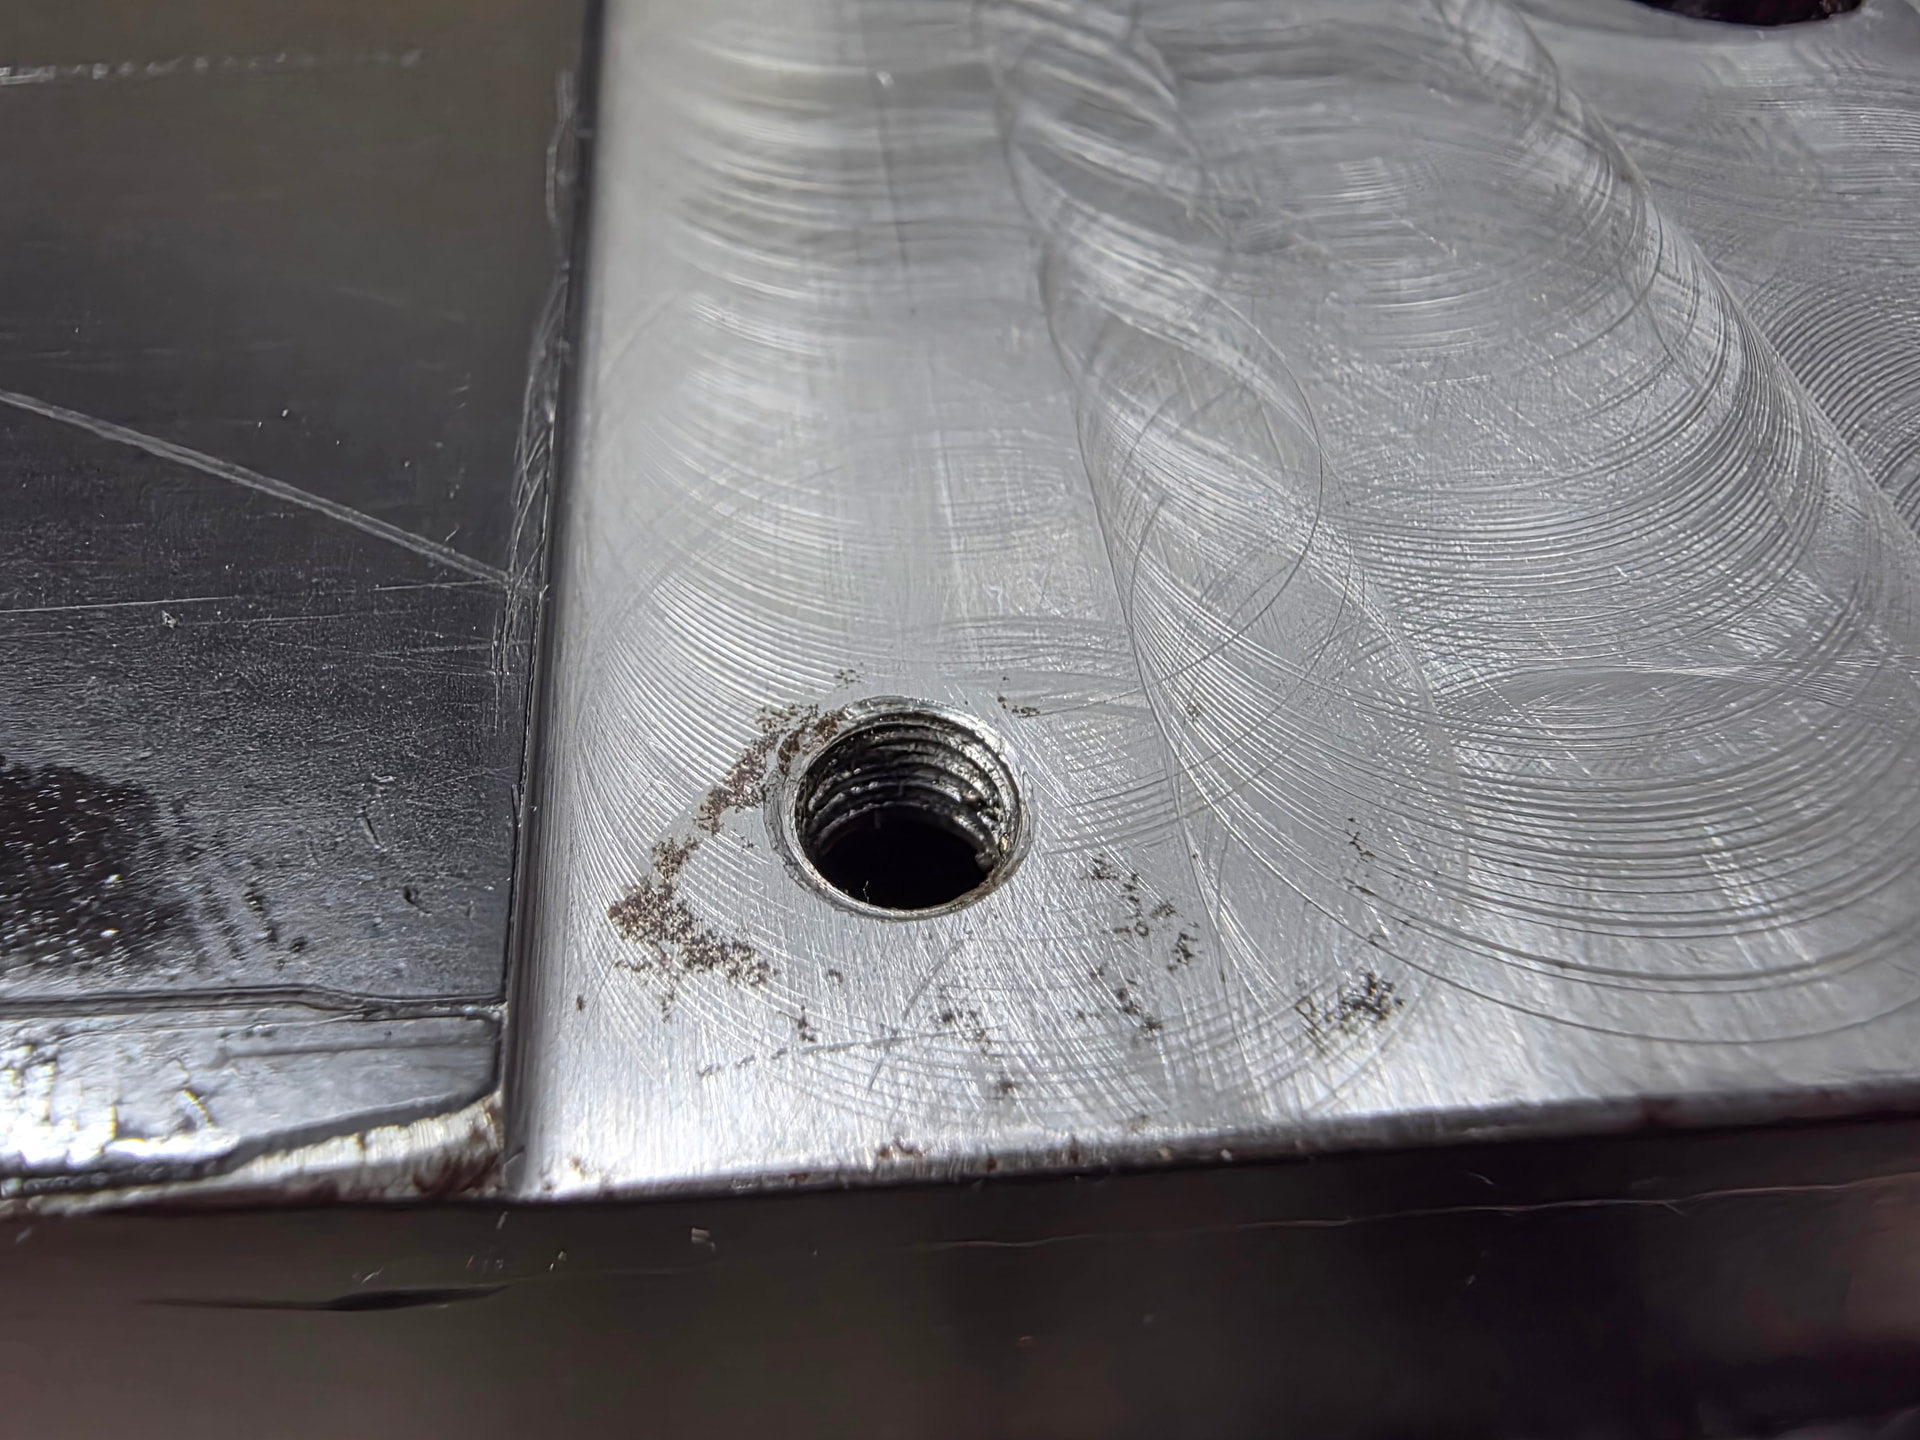
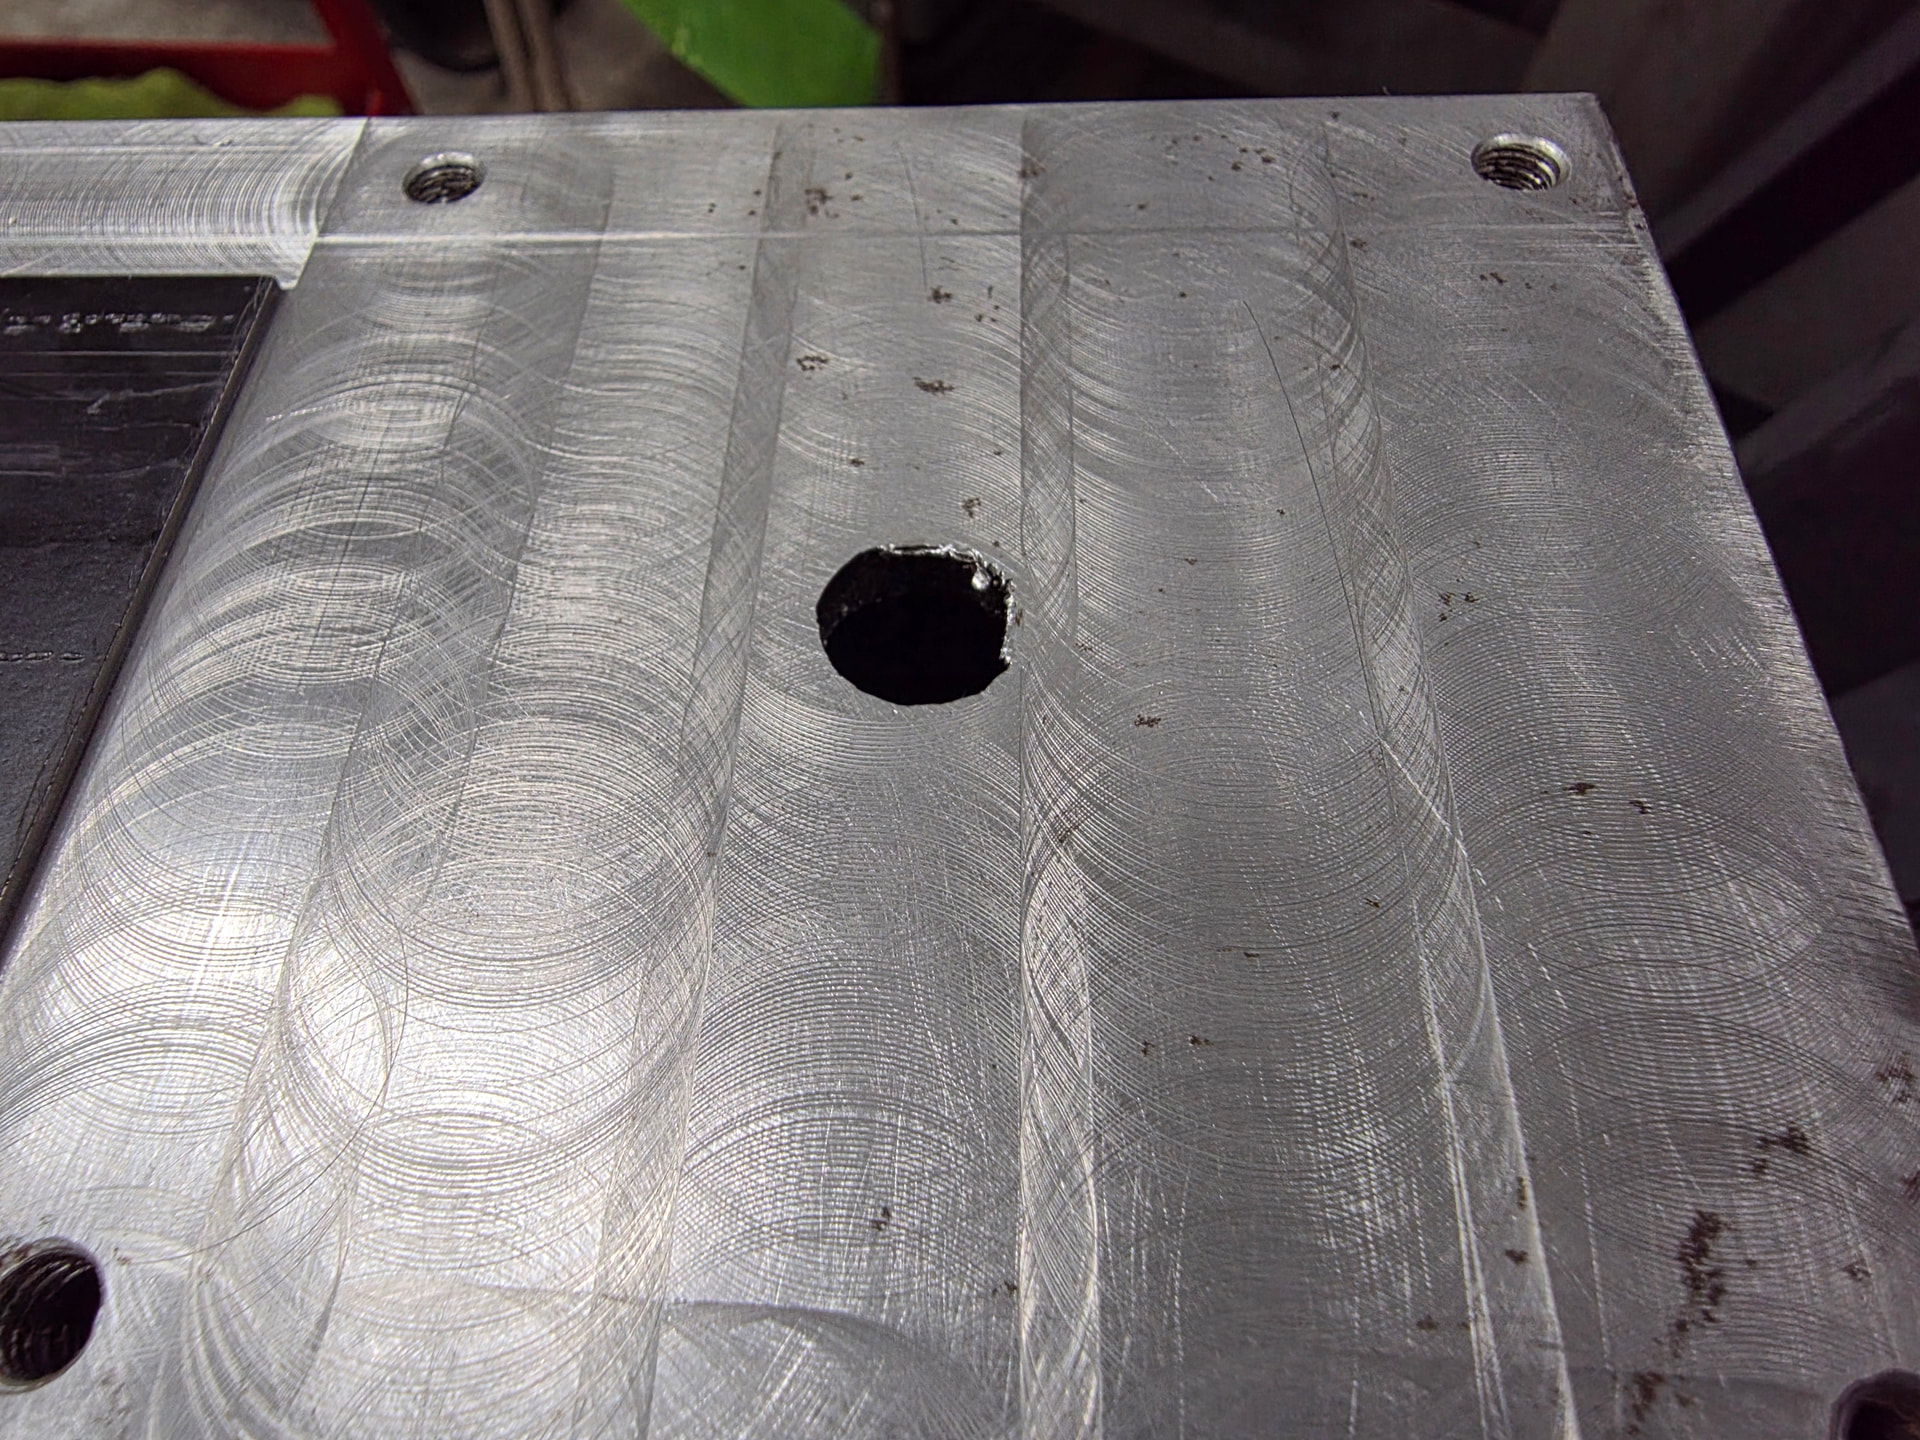
Was putting on my linear rails and obviously nothing can go smoothly, the screws that hold on the linear rail to the Y-axis frame only engage about 4 or 5 threads. And Im not sure if the hole was oversized before they tapped the plate and long story short.. Stripped one of the threads.. Why I think the hole was big because there were no chips that came out of the hole usually when you pull threads they come off as little strings or atleast dust.
Good news is the rest of the hole still has threads got longer screws comming tommrow and just incase a helicoil kit!
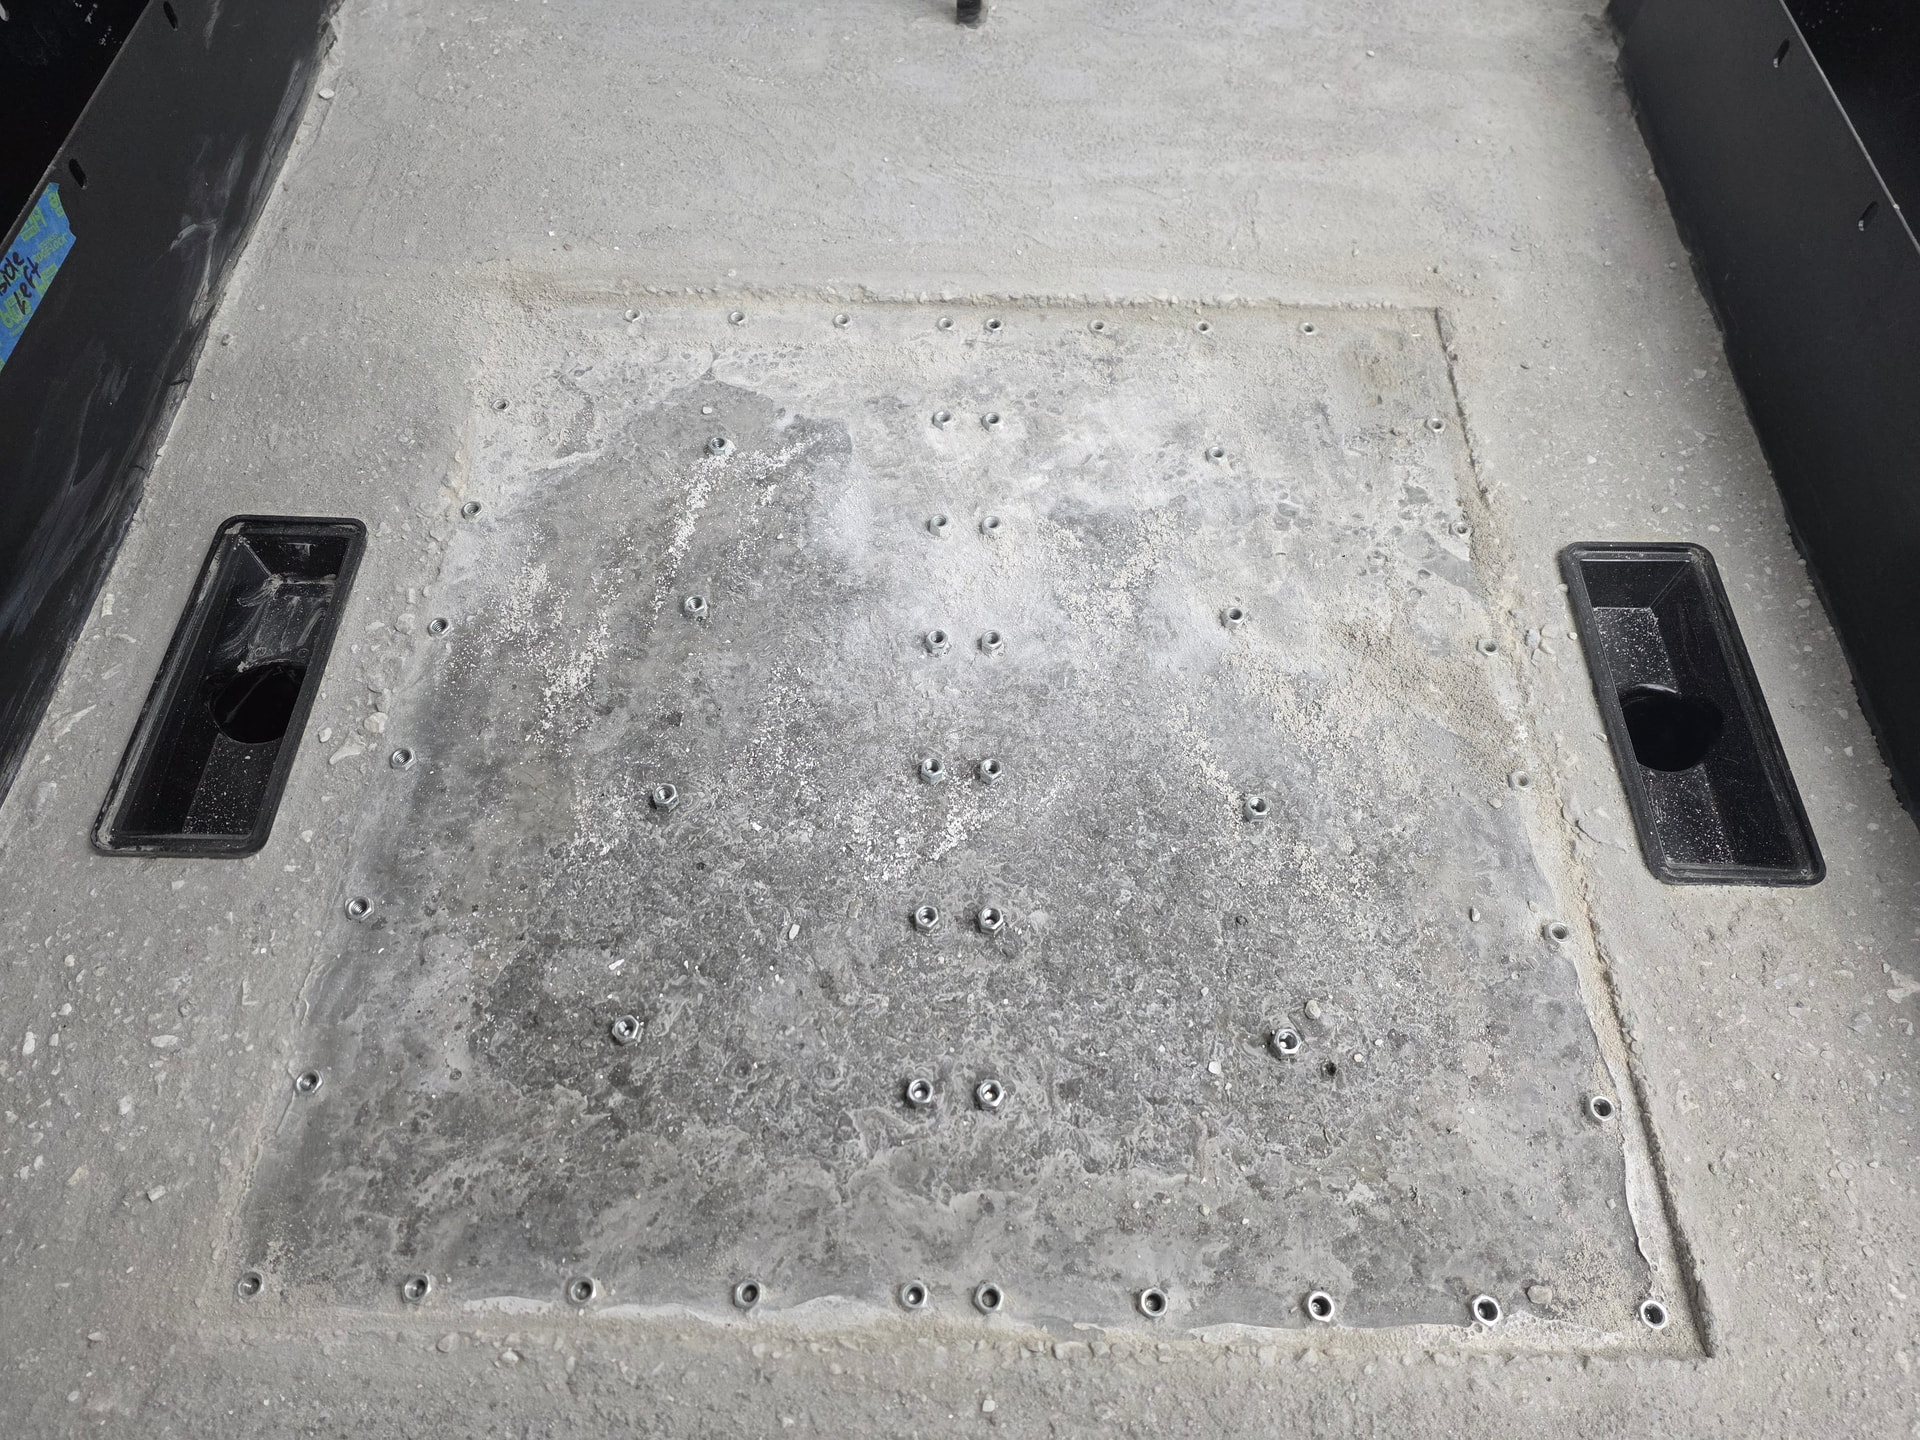
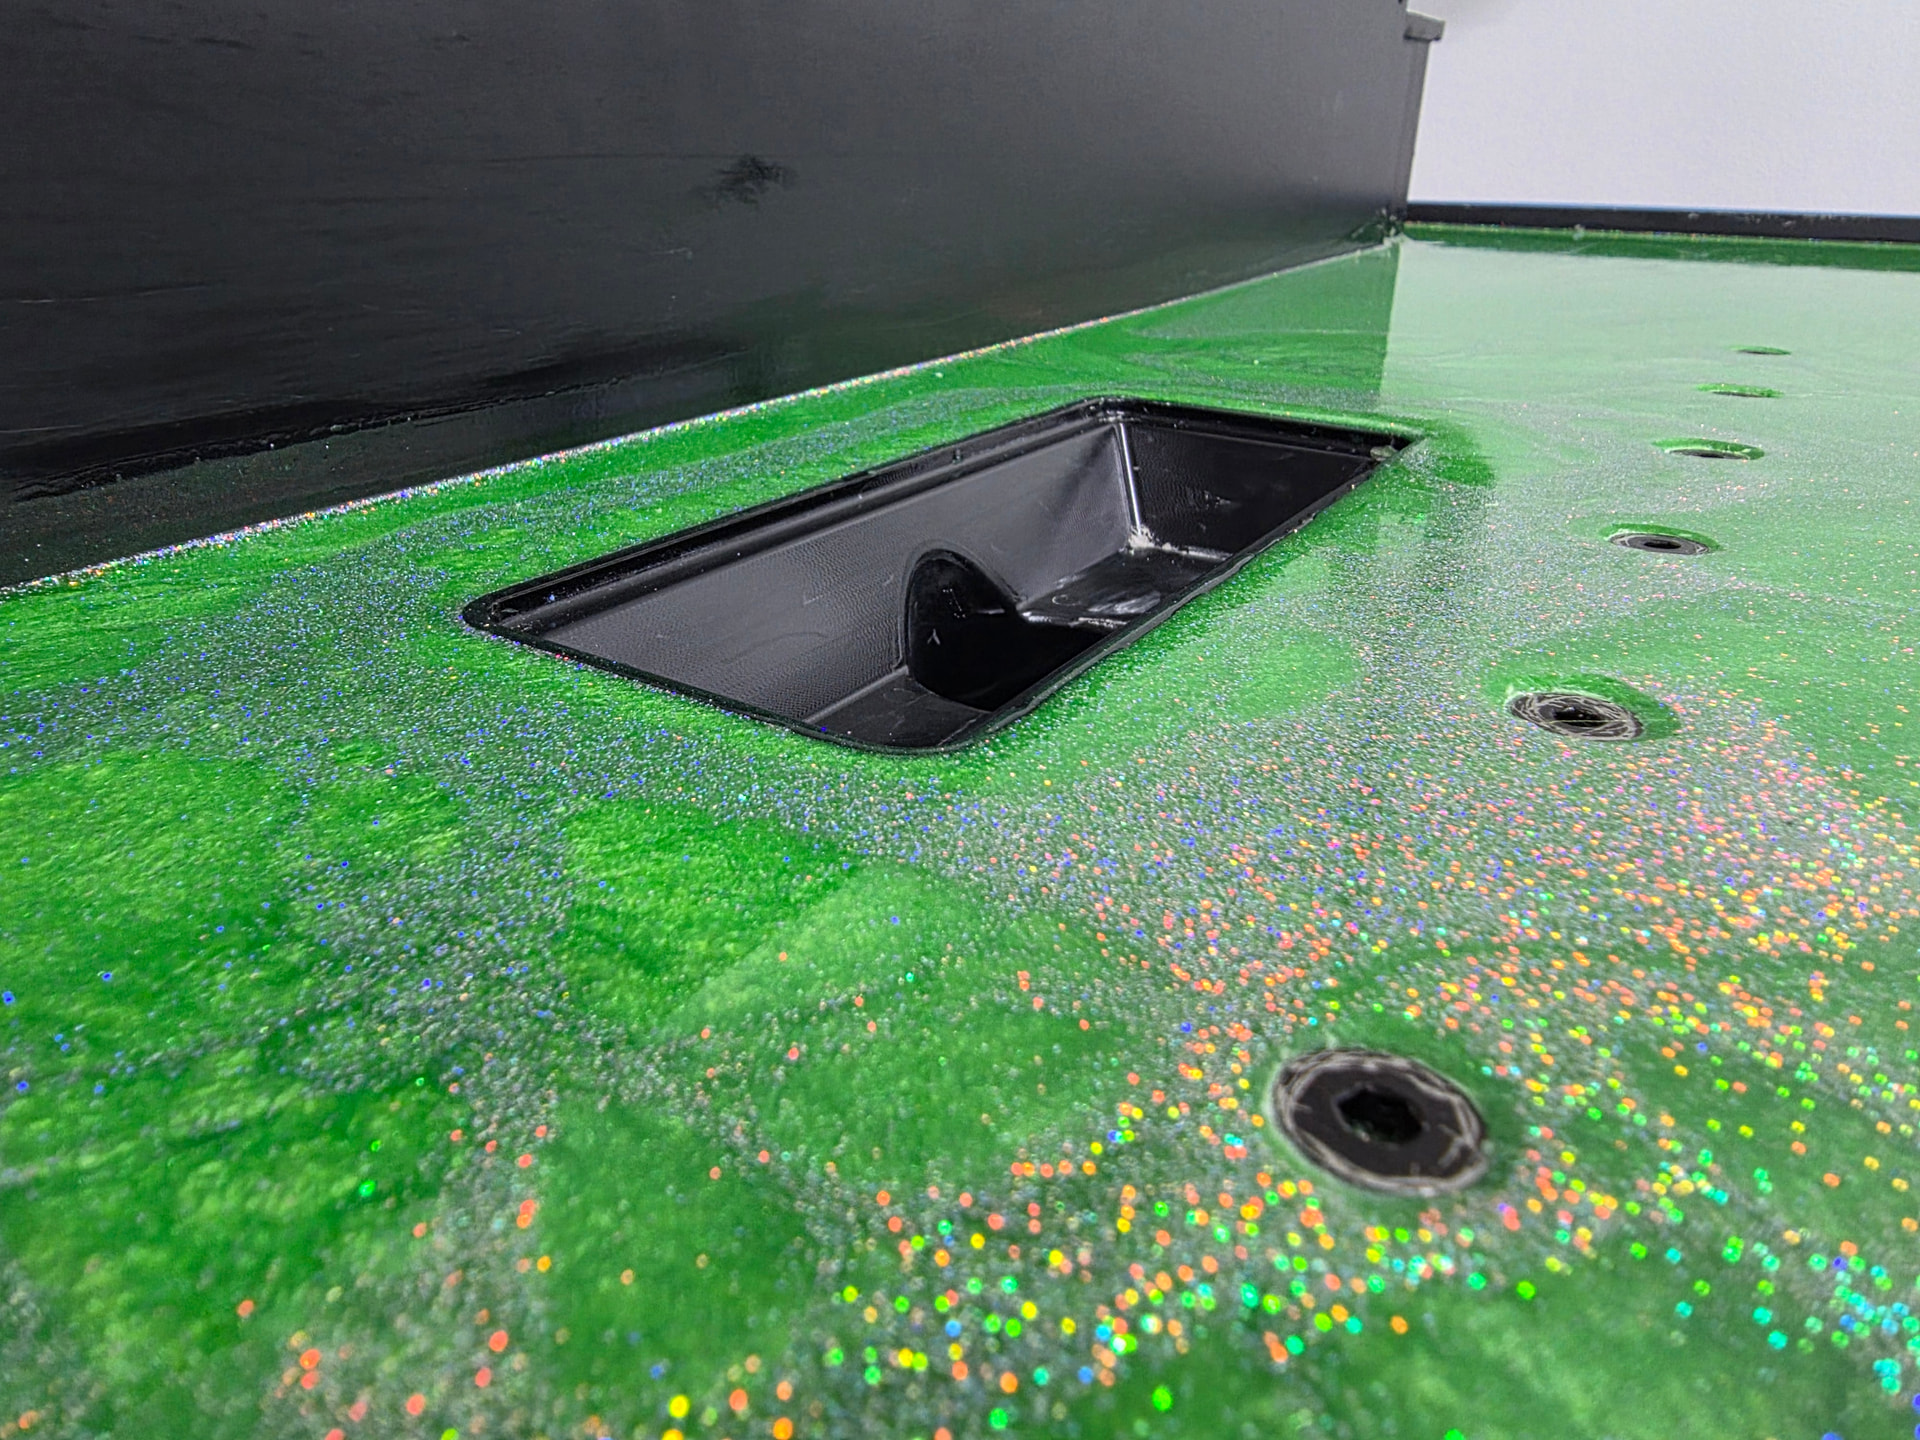
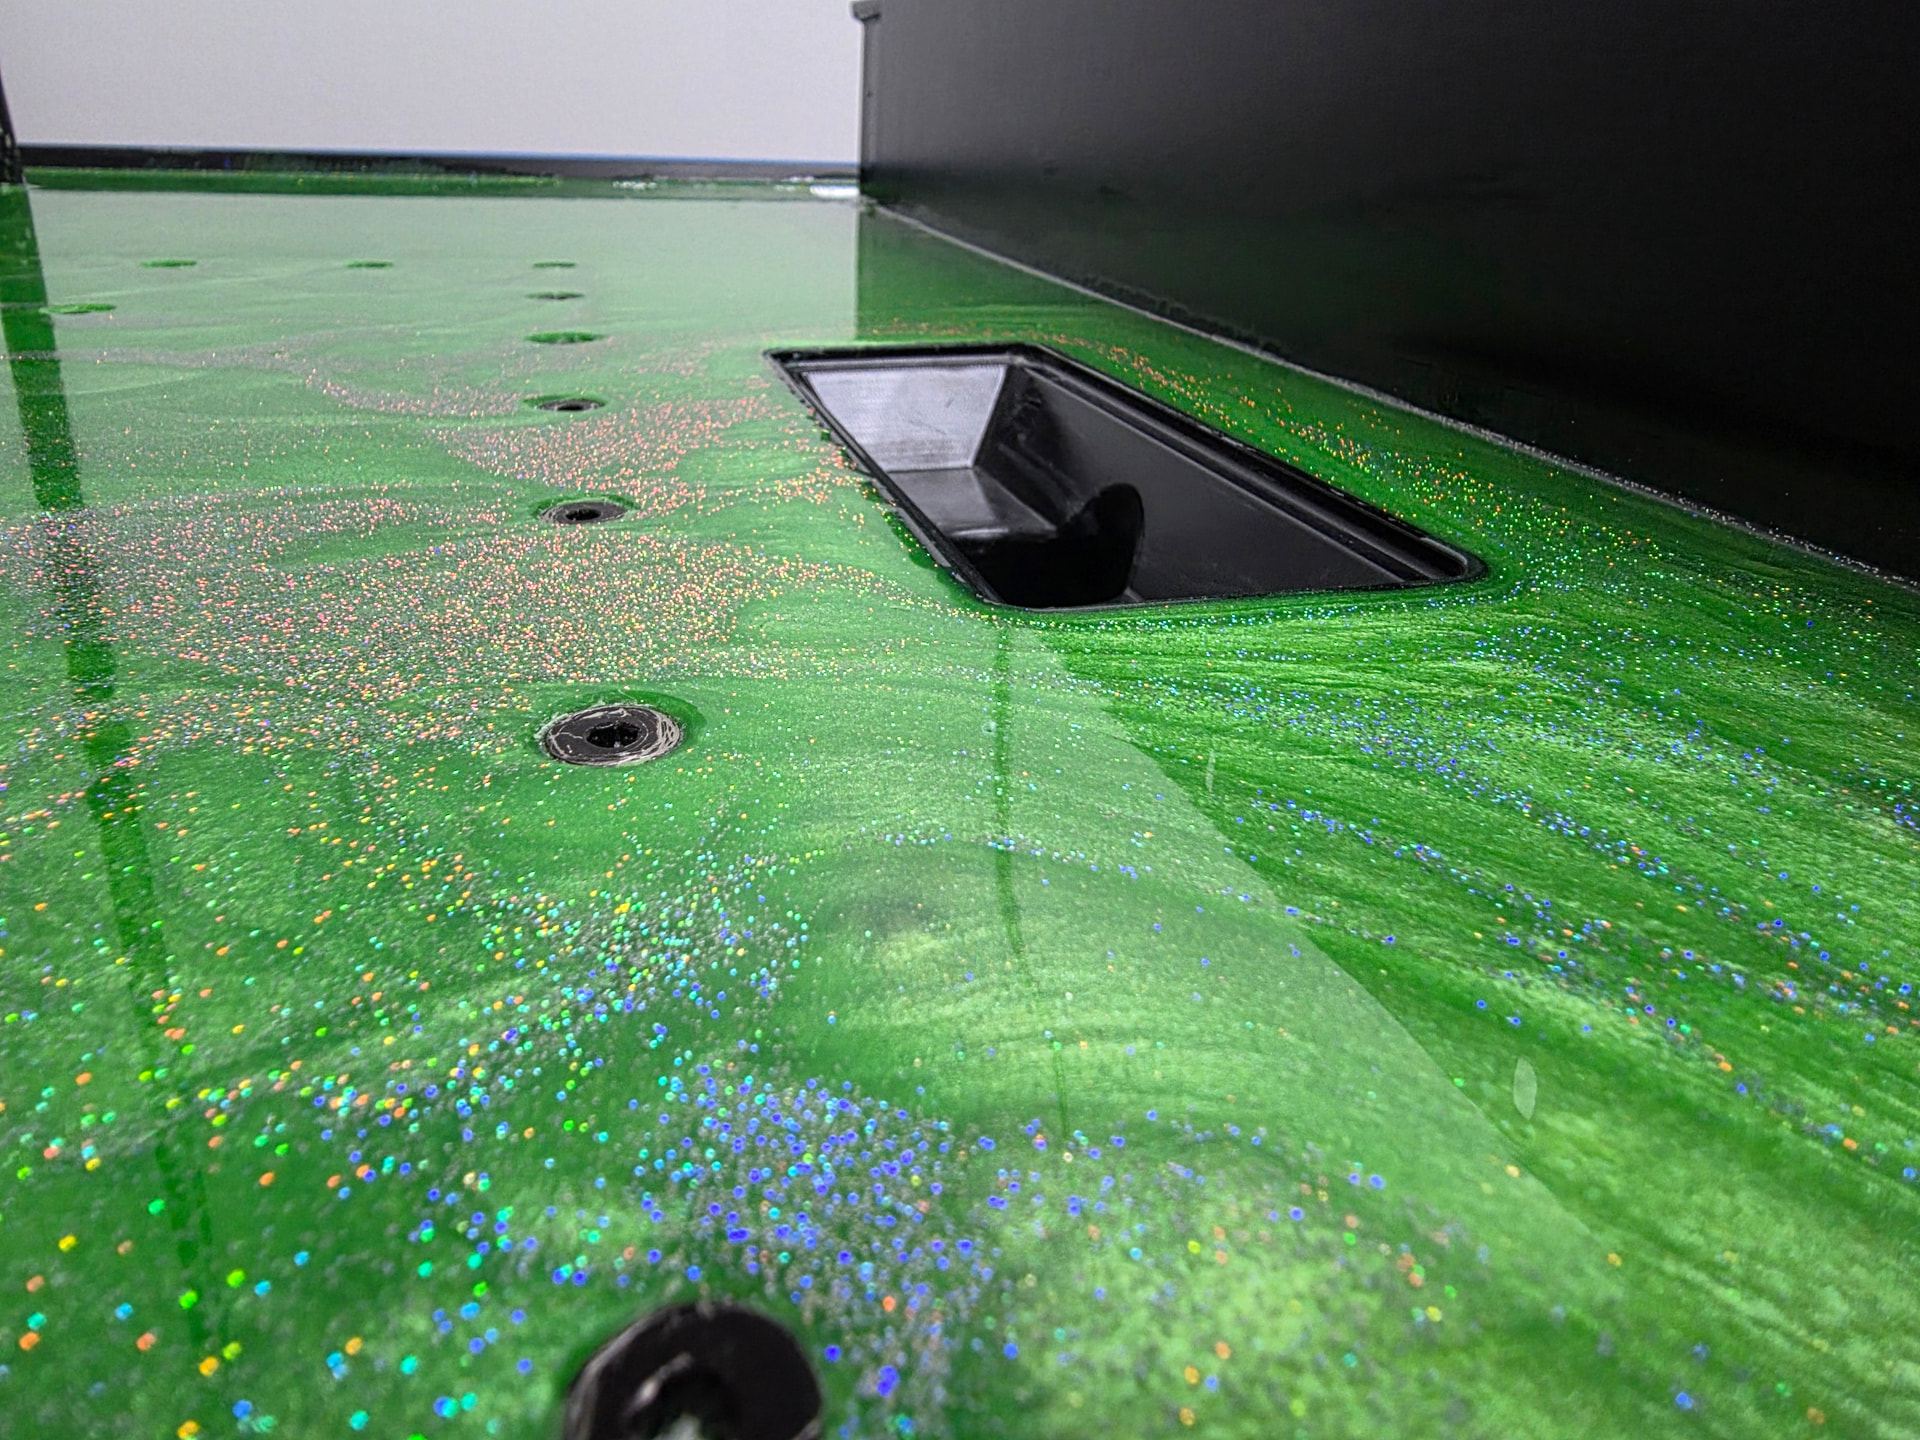
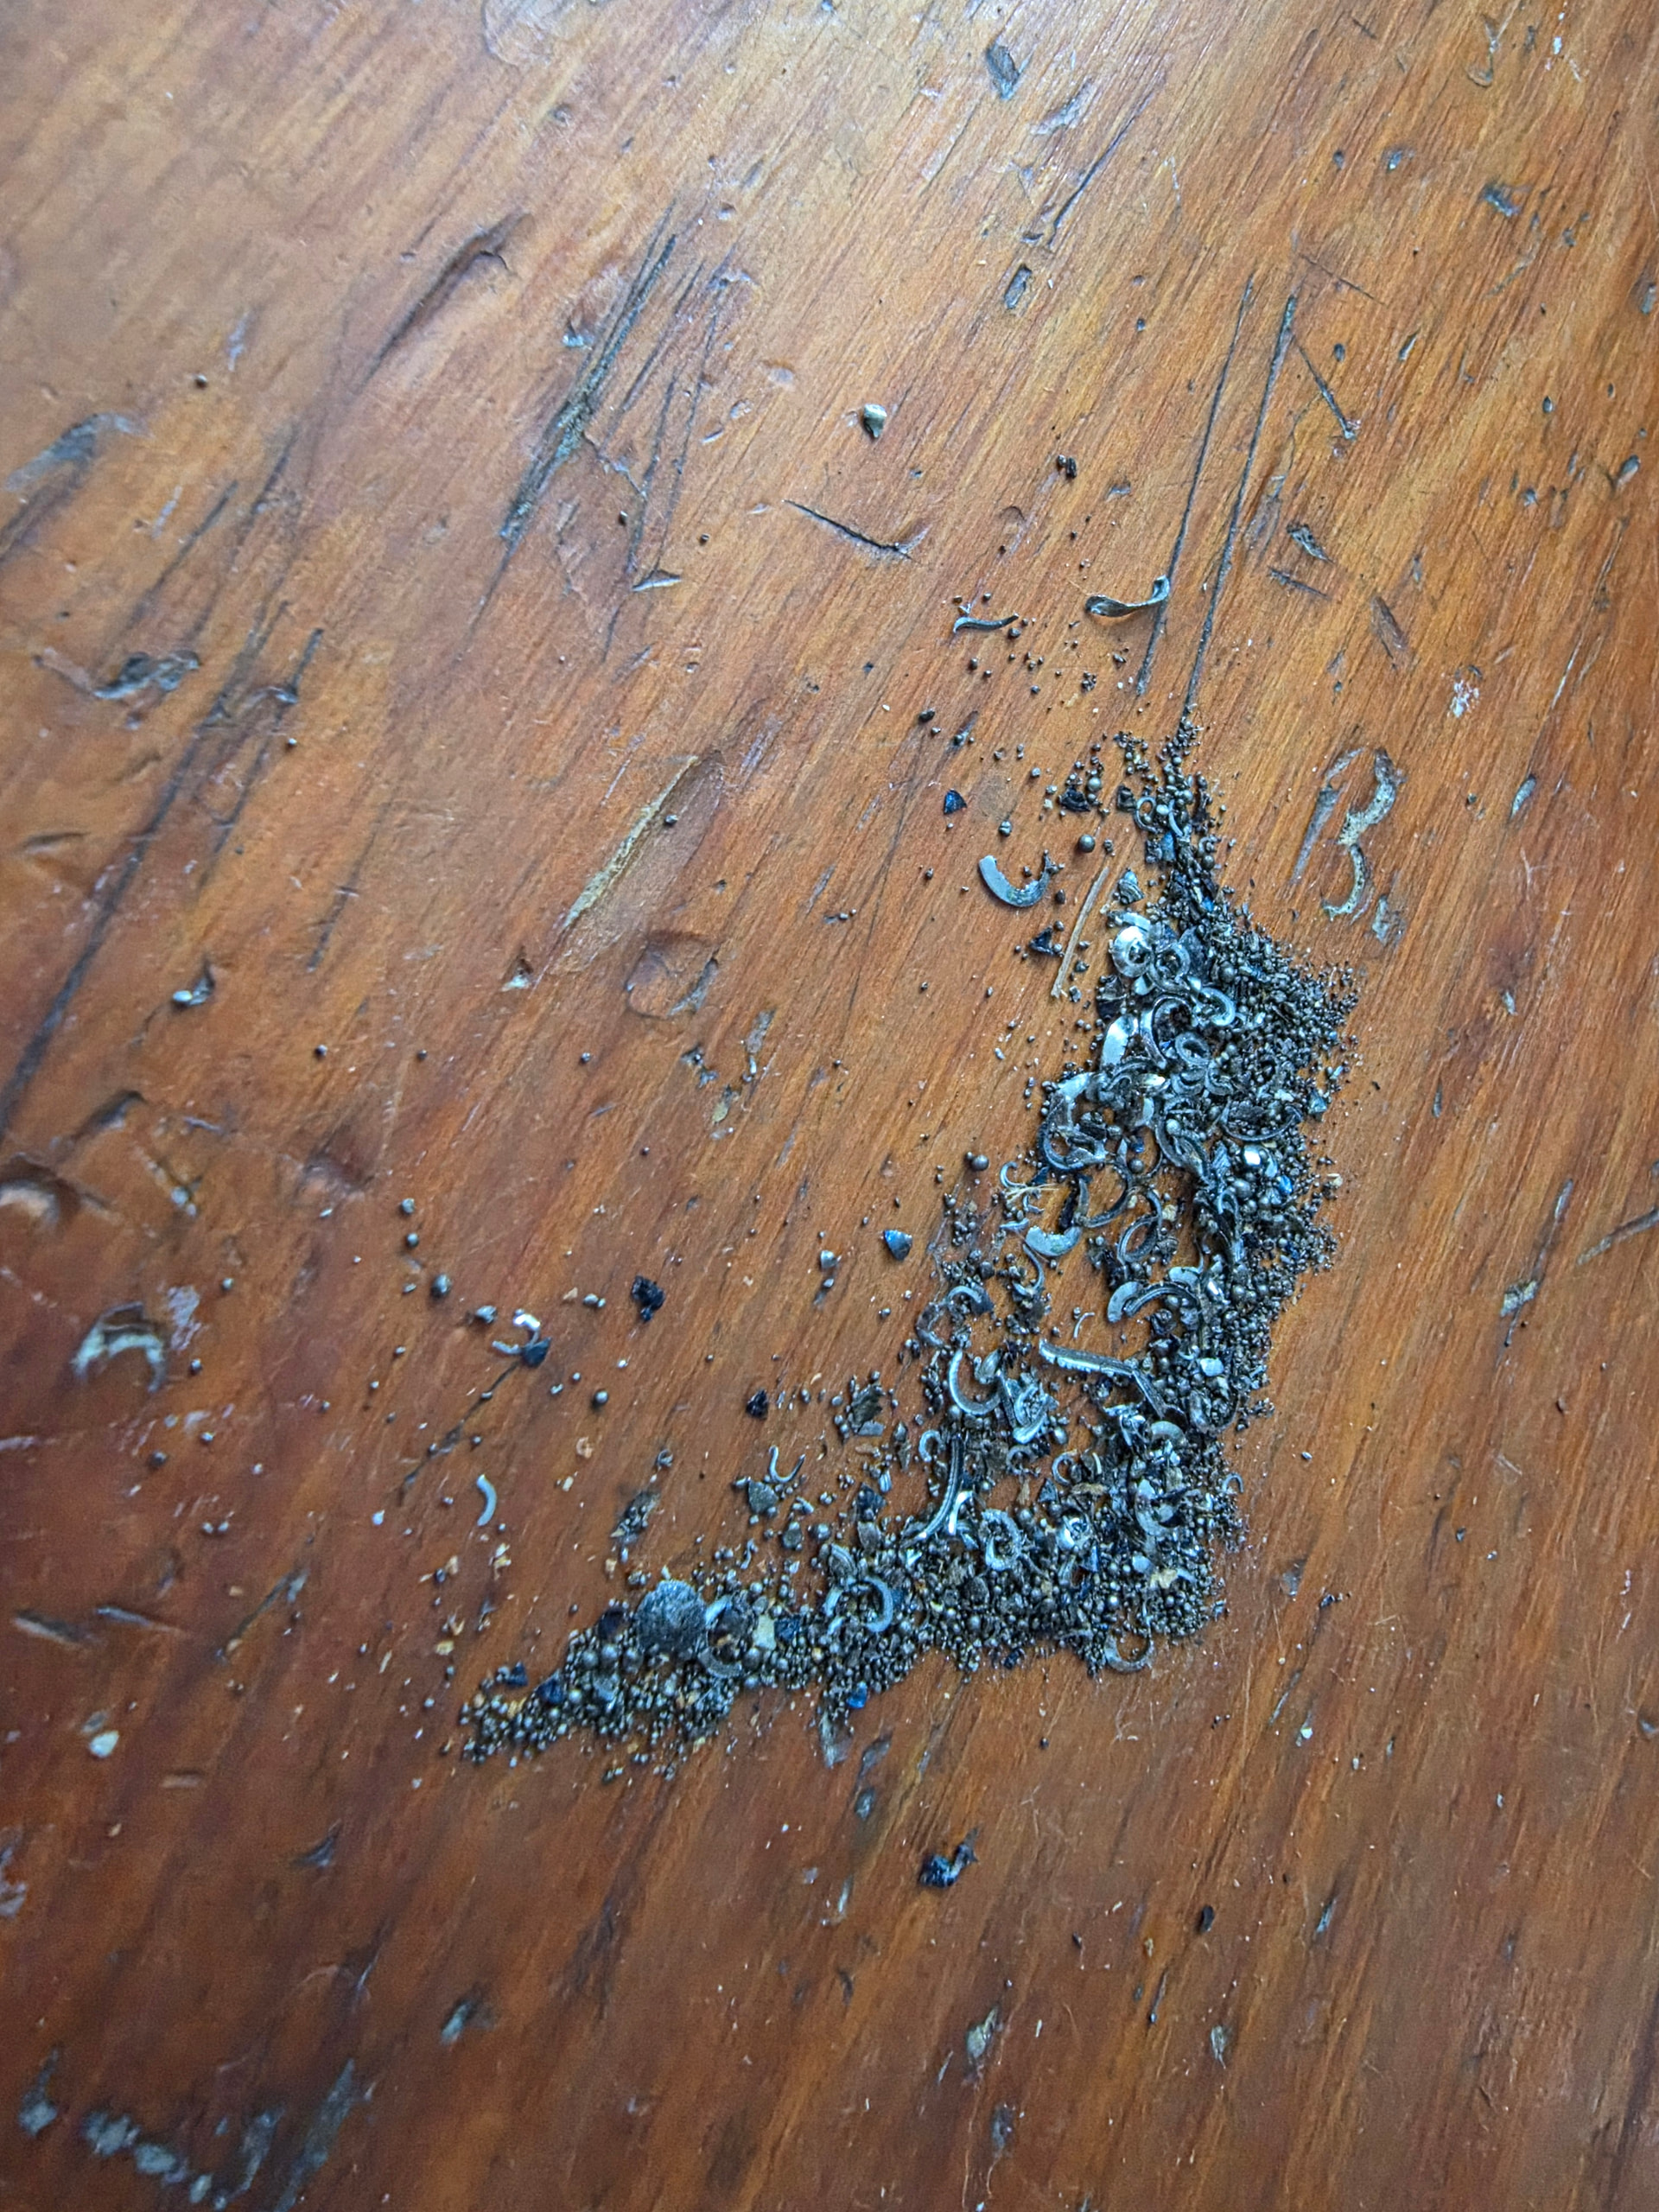
Ps. Im not sure why my flake separated and pooled up in the middle but good thing my baseplate is going there!
It looks like the aluminum plate will be mounted with a layer of epoxy between it and the concrete.
To me, this seems… not ideal, to have a compliant (soft) layer of epoxy directly supporting the machine table. Epoxy is just not very rigid. I expect it will deform and creep under the bolt pressure.
So I was going to mill a pocket down to the studs so everything’s nice and flat and resting against the original stud / standoffs anchored into the concrete.
But upon further research, the epoxy when fully cured is about the same hardness as the concrete itself if not harder depending on the stuff you used (5000-6000psi).. So not very soft! Also with the big surface area of the baseplate I don’t expect any creeping or deformation under bolt pressure! Now if I were driving a bolt ontop the epoxy so the head is on the epoxy Im sure there would be some deformation just like if you tighten down a washer or realistically any material with a small surface area!
I mainly did it this way because there was a massive air pocket under the baseplate and the concrete just got pushed down and away when sinking the baseplate in. ie. If you see in some of my pictures.
So Im just going to deck the wicking and put the baseplate right on top if I have any problems I will then mill that pocket..
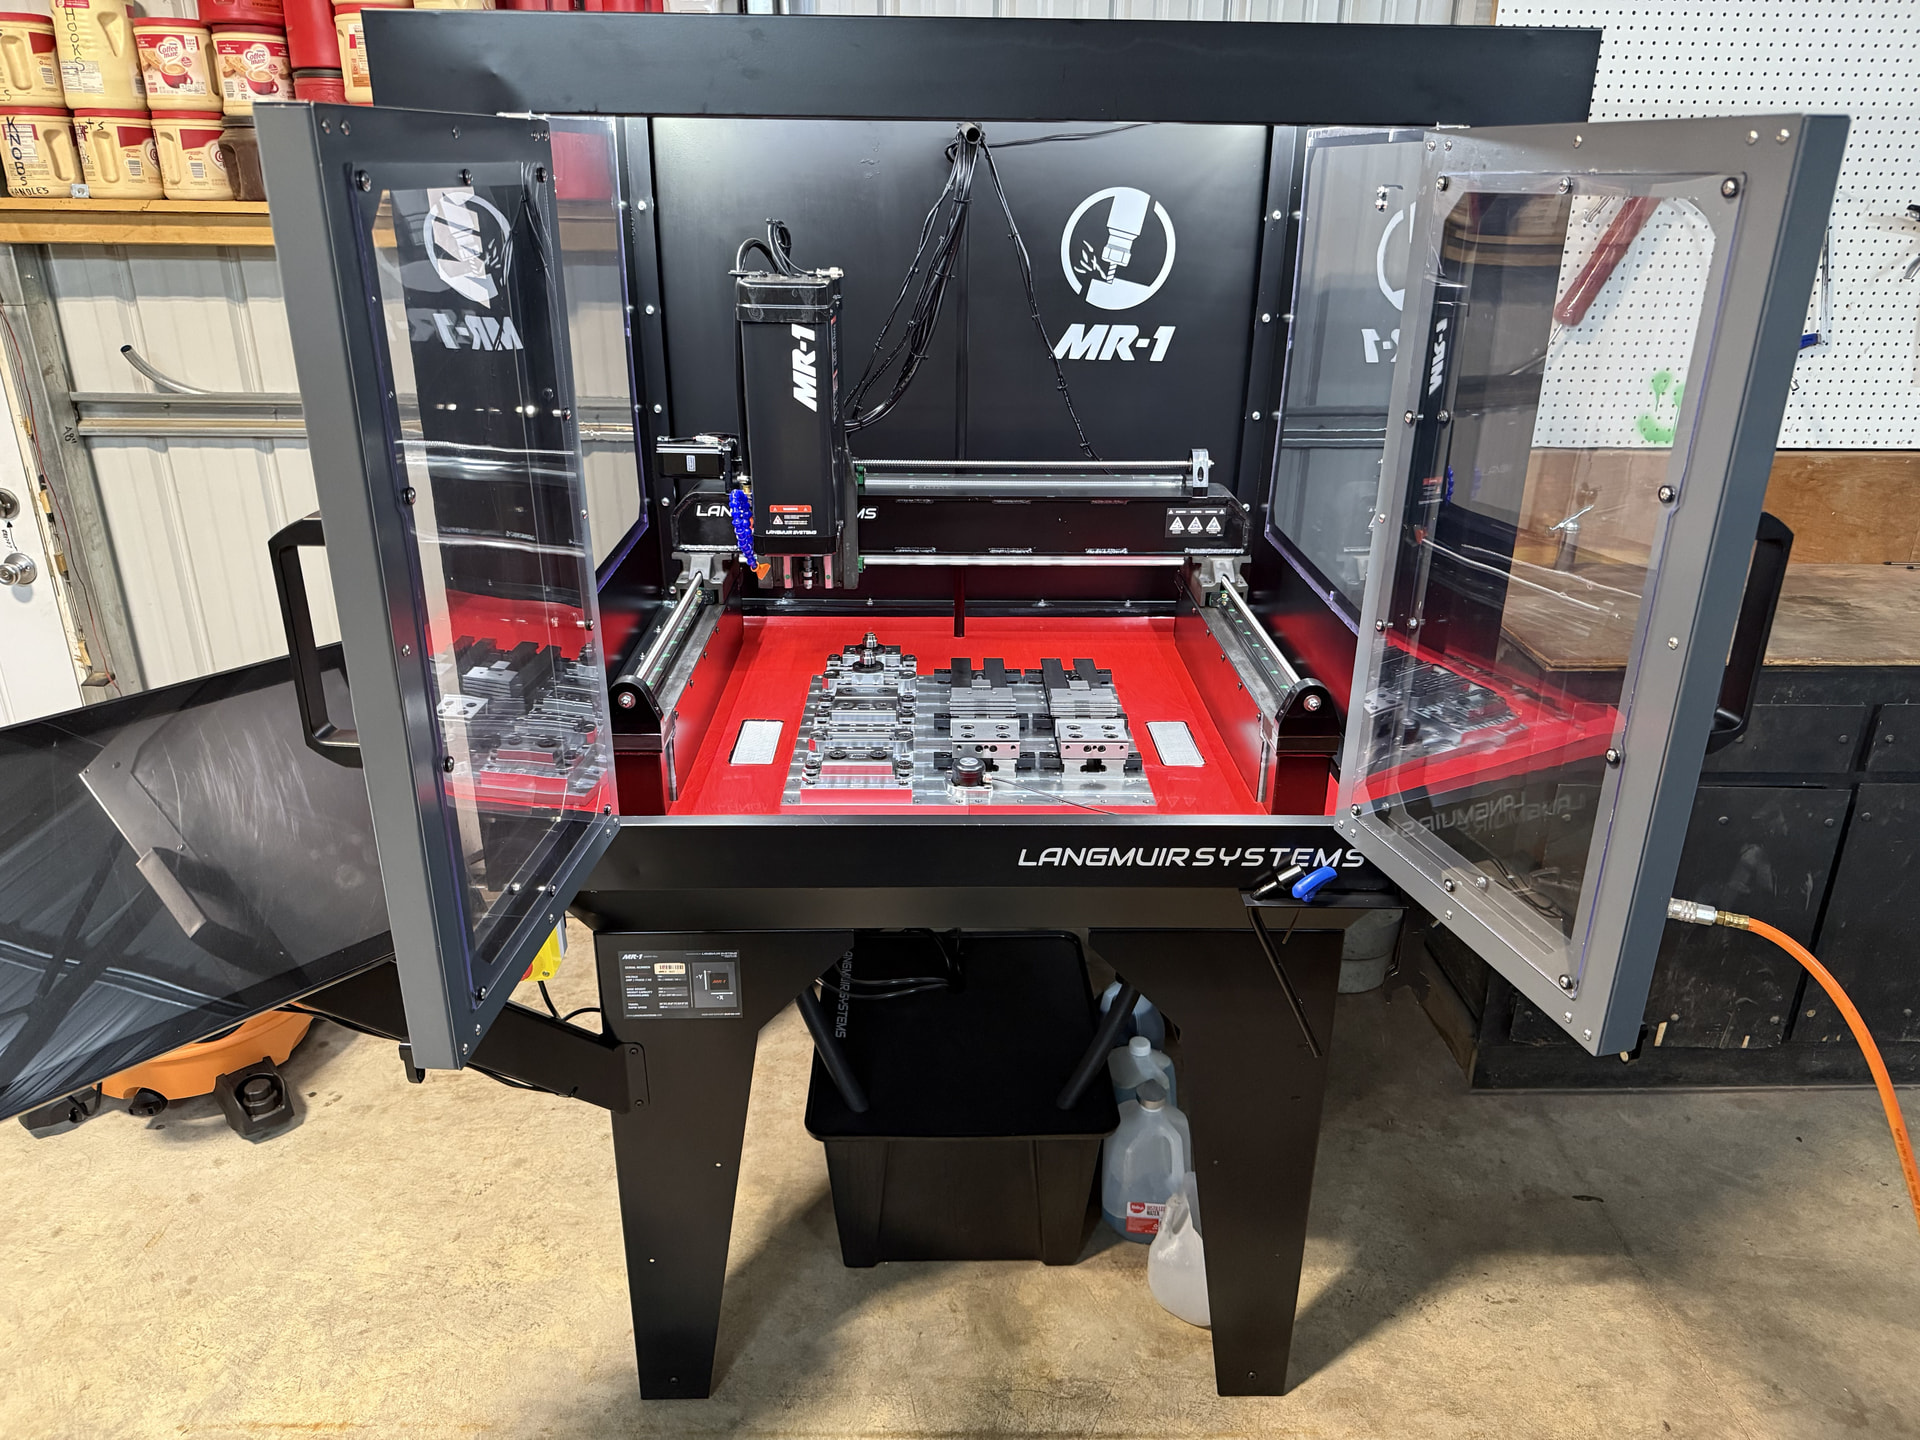
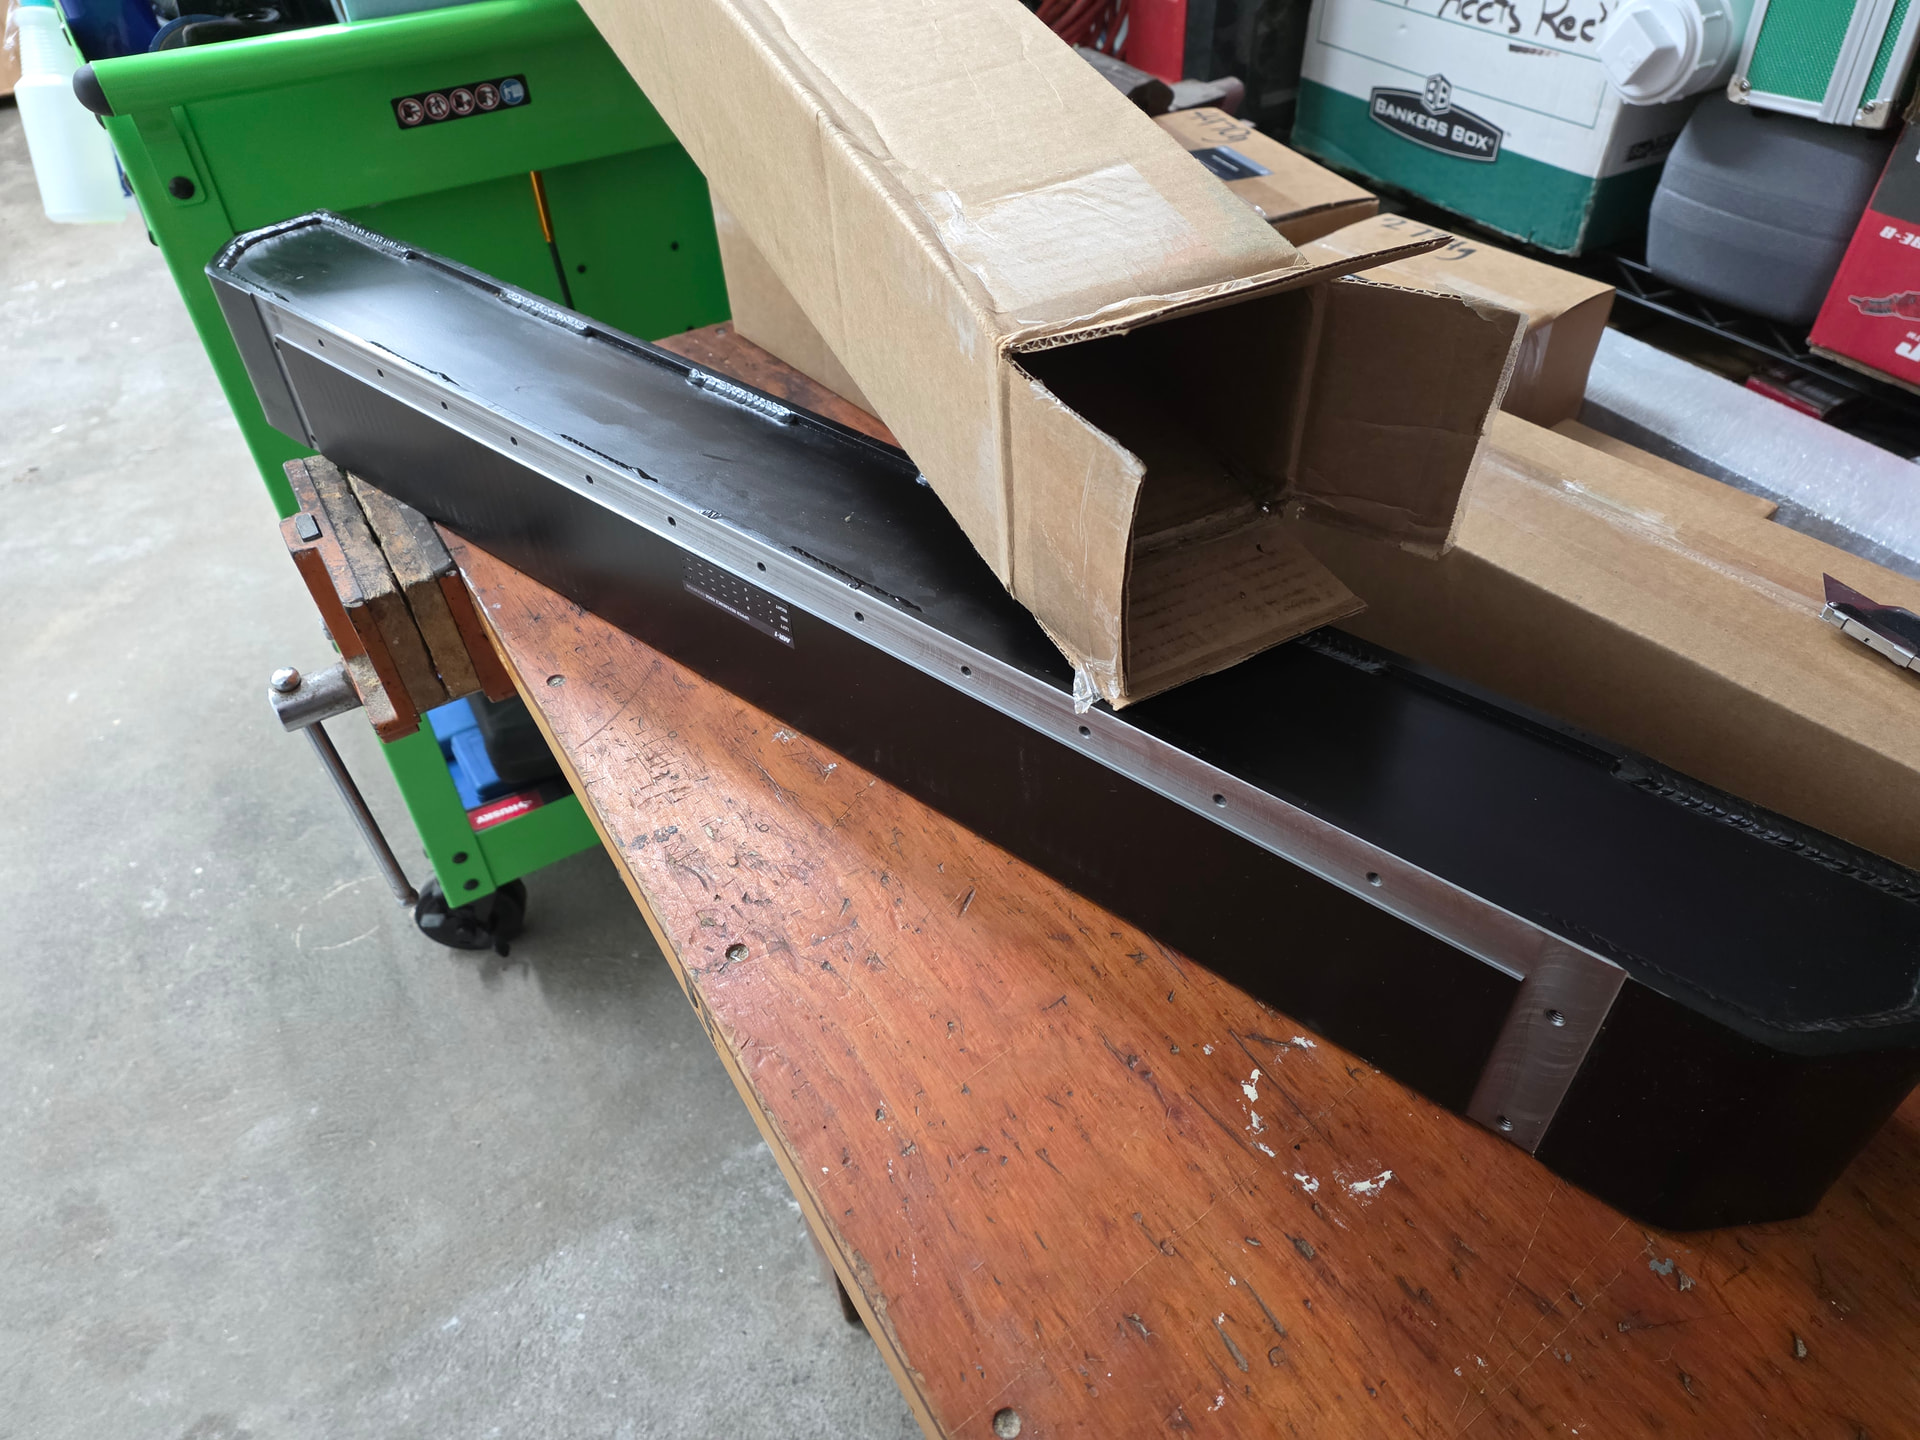
On other news got my longer bolts for the Y axis, worked like a charm. Now upon unboxing and setting up the X axis gantry… A PILE of chips came out of the box itself and also from inside the gantry just rattling around! Got the top linear rail mounted flipped it over to get the bottom on, after stoning and cleaning went to screw in the bottom rail and none of the screws will even start in the 12 threaded holes holding the bottom rail to the gantry. And just for the heck of it tested the 1/4-20 screws that mounts the gantry to the Y axis rails and they dont start either. Upon further inspection its like the threads are double lead threads Im not sure if im the only lucky one to run into this problem but if I can’t chase and clean up all of the threads tommrow Im going to have to call em and see if I can get a replacement gantry, but I doubt thats going to be an easy task. But 10k for a machine that I have to re-machine getting outta hand here!