I have projects in which I will cut many small parts from various plastic sheets, e.g., Delrin, ABS, Starboard, etc. Mostly these will be 1/4” sheets, but sometimes thinner as well. My thoughts are:
Adhere a 1/2” sacrificial board (probably HDPE or MDF) to the base plate using really sticky 2-sided tape. I’d stick the cut material to the sacrificial board the same way.
Build or buy a spoil board with workholder fixtures.
Thanks man. Yes, I would do it on a router too. But I don’t have room for a CNC router and a CNC mill in my shop. So I’m going to end up routing a lot of projects on a mill. (-:
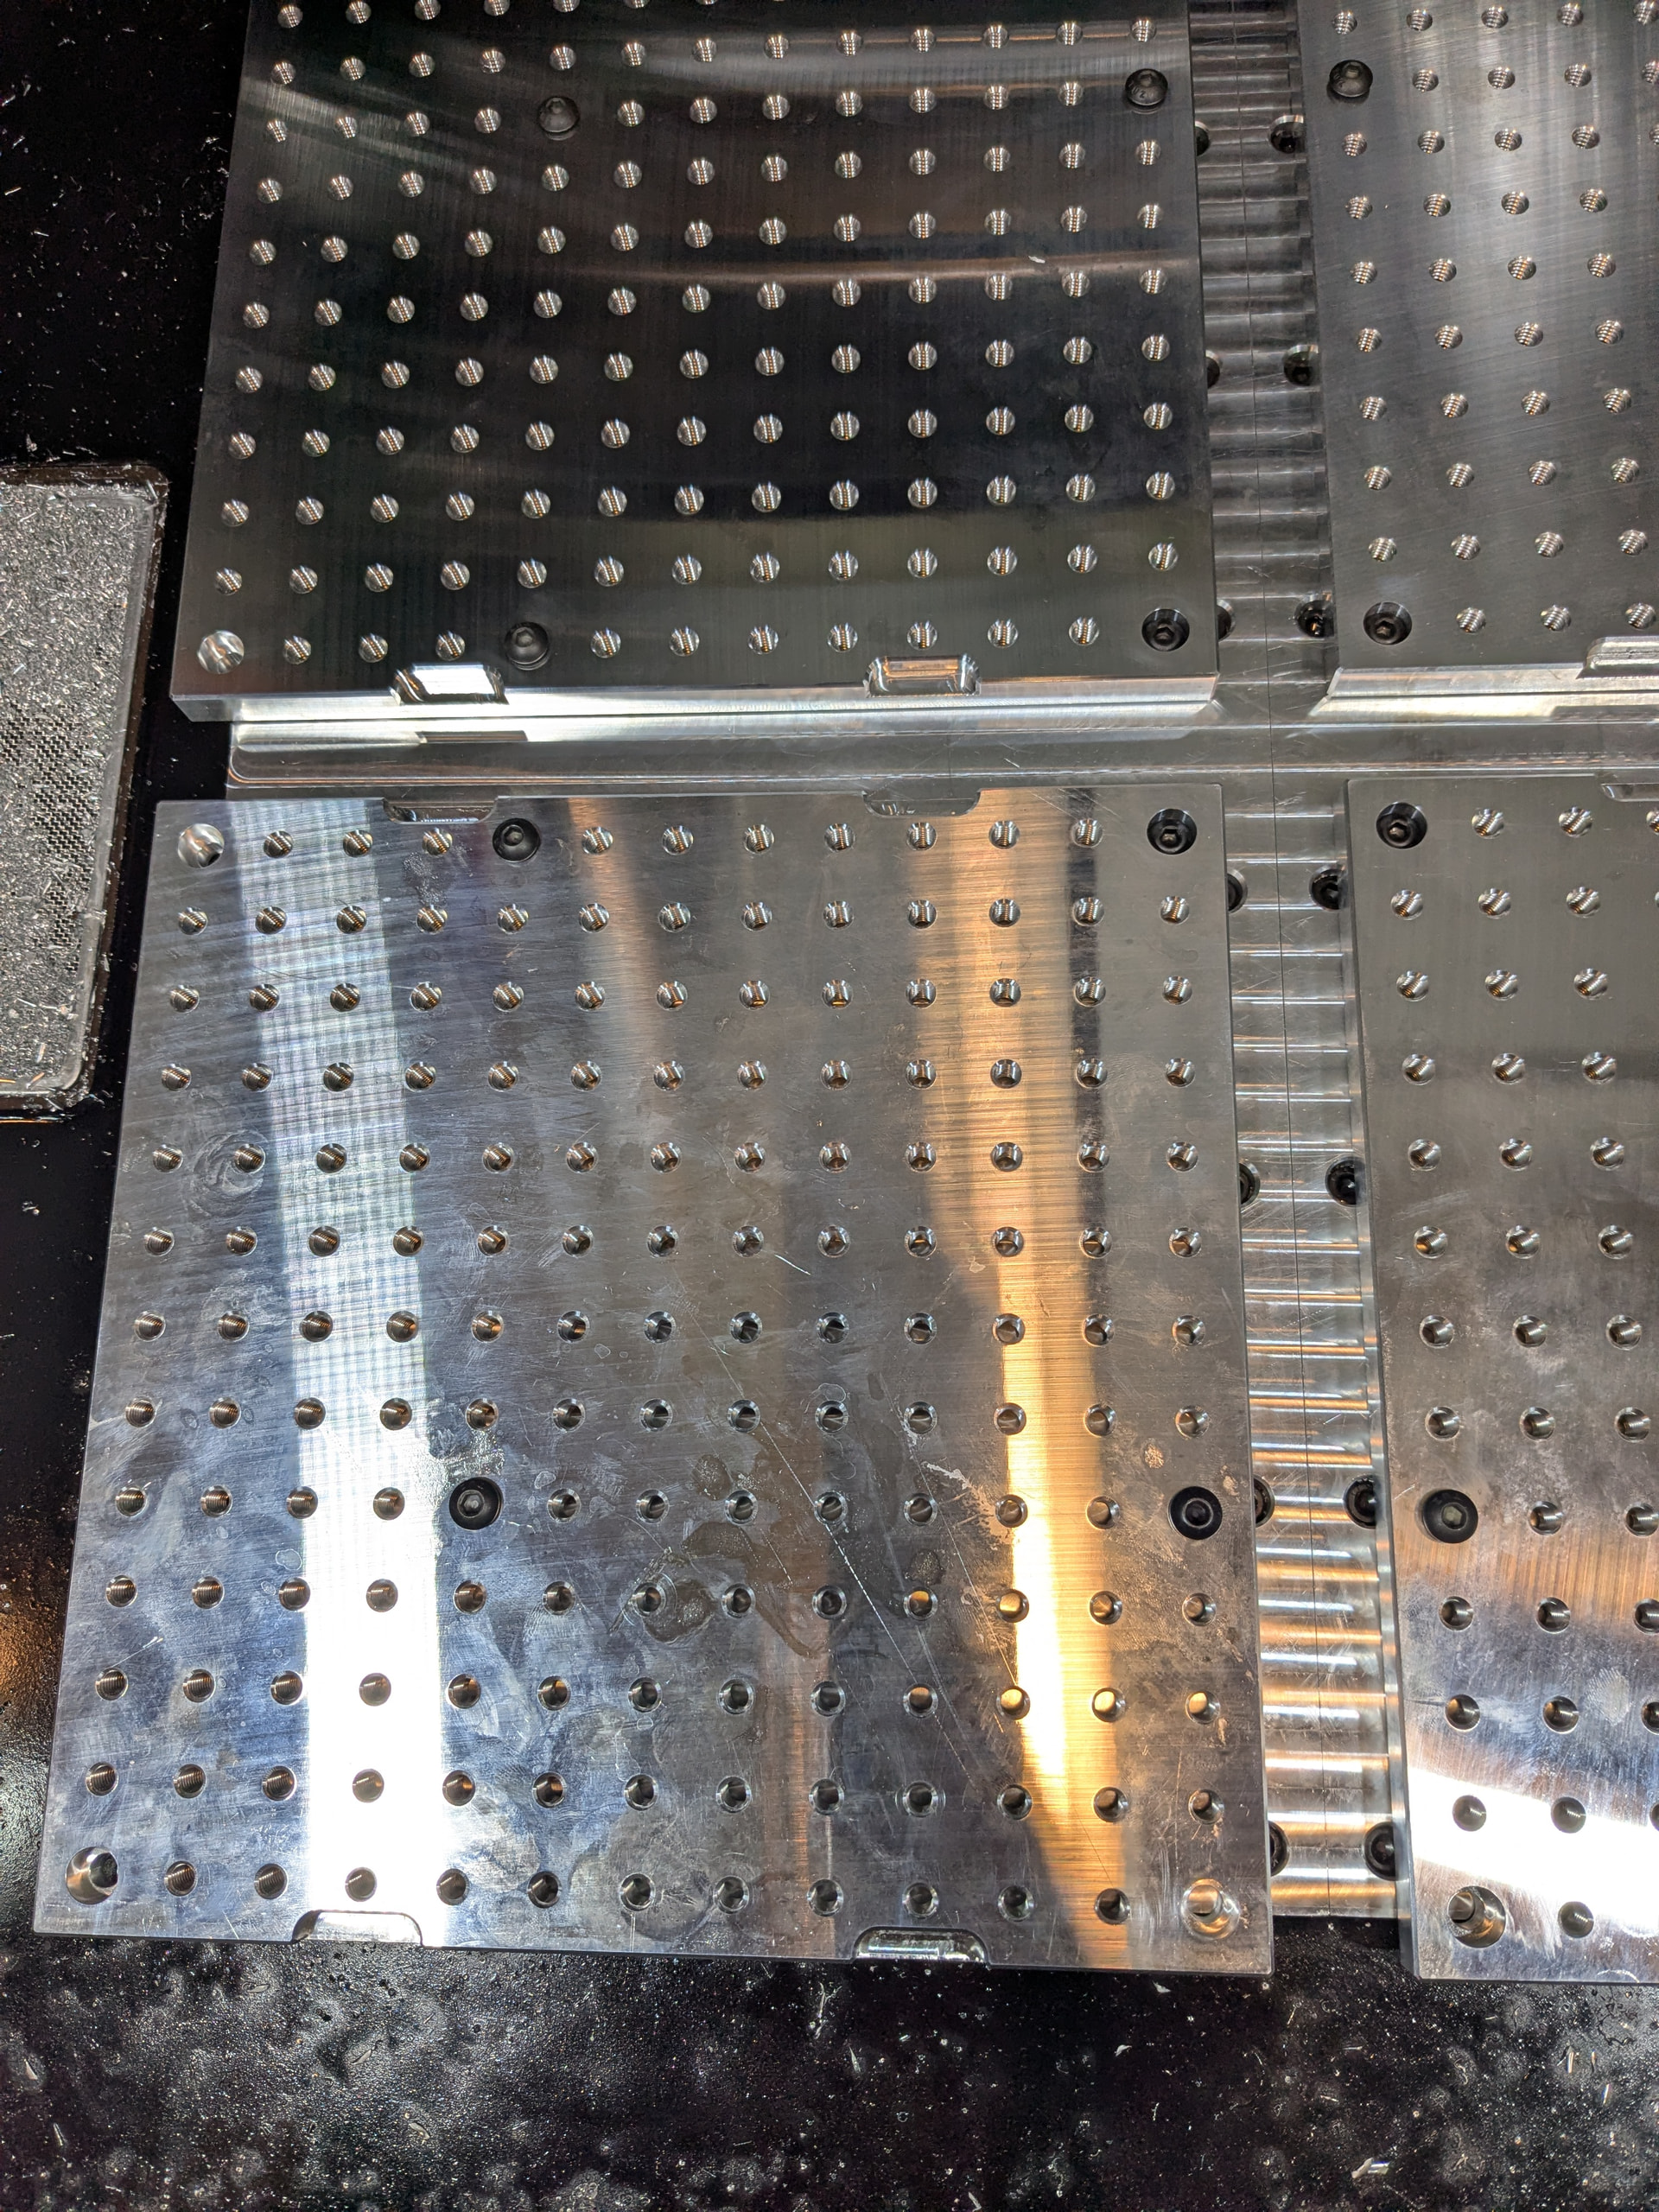
I went with making some aluminum spoil blocks and put a grid of 1/4-20 holes on them. I try to lay out my thin parts where I can screw down the sheet.
Work process is to clamp the sheet down, drill holes for applicable 1/4-20 locations, bolt the sheet down, remove toe clamps and mill the profiles leaving tabs at the screw locations. After that op I’ll use an engraving mill to cut along the edge of the parts at the tabs and give them a breaking point. Then snap off the tabs and file or sand the edges on the finished part.
I have also used a method using 3M tape on the spoil blocks and on the sheet, spray CA glue on the block side tape and put the activator on the part side and stick it down that way. I do recommend using a down cutting flute tool for this method though to prevent the sheet from trying to lift as you cut it.
One of these days I’ll invest in another vacuum table, but those methods have handled most of the sheet work I’ve had on the MR1.
That’s an interesting approach. I hadn’t thought about just screwing the sheets down. Could you describe your spoil blocks… or maybe you can share a pic?
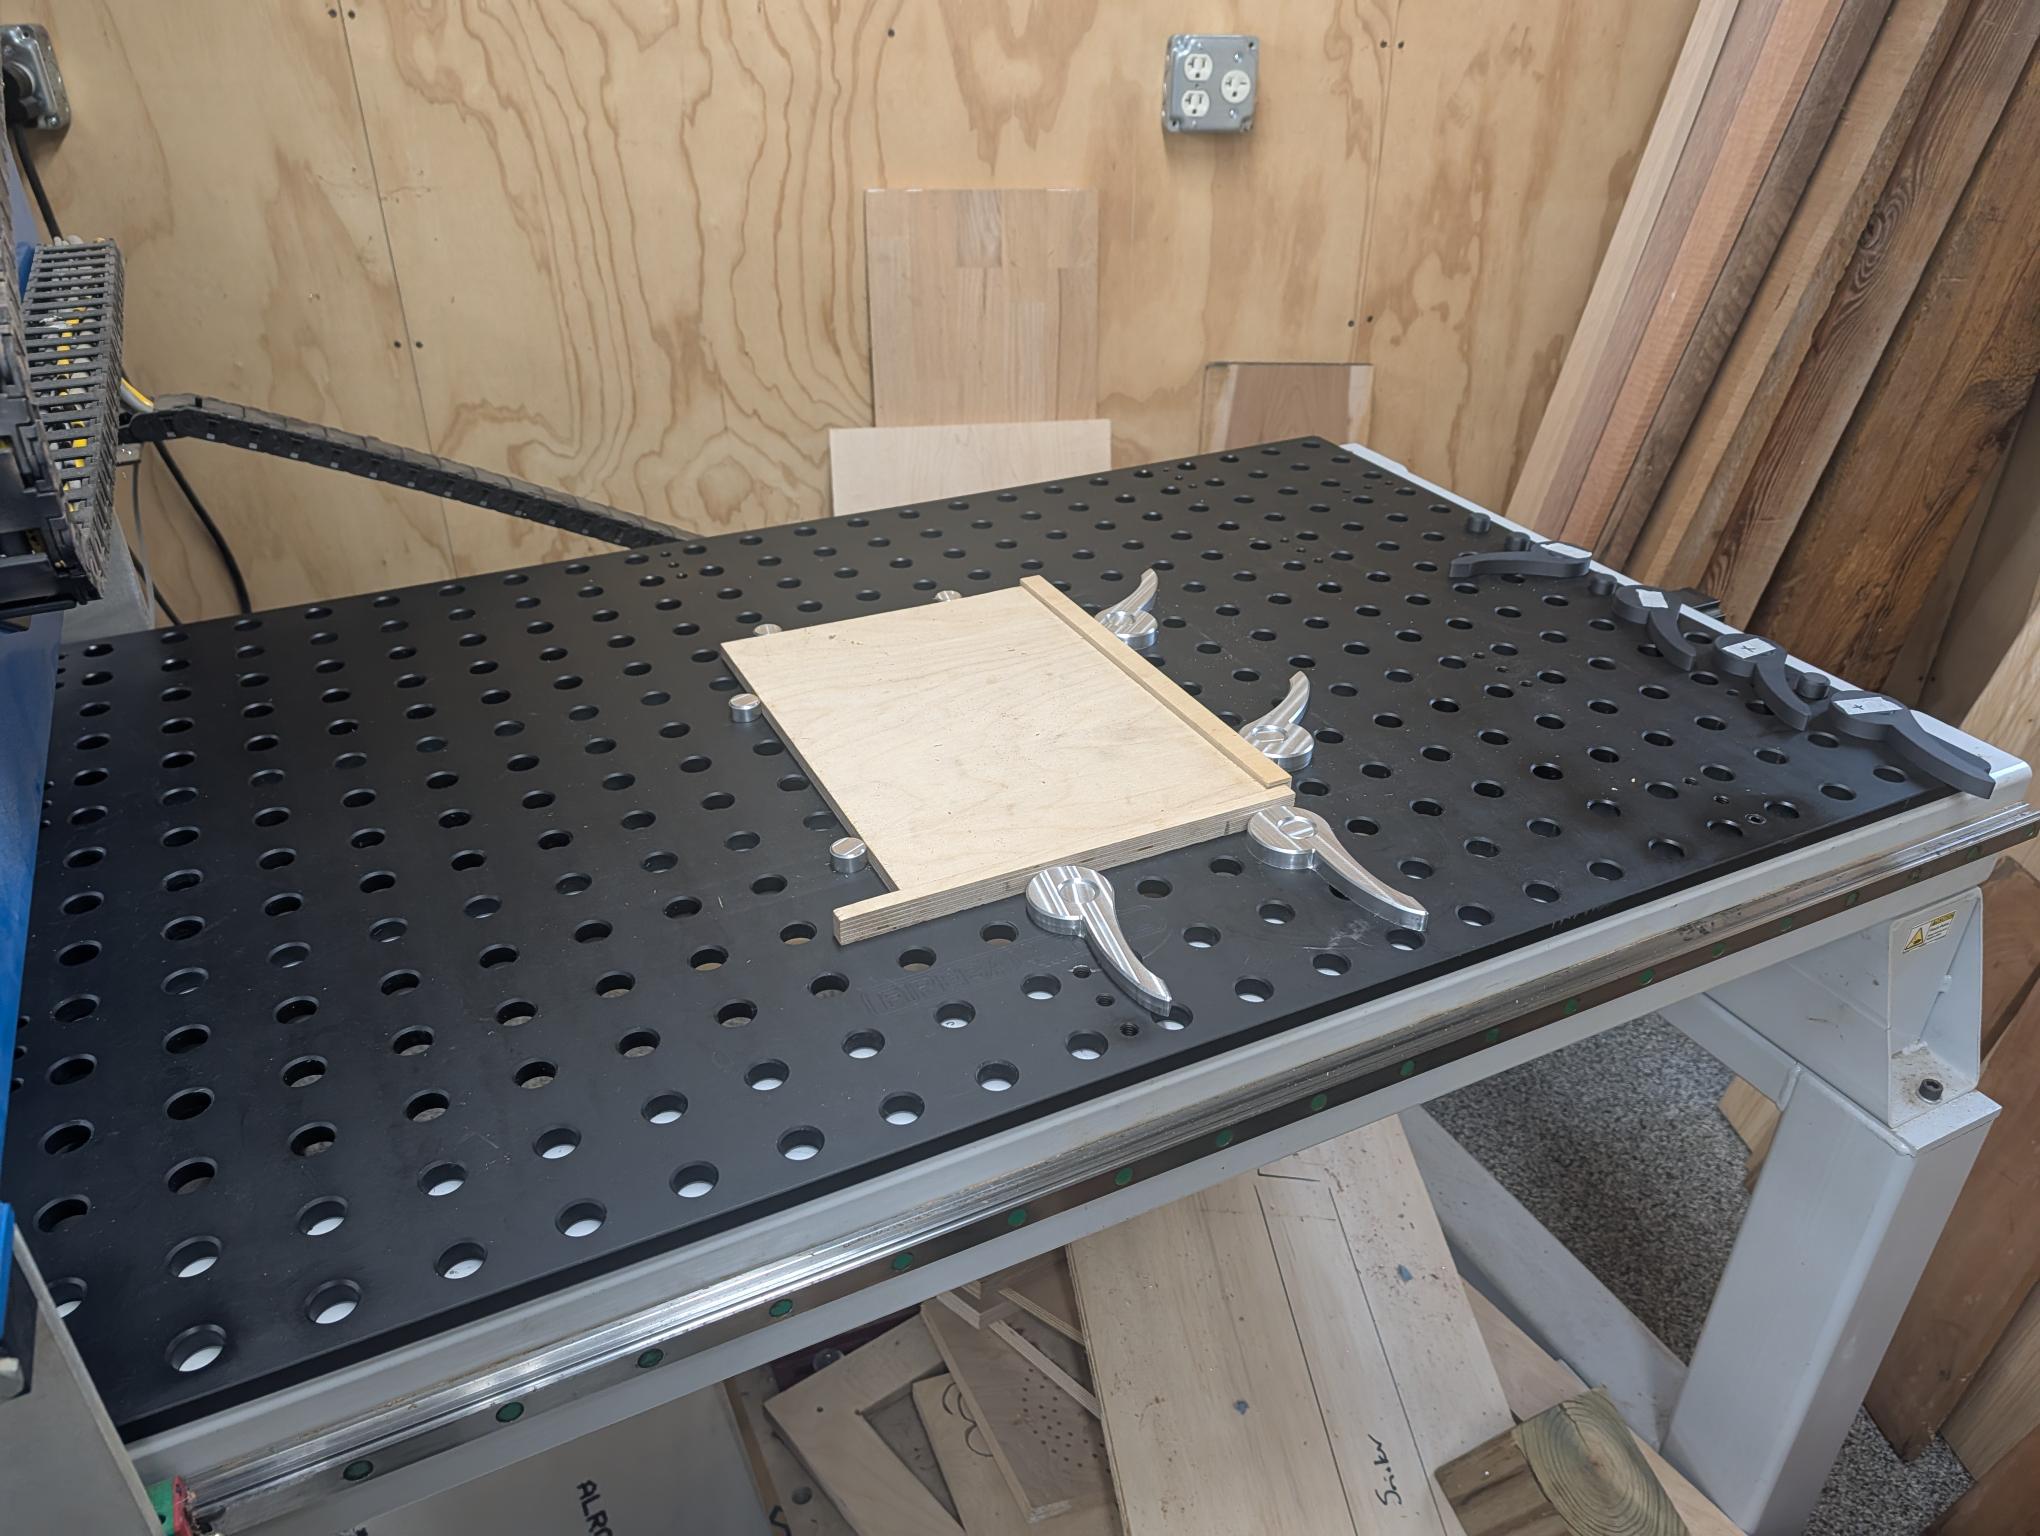
I have had a router for 10 plus years and I have tried may hold down technigues….t-slots, clamps, etc. By far the best I have ever used is dog holes and dogs with wood wedges to hold down flat pieces. I don’t use the wedges anymore as now I made the offset clamps on my MR1. However,
As far as finishing, I used tabs as has been mentioned, but I made them only as large as needed then cut them out on a bandsaw or multitool saw. Then I use a flush cutting bit on a router table - on aluminum too.
Clamps just seem to get in the way. Glued stuff (super glue and painters tap) is a pain. Screwed down stuff takes extra steps.
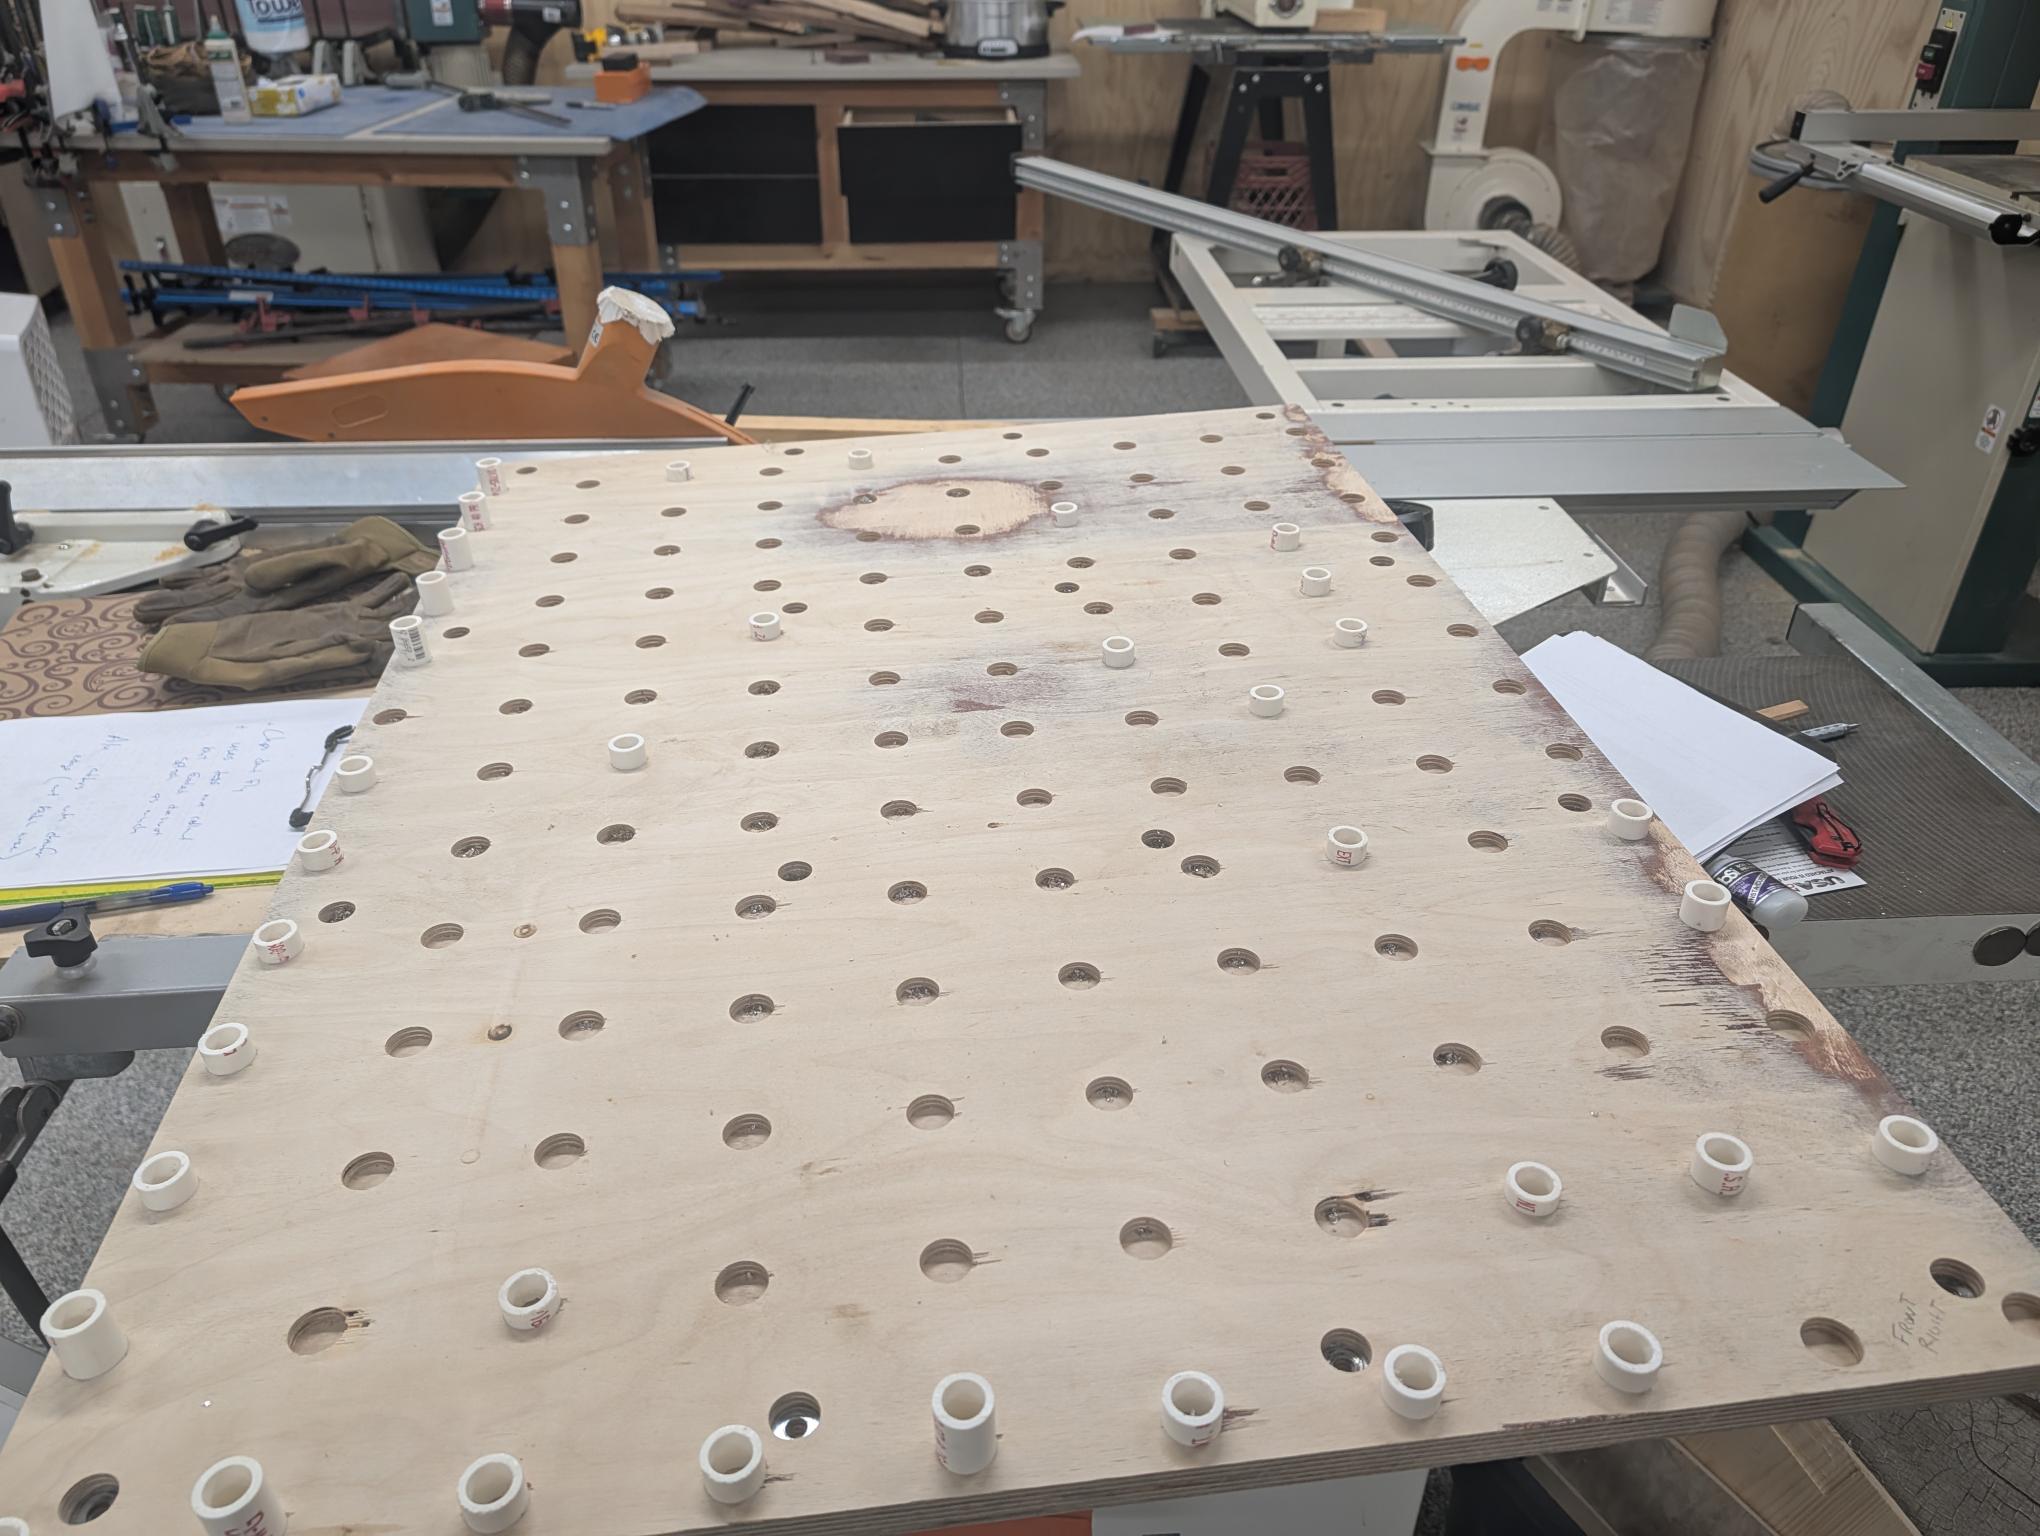
Since you sound like you may do quite a few, bolt some pvc dogs to the plate and make some slow tapered wood wedges and you will see what I mean. At the very least it would not take long to try it. And the zero location is repeatable too.
This is excellent! I love the idea of pvc dogs. Very scrappy. What is the material you used for the black version of the board. Is that a plastic… HDPE?
Made up of 4 pieces of 1x4 x 10” 6061 aluminum. I bolt them down to the MR1 table and skim the face with my fly cutter to make sure they are all level and then mount my plate.
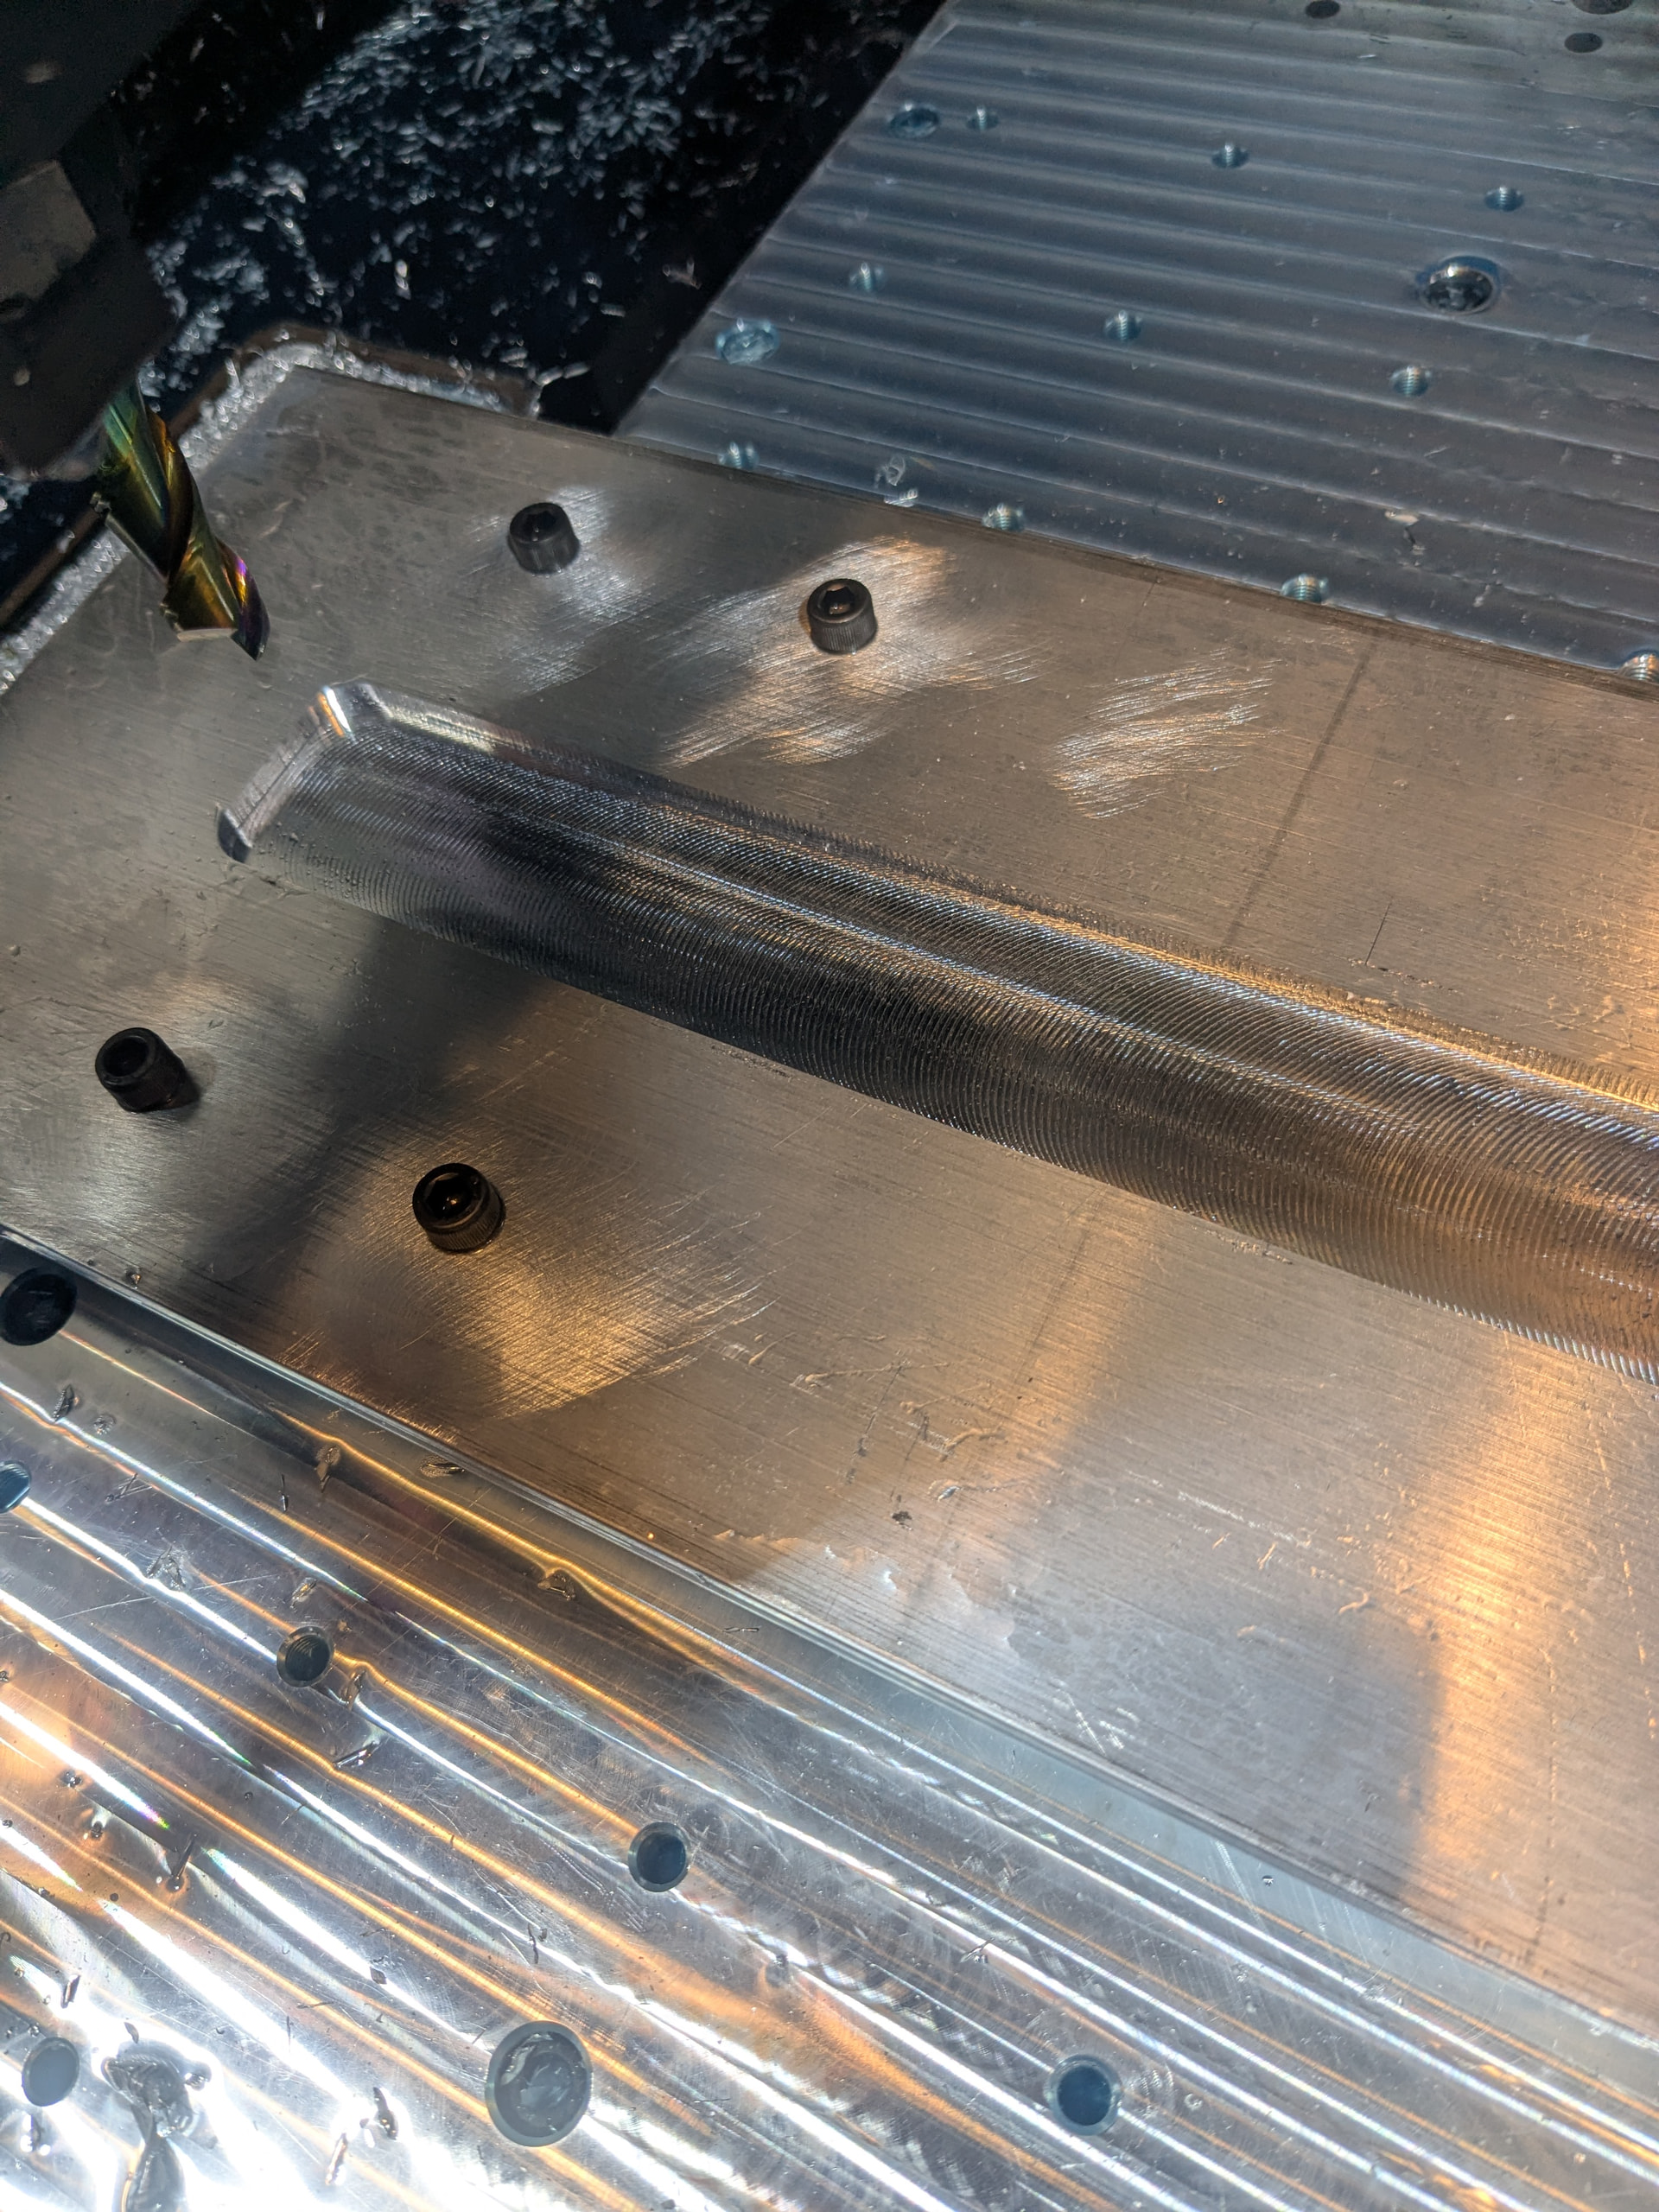
I was working on a small part like this yesterday.
My solution is to do it in two ops. At G54 I have a vise setup that drills holes that the final part will have. At G55 I have a fixture plate with threaded holes in the location that the first op has drilled. Bolts will hold down the plate in the G55 fixture plate and allow for full edge cutting.
My part doesn’t need the surface to be cut, but the top could be done in the G54 station if necessary.
If accuracy is really important (unlikely with wood and plastic) it would be a good idea to use locating pins machined to an accurate dimension instead of just a bolt, and a reamer in the first op to get 0.001” clearance.
I made hundreds of parts this way on my prior machine and it worked well for me. I also get plenty of reuse out of the fixture plates for different kinds of ops before they are too trashed and go into the recycling bin.
I like having the full edge exposed so that I can avoid slotting cuts as much as possible. With the edges exposed I can cut the material just slightly oversized all milling is done with the edge of the endmill instead of slotting. That is probably more important on metal than wood.
Thanks, Alex. That’s an interesting approach. I have done similar jig setups on my laser to good effect. some of the parts I want to work on with the MR-1 will require precise indexing so that I can turn the part over and sometime even on its side. I really wish the MR-1 had a 4th axis. It’s really the only feature that made me hesitate in my decision to get the MR-1.
@bcrimmins I am milling thru pockets on flat sheets as well. Im a beginner, but we have the same application so lets share our learnings! Heres my learnings so far in trying to machine thru pockets in 1/4” thick 6061 aluminum plate;
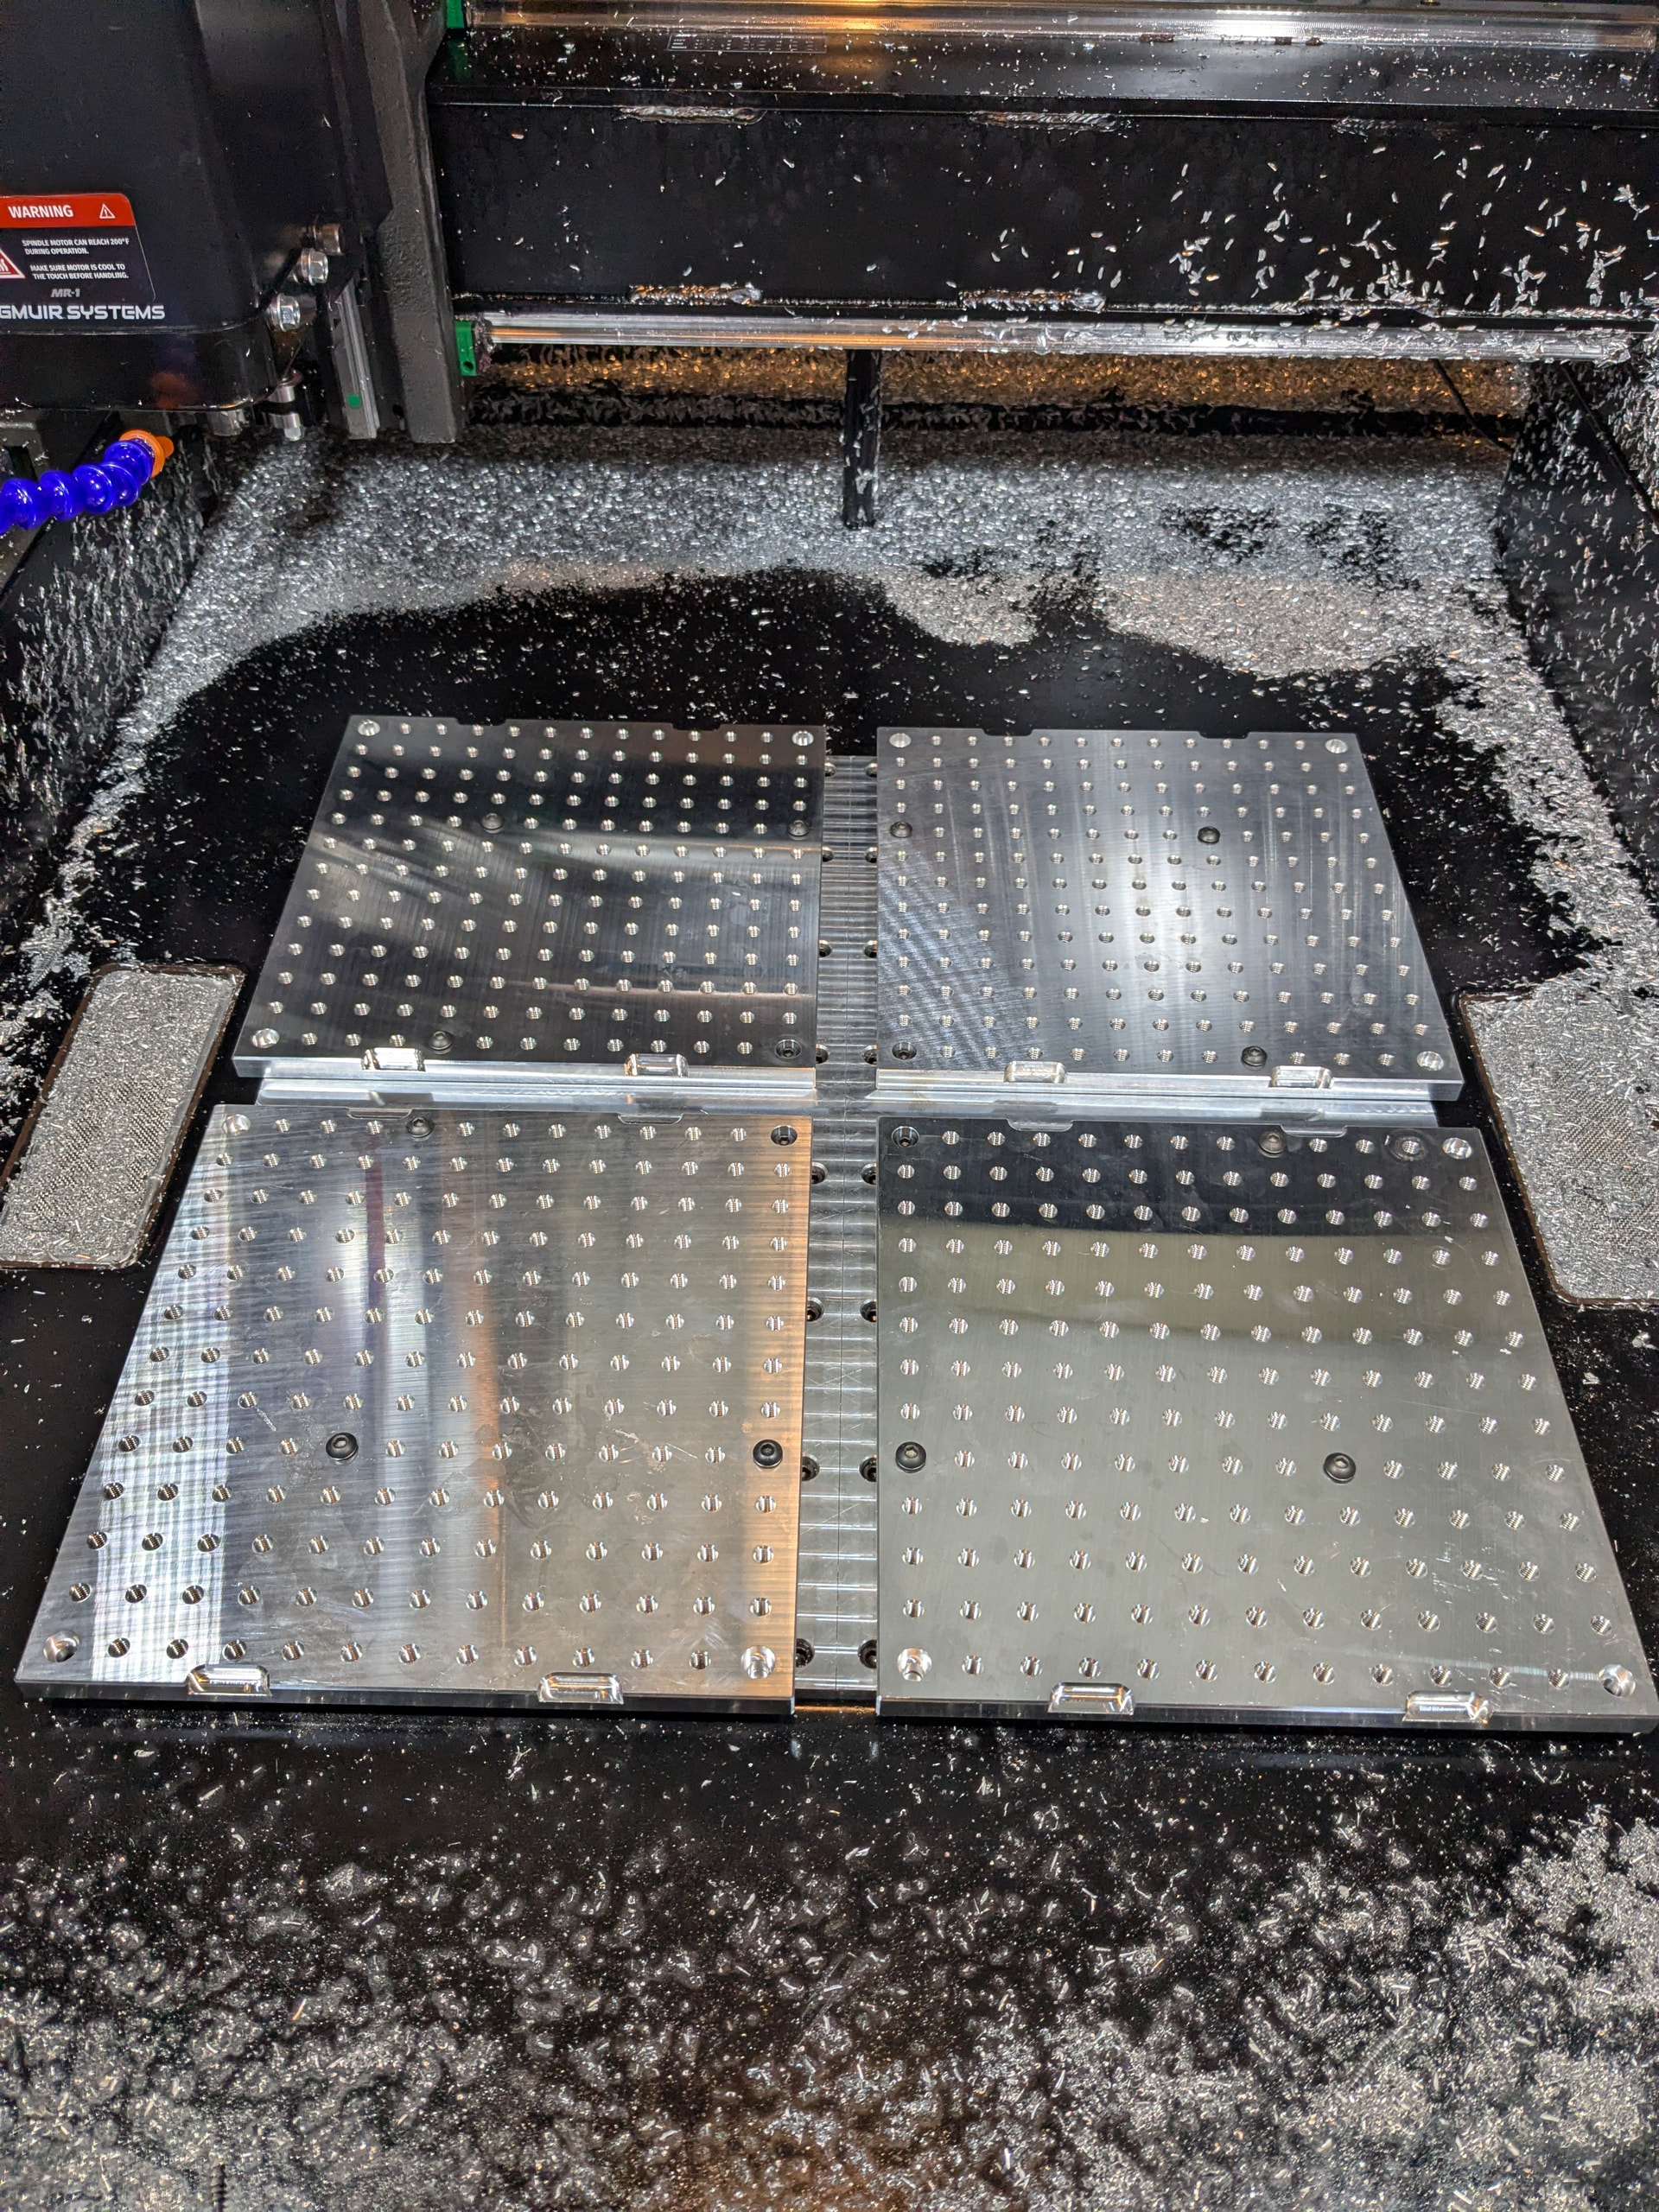
I decided to mount my plate via these bolt depot standoffs. I chose aluminum because of price. I probed these all for accuracy once torqued into my baseplate and surprisingly the z axis runout was only .002” across the entire span of the baseplate and 40 different standoffs. Also the worst hole center runout across x or y was .003” *Note my baseplate holes are not square to my gantry (normal due to placement errors in the concrete) but are pretty good, .02” runout across all axis. I drilled the mounting holes in my workpiece plates 9/32” and this gives me enough play to tram the plates in perfectly. https://boltdepot.com/Product-Details?product=29307
I machined my first pocket with a 1/2” endmill from Langmuir and had horrible chatter. I tried all adjustment settings and just couldnt get the chatter to stop. I removed the shank extender and boom, chatter was gone. Im convinced the extender cant be used to reach the baseplate without introducing chatter while cutting with endmills.
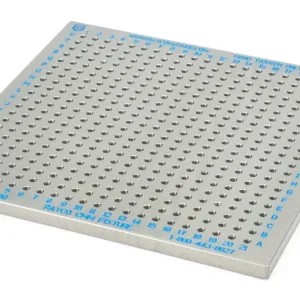
Now that the extender is out, I cannot reach the bottom of my 1/4” plate with a 1/8” endmill. I need the 1/8” endmill for my corners and finish passes. I solved reach issue with two products; 1- Fixture plates from CZ industries. These increase my workholding envelope, give me tons of mounting options, and mount right up to the MR1 baseplate. The SMW baseplate is the gold standard but I wanted to try these before springing on a $2k upgrade. So far Im tickled with how they work. But I still couldnt reach the bottom of the 1/4” plate with a 5/8” standoff and a .5” fixture plate. So now I ordered up the 7/8” standoffs and will try again. I did some ChatGPT calcs and with 8 of these standoffs I can have enough rigidity to machine with no deflection.https://www.czindstore.com/product-page/imperial-fixture-plates
Dylan Comm I love the idea of sharing our learnings Cutting flat sheets. The first work I’m doing is with 1/4” and 1/5” ABS and Delrin sheets. For that reason, I think that standoffs won’t be a good fit because of the potential of the sheets to flex. But I love that idea for aluminum, which I will be doing in the near future.
The nature of the pieces that I will be cutting are that they are somewhat arbitrary and ad hoc as I iterate on designs that need these smaller pieces. For this reason, I need a quick setup and an easy way to cut reliably from a known position on the stock sheet that has not yet been cut up. Imagine an 12” x 12” sheet of ABS that I have already cut four parts out of and have consumed about a third of the sheet. Now I need to position the mill at some point where there’s room to cut another part and then set that as the new x/y origin to run the operation.
My approach for plastics sheets is to use a waste board (plastic, plywood or MDF) as a sacrificial cutting base. I don’t really need a precise starting position because I’m cutting through the plastic into the waste board. So variation in the levelness or top height of the stock just doesn’t matter much. I can just position the mill so that it is about 0.020 above the surface of the stock and then zero the x axis.
In my early experiments I have found that double sided tape works fantastic for keeping the piece in flat and in place. At first, I thought I wanted the strongest possible tape. But what I discovered was that it can be pretty hard challenging to pry off a piece of plastic that has super strong double sided tape holding it down. So now I’m just experimenting with tapes to find one that has a reasonable, medium strength hold.
I’m setting up to mill some cylindrical motor shaft parts right now so I can’t really send pictures. But I will soon.