I’ll share this here as well…I’m VERY impressed with Bambu Lab PET-CF (*Note PET-CF is NOT the same as PETG-CF):
I’ve spent the last few days experimenting with printing and annealing Bambu Lab PET-CF filament, which is incredibly heat resistant, yet still quite easy to print.
After watching Dr. Igor Gaspar’s (My Tech Fun) video on this filament, it became evident that annealing was absolutely necessary to achieve Bambu’s advertised heat deflection temperatures, however, I found that I achieved similar results to Dr. Gaspar’s oven annealing (2 hours @ 110°C) by simply “Lazy Annealing” my parts directly on the heat bed (which has much lower likelihood of part warpage).
In previous experiments I found I was able to achieve a consistent 90°C annealing temperature with the build plate set to 120°C and the parts covered with a foil wrapped filament box. My annealing process on this heat deflection test bridge was 3 hours @ 90°C started immediately after the print, followed by a slow (1-1/2 hour) cool down.
What you are seeing in the video is the heat deflection bridge, after being warmed to 425°F (218°C). After witnessing zero deflection with 2x 10mm nuts, I opened my oven and pushed down on the bridge with great force. I would have gone to a higher temperature, but the cardboard I was using as an insulator was starting to burn.
I hope this information is helpful. Heat bed annealing is really only practical for smaller parts, but the ability to retain dimensional accuracy is quite beneficial. After very underwhelming results with annealing Matter Hackers NylonX, annealed Bambu Lab PET-CF will be my go-to filament for anything going into an automotive engine bay application moving forward.
It’s frustrating. I’ve restored a bunch of cars, but I’ve “built” about 6 that were completely customized, and thinking about the next guy who’s gonna service the thing is always the hardest part. The first one, which was a ‘38 Chevy pickup cab on a fully scratch built chassis, is certainly a pain in the rear for whoever has to work on it. I’ve tried to hold myself to a higher standard ever since. And therefore it’s extra frustrating when the OEM’s with all their resources don’t even get it right…
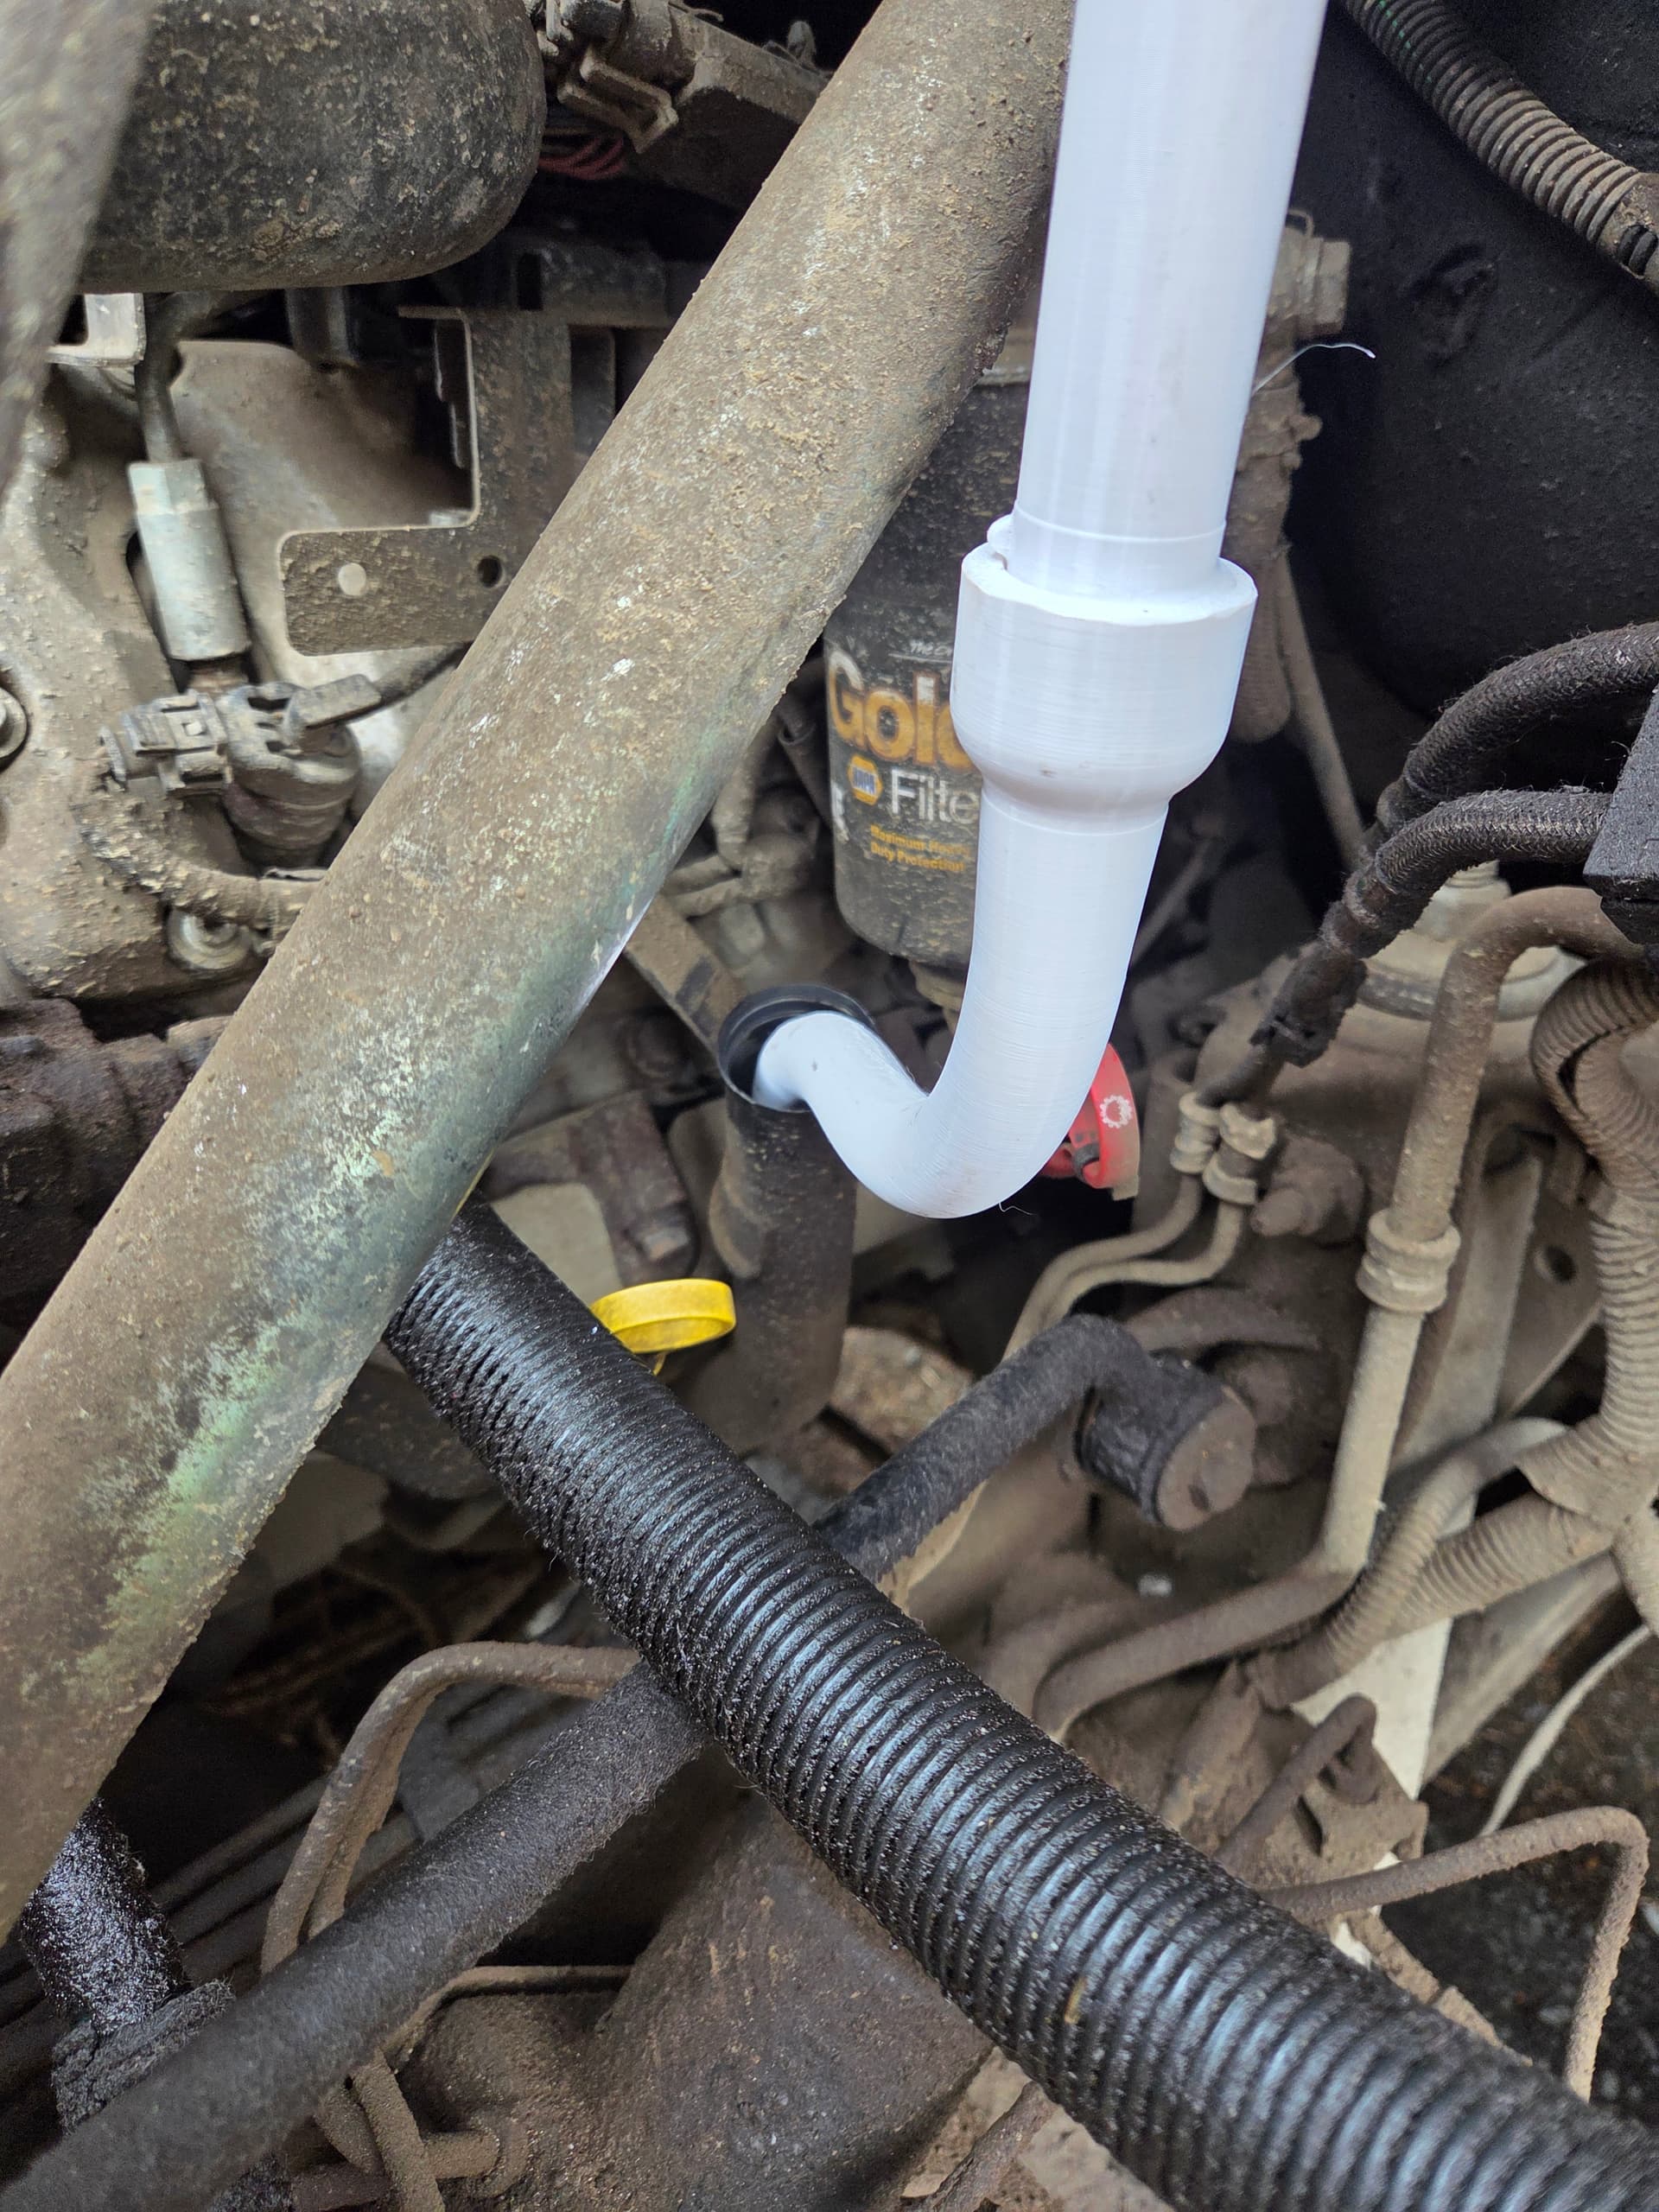
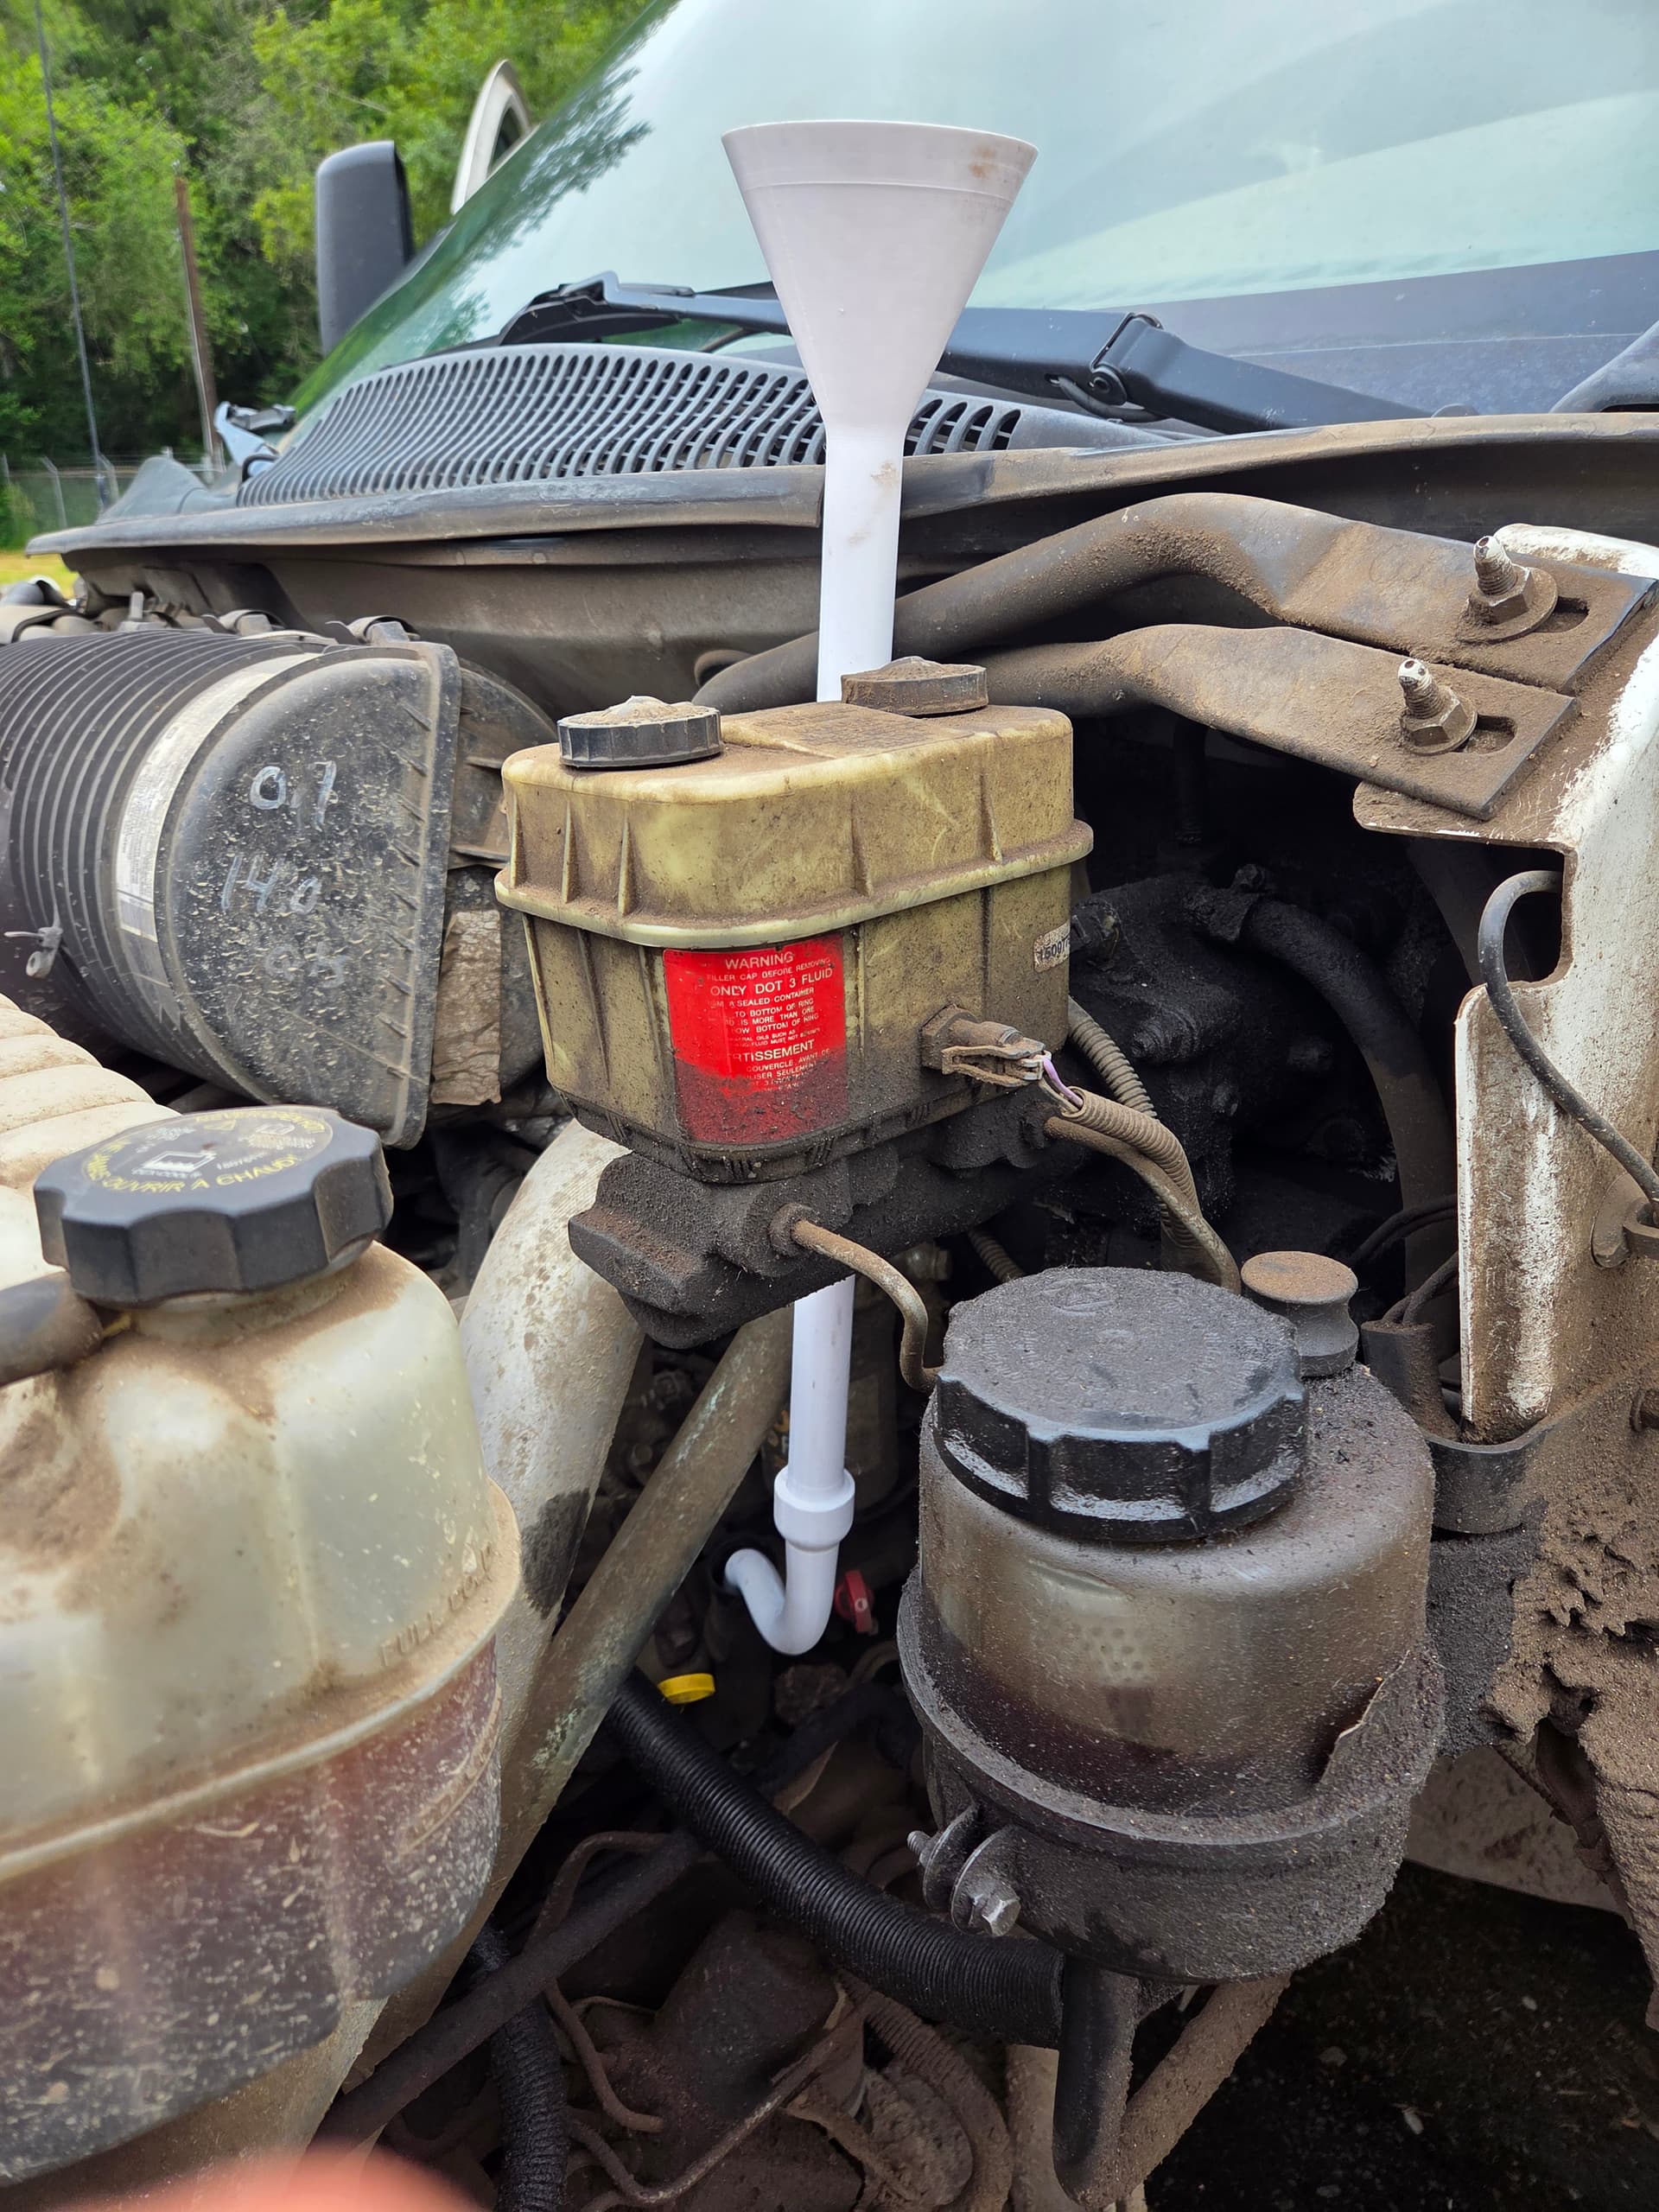
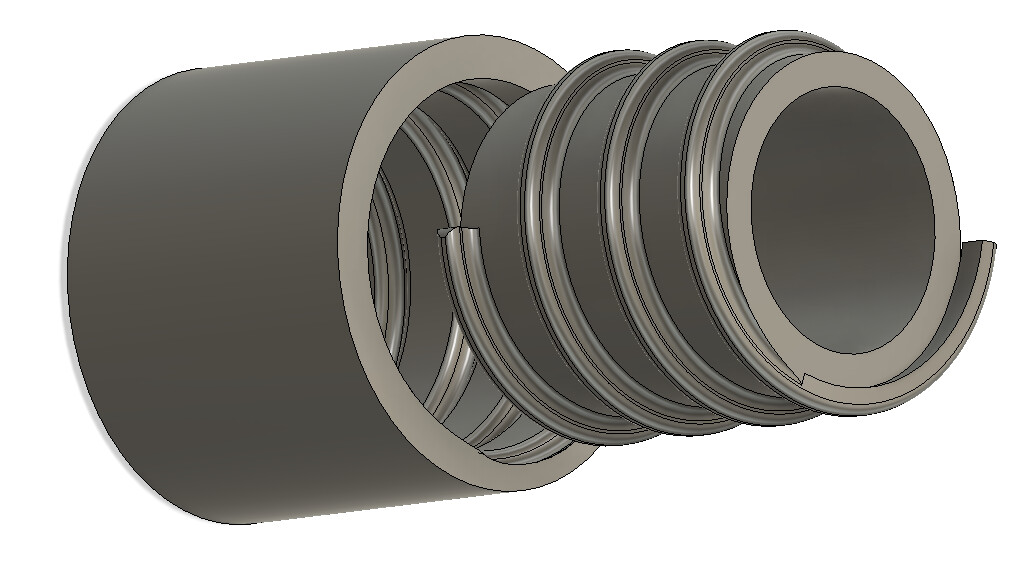
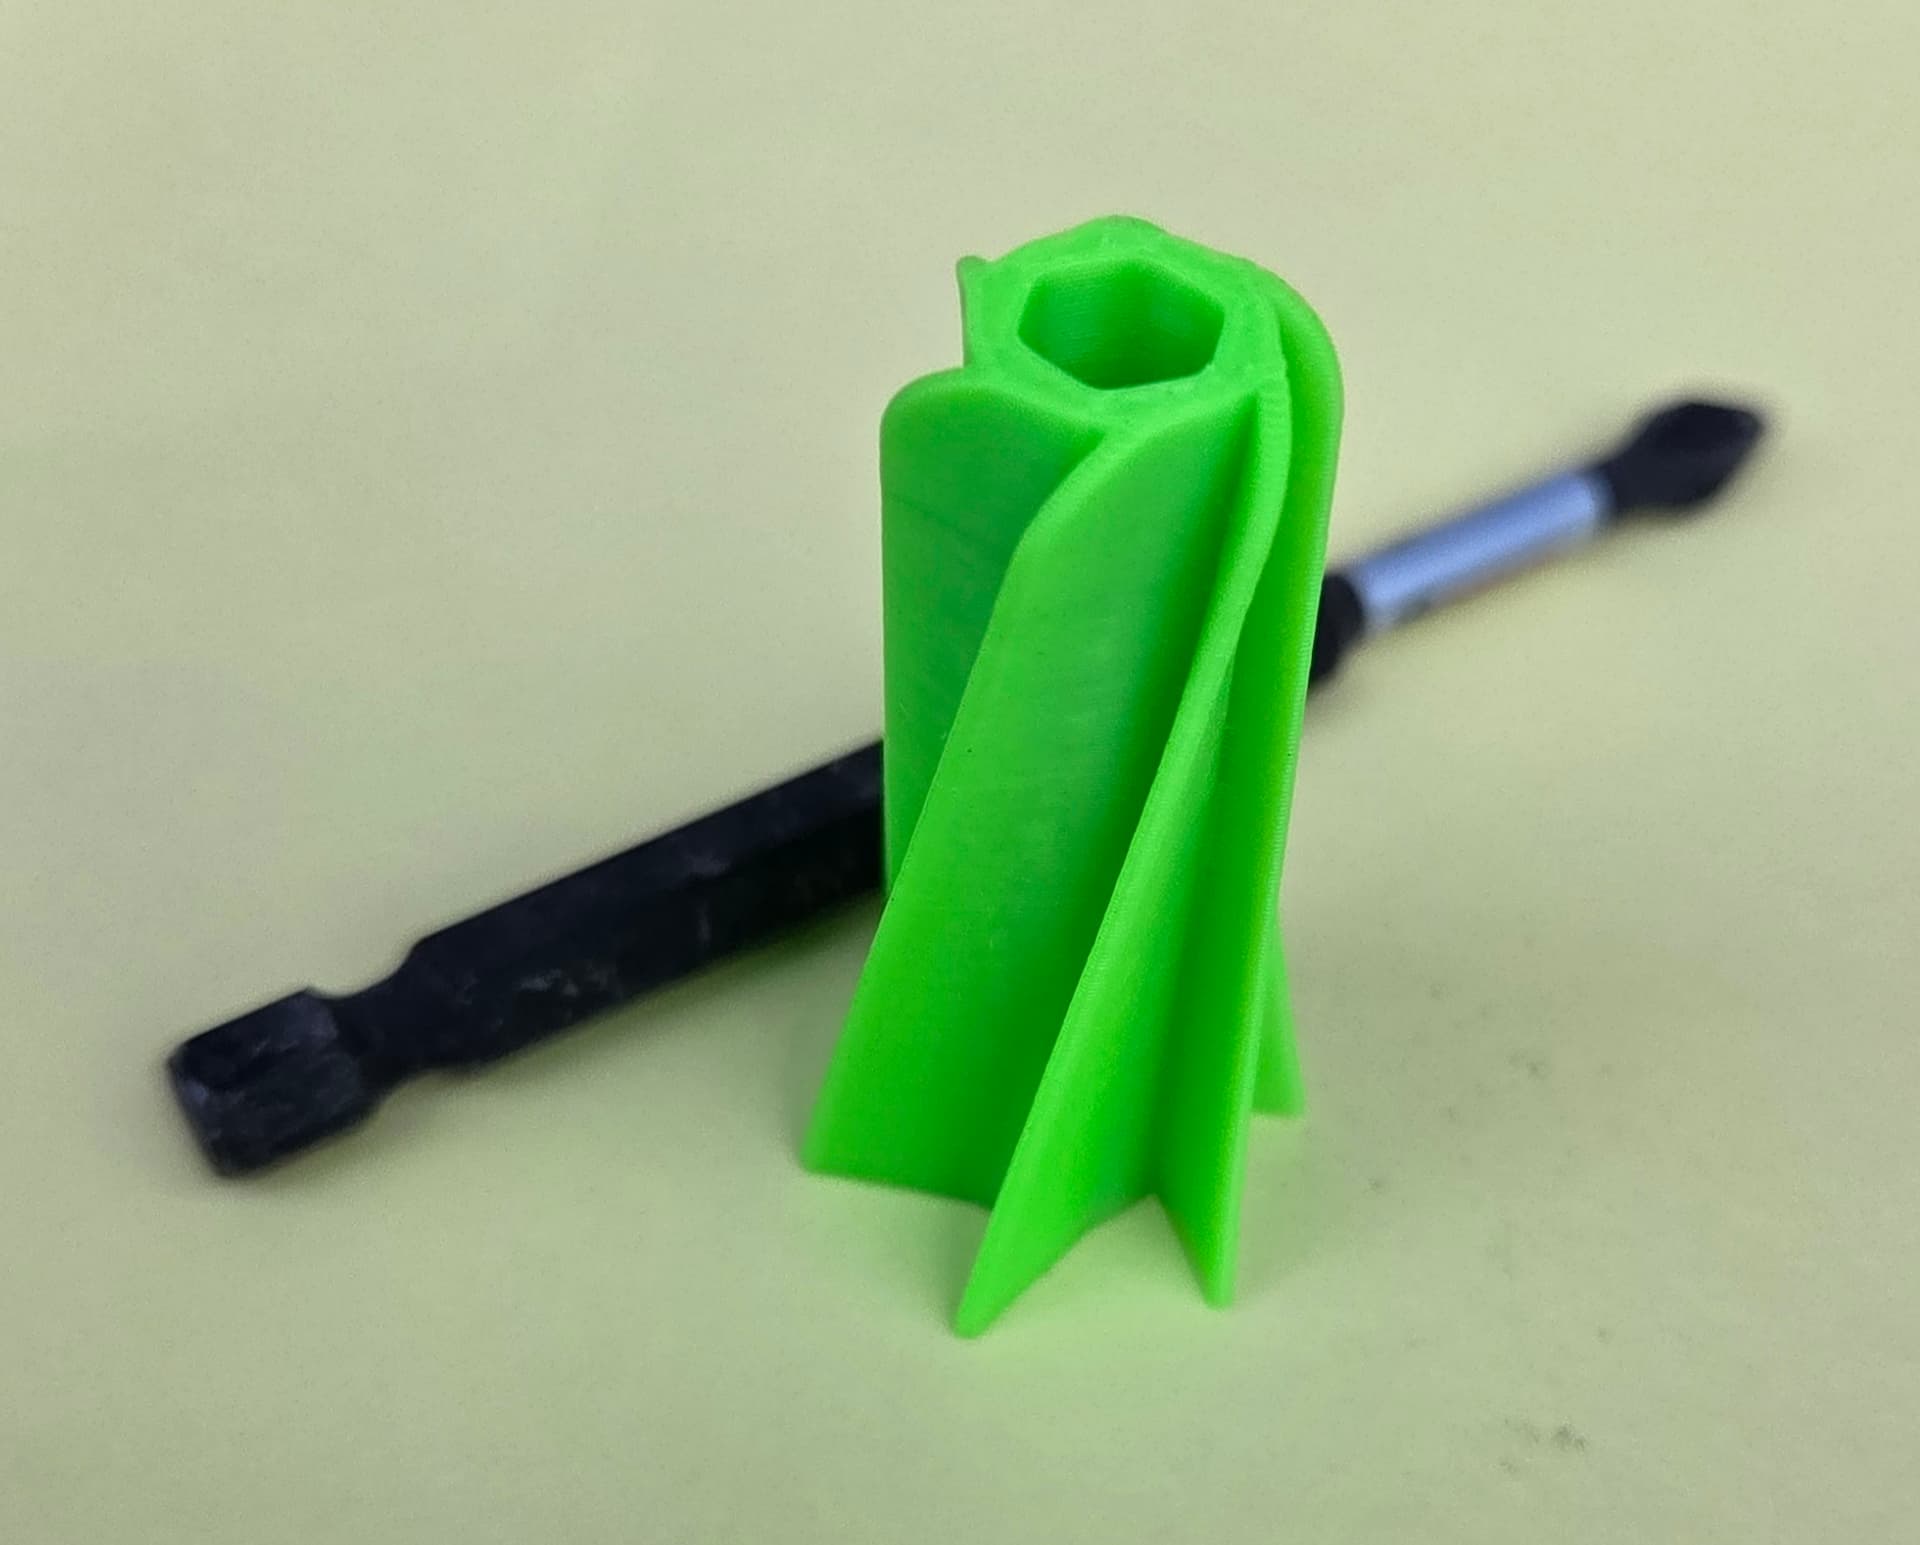
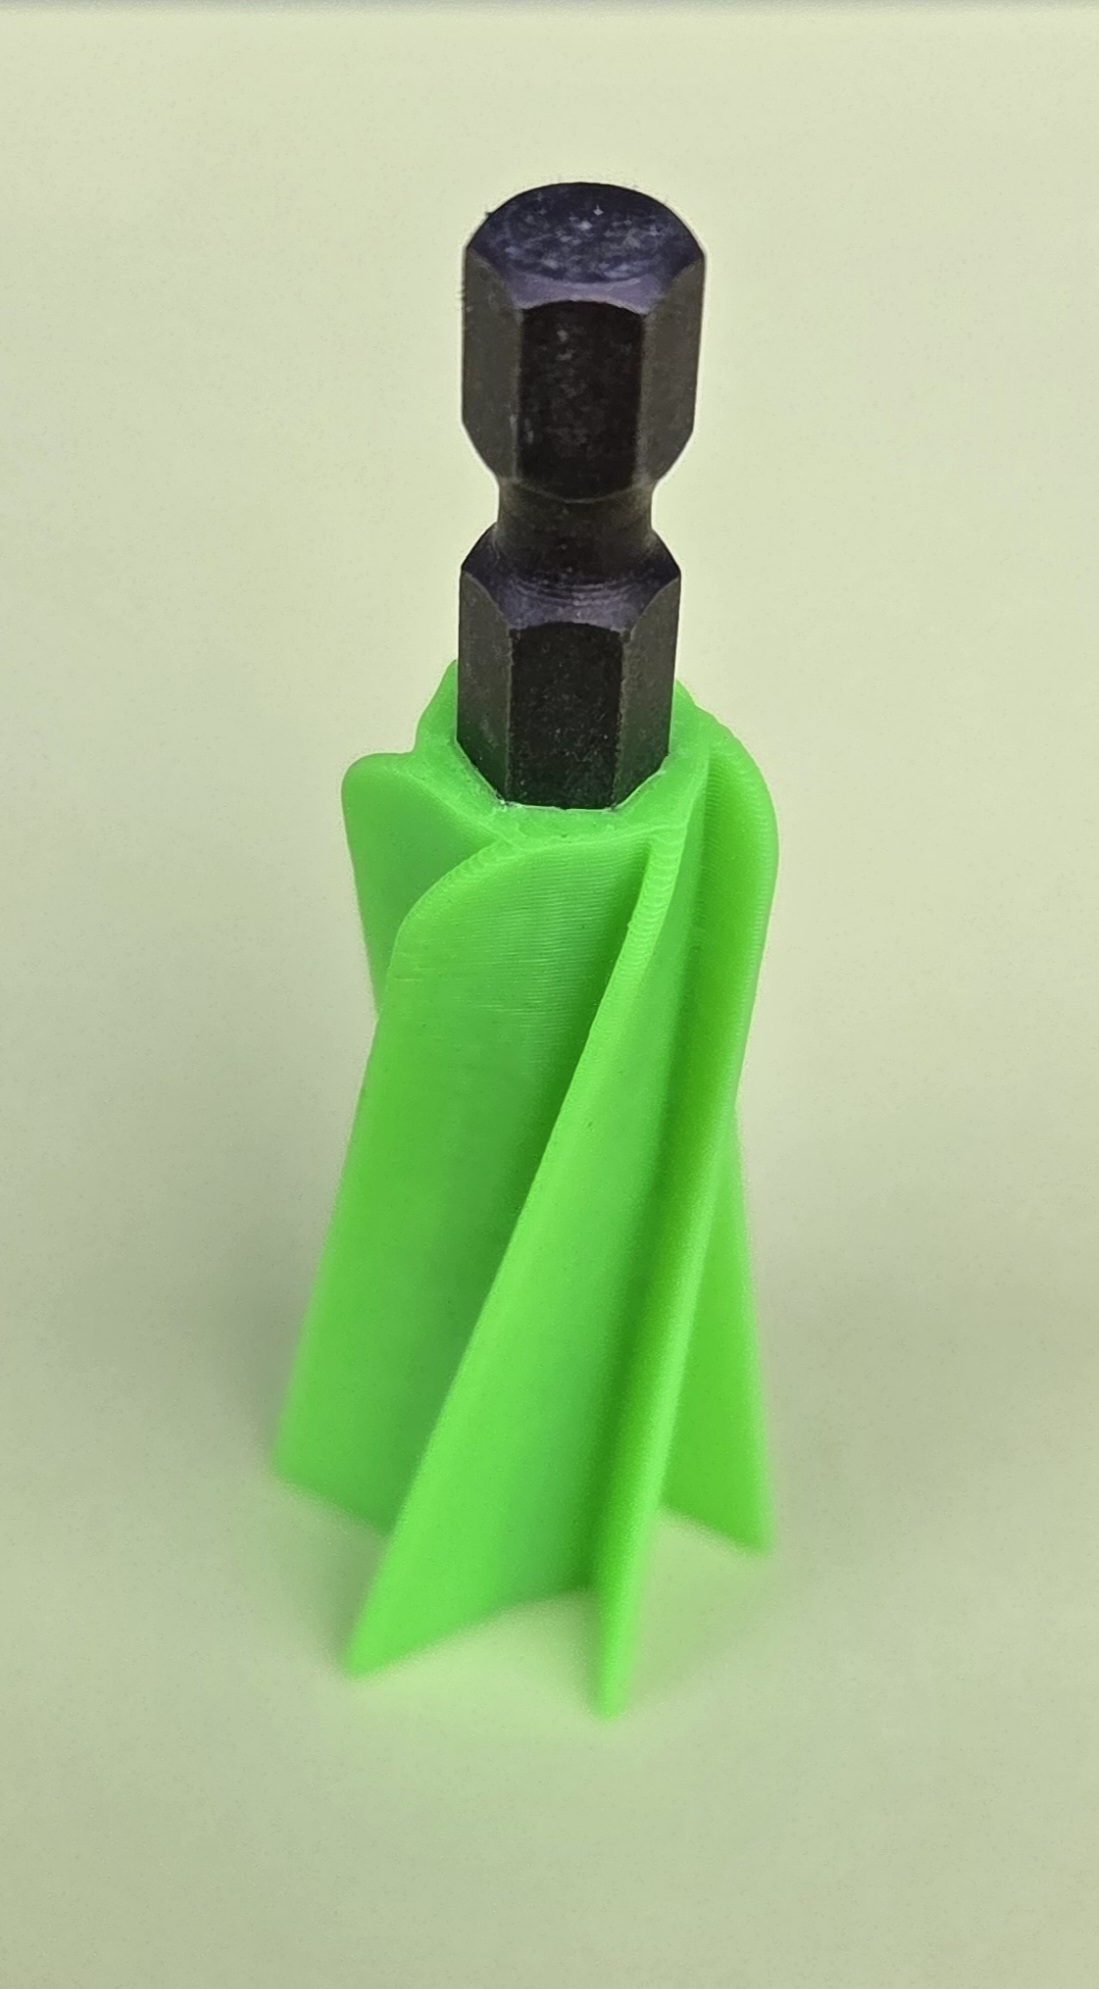
@ChelanJim, that funnel is amazing! I appreciate the ingenuity.
Our Lexus-LS400 required extensive labor to get to the starter. Bret could probably explain better than I could but it was in the middle of the engine. You, literally could not visually see the starter.
For the time that we had that car, we had the starter replaced twice (about every 100k miles). We loved that car, though.
I will post the funnel model online. It really finally satisfied one of my requirements of having the printer.
I have already paid for my H2D with my side-hustle job of “Weekend Dump Truck Driver.”
No, I just meant that I made at least 20 different versions of a funnel when I first got the X1C and was never fully satisfied with my designs. I had in mind, when I got that first printer that I was going to solve my itch of having a funnel “that worked.”
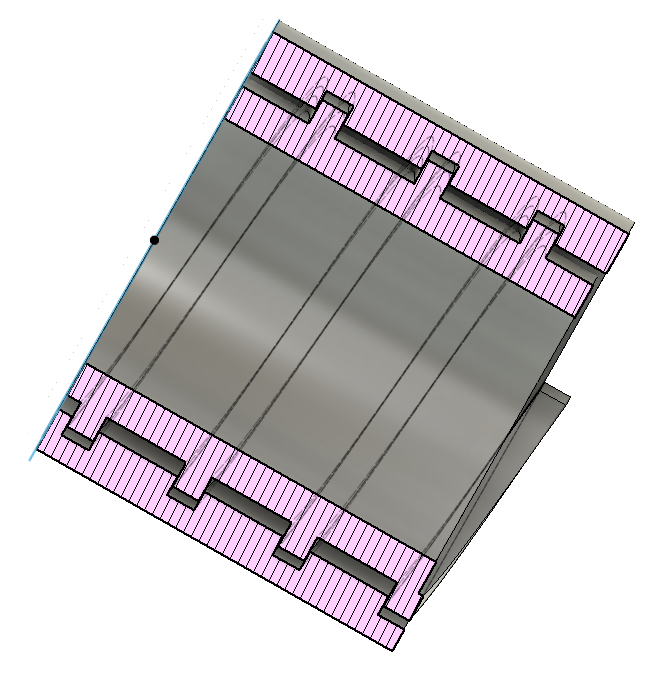
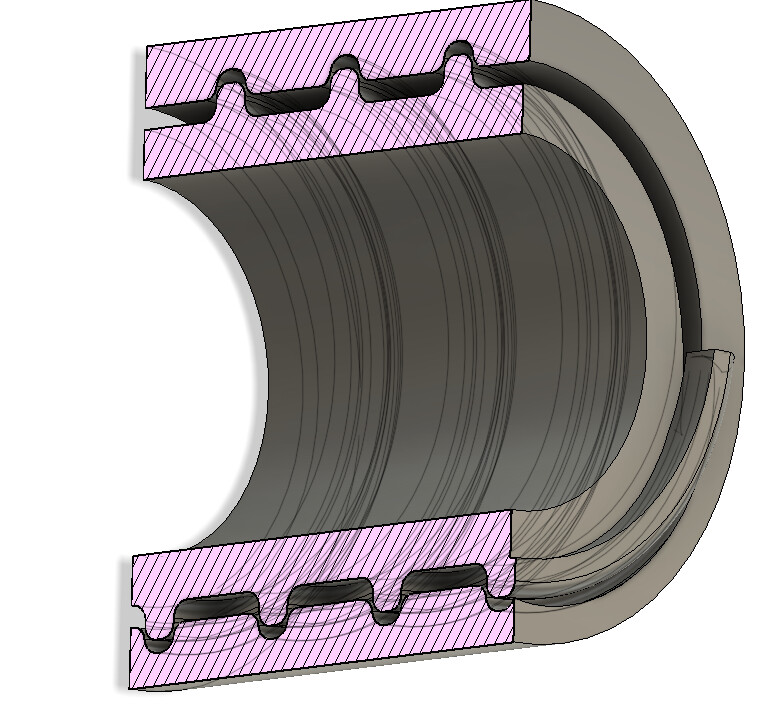
I think the thread design is what helped to expand my design thoughts. That allowed changing the actual pieces to work in different scenarios. Up until that, I struggled with a thread that was easy to attach and secure. I ended up using a coil design with a square profile, assured myself there was clearance with “inspection” and then filleted the corners of the coil.
Our Deere row crop tractor you have to take the steps off the passenger side to replace the batteries. The batteries died over the winter while it was parked at my place. They are “only” 15 years old. I guess if you’re going to hide them… at least they used batteries that last. I’m actually baffled they lasted that long. My dad must be better about maintenance than I thought.
Kudos to my dad conveniently letting me keep it over the winter the year the batteries were going to die.
In a way your daughter did the same thing with her dump truck…
Jims Daughter to his SIL: What have you been doing all this time… I need some help with the kids.
Jims SIL: “Sorry Honey, I’ve been working on the dump truck… I can’t figure out how to get oil in it, the filler port is impossible to get to?”
Jims Daughter “I know I’ll just let my dad drive it for a couple of months… he will figure out how to get oil down there!”
Jim’s SIL: “Dang there goes my evening hall pass”
I finally have my printer moved over to our new house.
I have been putting in bathroom hardware and coat hooks… etc… it seems like it never ends. I am hoping to get the printer up and running again soon. I haven’t used it since I had the issue with the AMS not feeding.
Now that all the hooks etc. are done, I was told yesterday I need to focus on the AC pads and back sidewalk. Sooo the 3d printer may still have to wait a bit.
We are taking a youth group to Moab to do some river rafting, canyoneering and Mountain Biking this week. My wife is going to be pretty anxious to get the sidewalk done when I get home.
I do a whole lot of “I need a thing” stuff with my printer.
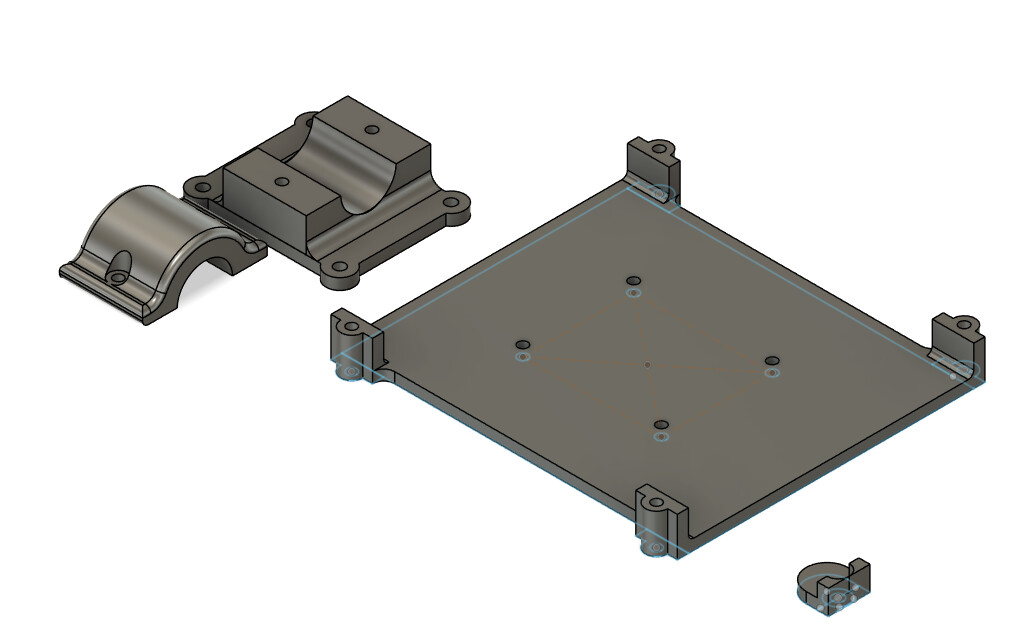
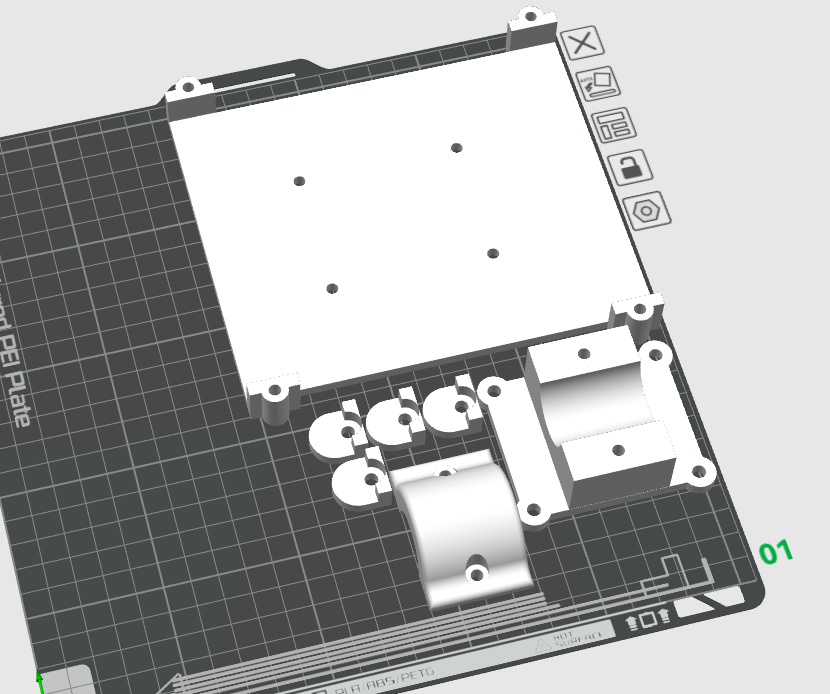
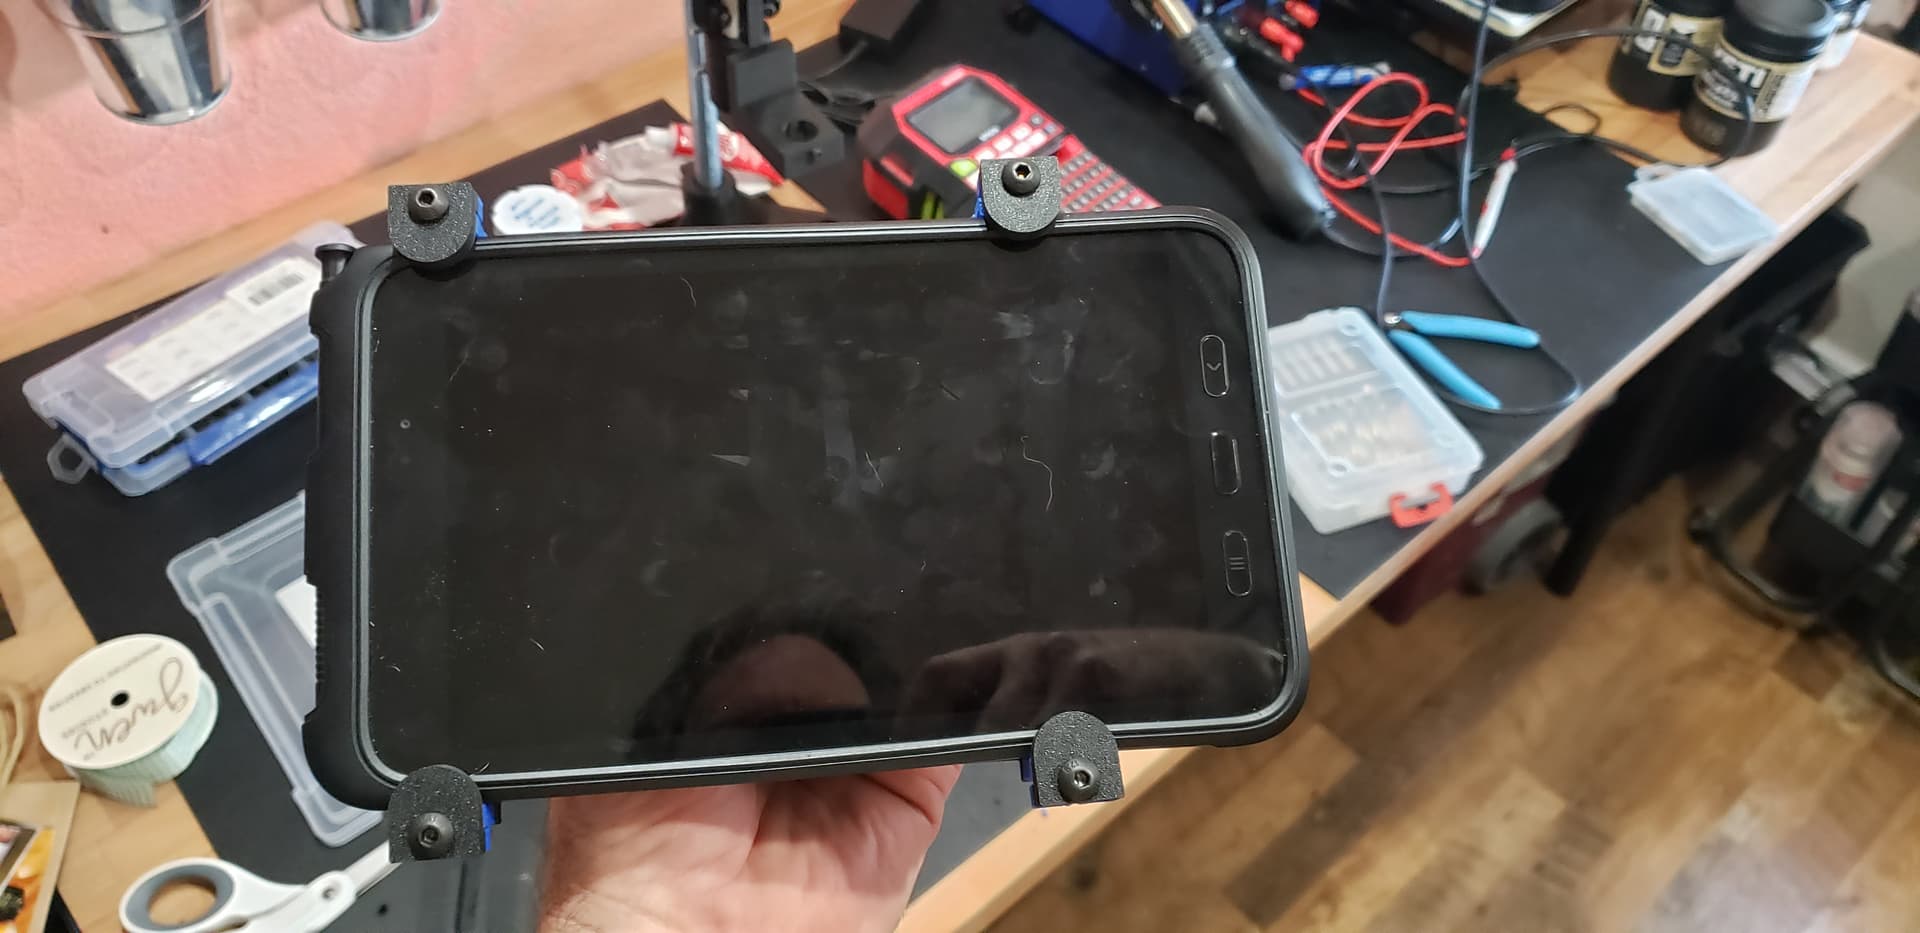
Last night, part of my ongoing navigation issues with my Goldwing, I am trying a 8" tablet to do my music and navigation in leiu of the Android Auto which works, but is tiny for my blind butt.
Got the tablet yesterday afternoon, slapped a drawing and model together to hold it last night, printed and ran out of Black and transitioned to Blue, and after an overnight failure to retract with the AMS (only ever happens when I am gone or sleeping) finally finished it…now (0519).
Yes. If it’s more of just an attachment, and not necessarily load bearing I’ll just thread the plastic hole. So for this particular application I’ve got both on the prototype. The final finished product out of Asa is going to have countersunk nuts or heat set threaded inserts.
I had thought of using a threaded insert, for another project, but couldn’t figure out how to get a more precise placement. Now I have an idea with the drill press.