Great job!! I bet she is happy!! If sticks is right and it breaks it might be a good time to propose a new MR1 so you can fix it “right” ![]()
![]()
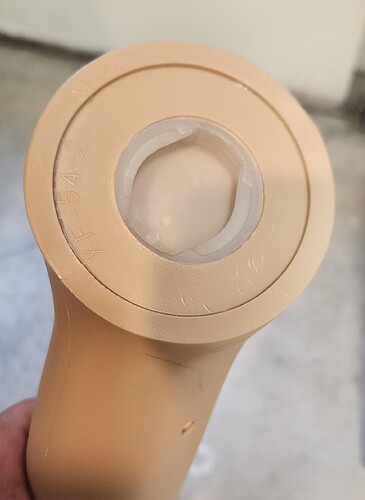
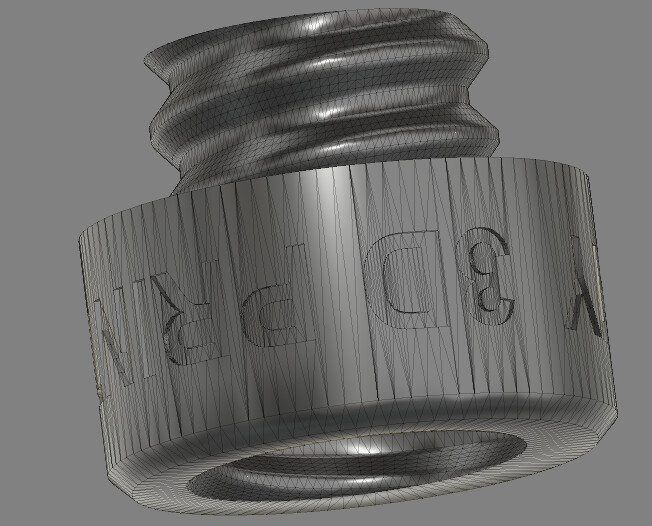
I thought about that very thing. The difference is that the original post was hollow, as you might be able to see, and mine was solid.
After fixing it I then made one out of ASA but decided I had better use the PETG because my thought is: I would rather replace this male part than the female part. If this female part gets broken, I am not sure of the fix: much more involved.
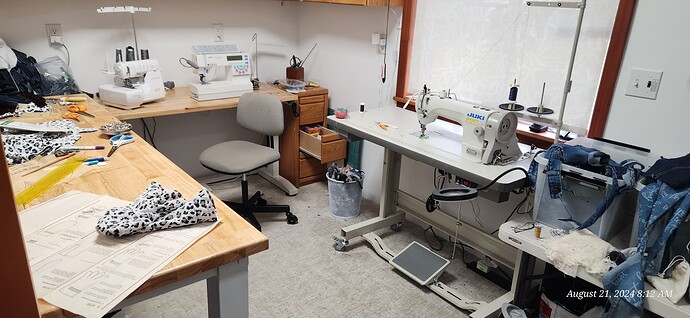
It really is all rather obvious if you knew my wife. Her passion is sewing and she has gotten on this craze for the last 8 years of making coats and other garments out of recycled things. This is her hobby space:
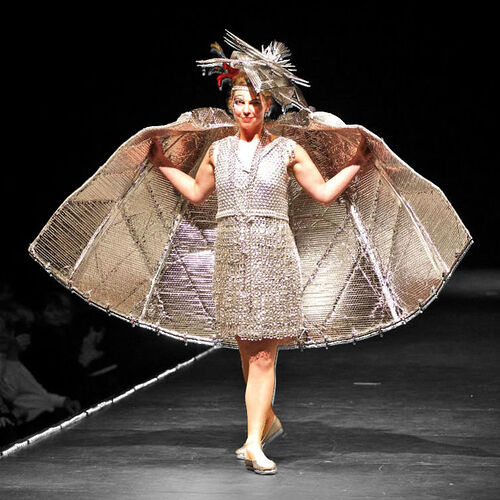
In 2017, she and her two sisters decided to compete in a local fashion show called “Wearable Arts”. The show had been an annual event for about 7 years. Needless to say there was a small core group that expected to win. The problem is that one of the three judges was visiting from out of town and not part of the group.
My wife ended up winning 3 of the 5 awards with this entry: Best of show, best use of material, best make-up. It is made primarily from soda pop can pull tabs.
They were black balled by the one organizer so in 2018 when they entered this transformation dress made from recycled plastic shopping bags, they got nothing. The audience went crazy with it. This transformation from one to the next happens in less than 5 seconds:
The 2018 winner, designed by a 14 year old girl under the guidance of “one of the organizers” the primary force behind the black balling effort, was this:
Needless to say, the audience was perplexed.
But I digress… Yes, the mannequin was used for displays and promotional events.
Edit: I sanitized my editorial comments that are my opinion and solely my opinion (NOT) ![]()
You tell your wife I really like what she is doing even though I wear basically the same clothes everyday. Jeans, tee-shirt or hooded sweatshirt.
Her work space looks very nice too, and hats off to you for fixing the mannequin
Well, after shocking myself this weekend while trying to FINALLY get my bed slinger up and running and calibrated, and nearly yeeting it through a wall, I may finally be done with trying to make my own printer, and just pull the trigger on a bambu.
Been fighting this thing so much and my patience is done. Just sickens me the time and money I’ve spent on this tool to have it STILL not want to work.
I have no idea what happened, but the bed got energized (the heater is 110v mains, but there shouldn’t be anything shorting it), and it reads 110v 60hz to the case of the power supply on my multimeter. I HATE electrical gremlins, and I really don’t want to chase this down, but I’m so invested I might have to.
Check your wiring. Most likely a wire got pinched.
Possible the heating element shortend internally.
Disconnect both legs of the heating element and ohm out to each other and each leg to the mounting frame of the bed, and at the power supply case.
When I was in my mid 20’s I bought a table saw that could be wired 110 or 220. I only had 110 available so I switched the wires.
It even cut a piece of 2x4 but I felt a humming/buzzing of the table top. I put a volt ohm meter to the cast iron table top. Yep… The hot leg was going to the ground.
The stupidity that we survive from is just pure chance, sometimes.
I do really love this Bambu printer but never had access to a 3D printer before. I guess you can say, I am spoiled.
Did you run the heating to L and N or L and Ground?
Would the build plate still heat if that was the case? Because it does.
I KNOW I traced my backup ground lug (bolted to a corner of the underside of the bed, picture below with arrow) to the WAGO that I have a common ground to various places for safety. Weird that it’s energized and no fused popped if there’s a fault to ground though… (picture below of wiring)
Tracing my wiring from this picture (I’m running a SSR for the mains to the bed, default off, triggered ON by the V from the main board), it does appear that I have L and GND to the bed. GND (BLUE) coming from the 110v main in (I need to check that this is actually GND, now that I’m looking at it. You’d think L and N would be next to each other and GND off set, like where yellow is…), to the PS, and the main GND (black, stacked on the same PS lug) running to my WAGO common.
I’ll have to double check. I walked away and haven’t looked at it since.
YUP. As it turns out, I’m a complete idiot.
Yellow is ground on the power in… I’m going to have to change the color of that wire.
Good lord how did I not fry everything?
Glad you found it.
Ha. Pretty sure we’ve all felt that way.
So print the outer walls first…I will need to try that!
Thanks Craig!
You don’t already?
I have not messed around with those settings.
I don’t experiment much with food choices either. ![]()
Recently I’ve been adding banana pepper rings and kalamata olives to my salads. So good.
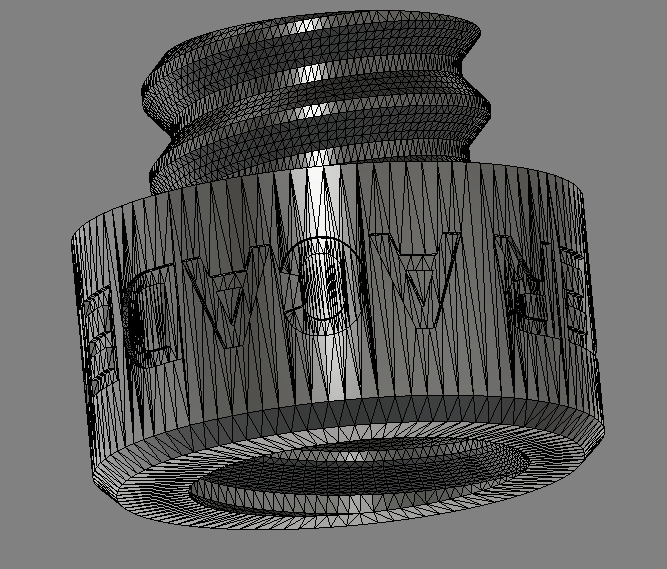
The upside is that once you have the base samples, one can modify and design the additional items needed. No need for the account.
