@Upstategrowguy77
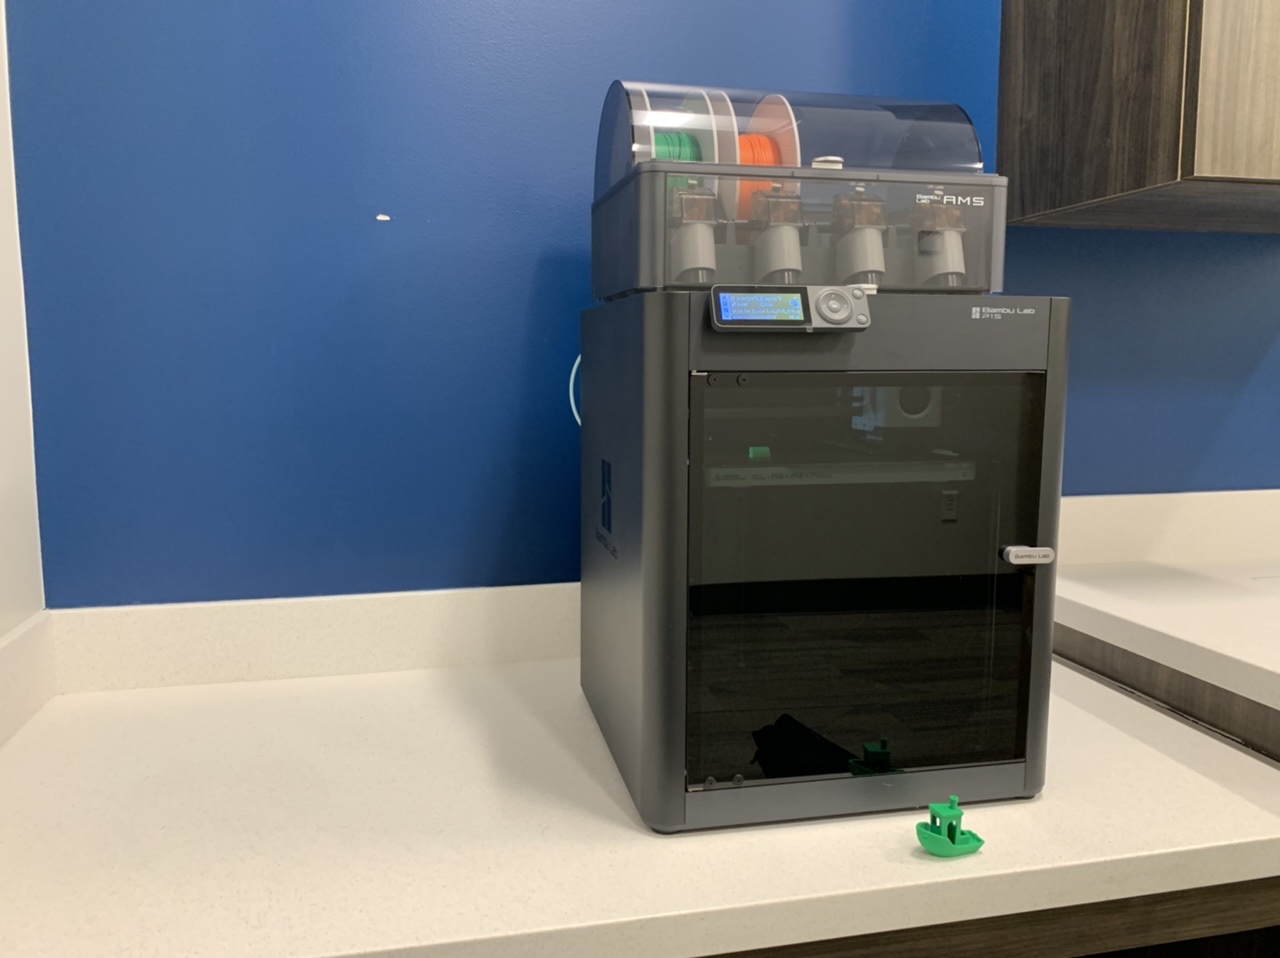
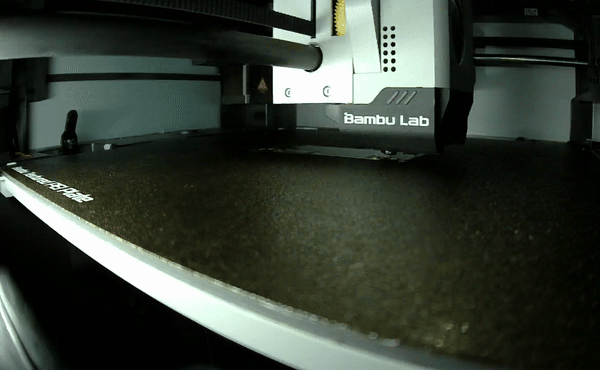
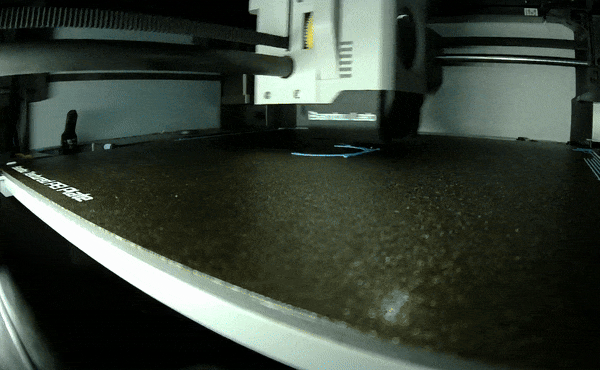
P1S comes with the textured plate. No glue stick is needed for PLA, ABS, ASA, PETG and any of those as CF variants. Hairspray is easier and less messy when you need a release agent on the plate. Nylons (PA variants) will need a glue layer most likely. TPU comes off very easily with hairspray, but sticks tenaciously if nothing is used.
Extra nozzles are worthwhile. I keep spares. I have had one nozzle bent on my X1C and could never figure out why.
You really don’t need all those little bits at the start, extra cutters, nozzle wipers etc. I have never used a metal scraper in 5-6 years of printing. flex the sheet, most items will pop off when the plate is cool. Scraper has a good chance of damaging the plate, just unnecessary.
One more item I suggest is an active filament dryer, plenty to find on Amazon. I use a couple Sunlu versions.
I had a nozzle bend on me too last week. Really wierd I cannot figure out how that could have possibly happened. It’s not like I could easily bend it back so it had to be quite a bit of force from something.
I have to say I have really been enjoying the new printer! So glad I kept following this thread. Super fun and something I can create with when the weather is to cold for the shop.
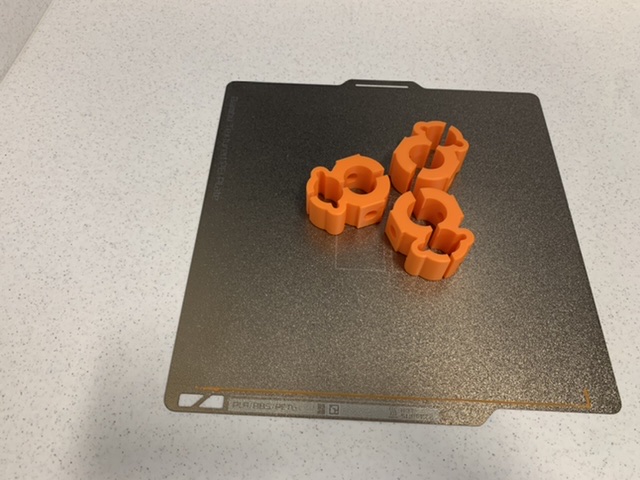
Looks like some temps in the upper 40s low 50s this week… super excited to pair my newly printed ski holders with the plasma cut snowmobile ski rack this week!
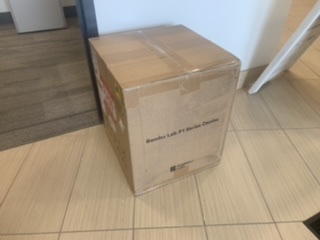
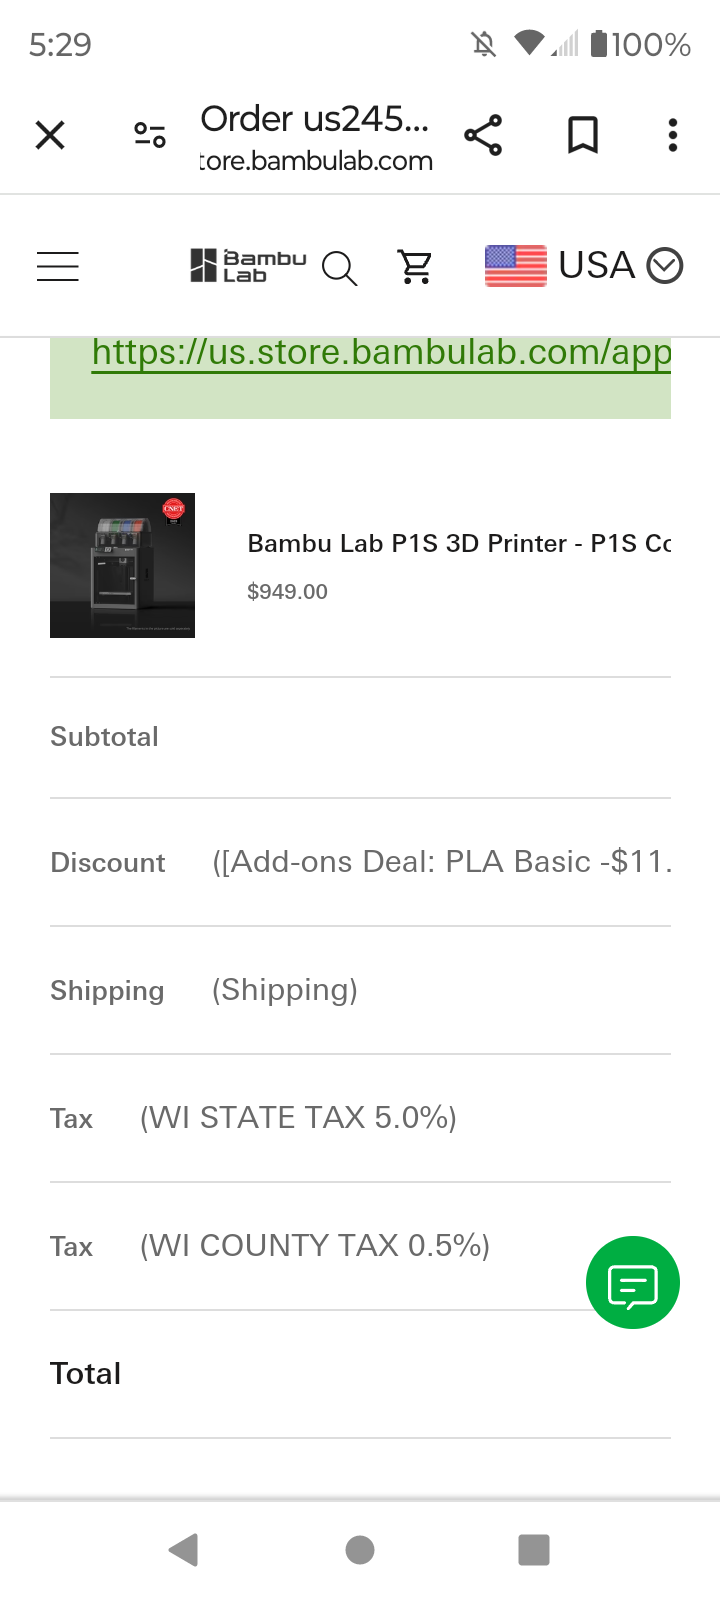
Thanks guy’s jumping in with the PS1 now that I’m getting better with confusion. Looking forward to this new adventure and making some parts for the cross fire.
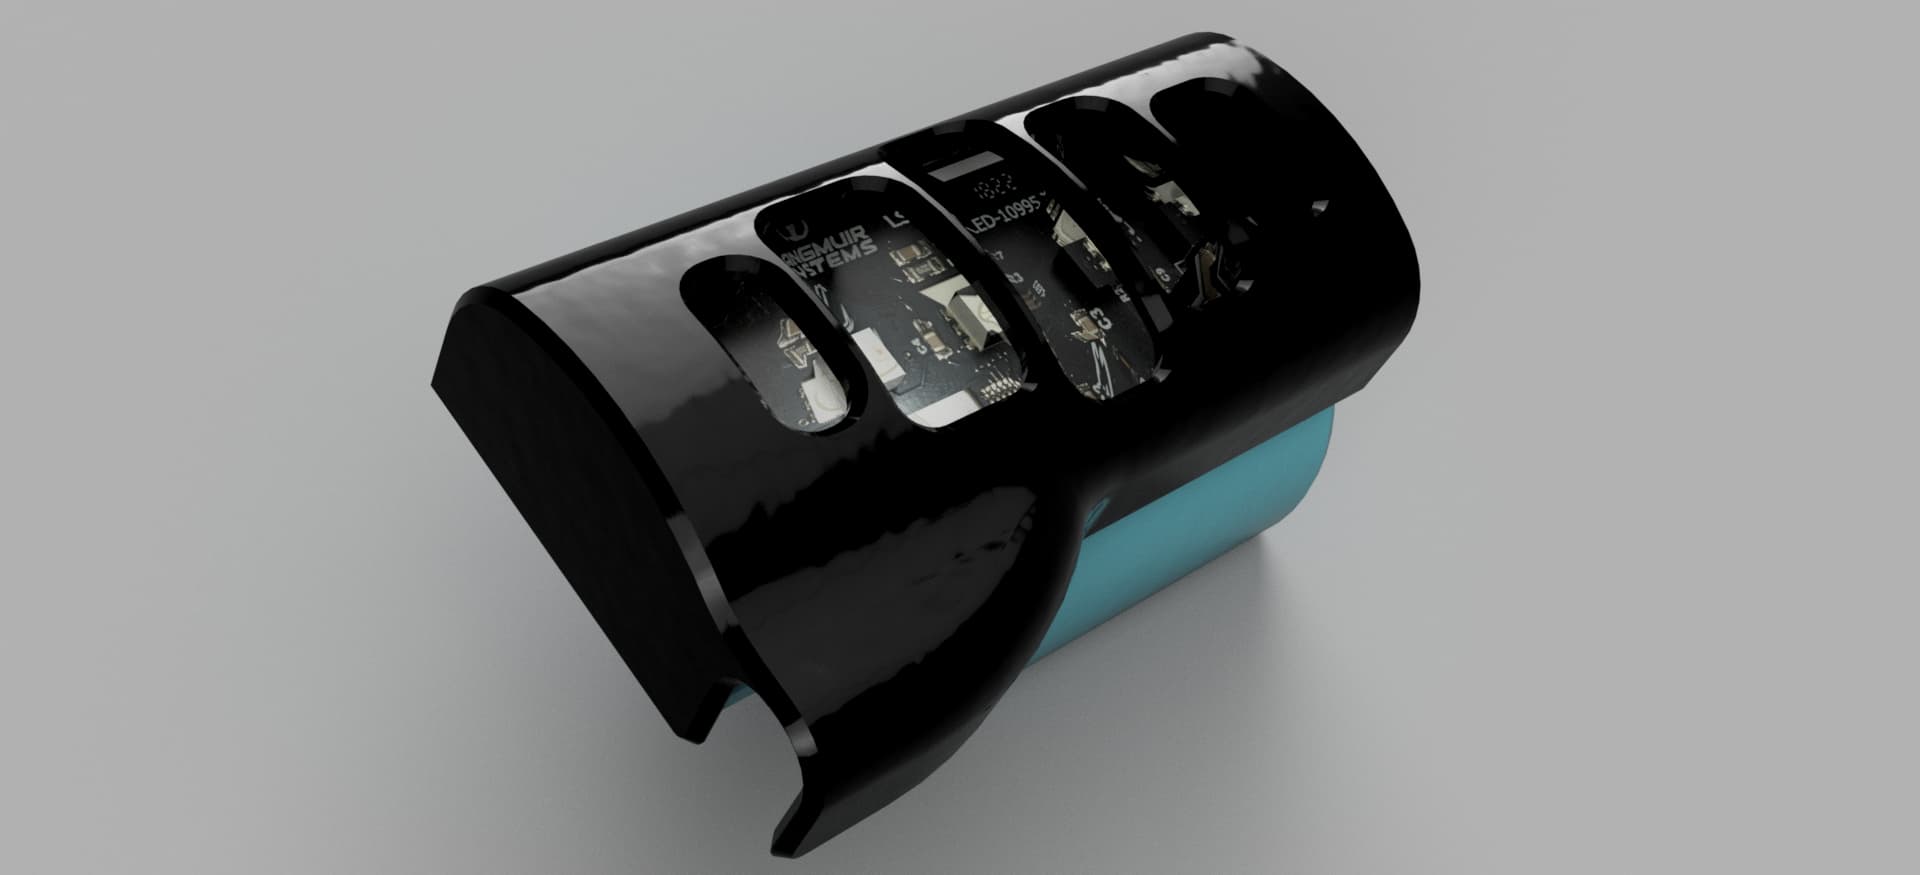
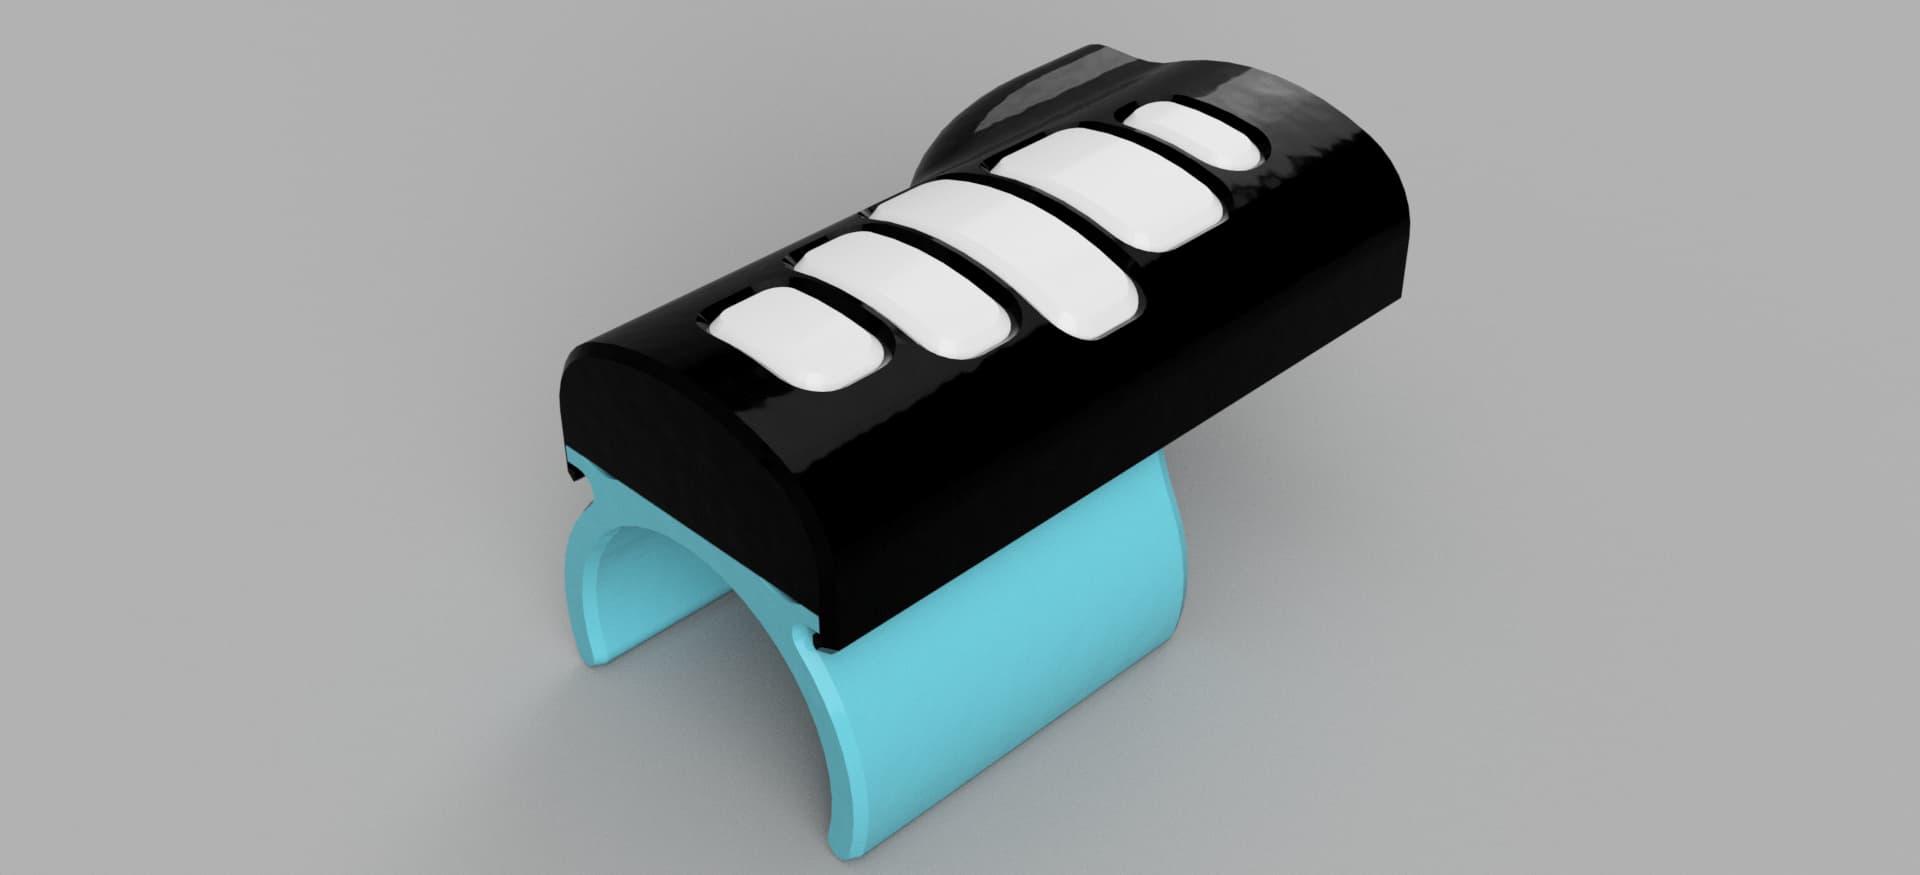
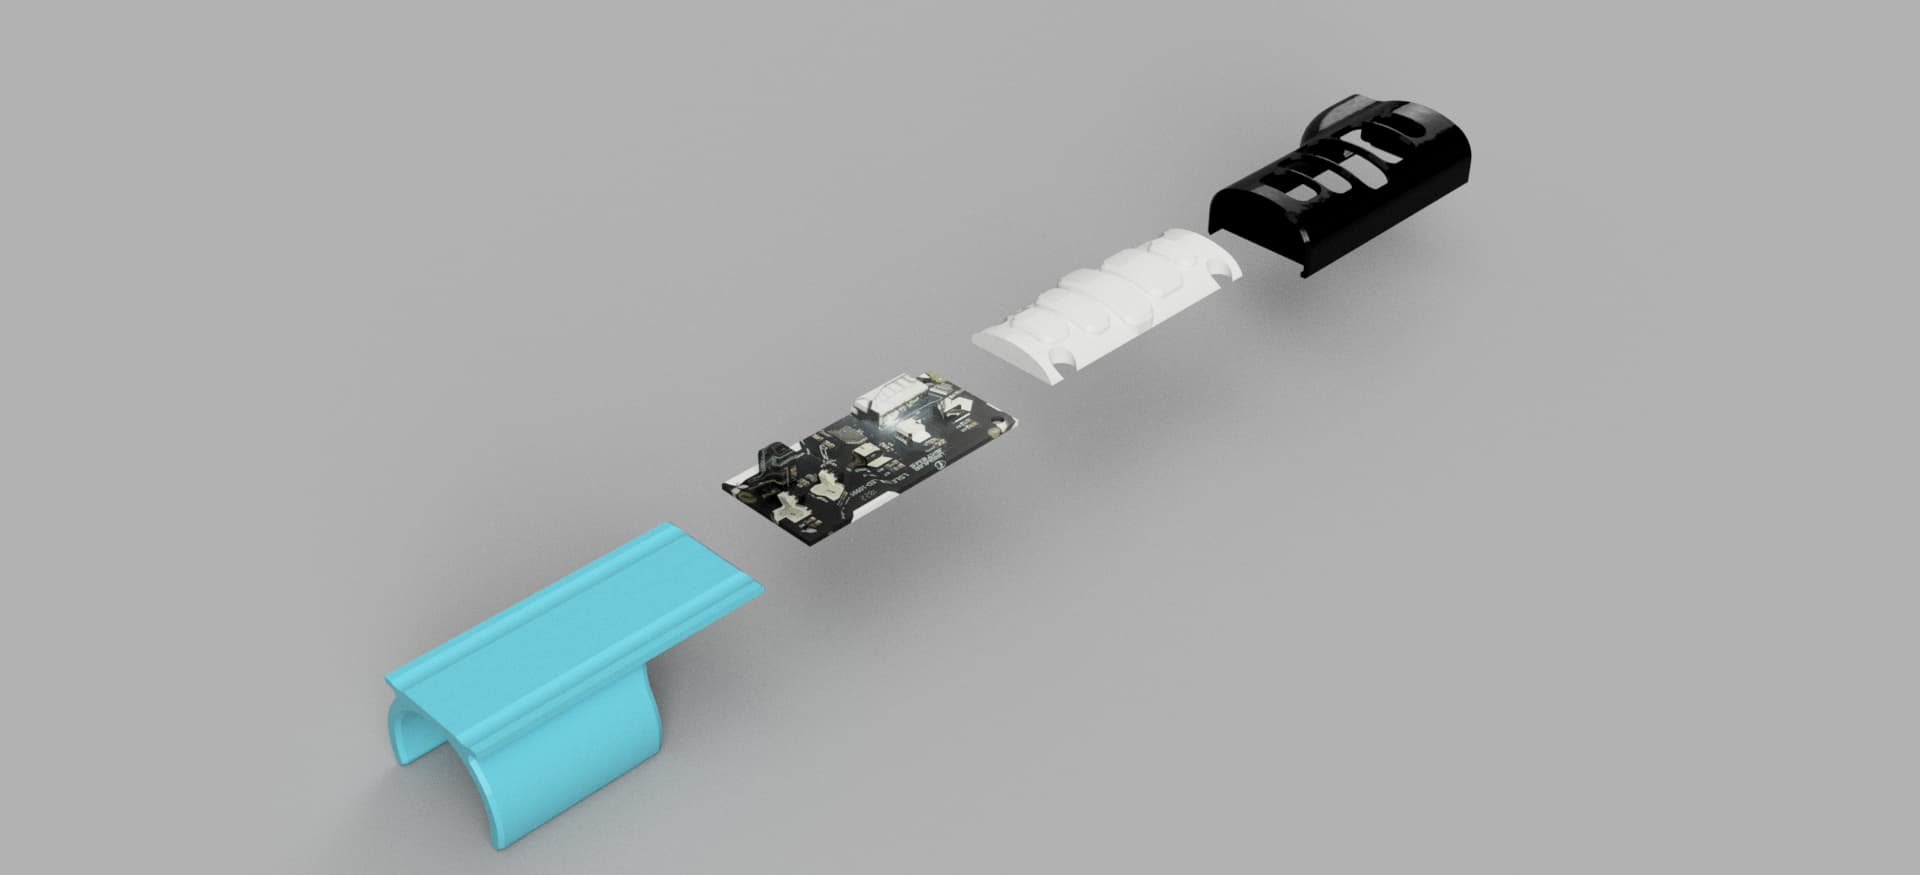
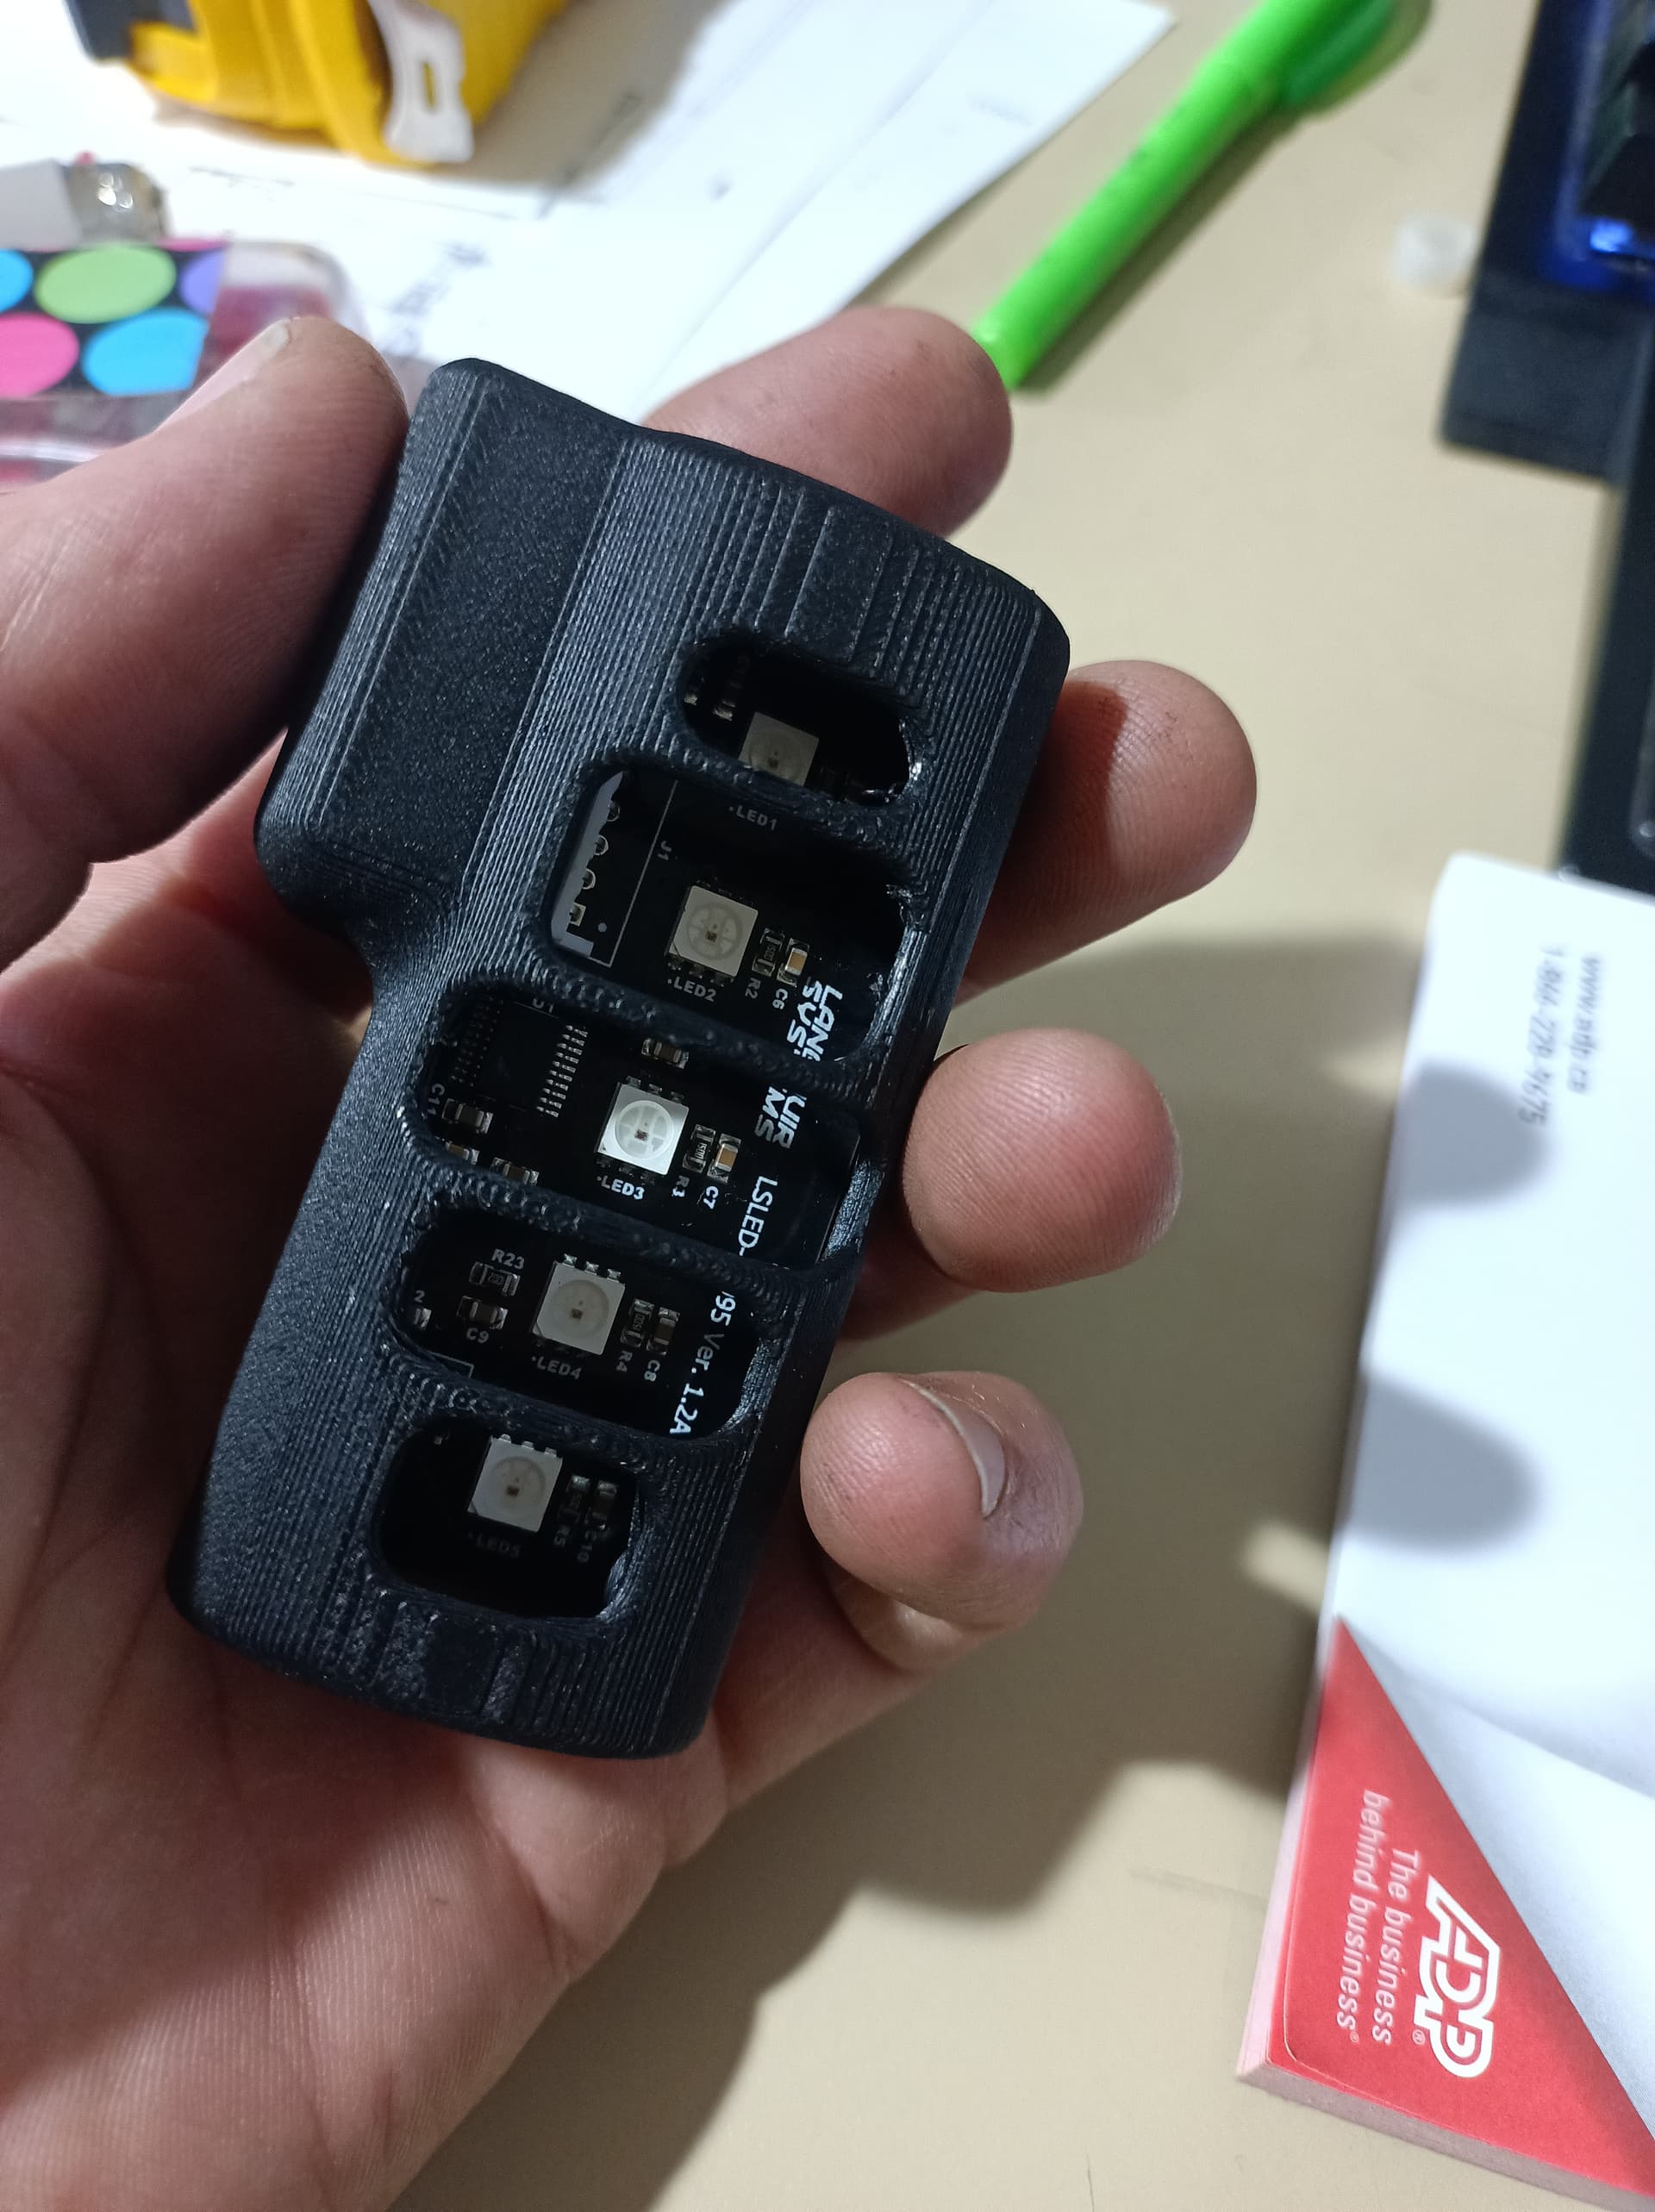
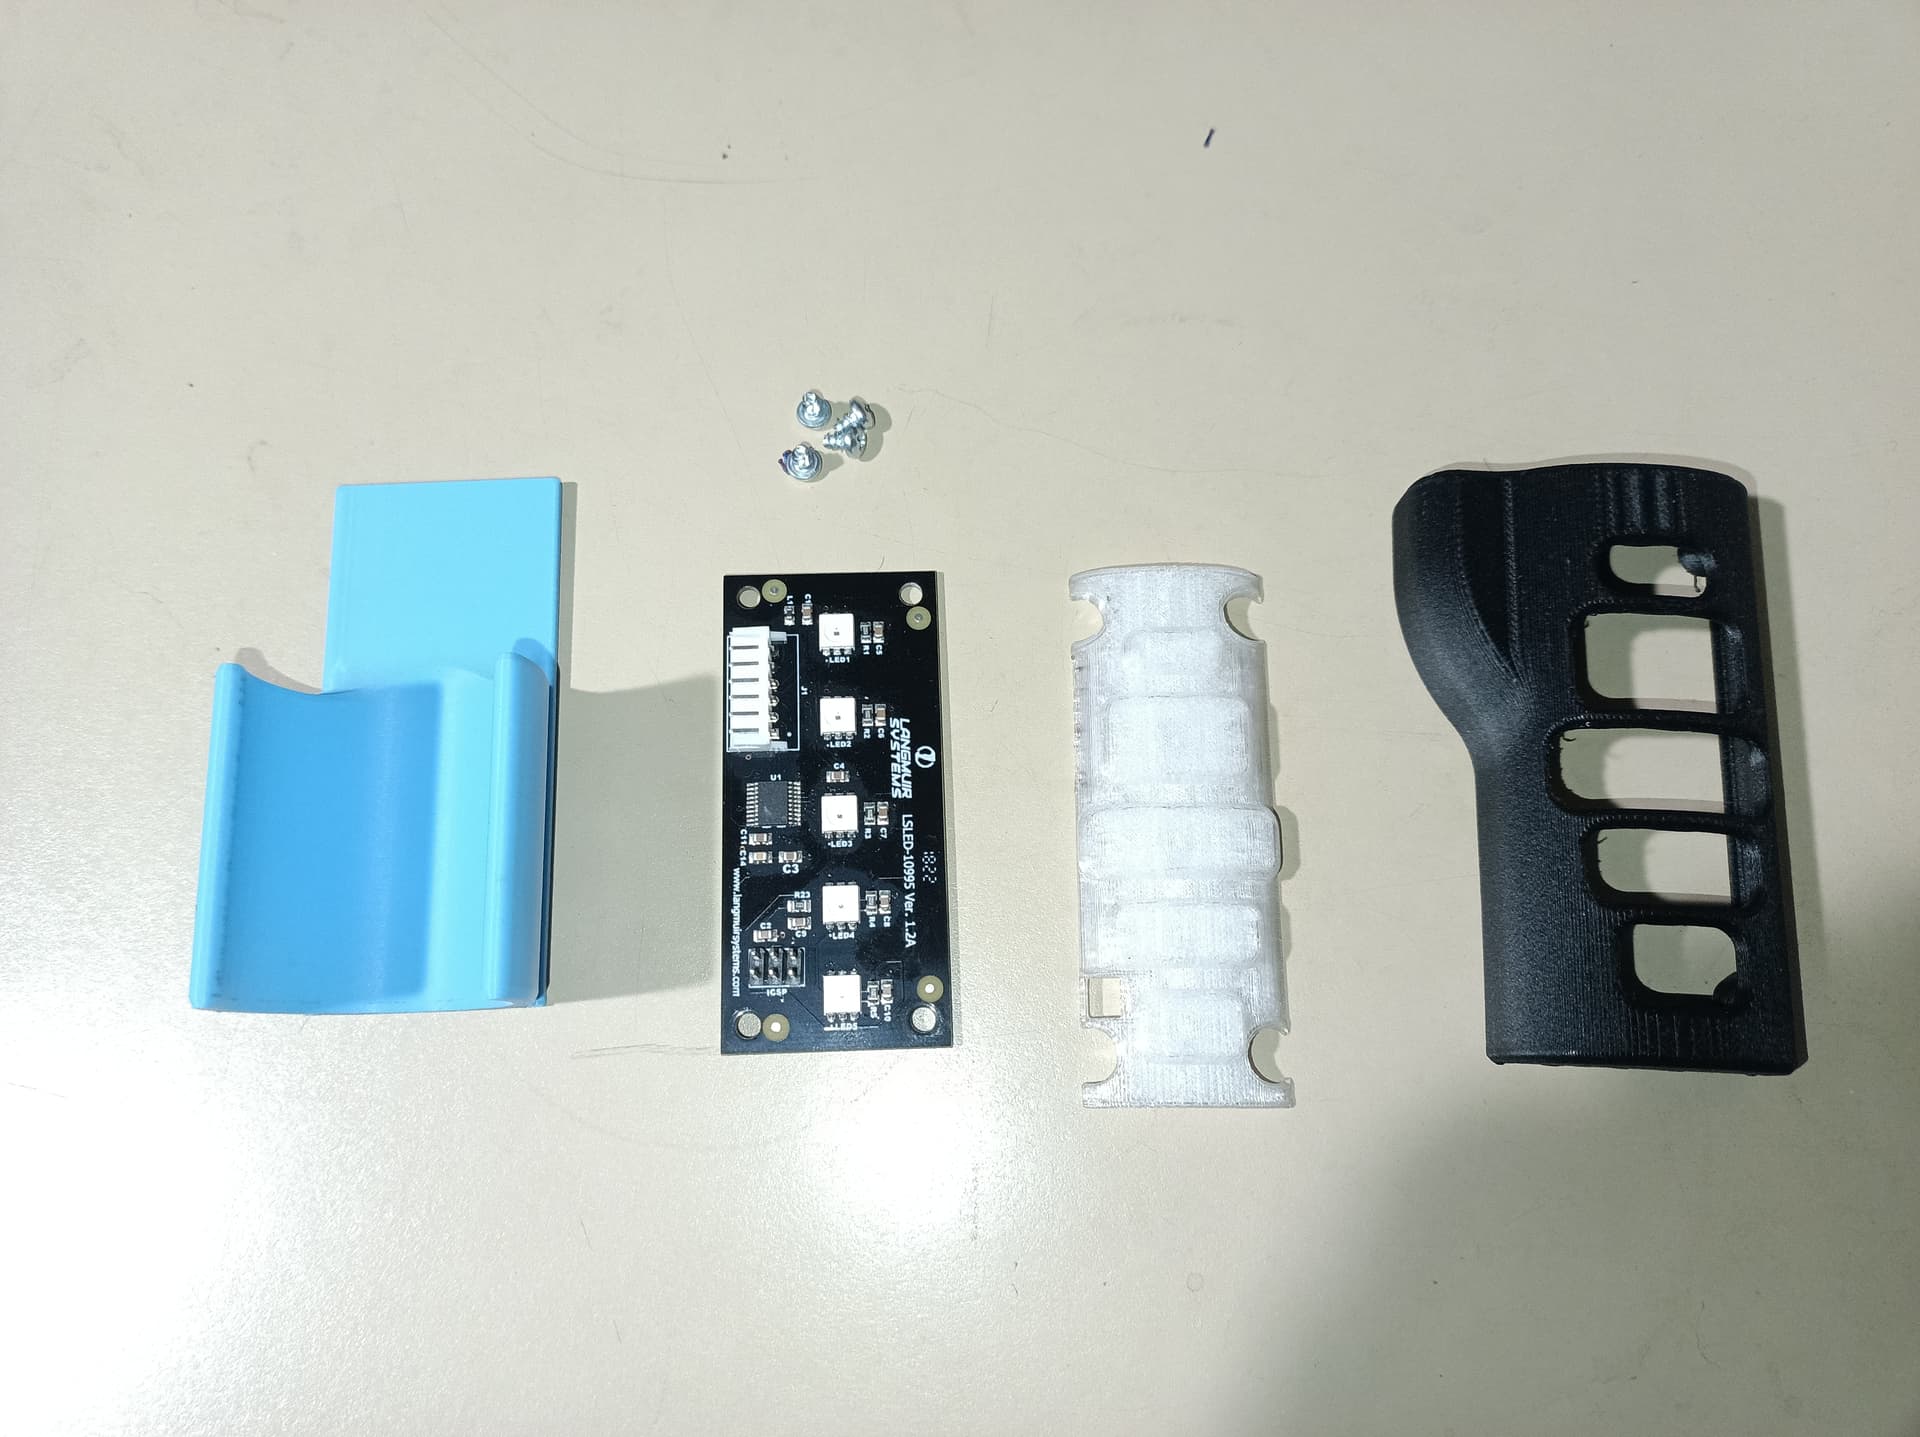
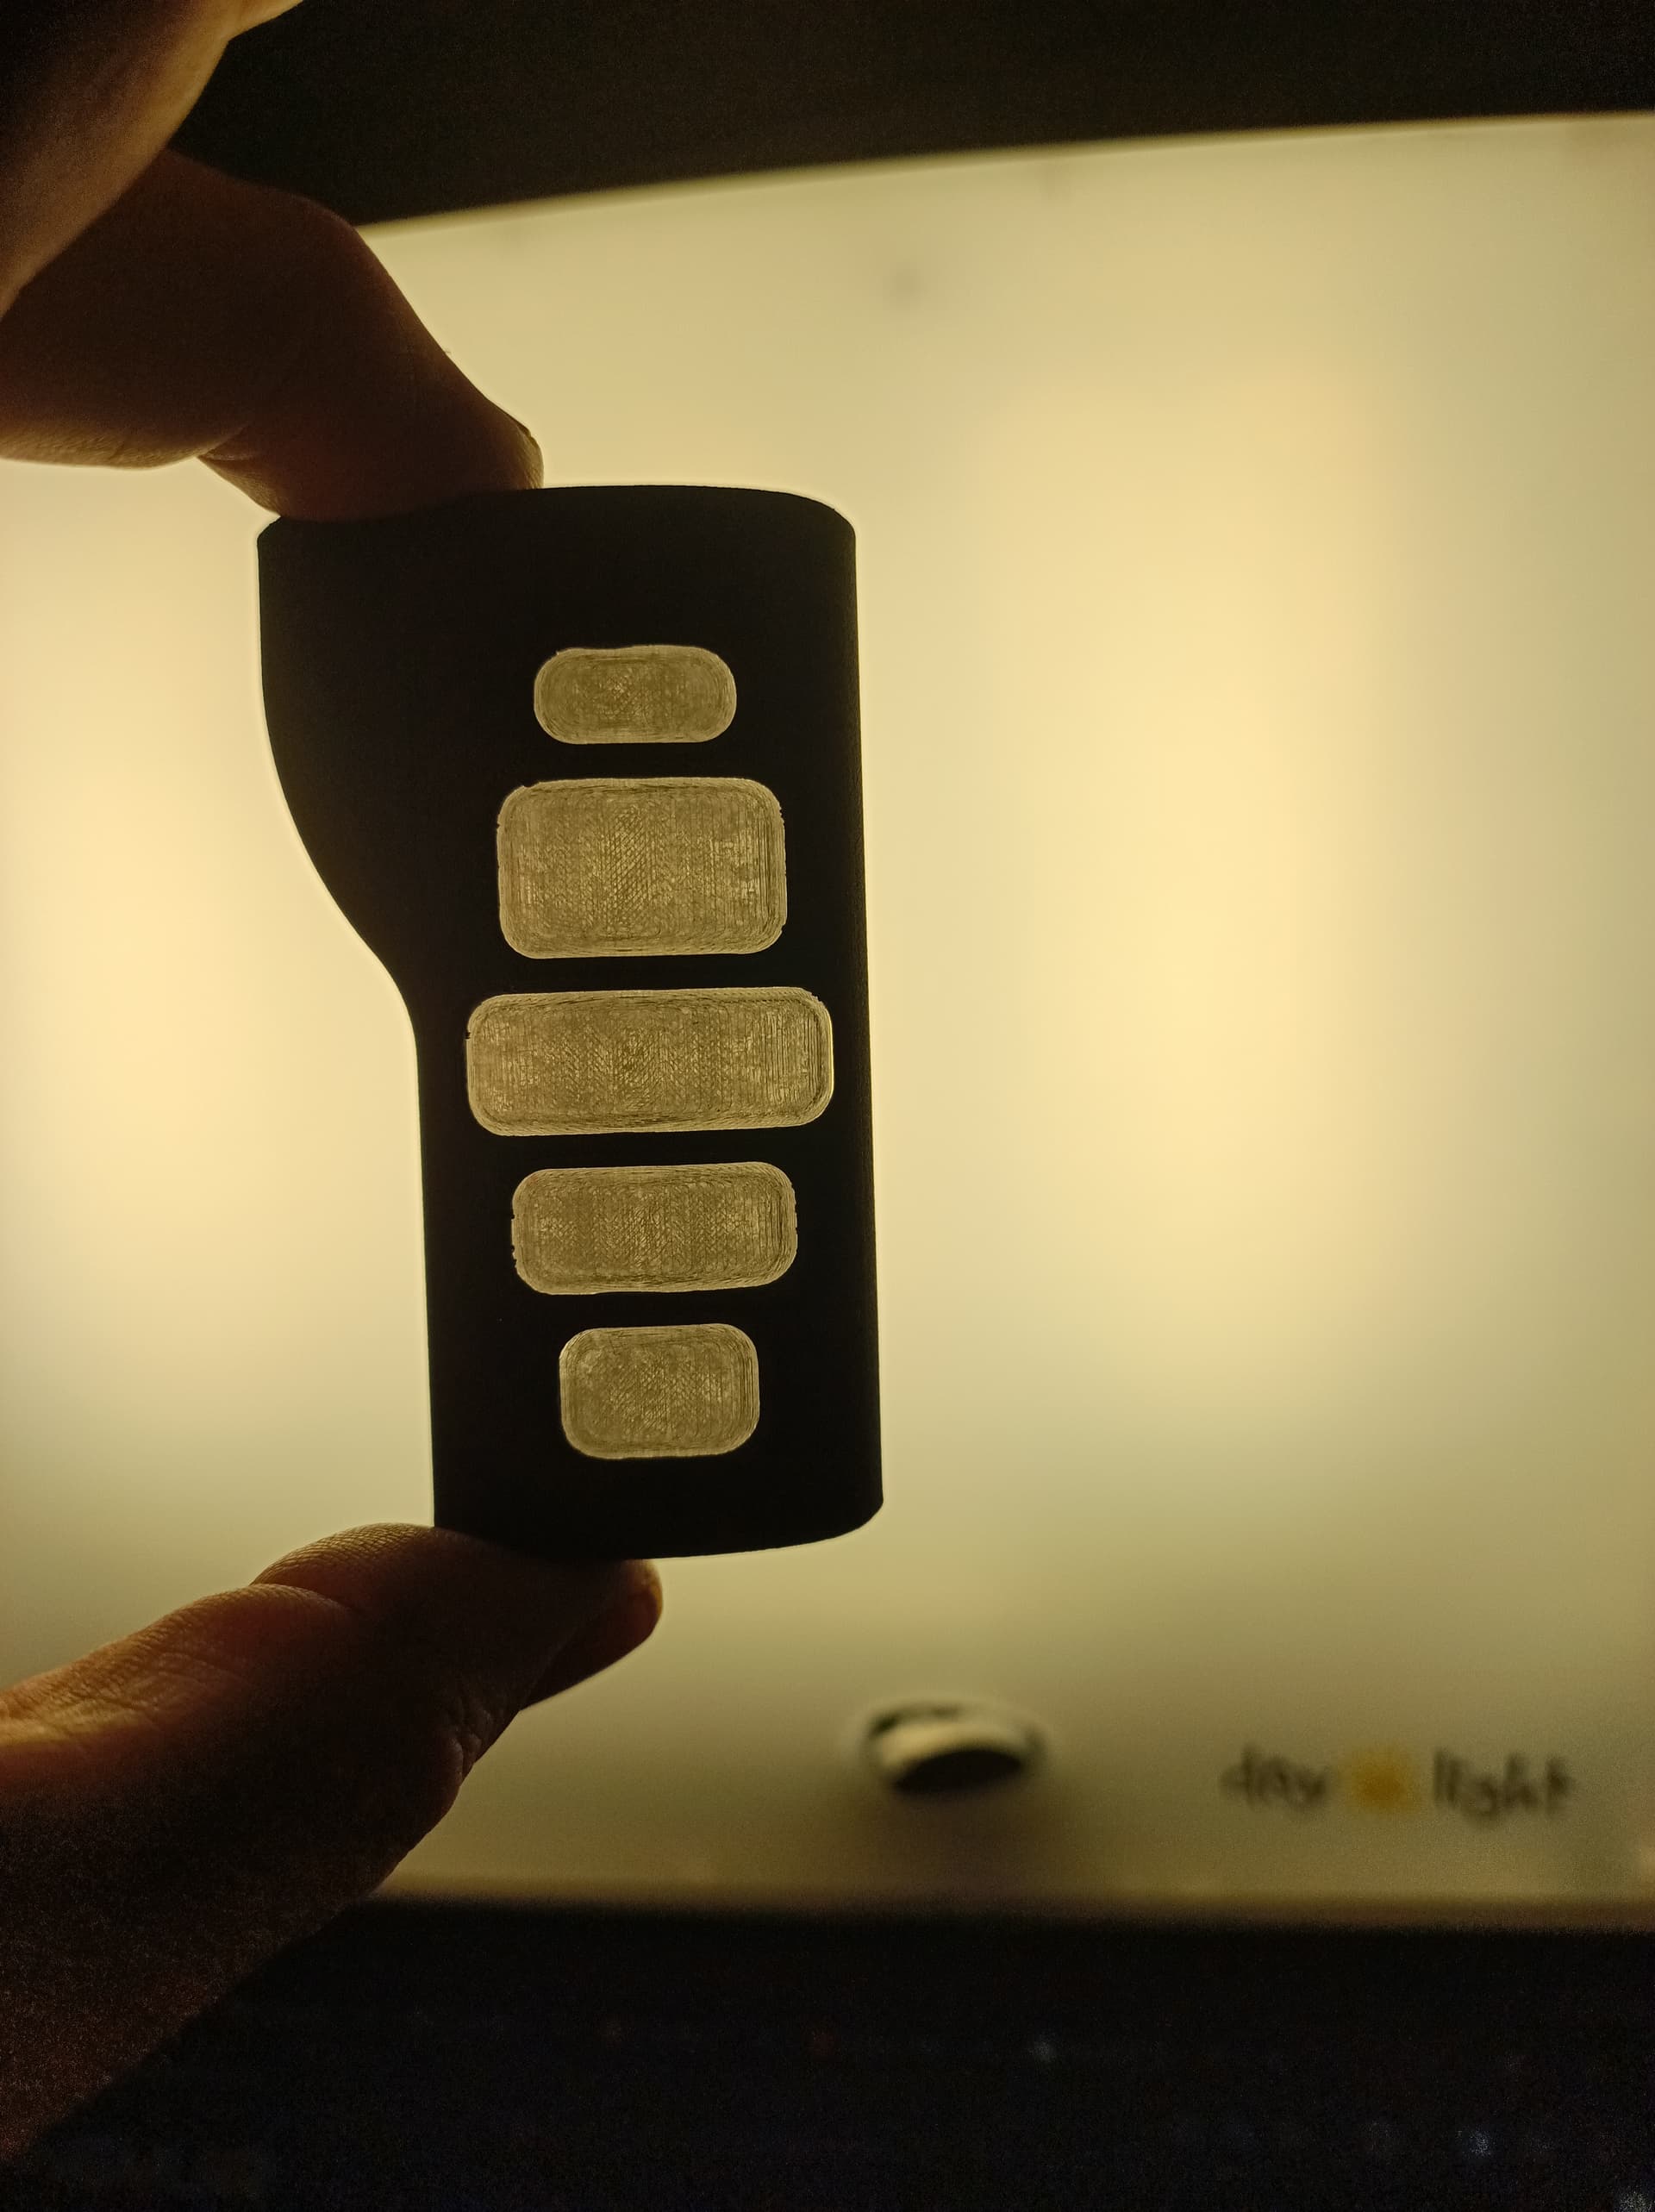
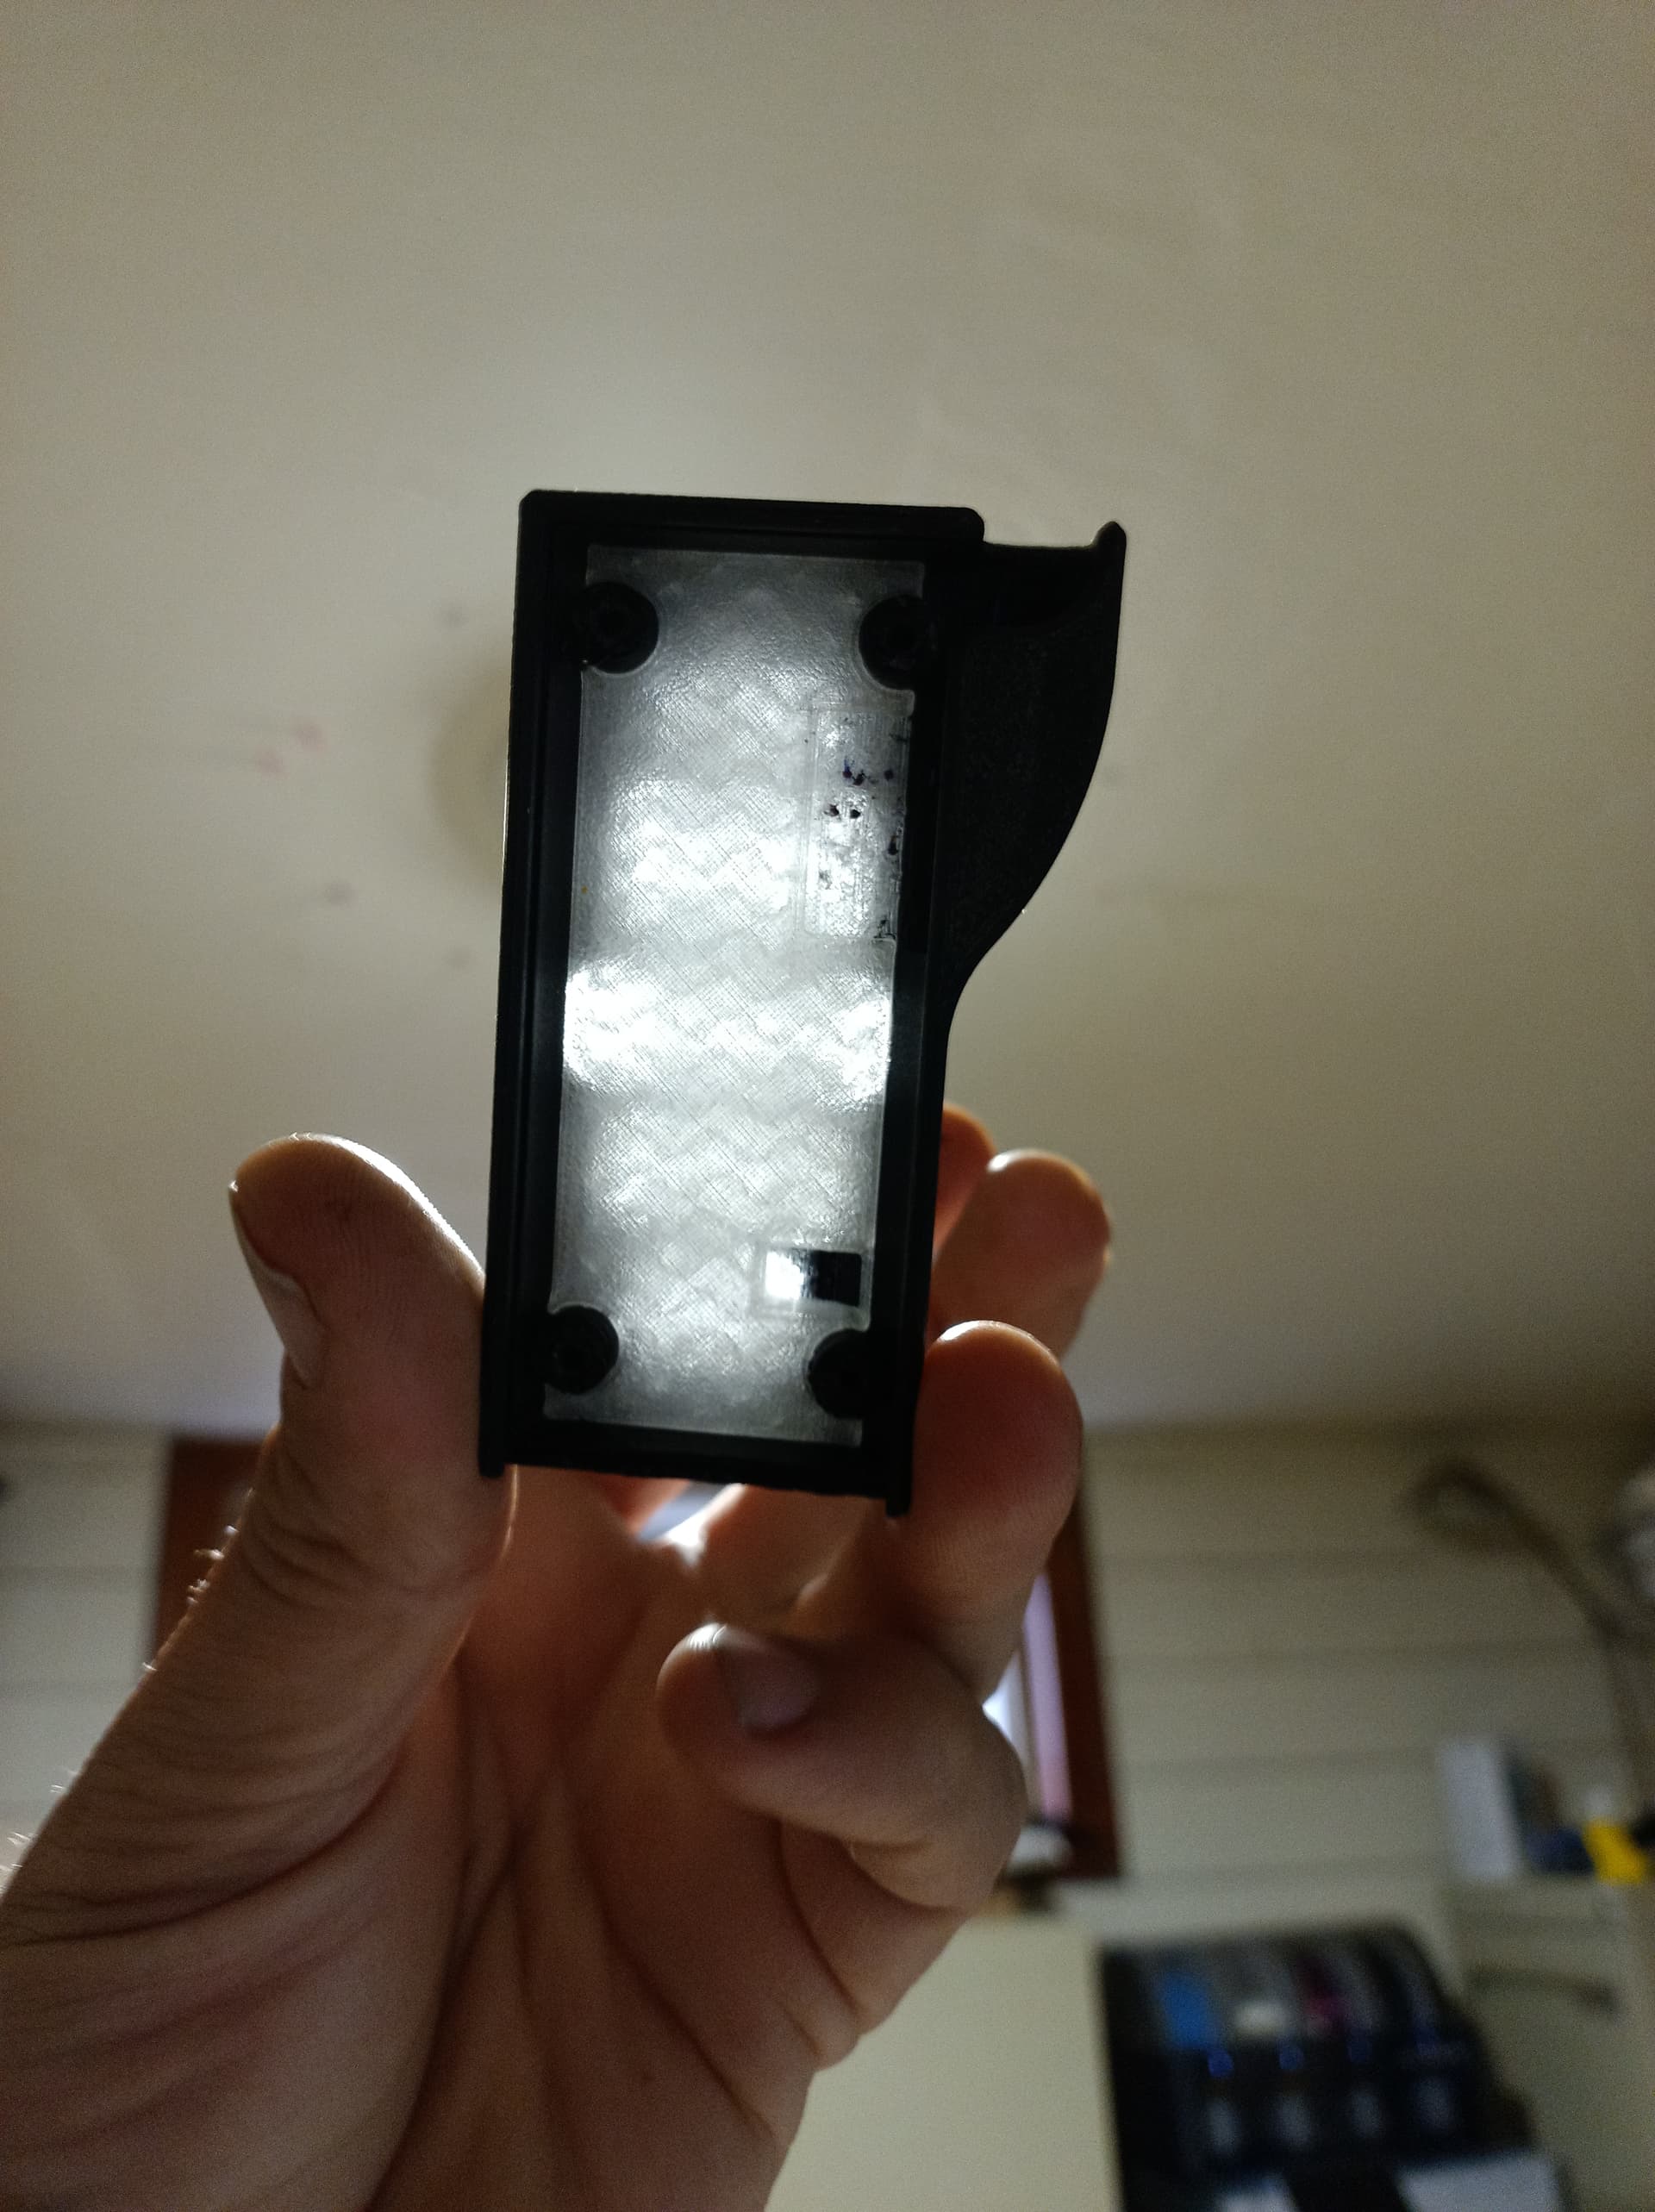
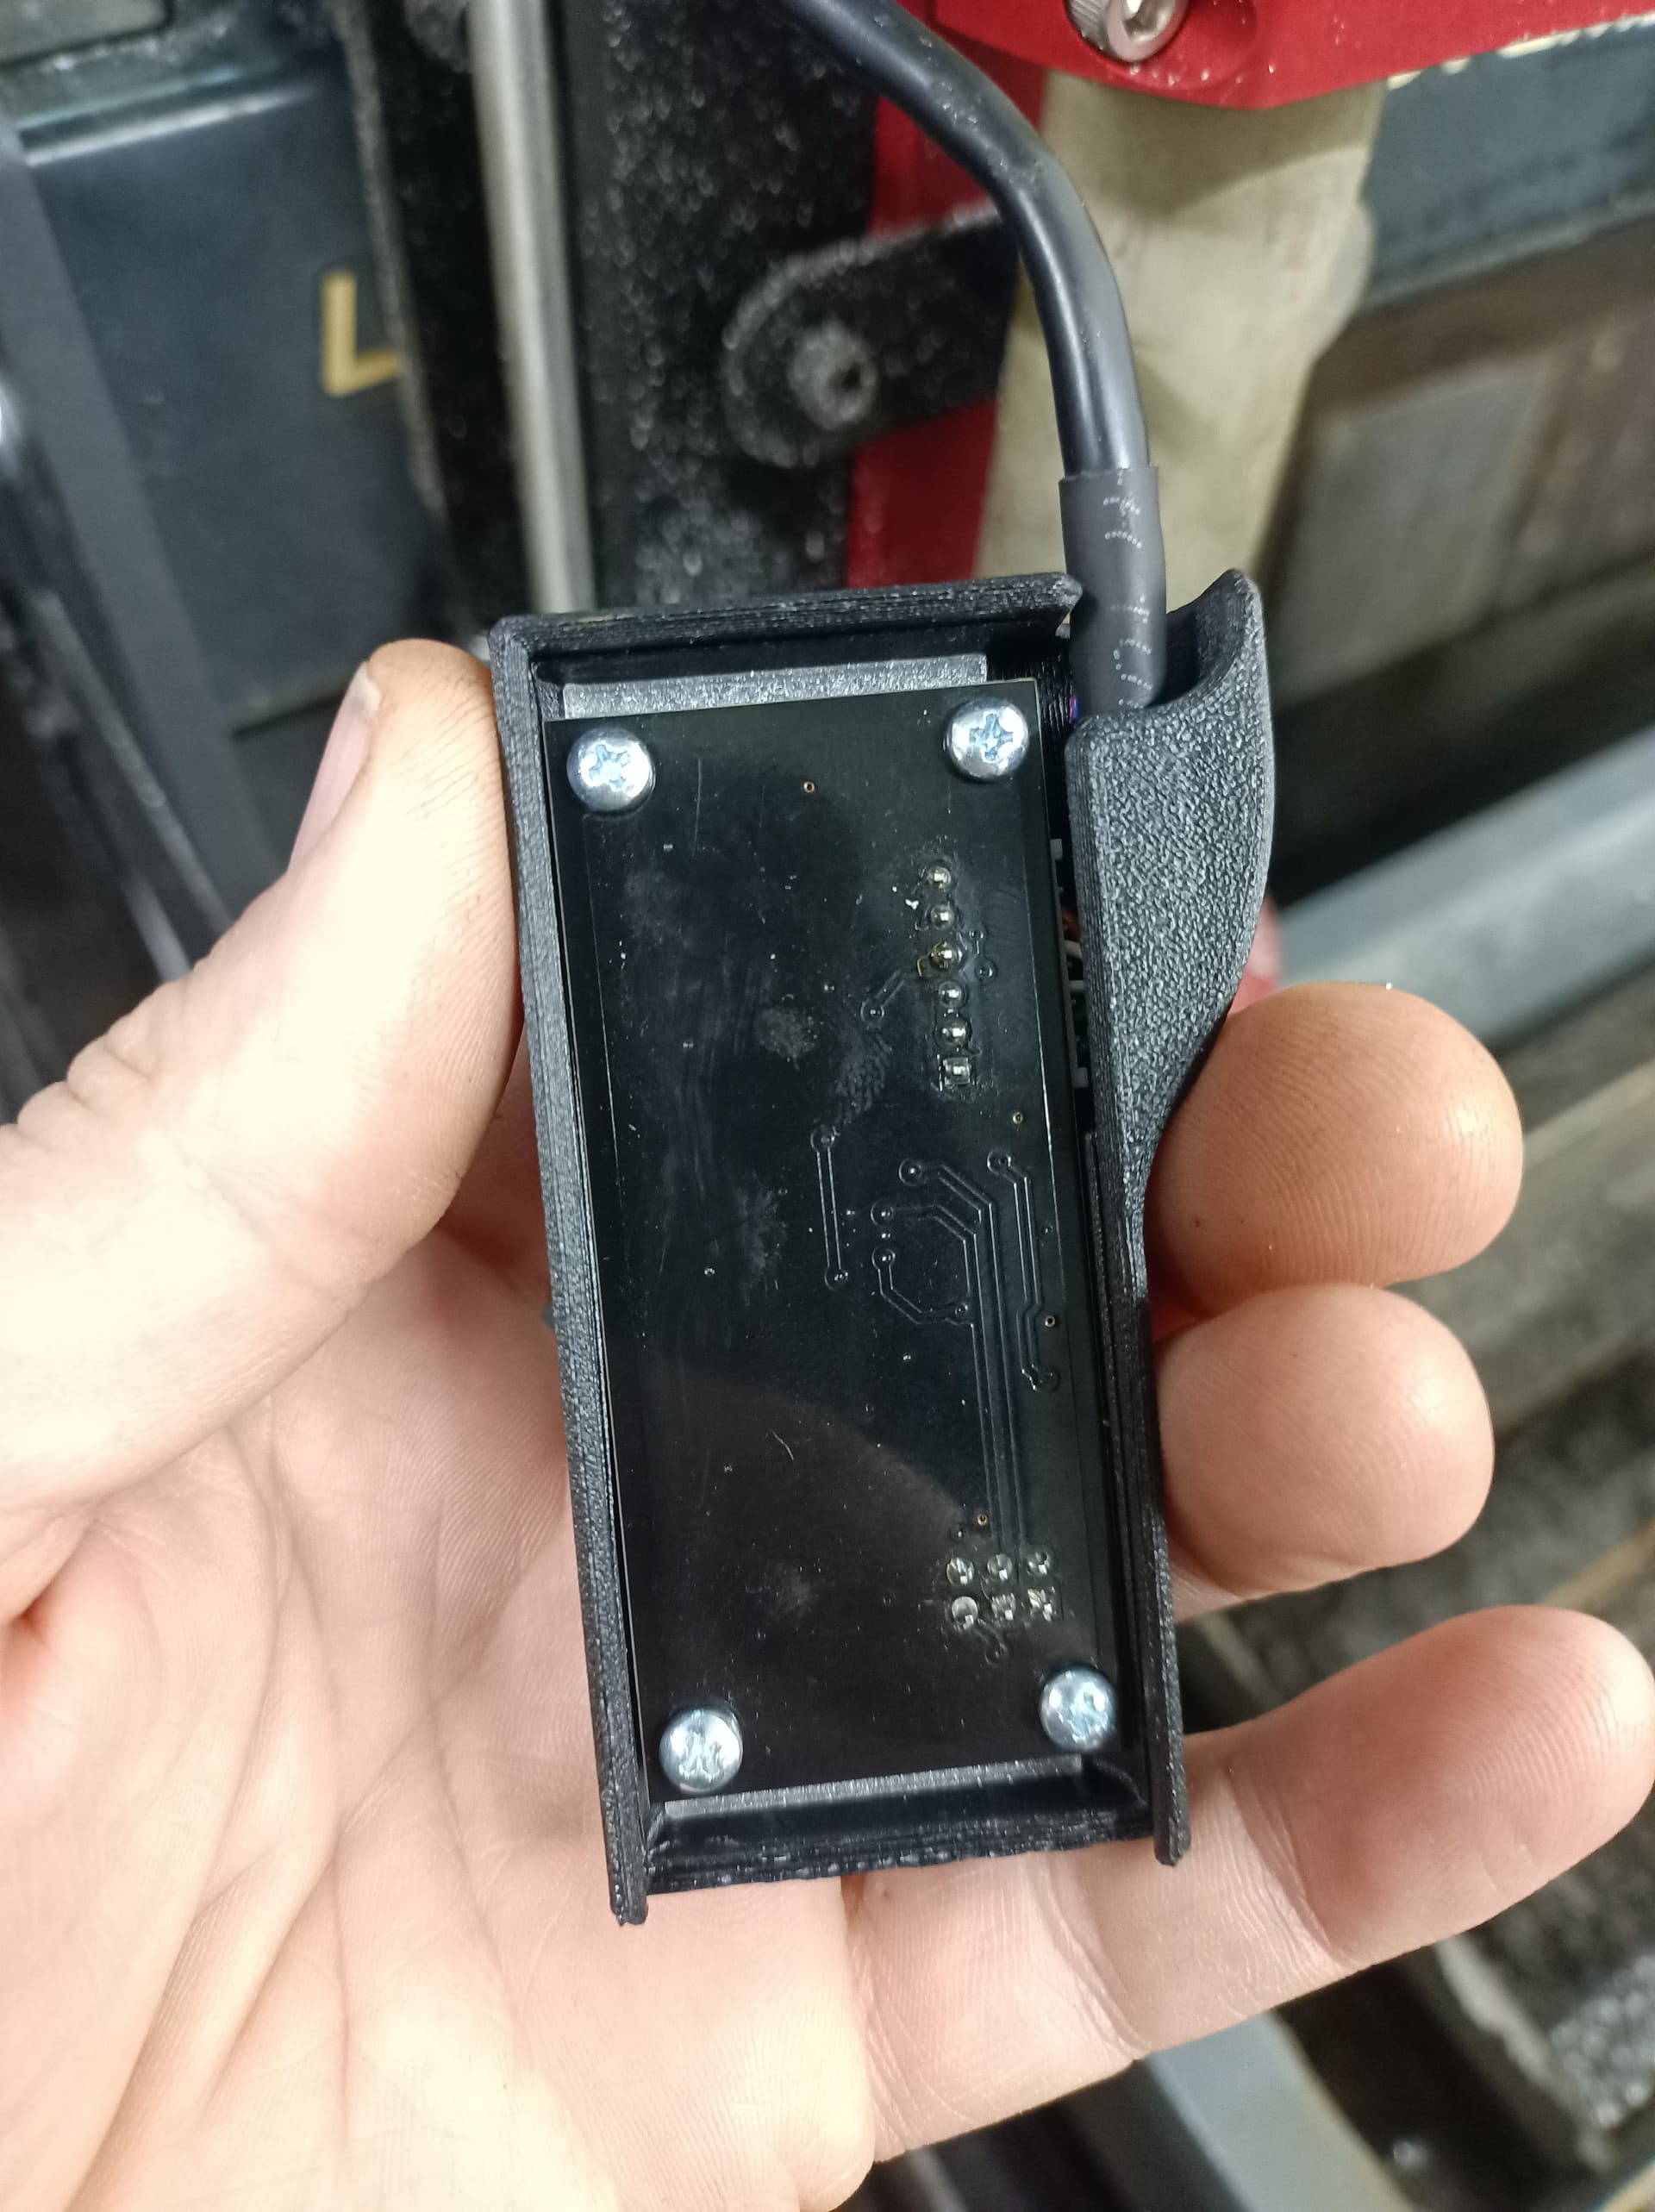
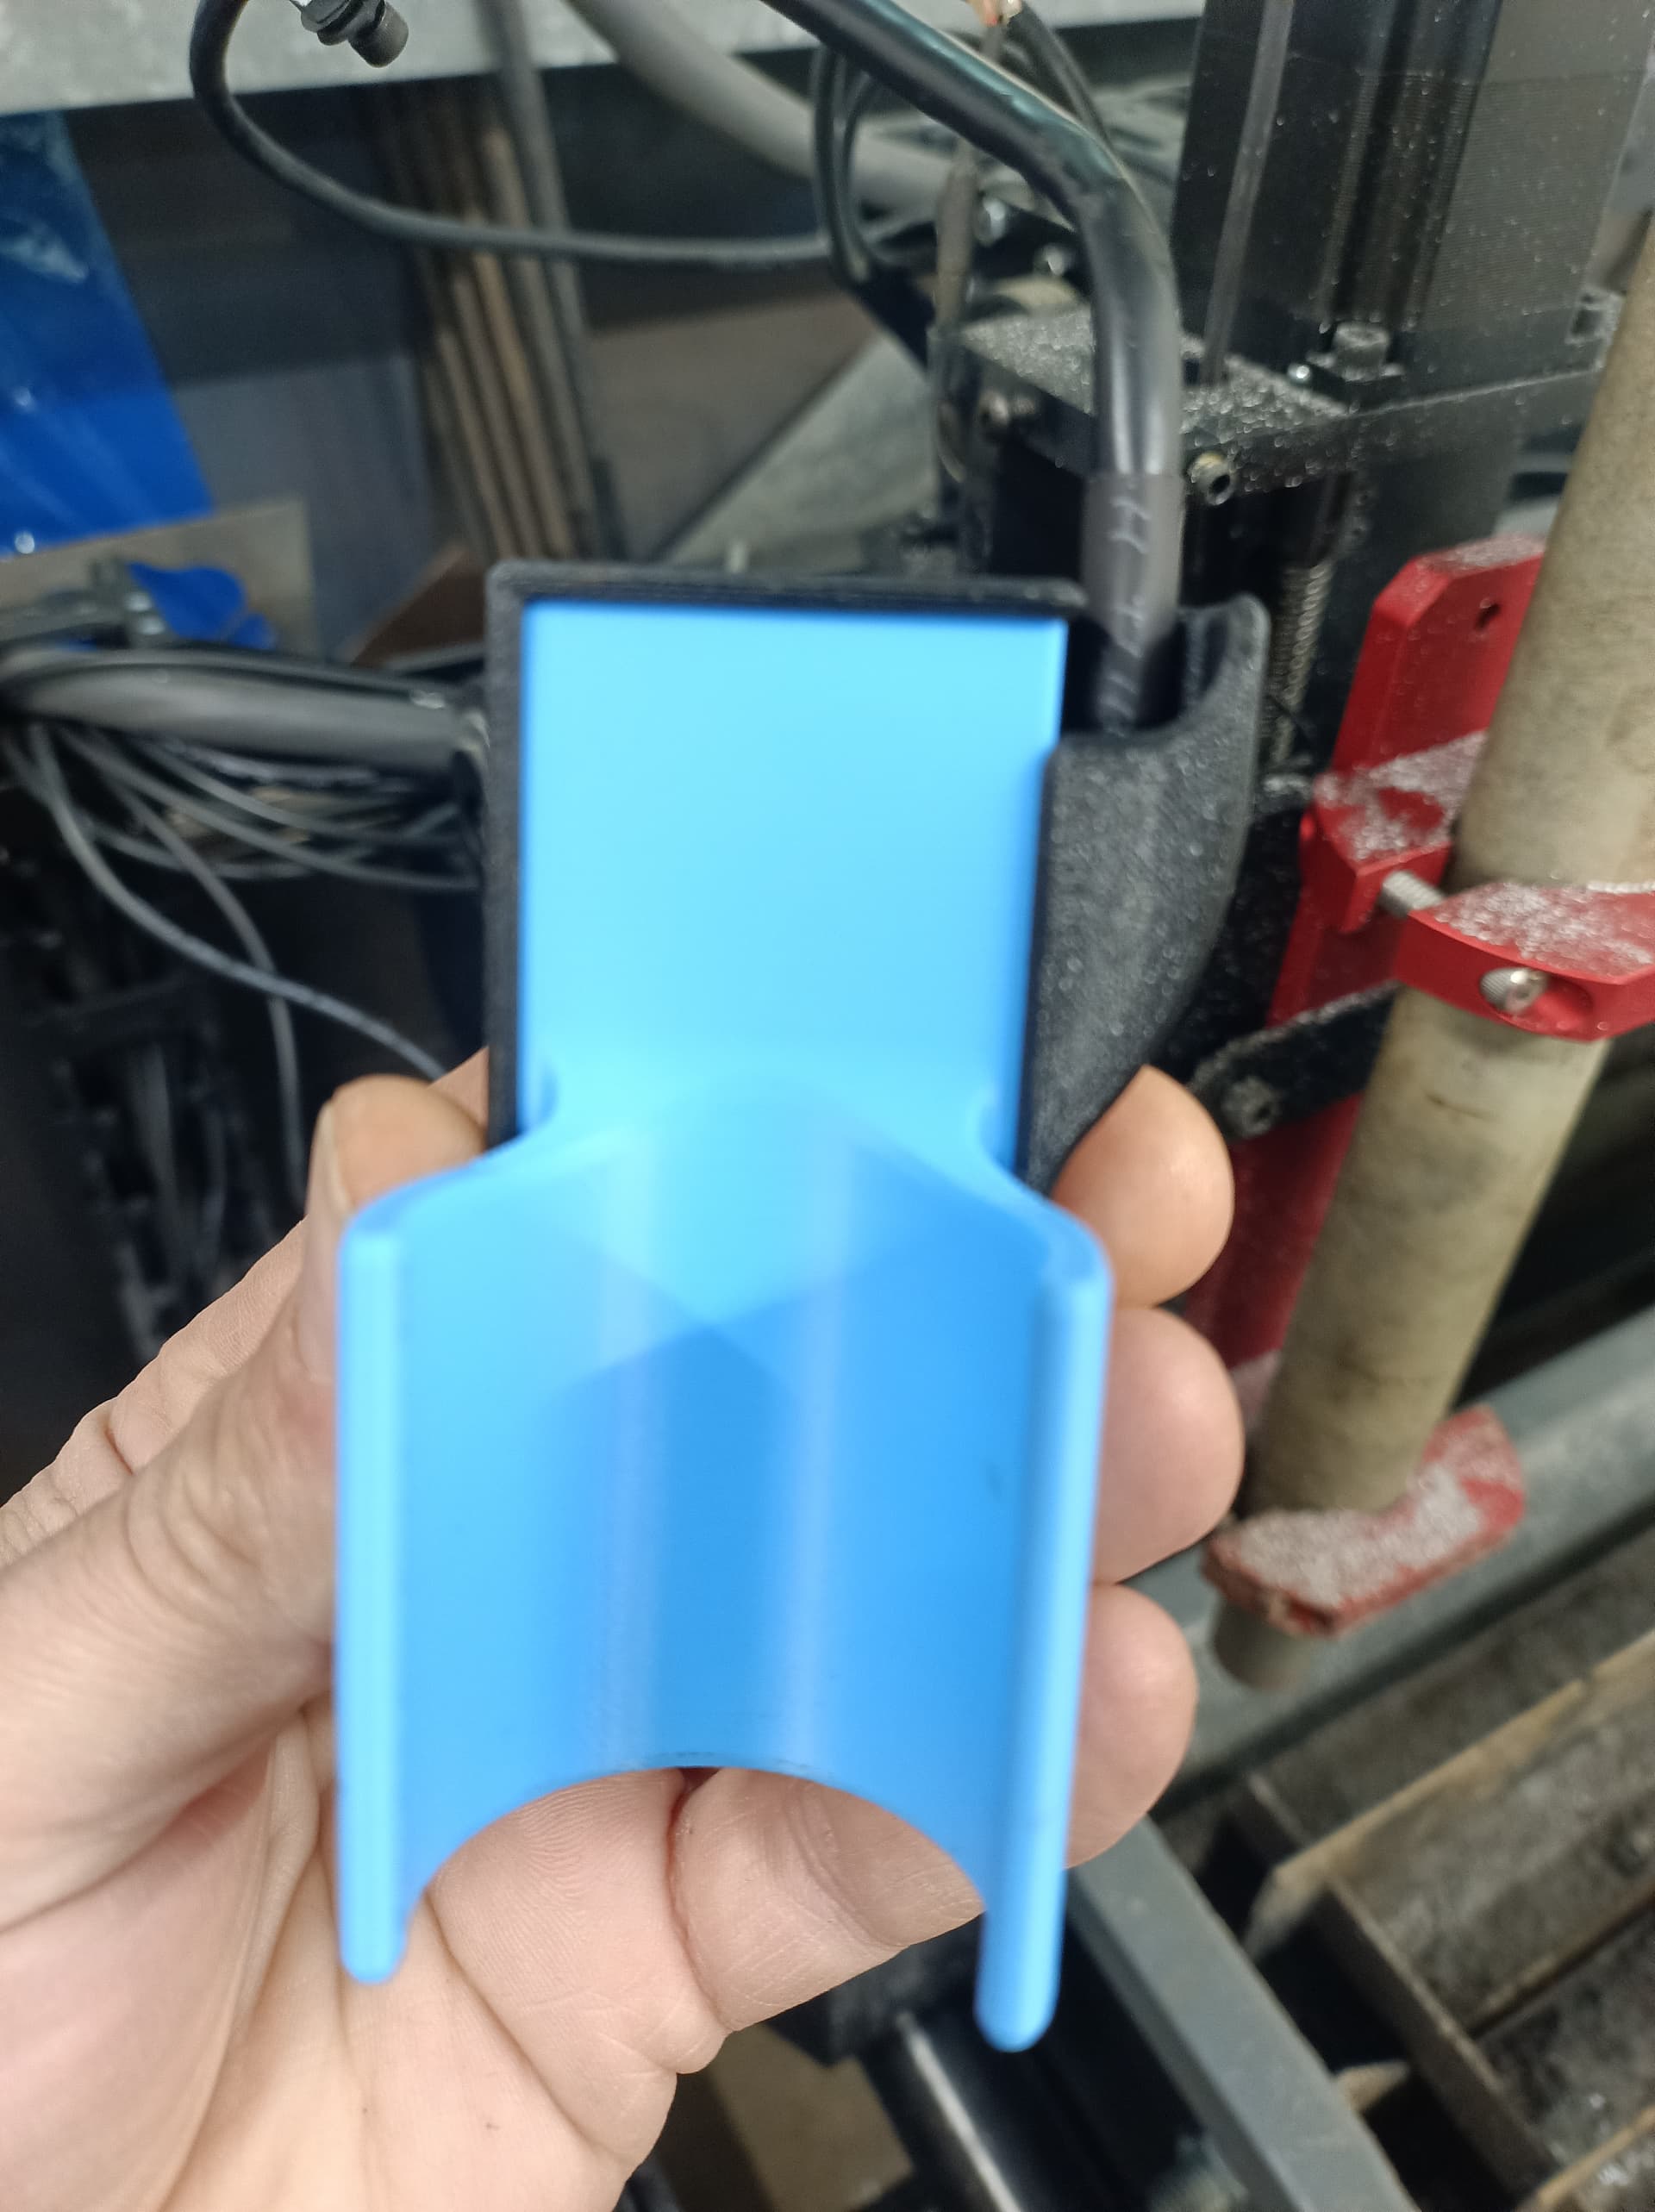
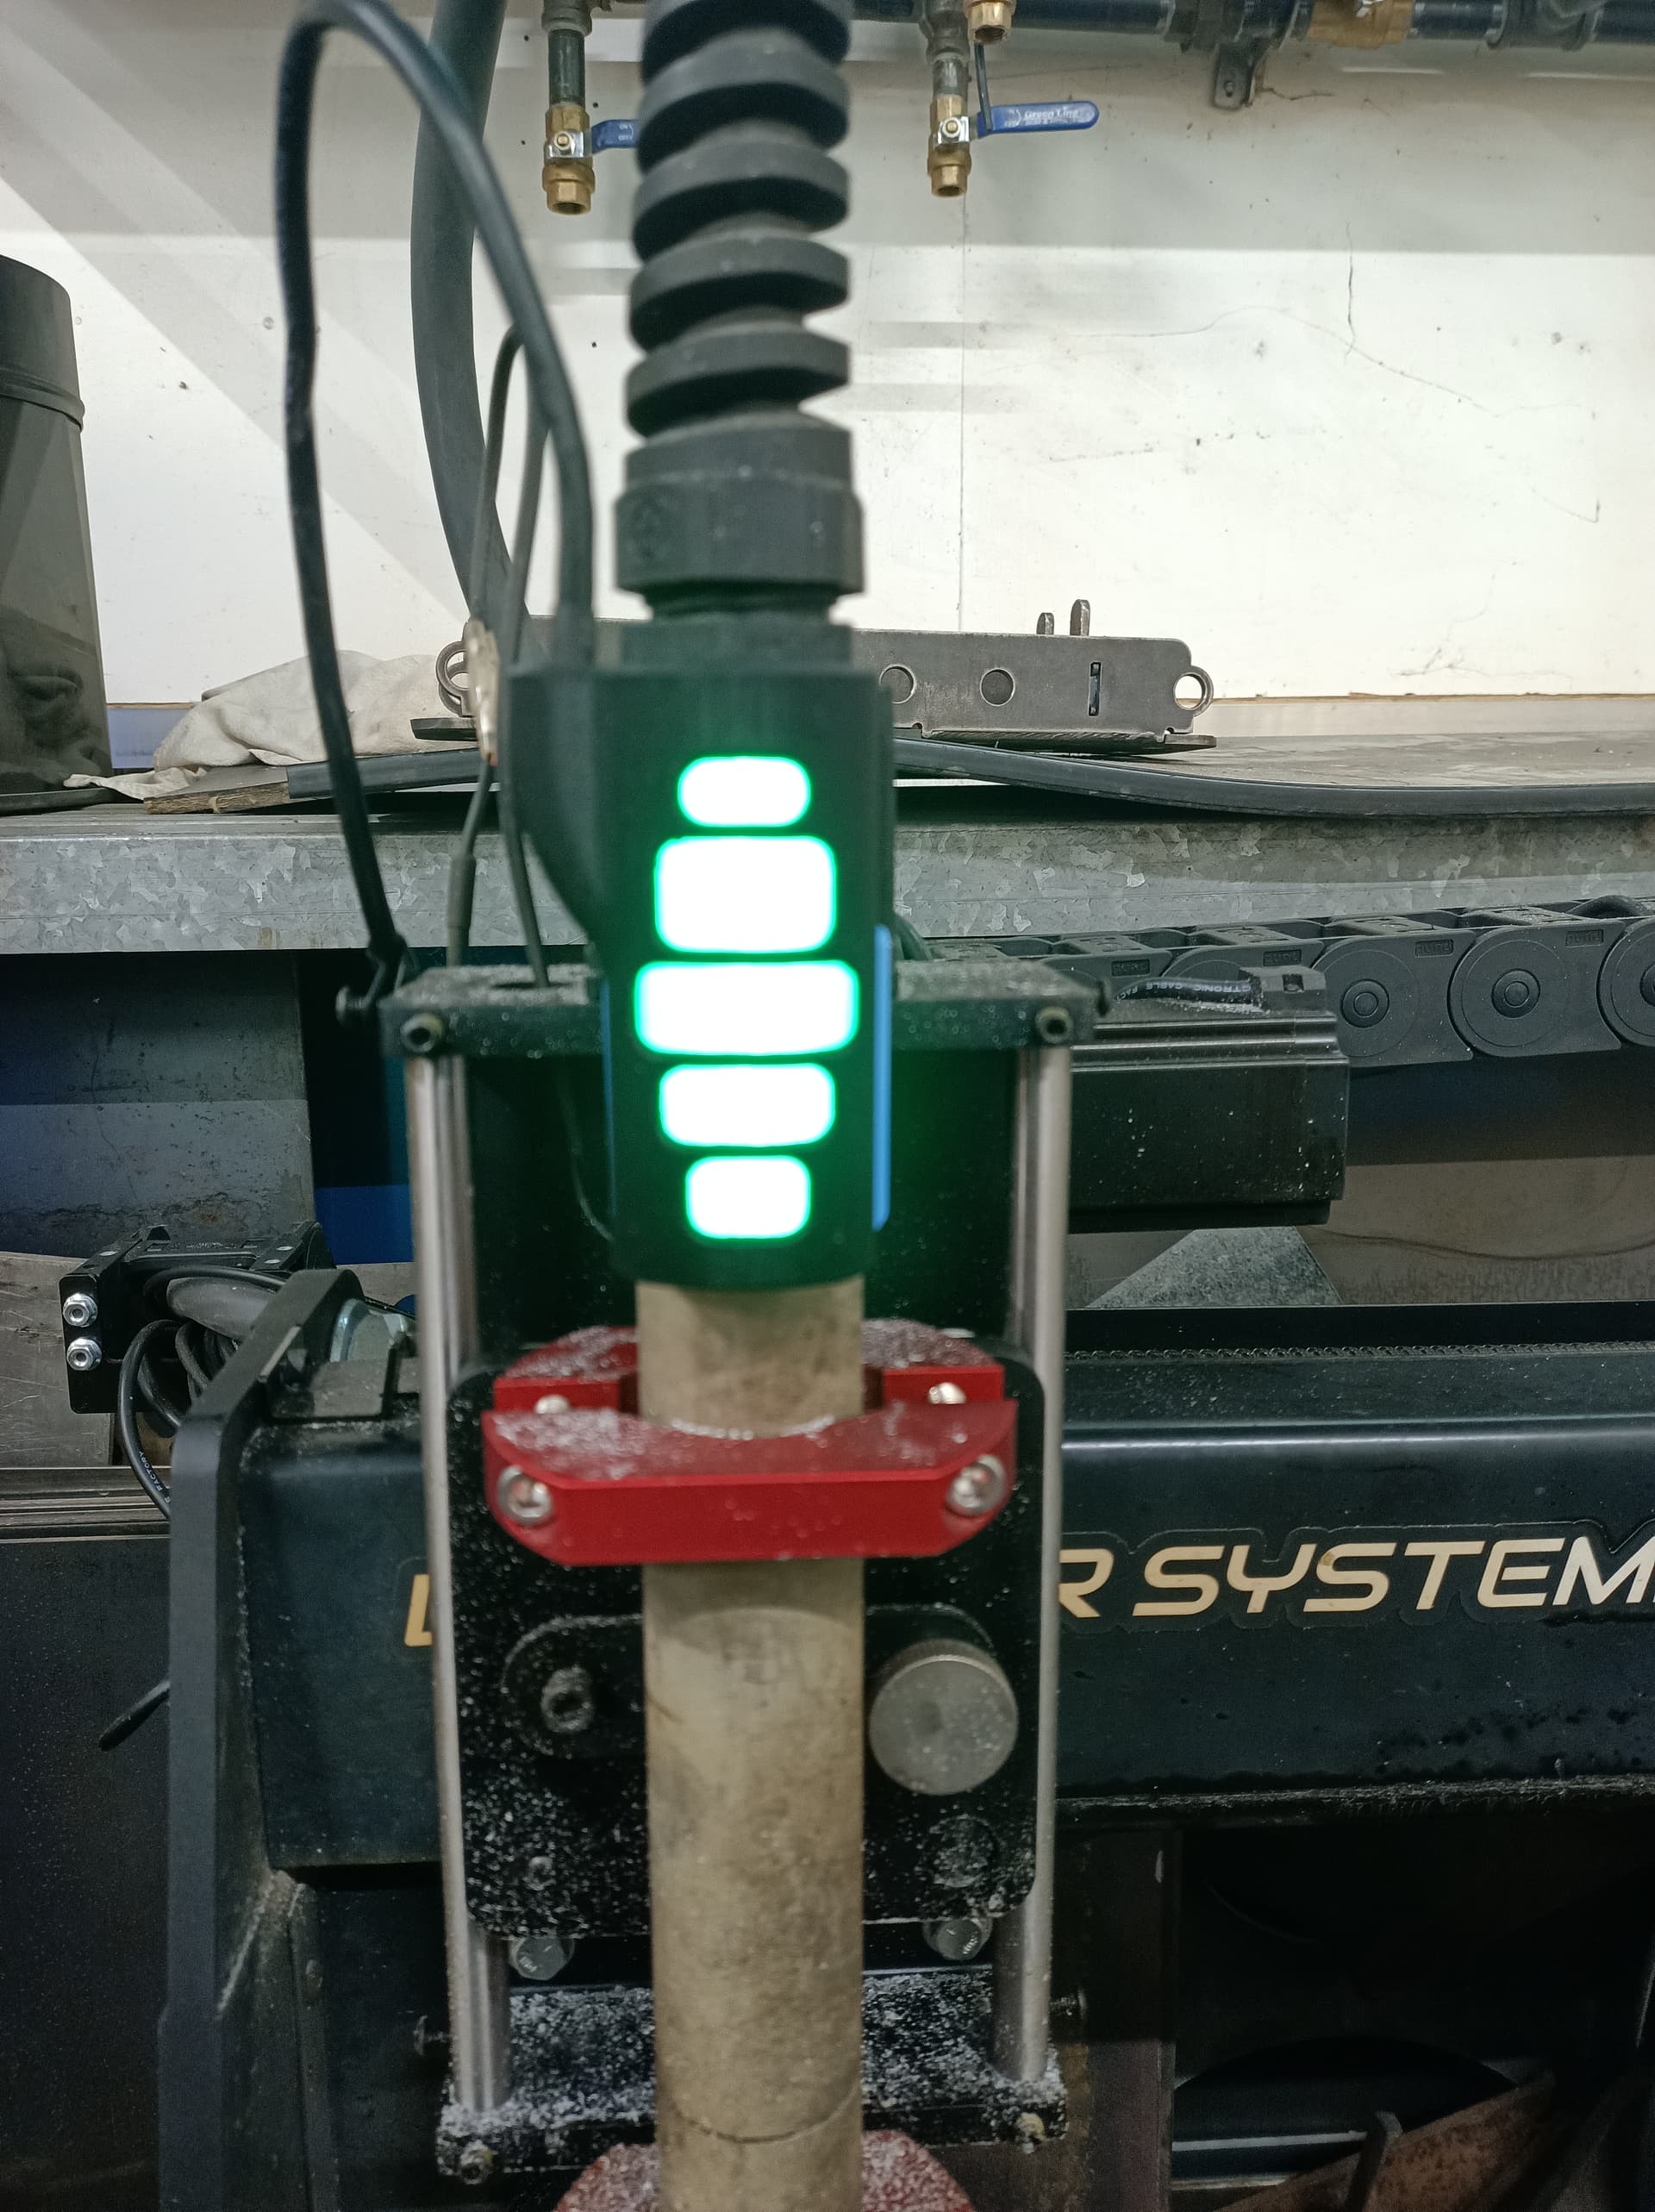
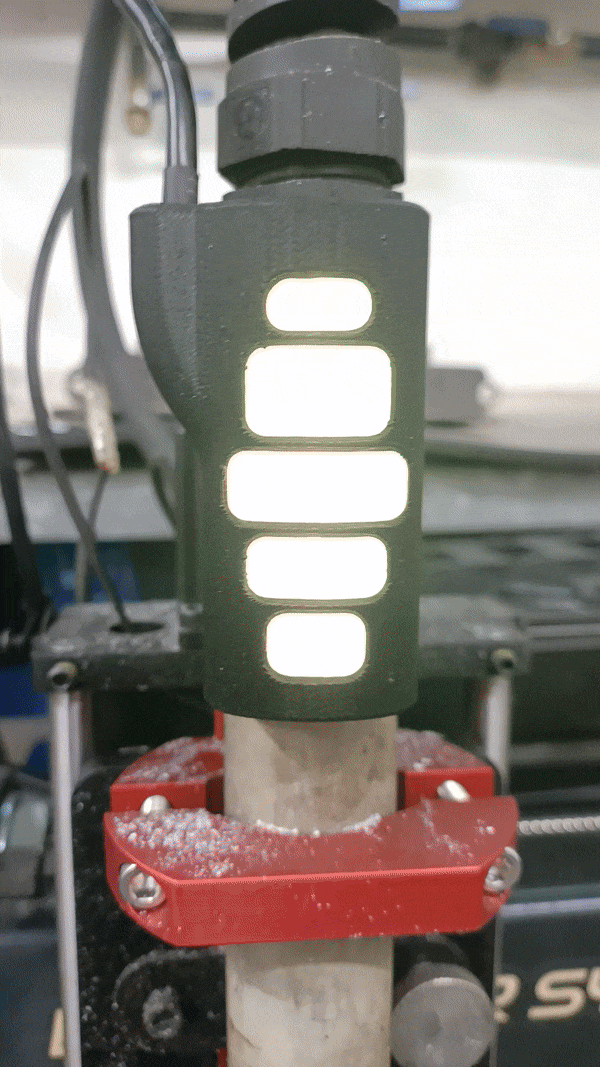
I found the XR shield / light indicator for the z-axis cumbersome and not super effective at keeping debris out. So I harvested the LED circuit board from the cover and made a small housing for it that clips to the barrel of the torch.
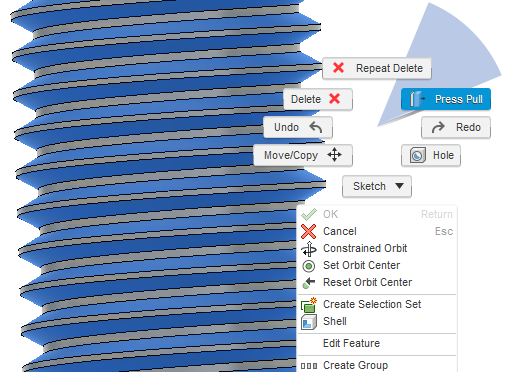
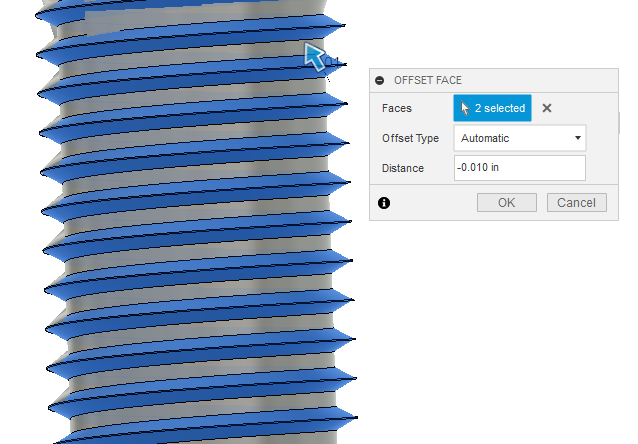
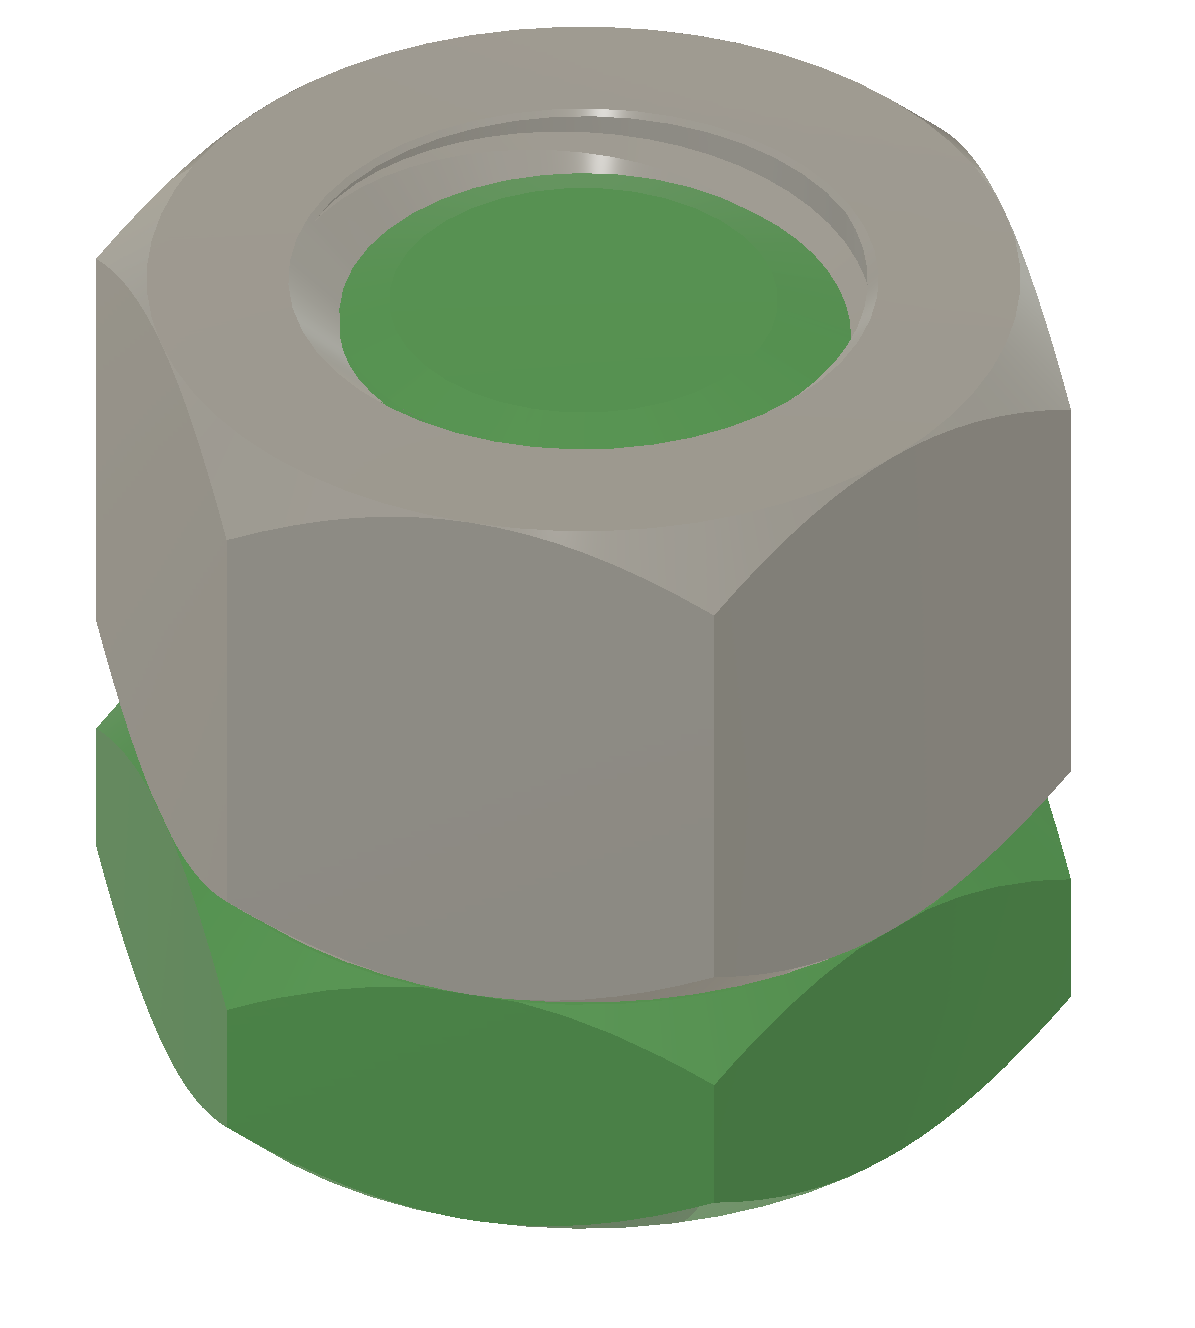
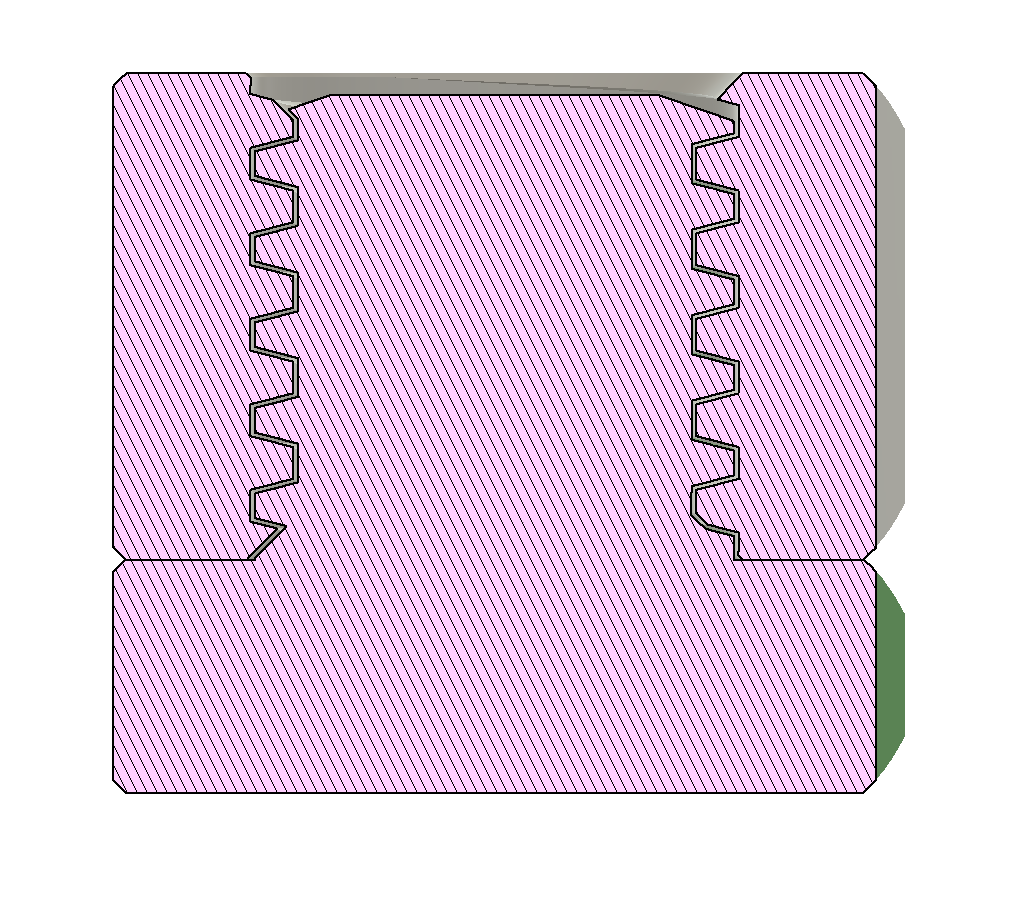
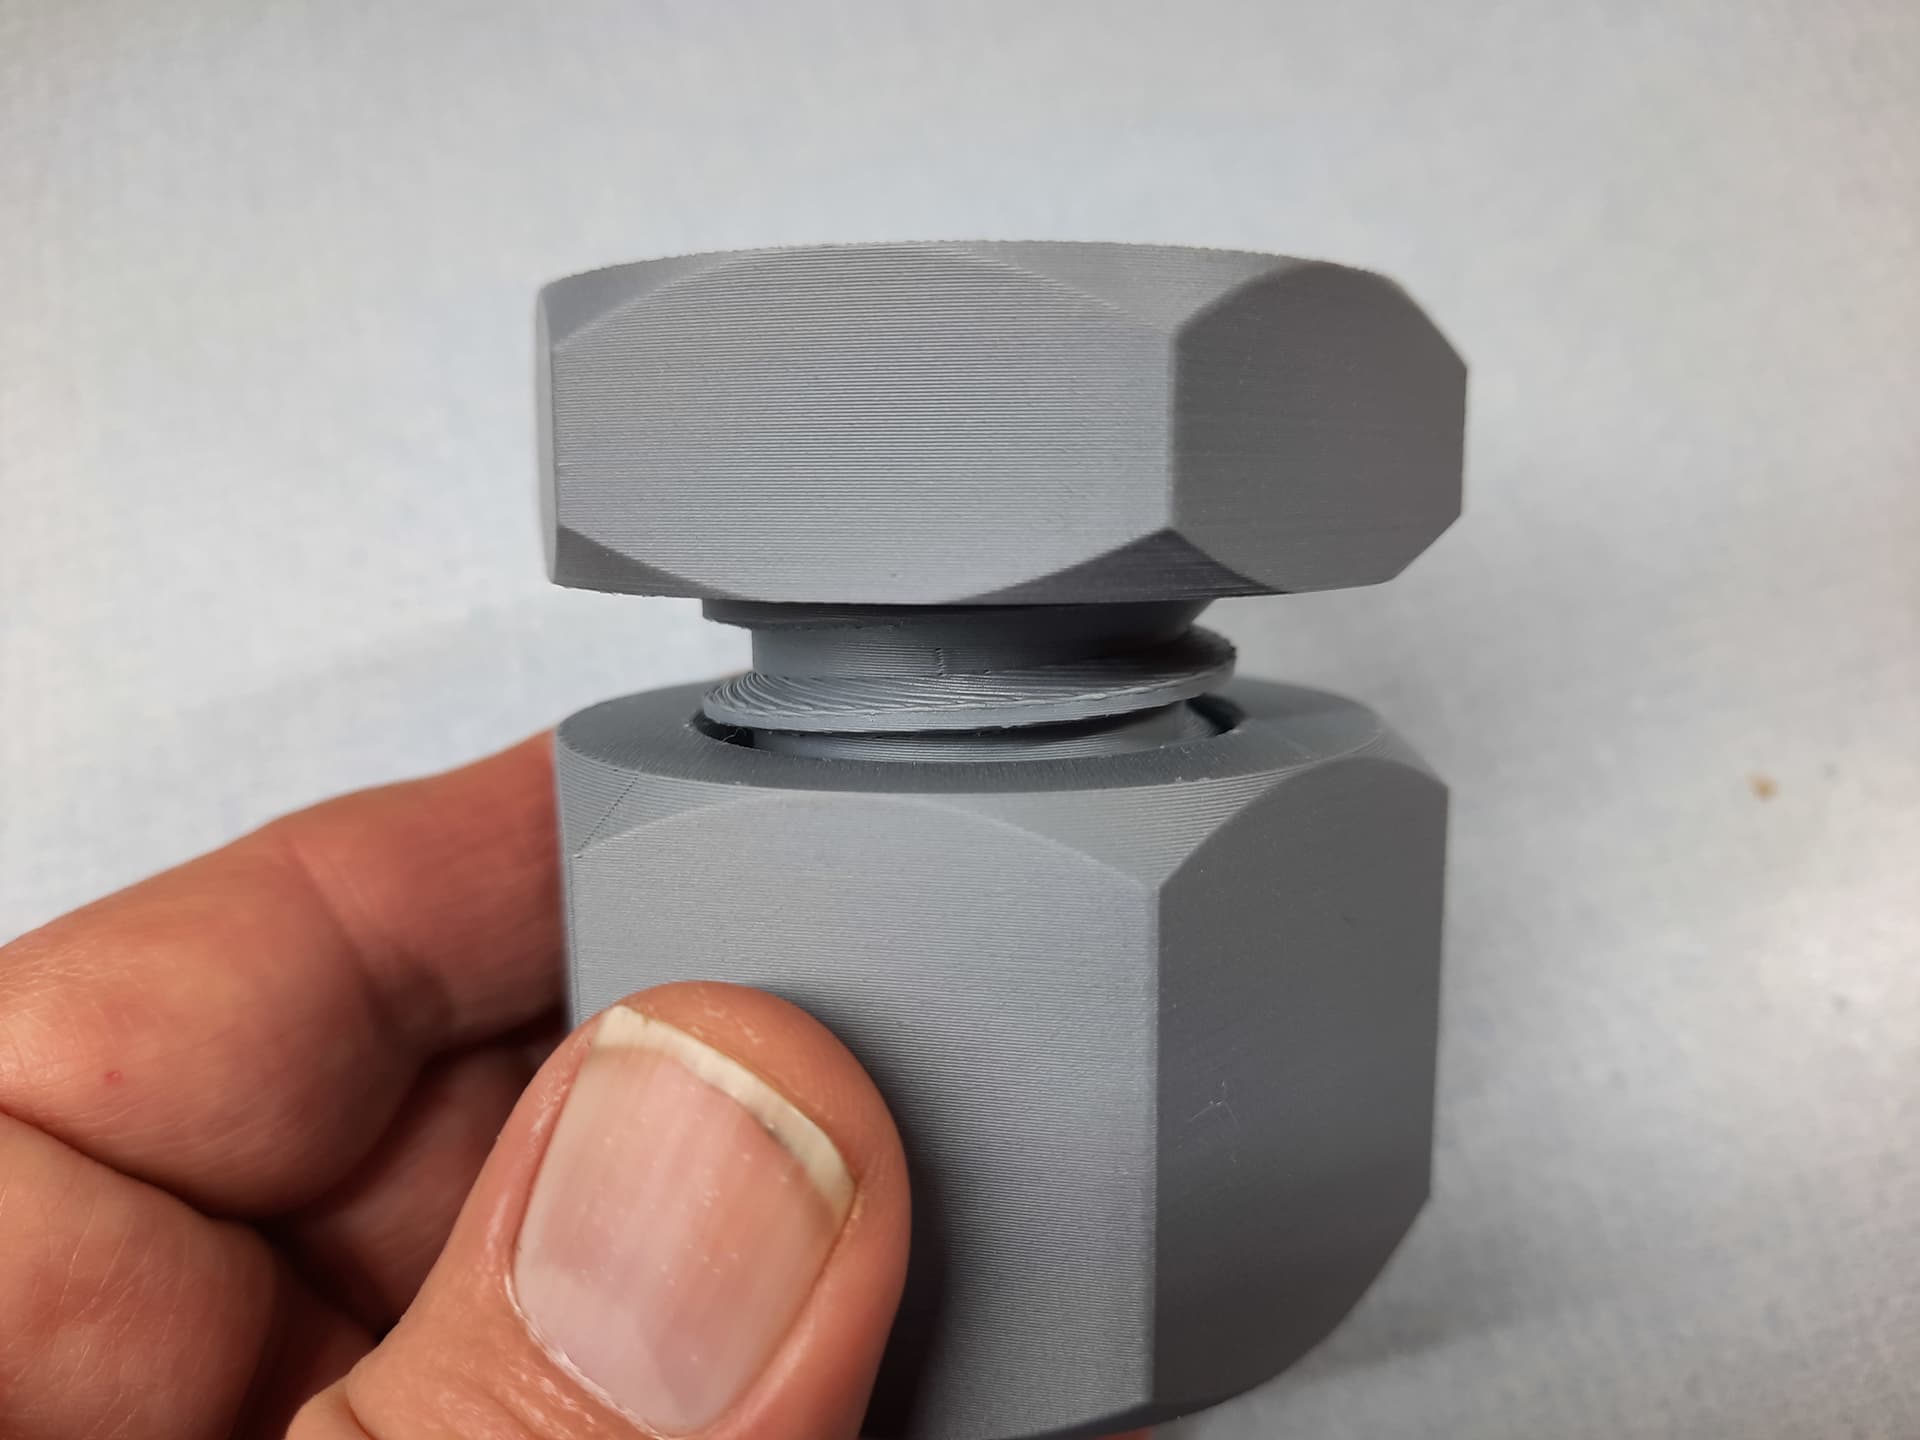
This works. I downloaded an M40 nut step from McMaster and modeled a giant bolt using ‘combine cut’. Then did the offset face technique with section analysis to check the offsets.