This is what I have found to work with most plasma cutter nozzles/tips that most people have in their shops or garages. NOTE: Orifice hole size 1mm = .03937"
20 amp tip - 0.6mm/.025" - 15 to 20 amps - 50 to 55 psi
30 amp tip - 0.8mm/.030" - 21 to 30 amps - 55 to 60 psi
40 amp tip - 0.9mm/.035" - 31 to 40 amps - 65 to 70 psi
50 amp tip - 1.0mm/.040" - 41 to 50 amps - 65 to 75 psi
60 amp tip - 1.1mm/.044" - 51 to 60 amps - 65 to 75 psi
70 amp tip - 1.2mm/.047" - 61 to 70 amps - 75 to 80 psi
80 amp tip - 1.3mm/.051" - 71 to 80 amps - 75 to 80 psi
Or check with your owners manual for settings.
With the X45 torch you only have one cutting tip 45/50 amp so the orifice is .040" or 1mm
@mechanic416 that is exceptionally helpful!!! i find my 30 amp tips cut at .035 width running at 28amps at 140ipm on 16gauge. could you tell me what the ideal distance the nozzle should be from the material for optimal kerf?
There is no cut and dry answer to the ideal cut height. .060" is just a rule of thump setting, like in tig welding its 1 amp per thousand of metal thickness. It gets you in the ball park. All that will depend on your setup, air pressure, etc. I like .050" for 20 and 30 amp and .060 for 40 to 60 amps. But like I said your setup may work best at .054" at 30 amp were you live and .051" were I live. Its like taking a cut ready file from the web and doing it. It may work well or not at all. You should always try a small test cut with those setting to see if it works for you.
Its just like what is the best air pressure. The settings I use may not work very well on your setup. If I am using 70 psi at 60 amps cutting 1/2" mild steel and my shop is over 100 degrees and the metal was setting in the sun all day at 95 degrees it will cut nice. The same settings when its 40 degrees in the shop and the metal is 32 degrees may not work that well.
@mechanic416 The method I use which might be a terrible one is to do several test cuts. I am looking for the smallest kerf. As I do the test cuts I I first dial in speed for least dross. I then manually adjust nominal voltage as low as possible without the nozzle touching the plate. I watch the cut in process as I adjust the voltage. Once I have found where it contacts I raise the voltage 3 or 4 volts. This works well for me but is a process. I do get really good results with it but I was hoping I could get some feeler gauges and just set and forget. It sounds like that is not an option. Thank you for the helpful information.
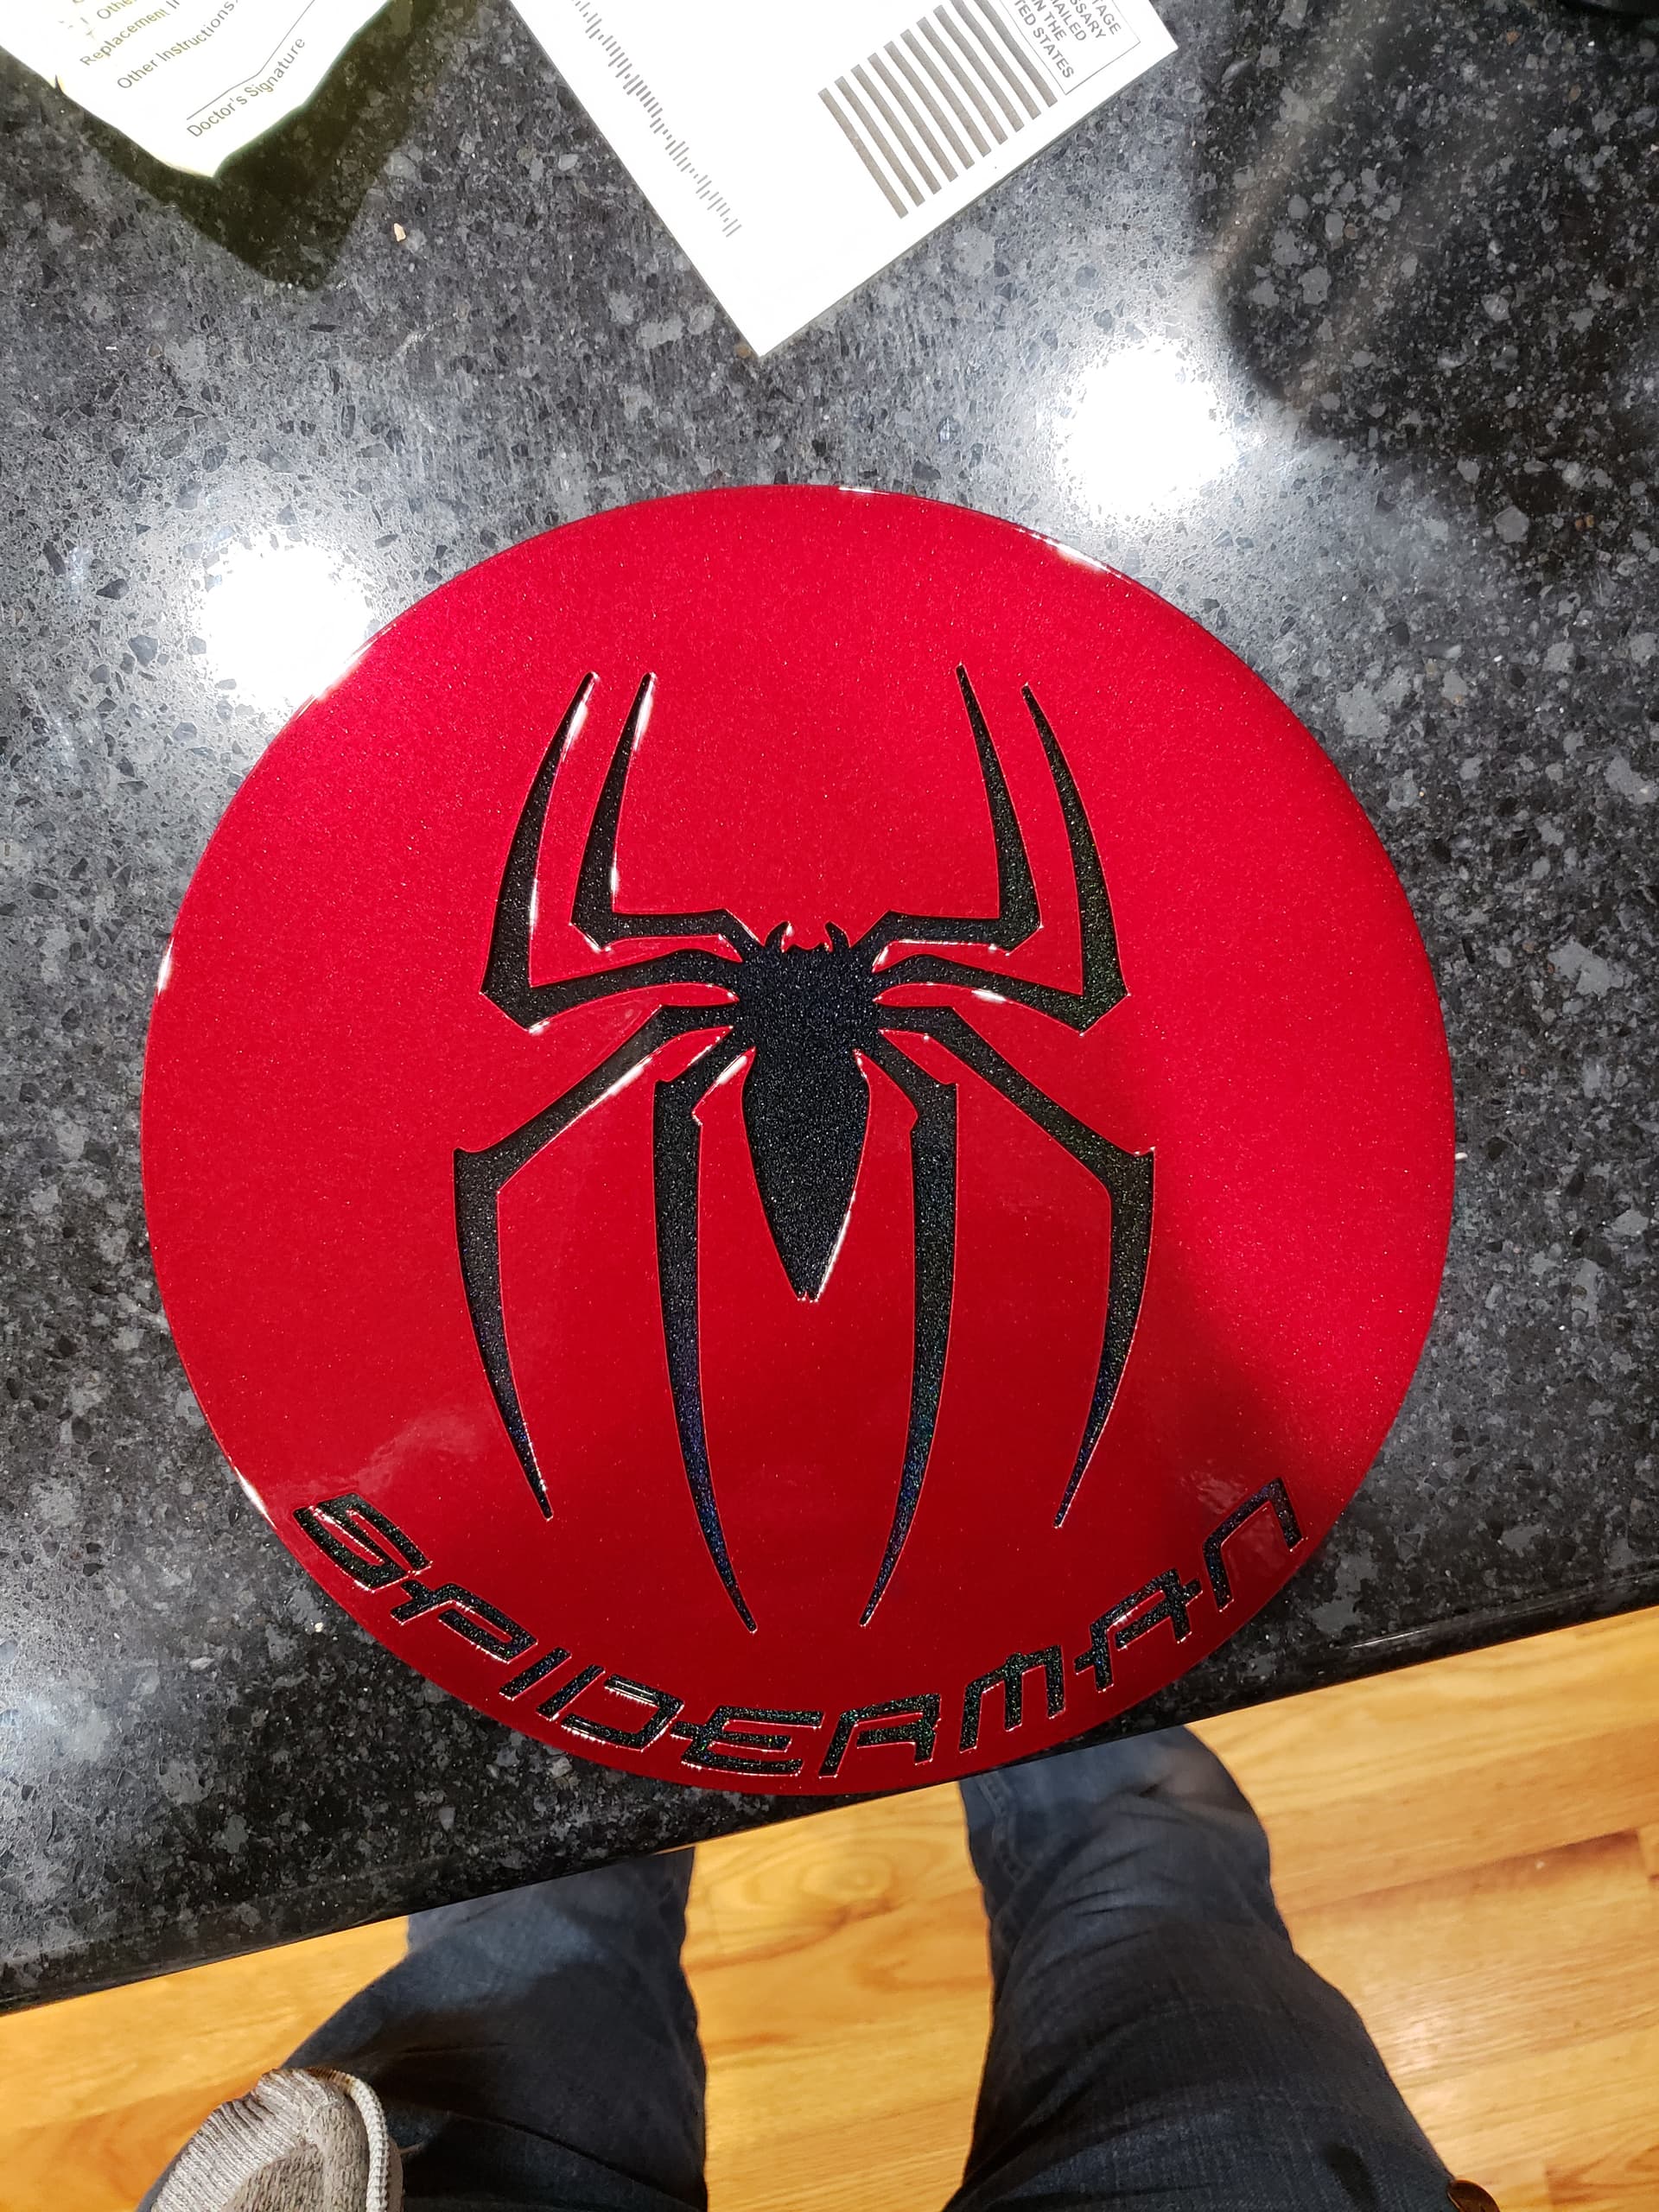
I just searched for both venom and the spiderman one on Google. Venom was pretty easy but spiderman was the logo and the text separately. Had to import them to inkscape and use path effects to bend the text
@knick Click right and save as, they are the dxf files you requested. Spider-Man and venom. It’s hard to see when they’re black on black.
Shows up even worse on the mobile version of this app.