I will nee to get new indicator lamps for lower voltage DC, but otherwise everything is working properly now. Just need to wire the alarms and install the door and it’s time to cook
2 Likes
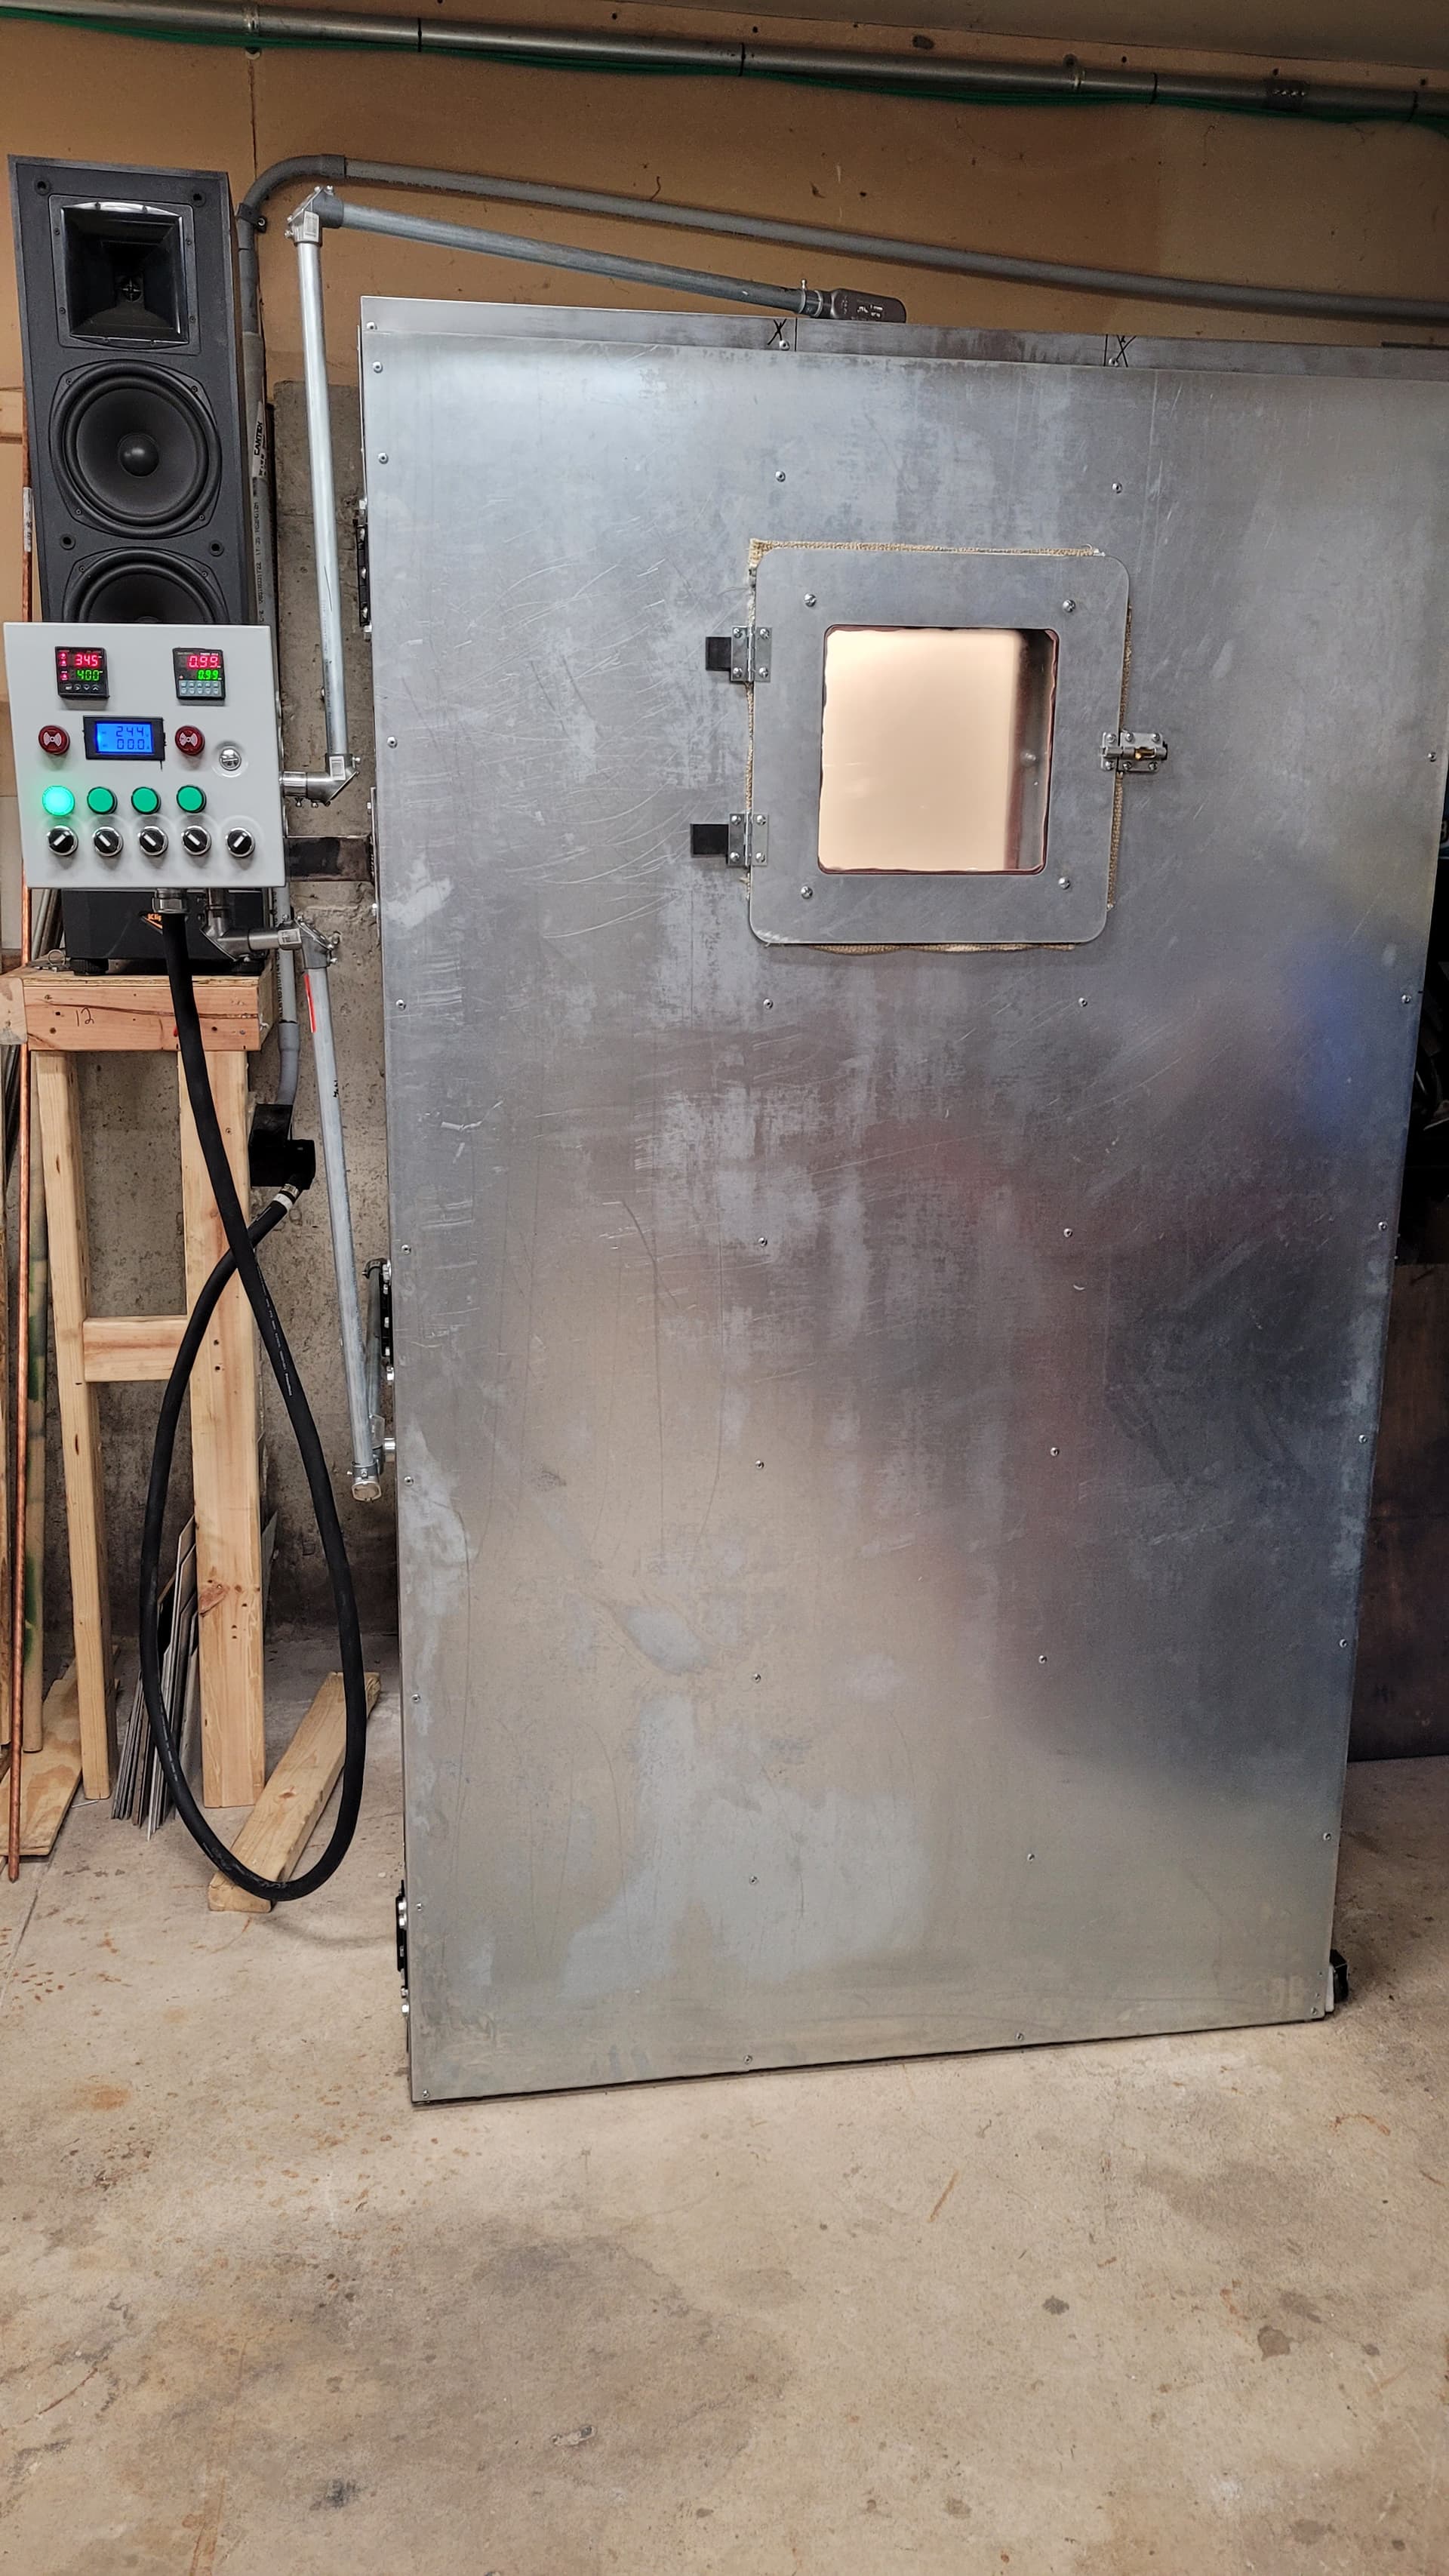
I forgot to put up any pics yesterday, been working on it non-stop yesterday and today.
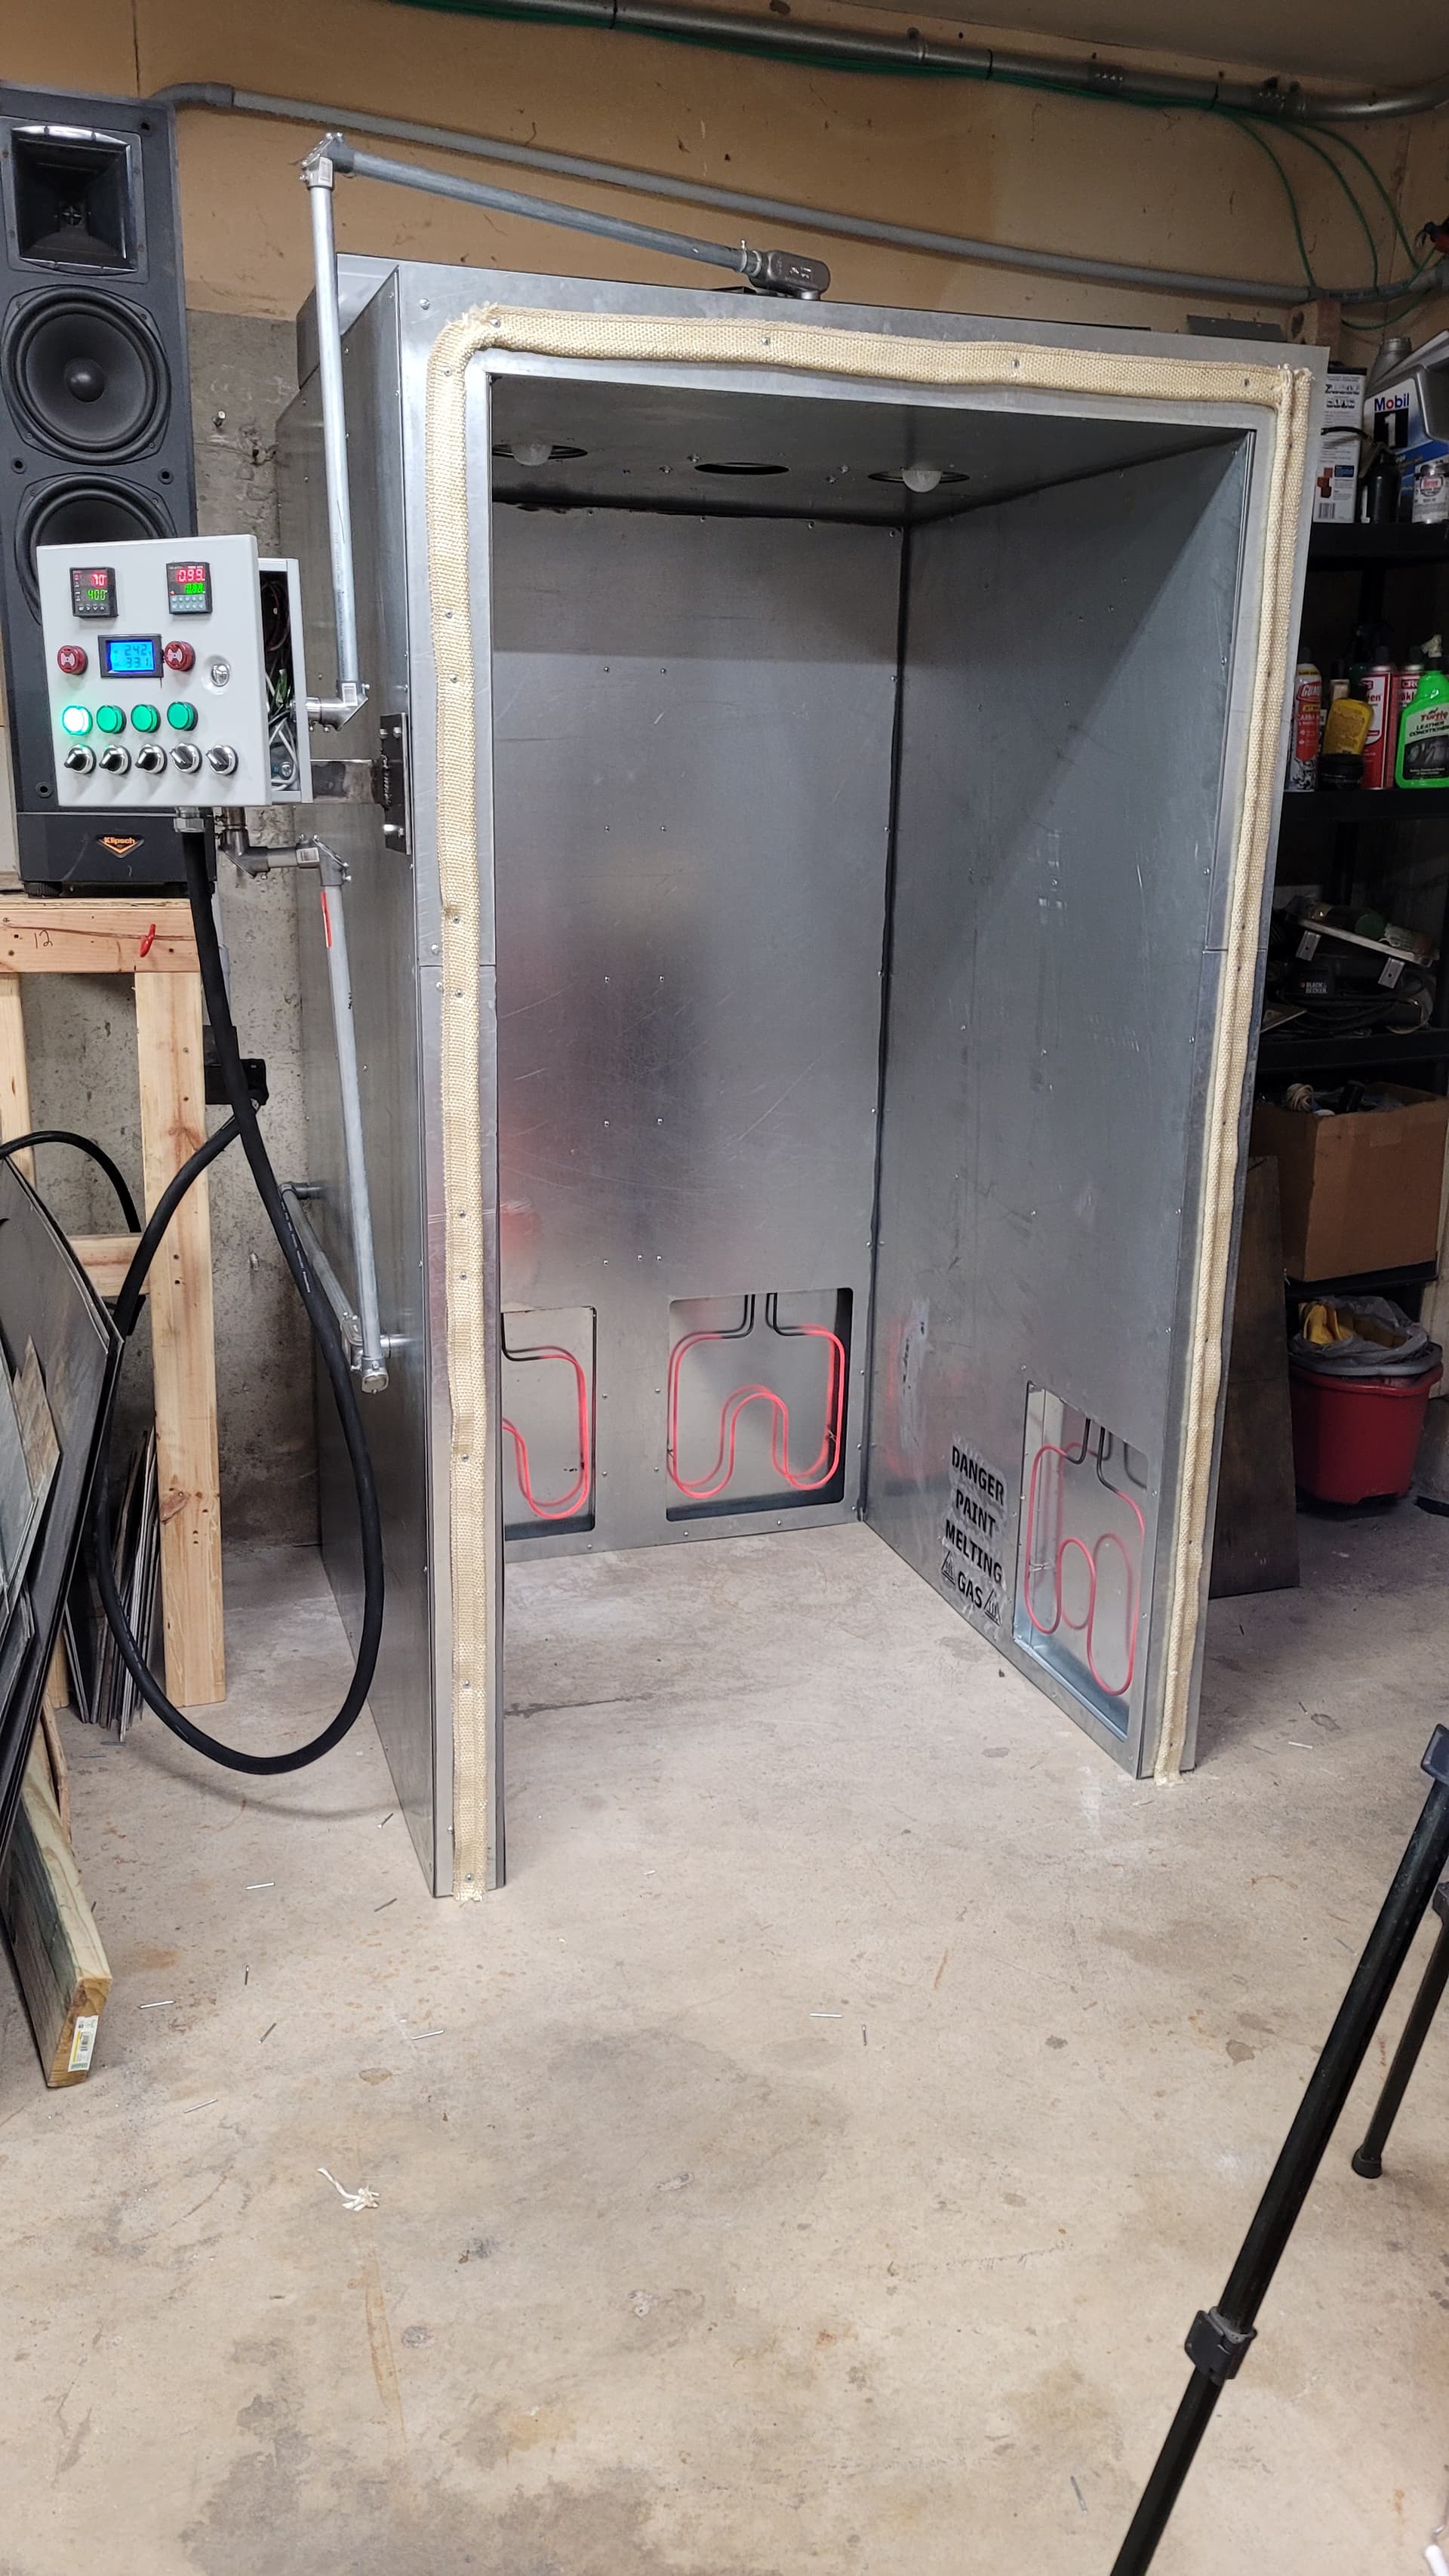
Everything turned on and functioning. You can see how dim the two indicator lamps are.

The high temp stake on connectors for the heating elements

3 Likes
Skinned the doorjamb and installed the tadpole gasket
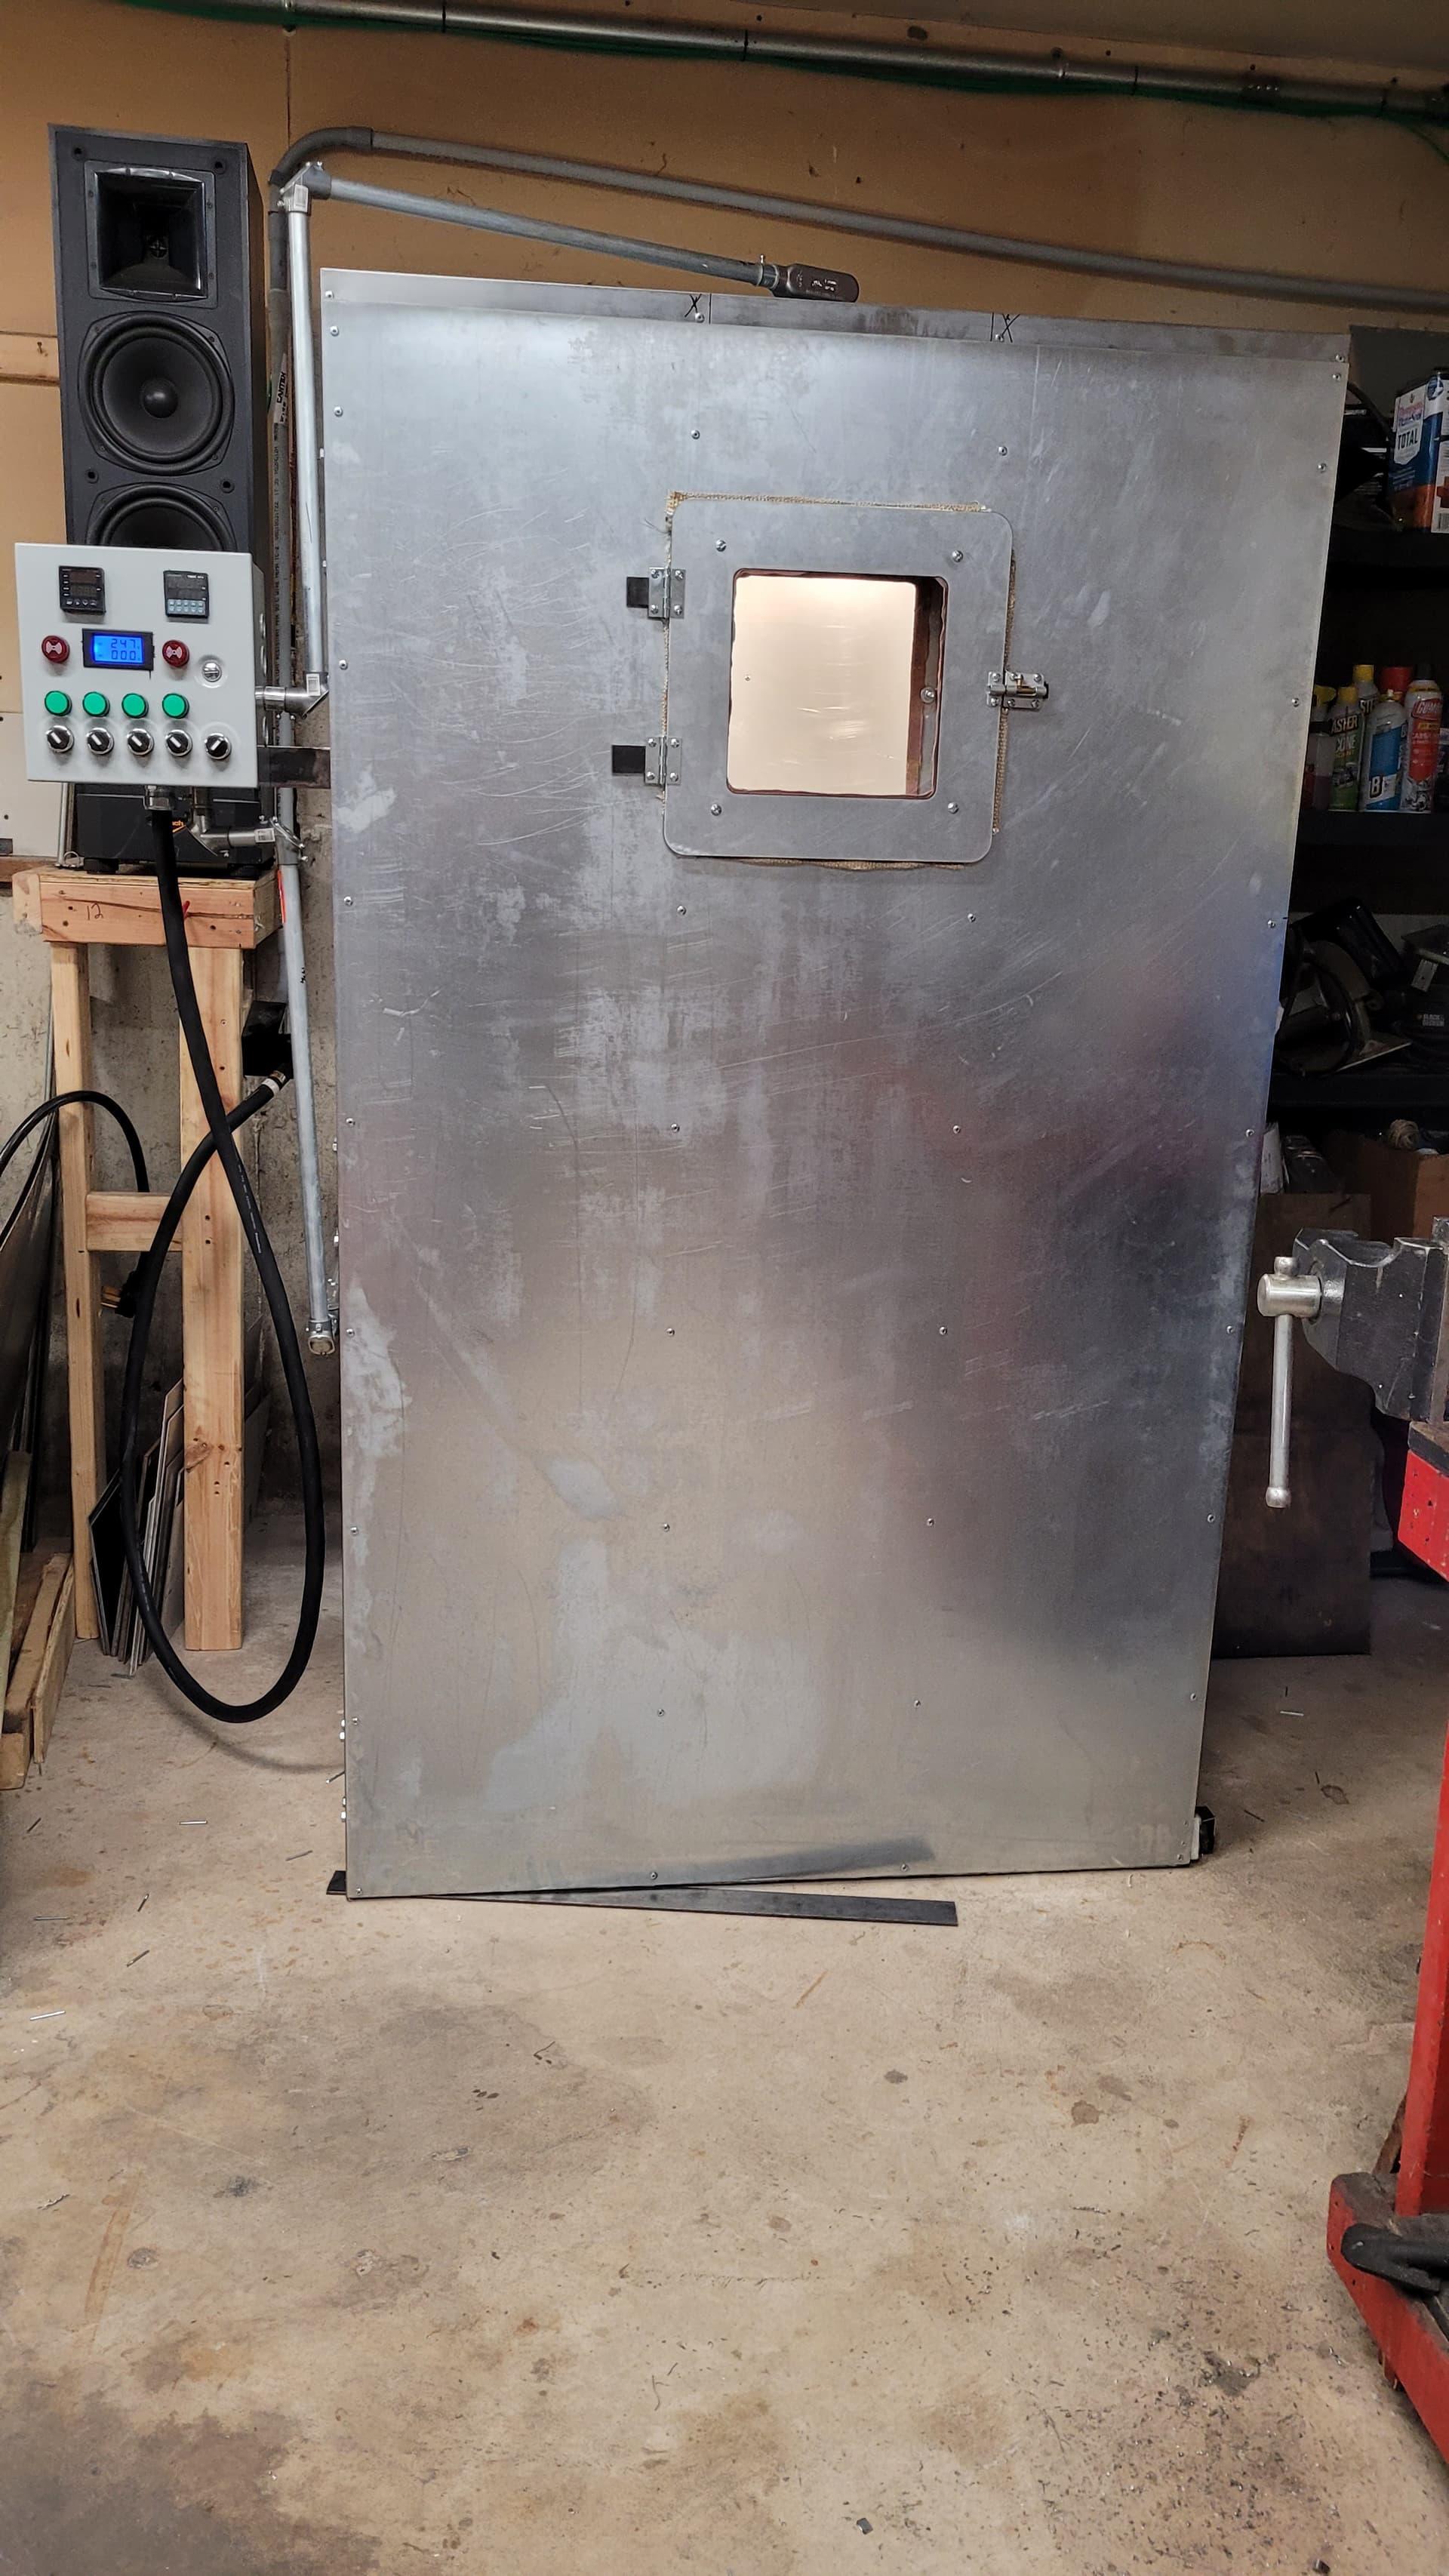
The door, just resting against the frame and shimmed up
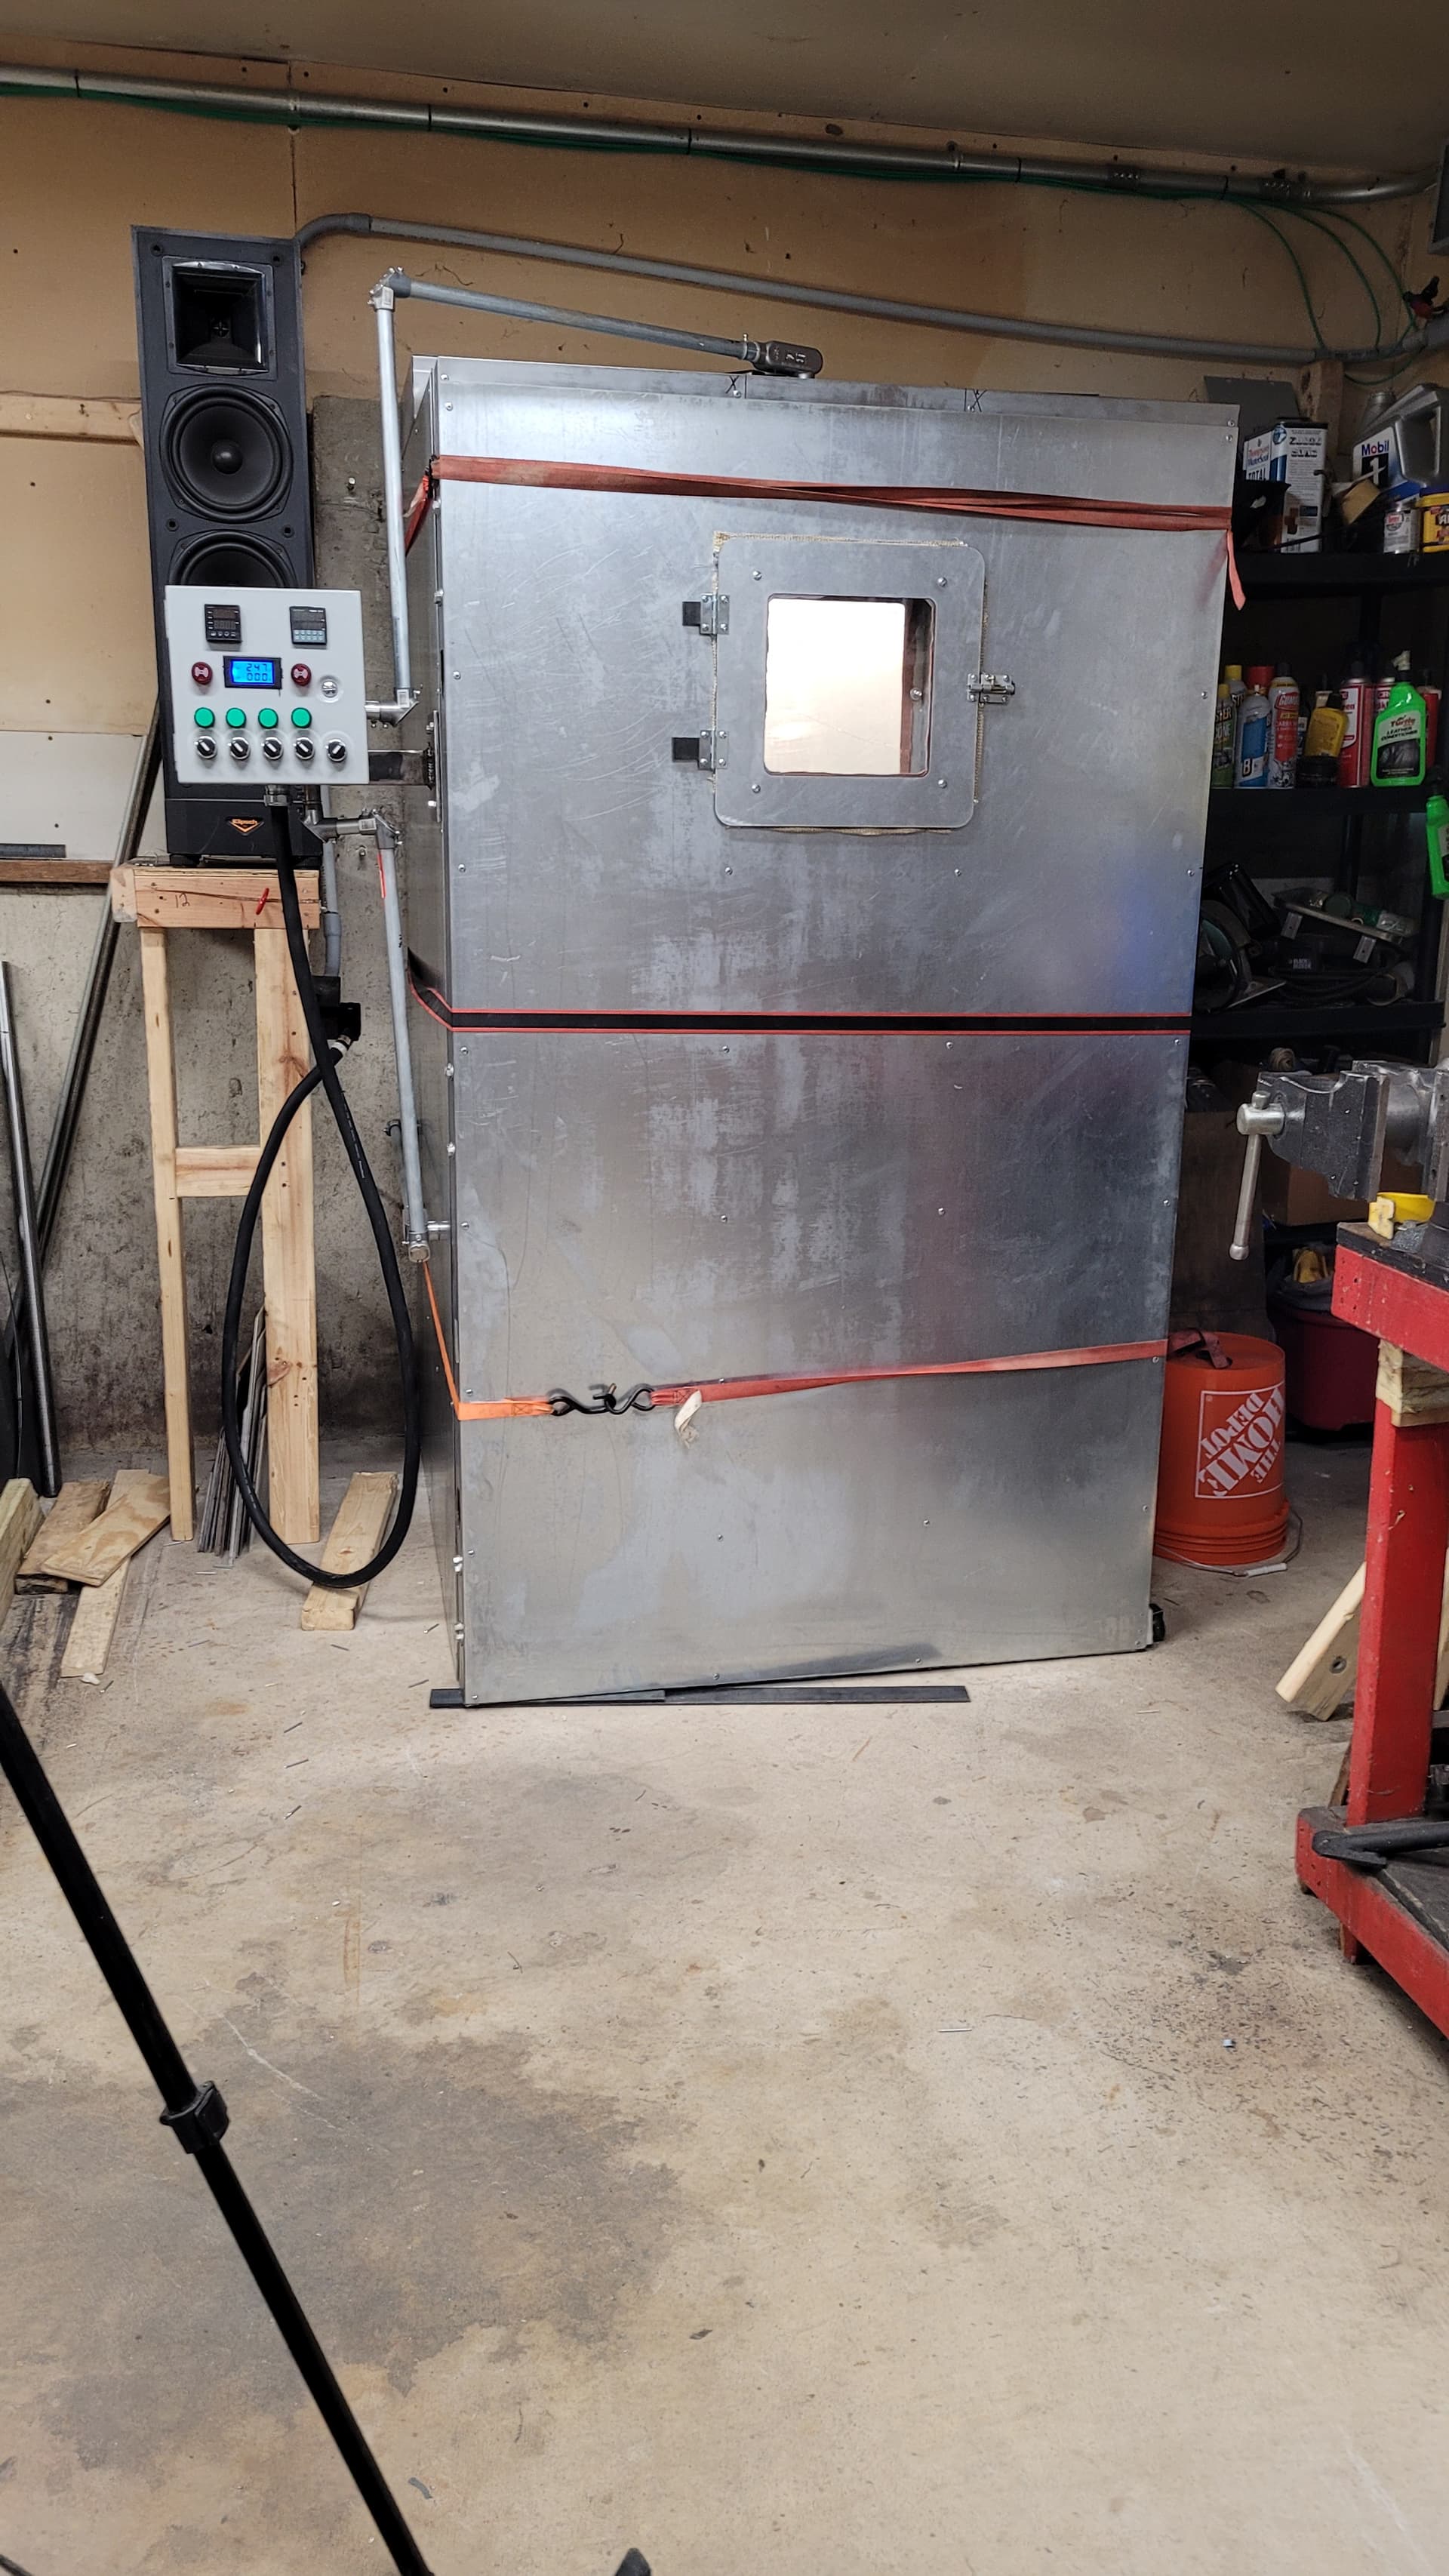
Strapped the door closed to compress it tight to the tadpole gasket before installing the hinges.
Window opened
All the heating elements fired up with the door closed.

That’s it for today, tomorrow I install the door latches, wire the alarms and fix the 2 dim indicator lamps. That will finish the project up, I’ve been chomping at the bit to setup the powder coating gun system that’s been sitting on the bench brand new and basically unopened for the last 3 weeks…I have an absolute mountain of video to edit so after tomorrow it will probably be a couple of days before I post the next videos. And I will definitely post a video of the first sign I powder coat, I have several that have been waiting for weeks now!
6 Likes
Awesome work guy. I’m not an electrician so of zero use there, but hopefully you got it all figured out!
1 Like
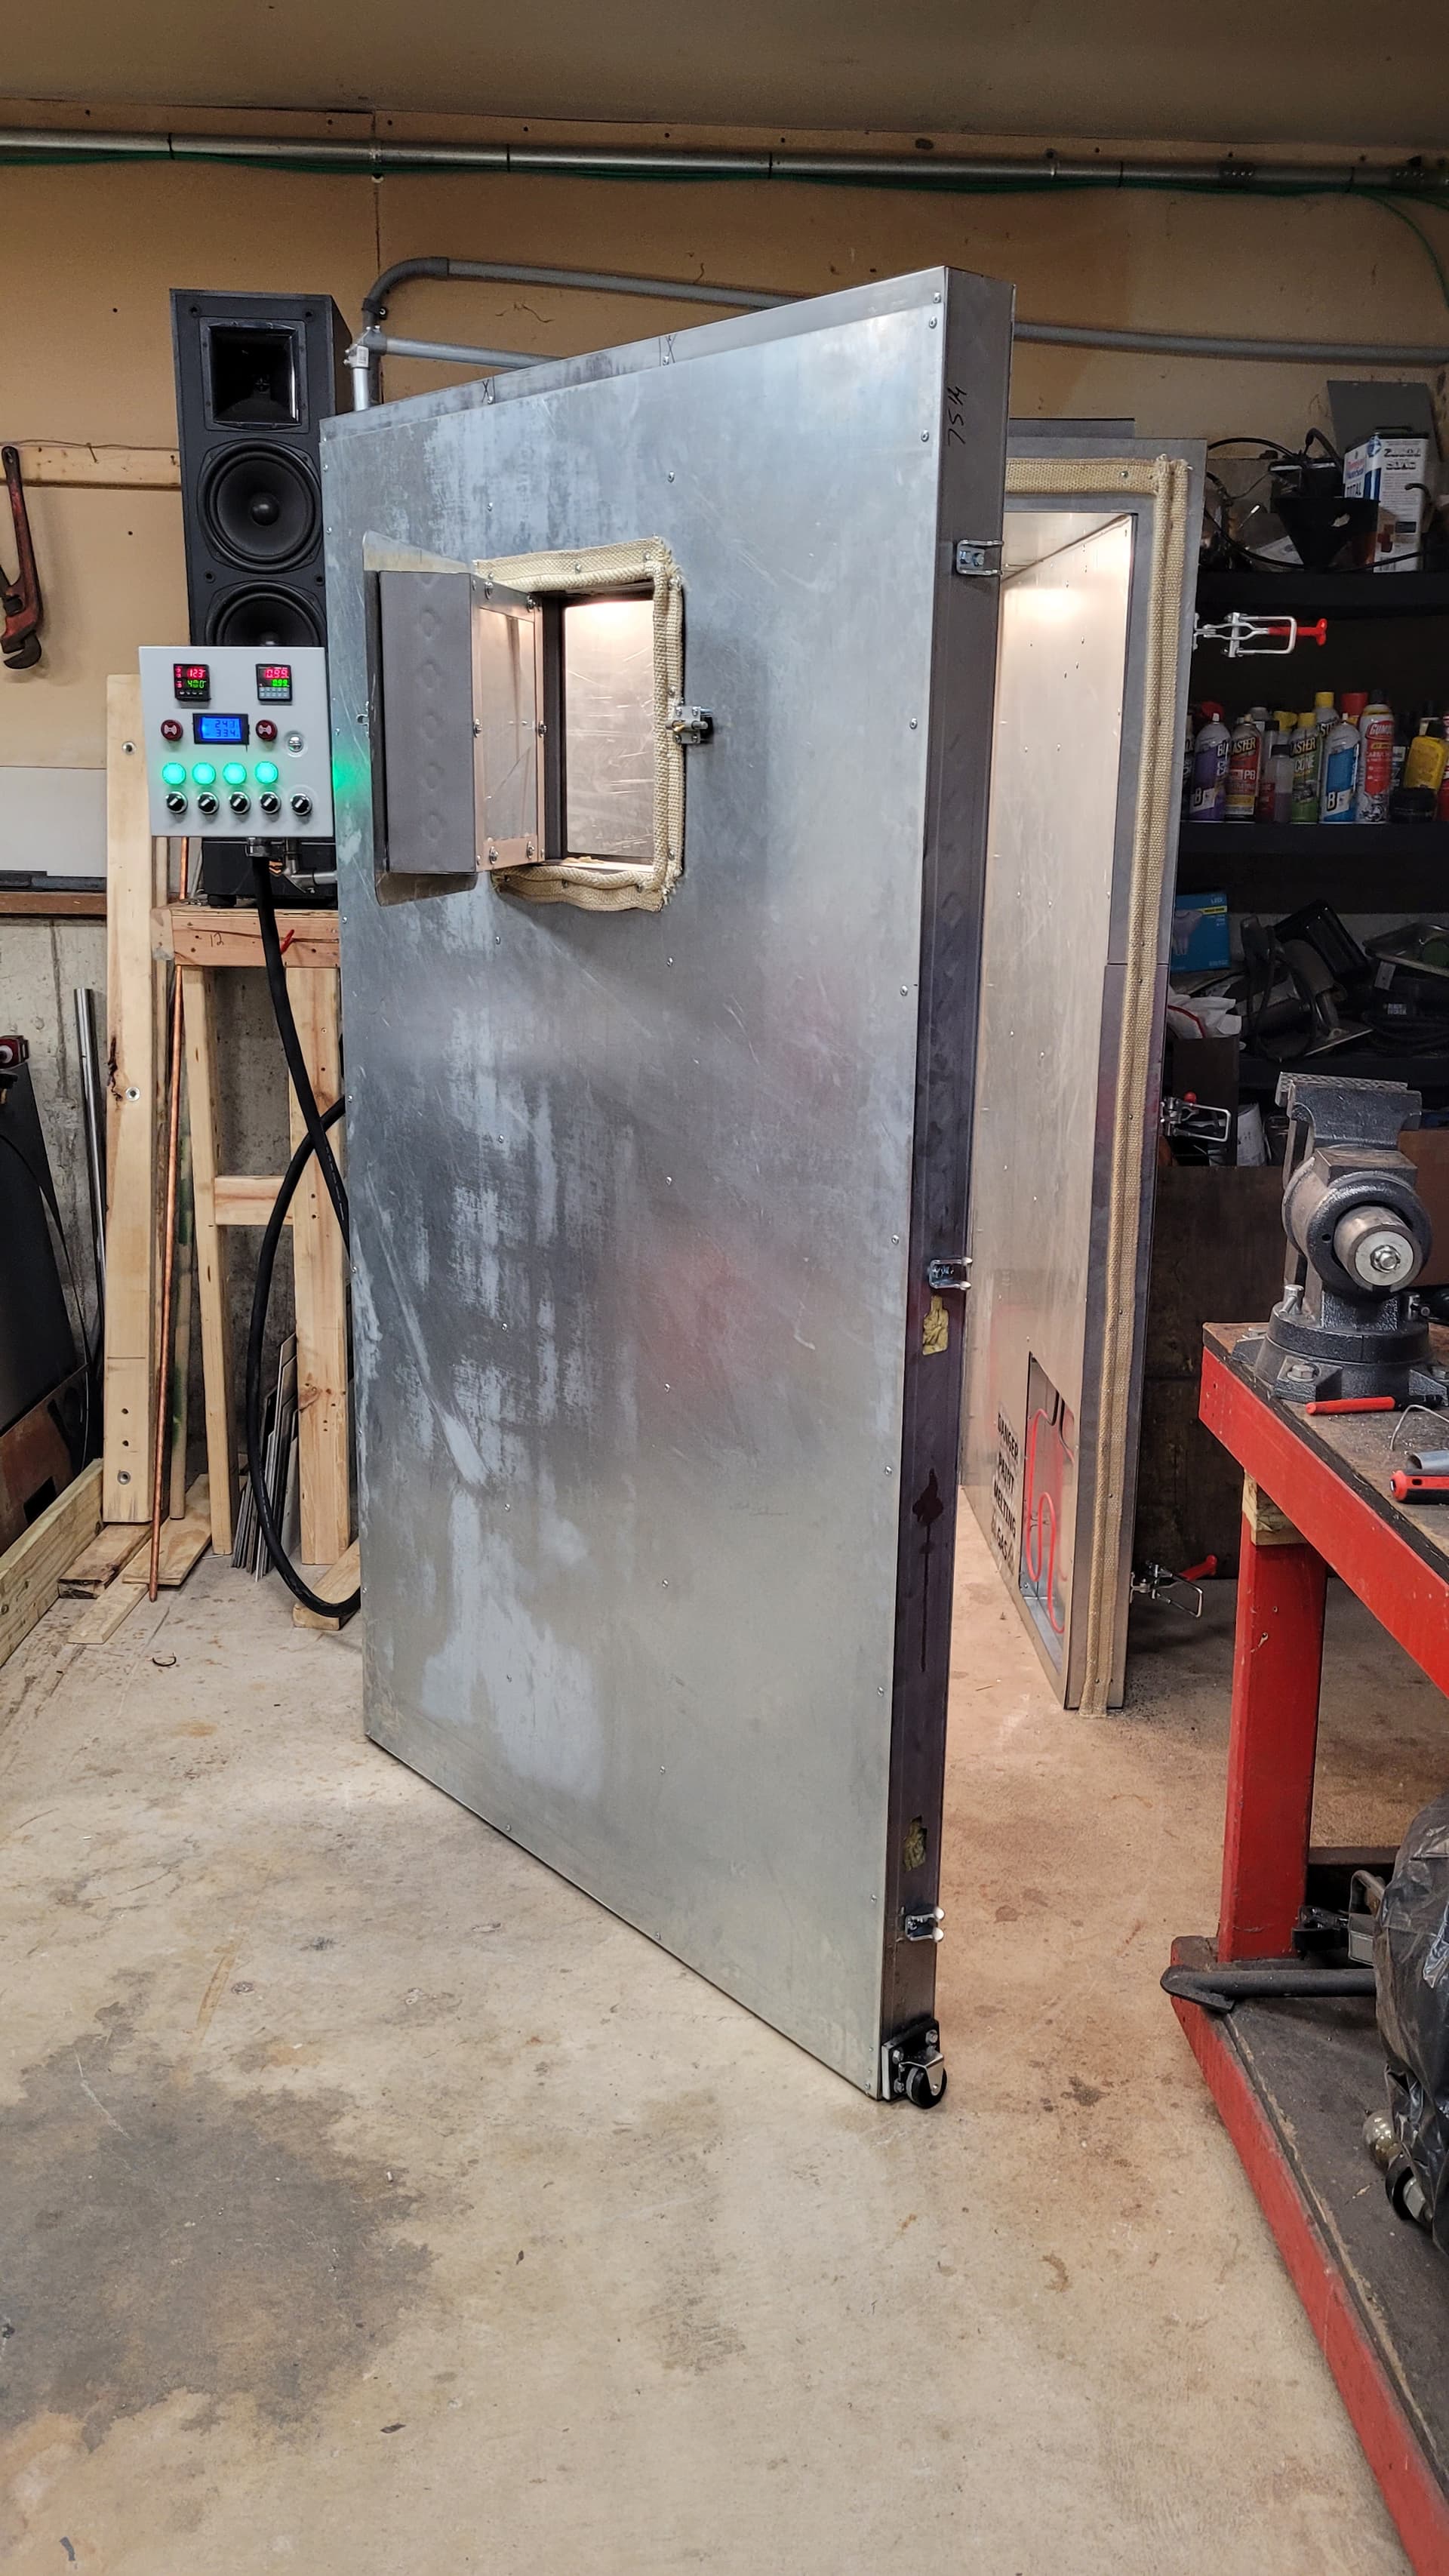
This is the last of the pictures, I’m on to editing videos now. The oven is complete and functional at this point. There are two things I will address in the coming weeks, first is the indicator lamps for the two heating element circuits. I will need to put the full time hot lines for the heating elements on a switch and that 100% will fix the indicator lamp issue, I rewired them to the SSR output today and the other side of the elements backfeeds through so the switch will absolutely fix this problem once and for all. The other issue is the alarm buzzers, they aren’t mission critical so I can address them when I get some free time to learn how the alarm outputs work for the PID and the timer. Wiring the alarms isn’t the issue, it’s the programming that I need to learn. Anyhow I cycled the oven to temperature today and everything worked great. Finished attaching the door latches and the door functions better than I hoped. The door weighs about 100 pounds so I put a caster on the unhinged side to carry some of the load and make opening and closing easier. It runs real smooth. I’ll try and get the next video posted today! So much video to edit…
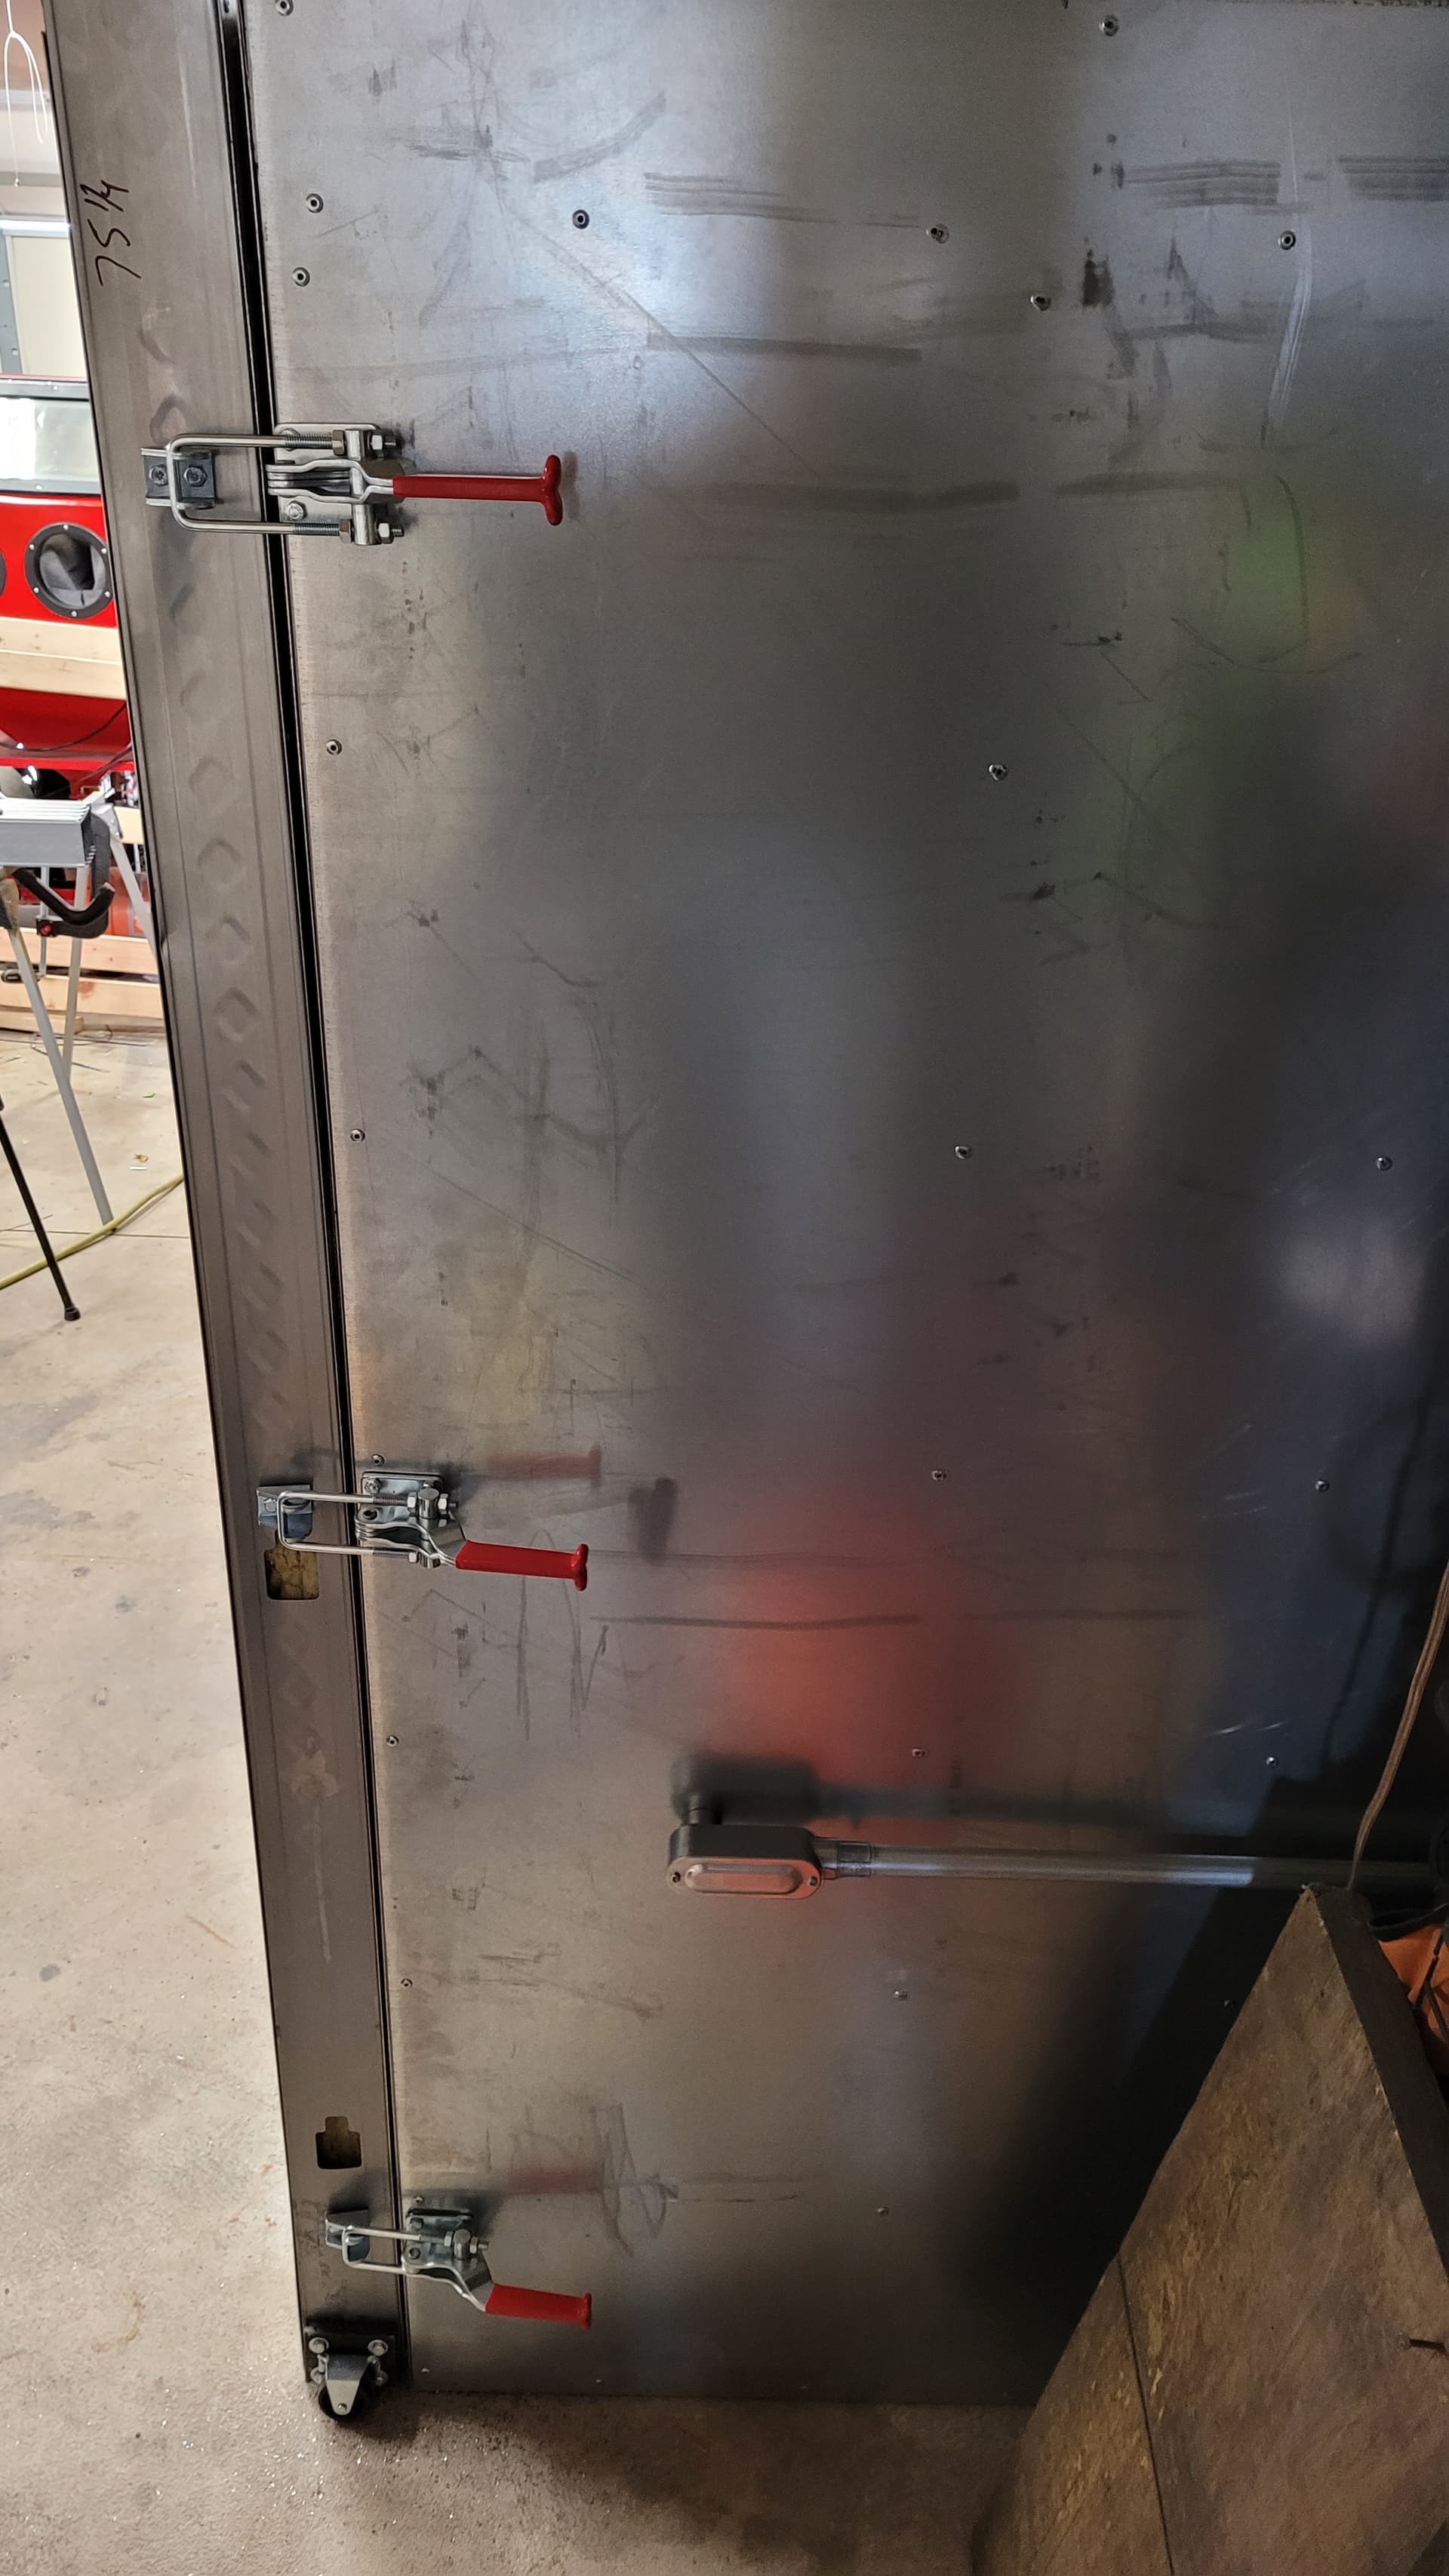
The door after installing the latches and removing the straps
The door latches installed
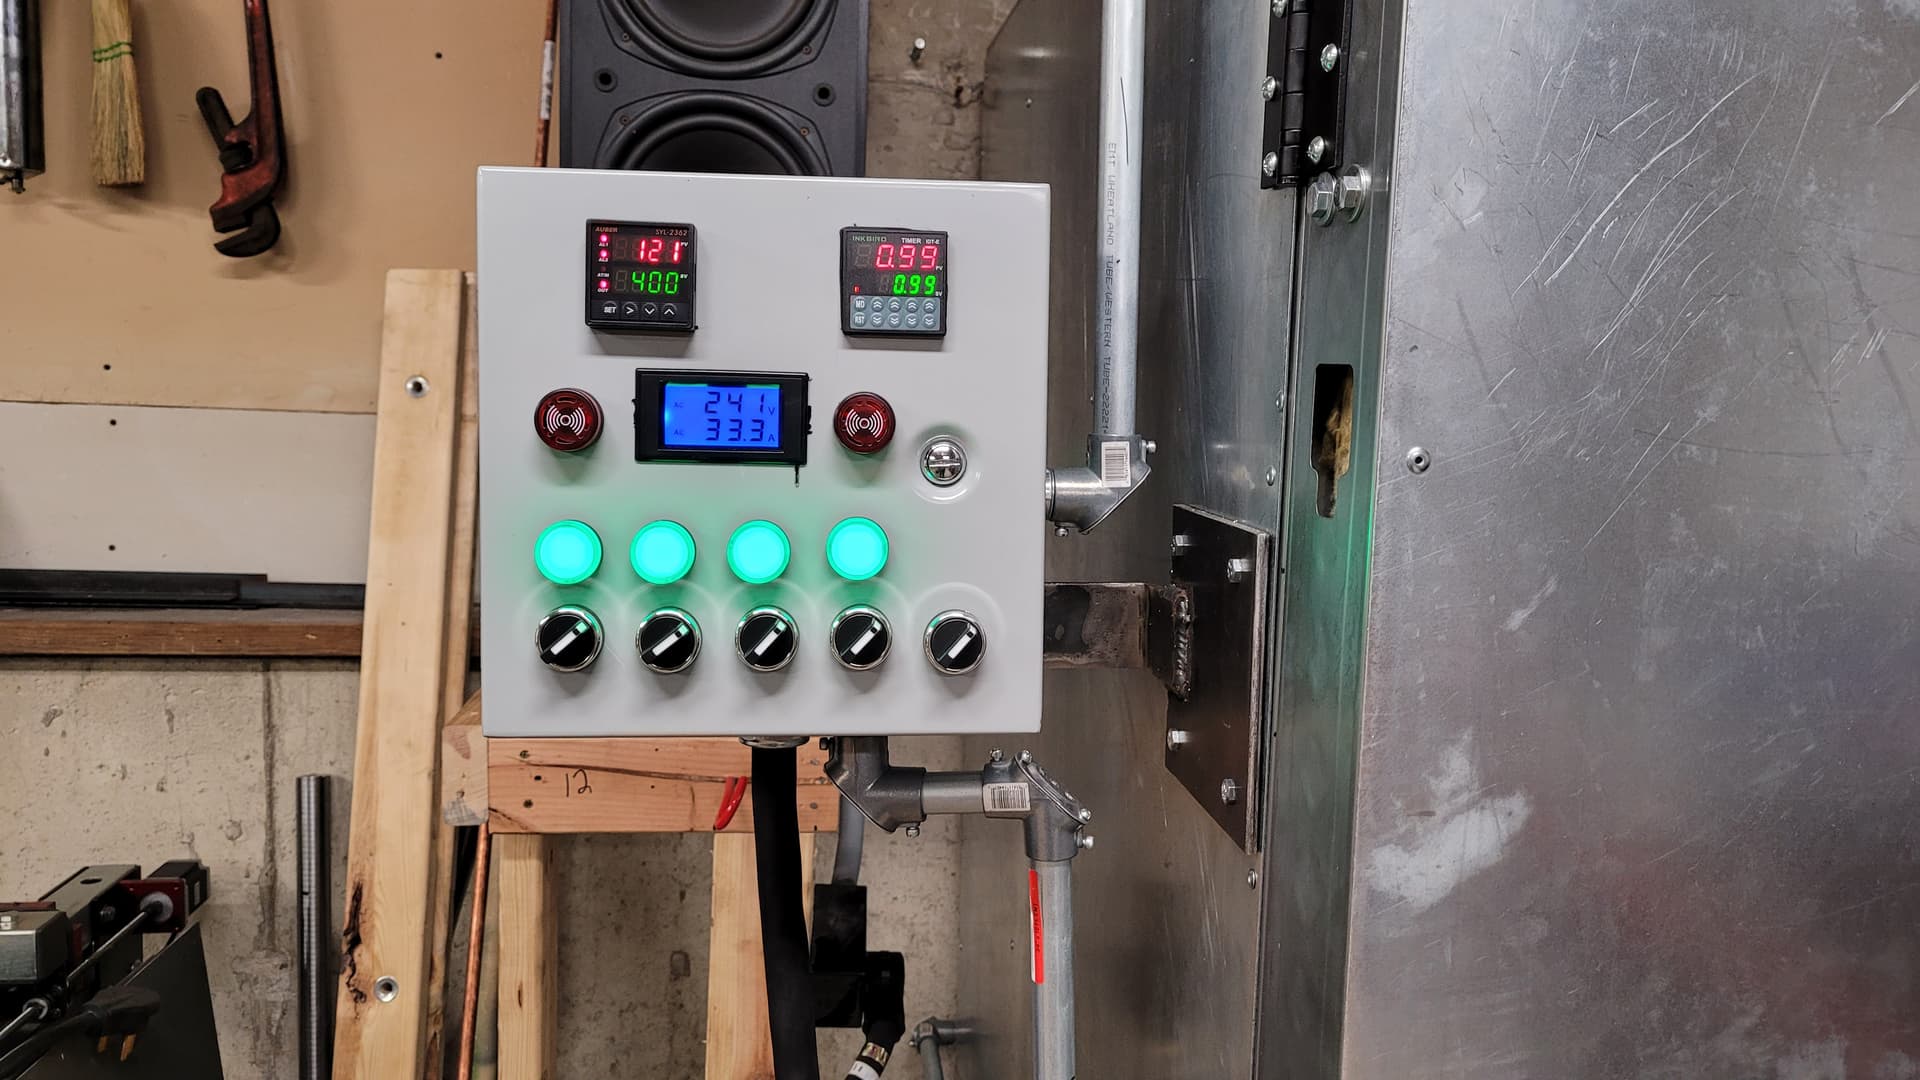
The voltage and amperage gauge works great, and the indicator lamps with the right voltage look good now
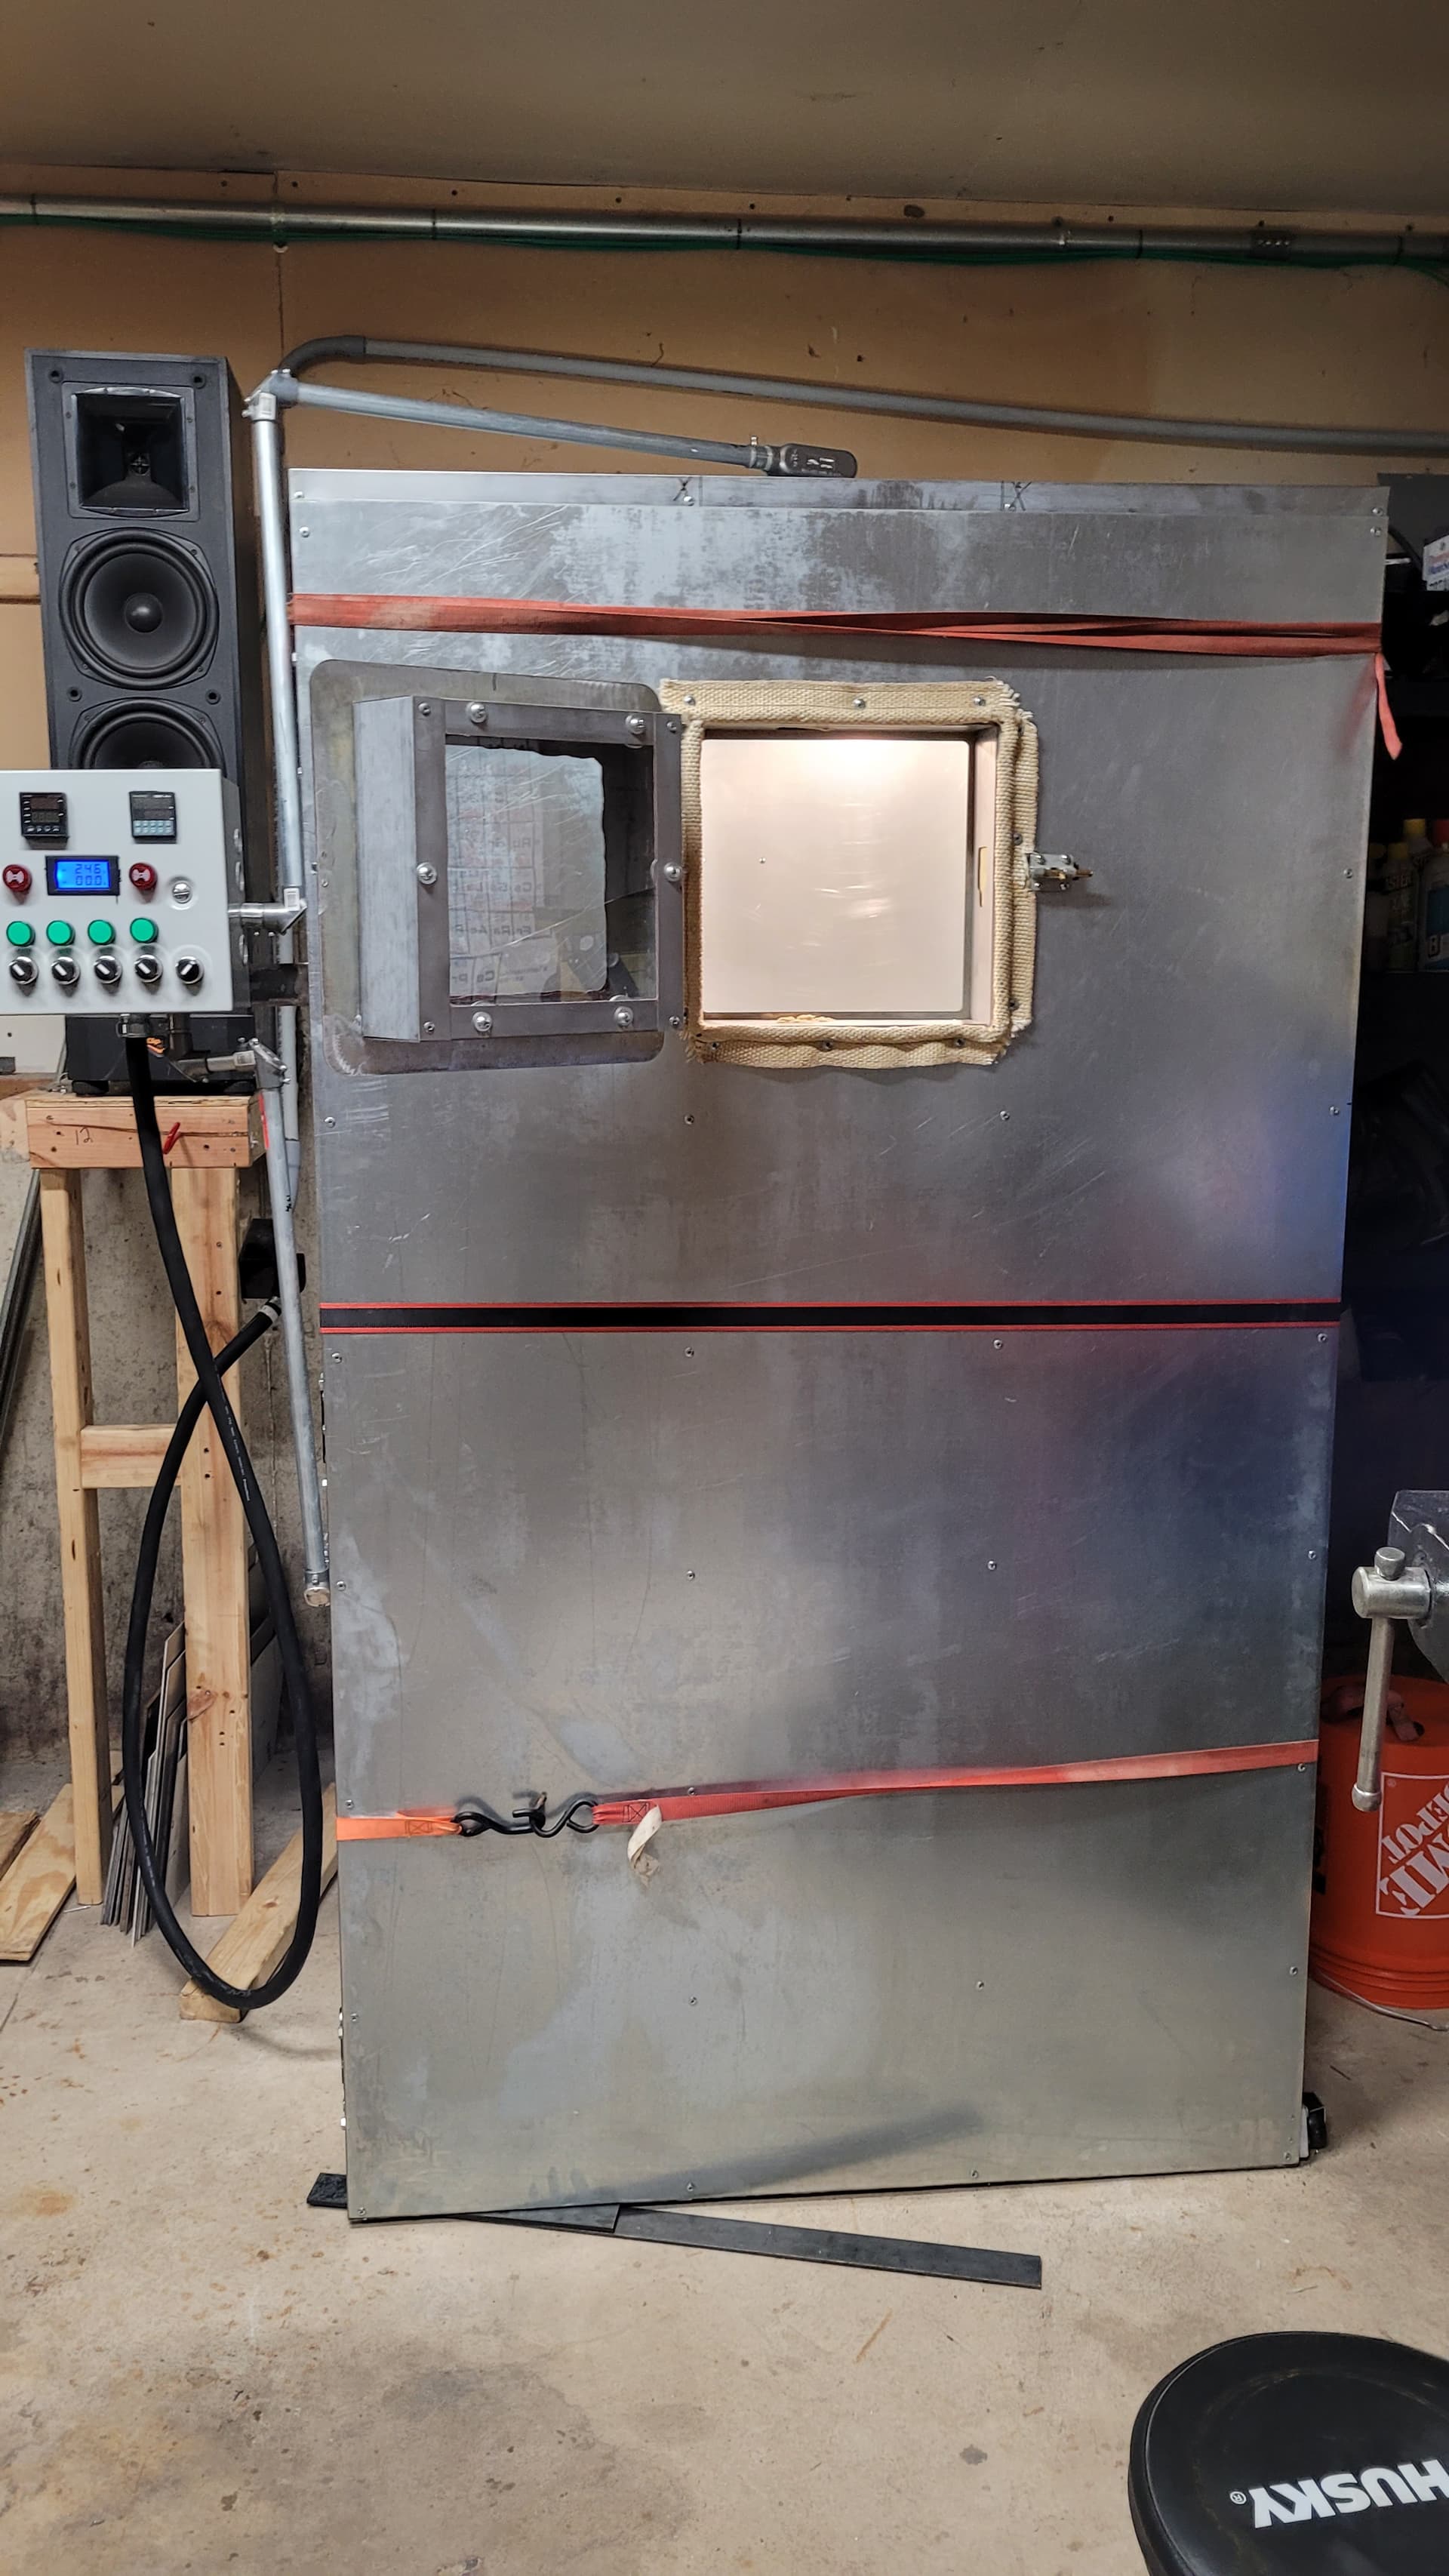
The door and the access window open with the panel on, in this pic you can see the caster on the front of the door
5 Likes
Part 3 has been uploaded, it may still be processing at YouTube so it might not be in 4k yet.

2 Likes

2 Likes
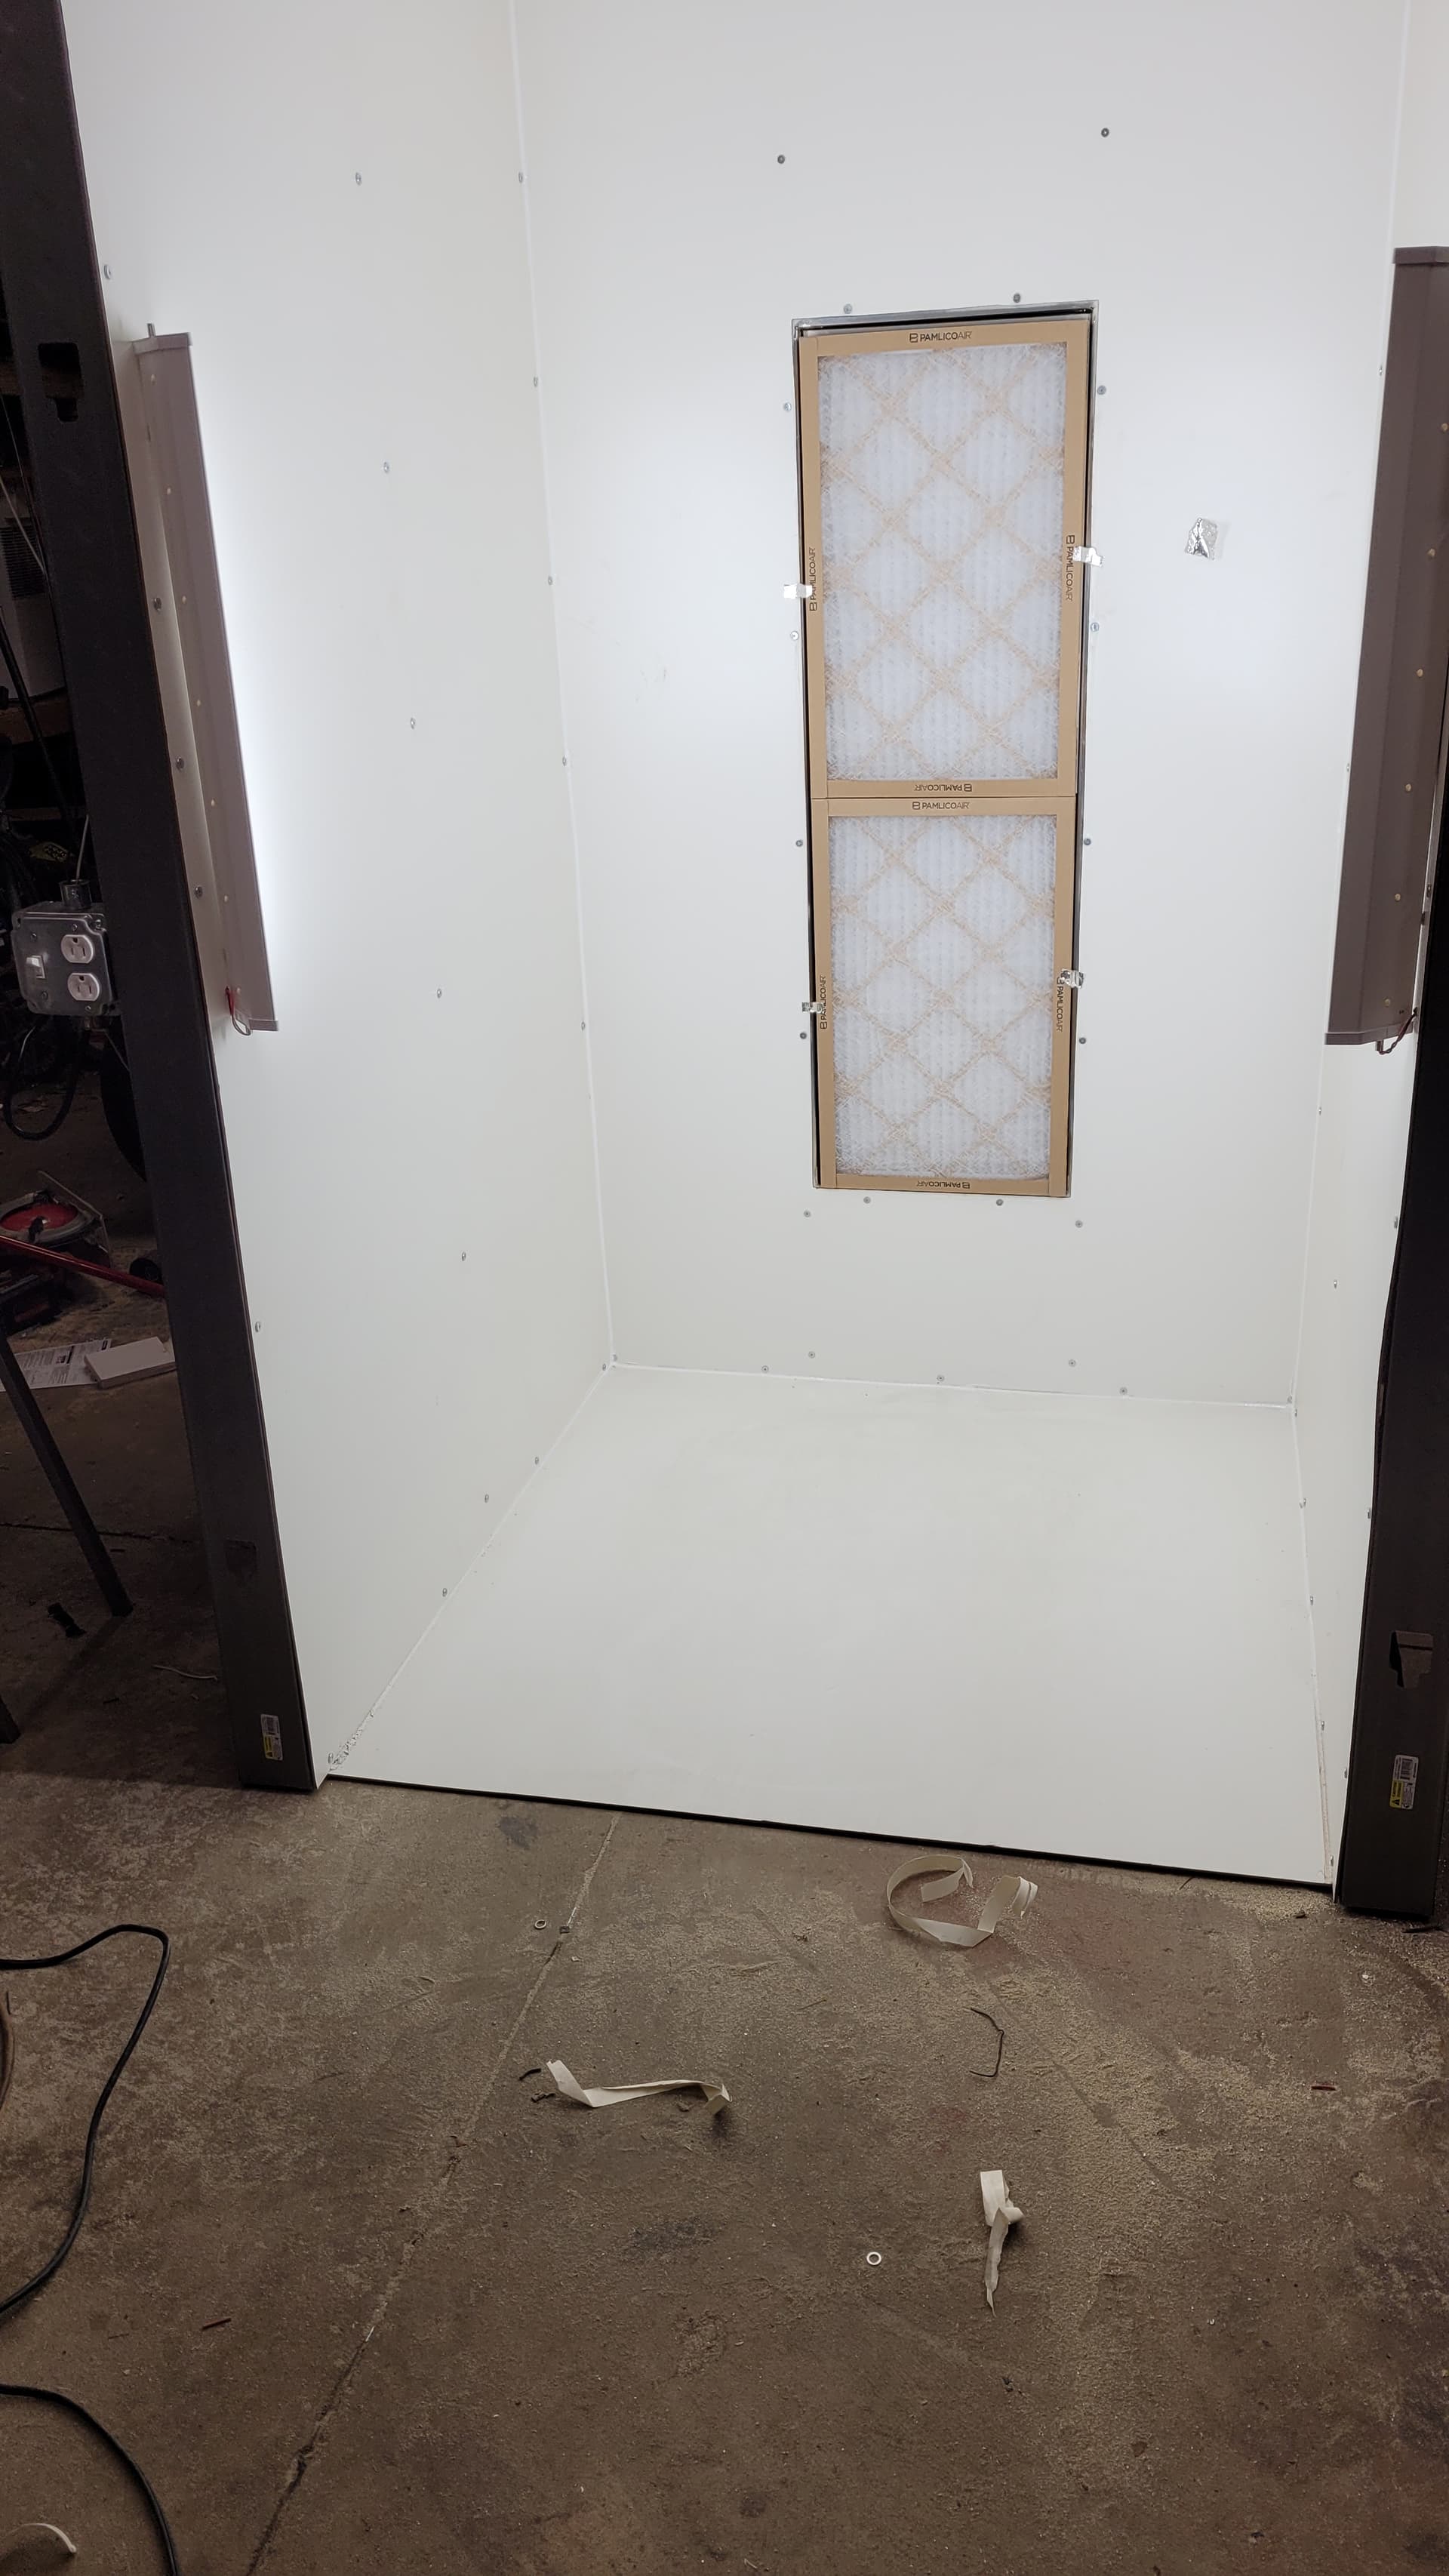
Sorry it’s been a few days but I’ve been scrambling to build the paint booth so I can use the oven…Finished the paint booth today so the oven will cook it’s first paint tomorrow if the system from Columbia wasn’t damaged in shipping. Anyhow, the paint booth should work perfect but it’s not particularly beautiful. Running 2 sets of 3 filters, cheap mesh furnace filter, FFR5 pleated and FFR10 4" pleated so I can just dump the output air back in the shop. It’s running a 1500CFM dual inlet direct drive blower and I setup a 15,000 lumens daylight temp LED light system. The whole thing is sealed up tighter than a frogs ass for efficiency.
2 Likes
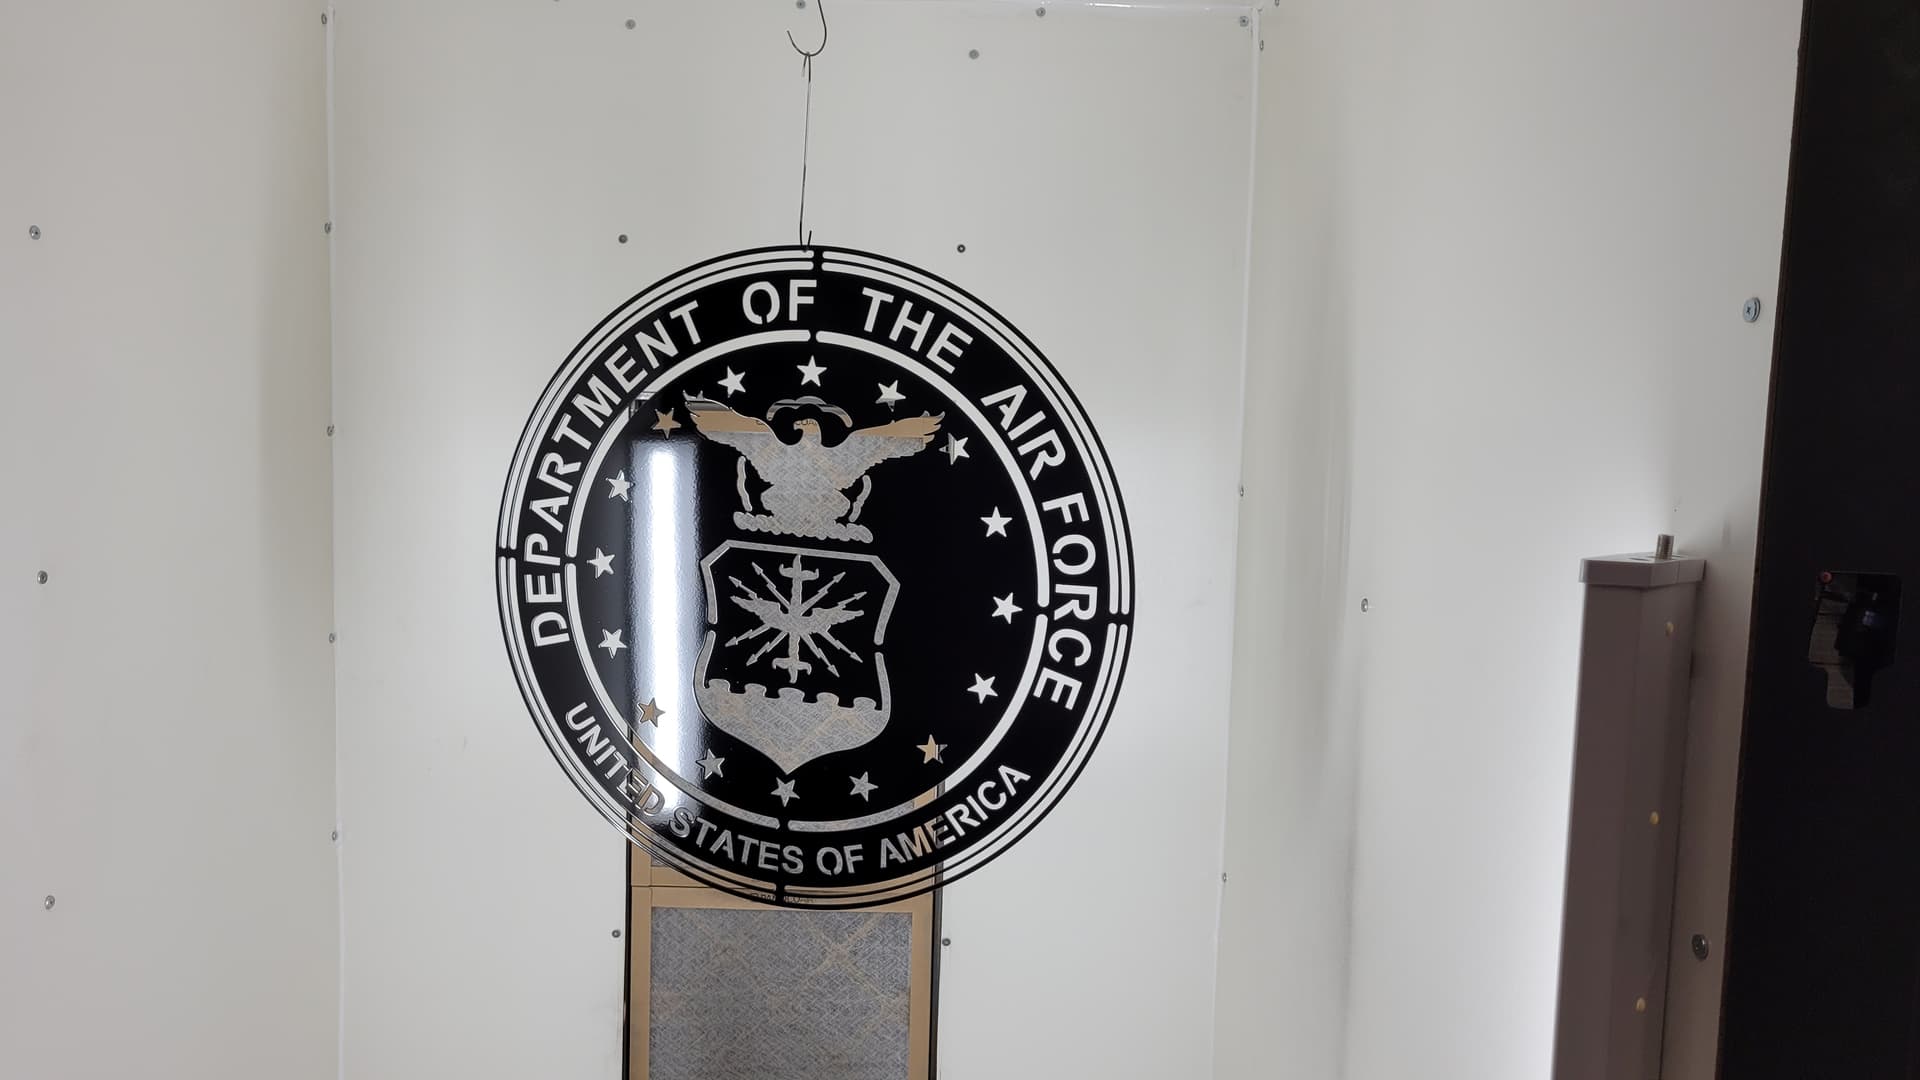
I put together the powder coat system today and cooked my first piece ever. I got a touch of orange peel I think because I put too much paint on, and I think I got a little bit of back ionization. Overall though really happy with my first go. This was Columbia Coatings super mirror black. The paint booth worked perfectly, I’ll have the build video of that up soon.
This sign is 24" diameter, pretty much all the armed service branch seals are 24" for me.
5 Likes
Once you get used to that system you will love it all but the powder cans.
1 Like
It’s the first and only powder coating system I’ve ever had, I’m looking forward to using it regularly. I have about a half a dozen signs cut and waiting on powder coating so I will be getting some practice in. I’m not looking forward to cleaning out lines to change bottles but I think that’s just one of those things you have to get used to. I just finished editing the video for this, I’ll post the link once it’s uploaded. It’s the assembly of the Hyper Smooth 3.0, spraying and cooking the part. I got real lucky on that paint booth, the blower has been sitting in my driveway for 18 months getting rained on, snowed on and covered with leaves. Couldn’t believe it fired right up when I wired it, and it pulls just the right amount of air.
3 Likes
The hyper smooth 3 is a excellent machine. I have sprayed between 25 and 30 pounds of powder with mine… the cups are cheap enough your main colors you use just use for that color cuts down a lot on color changing clean out.
1 Like
Get you one of the surface conditioning tools from harbor freight and the 40 grit wheel and you can grind the powder off of the front and reshoot it.
2 Likes
So you would just need to clean out the hose and the gun then right? I had considered this before but I haven’t had a chance to look at how it would work out. I know I’m going to need a dedicated cup for flat black and one for clear coat at a minimum.
1 Like
I have the blast cabinet, I like the cabinet because it leaves a uniform surface, no scratches. If this starts to do well I’m going to buy a drum of B-17 for stripping.
The video is uploaded, it probably won’t be in 4k until tomorrow, YouTube takes a bit to process HD and 4K. I turned off the music in the shop so I could talk for this video.

1 Like
I’ve got 3 vortex cups and 4 2lb hoppers and you can blow out the gun and hose and you’re ready.
2 Likes
Do you prefer the vortex cups and 2 pound hoppers over the standard cups?
I’ve got the older version of the vortex cups that can be a real pain to get open due to the seal sticking. The hoppers are way cheaper and hold more. The vortex cup shouldn’t be filled more than half full so you’re limited to smaller pieces. I’m going to get a few more so I have suoer satin black, wet clear, matte clear, wrinkle black, white, and red at the ready.
2 Likes
What would you use matte clear on?
That’s it as long as you have a safe dry place to store them. I always say I don’t want to do a lot of color changes. Then I end up doin 7 or 8 a session. I spray a lot of the super mirror black. Just cracked open a 44lb bulk box. I paint 150 to 200 parts at a time for the company I work for. It’s a great gig just semi steady.
2 Likes