I had a standard issue Harbor Freight blast cabinet, it was just a couple inches too small for my 24" metal signs so I fired up the table and cut some new walls and basically rebuilt the entire thing. I added 4" to the height and depth and left the width the same at 33". Also moved the door from the side, it’s now a front opening cabinet. I made a 3 part video of the process, it’s a bit long for one video.
Thanks Knick, I did make one major blunder that has to be fixed but otherwise it works perfect. I made the hand holes too close together, I’ll fix that when my current project is done (I’m building a 54 cubic foot powder coating oven).
I thought they looked close in the video.
I am more of a 5-10 blunder kind of guy!
Post your P/C oven build if you have time. I built mine and always like to see how other people build stuff.
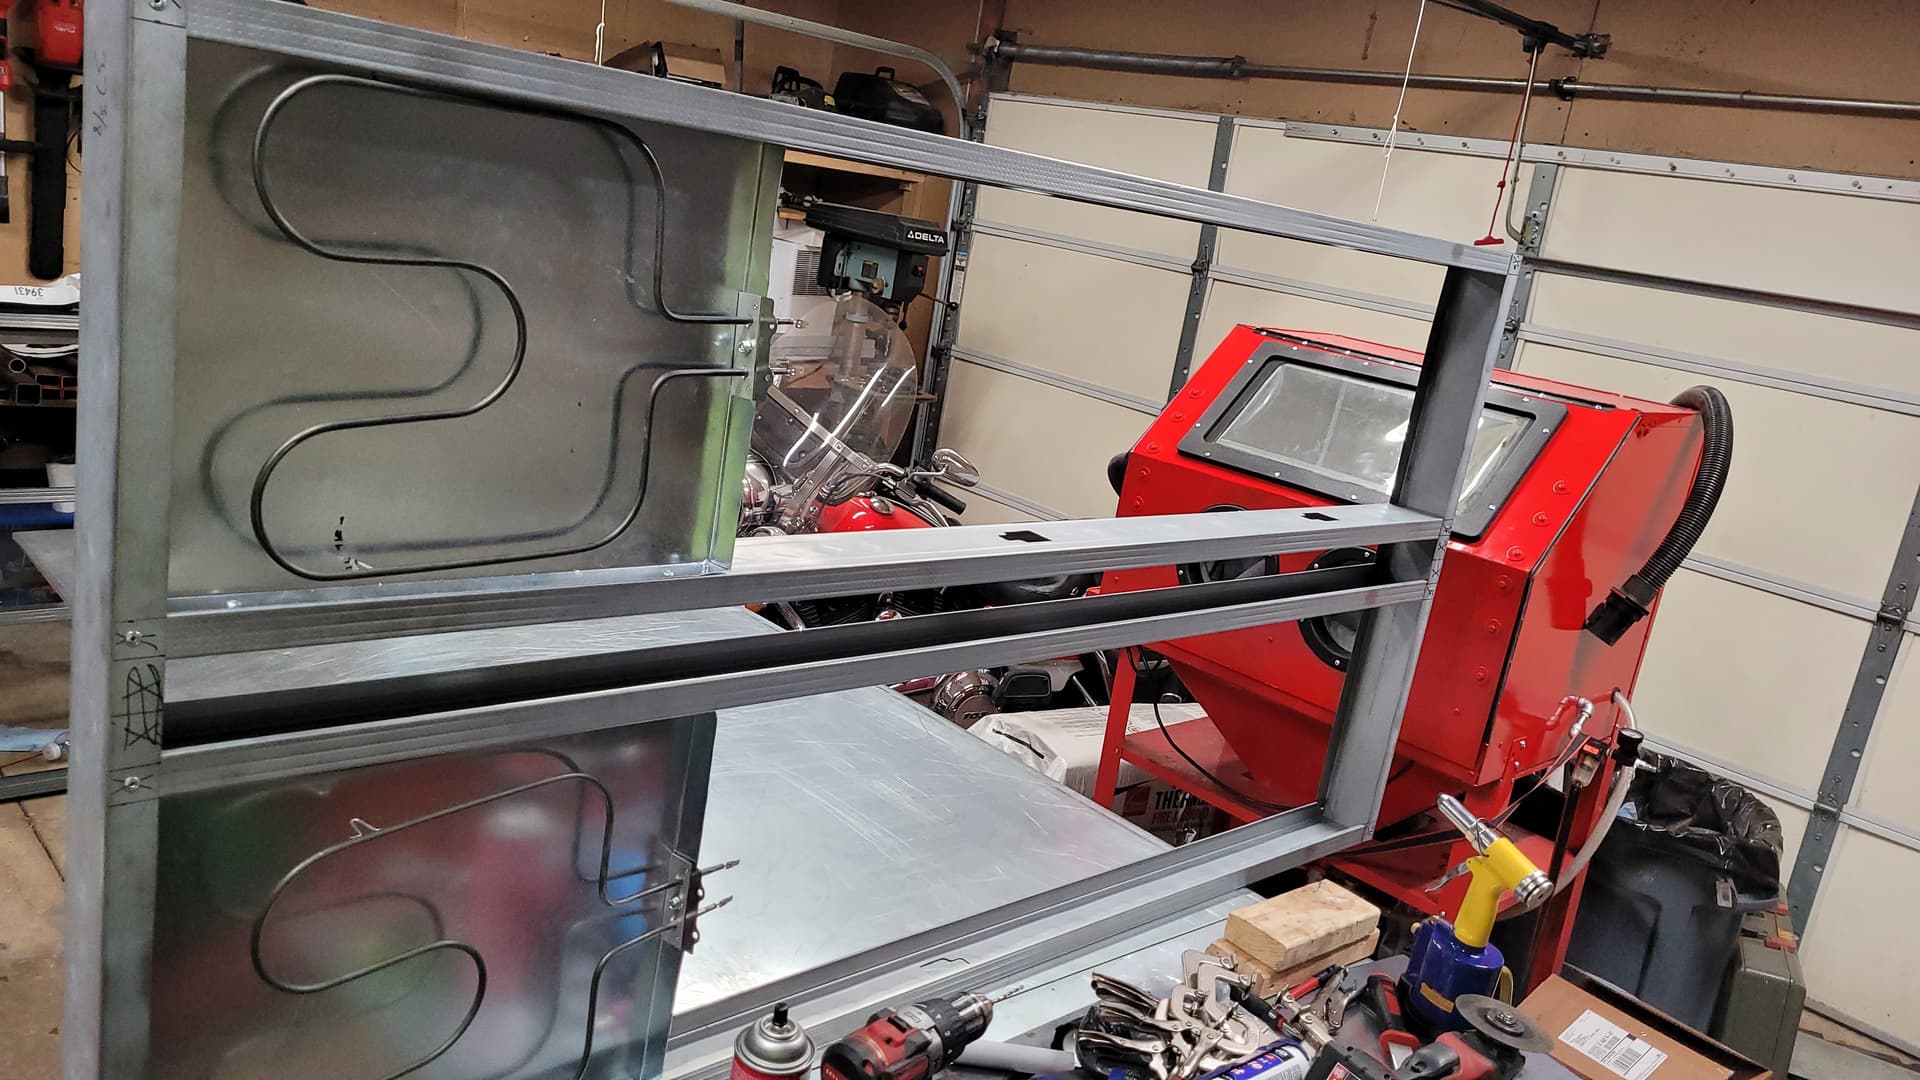
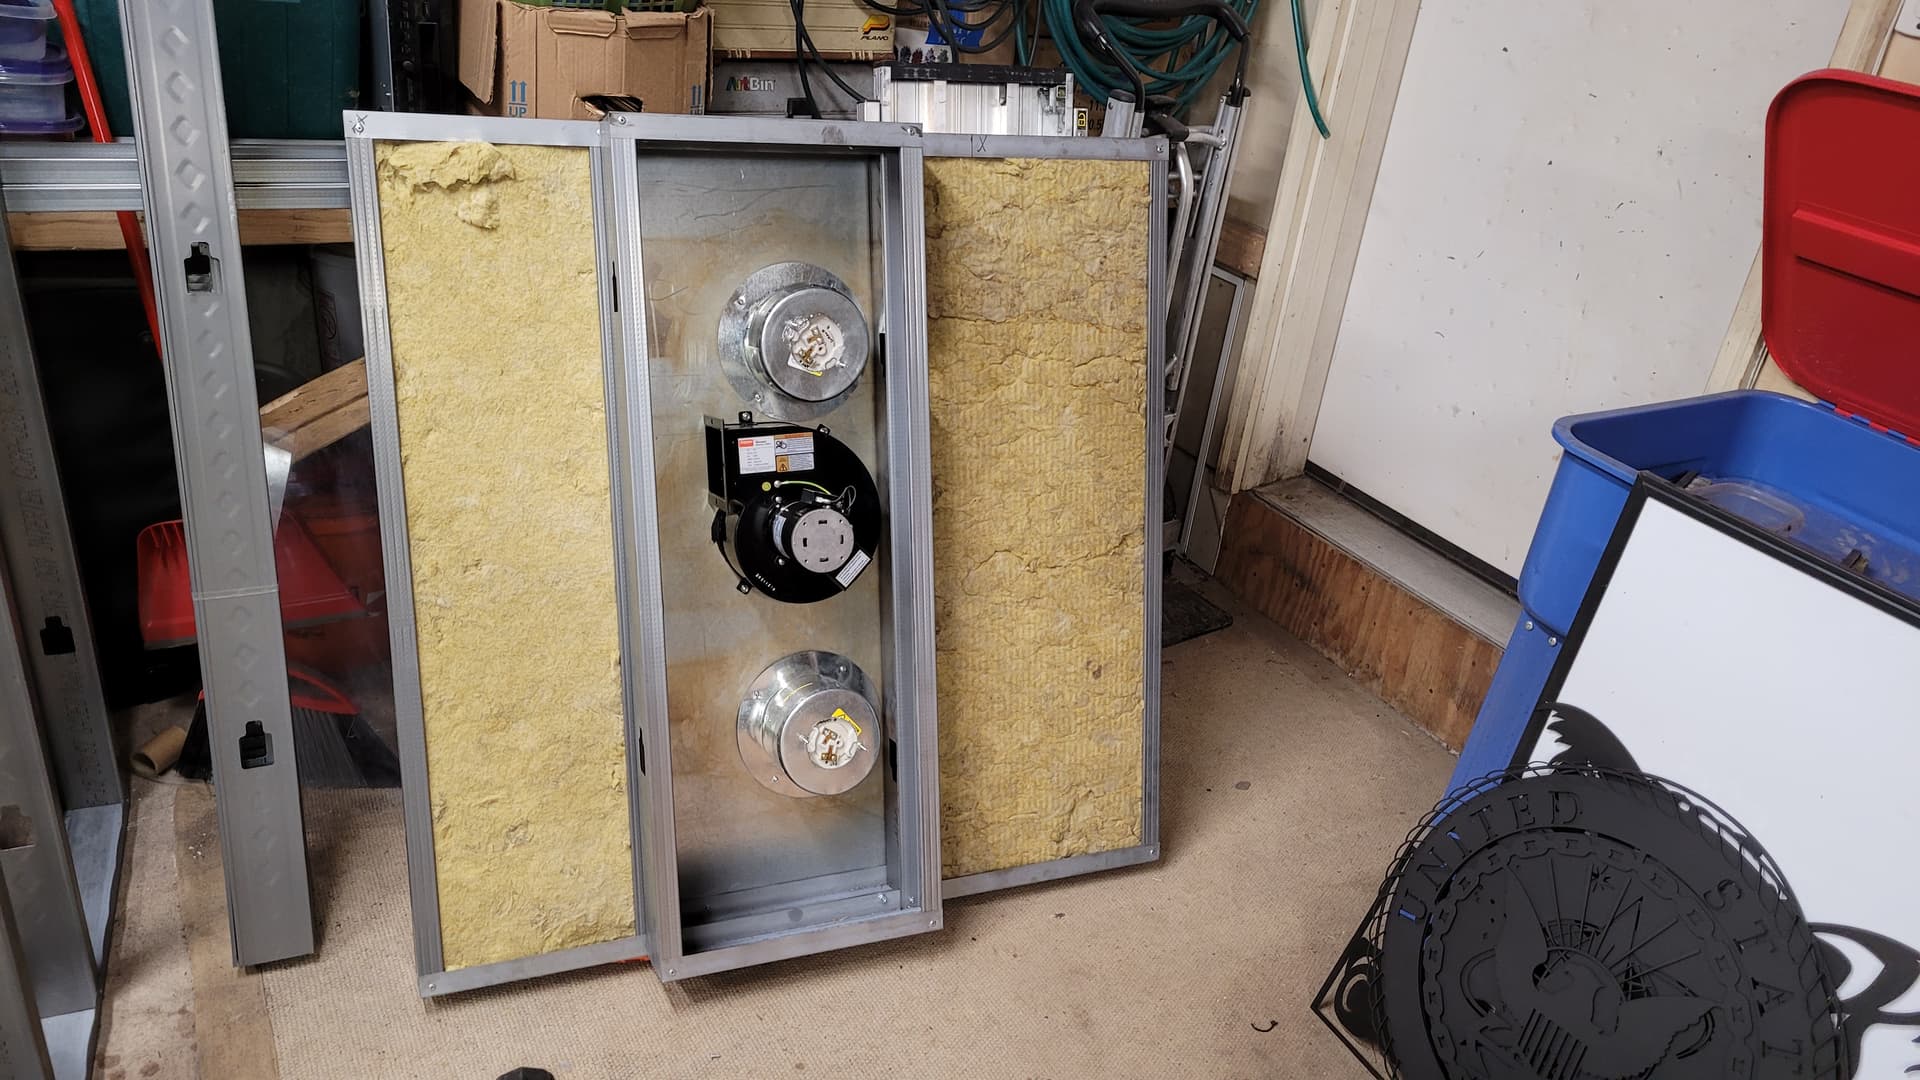
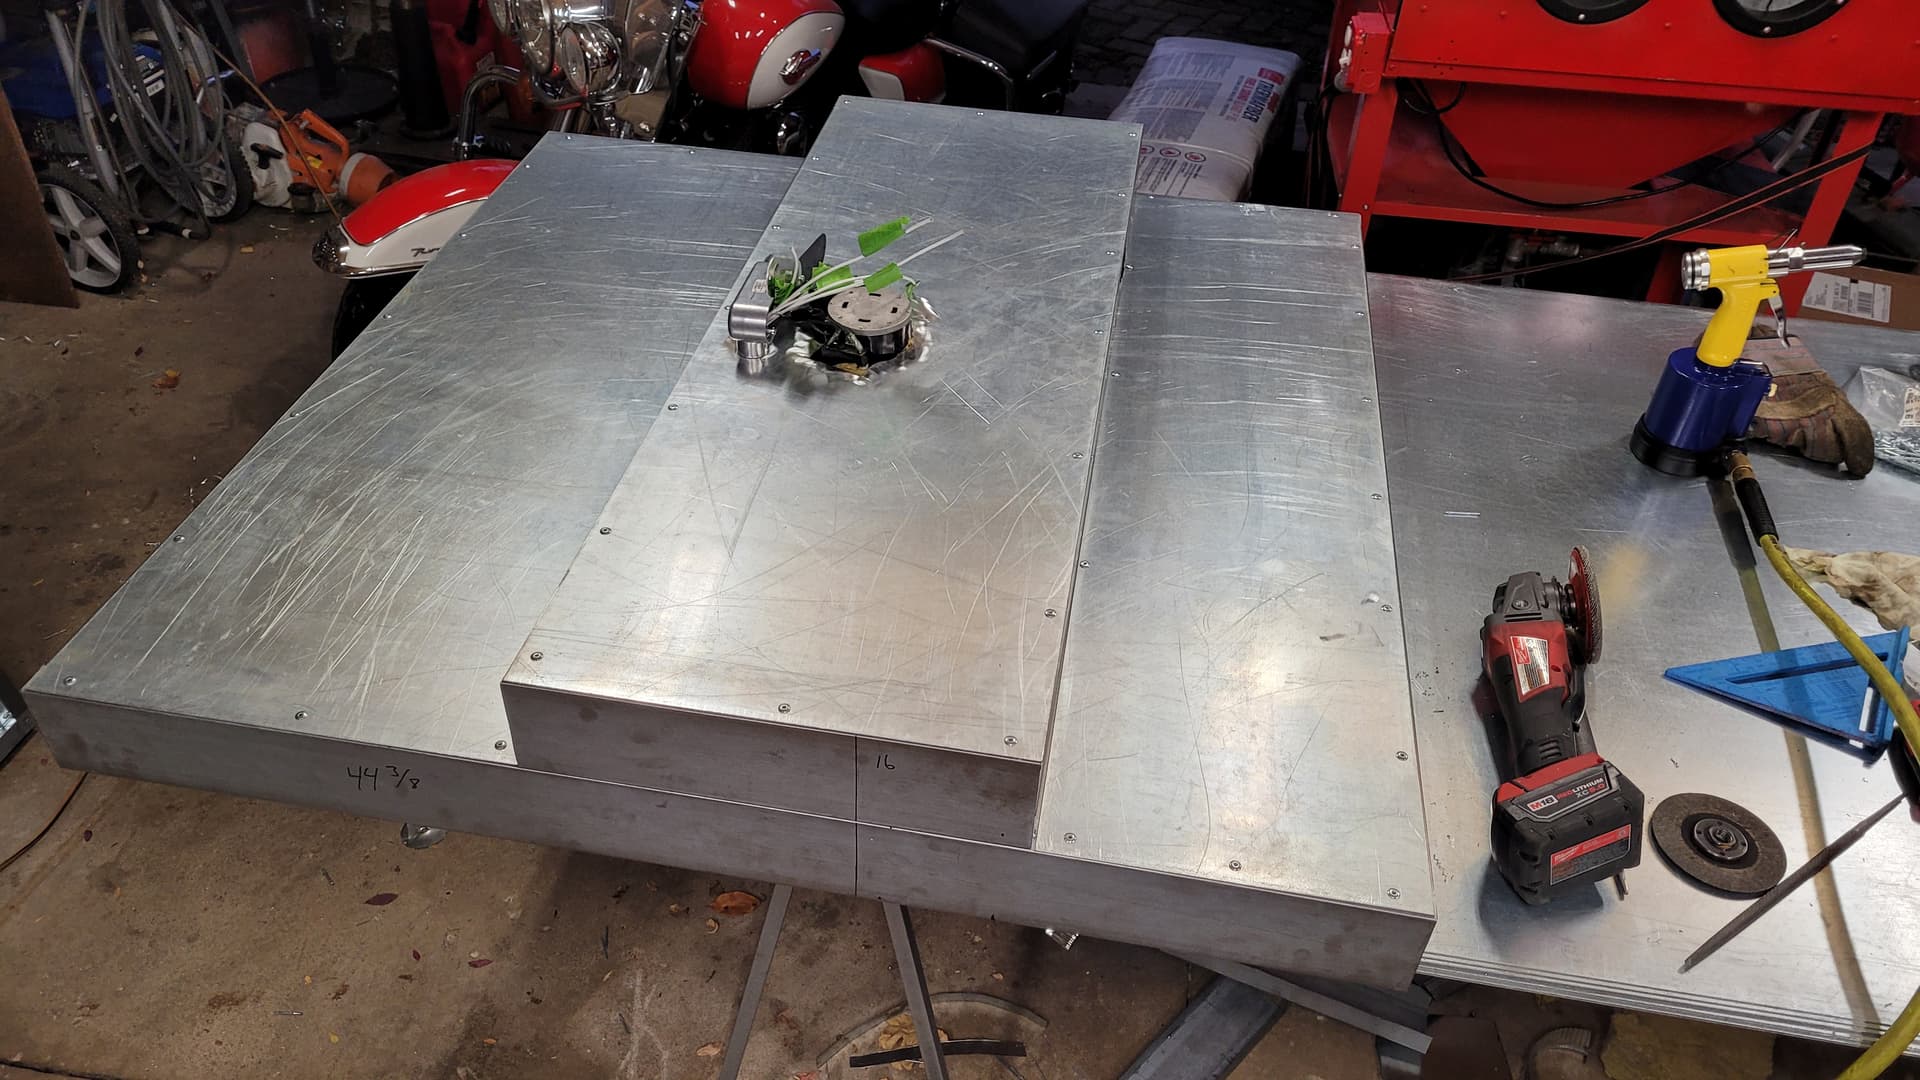
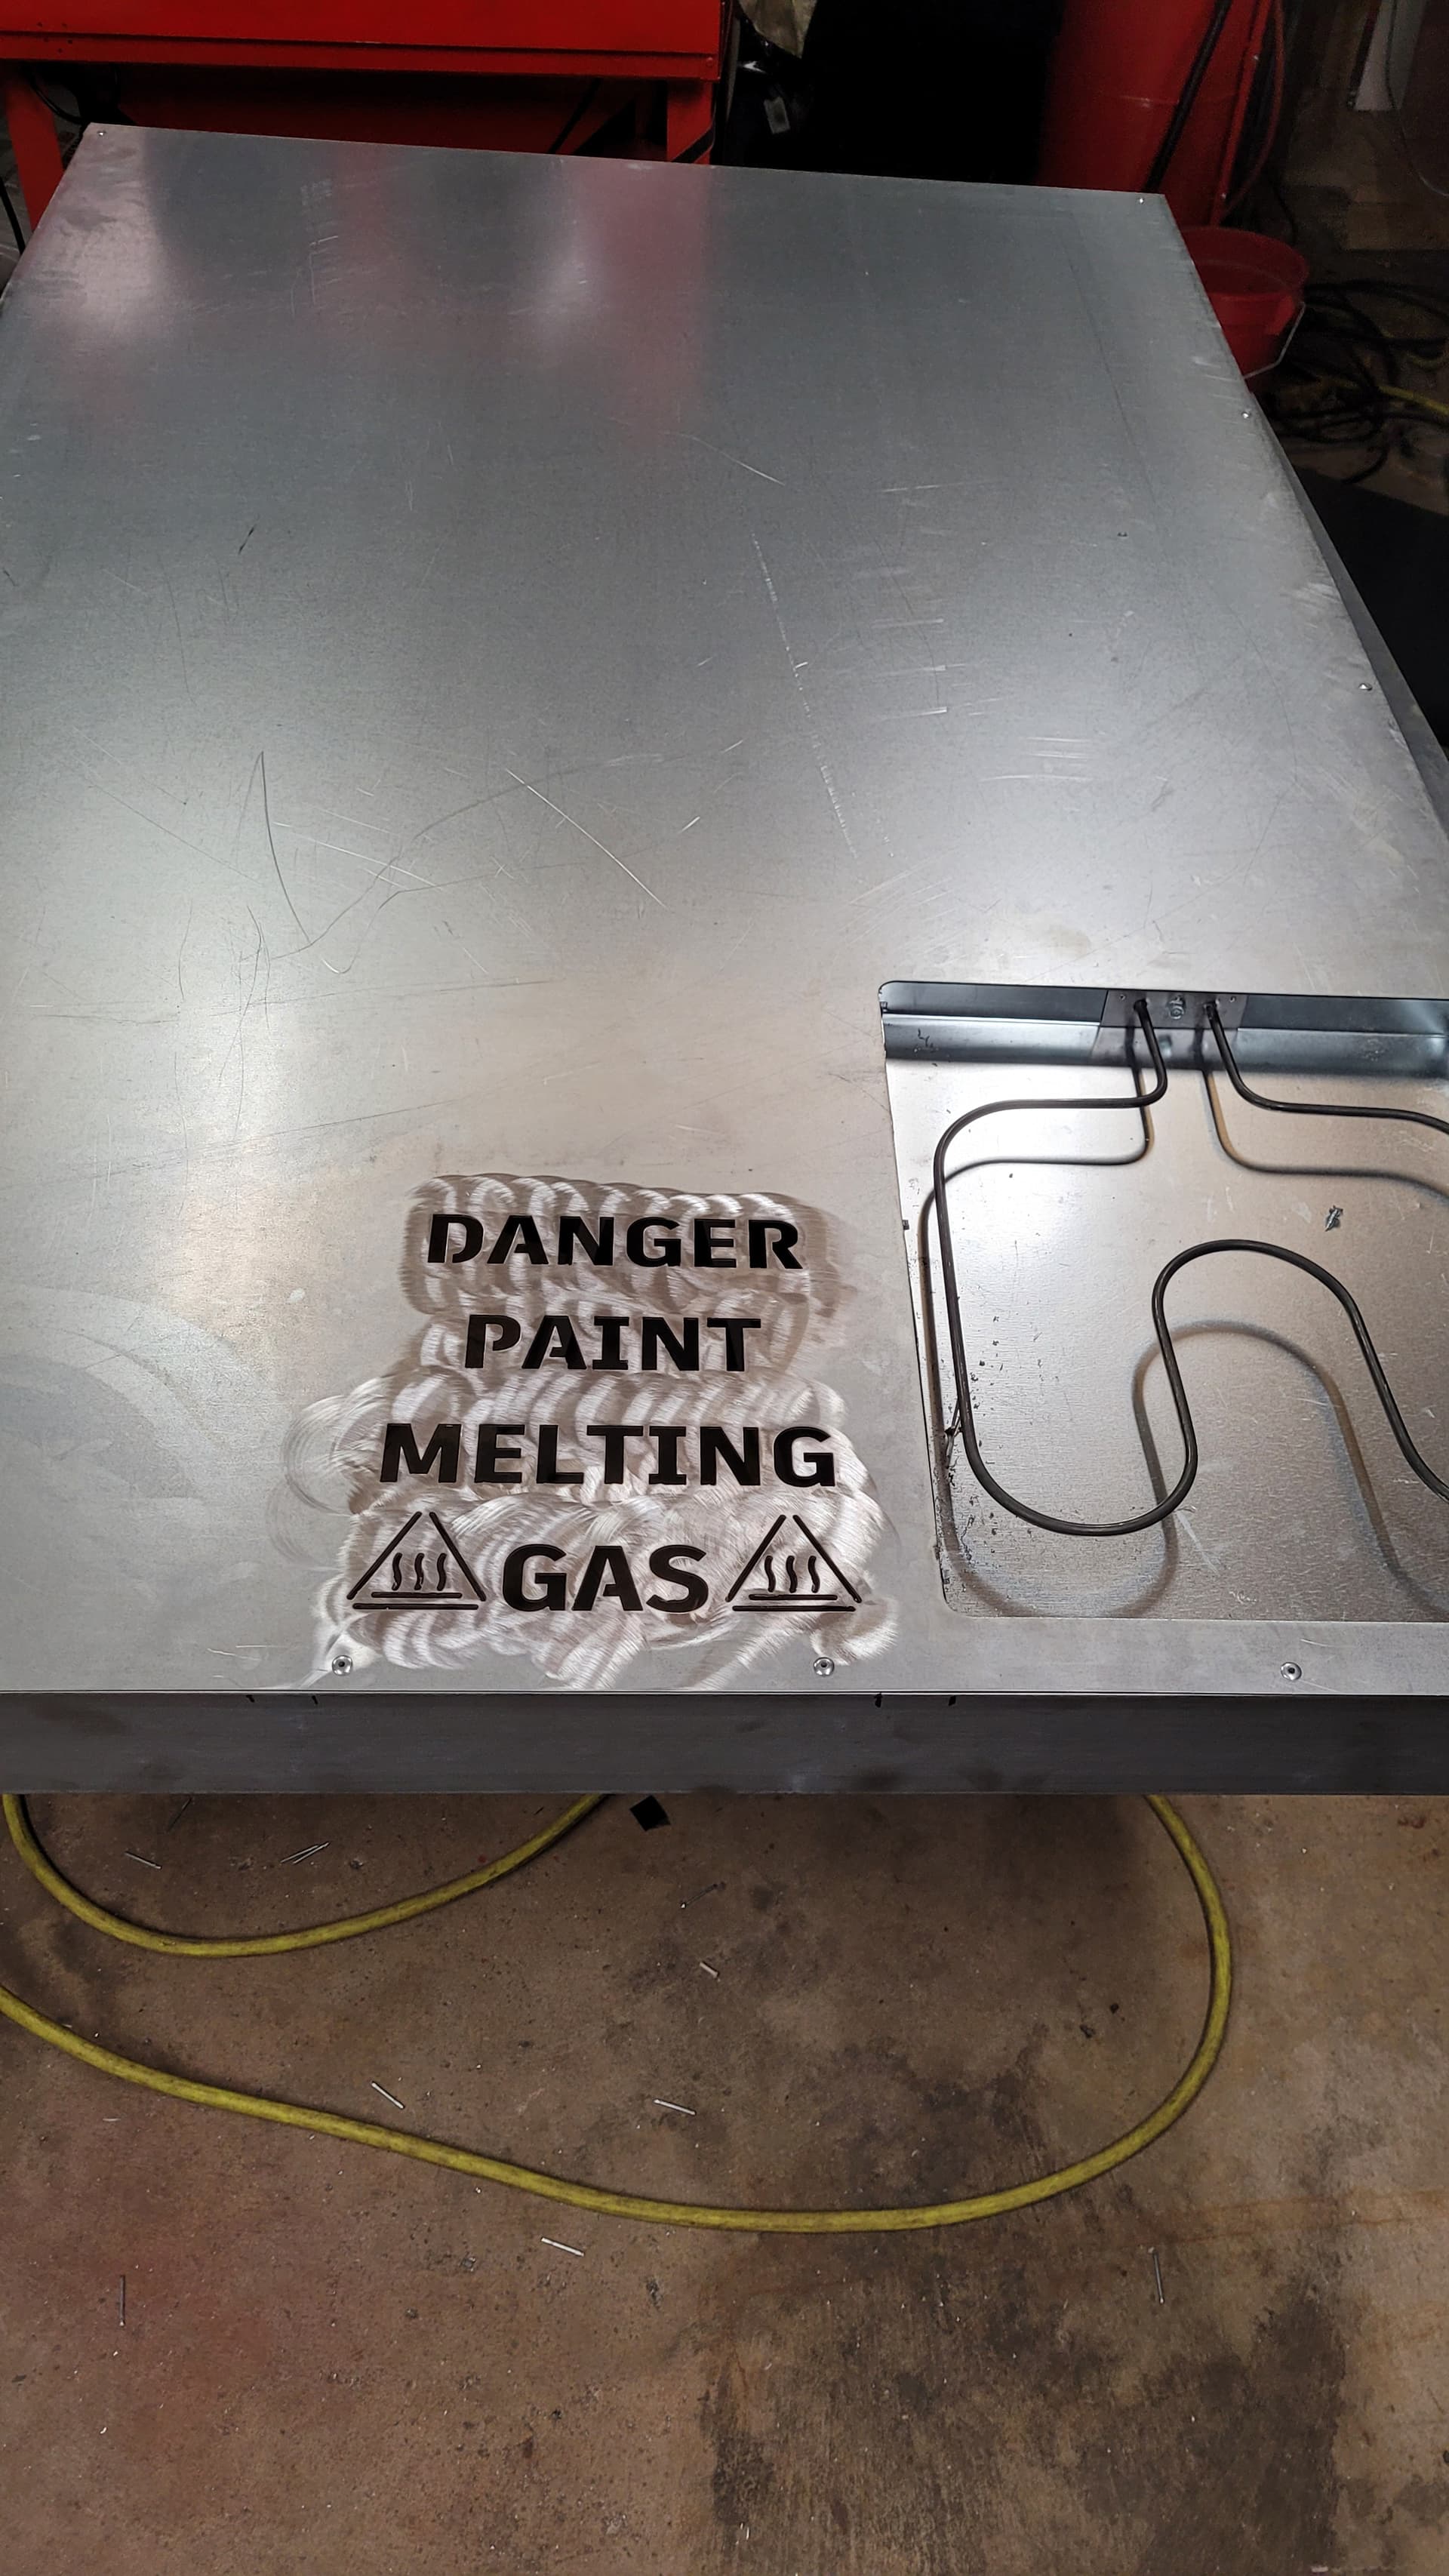
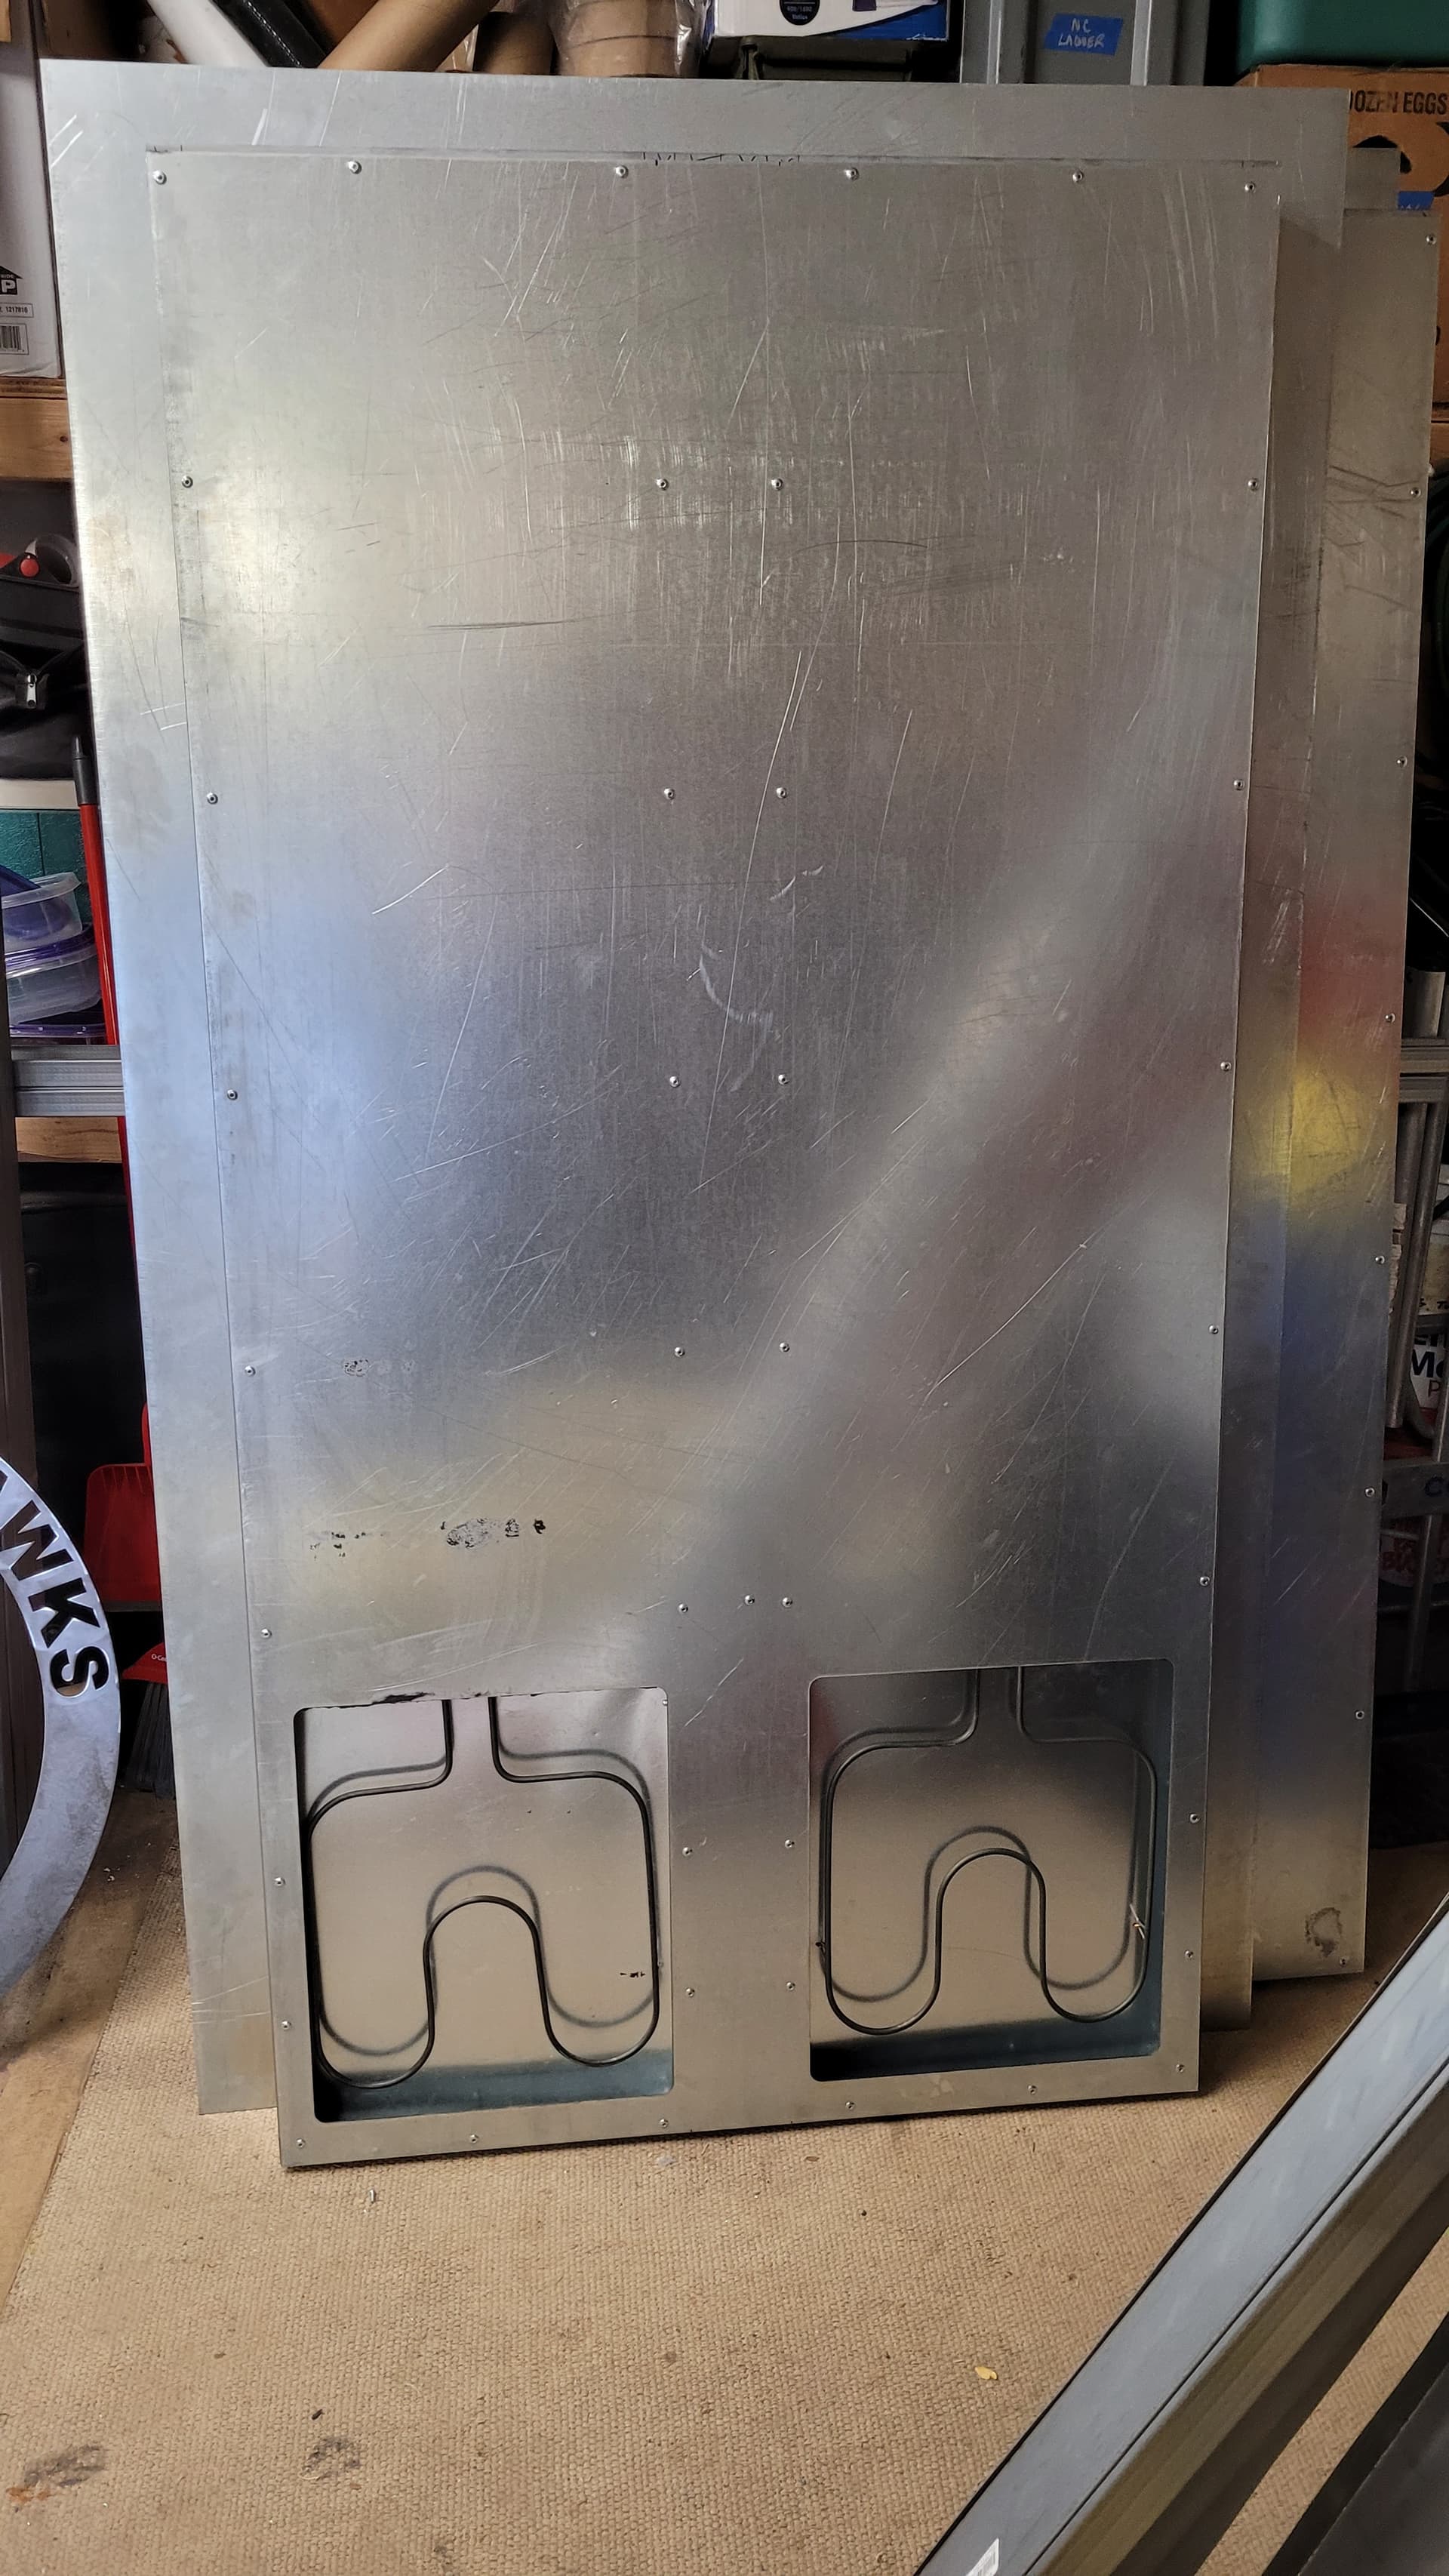
Will do, I don’t think it will be done until this weekend but I have the walls and ceiling framed, lights installed, blower motor installed, 2 of the 4 heating element reflectors fabricated and installed with the heating elements. I still have to skin it and do two more heating elements and the recessed reflectors, then of course wire the whole thing and build the control panel. All of the parts have been delivered already but it’s a surprisingly time consuming project. I’m cutting all the skins on the plasma table so I need to have all the components that require openings to be cut installed first so I can take measurements for the program. I’ll release a series of videos on the build when it’s done. The Columbia Coatings Hyper Smooth 03 I ordered is being delivered today too with about 10 pounds of paint and 50 pounds of their special blast media. Pretty excited… Can’t wait for it to be done, I have quite a few signs that are waiting for powder coating. How to build a powder coating oven
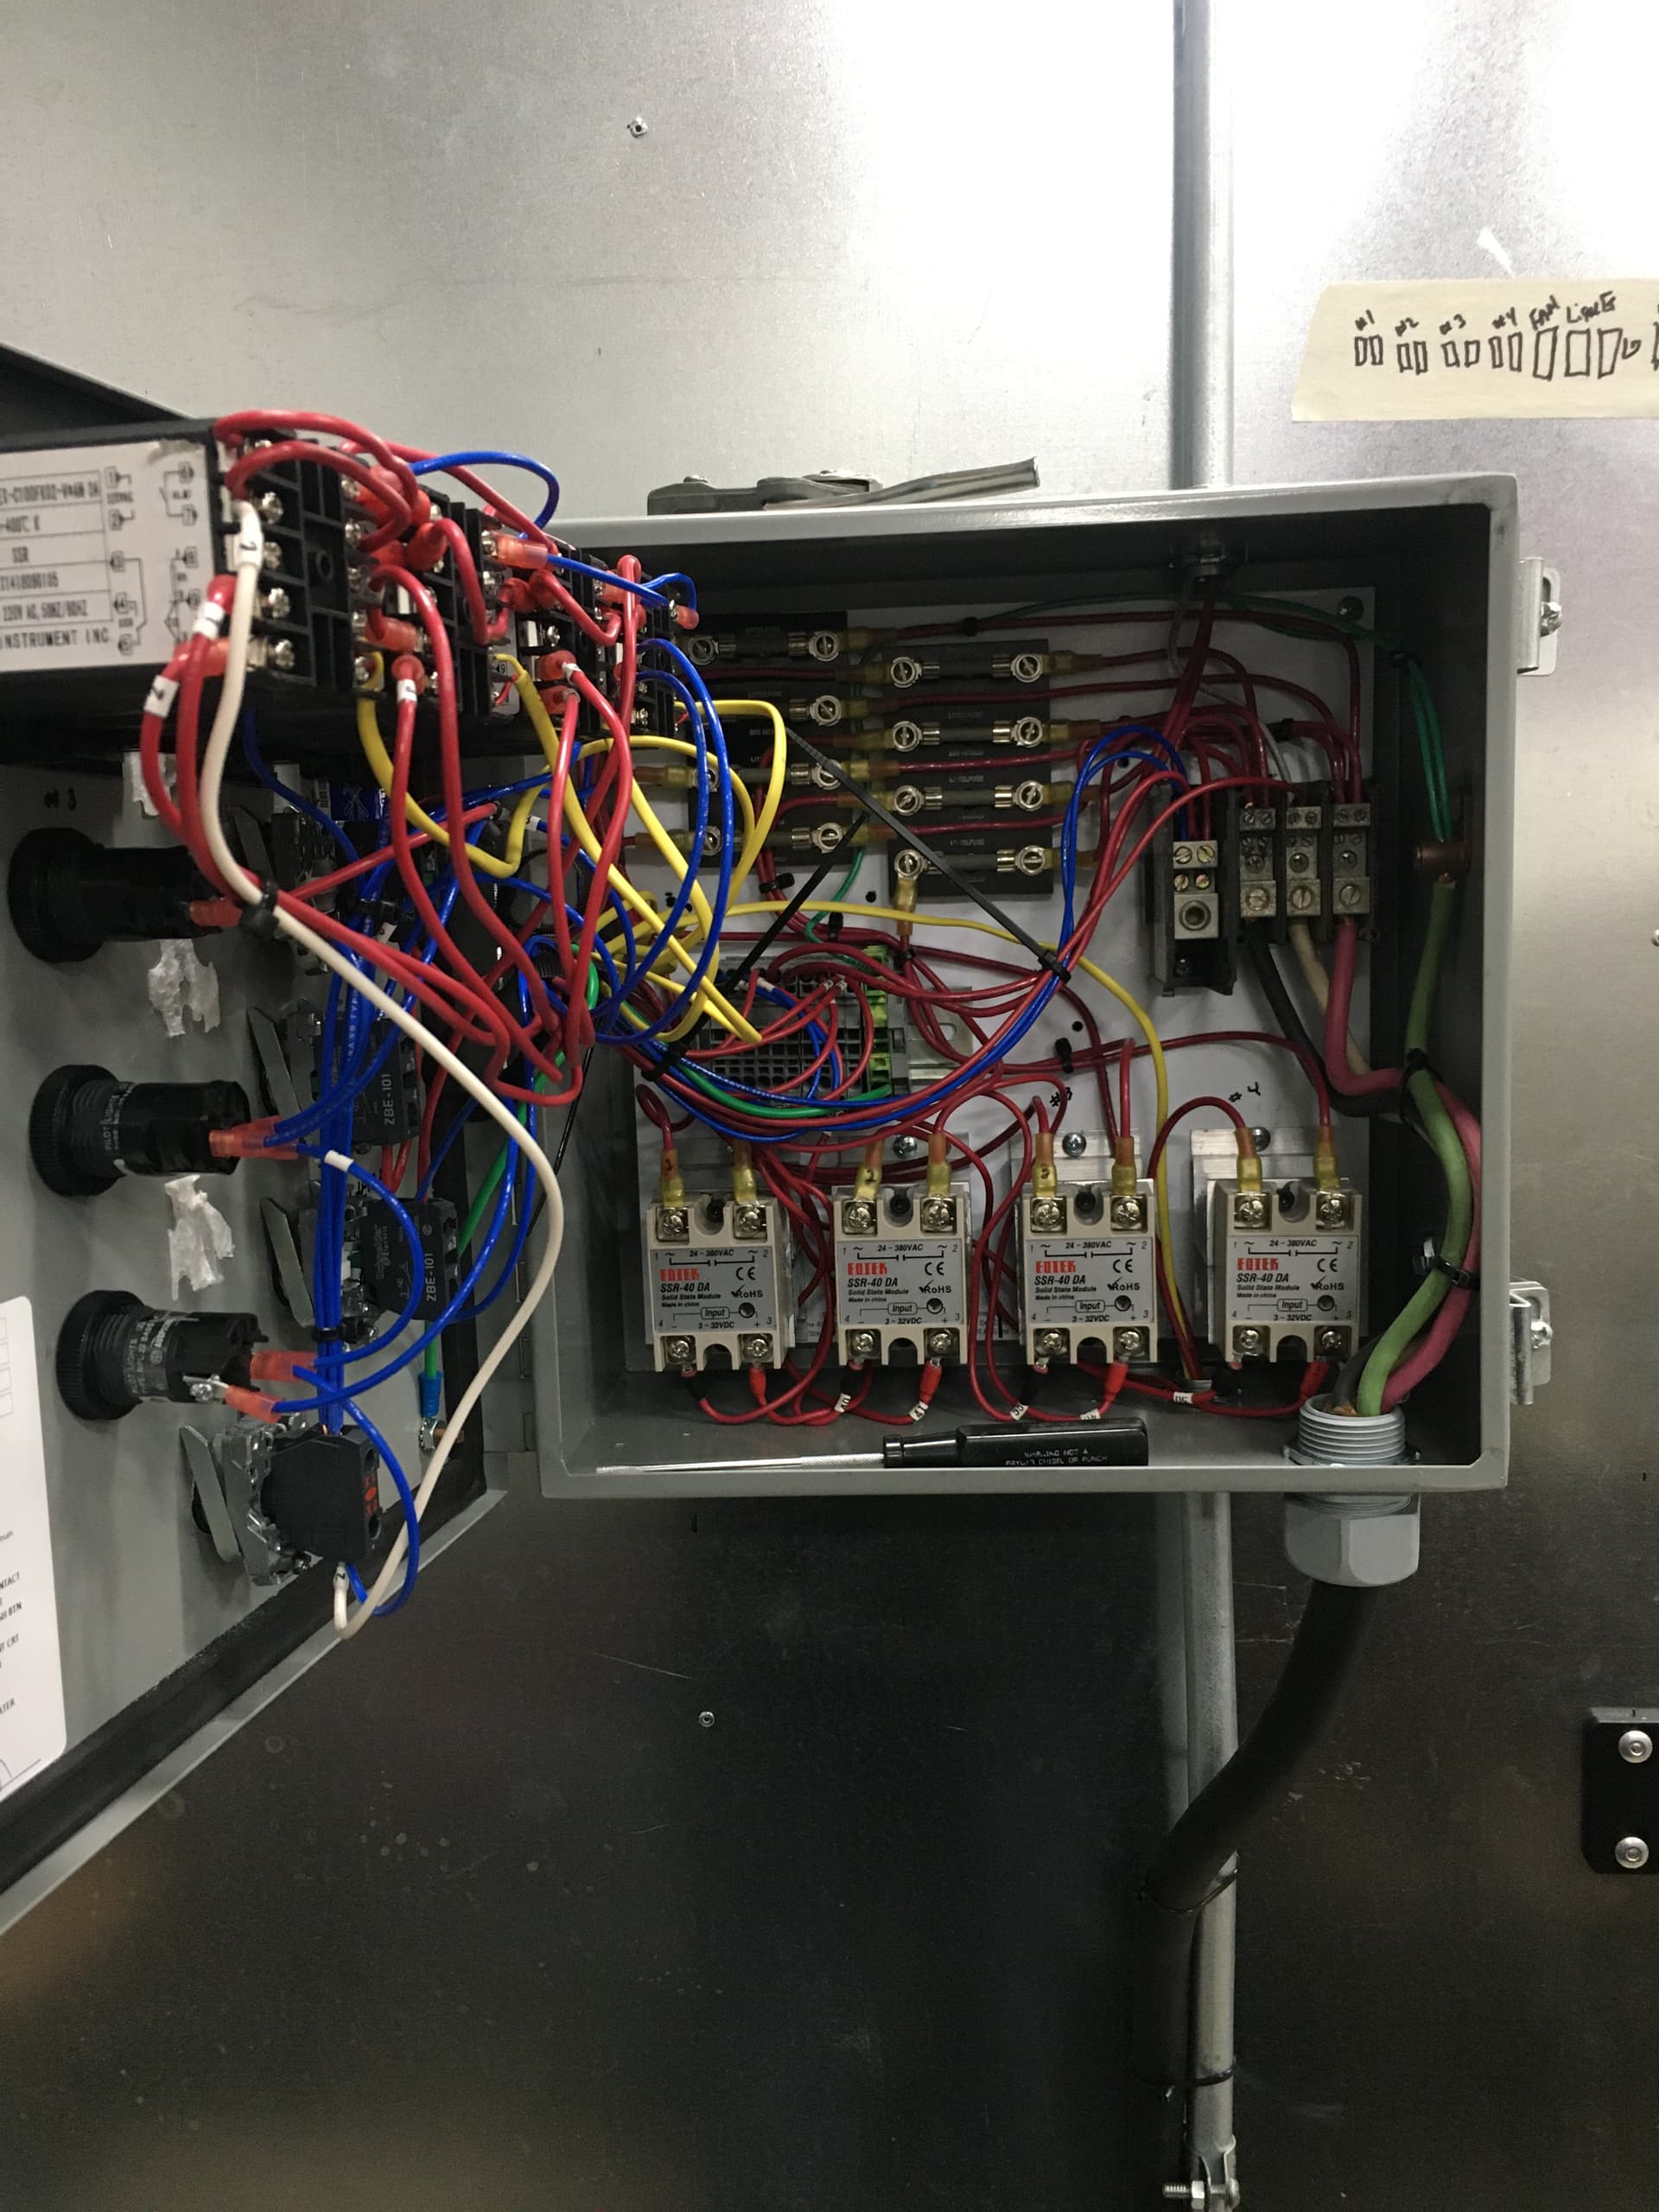
I’m closely following this build both in design and parts, a few differences but it will be very similar. I will put out a video on wiring the control panel when that is done too, it’s hard to find videos or schematics that are thorough on the control panel.
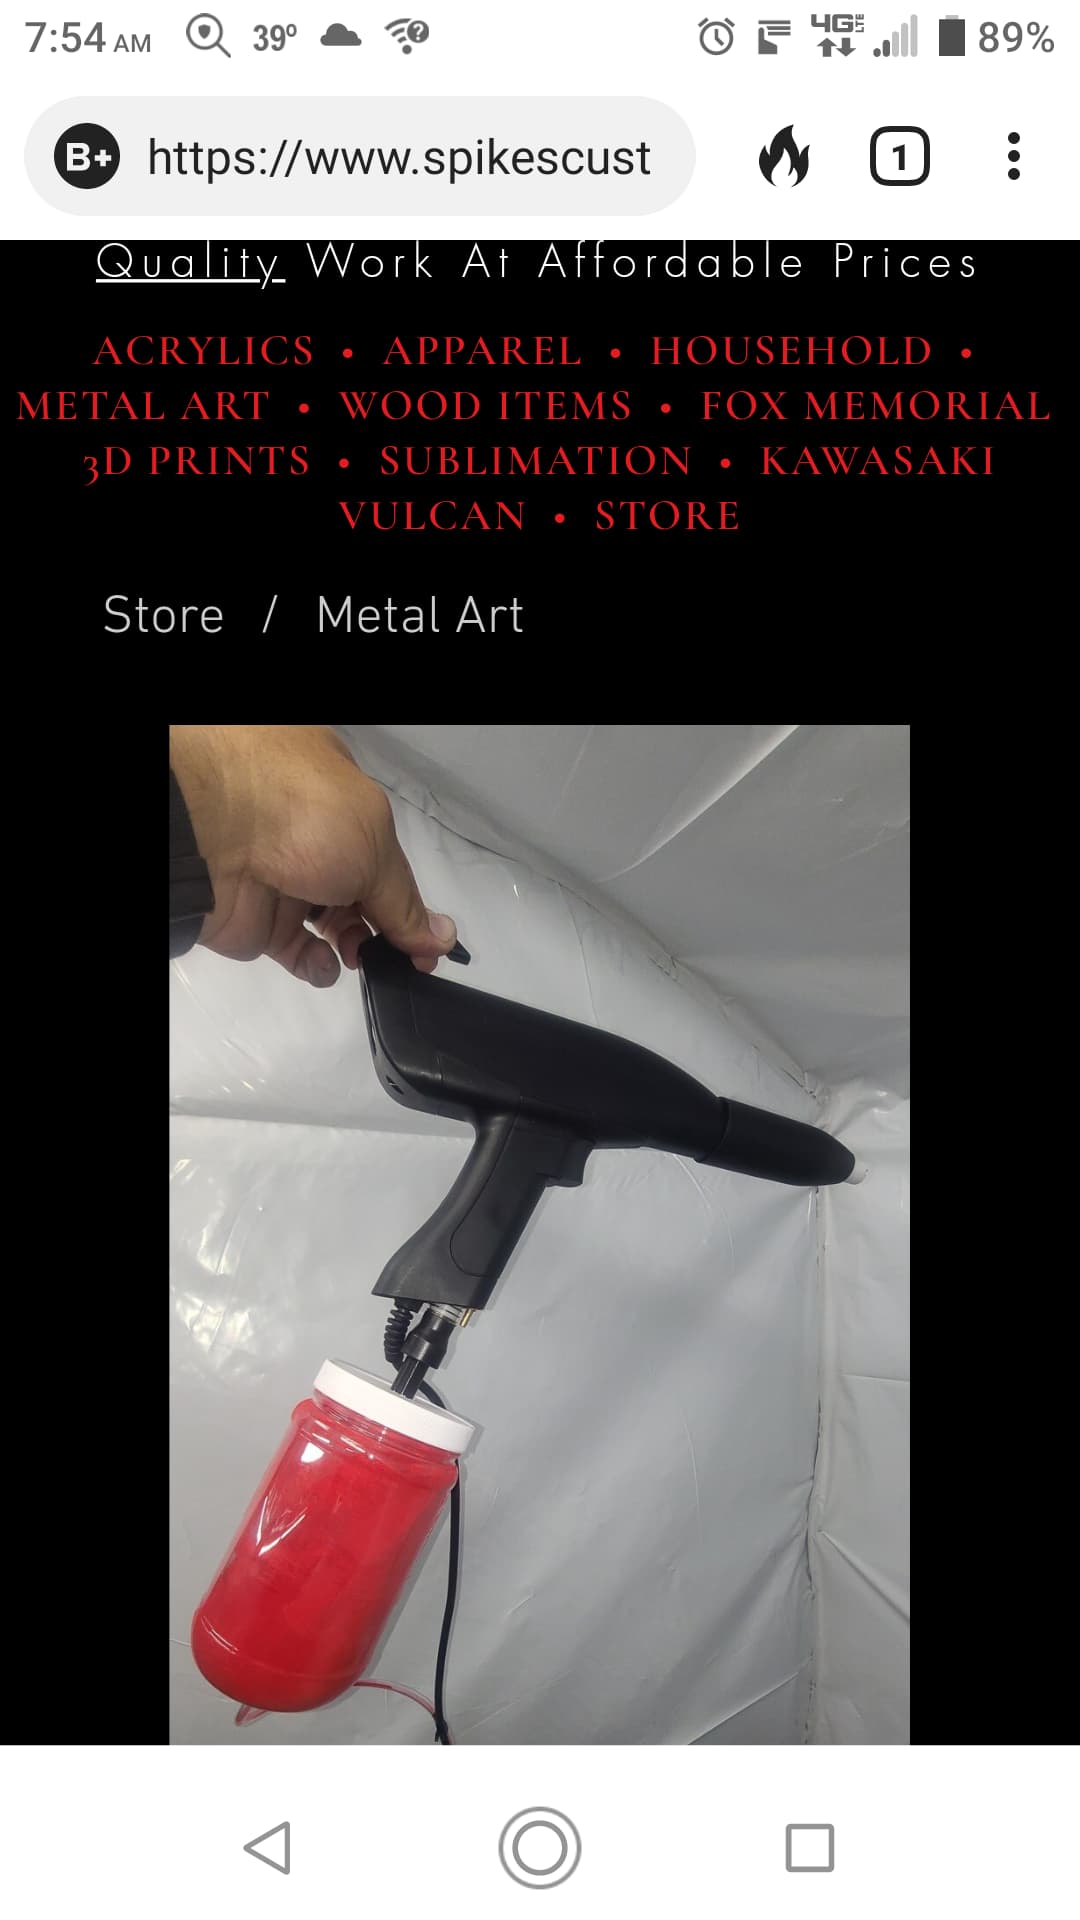
Very nice powder coating gun. That’s what I bought going from a harbour freight gun … It sprays their powder very smooth. Check out their super mirror black it looks amazing.
Their powder cans aren’t the best make sure you clean gasket to get a good deal every time.
Let me know if you need help with the controls. It was a long time ago but I built mine and may be able to help if you need it. You can find lots of stuff on E-bay, Pids, Used electrical enclosures, etc. One mistake I made, was to small of a enclosure.
I got the 03 so I could use the 5lb powder keg fluidizer, looks like I forgot to order it though. The package they delivered was beat to hell, I opened it and went through everything. Other than a pinhole in the Mirror Red bag it looks to be in good order, I’m still an oven away from being able to try it out. I got the 5lb starter pack so there is a pound of mirror black in the box, got the texture sampler too so there is also copper vein and a couple others. I got another heating element and reflector plate put together an installed so just one more to go then it’s on to programming the table to cut the skins.
4 40A SSR’s? I’m only using two but I’m also only running 4 2000w elements. I picked up most of the control box and it’s guts from Auber, the PID, timer, high temp wire, DIN rail, V/A meter, SSR’s etc. I’ll definitely reach out if I get stuck on the wiring but I think I’ve got the wiring plans down. Hopefully I’ll know for sure soon. I even ordered the 25’ welder extension cord from Primeweld to use as the plug…I know it seems like a waste but I’m using the female end to double up the 240 plugs at my compressor.
I heard the rinse system was mostly useful for metallics. I’m ordering the 5lb powder keg fluidizer tonight, I really thought it was on my first order. I’d like to get a half dozen cups or so together so I can keep a handful of dedicated color cups. Fluidizer will be strictly clear coat.
I’ve got three of the vortex cups and they work really well. They’ve changed their design to a 3D printed version so I don’t know about it but the old style wirks great.
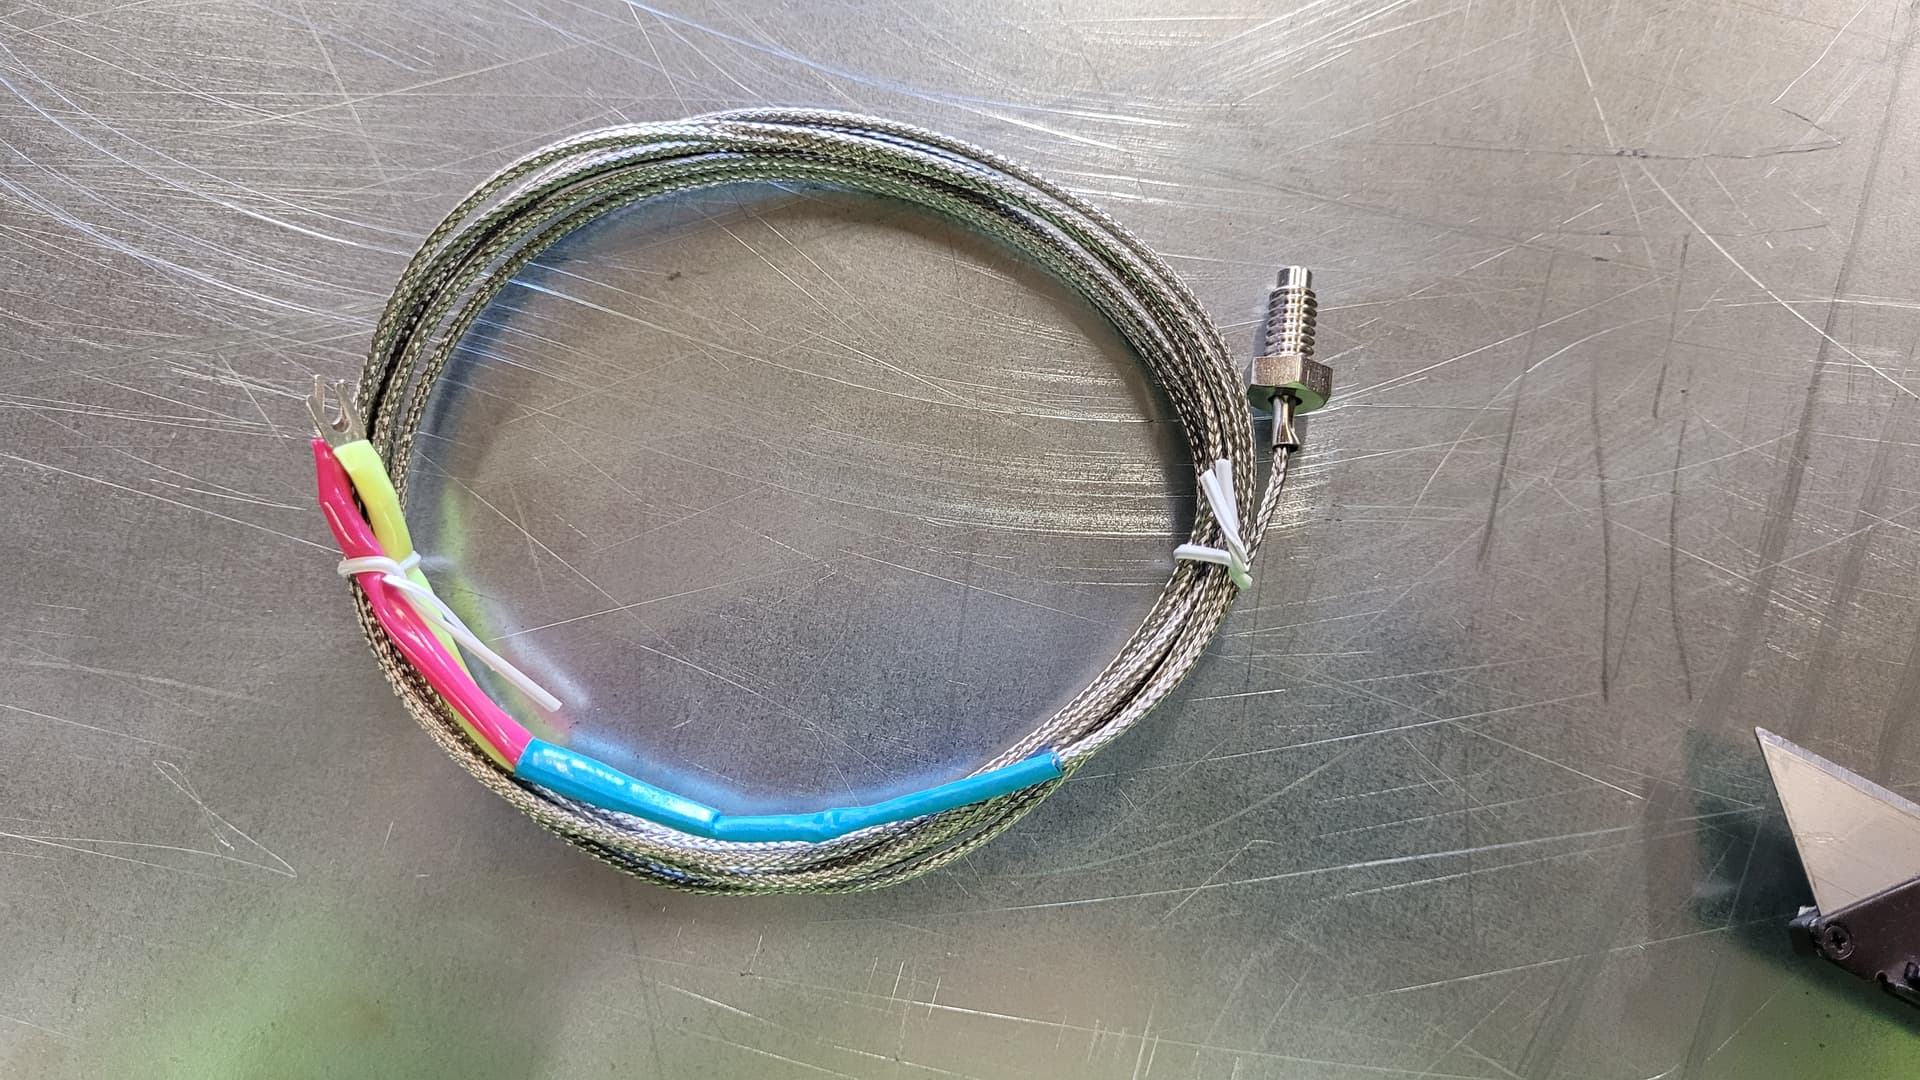
Very nice! I have high temp in 10AWG and 14AWG, I’ll be using it for all connections inside the cabinet. I’ll change over to normal wire on the outside of the cabinet, I have some high temp stake on connectors too for the elements. I’m unfamiliar with the special wire for the thermocoupler though, I was just going to use the leads it came with and run that straight to the control box.
@Knick I installed the thermocoupler today, it came with a braided metal sheeth on the wires. Anyhow, ran out of 10AWG hi temp and rivets so the project is on hold for a couple of days. I got two of three walls and the ceiling done so far.