I’ve been setting up my MR-1 and am largely satisfied with the process. However, I messed up when setting up the Y axis and accidentally put the motor mounts in the front! So far I’ve been able to get by, successfully wiring and mounting everything, but now I am running into an issue. The limit switches are normally at Y+ max, but because the motors are flipped, the limits are now at Y- min. I flipped two of the y axis stepper wires to make my coordinate system correct (X+ to right, Y+ away from me, Z+ up) which makes the limit switch mounts on the Y- side. Is there a way to fix this in cut control? Like, can I make the homing and alignment routines use the Y- direction instead of Y+? Or should I just eat it and make new adjustable limit switch mounts for the bearing block end?
Welcome to the forum! I am moving this to the MR-1 Category and changing the title slightly so it will get more eyes.
You’re going to have nothing but headaches going down this path. Just dig in and fix it. Probably, nearly every person here has had to learn lessons like this (not necessarily on this project) and you just need to fix it properly, and learn your lessons. Life will be so much easier if it’s built properly.
Have you tried to remove the y-rail flat bars and turn the around so they are in the right direction?
Just fix it. I don’t understand how that happened?
Watch the videos and follow the directions.
I agree, just flip the Y rail bars 180 degrees and realign - that cannot be more than a few hours work. That few hours spent now is worth many in the future with all the fiddling you would need to do.
The nice thing of these machines is when you build them you understand how they go together, which makes it much easier to fix and adjust.
Cheers,
MIke
’
I cannot flip the Y axis bars around. That was the first thing I tried when we discovered the error right after concrete pour. I would need to Dremel out all of the rail support slots so that the screws line up again because it’s not symmetric for some reason. So, I figured I could just swap the axis in software. Unfortunately Cut Control doesn’t give the user any customization like I’m used to.
Sounds like there’s no good resolution. Maybe I can get lucky and take the whole gantry off in one piece to start dremeling the slots. Going to be a long process.
If you must know, it’s because I printed the instructions in black and white so I misread the y axis orientation step. No need for snark, we all make mistakes. ![]()
I’m not sure why you think you need to slot anything? How about some pictures to see if anybody can help you figure out what needs done.
You might try flipping each one on each side, or switching them between sides. One might result in less clearance work. Either way you are better off assembling the machine the proper way, even if it takes a little more work.
If it were me and I needed to modify the holes in the Y Axis rail stiffeners, I’d use a couple pieces of wood as drill bit guides.
Pre-drill the holes marked with proper spacing in a piece of wood, probably 1" thick minimum, and then clamp it to the stiffeners with the hole offset needed. Use a backing board so that the stiffener is sandwiched in between your drill guide and the backer wood pieces.
You can use this to quickly modify the slots in stiffener and can skip the Dremel work. You should be able to adjust the offset needed and move it between all 4 and the drill bit won’t fight you trying to follow the existing holes, etc. Play with the drill bit size as needed to allow everything to fit and also to remember to allow for some small adjustments when doing final shimming. Use high drill rpm and small pecking motions.
Worse case, since the holes will most likely no longer be slots, use some stainless washers under the attaching cap screws to cover the modifications. (stainless washers are often thinner and as a bonus won’t rust in prolonged exposure to coolant)
If the machines are already up and running in the correct directions I would just focus on mounting the end switches Y+ to work. If the wiring is already swapped on the Y motors what is the difference if the motors are front or back? All the programming and everything in the future will be fine.
You can switch the phases of the stepper motors so that positive Y would go towards the front of the machine. You will see an A+ and A- on the stepper motor controller. Just swap those the A+ and A- wires and that will reverse the direction of the motor. Make sure of course you do it for both Y motors.
But be aware now that Y positive will always be going towards the front of the machine. This is important for CAD etc. My biggest concern would be with jogging and accidentally going the wrong way…
Sorry. I think I got it wrong. Disregard what I said. You already changed the direction by installing the rails the wrong way.
Homing gets messed up when I swap the wiring, because the limit switches are mounted on the motor side. So I would need to mount the limit switches on the opposite side, and because the adjustable limit switch pressing rod faces the motor side too, I would need to make an adjustable limit switch mount. Leaving the Y axis inverted is not a good idea because it forms an invalid coordinate system when the X and Z are not inverted.
So I ended up going back and getting the fix done. Took about 4 hours all in all.
I got around to fixing it yesterday. Here’s a pic of the “before”:

As you can see, the slots don’t quite line up with the holes. I believe they are slightly asymmetric. My friend and I tried several methods of widening the slots, but ultimately just running a step drill on it to widen the slot into a hole worked best with what I had on hand.

Ugly, I know. Any smaller and it wouldn’t fit. Fortunately some washers cover it up decently.

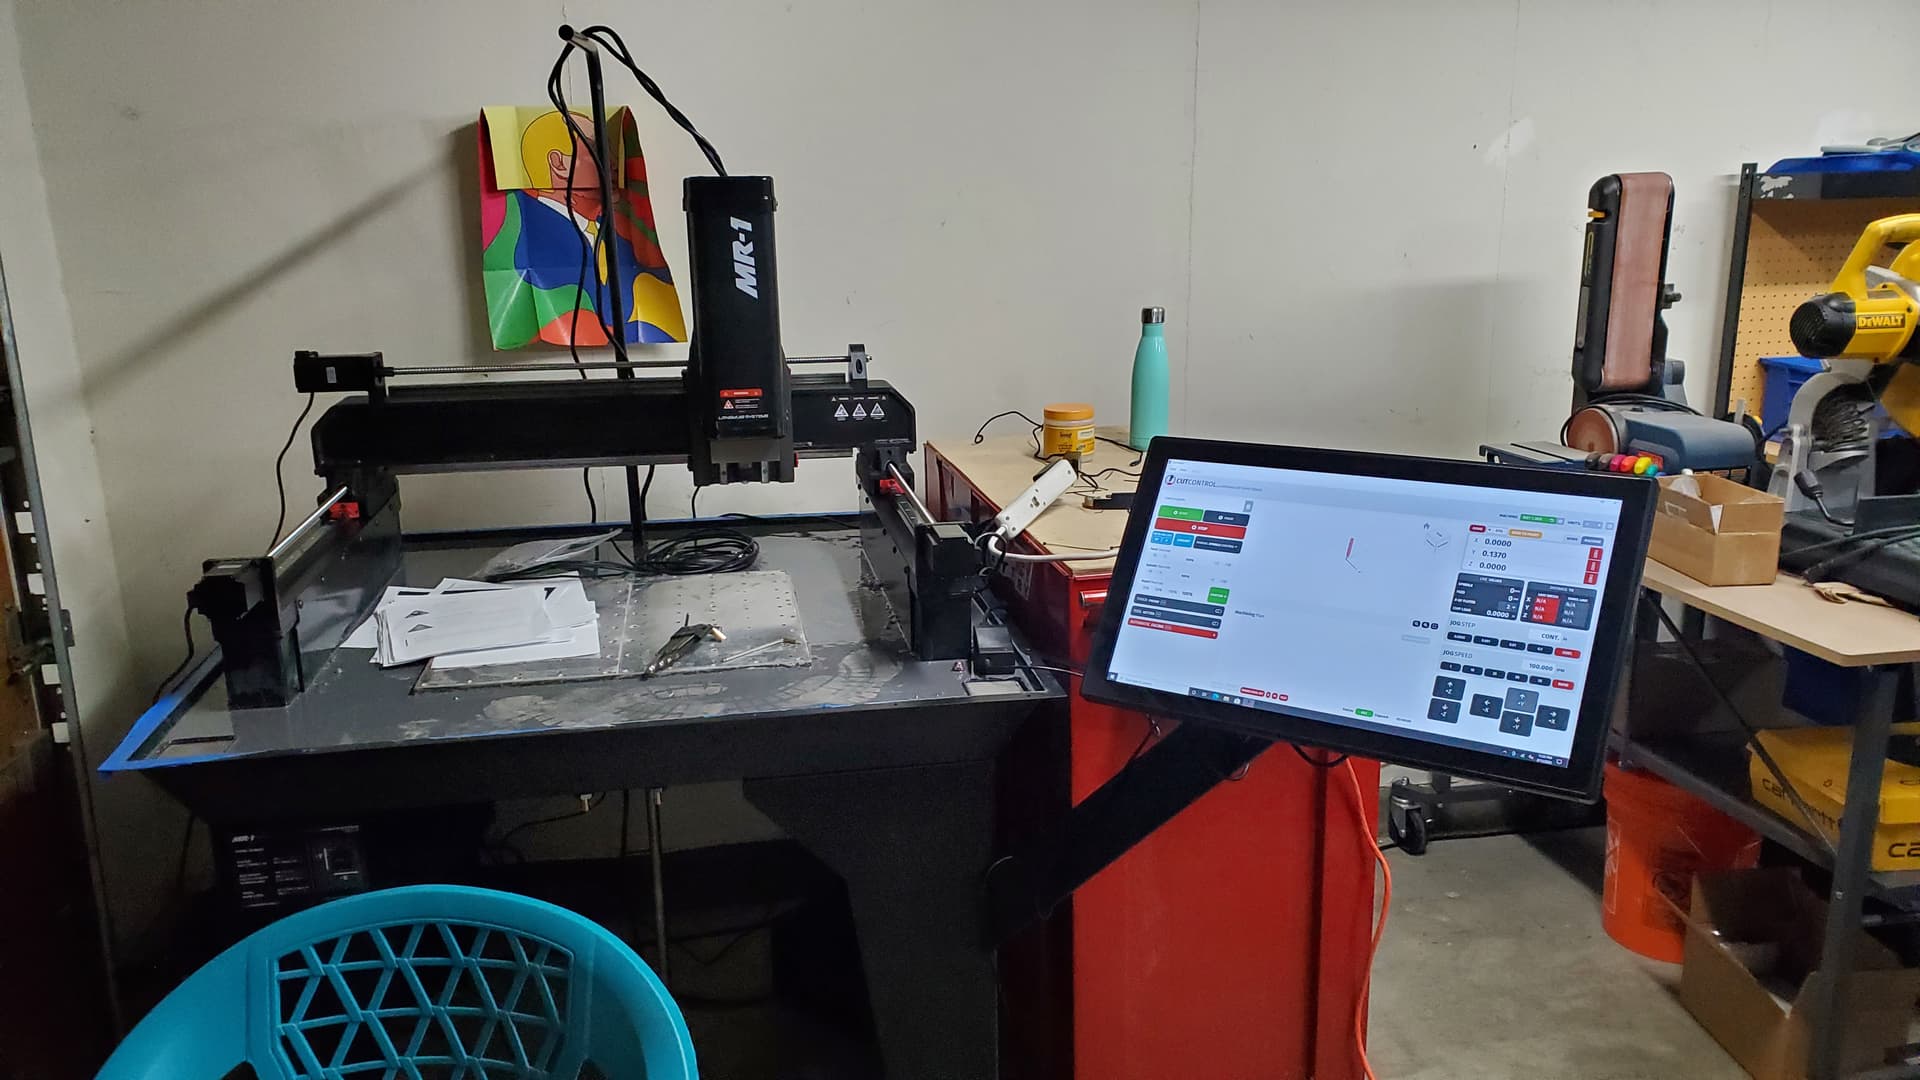
I could get black washers, but I don’t care enough to bother. I can now home the machine and continue aligning things. Ironically, I’m getting annoyed enough at the software that I might end up going to Mach3 or something anyway. I’ll tally up my experiences in a later thread.
Looks great! Glad to hear you’re moving forward again. Cut control is limited but that’s one of its beauties for me, beginners can use it without getting overwhelmed. Good luck!