Hello, this is my first post, so not sure if I’m in the right spot. I just made my first cut and wondered if anybody could provide any feedback.
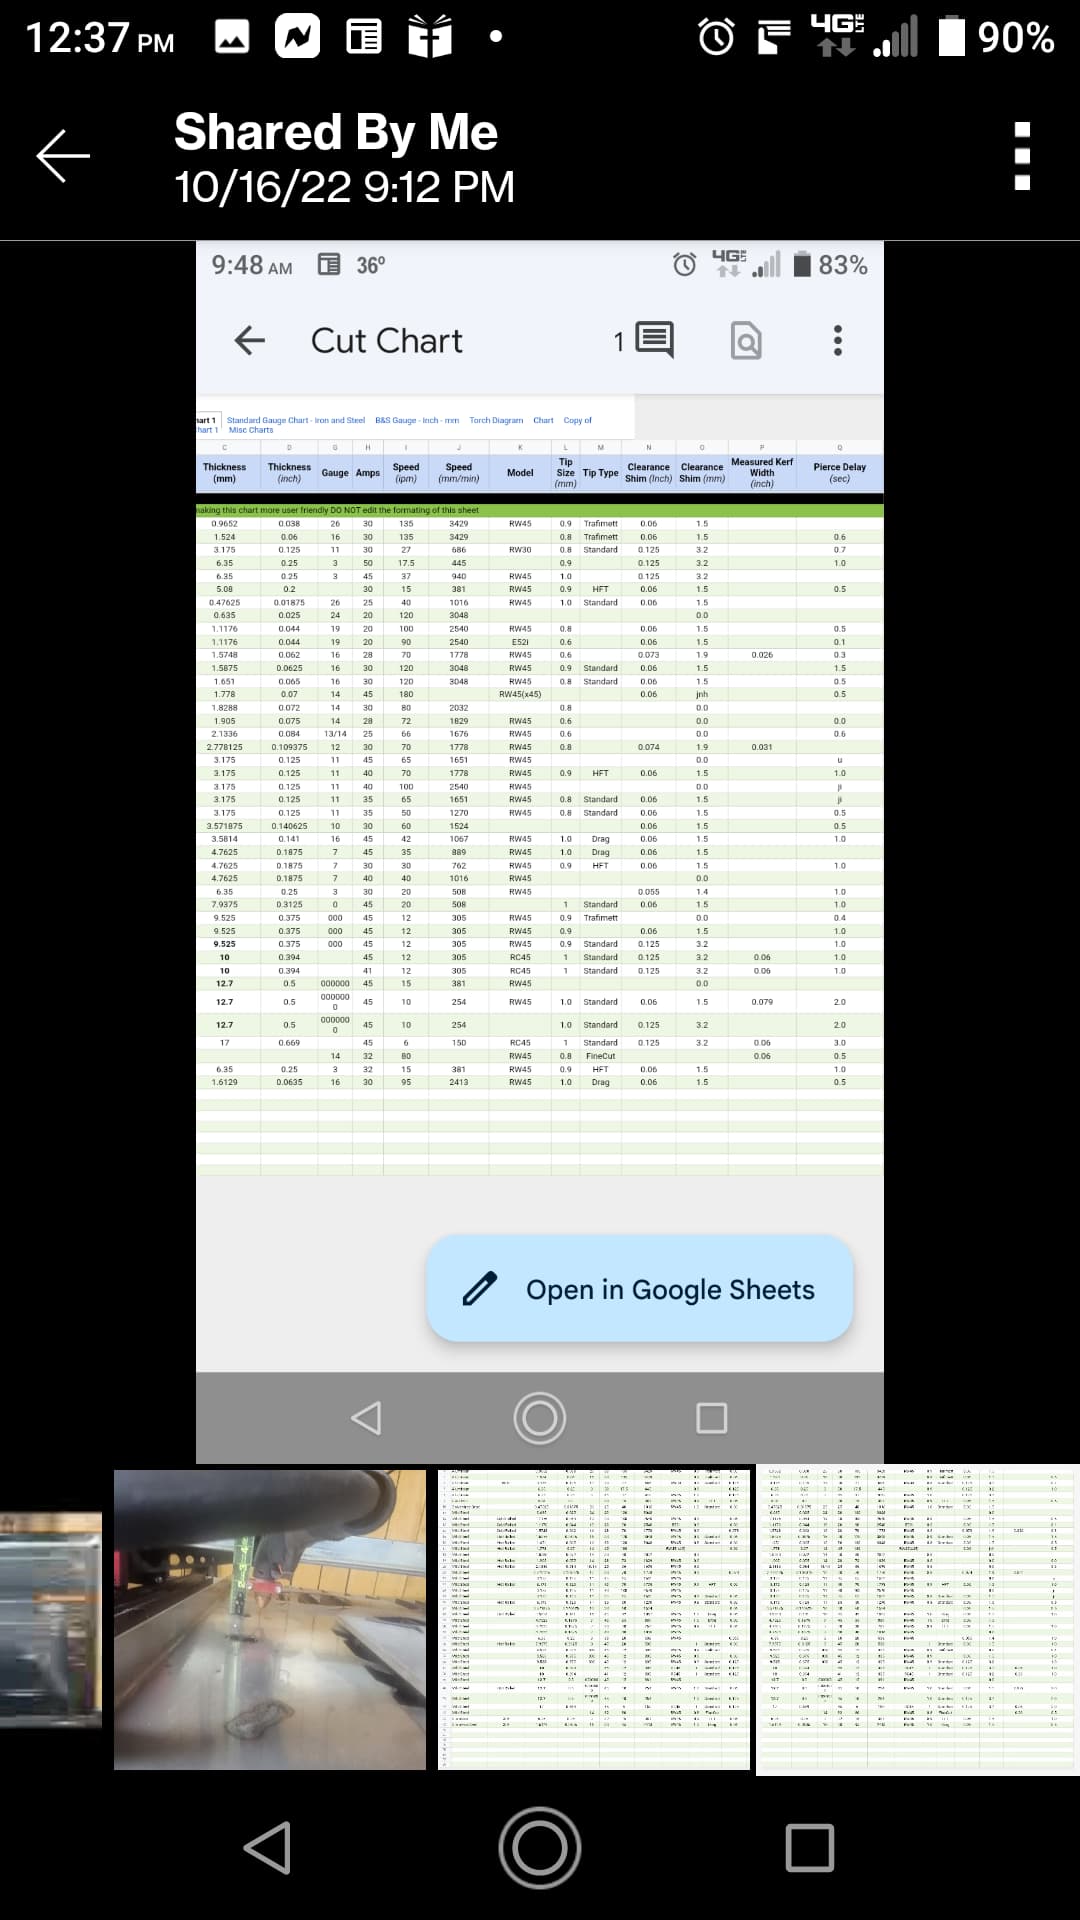
Table - Crossfire with water table, THC Plasma - Razorcut 45, ~75 psi, 30 A, 15/30A tip
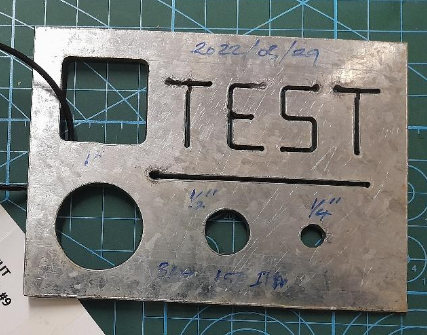
Material - 16 ga mild steel
PH - .15 CH - .063 Cut speed - 70 ipm
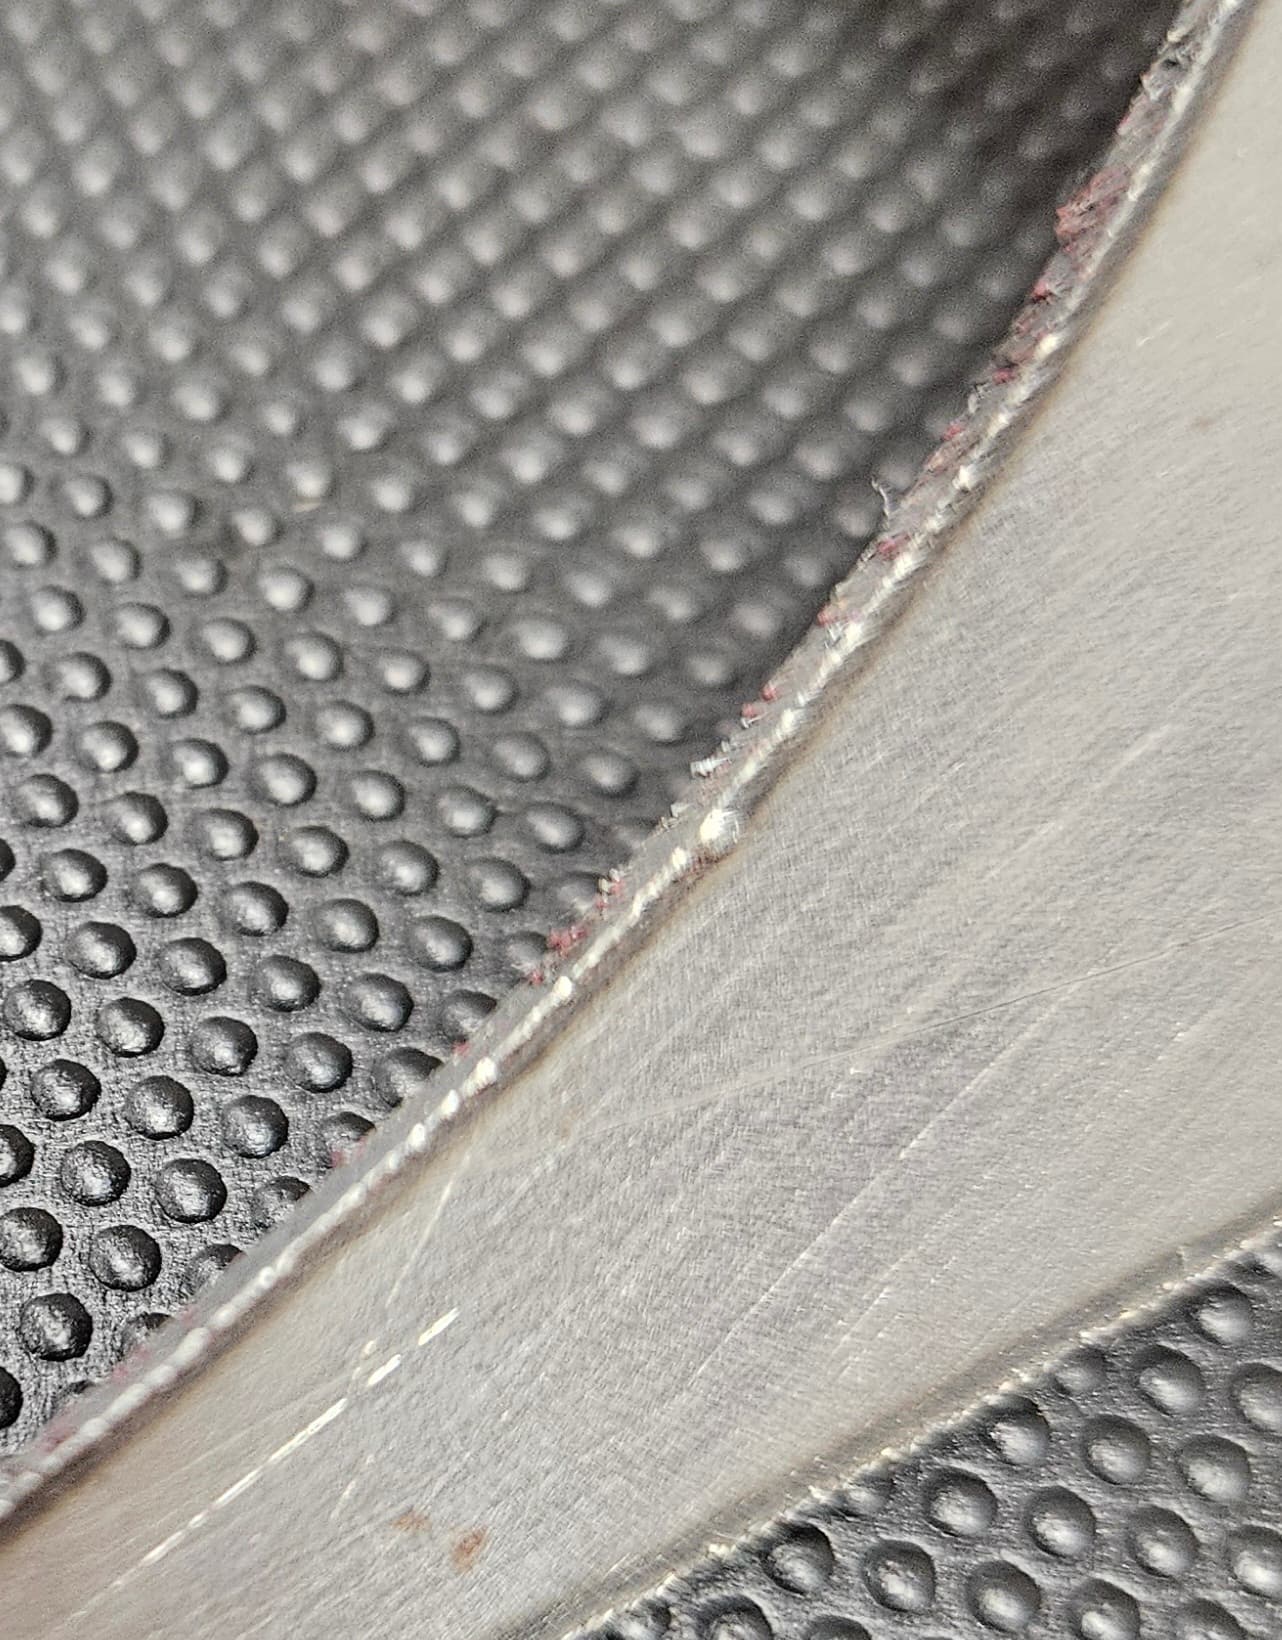
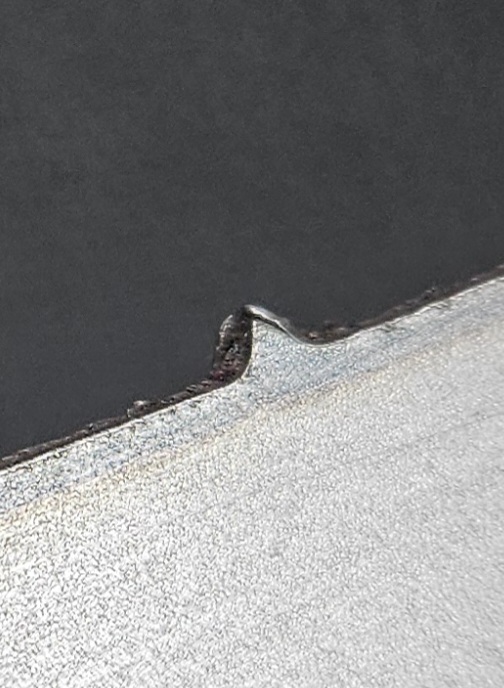
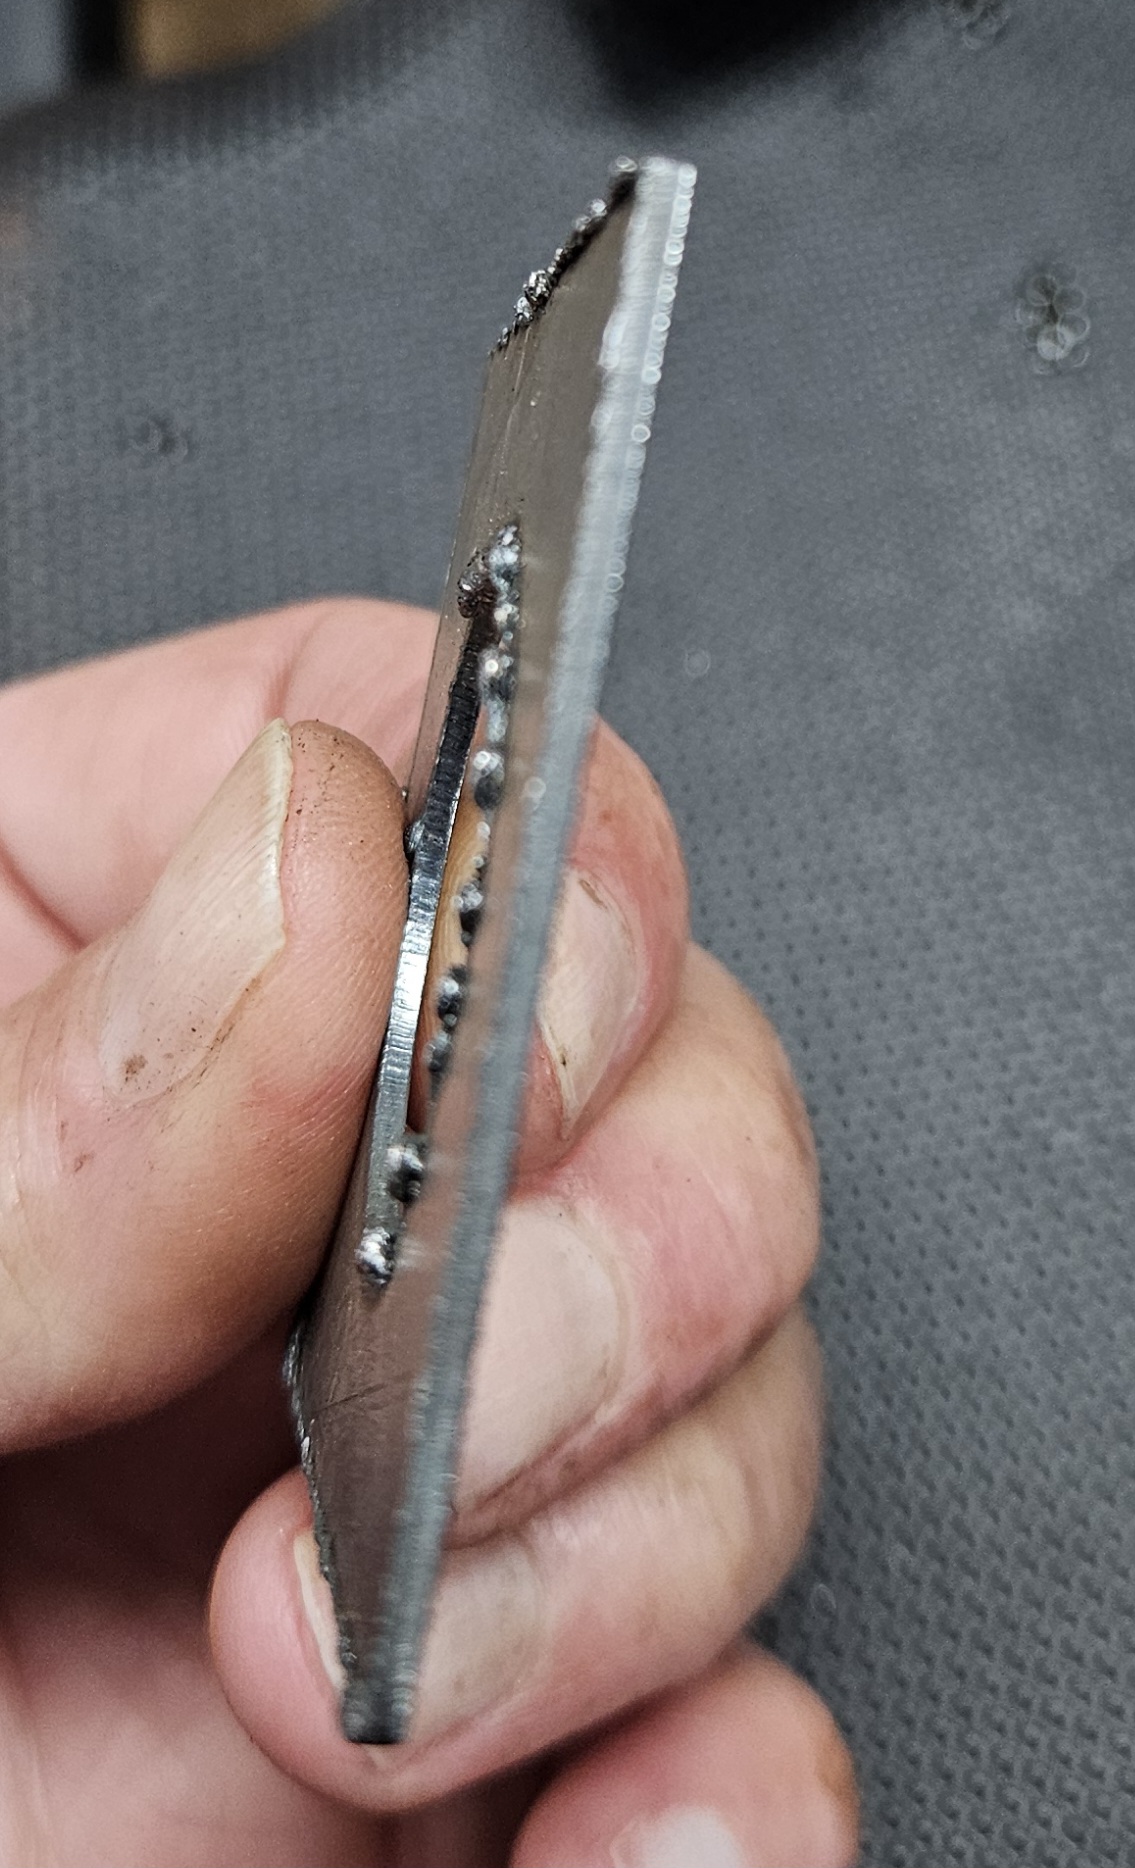
Outside edges look pretty smooth, but they are super snaggy on bare skin. Front looks clean, minimal dross on back side, however, it did not just peel away.
Small holes are undersized by around .01-.02". Lots of dross in them, too, so maybe I’m not getting a very accurate reading.
Edge of large hole seems a little rougher than the outisde edges.
In my opinion you are going to slow. Try upping the speed to 110 ipm. The hard bottom side dross is an indicator you are going to slow.
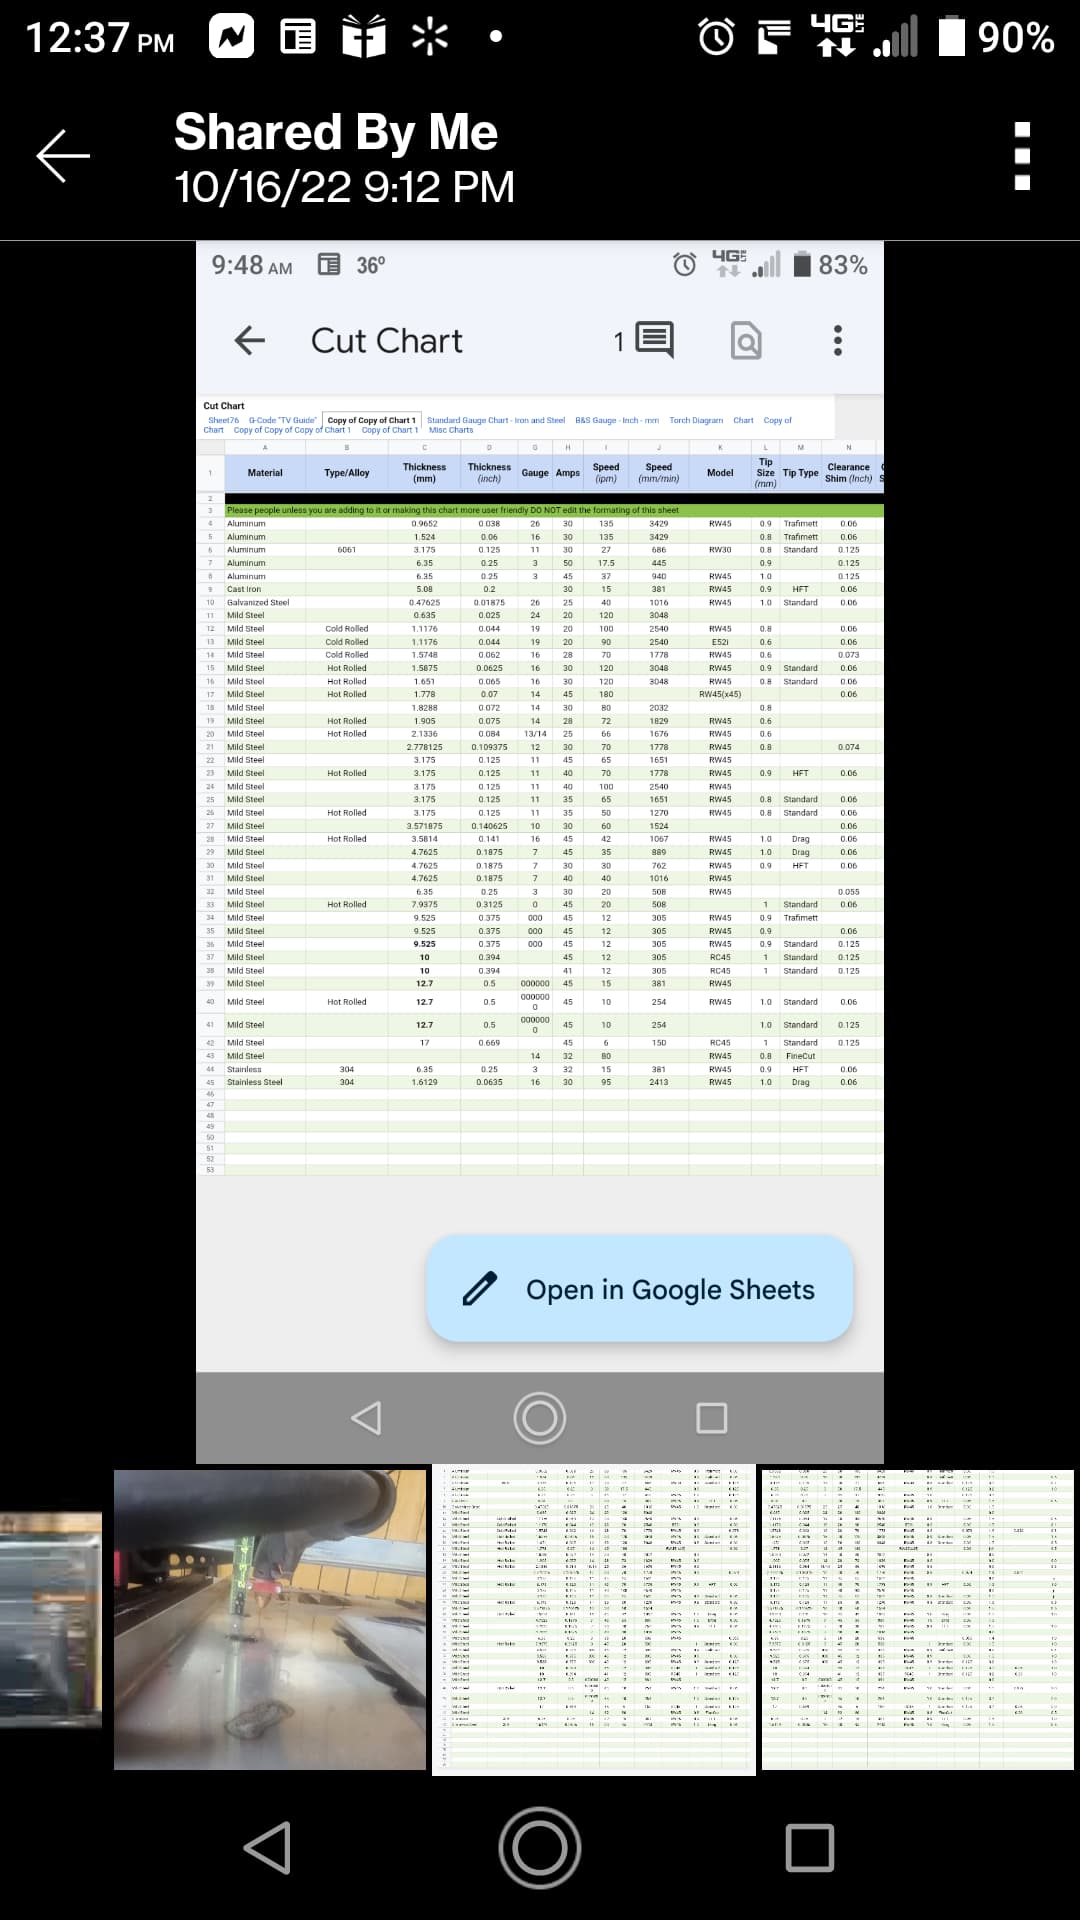
As far as the undersized holes you need to verify your kerf width. Cut a square with the round hole and set it to cut down the center of the line. The difference between your design and your cut piece will be your kerf width.
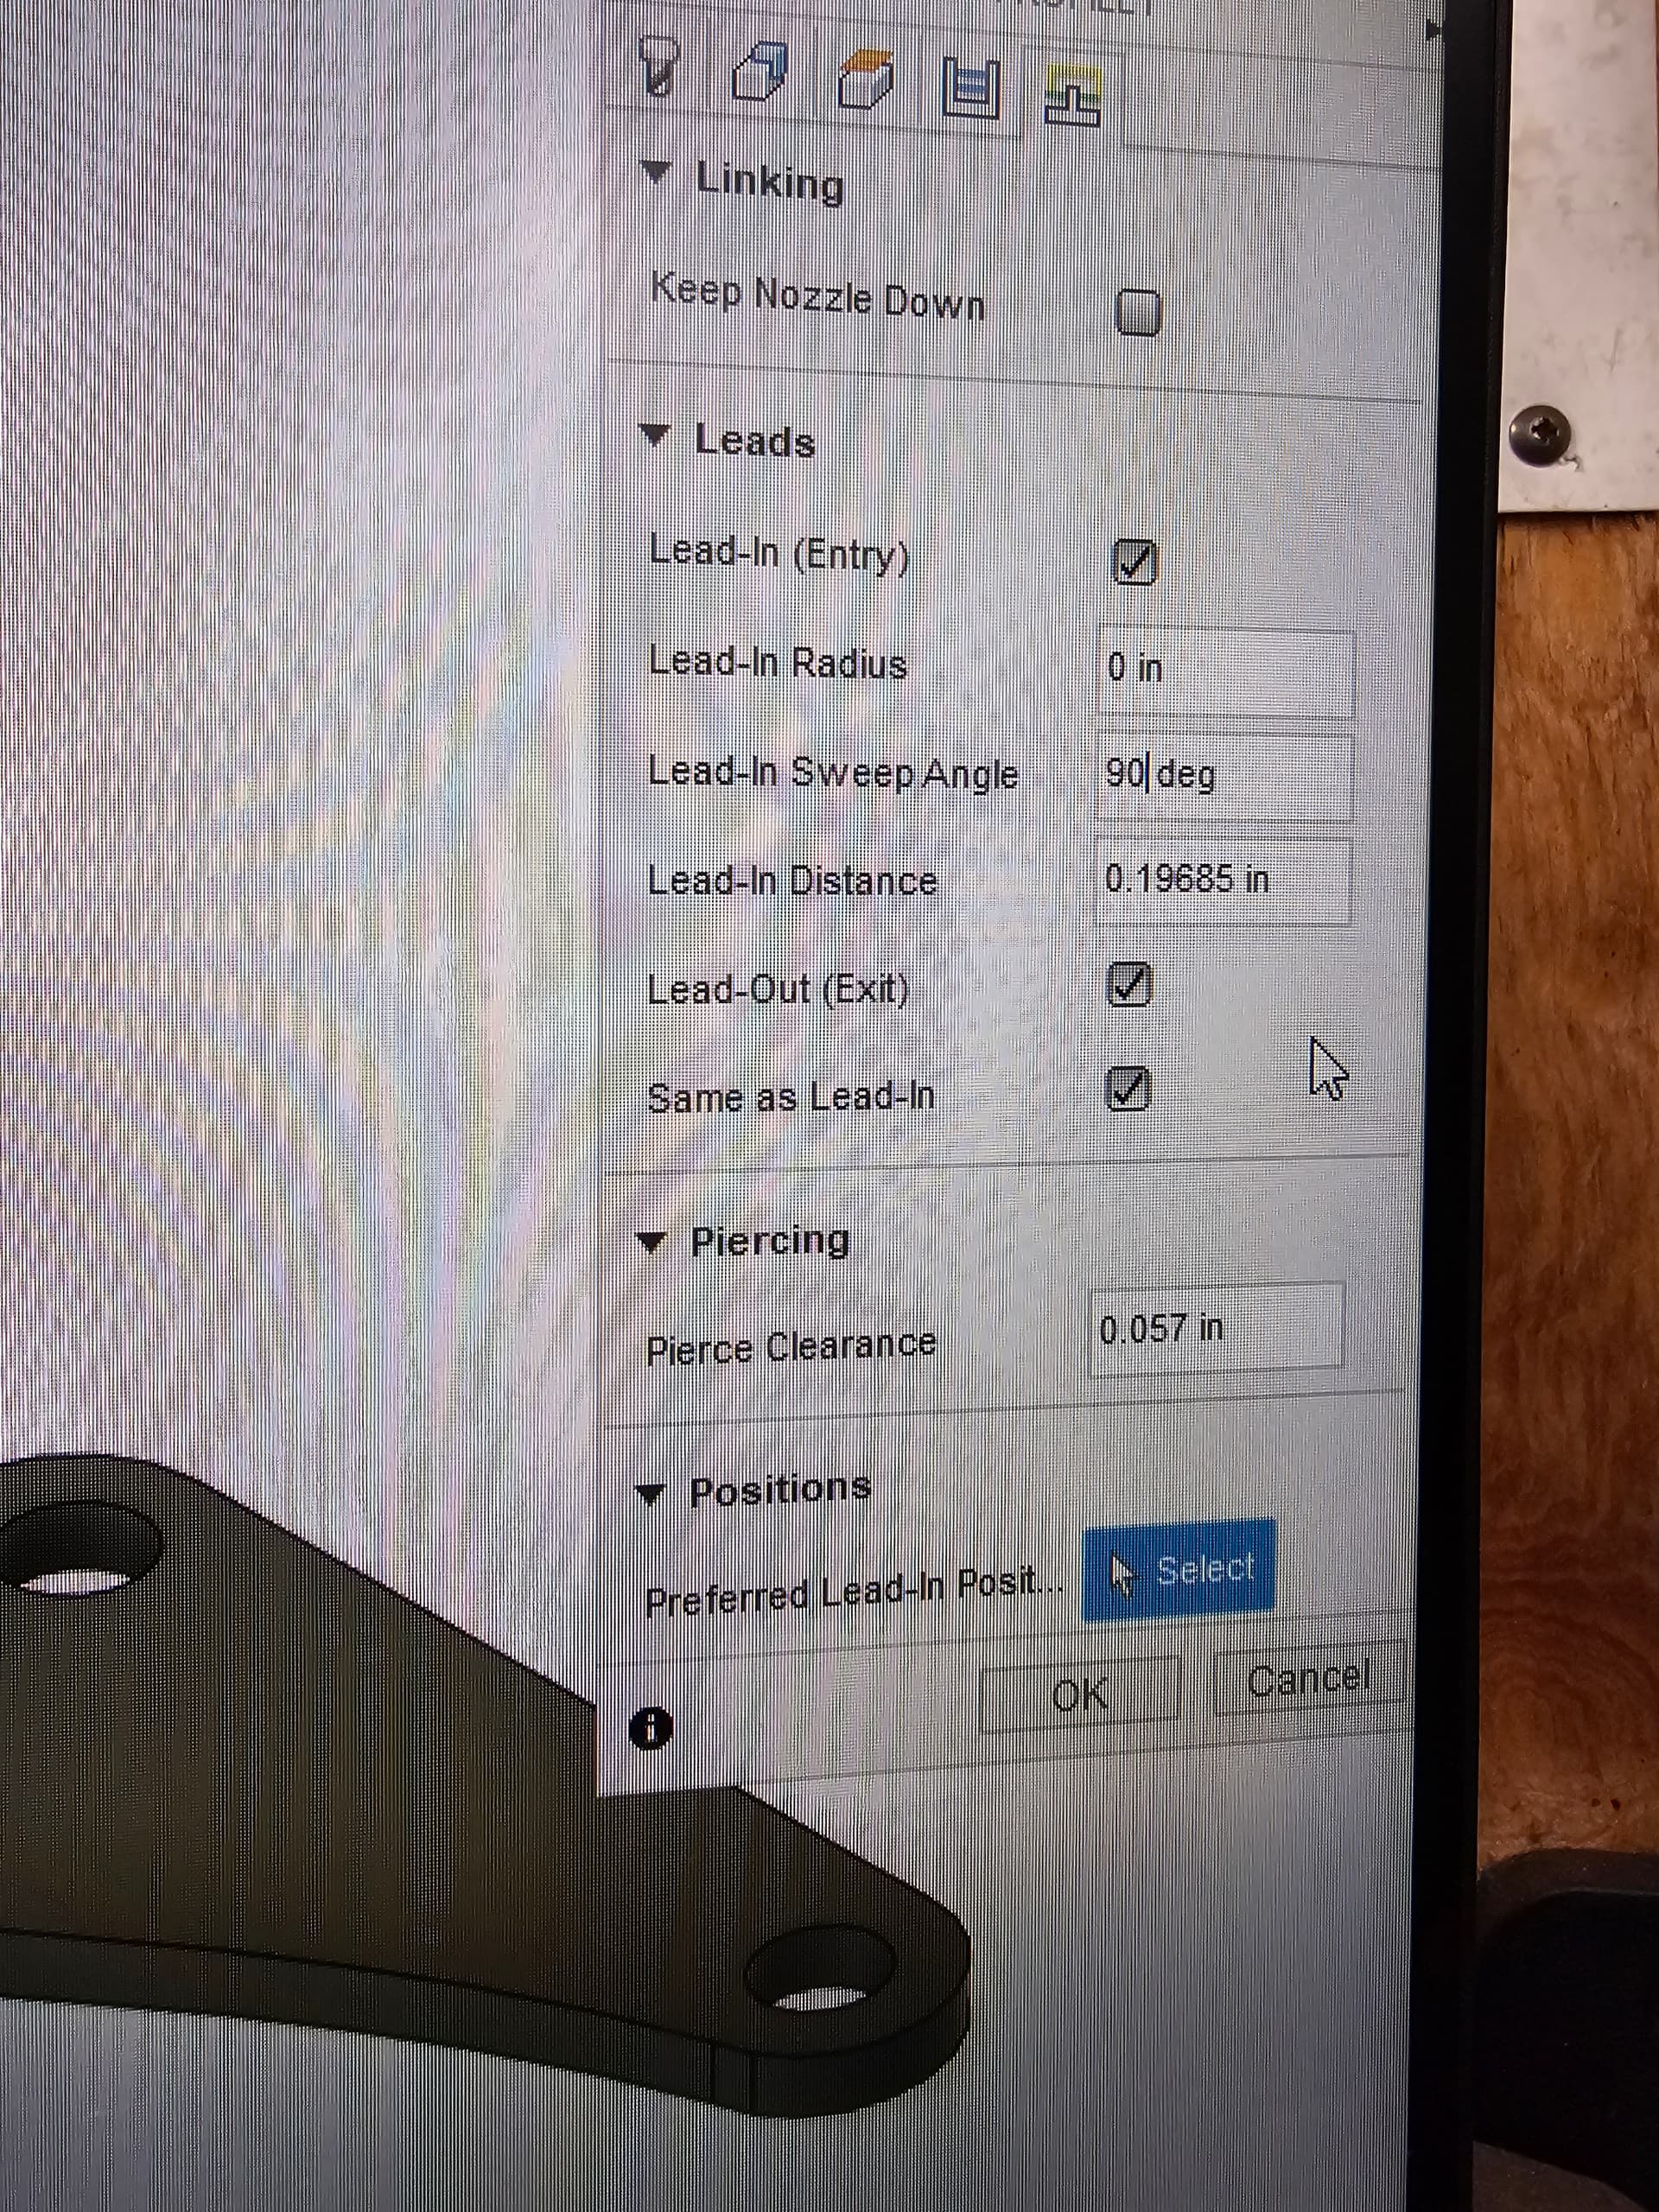
Keep all your settings except go faster, maybe 100 110 ipm. You also want to increase your lead in / lead out setting in fusion manufacturing. Other than that, it looks great. Congratulations. Also, keep the work clamp on the metal you are cutting.
Good job, man. Welcome to the forums. I would’ve given the same advice as @72Pony . Seems like the guys in this thread are already taking care of you. They’re right on the money.
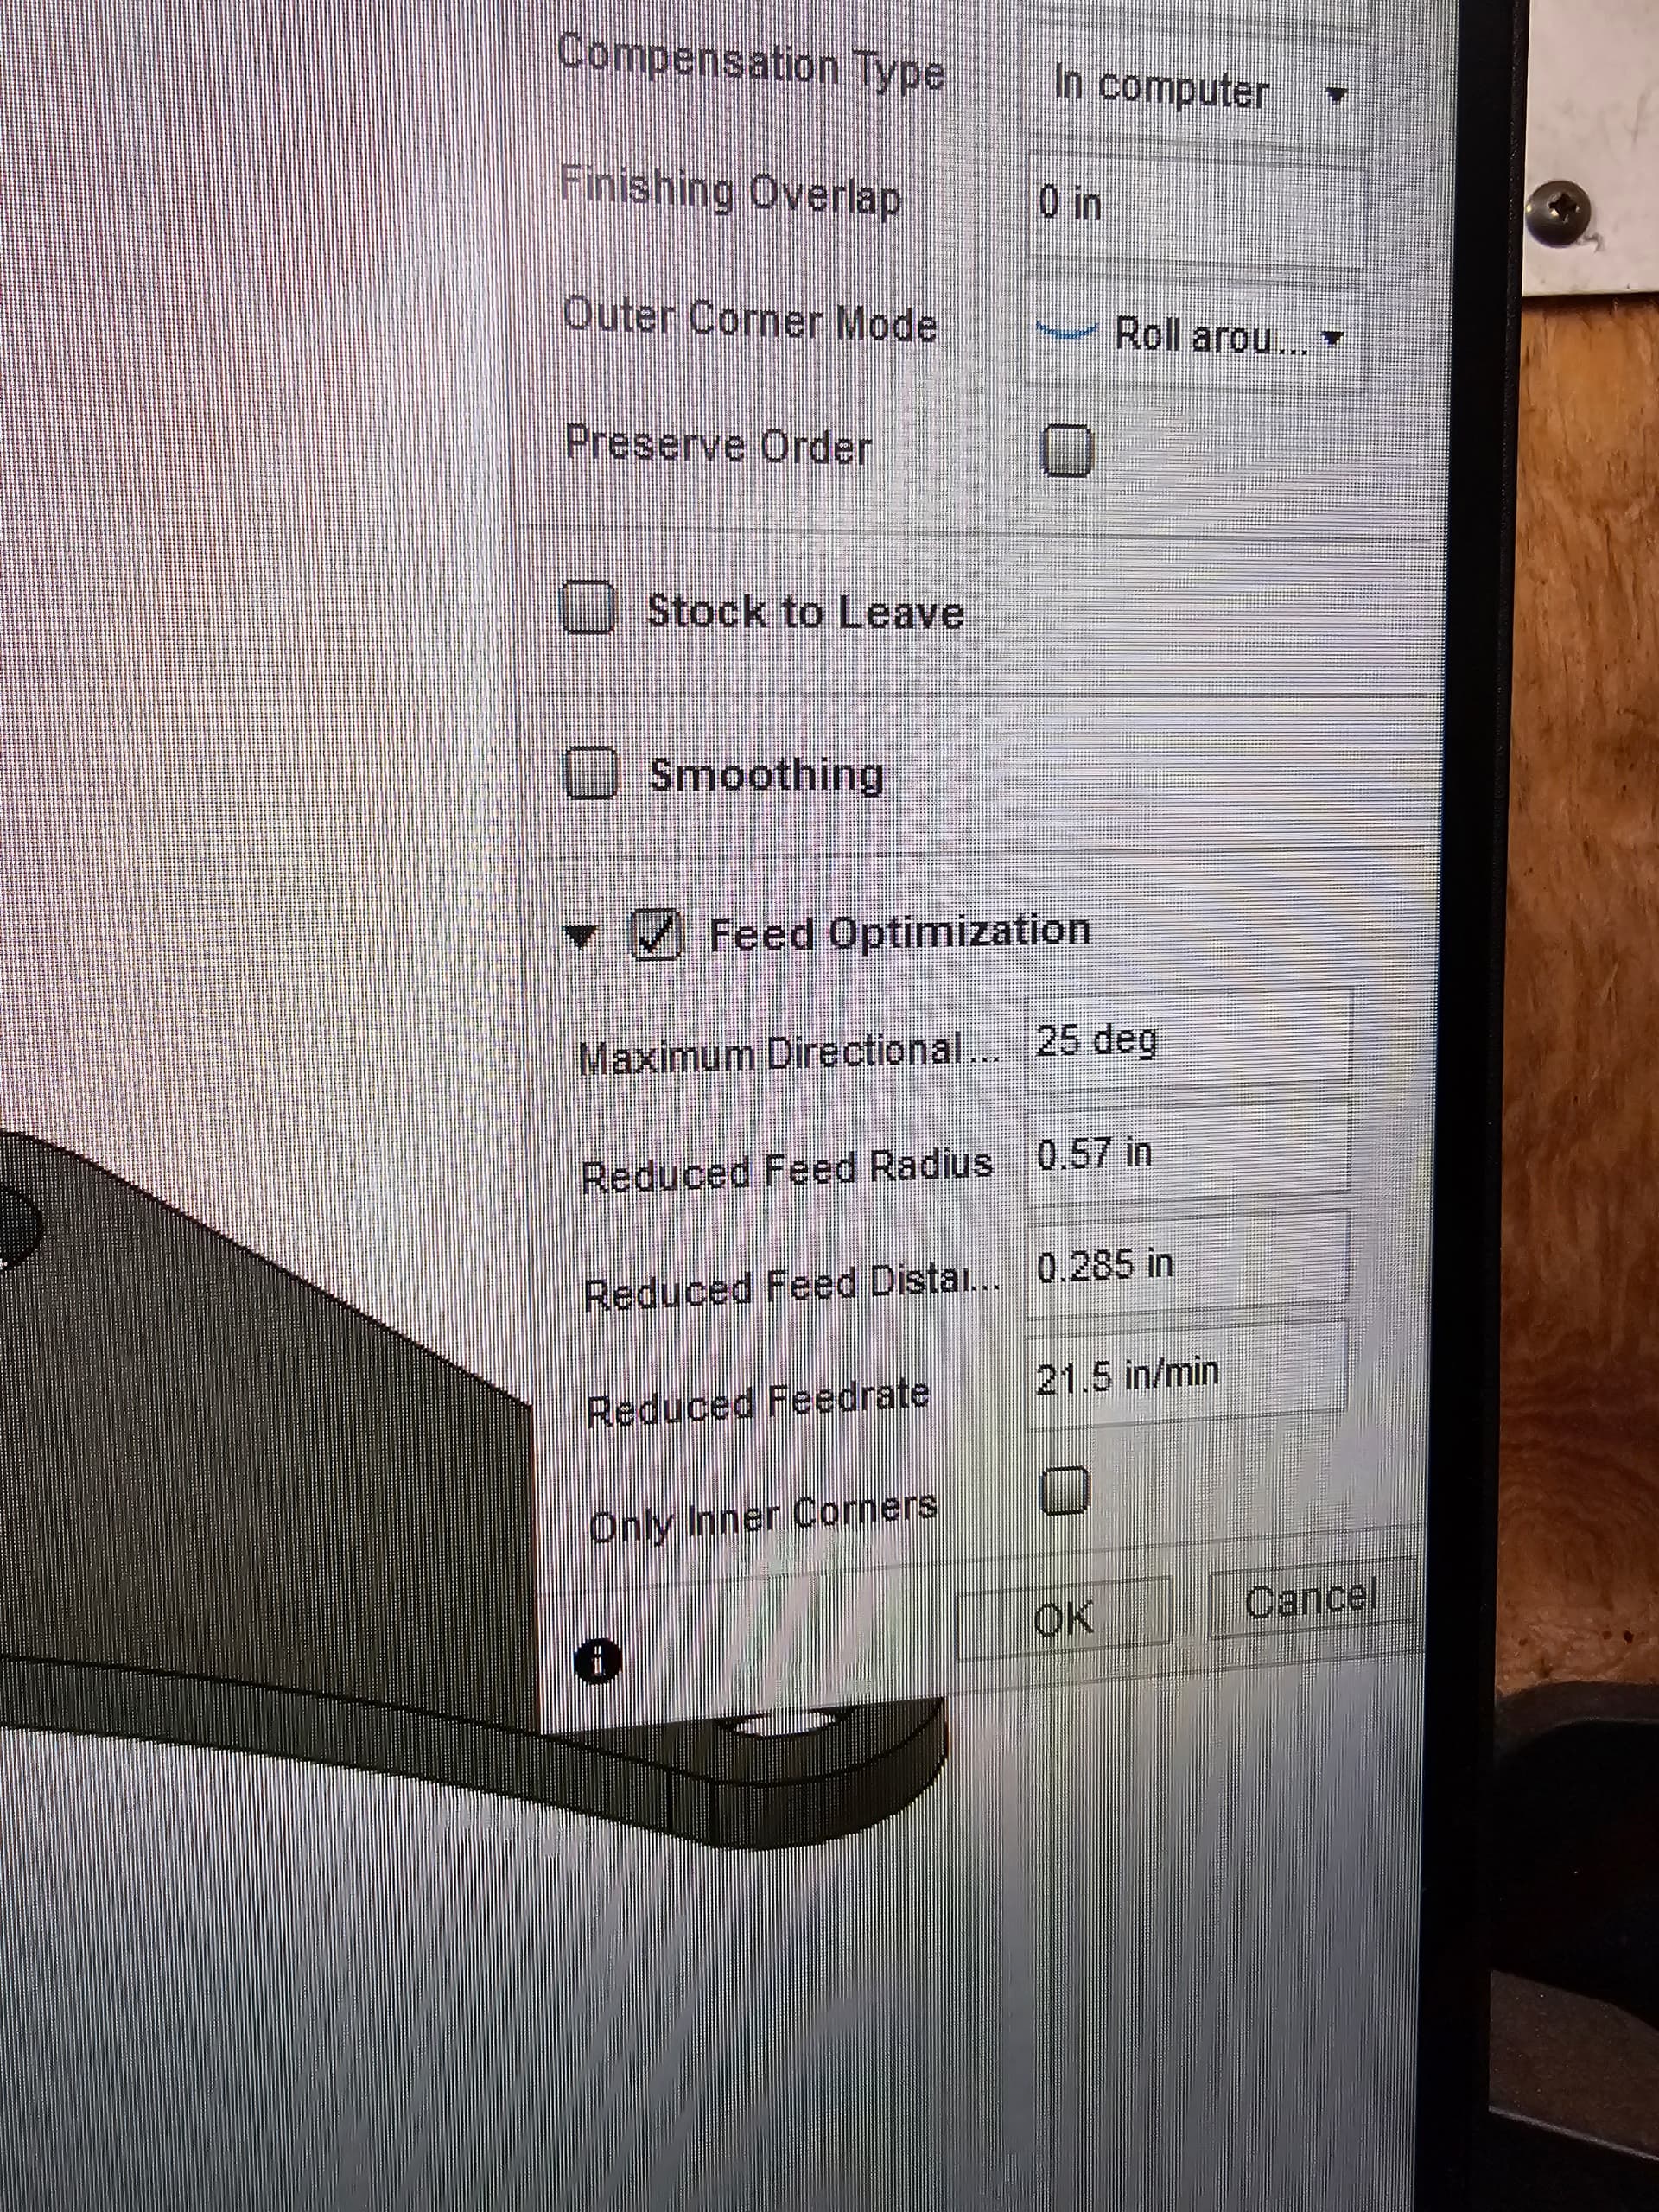
Also, regarding the holes, make two cut profiles, one for the holes only, using the feed optimization function. Then, create a new profile for the outside without it. This will cut the holes out much cleaner for you.
Blockquote As far as the undersized holes you need to verify your kerf width. Cut a square with the round hole and set it to cut down the center of the line. The difference between your design and your cut piece will be your kerf width.
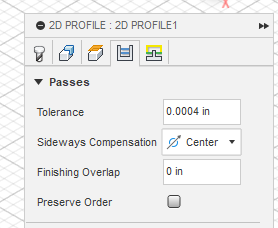
Is this where I make it center biased?
Also, when you say square/circle/line, do you mean something like this?
No, I mean draw a 2 inch square with a 1 inch hole. Set the sideways compensation to center.
You will get a square smaller than 2" ie 2"-1.957 = 0.043
In that case your kerf would be 0.043"
Not sure I understand how to do this. Are you saying create a 2D Profile and only select the holes and include that information, and then create a new 2D Profile and select the perimeter/outside cut without the extra settings? Will both become part of the program when I make the G-code?
Yes, that is what I’m saying. Click on all the holes and use the compensation option.
Then, return to the top and open another cut profile with just the outside edges without it. Just make sure you post-process both files. Fusion will make the holes first and then move to the following profile and cut the outside.
Actually, I have a saved kerf in my plasma cutter in the tool library. Right now it’s .055 (I think that was in one of the Langmuir videos as a good starting point.)
Hole dross is still not great, and just as hard (didn’t even want to come off with grinder), but exterior edge is much smoother to the touch. Square is 1.961 across two sides and 1.969 across the other two. (I measured each three times in different spots and averaged.)
Hole ID was 1.058 (average of four measurements), but the edge wasn’t super clean so I’m not sure how good that measurement is.
Is 8 thou out of square the best I’m gonna get, or is it possible that it was just slight edge variation? Now that I think about it, I didn’t dress the top edge with the grinder, just the back edge.
Have you confirmed your cut height to actually be what is programmed? If not run this program and measure the distance when it stops with a feeler gauge. cut height test.tap (224 Bytes)
Post a picture of your consumables up close nozzle and electrode.
The next step I would take would be to test your cut height. Use this code from @Phillipw. It will cycle the ihs and stop. Measure the height from the top of steel to bottom of tip. cut height test.tap (224 Bytes)
Edit… Looks like @Phillipw and I were responding at the same time LOL