So I finally pulled the trigger to upgrade from the Crossfire Pro, and I think next weekend I’m going to sit down and finally put it together. It’s been sitting in crates in my shop for the past month but I was knee deep in the middle of two other projects at the time that were taking up all my shop space so I had to finish them first. Now I’m setting up a new Altmill 4x4 CNC router but that should be done this weekend then I can finally get the XR out of the crates and onto the shop floor. I’m doing the Router first because I figured if I need to do any fabricating for the router I still have the Crossfire Pro operational. Anyhow, that will be done this weekend and next weekend I’ll be starting the XR. Are there any assembly tips you guys have? Are there any peculiarities in the process that might not be obvious? It’s been a while since I posted here because it’s been a busy year (moved into a new place with a much larger shop!). Really looking forward to fabricating again.
I am interested in getting a CNC router can you let me know how this turns out for you.
It’s very convenient to have an extra set of hands
I would install the fasteners for the limit switches from the inside out, using longer ones with a small nut.
Congratulations! a bigger space is almost better than any new piece of equipment.
That goes without saying. Here is one of the pages from the installation manual:
(I should have never been told about Fusion’s Project Salvador!!! ![]() )
)
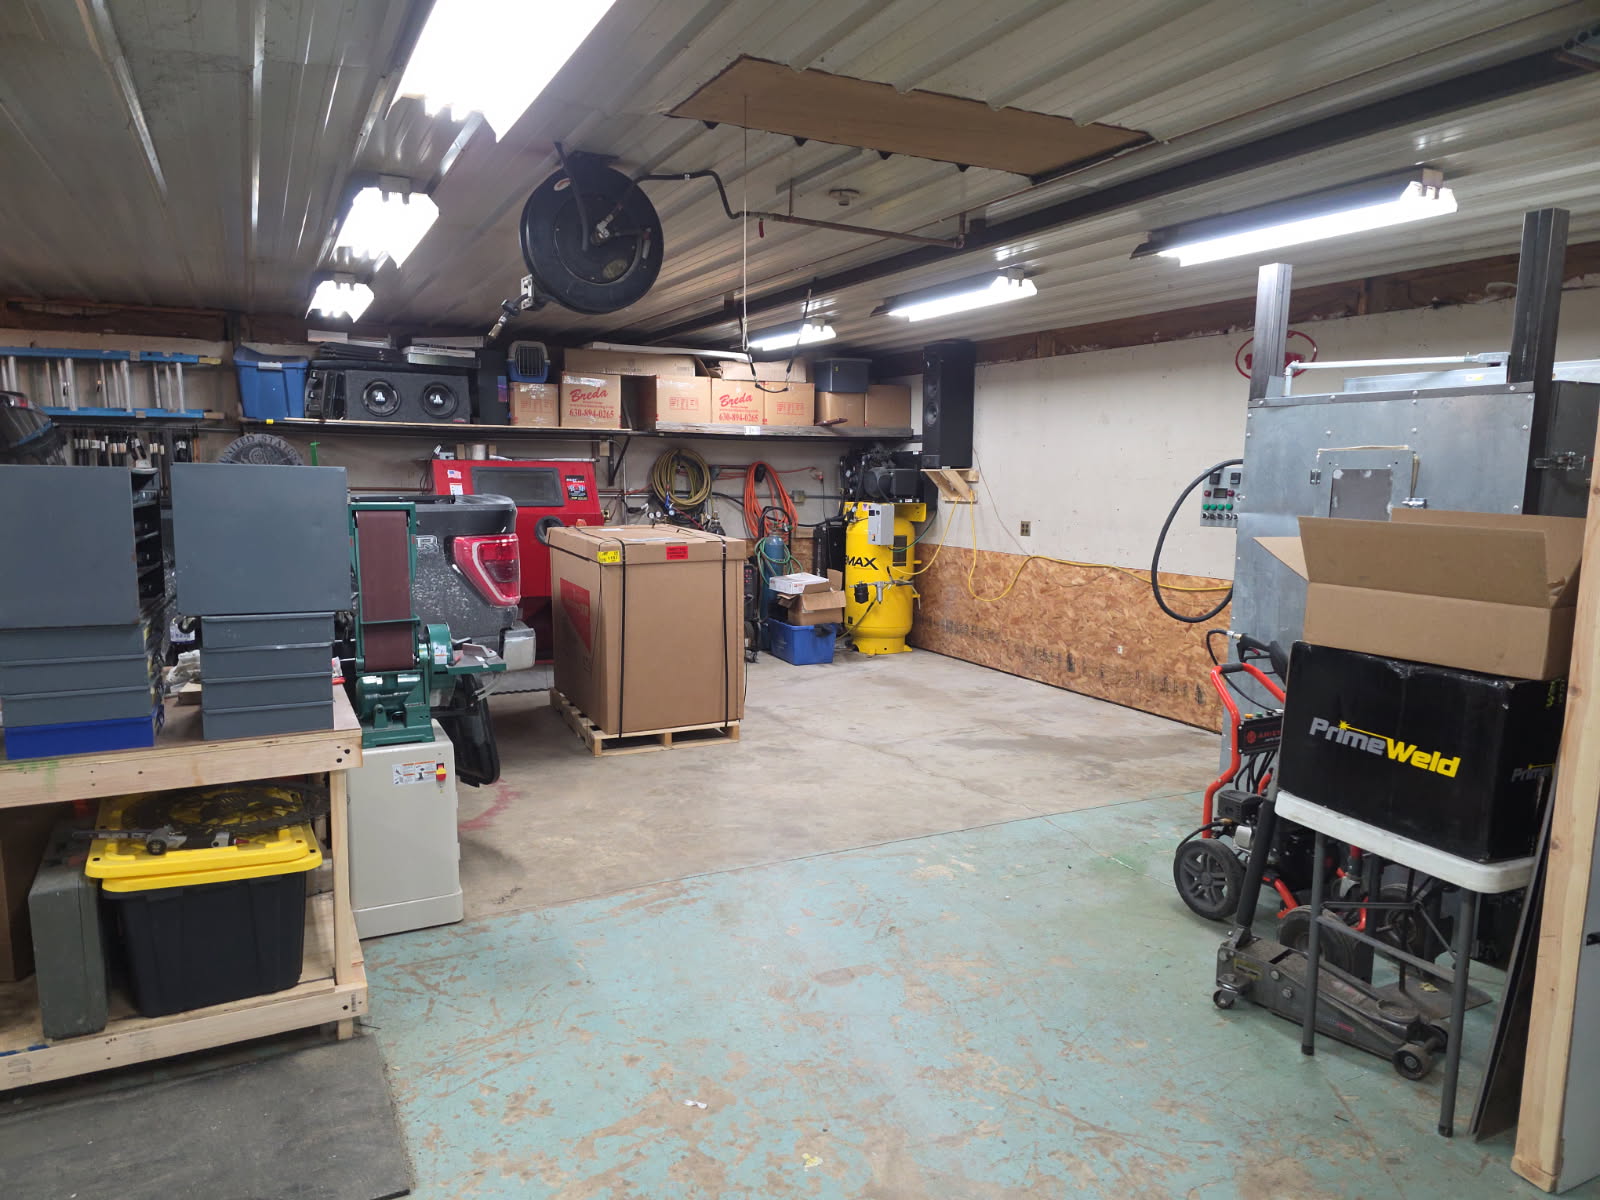
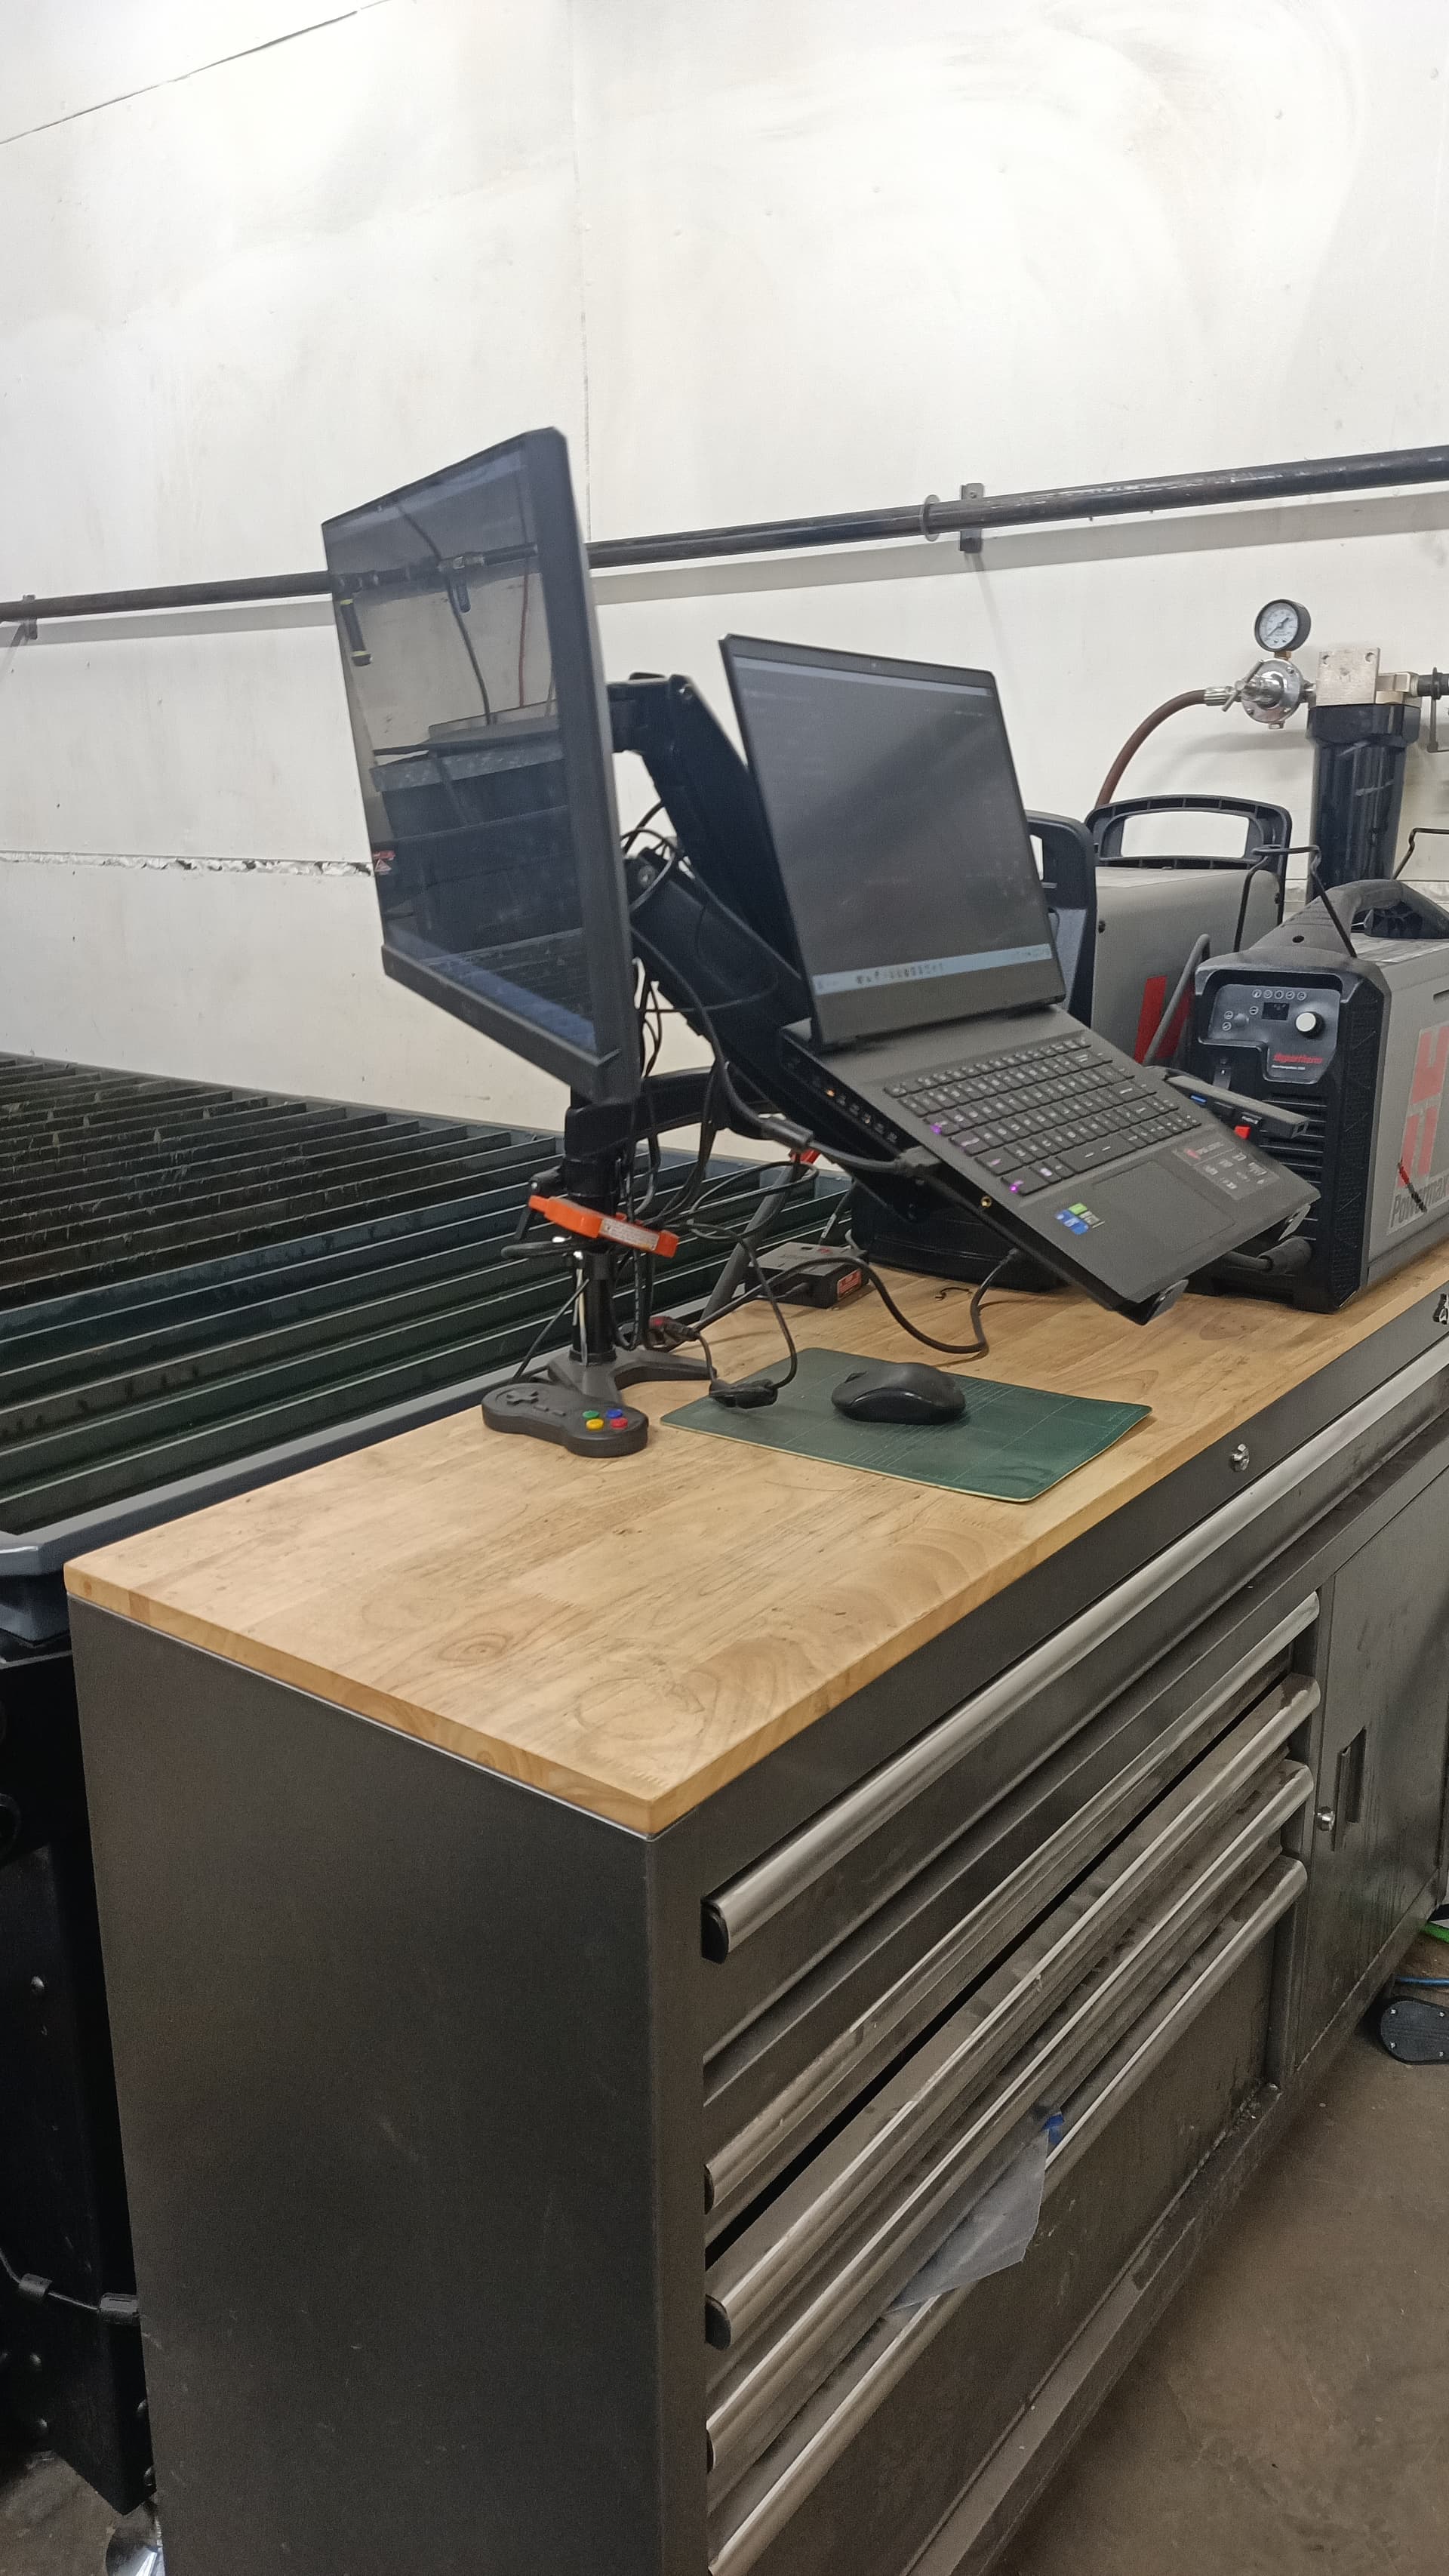
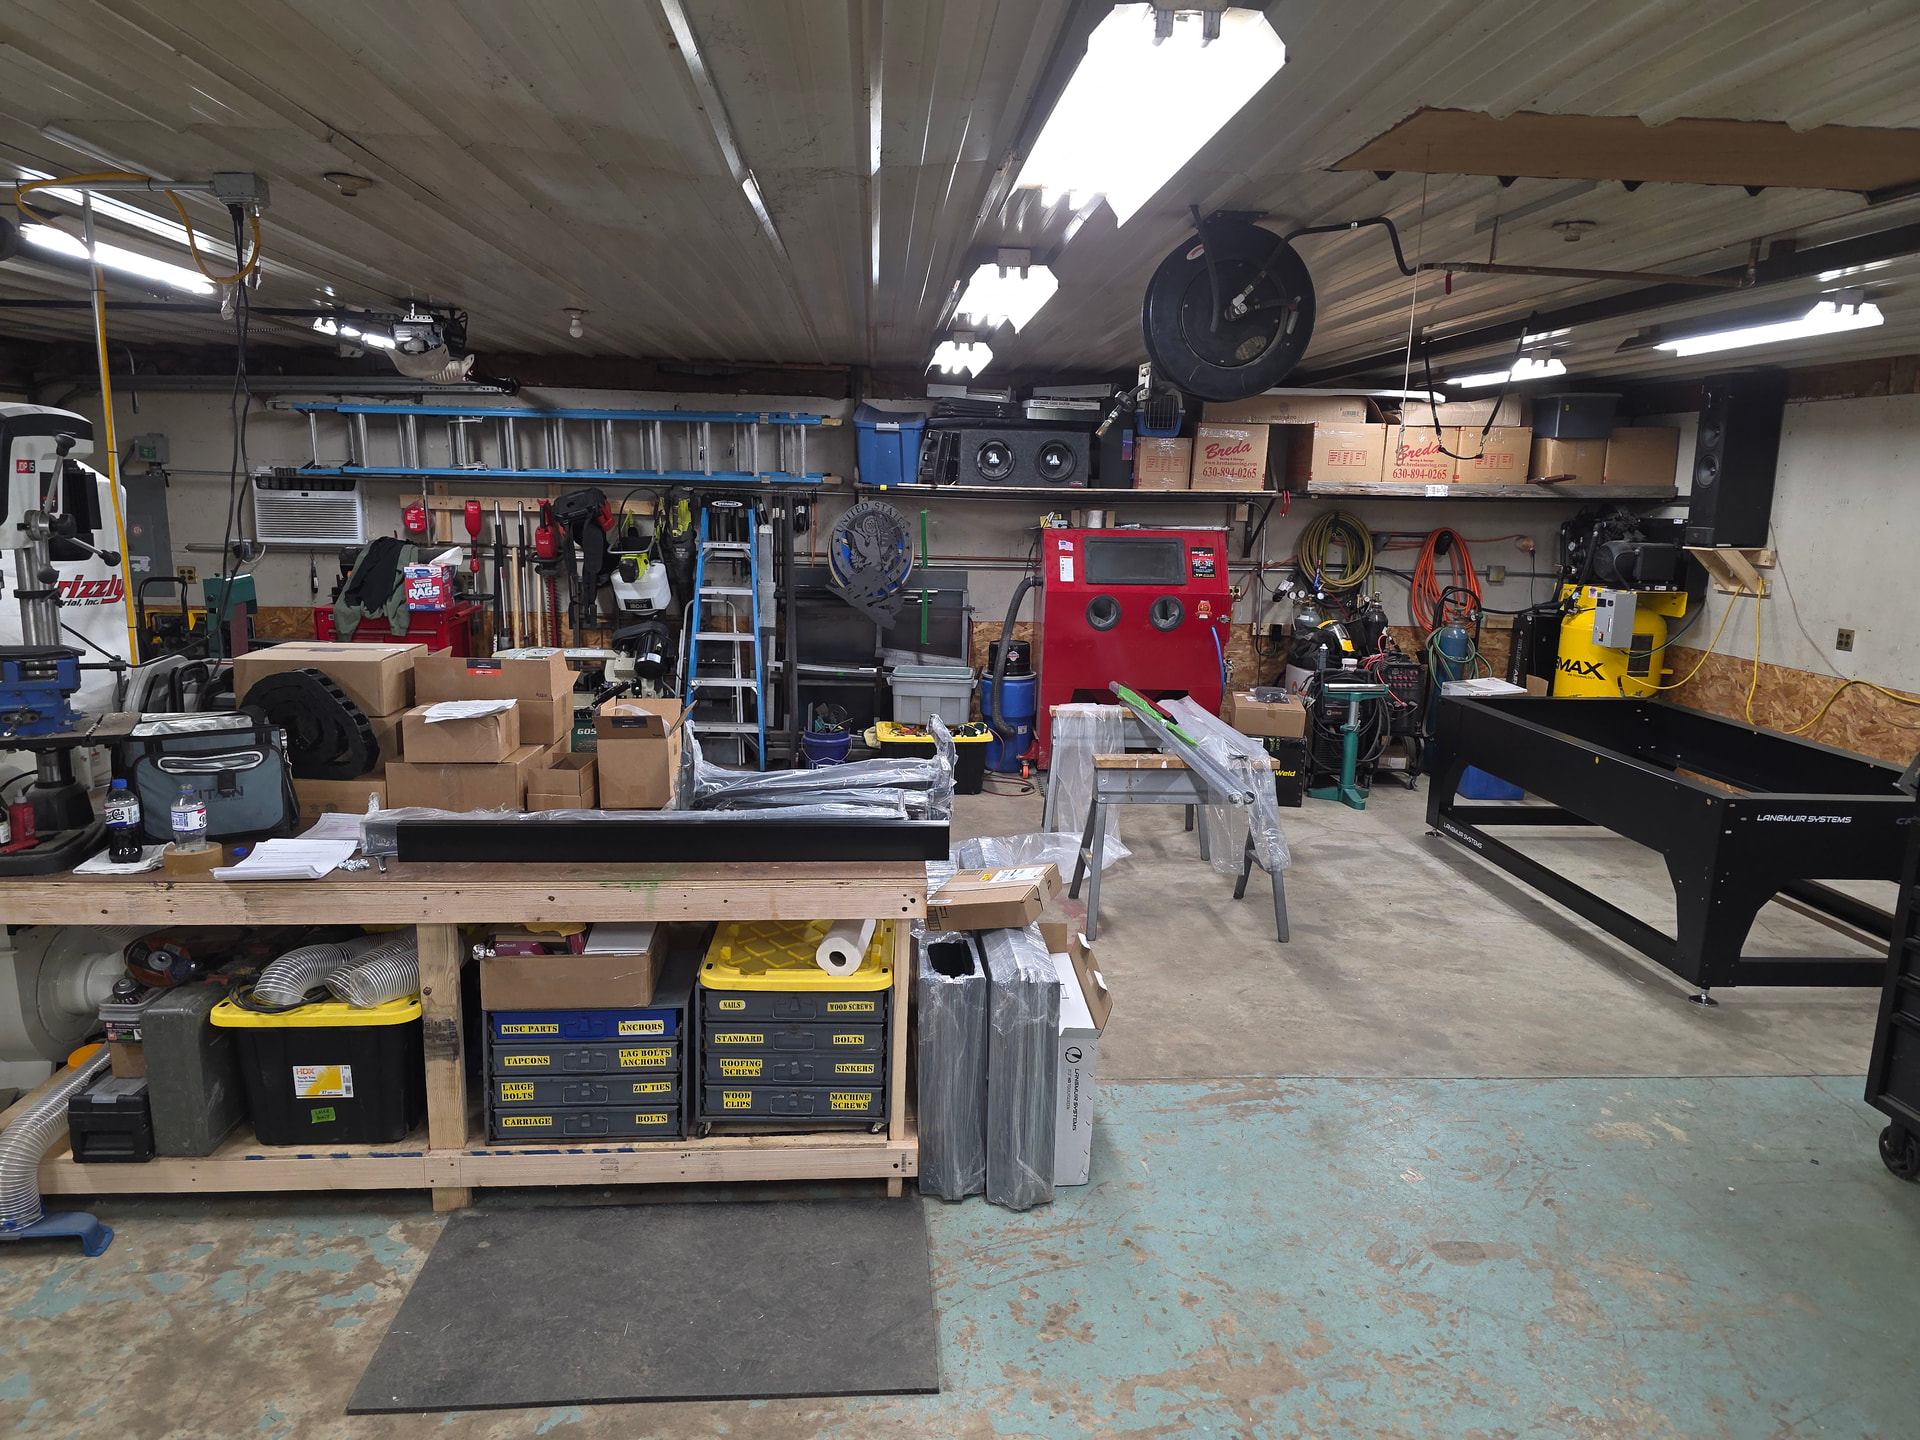
I’ll definitely let you know about the Altmill when I get some hours on it. Off the bat I can say it’s built like a tank. The massive aluminum extruded X and Y rails are 1/8” walls. Thing is incredibly rigid. I went with the 3 horse(2.2kw) spindle so it should be able to handle some heavy cutting. Also bought the 3 horse Grizzly dust collection system but that too is in a crate…Extra set of hands, check. Good to know on the limit switches, will do! I went from a 525 sqft shop to 1440 sqft, huge difference. Unfortunately I have been adding equipment to it probably faster than I should. Might need to rearrange the whole place when I’m done. I’ll throw some pics in when I get home. This is the machine I went with, I would have ordered the 4x8 if I knew it was coming out, they released it 3 weeks after I ordered the 4x4…
I have since installed the drag link chains and spindle and the wiring to the motors. Anyhow I’ll save that stuff for a thread on the Altmill.
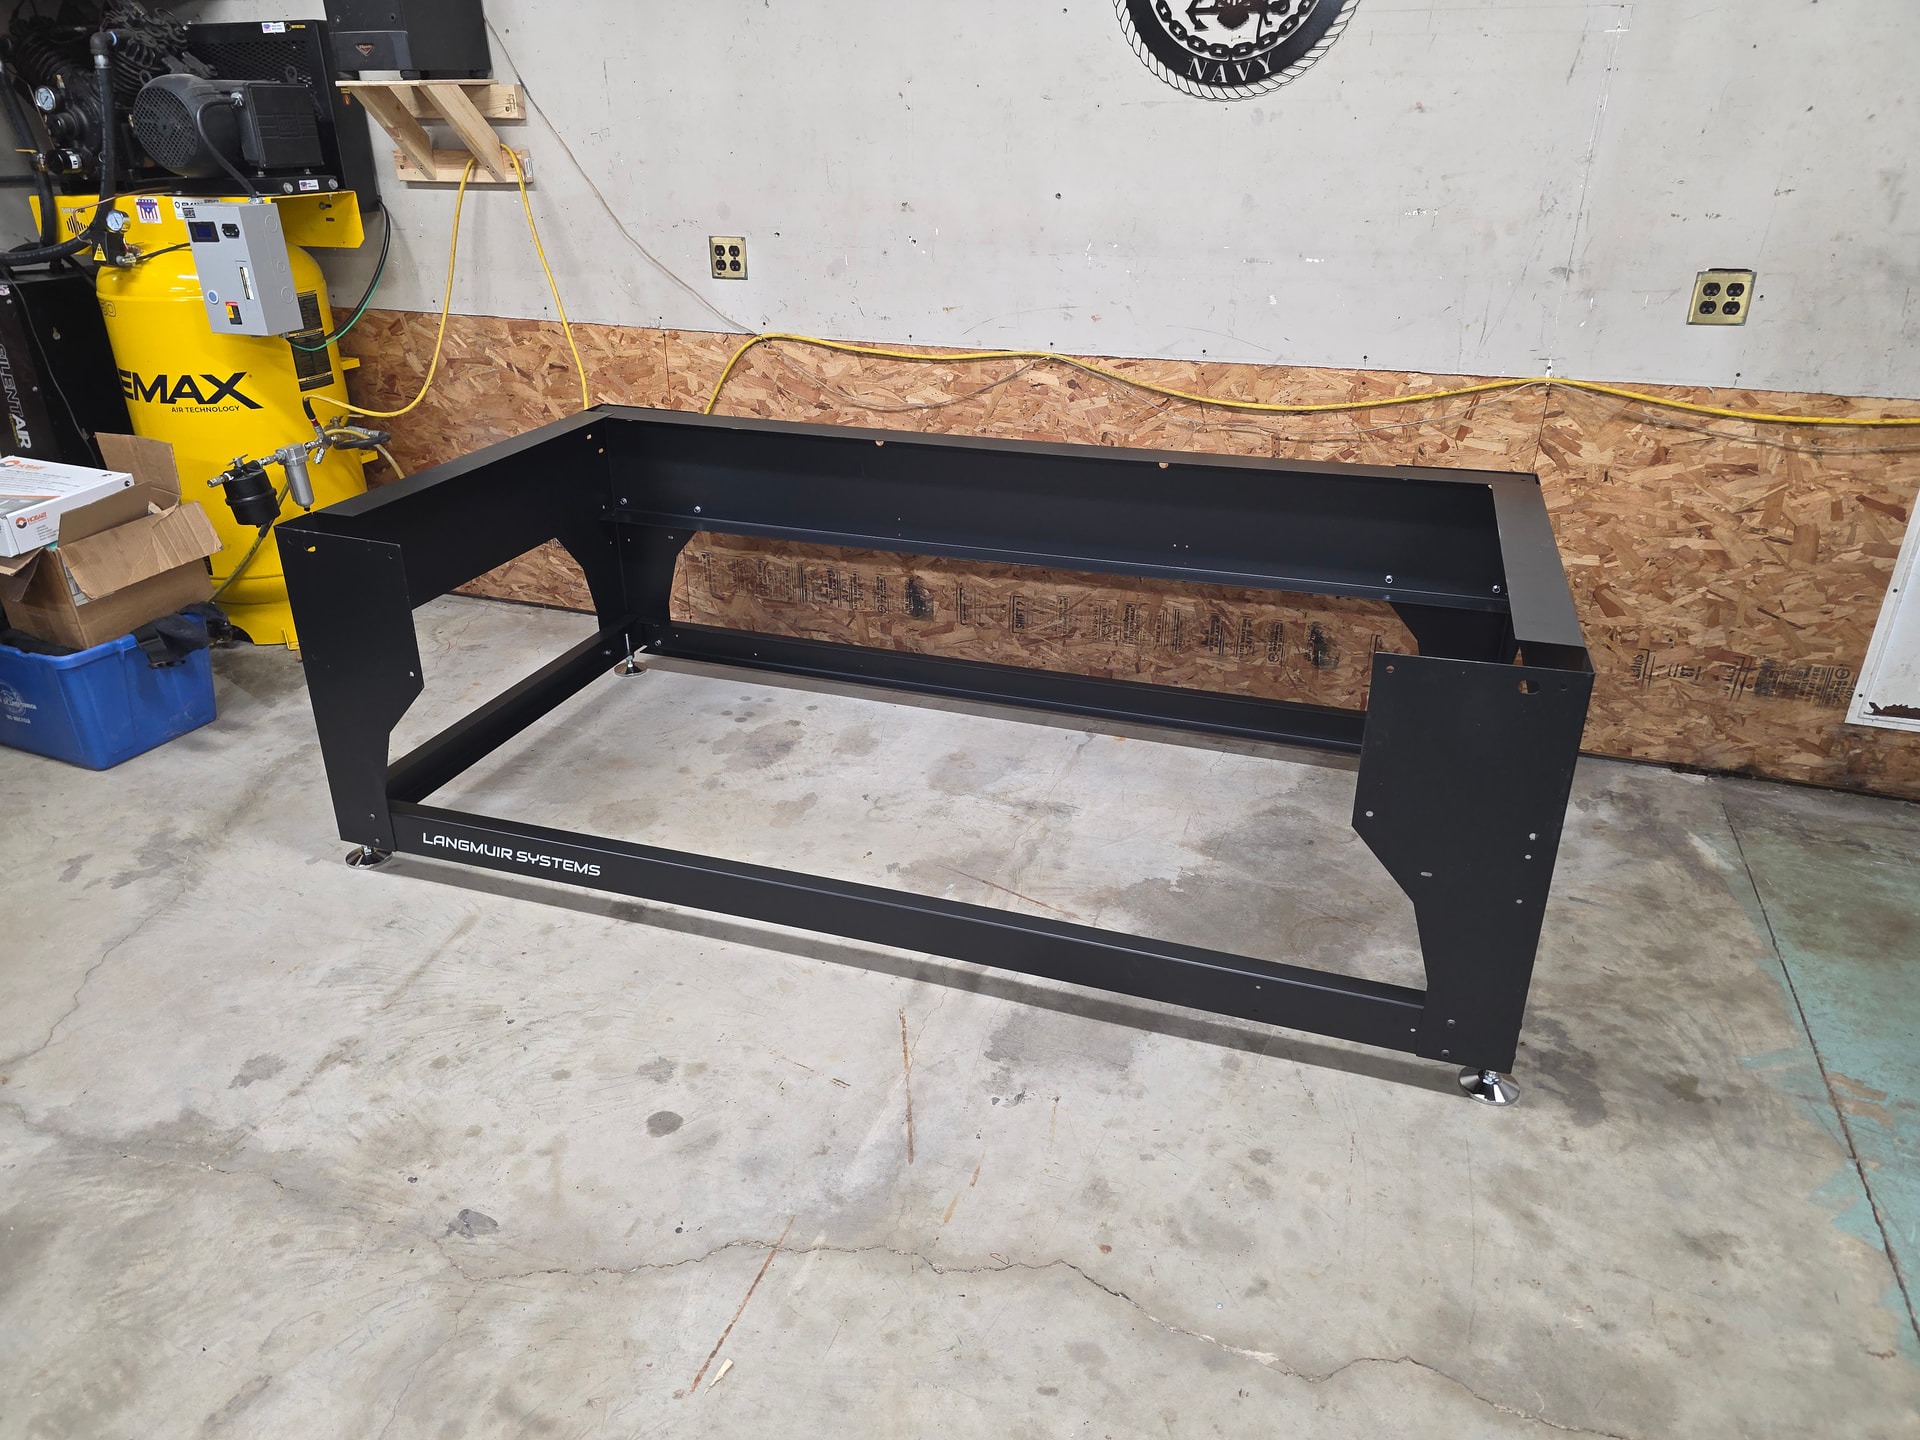
Got held up on the assembly, but everything is finally ready. It will be going together right next to the compressor. How much space will I need between the XR and the wall? Besides an extra set of hands and the limit switch trick is there anything else? I’ll have a couple bodies over this weekend to help get the frame setup. I really hope everything in the crates is all good, I haven’t opened them yet and they were delivered two months ago…
One last quick question, are the lower leg braces strong enough to lift the table with a pallet jack if I have to move it? Also picked up a new Cut60 with the machine torch that uses the Hypertherm consumables, pretty excited to see how that works out.
My XR has 9.5” from the back wall to the main rectangular frame rail and 19.5” from the left side (opposite end from the screen) rectangular frame rail to my steel storage rack. I have a 52” toolbox tight to the right side.
Just got to the limit switches and found the first discrepancy, the instructions call for a 2mm allen wrench but it actually uses a 1.5mm. Not a big deal but an easy fix in the instructions text.
Also Bag#27 only had 10 socket head capscrews not 14, luckily I had some 10-24x3/4 on hand in the shop to temp fill in.
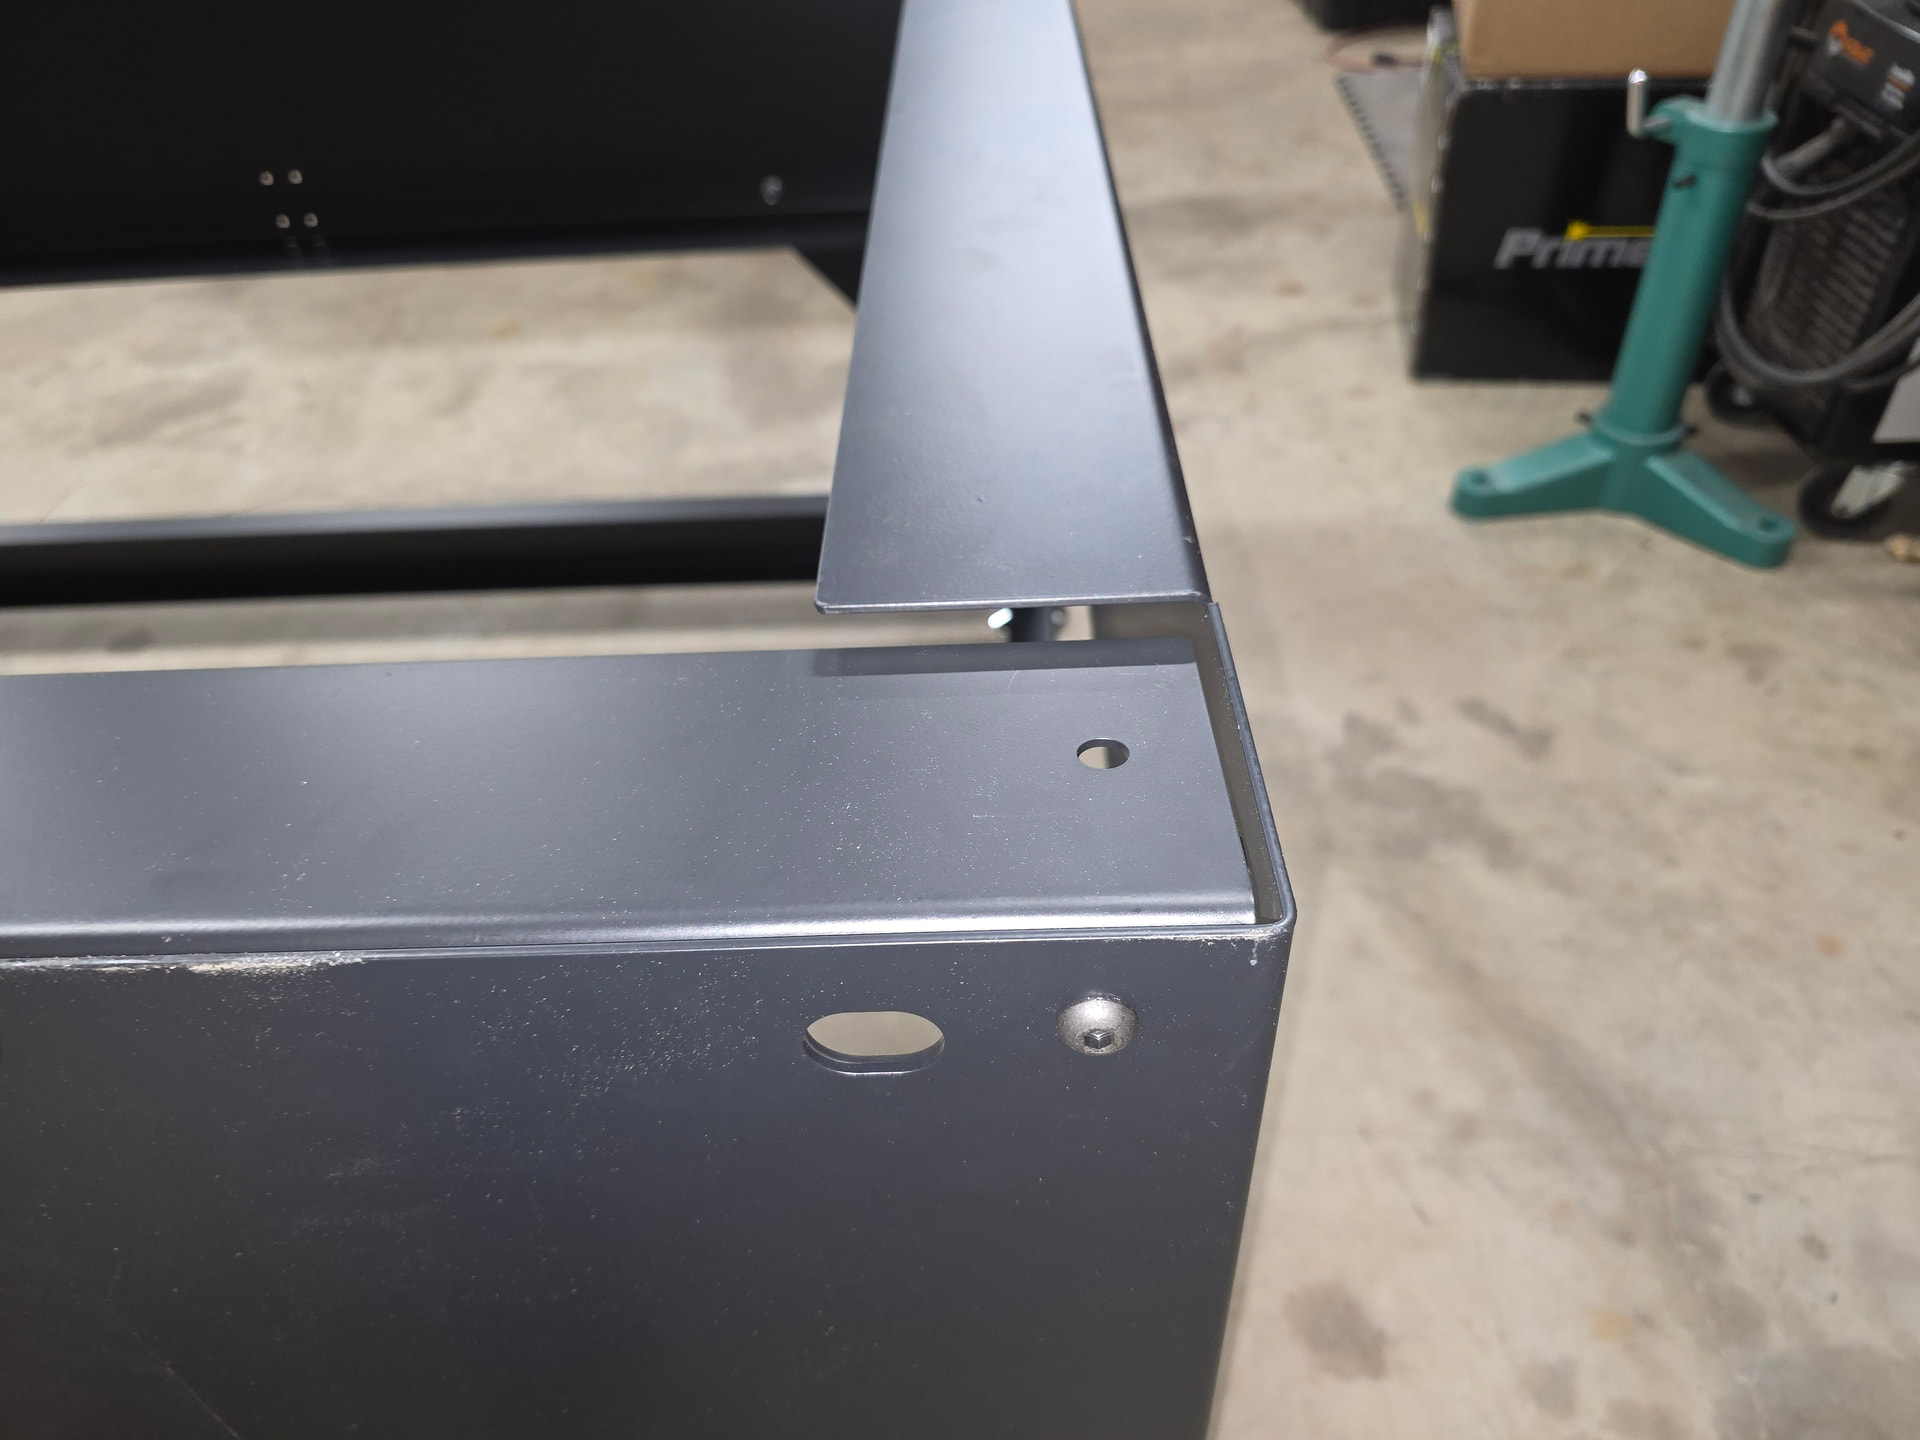
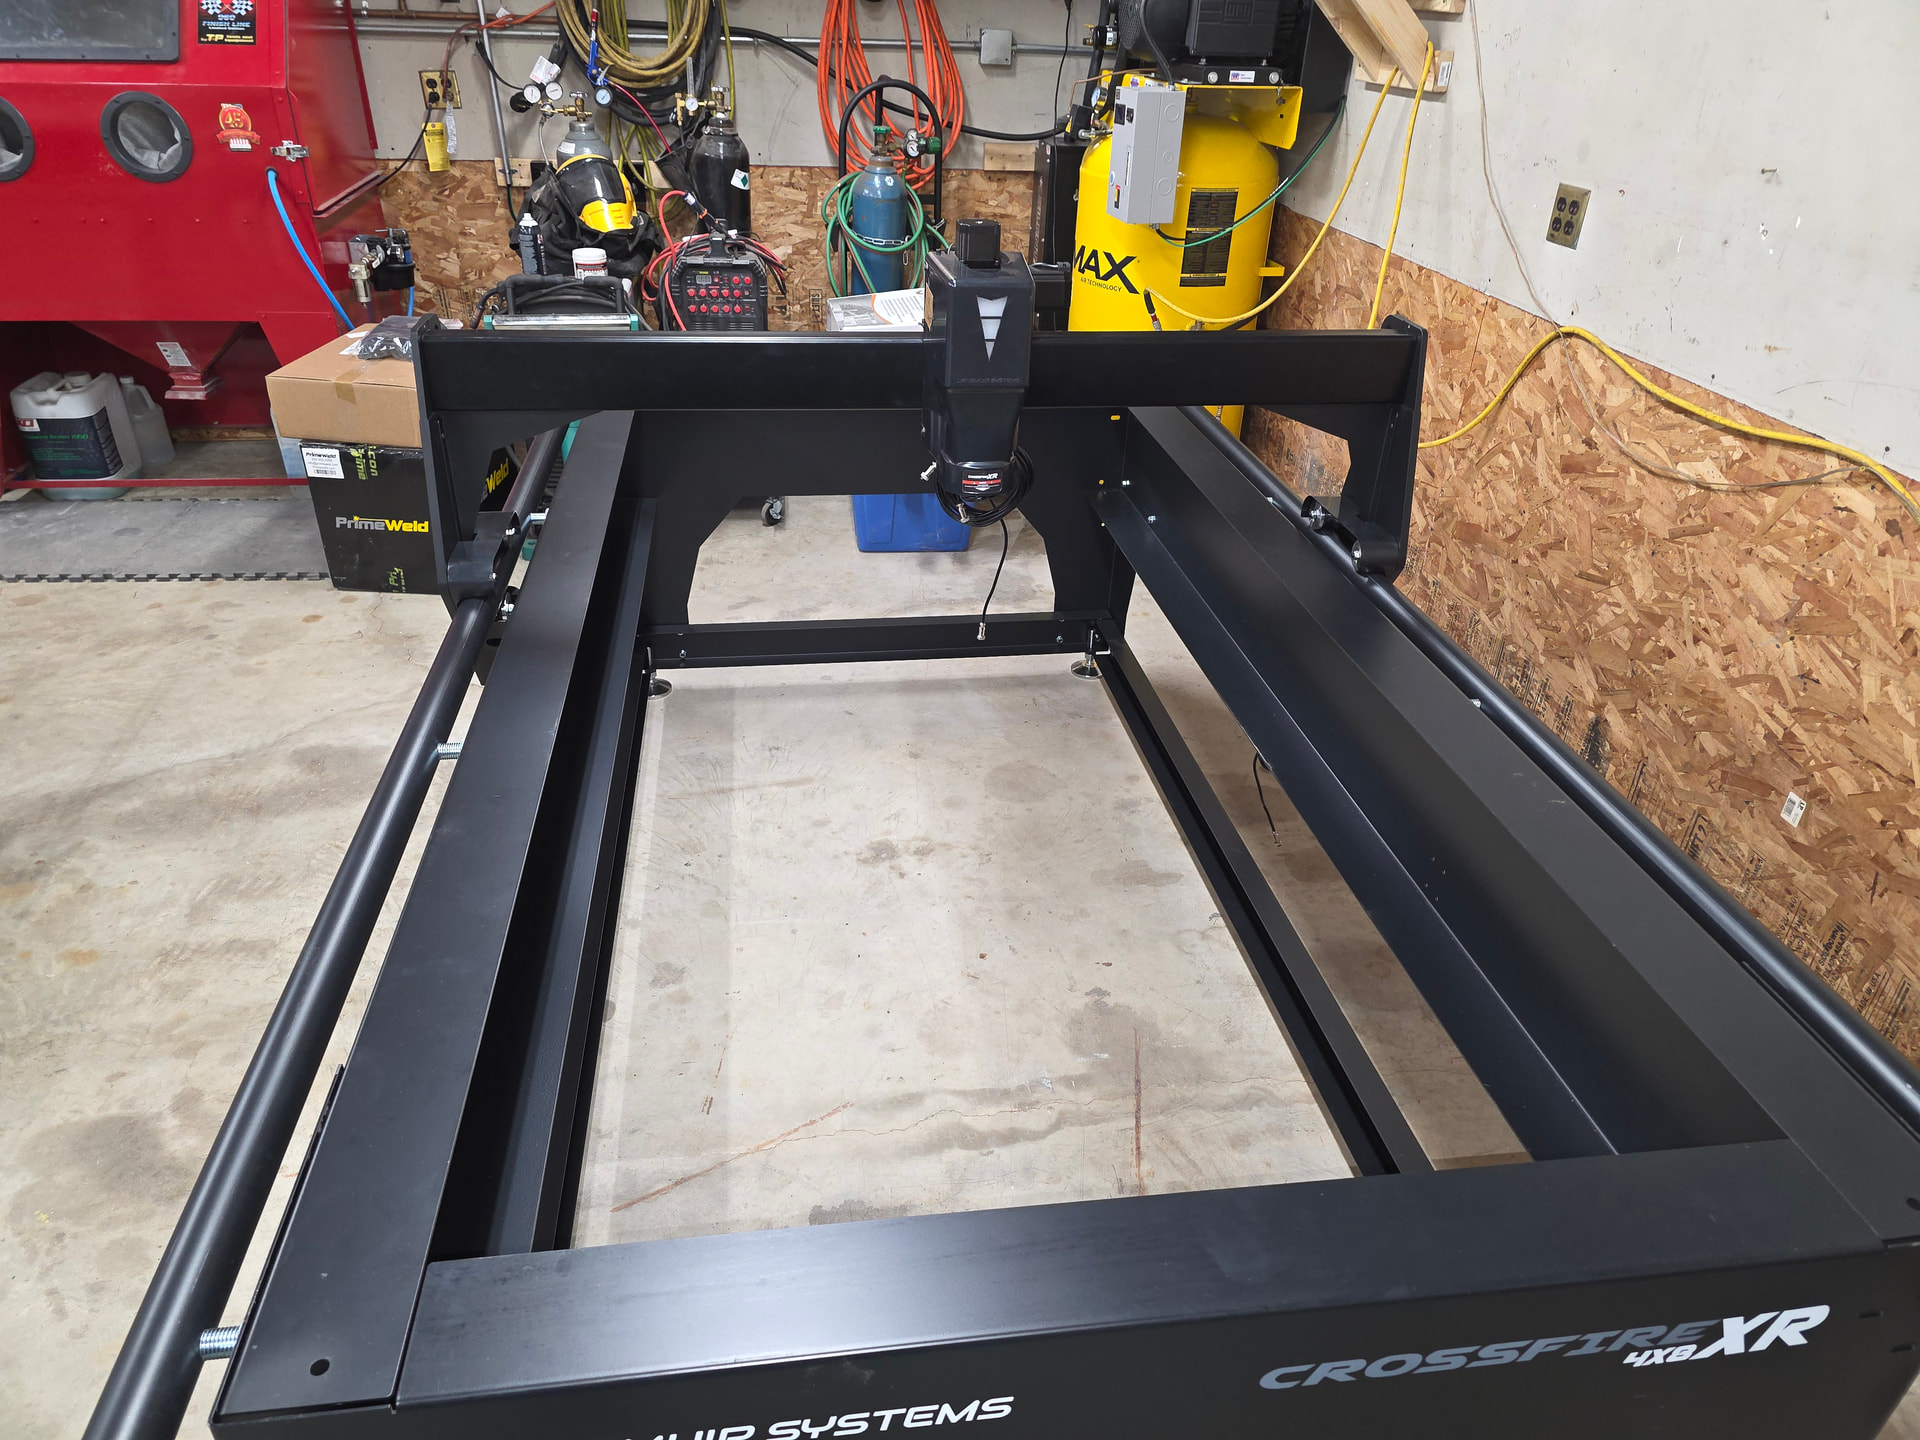
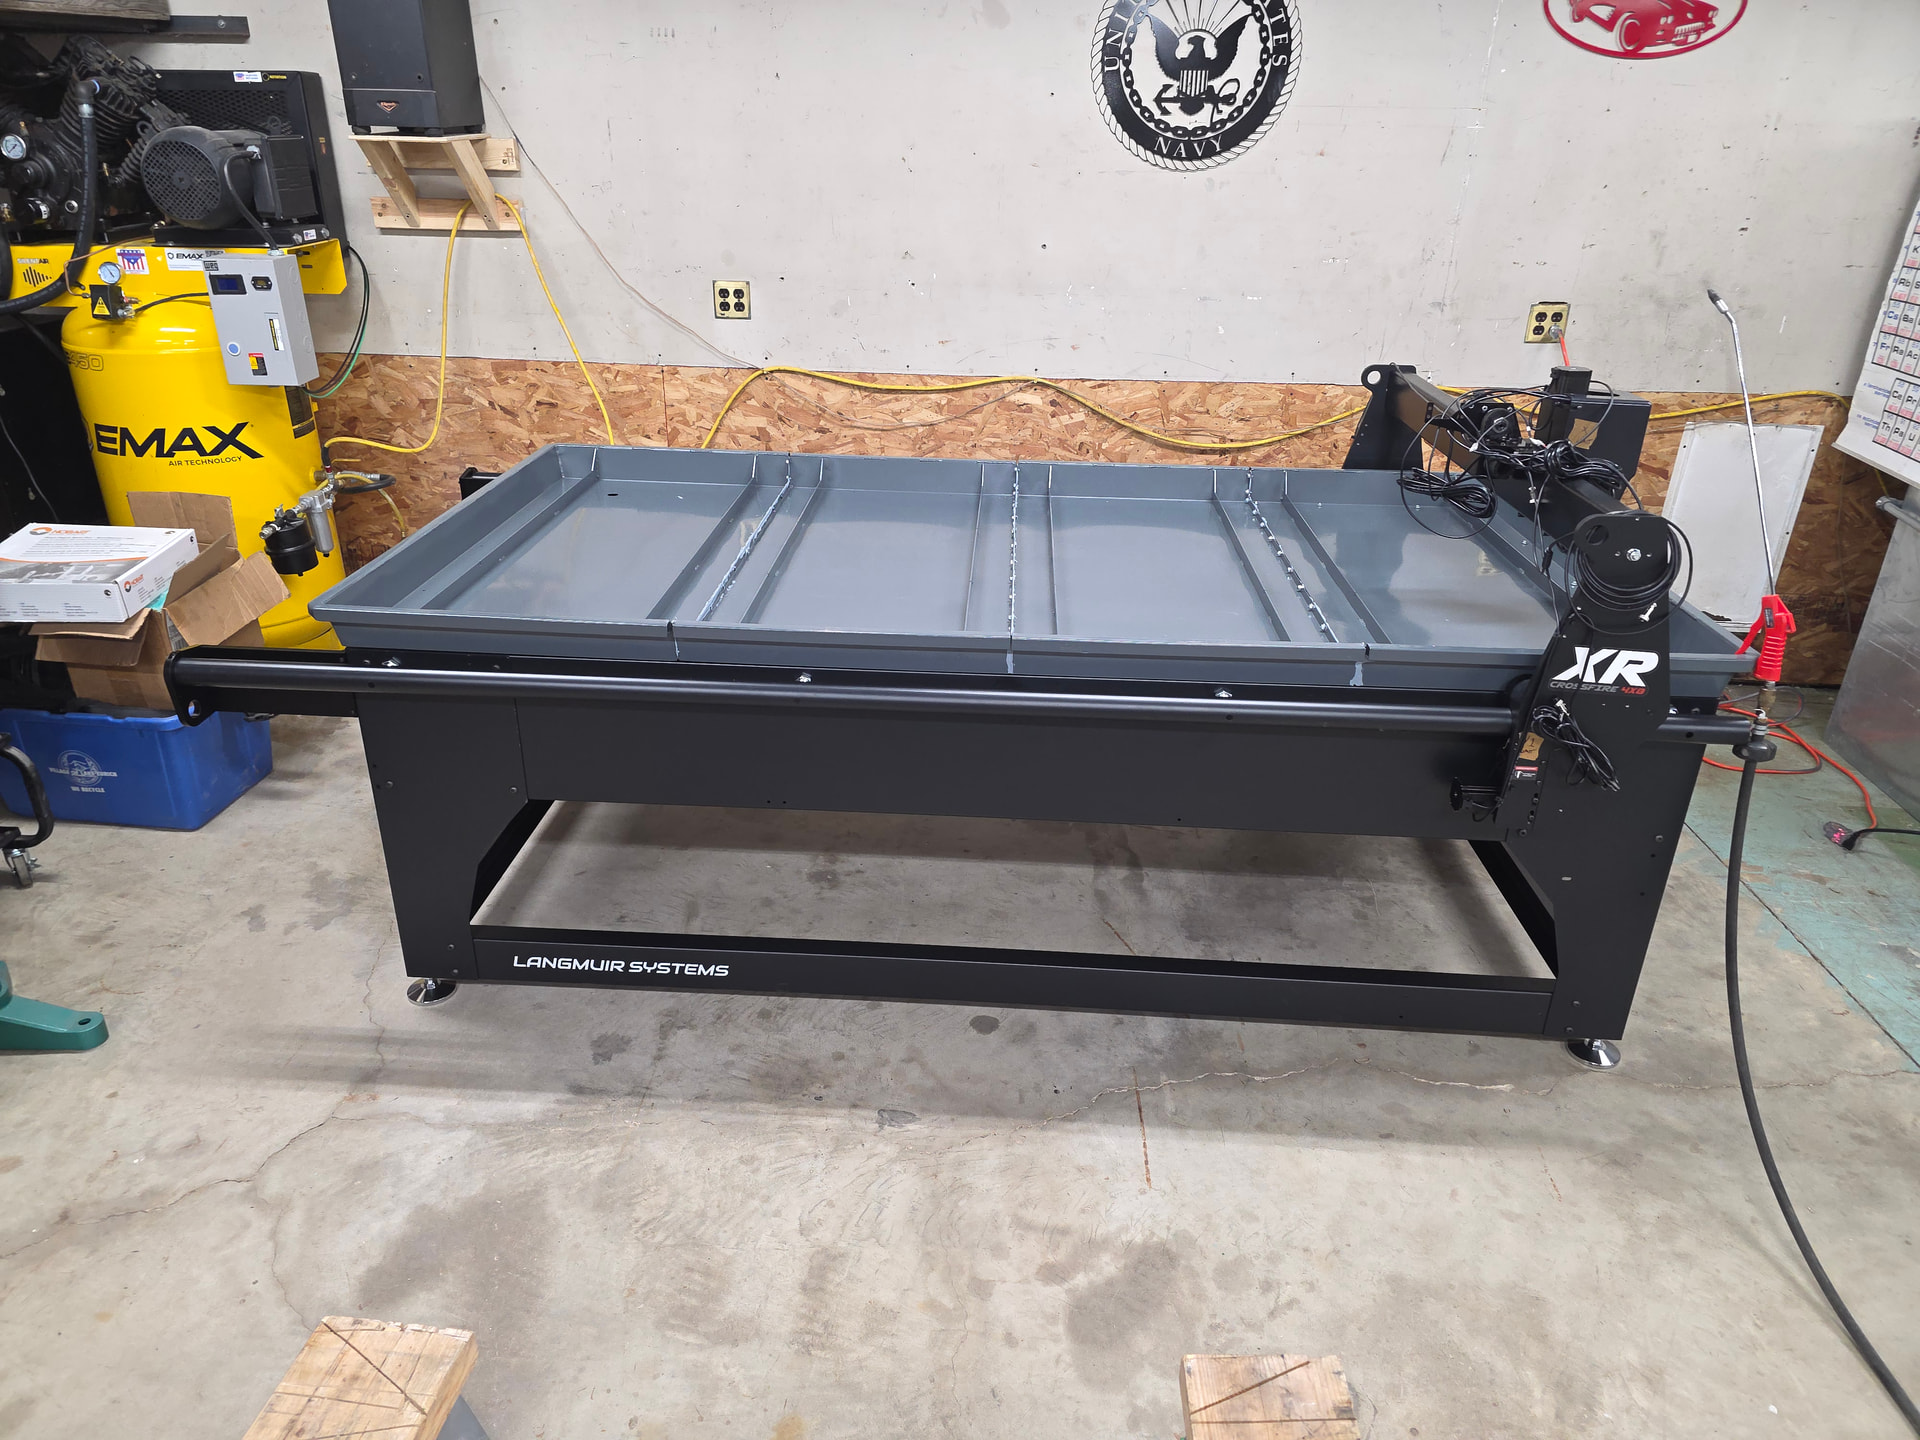
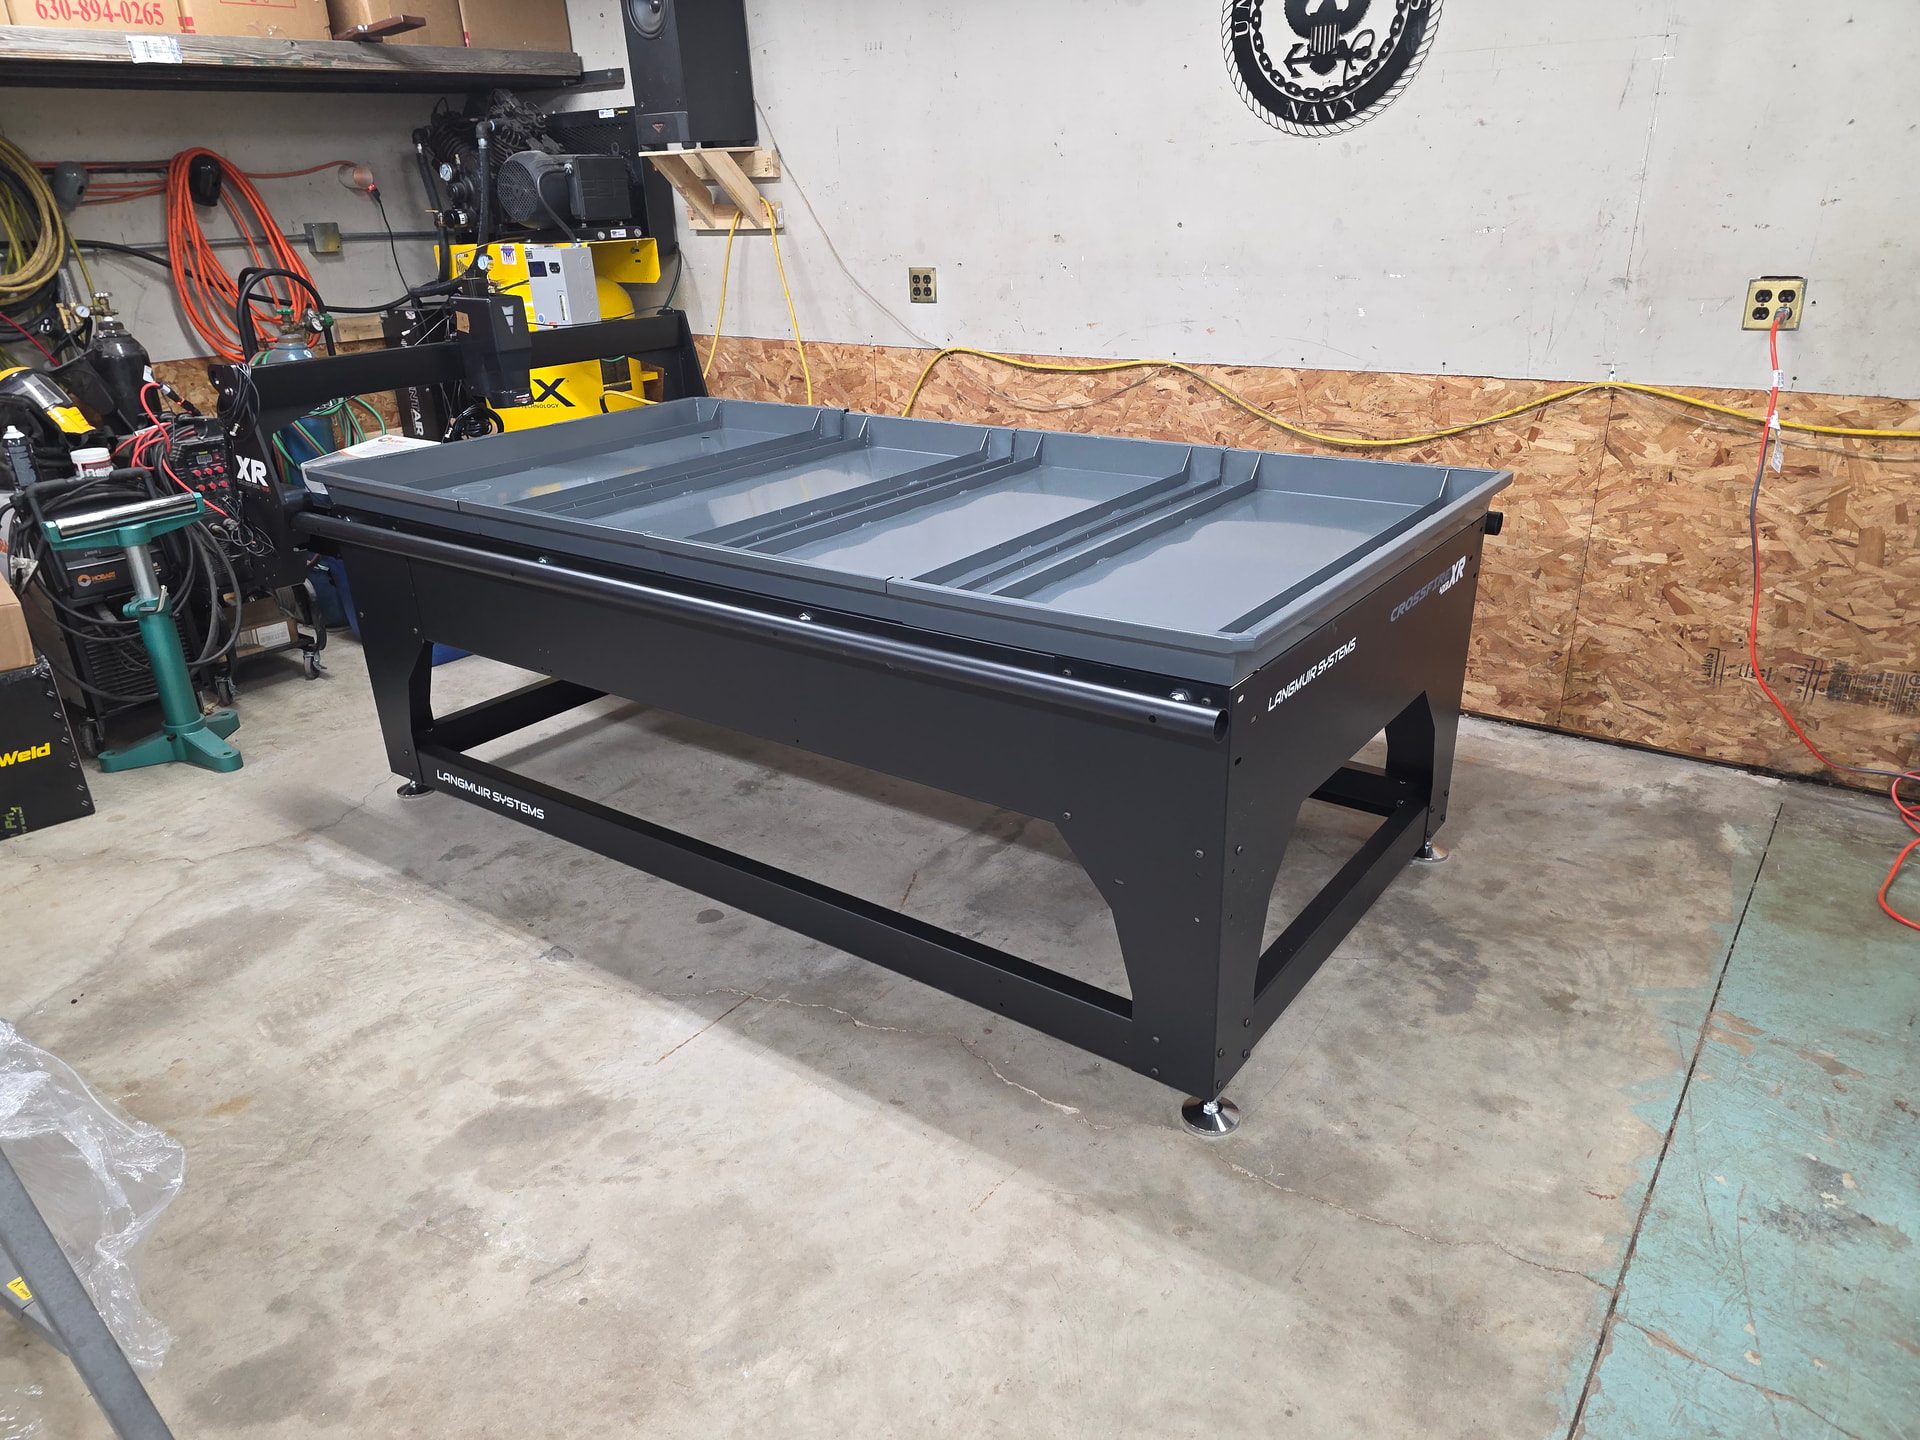
Got about 5 hours in today and it was pretty uneventful with a couple of exceptions, one of the longitudinal upper brackets the big 8 footer was slightly bent but I think it will be okay. The water tray is going to probably have to be shimmed slightly. Anyhow, here are a few pics from today.
In the following pic you can see the bend I’m talking about in the top of the longitudinal brace, I tried bending it back with a couple large adjustable wrenches with little success.
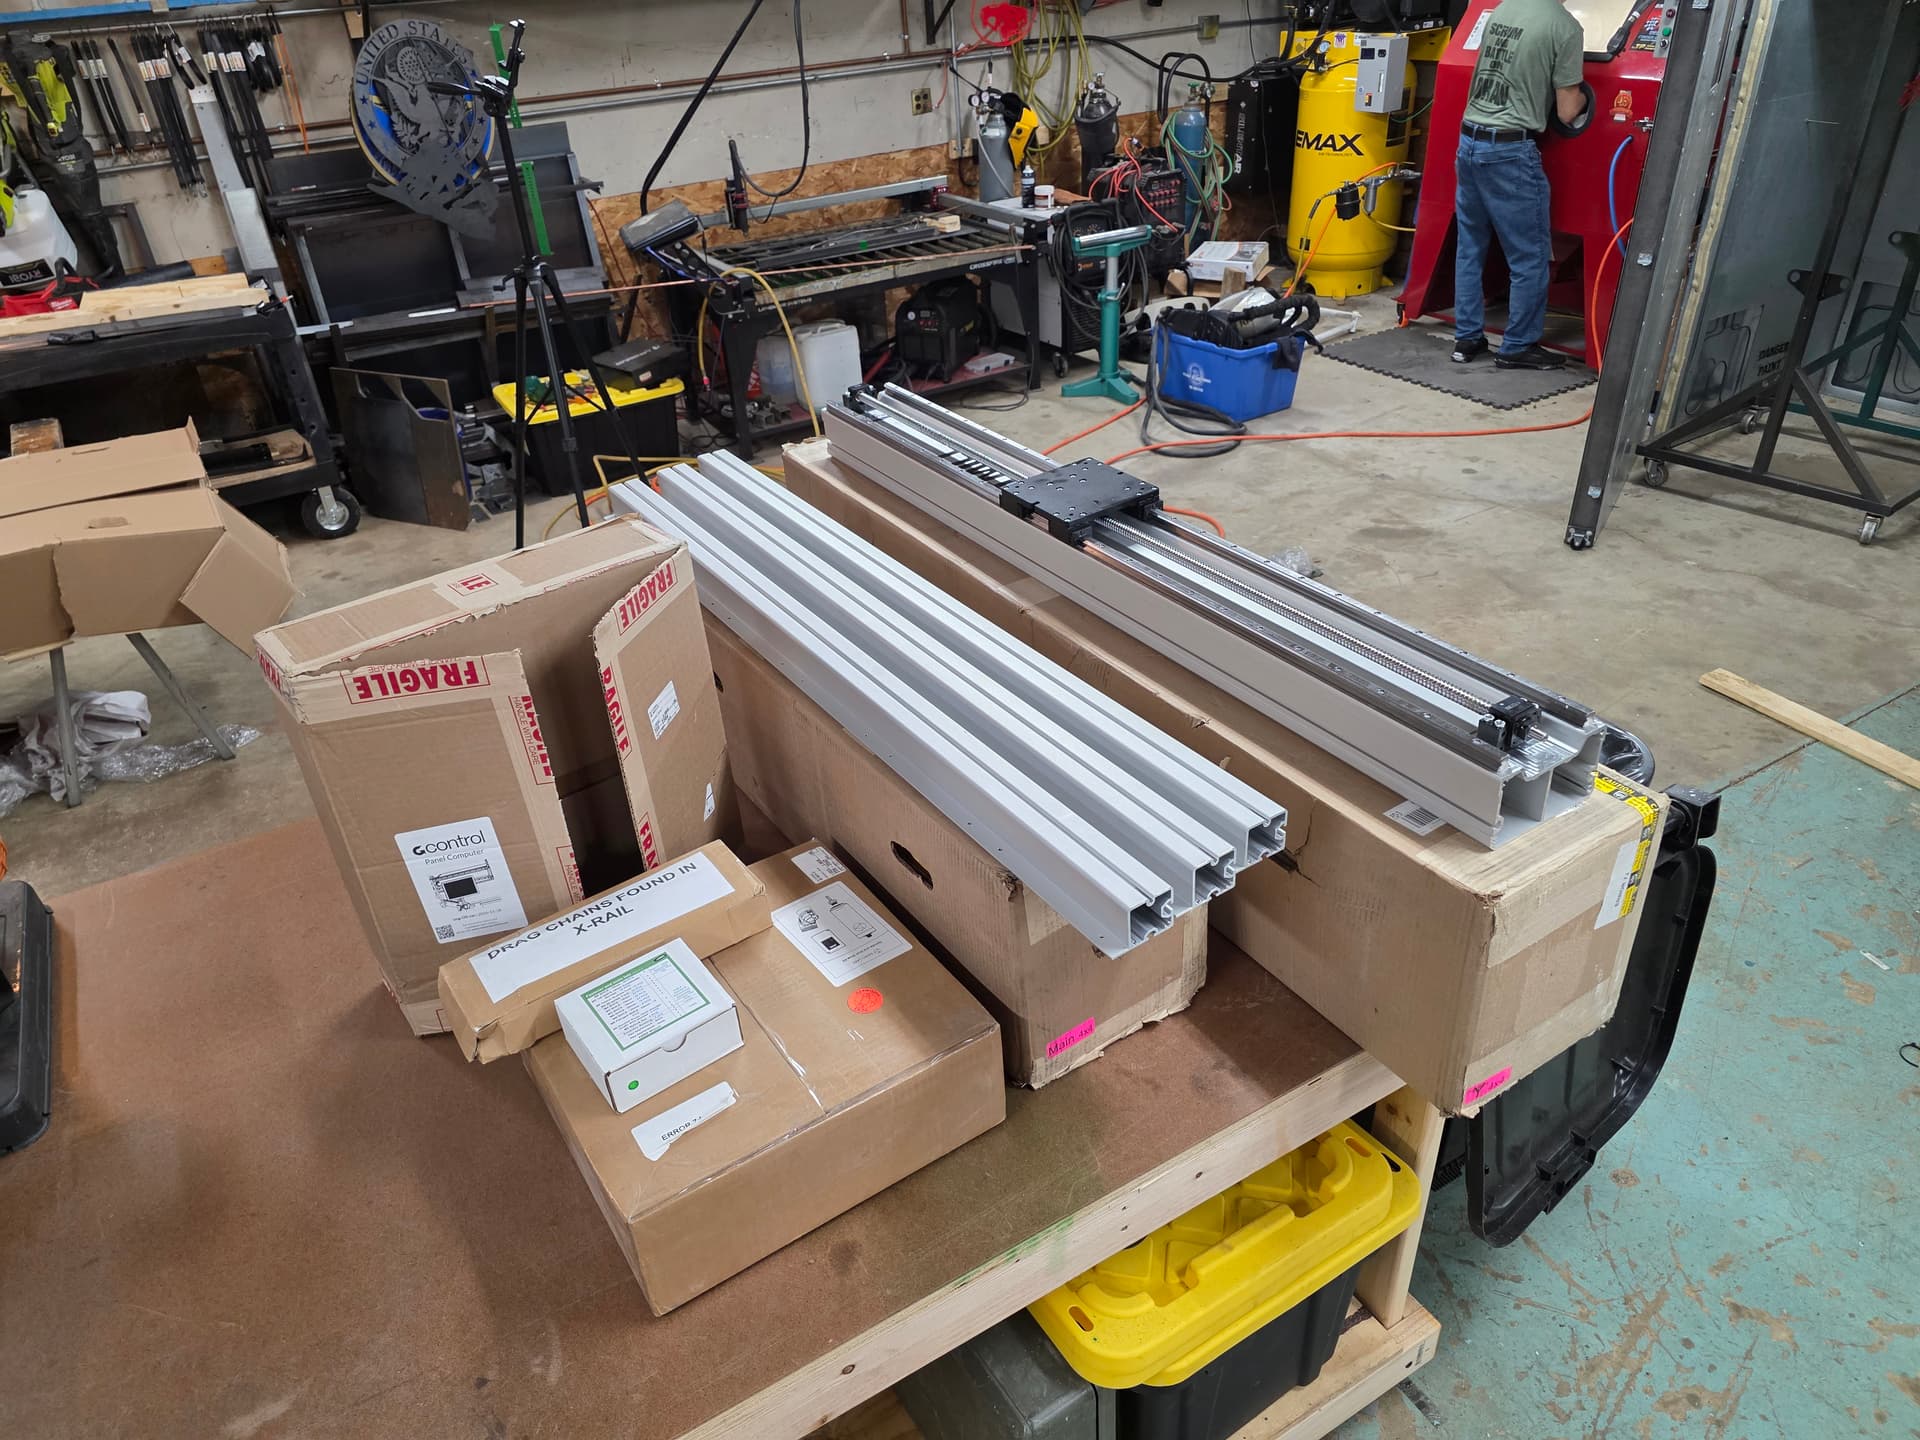
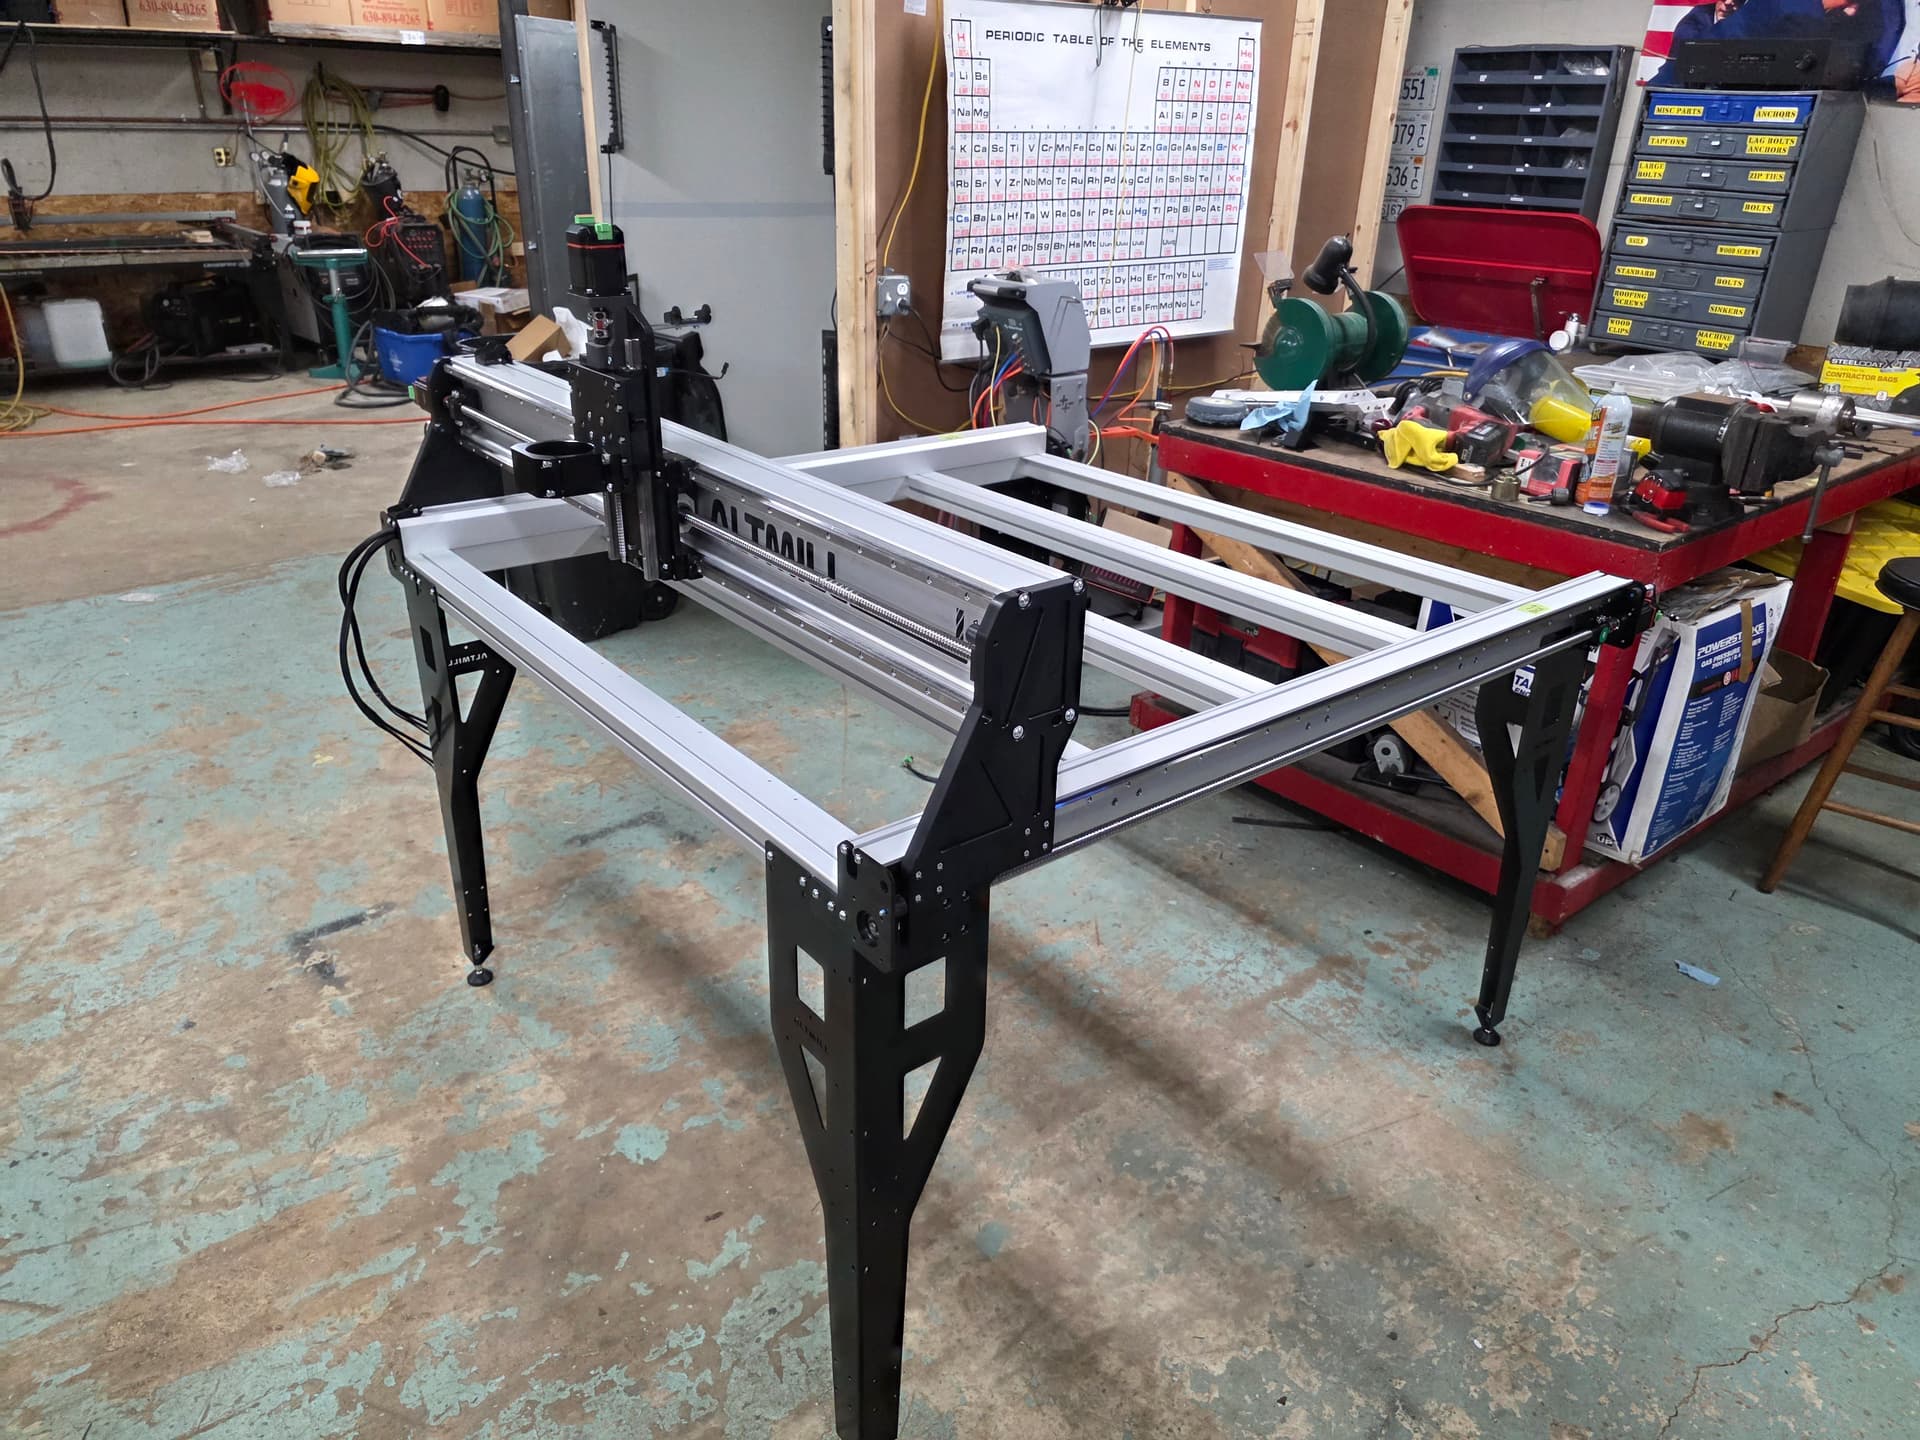
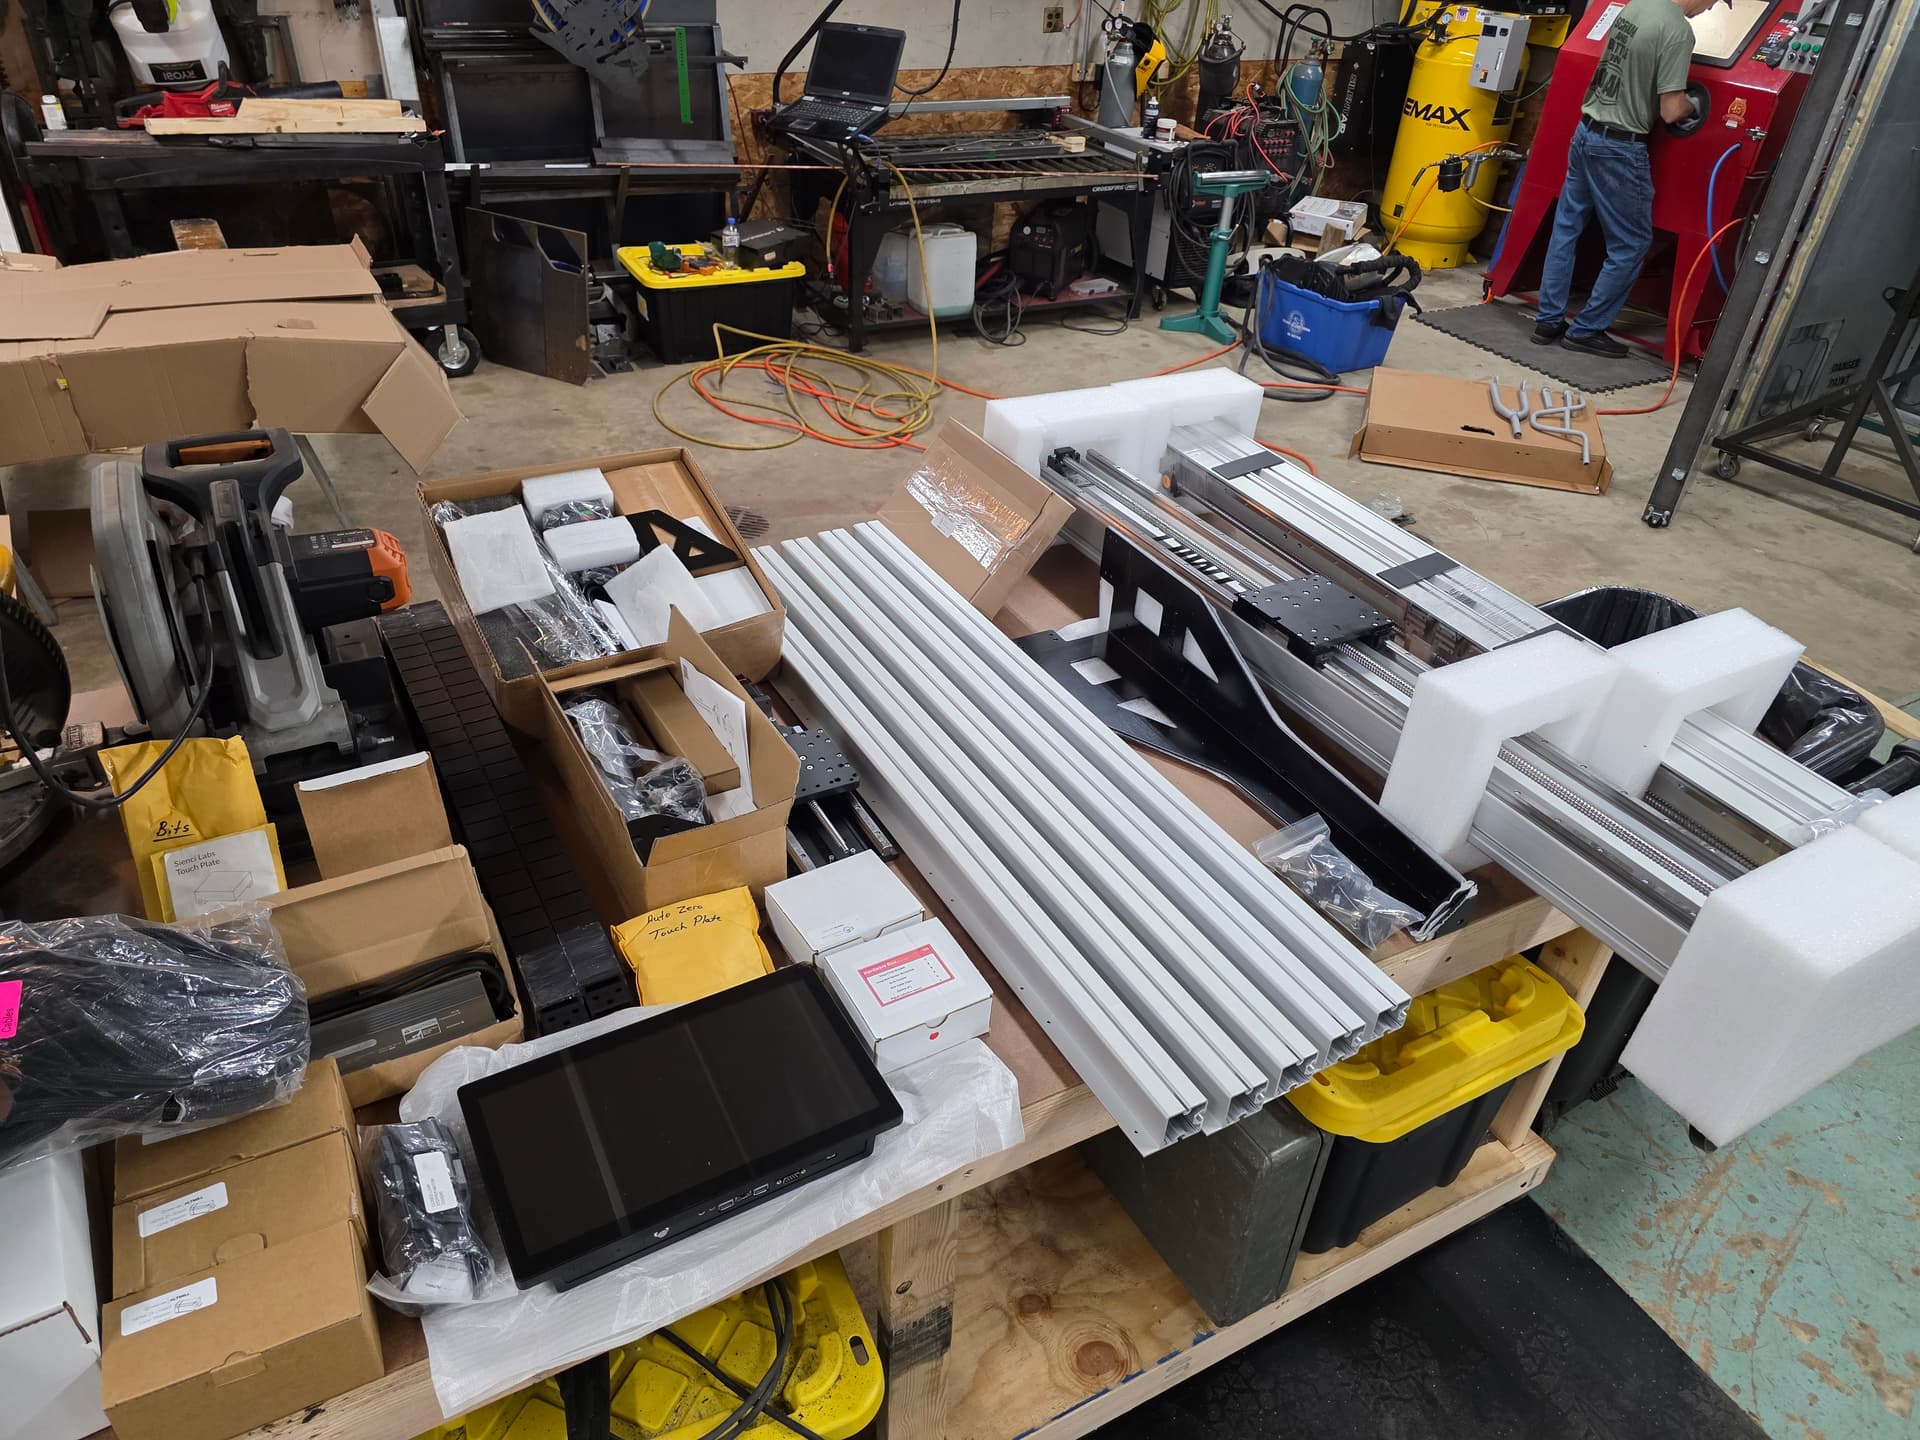
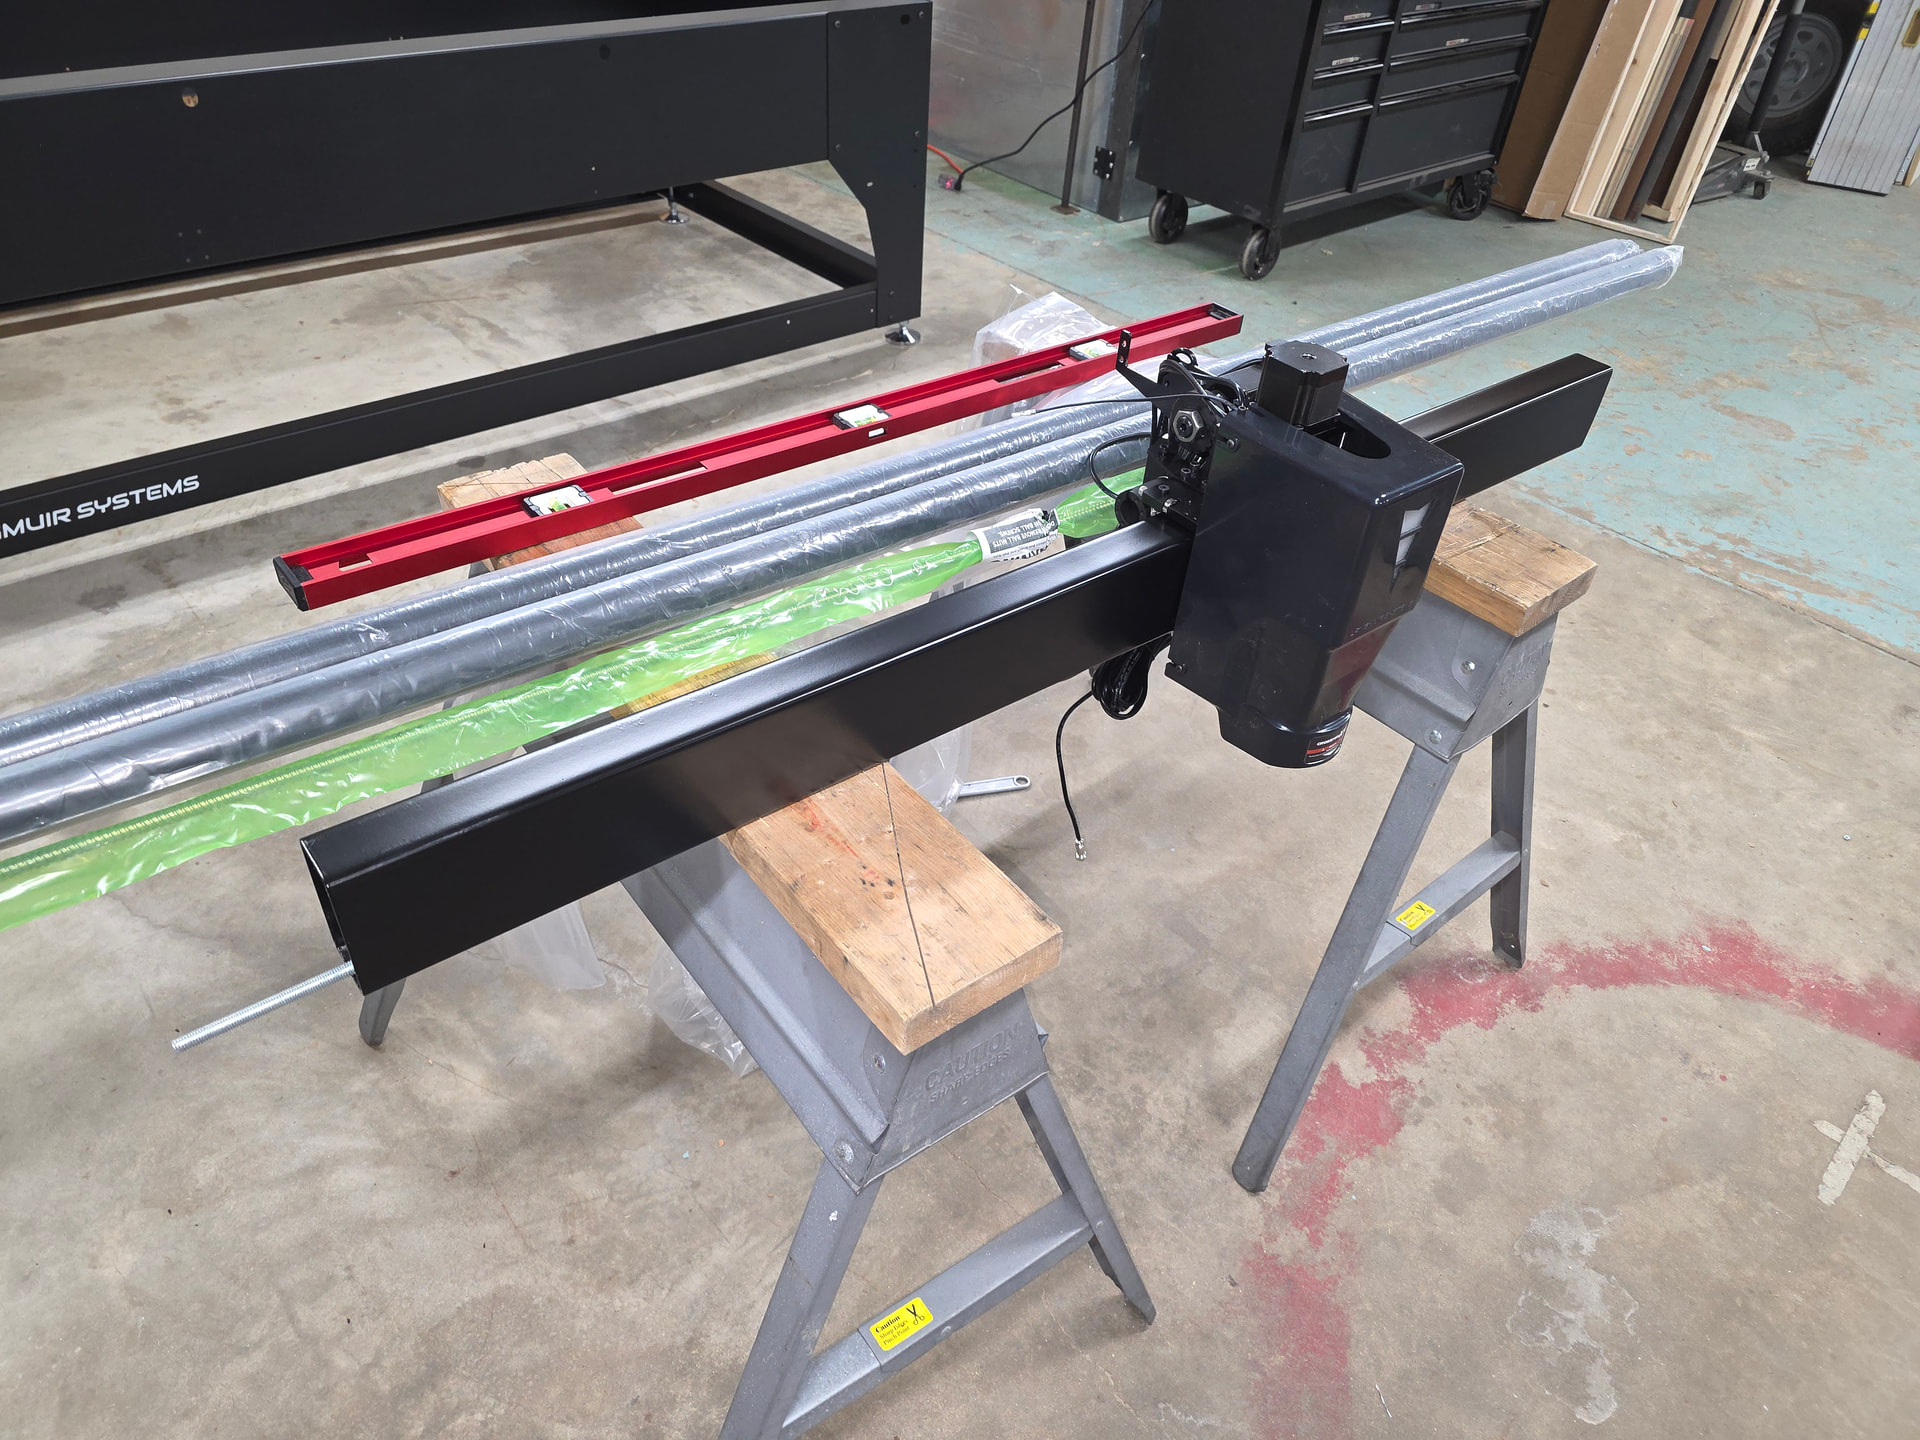
Everything laid out for the build, frame standing
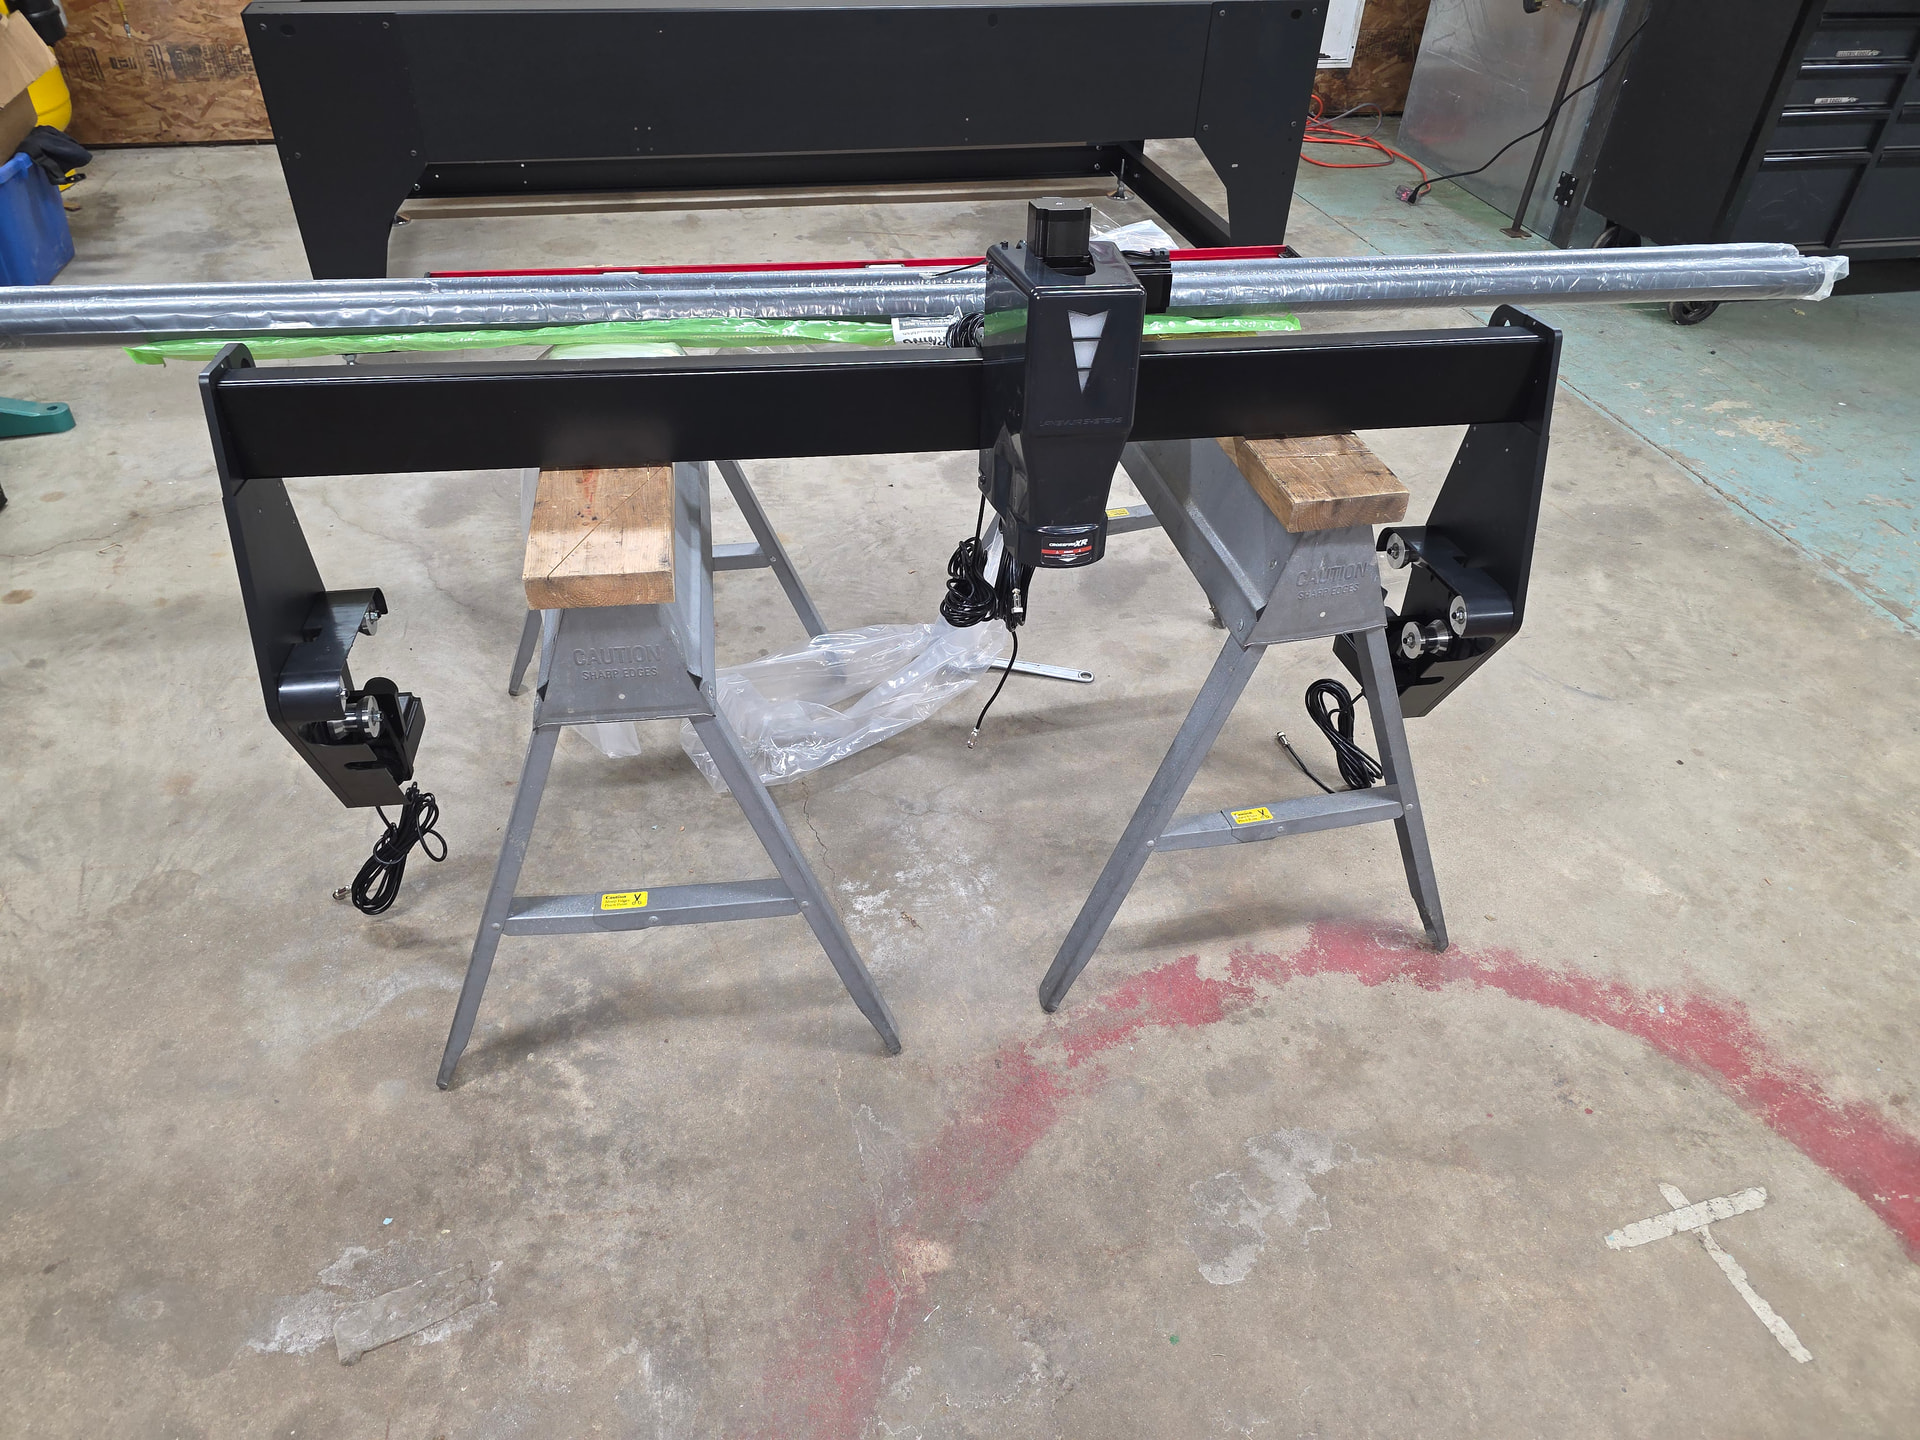
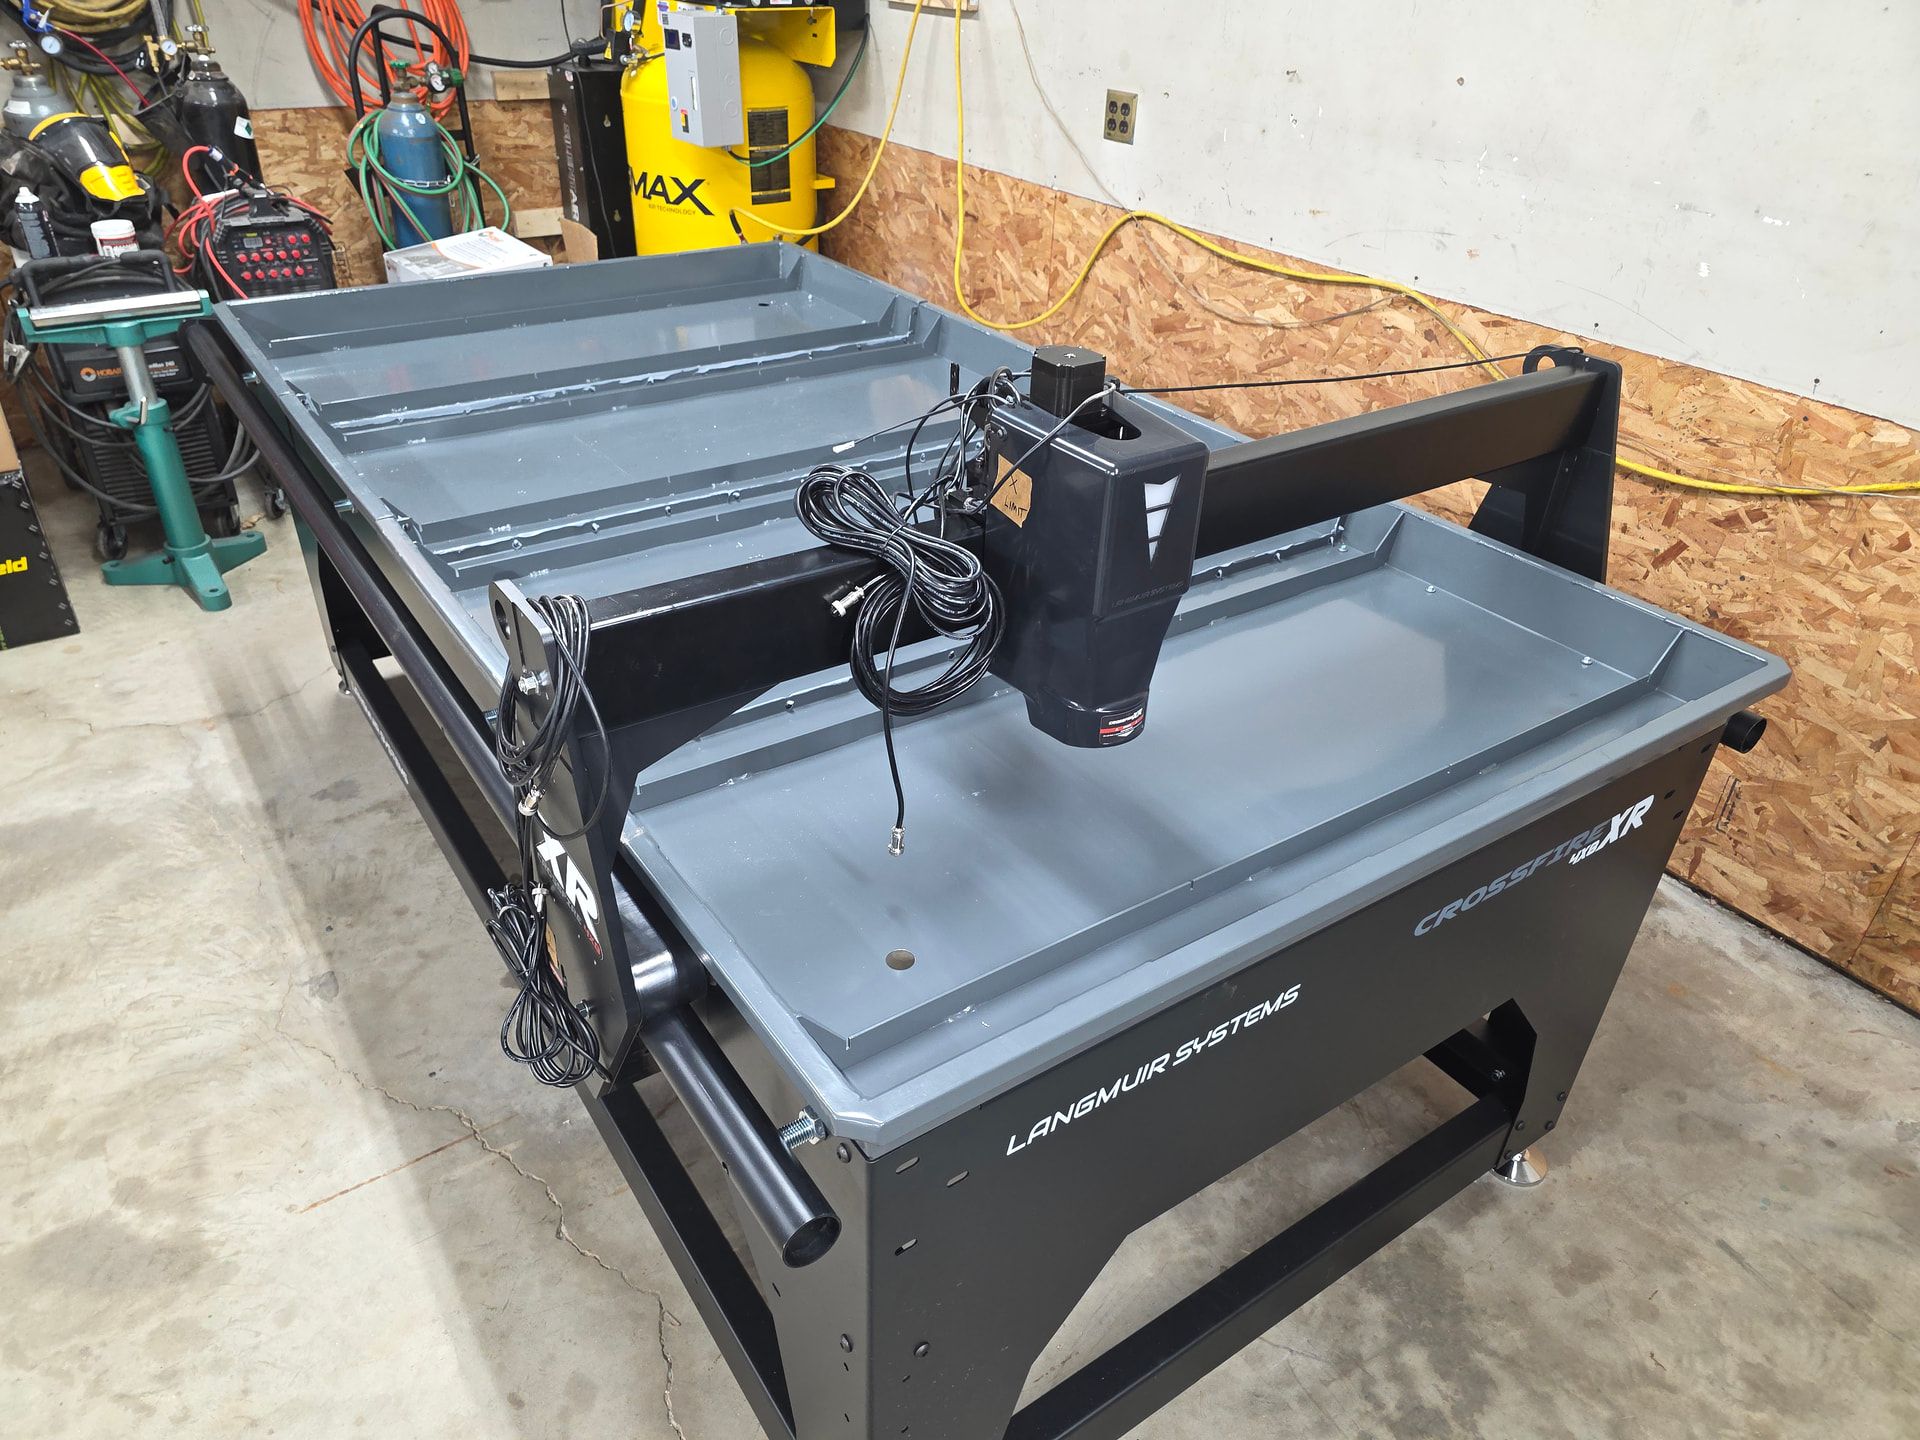
Assembling the Gantry
Y rails adjusted and gantry mounted
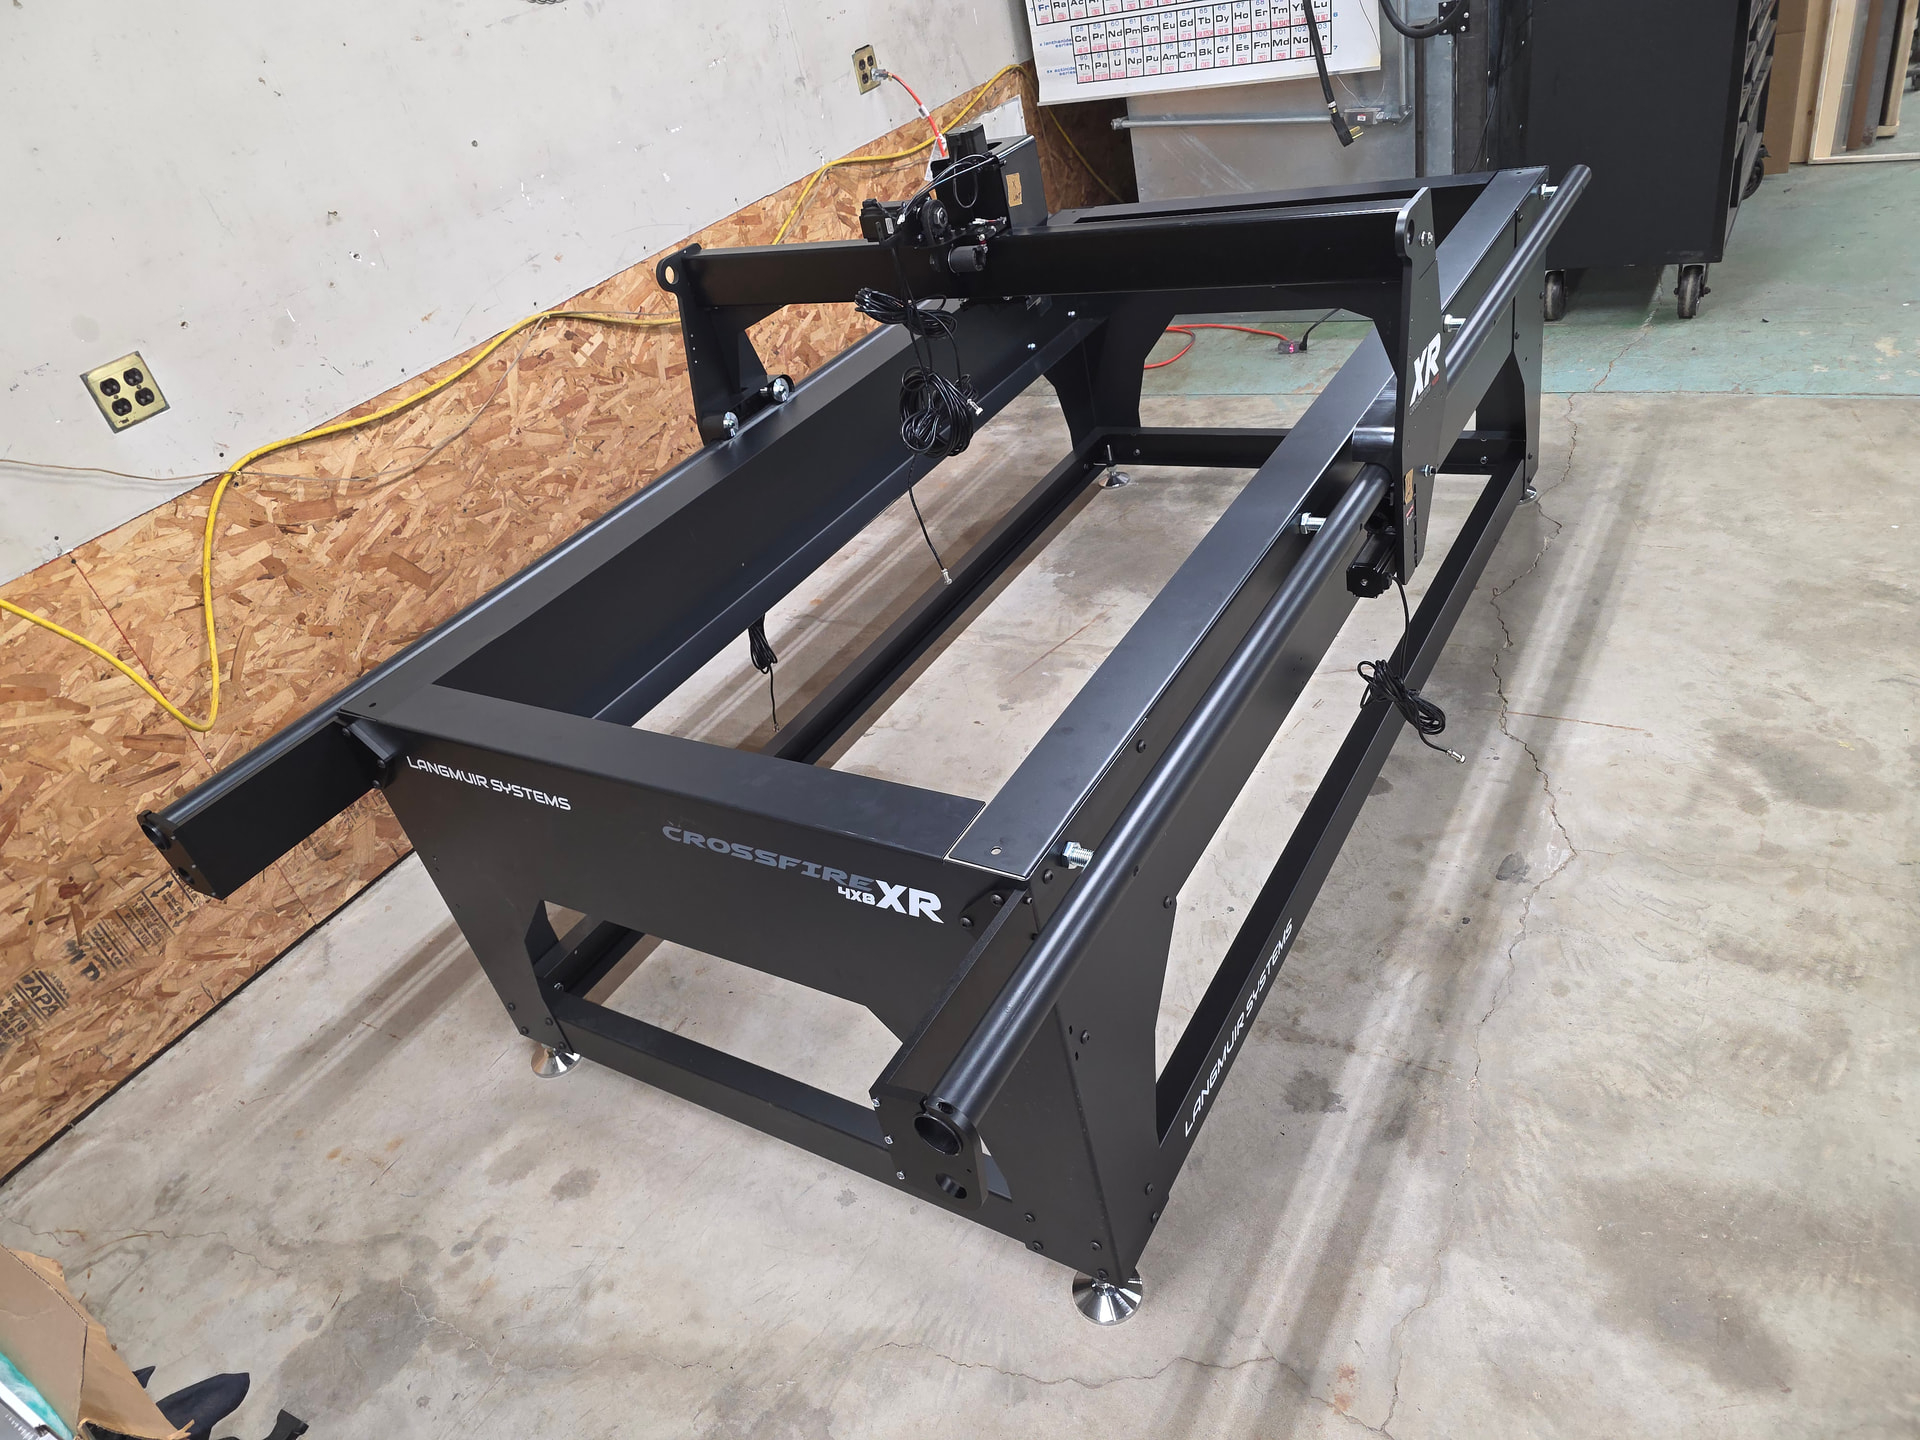
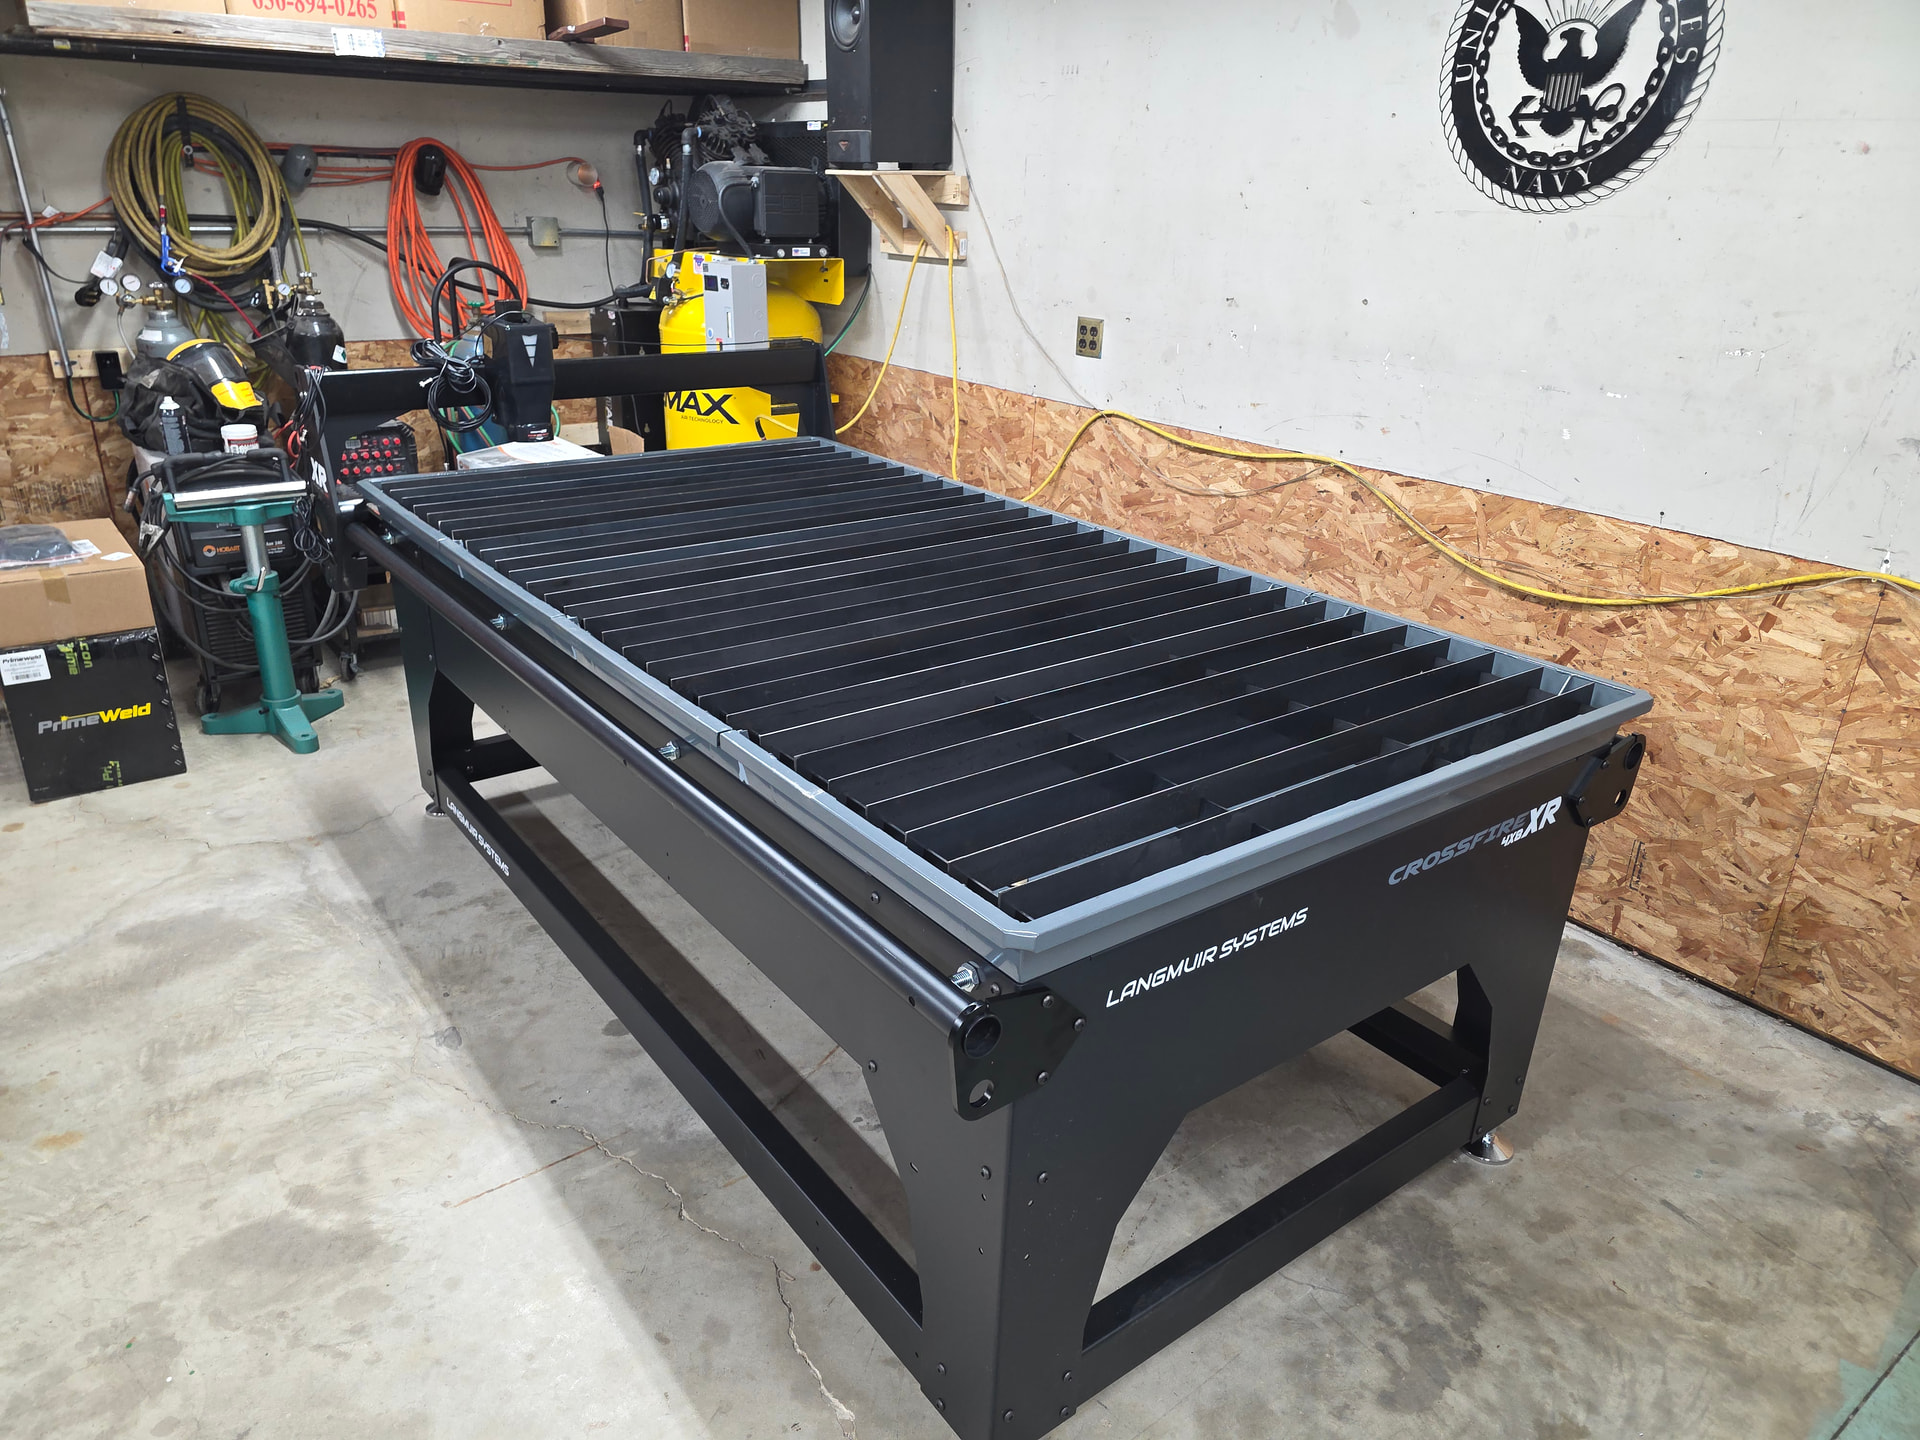
Gantry gussets installed, this is where I left off for the day.
Really happy with how beefy this table is and how good the packaging and instructions are. Routing the limit switch cable is first up tomorrow, probably won’t finish tomorrow but hoping to get the water tables mounted by the end of the day. If I get that far it should be operational Monday or Tuesday.
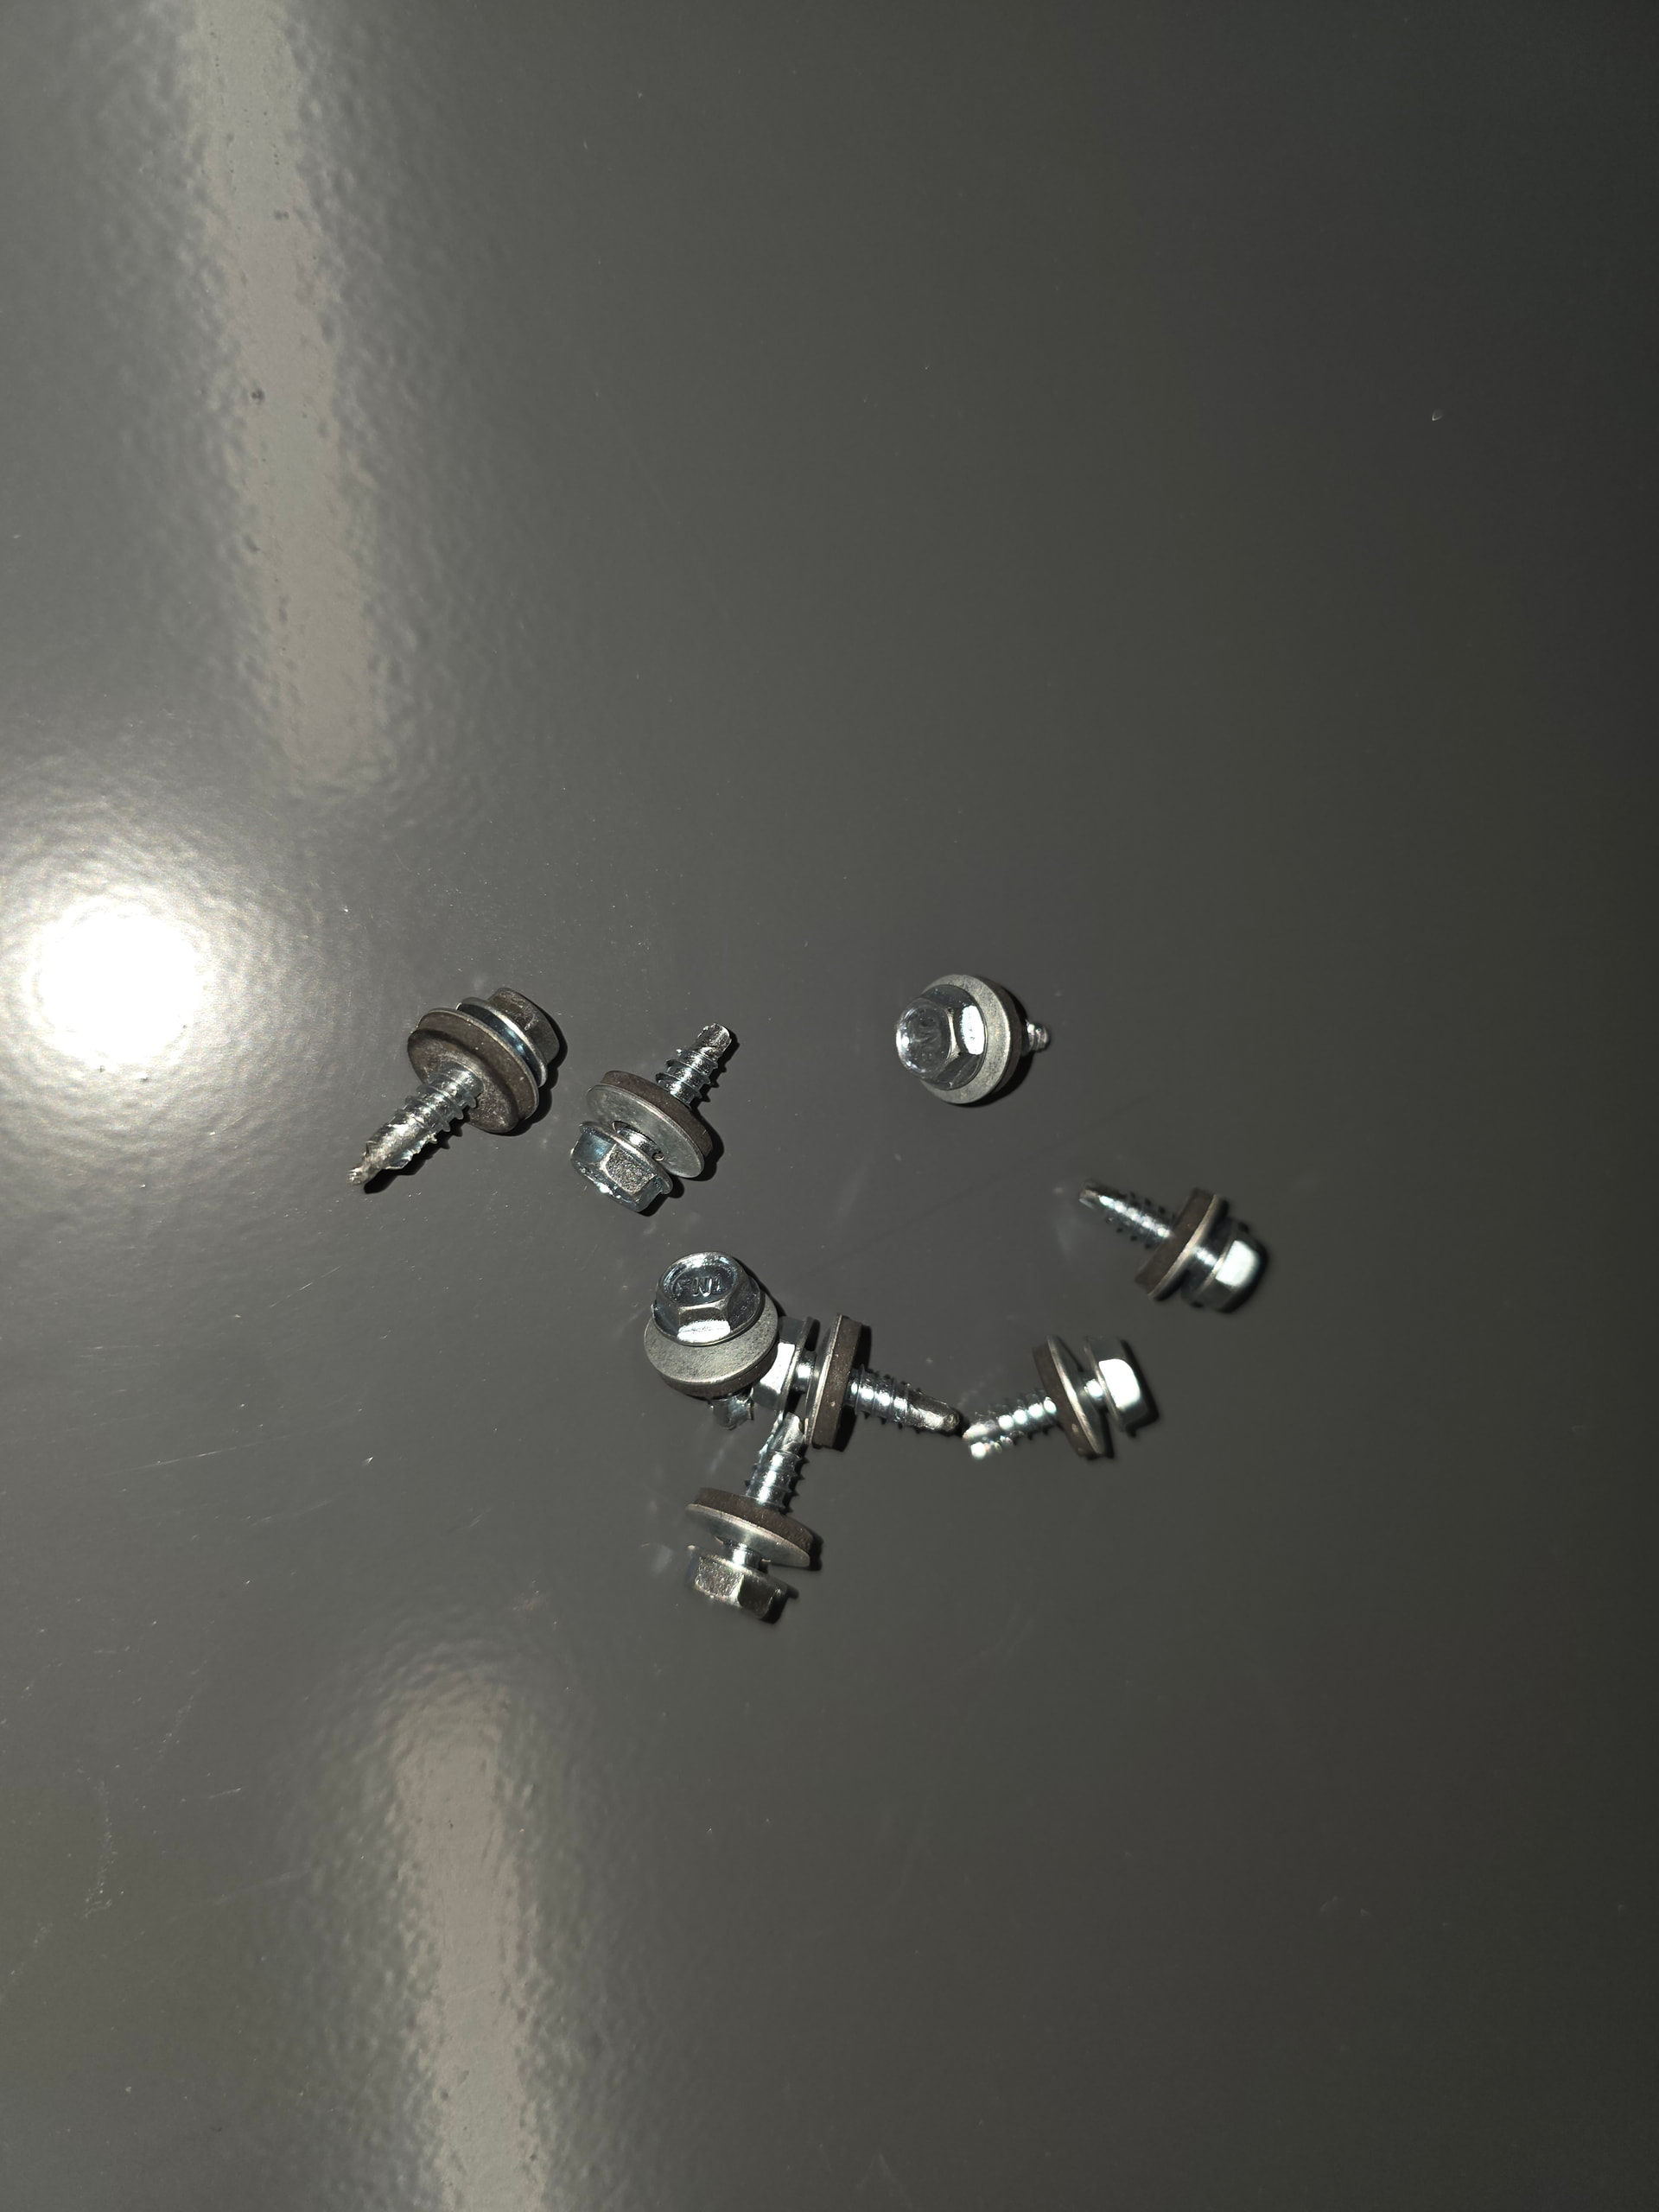
Day 2 update. First of all and I can’t say this with enough emphasis, I HATE SELF TAPPING SCREWS. Second of all, finished the water table install and tomorrow I start on the Z axis.
Spring loaded center punch dialed up to 11 works perfect for knocking out the broken off self tapping/snapping screws.
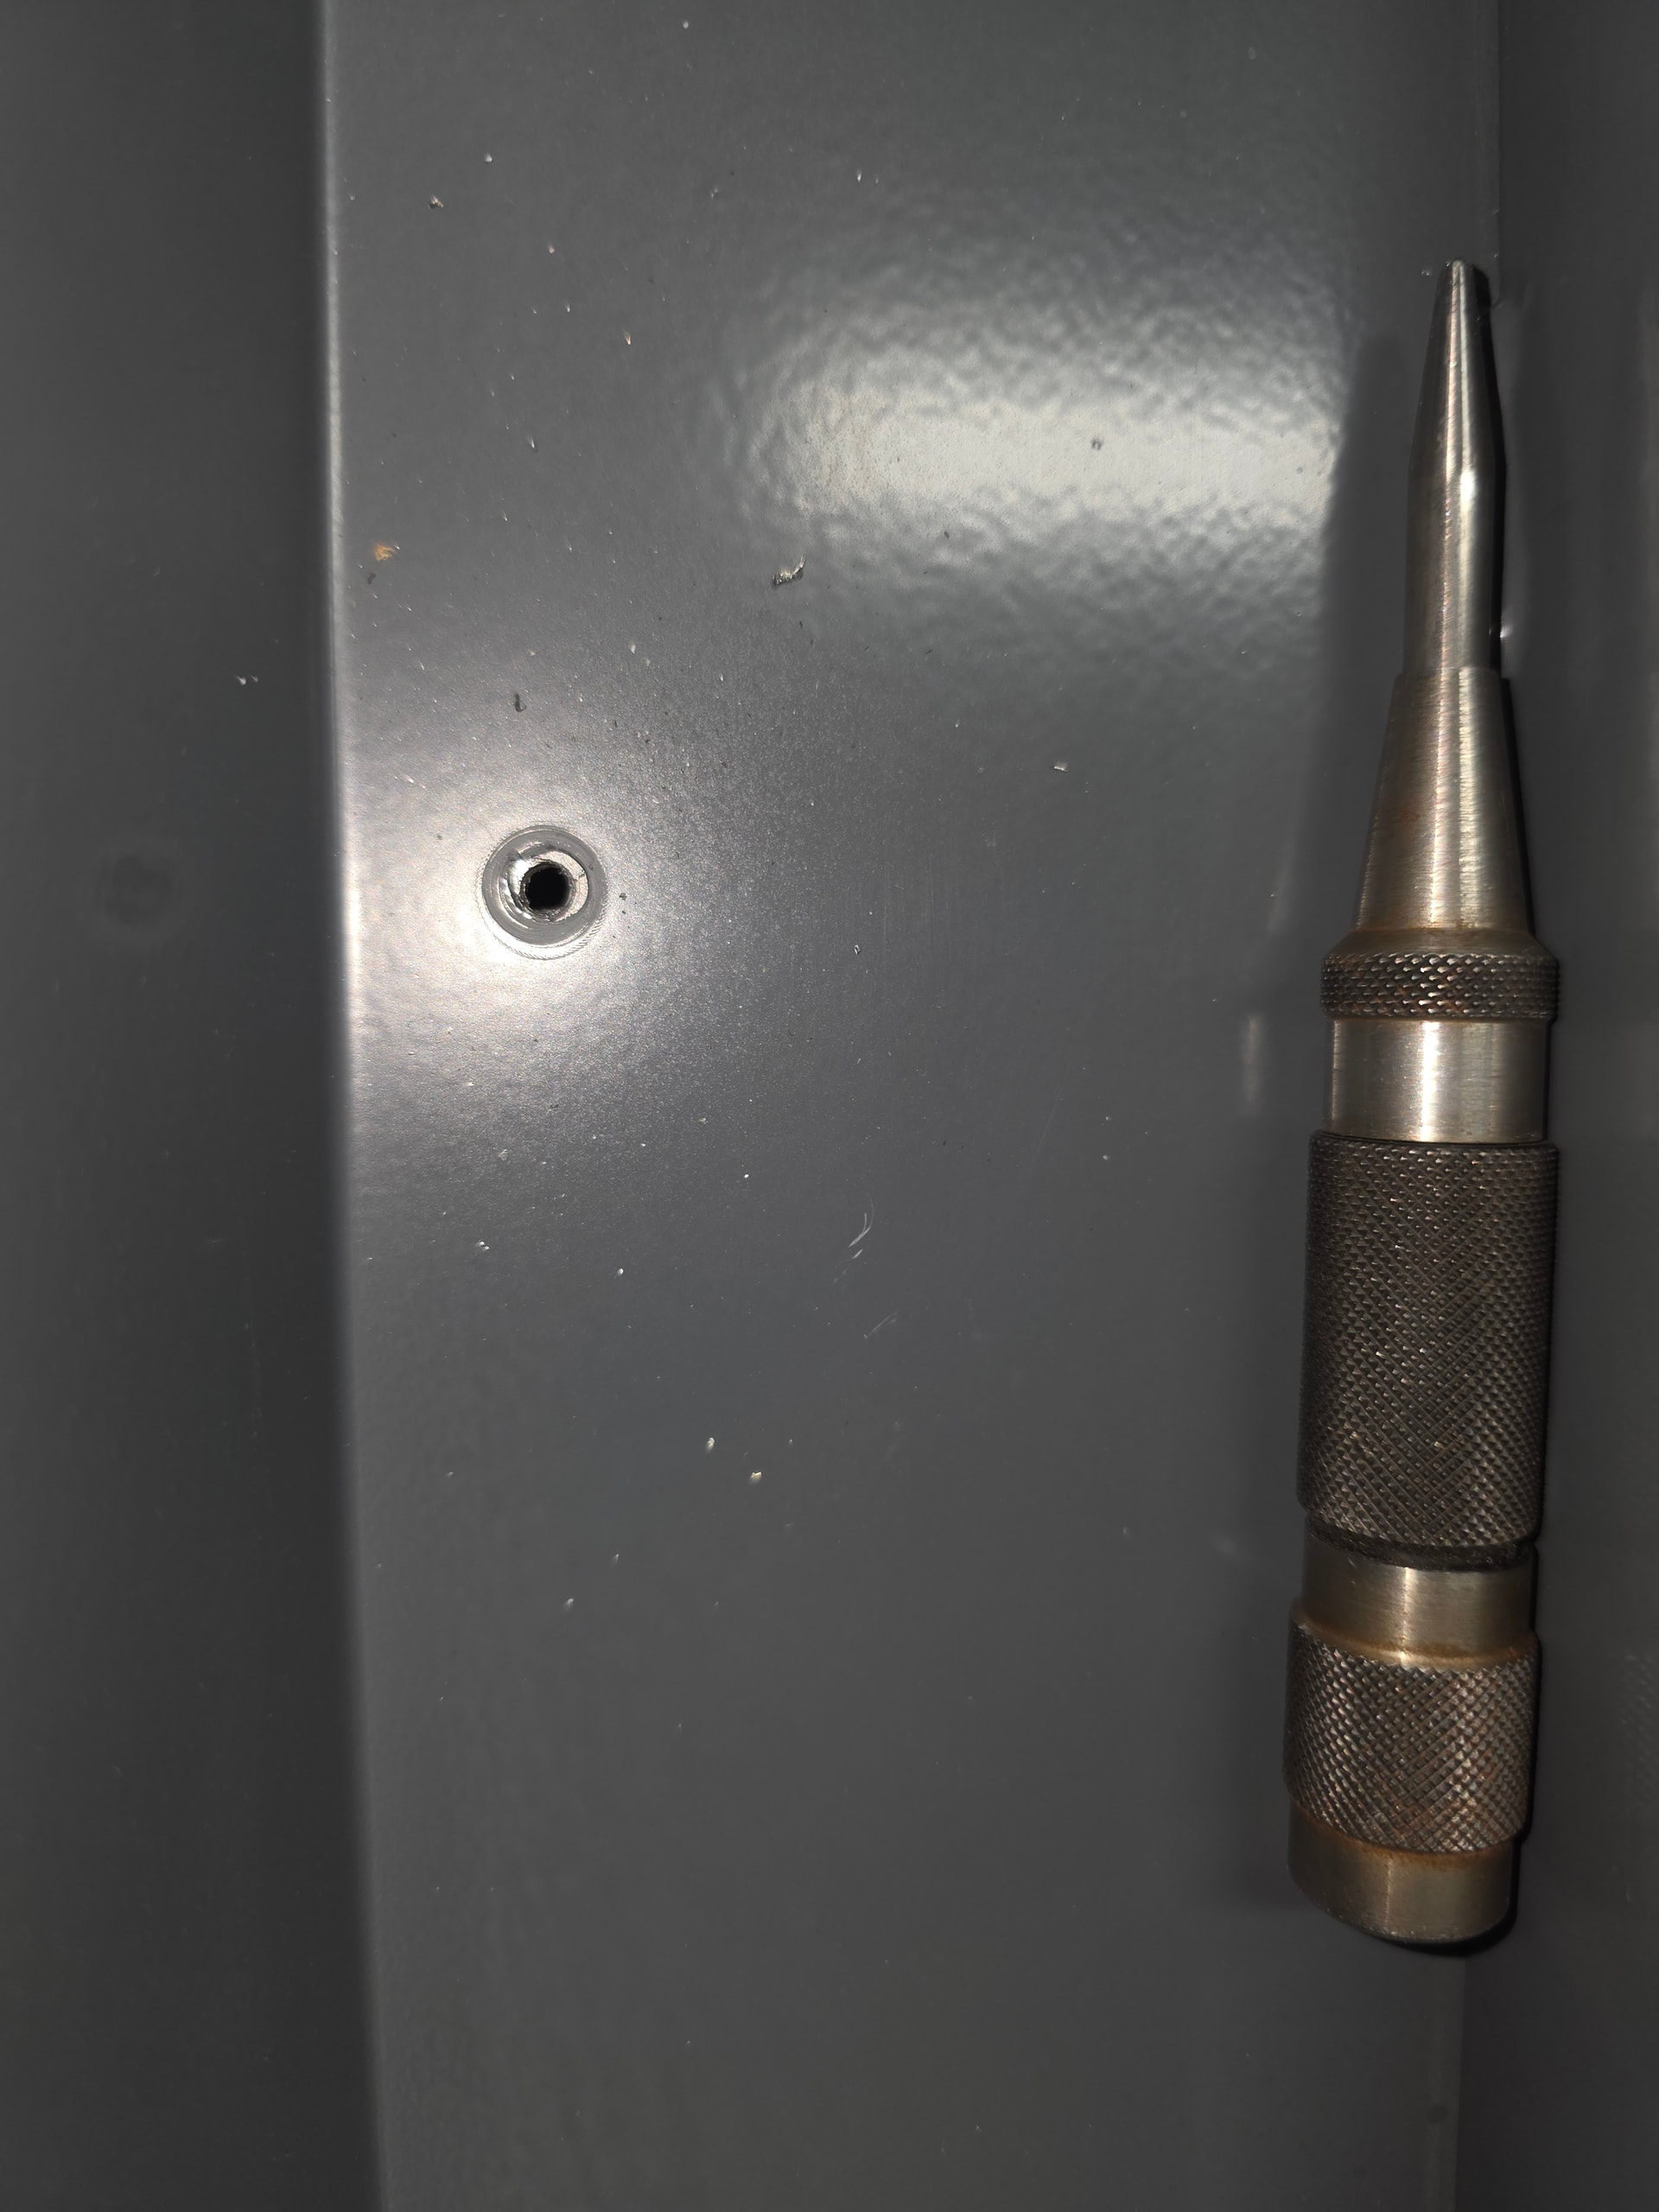
That’s right, 8 of these devils screws broke on install.
I’ll pick up with the Z axis install tomorrow after work. Anyone who is going to build one of these, my advice is to use a 5/32 drill bit and drill out the holes for the self tapping screws. You won’t snap any if you do this.
What kind a drill were you driving the screws with? An impact driver is the wrong tool for self tapping screws. Use a standard drill .
I do believe I was actually using an impact driver. I still hate self tapping screws. Just drill out the holes, then you don’t even need to worry about all the metal shavings getting under your rubber washer.
good point. another issue would be over tightening and squishing the rubber out . It’s good to have your clutch settings dialed on a regular drill before sending these kind of screws home.
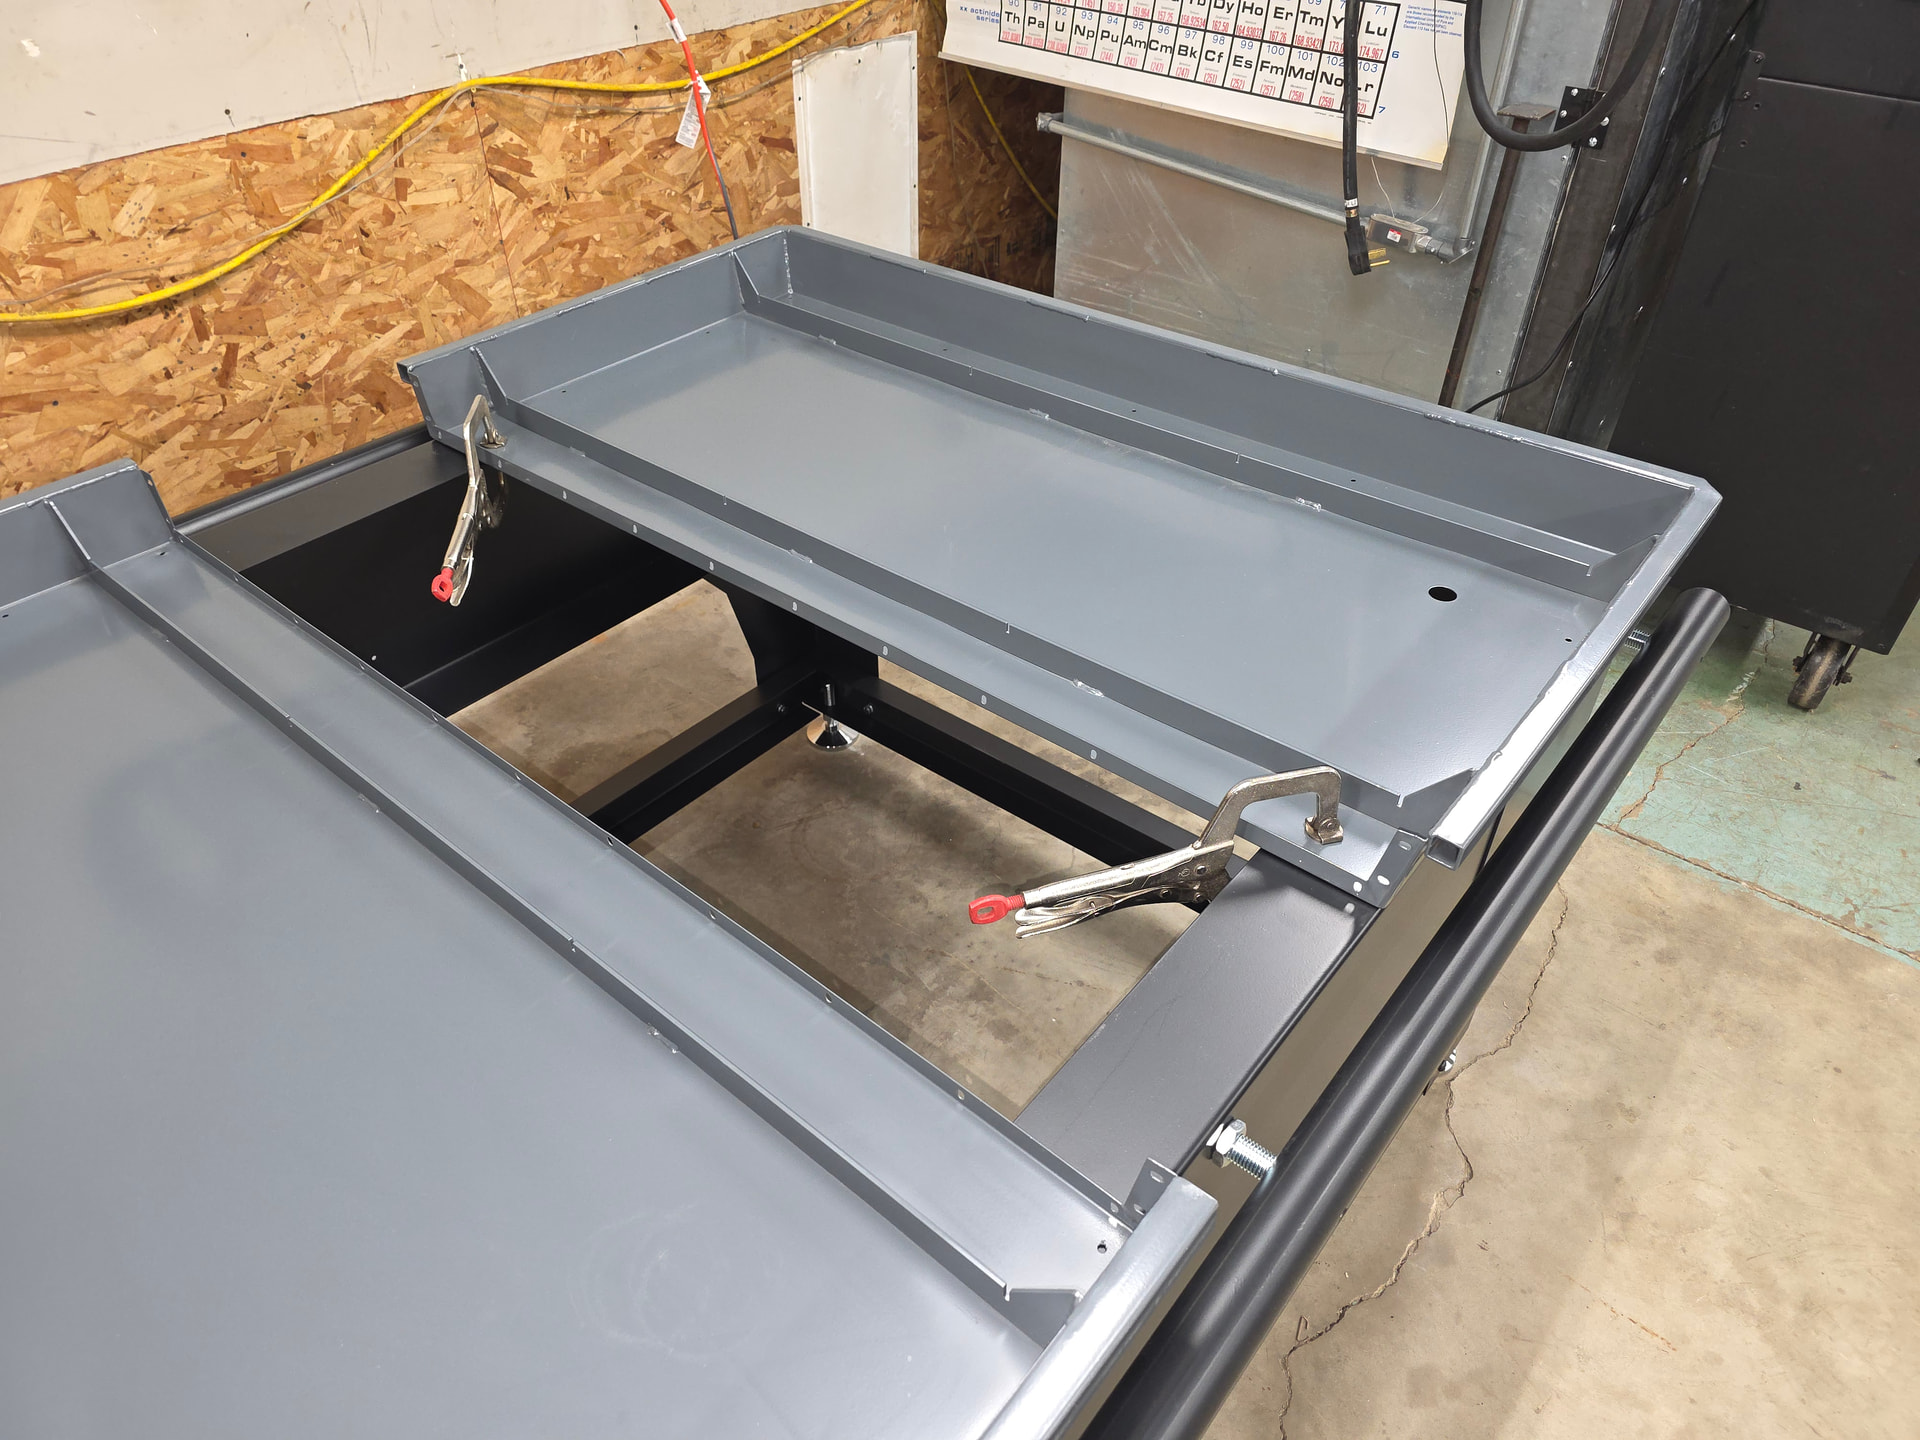
I was judging by the rubber washer, it kind of squishes out and once it gets maybe a mm or so squished out I know it’s tight enough. Just have to remember to look under the tray and make sure it is in fact tight to the table frame afterwards but usually once the rubber washer squishes out a mm or so it’s tight to the table. Tons of sag in the middle of these water trays, not sure what to make of that but the slat holders all make contact at the edges so should be fine. Would be happier though if the trays were flat bottom to share the load more.
I had to loosen my gantry cross bar to get it to go on the slides. id prolly recommend putting it together loose until its on the slide bars (at least for me) before torquing it to spec.
I also was short around 12 nuts and bolts (all the same m6 size) but they were locally available at the hardware store.
I have had to take my red torch hold down apart and tighten it 3 times now not realizing how tight it needs to be. it 100% will appear to bend the plastic of the torch. if it doesnt, when it goes down to touch the surface of the metal it will just slip in the bracket and eventually it will be off the metal entirely.
What kind of oil should I use on the ball screw nuts? Instructions say to use oil or lithium grease but it doesn’t specify what type of oil. I’m thinking oil will flow more easily into the felt and nut than grease. Suggestions?
I use Kroll oil. It works very well. Robot or human?
Just click on it. Its a Walmart page. Not sure what robot or human stuff is.