Had the boxed Cross Fire Pro unit for several months, just got time to unbox and assemble after following instructions for assemble, and after tightening the gantry bolts, then Stantion bolts and finally preloaded bearing plates the gantry glides smoothly to the front but binds badly to the rear. After redoing assembly and adjustments several times with the same result I figured out the cause is twisted guide rails. I loosened the gantry bolts and it would glide better. Took gantry off and placed a level on the gantry support arms and rolled to both ends. No binding on either one but the level bubble moves from right to left about an 1/8” which would definitely cause binding. Has anyone run into this issue? I also tried this with top Stantion bolts loose and tightened with the same results. If it was just a slight increase in drag I would think it would be okay but this gets hard to move and will certainly cause things to wear.
Also can’t think of how I could have caused this twisting to occur.
Anyone have Any ideas on this or run into this?
I did notice the Stantion plates are not truly flat either.
Oh and table is square cross corner to cross corner. Within 1/16” and side to side, front and back is exactly the same.
And thanks
Have you tried using the leveling feet to adjust the Y axis rails to be parallel with each other?
I am just wrapping up my assembly and ran into what looks like the same thing. It seems that the ears on my carriage weldments were a little tweaked from welding. This was obvious when mounting the bearing block assemblies. I had some pulling of the top rails in towards each other once everything was adjusted and tightened up and causing some binding. It took a little while but after a few sessions of loosening the gantry bolts, pulling corner to corner cross measurements, side to side measurements, making adjustments, and remeasuring I was able to reduce the binding. Once everything was down to the spec’d 1/32" I called it good. The gantry moves more freely now and drives under power without issues. I also backed off on the preload on the bearings so that the opposite bearing set just makes contact on one of the bearings rather than both. The directions only require one to make contact anyways.
I noticed my carriage weldments are also tweaked, when butting the bearing plates up to the carriage flats they do not sit flush are are pulled flush when tightening them.
Also, I have done the adjustments from both front and rear of the rails and the binding simply moves to the other end.
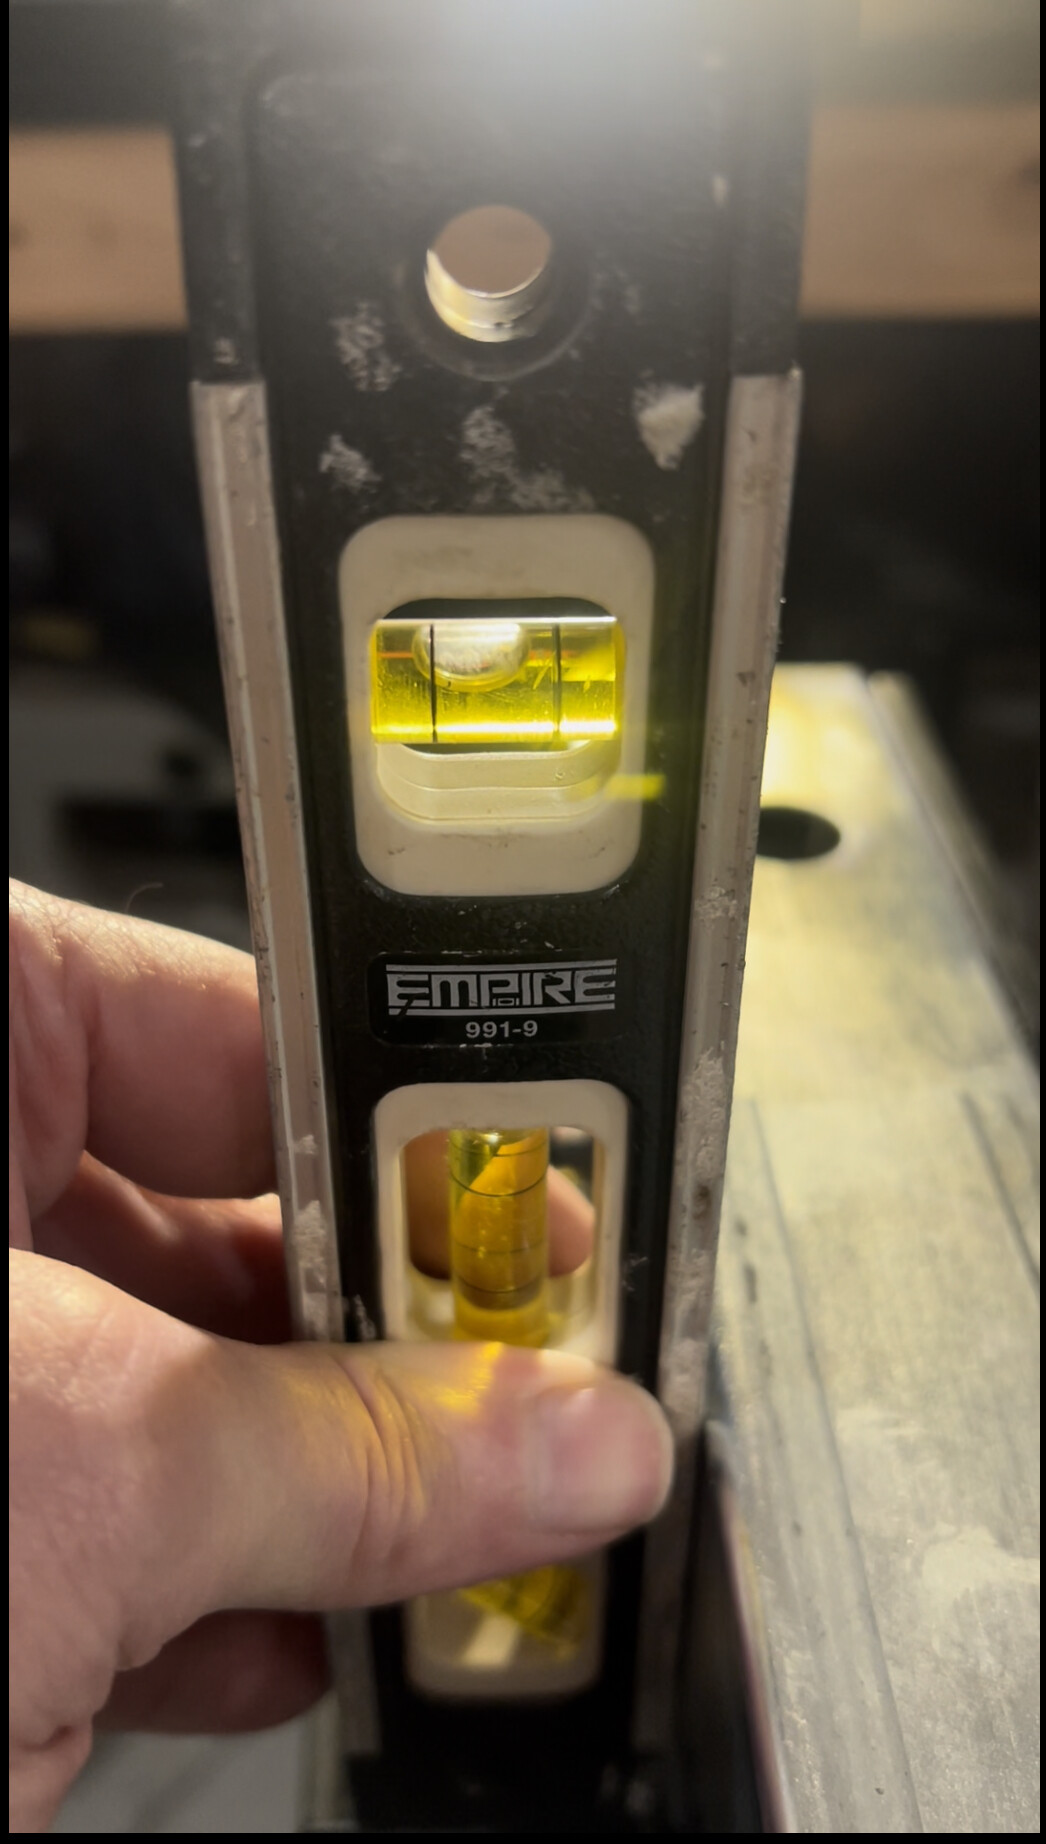
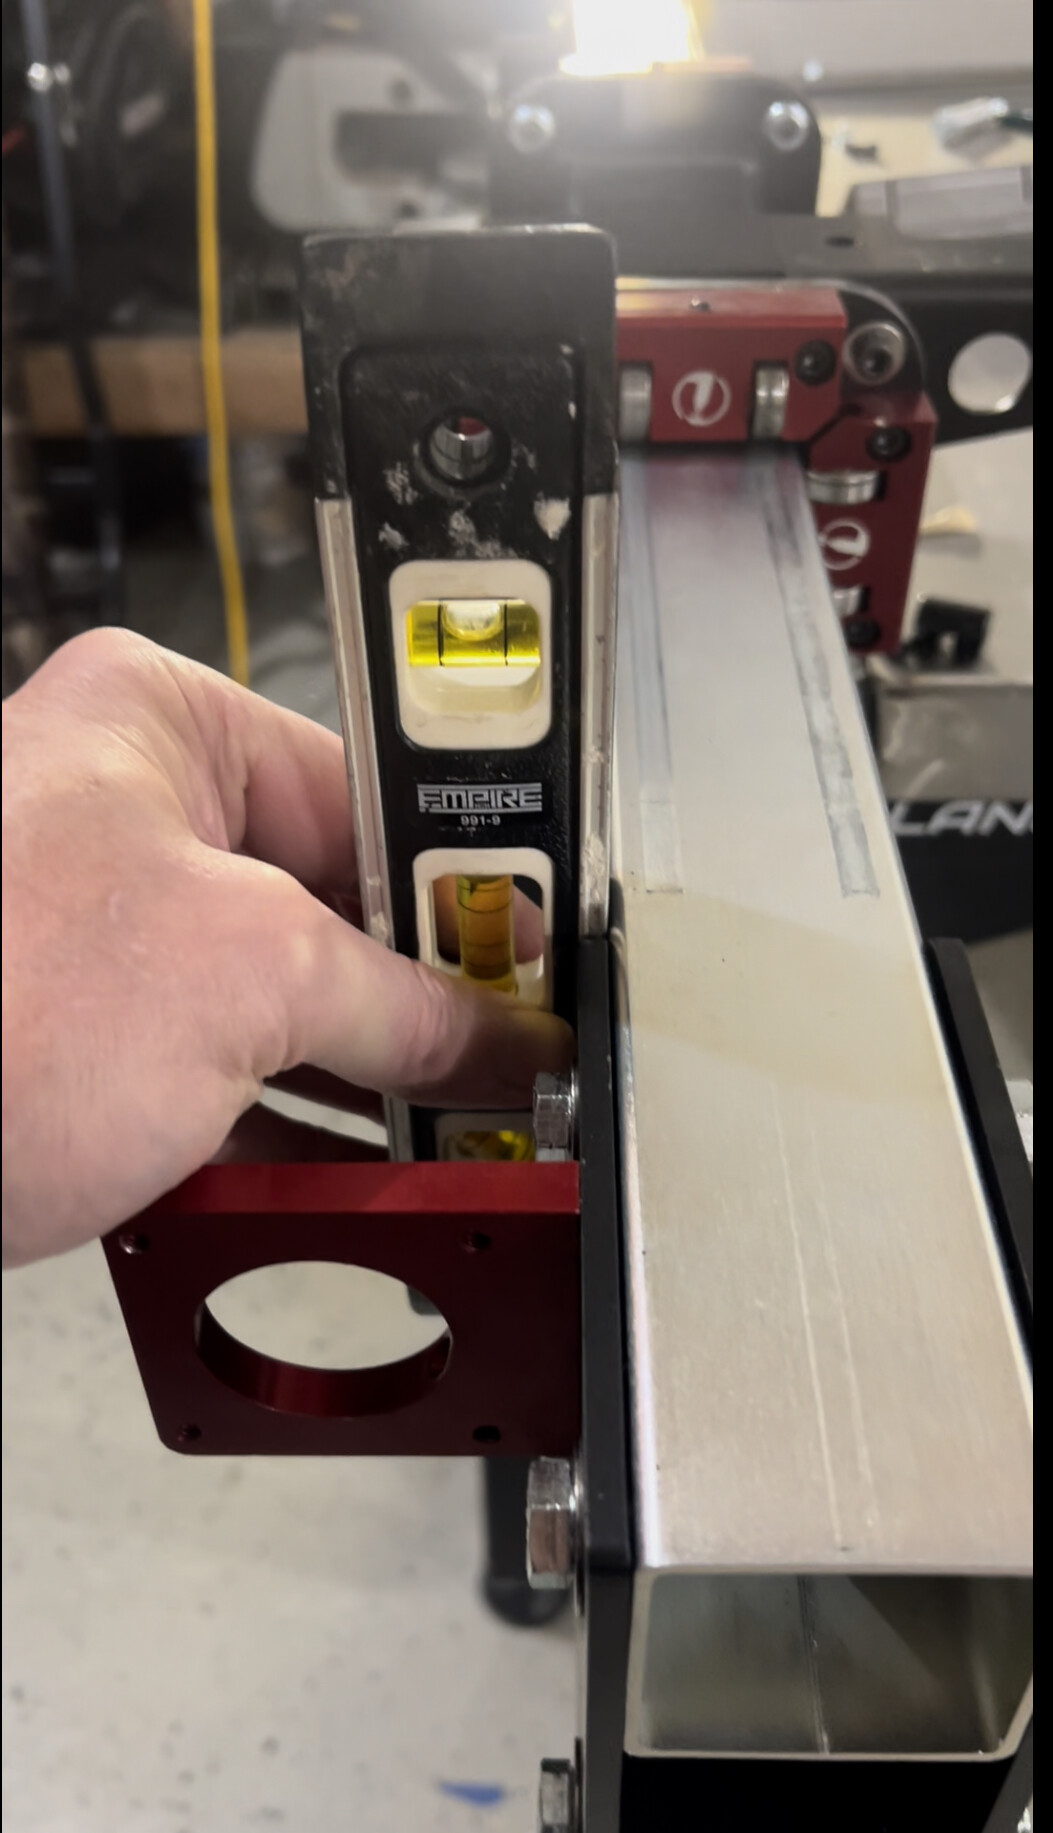
I have a good video with a level on the Gantry support arms showing how the bubble moves from one end to the other because of what I believe is twisted rail tube.
I have also performed this with the Stanchion top bolts tight and loose with the same results.
I believe as the carriage moves from front to back after tightening the, what I believe is a twisted tube, is causing an over preload on the bearings as it is smooth to one end and gets hard to roll to the other.
Both Rails are Parallel to each other.
There should be enough play in the 4 bolt holes that hold the bearing assembly onto the weldment to account for any misalignment of the weldment. Those 4 bolts should be loose when you make your adjustments. The bearing blocks will get tighter when you tighten the bolts that mount them to the carrier, so you need to account for that when you adjust the bearing preload.
I think the tube would have to be pretty badly twisted to stay that way when the standoff plates are tightened down on both ends. It could easily be twisted if the table is not level from front to back and side to side.
So here’s an update on this.
One of the things I didn’t do, which I very well should have, is level the frame after assembling the cross rails.
Additionally, when Measured corner to corner I was 1/2" out of square, I had previously used a framing square to check during assemble, Note: My wife mentioned measuring corner to corner to square it as we have built houses and sheds together, apparently I had her on ignore that day…needless to say she reminded me she mentioned it…
The side to side measurements was spot on though. ( the A dn B as indications in the instructions)
Anyway, I was so focused on following the instructions as everyone says to very carefully, and didn’t see any mention of leveling after frame tube assembly prior to tightening after carriage bearing preload etc…and prior to installing the gussets.
My table was no where close to being level (As in corner to corner) so I loosened everything and started again.
I did, however, lay the rail tubs on a flat surface to check for twist and there actually was some twist, but the folks at Langmuir support said to redo the assembly and try again, and voila, it works very well now.
Oh, and don’t over-tighten the tube bolts.
Having been a mechanic for years in my previous life I am used to stronger metal, these Stanchion plates are a little on the soft side and seem to distort rather easily.
I did reverse the Stanchion plates and this appears to have solved the issue illustrated in the pictures in this post.
All in all a good experience and not as daunting as I thought it would be.
Now to hook up the electronics and actually try it and see how the break-in program runs.
Thanks again to everyone who had thoughts on this, great site foull of knowledge…
Kudos to your wife! There is nothing that beats measuring from corner to corner. Glad everything worked out. Thanks for posting your problem and fix.