It would be nice to have Langmuir offer a marker kit for crossfire and XR.
That could have a lot of extra value for many of us.
Right now my wife is taking considerable time to make up signs for the trellises that I make to create signage for the road side. If I could make up the lettering in design software and generate the g-code, I could put the poster board on the plasma table.
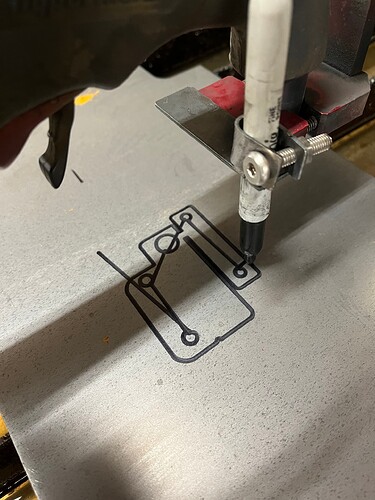
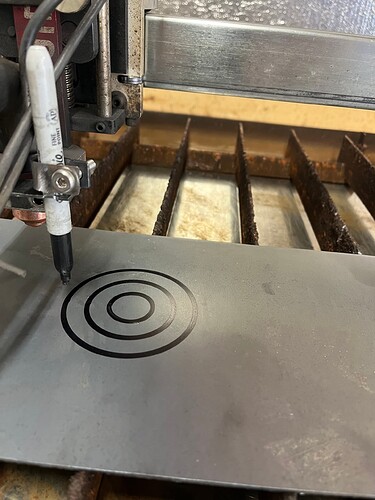
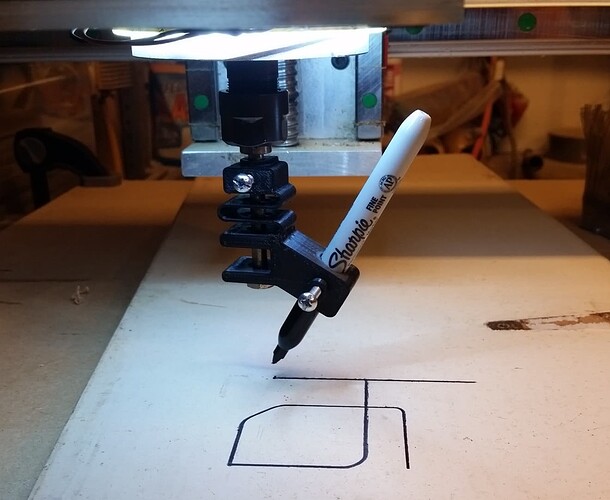
Here is holder for sharpie. this was something in my head that was simple and easy. I work with people (engineers) that could make this a month long project. I spent an hour so if your using this all the time you might want to improve on design. Your metal must be level or going to have issues marking.
Sharpie marker holder for Crossfire PRO_.f3d (134.2 KB)
Just FYI…I didn’t play with them much but felt like the Crayola moved better on the metal.
I really appreciate the creativity in these modifications. I have a holder already and am trying to find a way to program/have the cam/gcode, preferably in fusion 360, to get 1 project that can cut and mark in 1 run.
I haven’t played around enough with this but guessing I might need to create a new tool that moves up and down as needed. Maybe Tin or someone else will answer so I don’t need to play around in fusion this week.
@Jet0024 Welcome to the forum
The two tools will have to different requirements on how they run. Also depending on how the pen is mounted, weather replacing the plasma cutting tip or mounted to the side of the plasma torch would adjust the relationship between the tool center and origin .
You will need a a pause for a tool change.
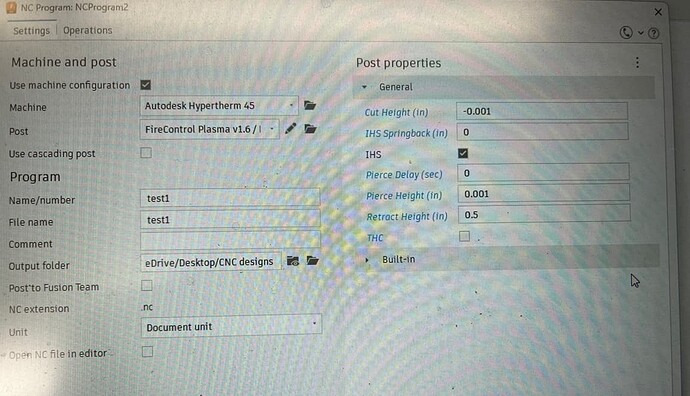
the code for the sharpie will also need . NO THC. no pierce delay, no pierce height, no fire on, no fire off.
if you have Hyperthem 45xp you could use marking consumables the would make marking a little easier code wise. Marking with plasma torch?
or the Easyscriber https://www.theeasyscriber.com/ these two options do keep the relationship between the origin the a the tool center the same which is a huge benefit.
In the end if you want one program when using a sharpie we will need to produce then modify the code for the sharpie then combine the code with standard code to the cut the part.
Running two programs that have the same origins back to back would be my preference.
This video talks about the challenges of this pen marking scenario.
the timestamp of this video talks about the origin differences here.
https://youtu.be/c3LhK2SAusk?t=716
this is one of the nicest sharpie holders i have ever seen in this video.
The quote from the 2:18 minute mark where the smartest guy on youtube said
“making the plasma cutter both a plasma cutter and a pen plotter is harder then you might think”
is a very true statement. then he go on to explain the challenges involved in the project.
Once I got playing around with this the other day many challenges started to show up as you described. You could easily overcome the difference of sharpie zero to plasma zero once you knew the relationship between the two points. The thing I was mainly trying to understand was could I get the marker to lift and lower from point to point. I don’t deal with it moving up and down.I think I’m going to order the easy scribe because it’s been on my list of things to play with anyways. So I’ll need to figure out the up and down movement
I did get it the marker figured out. When you go to create Gcode the settings in blue are the ones that matter. Why I couldn’t get it working yesterday was because i was doing “dry run” in firecontrol. That must disable the IHS. Now back to the using both on same design. I need @Bigdaddy2166 or someone to mill me a mini sharpie holder that screws on the end of the Hypertherm retaining cap. if someone makes these, I deserve free one and should get a royalty for daughter’s college fund. If you just want to use sharpie that’s easy but the two together is more tricky. I think you could factor in offset at start of cutting out but that’s much more complicated.
Don, I’ll make you what ever you want. Send me a design. My kids college is been over for a while. I truly understand.
Whatever we come up with will be better than that used hose clamp… ![]()
So I ordered an easy scriber for my hypertherm to play around with but really need exact same thing but instead of the diamond tip have it use a mini sharpie.
@TinWhisperer did you do the marking yet?
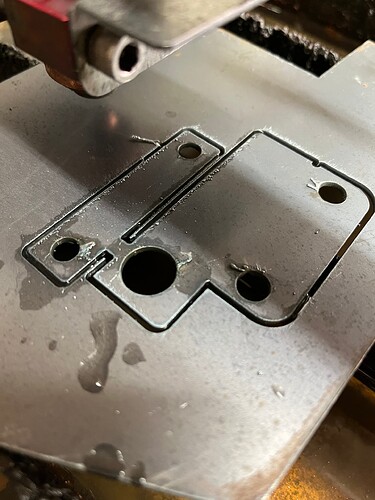
I experimented with Hypertherm marking consumables and used a sharpie with similar settings to the easy scriber. The real trick to this whole thing is getting it to cut and mark sharpie without having to change tools. The ideal would be if you had more then one piece to cut and mark it would mark and cut the first piece then move to the second instead of doing all the marking for all the piece then cutting them all out .
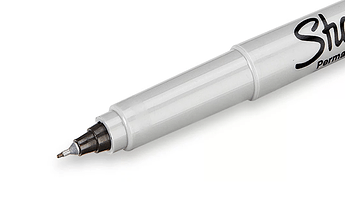
The sharpie tip is going to get smashed pretty quickly and it is a little wide for accurate bend lines. I would how a ultra fine tip would work ? they have a little band of steel to keep the tips shape and be thin.
The other concern is the marker dragging the material around so you will have to clamp the work down.
another down fall is you can out mark one side so bends the other way it would not have a visible mark. so weather your marks are on the good face or not may be a issue.
@DonP did you watch that YouTube video above that defines the challenges ?
Yes, I seen the video and it was amazing! My plan with easy scribe is to do a bunch of fine detail stuff and then cutout design. For $100 it will keep me busy for a few weeks. Thanks for sharing and always being helpful.
Printed this pen holder for my CNC router. It has a spring action built in so it can deal with uneven material.
Wouldn’t think it would be very hard to convert it to work with the plasma table.
I like your design for the marker holder! So using a sharpie on plasma is easy but using them at the same time or without manually changing is super difficult. I have the easy scribe coming so I’ll be doing some art work with it but it’ll be manually switching to plasma cutting on same design in next few weeks.
Ive used my cut master 82 turned down to 20 amps and run 299ipm to scribe bend lines. I run one set up in fusion and then two separate cut files. It works ok for bend lines. My big question is how do you set up an offset tool in fusion. Say your maker is exactly an inch in front of the torch. What would one do to program that offset if you know the exact distance between torch center and scribe/marker?
You could sketch exactly what you wanted drawn with the marker, project it to a second sketch, select/move the second sketch the exact offset. (Then delete the marker lines from the first sketch).
Edit: But for those of us with the Hobby/Free version of Fusion 360, you would need to run two separate g-code files (obviously, the marker would be first). You would then load the cut file second. The free version will not allow a tool change in a single set-up in CAM operation.
I drew up a spring loaded holder for a sharpie and 3D printed it. I’ll post the fusion file when I get home. I made it to fit the RazorWeld x45 machine torch, but could easily be modified to fit others.
