Has anyone seen effective use of a downdraft or dual fan / suction vent for plasma table ventilation?
Probably not making sense with that description…
I guess what I’m thinking of is a guided airflow where a fan pushes laminar air from one end of table and a suction vent on other end pulls airflow across table rather than just up into a ceiling hood.
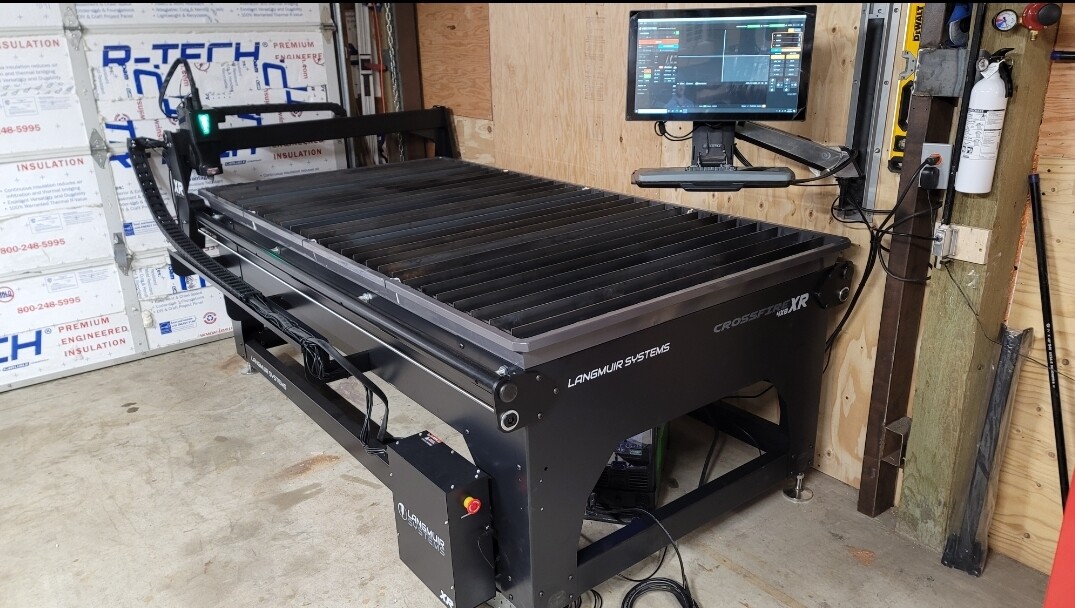
My XR Will be getting installed near a wall under a 18 foot ceiling, so trying to get away from fabbing a hood
the force to create a laminar air flow enough to push and draw air across a table would most likely affect the plasma flame…not to mention be incredibly noisy.
there are down draft tables, and there are people who have added flexible ducts to the torch head to create a smoke eater effect above the torch…
it all depends on space…shop ventilation…and climate…if you live ina colder climate…we can not exhaust as much or as fast.
I am running 1 air filter and use a high grade filter mask with non-organic filtration…I will alkso be settting up soom another filtration box and a heat exchange system for overall shop quality air.
Ok, one modification I would like to do, and has been discussed, is to move the screen away from the machine. I already have the extended cable, and will likely work on this today. There is one other thing I would really like, is a full size keyboard. I do like the small one for working up at the machine but a larger one at the operator station would be nice, and I would likely put a mouse on it.
I understand they will likely get nasty, but I will just replace as necessary or get used to the small one.
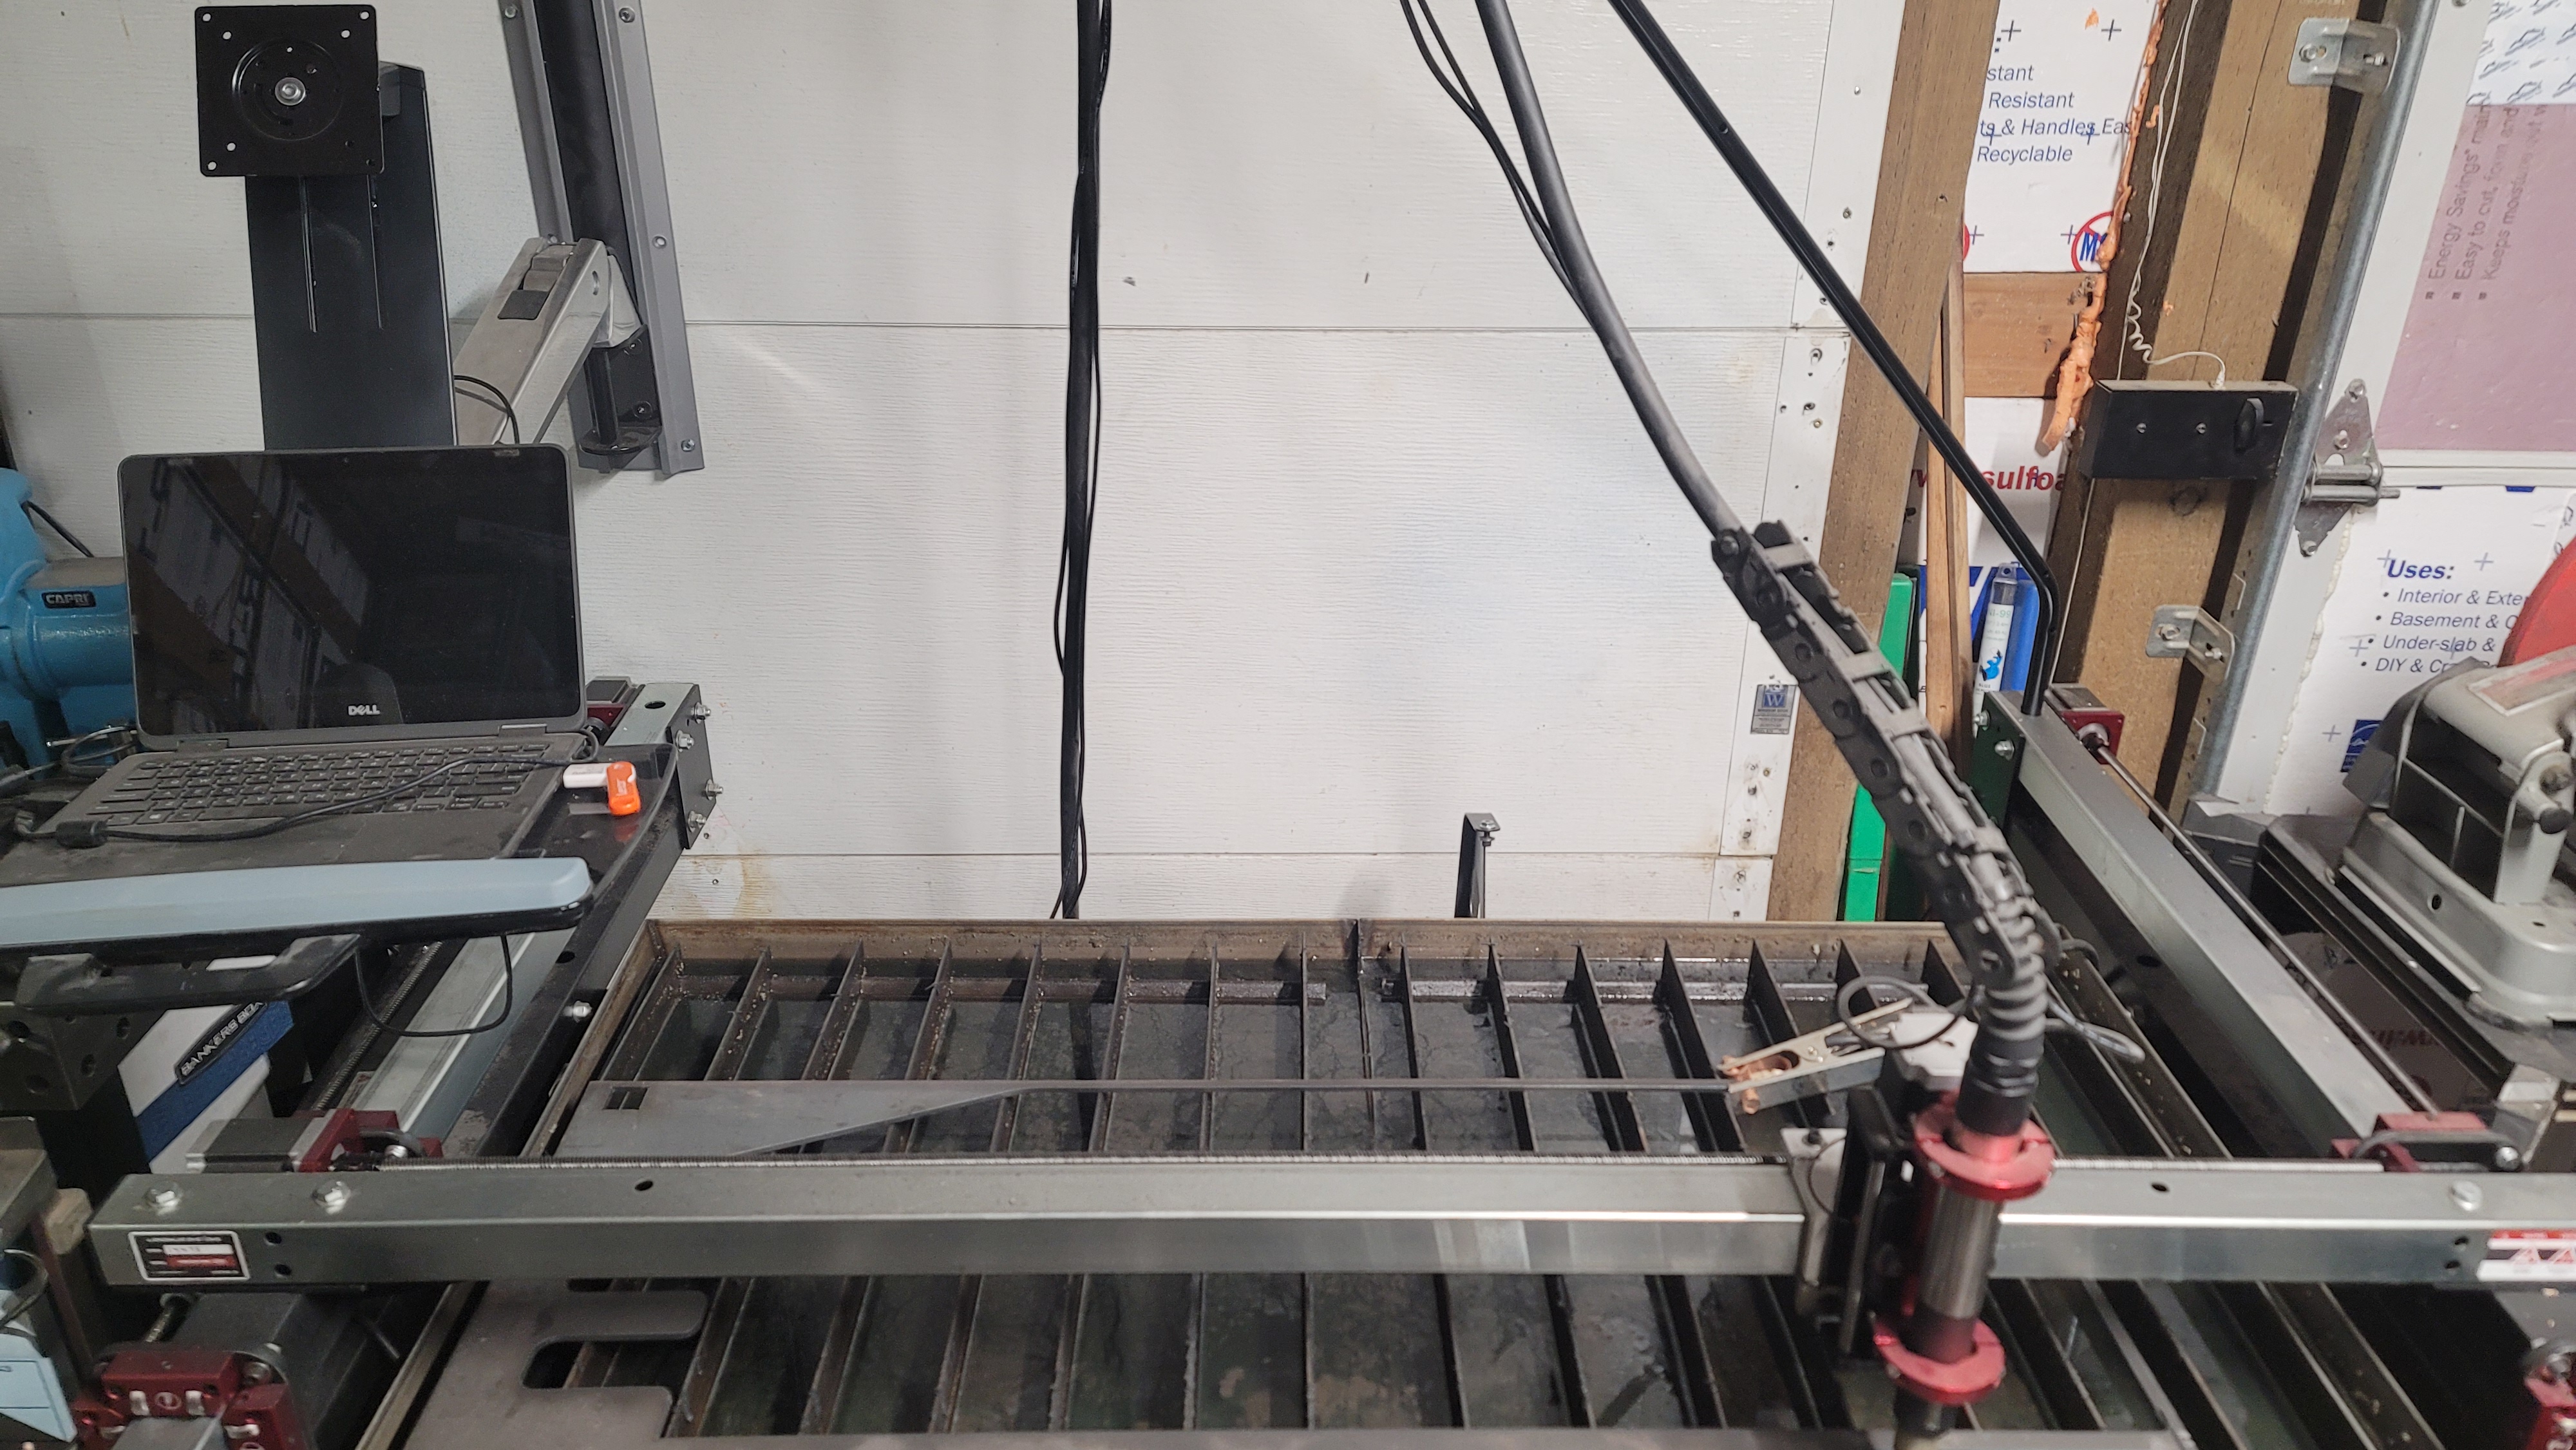
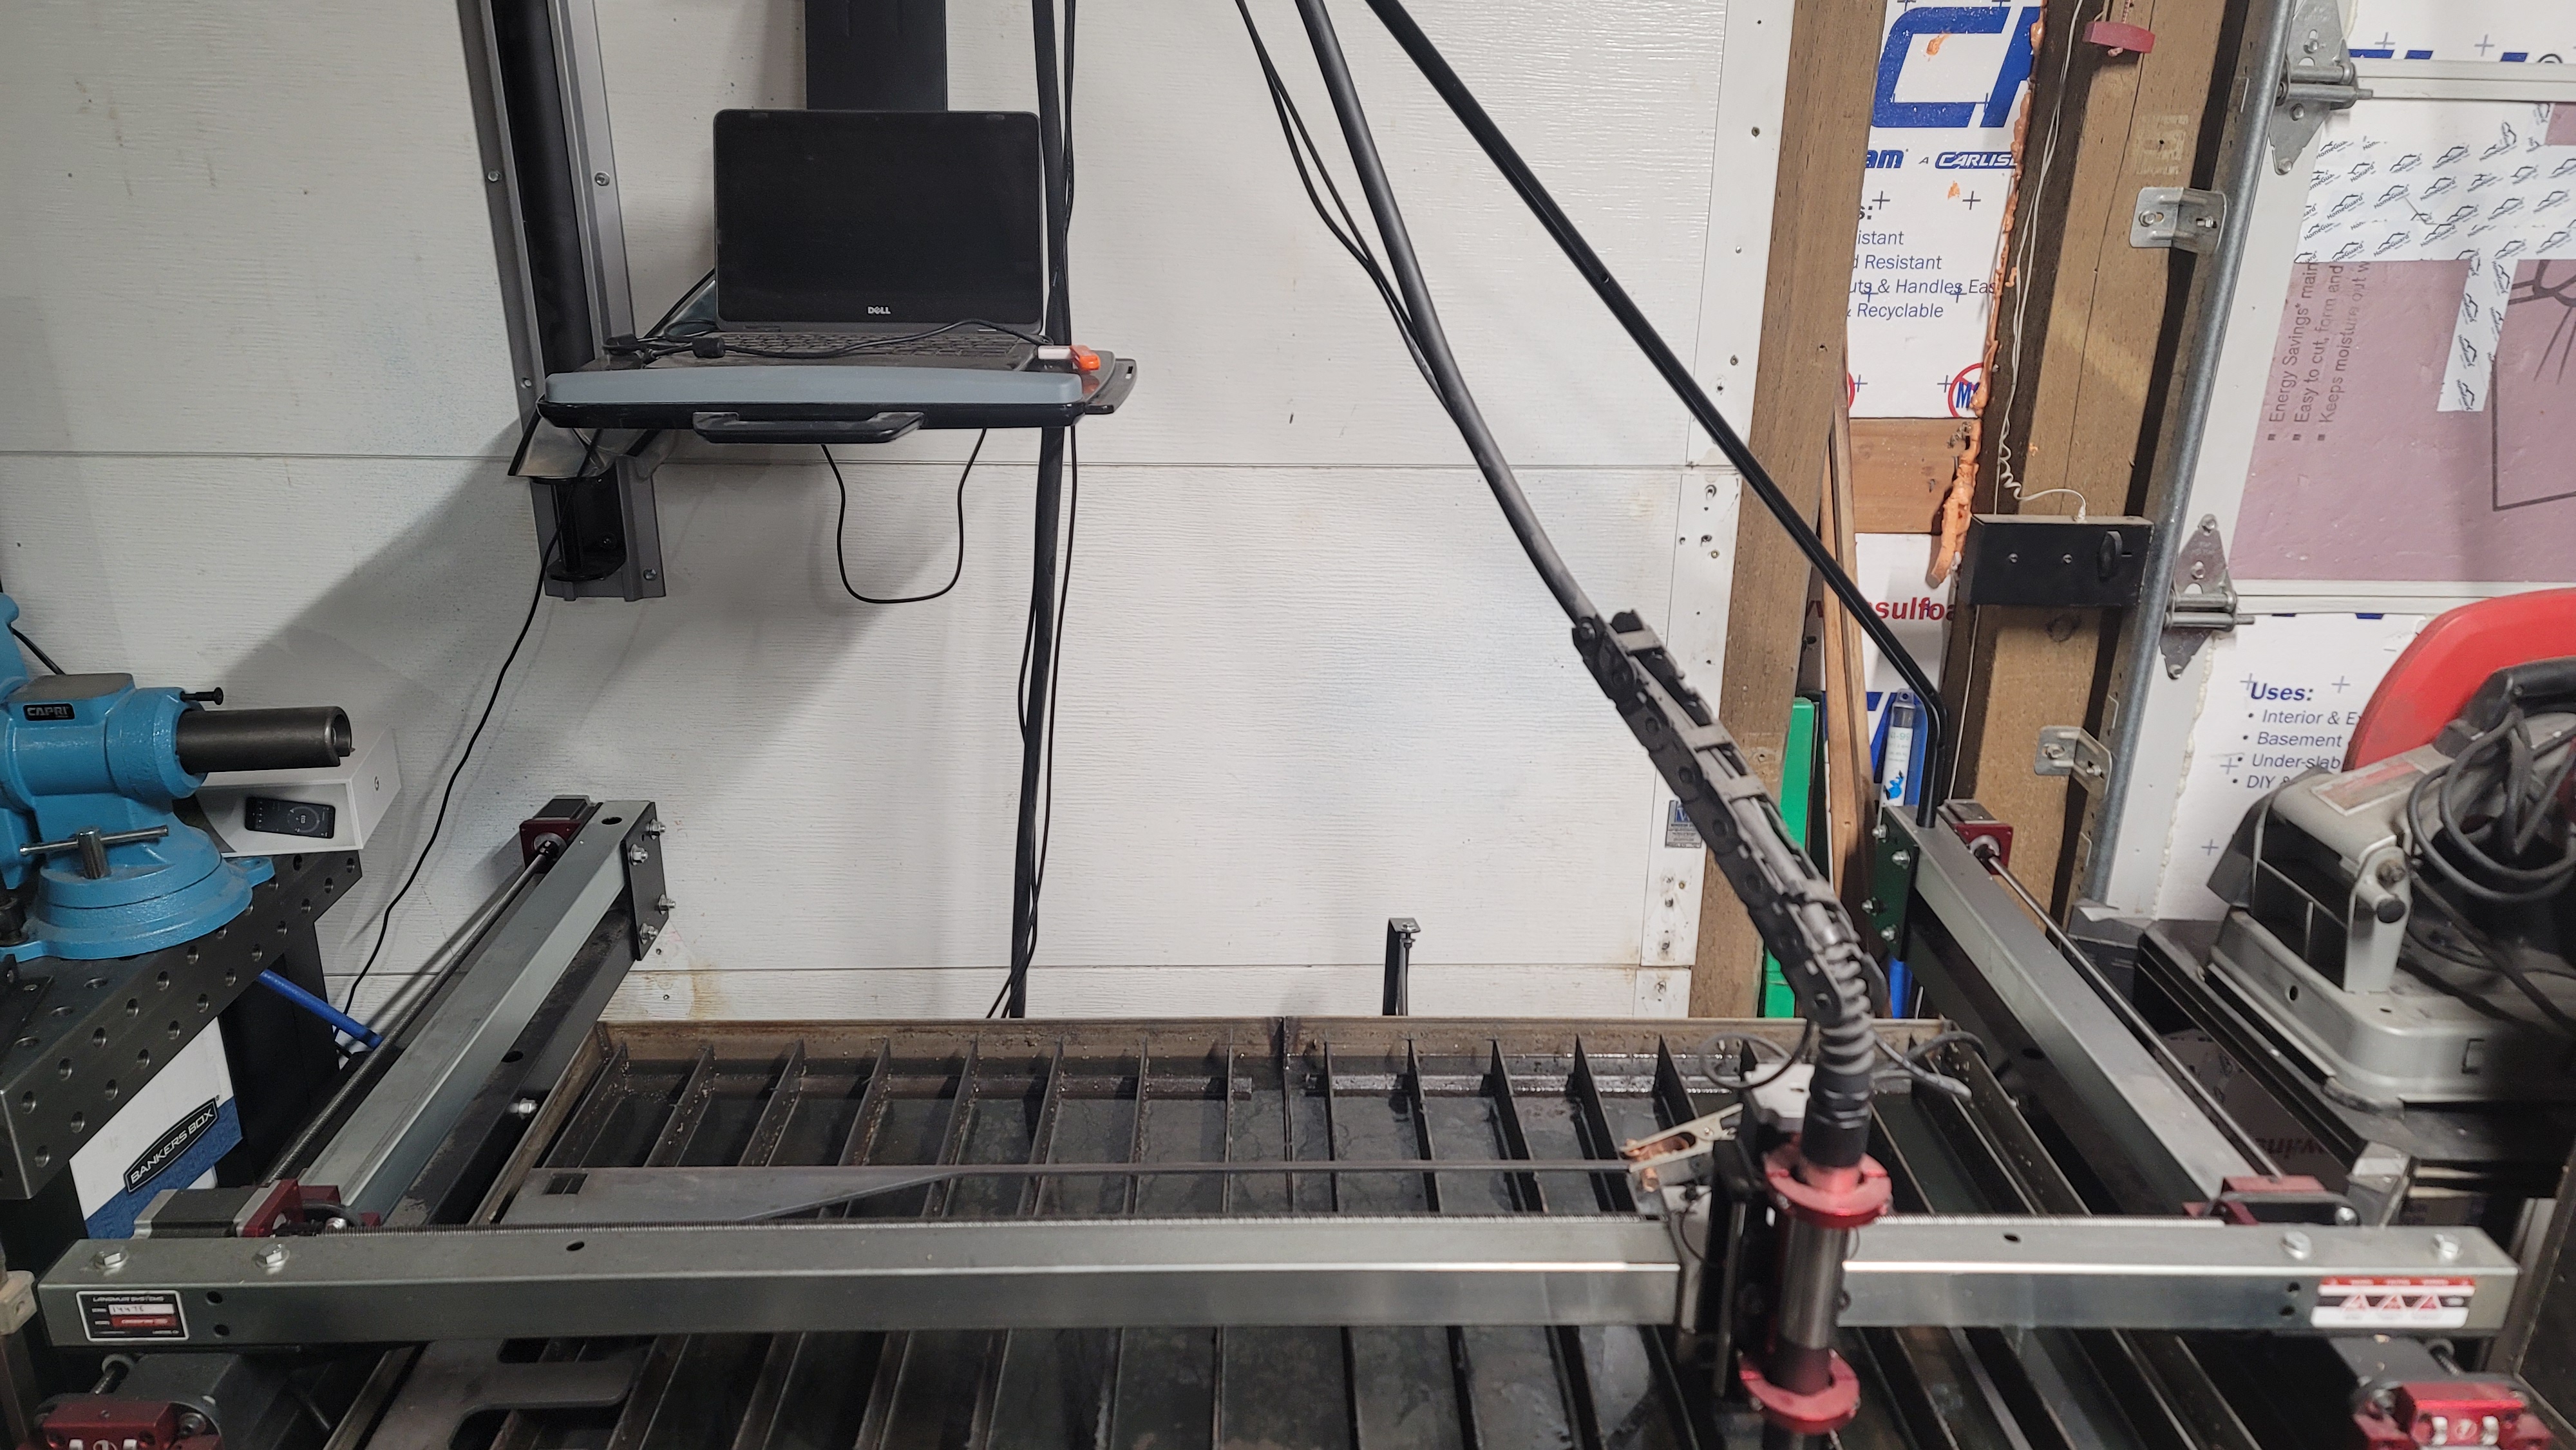
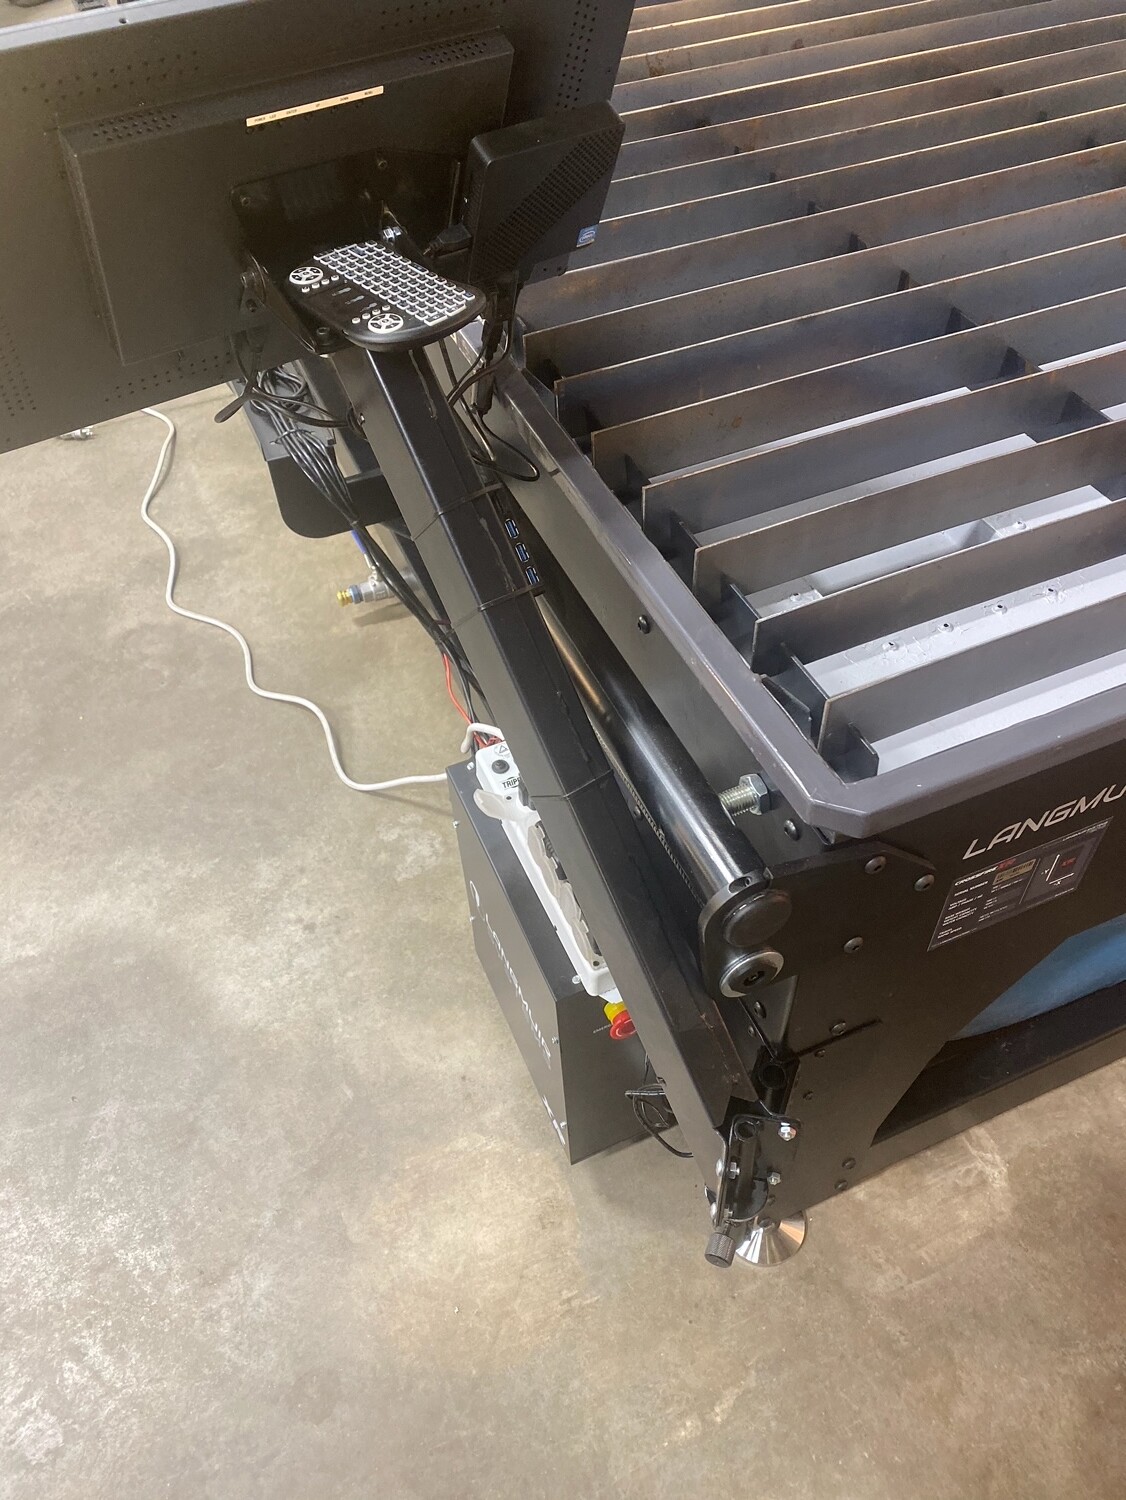
I’m planning on doing this with XR. These are the mounts you see on walls of Dr’s. Offices… Moves up and down about 3 feet, full 180 side to side. Has a mount for computer or control box… Easy to move completely out of way when not in use.
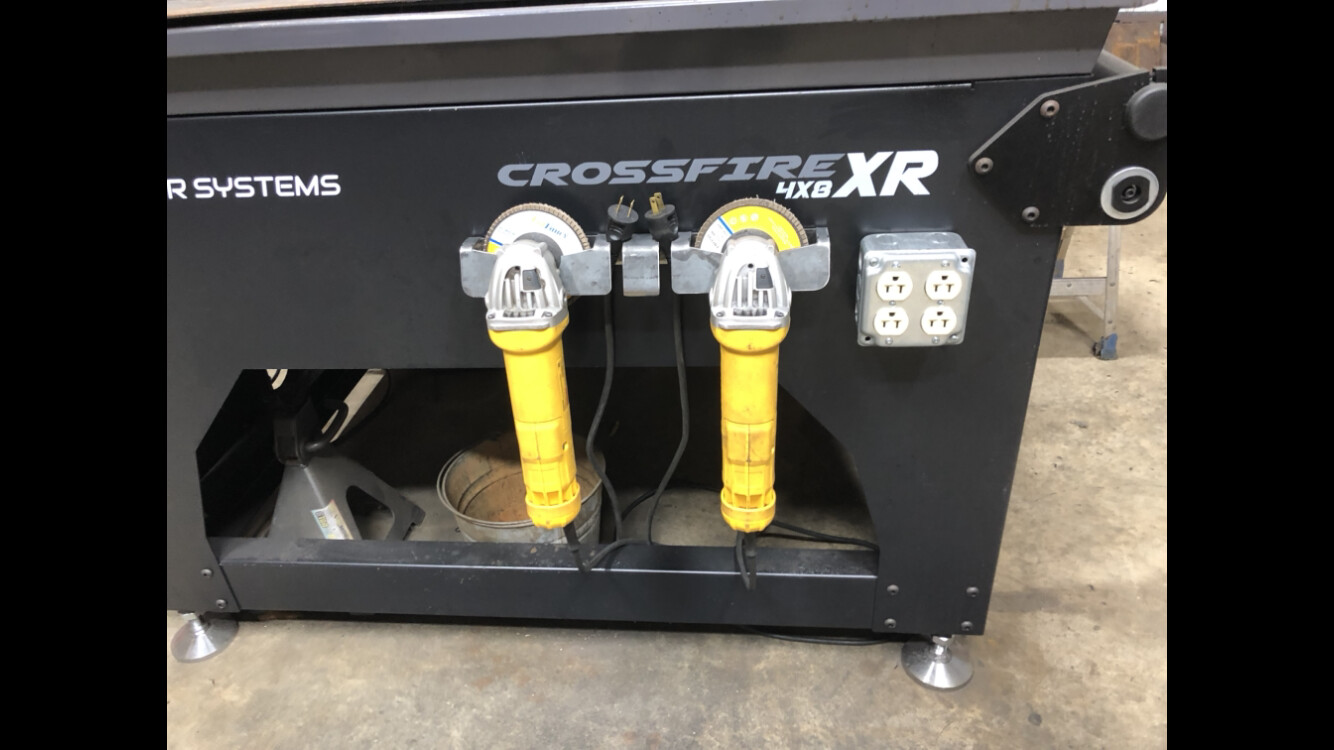
Here are some the first mods to the XR table.
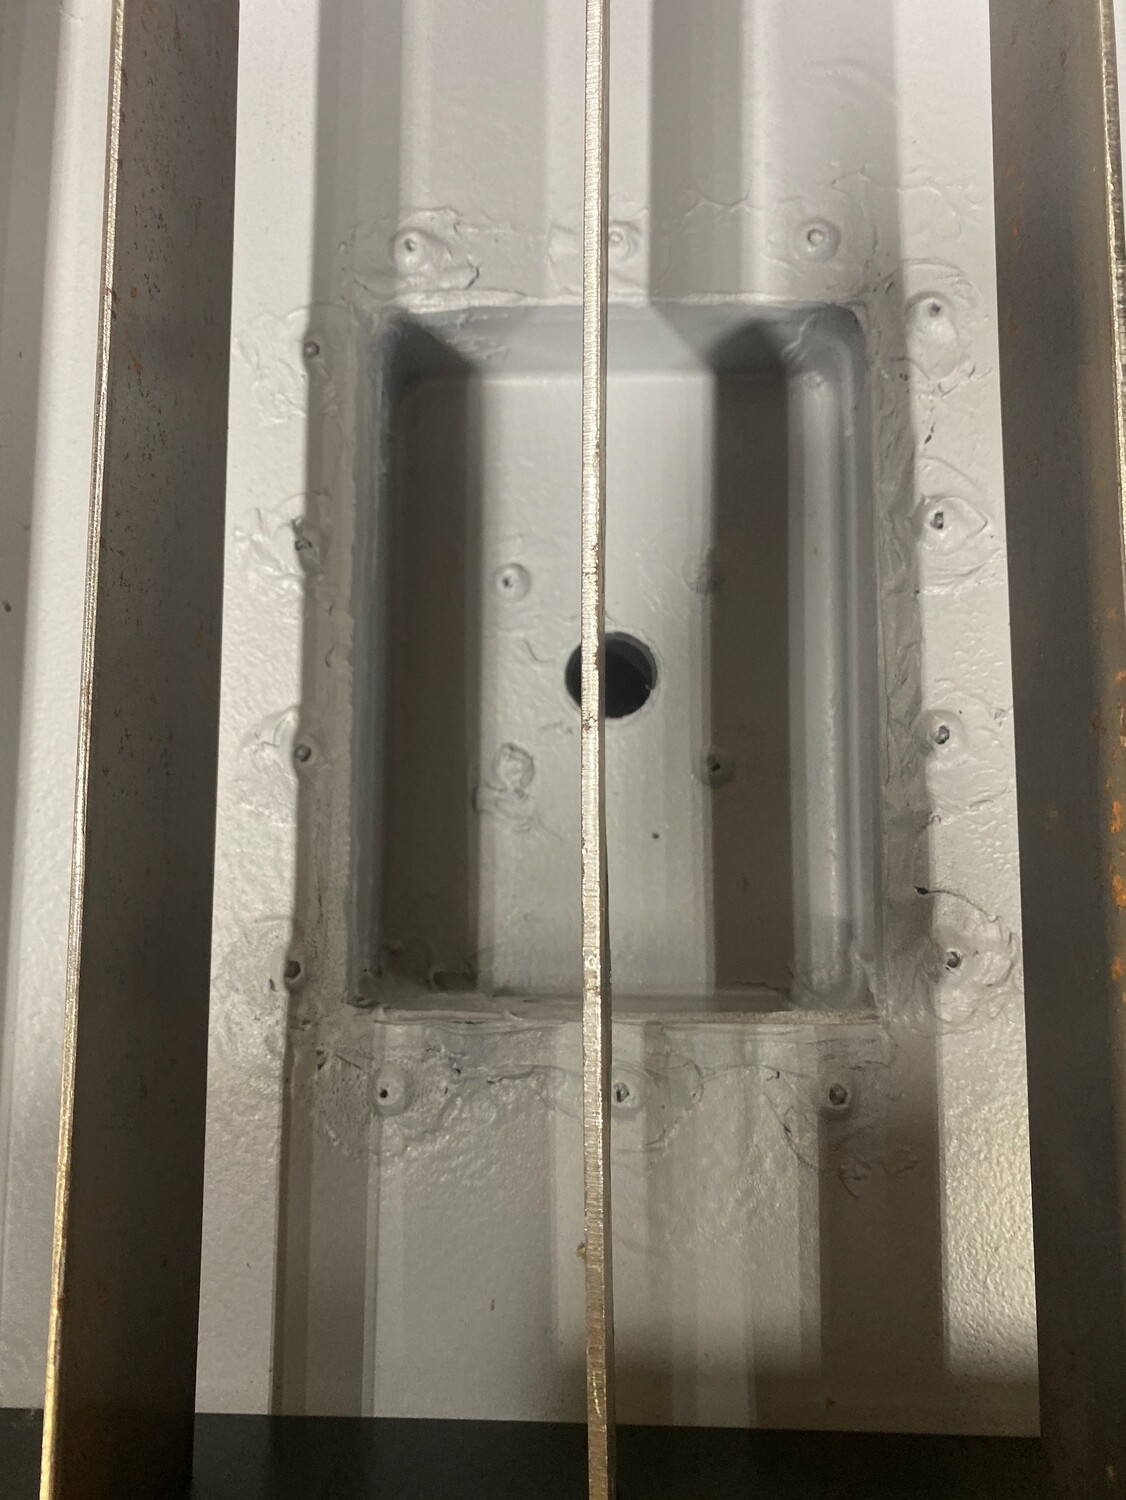
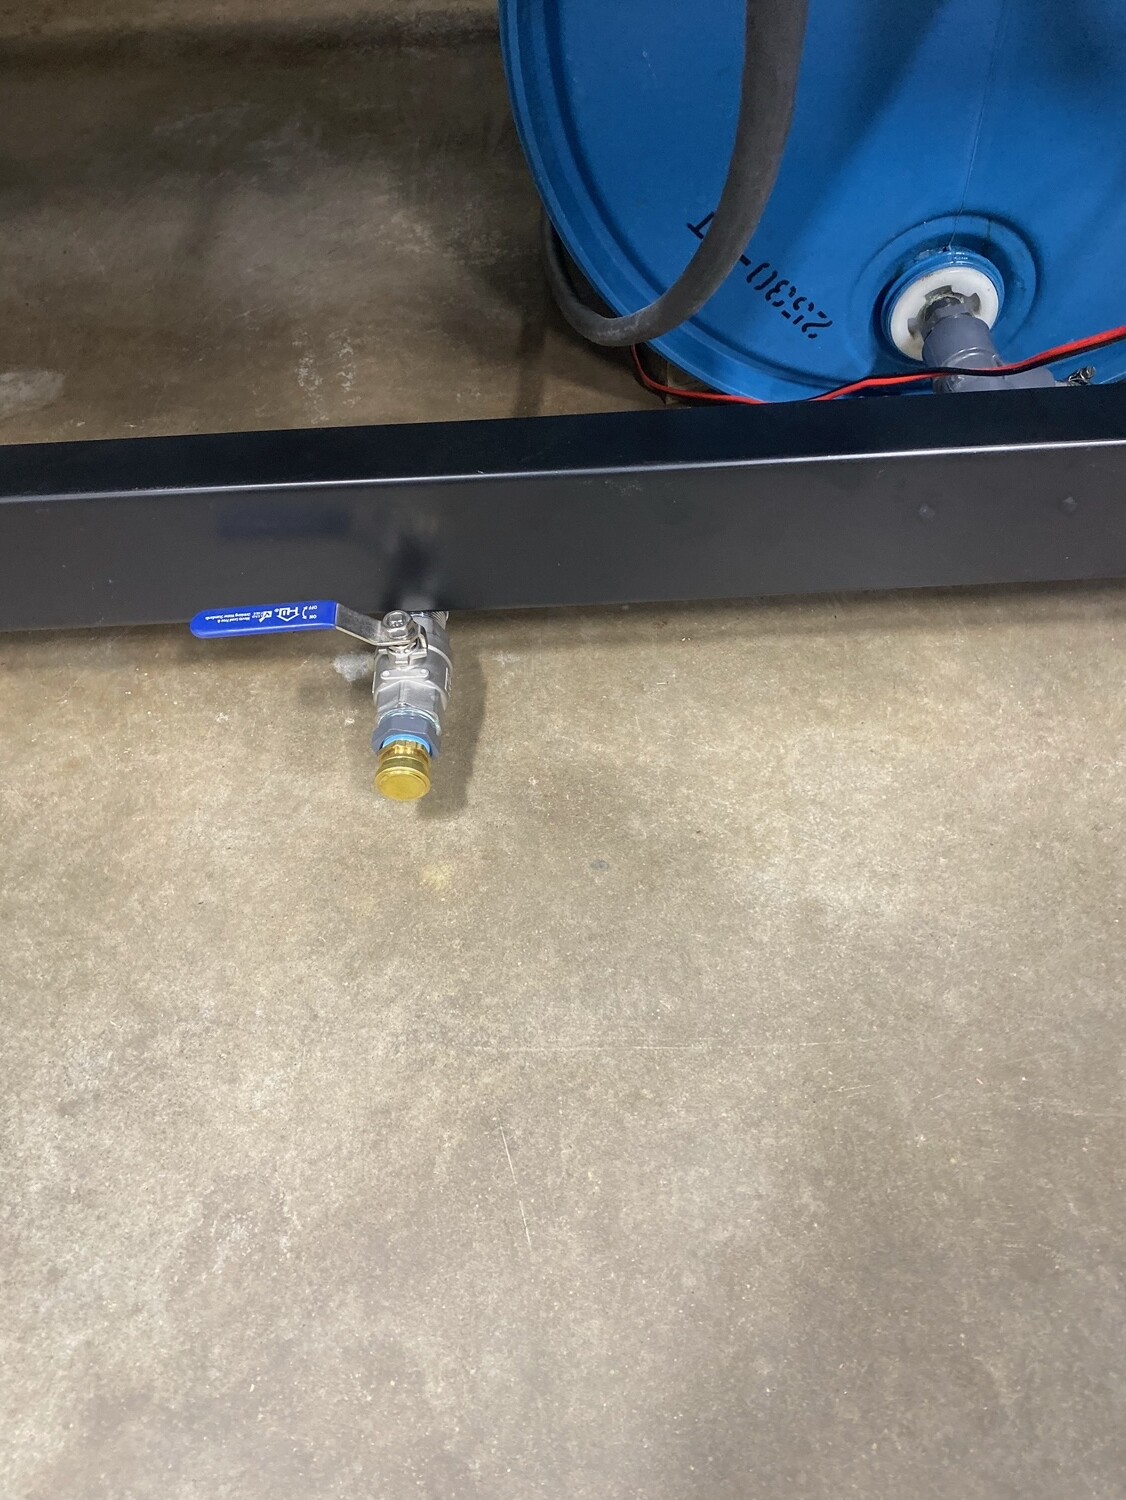
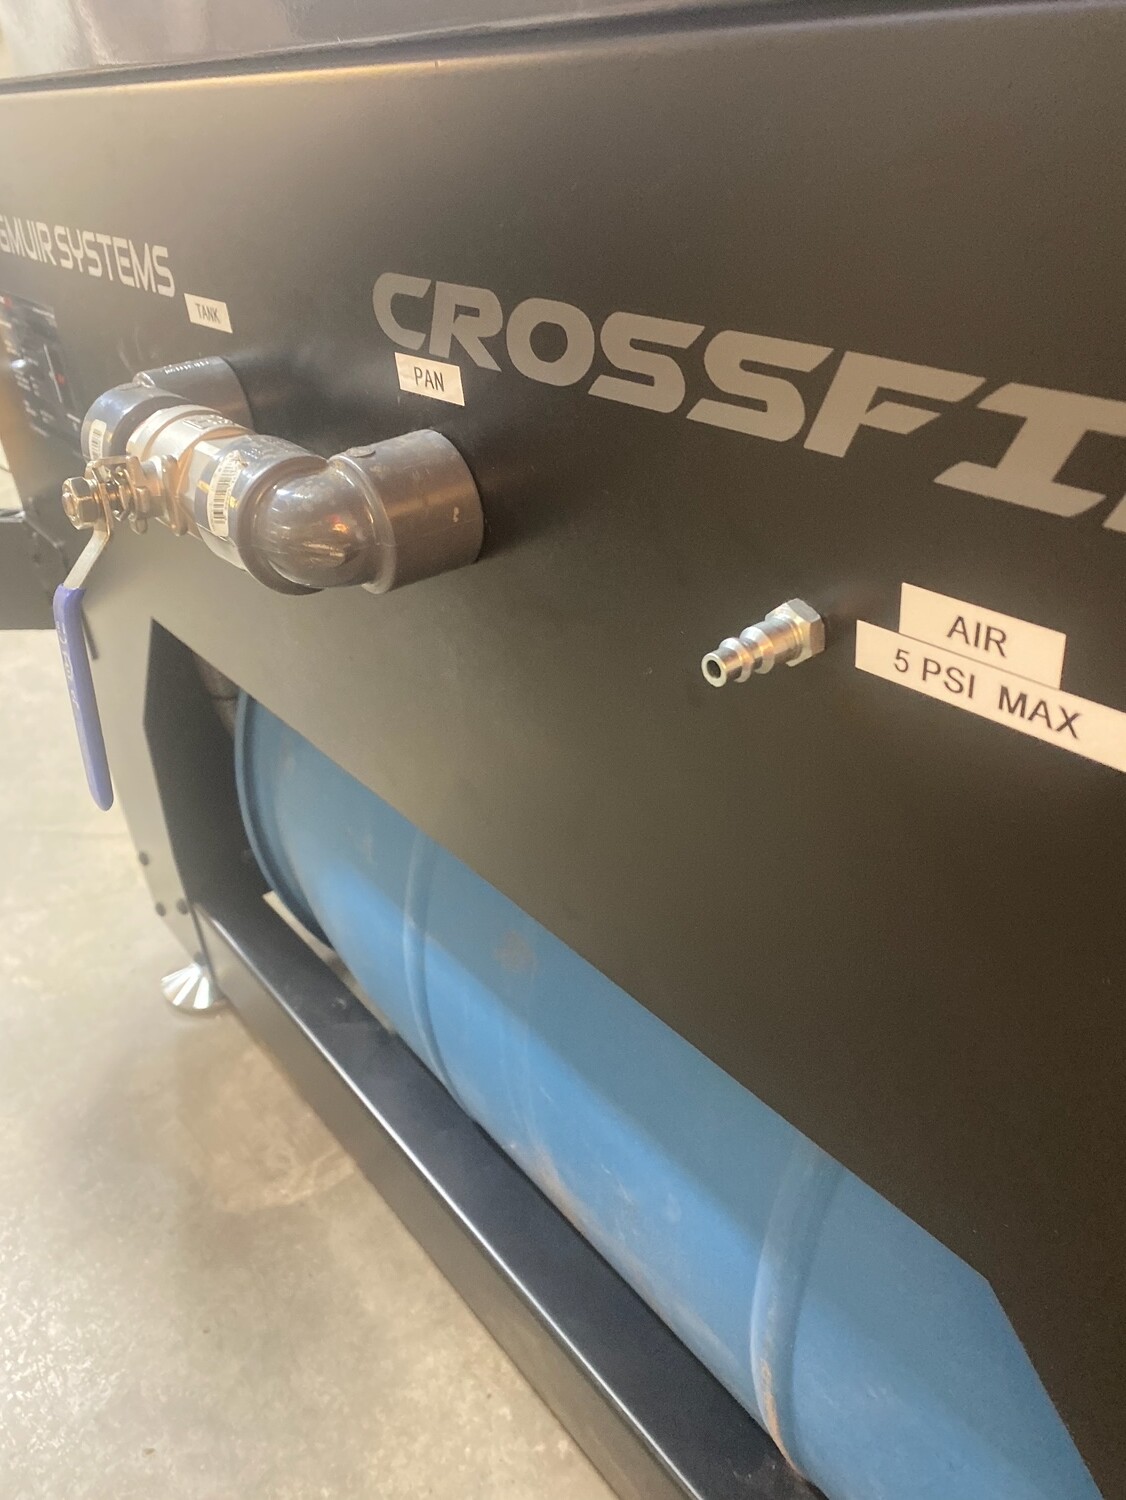
Cut sumps into each section of pans so that filter material can be added to the bottom to filter the fluid back to the storage tanks. Sumps were made from stainless steel so magnetic pickup tool could be used to clean pans.
Built the XR in a day by myself. Love the sumps. Getting ready to slide my tanks under table and add pumps. Didn’t like the corner computer mount. Limited space and having it stick out was no Bueno… Wall mount works awesome… Swings out and travels up and down about 3 feet.
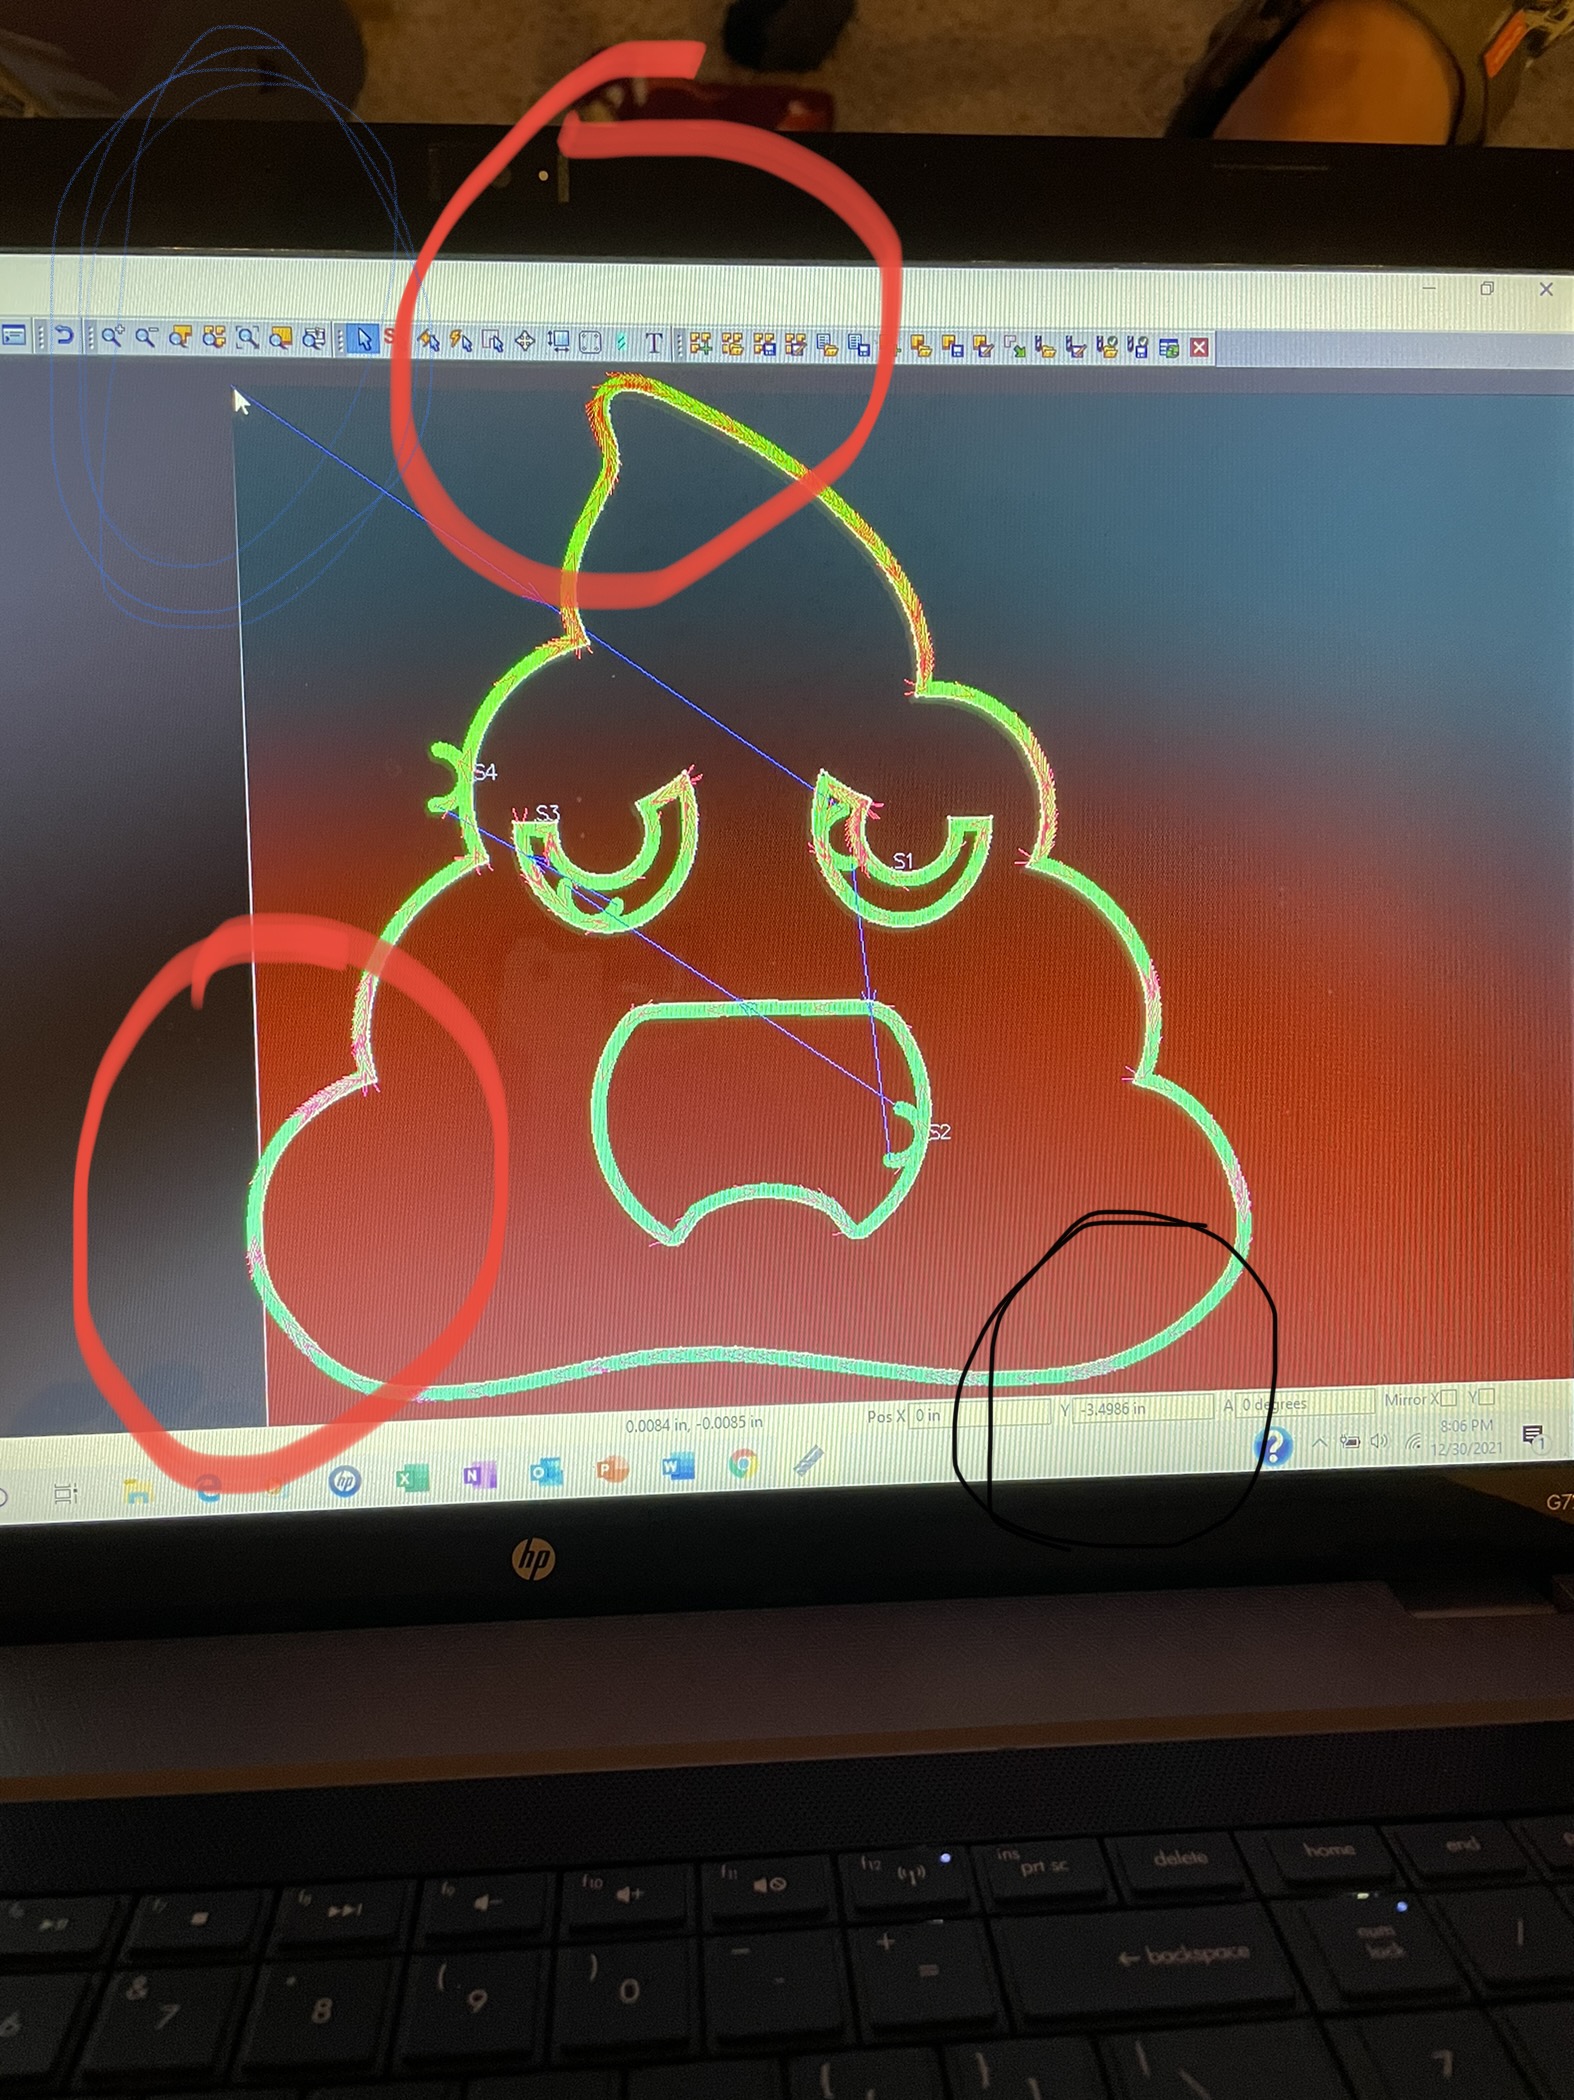
I’m having trouble with the homing feature. I can home it and then install a tap file, but my torch cut lines are on the outside of the parts zero. This makes it so I get a error because when you try a dry run it hits the limits. So now you have to manually jog the head off the home a little and rezero. Not sure if there is a setting in sheetcam in which you can get it to offset the part. Without having to manually do it in sheetcam or on table in fire control.
Ya, sheetcam is your problem there. Set part origin to top left for 0,0. Default is bottom left. Or jog machine towards you then hit the set all axis to zero button.
Had a Pro before this, sold to a friend to make room. Haven’t cut on XR yet. Got it Tuesday… Built myself without any issues. Actually really fun to build. Like biggest Lego set ever. Manual was huge upgrade from pro. Powered up first tune and it all works. I think it’s a steal at double price of pro.
I tried that but that brings up the next problem that the home is in the positive x axis but it’s in the negative y axis so when I put a piece in sheetcam it does this
If you look at that when you input a piece it does wired things in the -y axis it index’s from the bottom of the piece (look at the black circle) then the cut trace is over the zero axis ( look at the red circle’s) and the mouse ( blue circle would be where the table home position zero is) any help on how to make the the parts zero on the cuts also? And also how to zero part in the -y axis
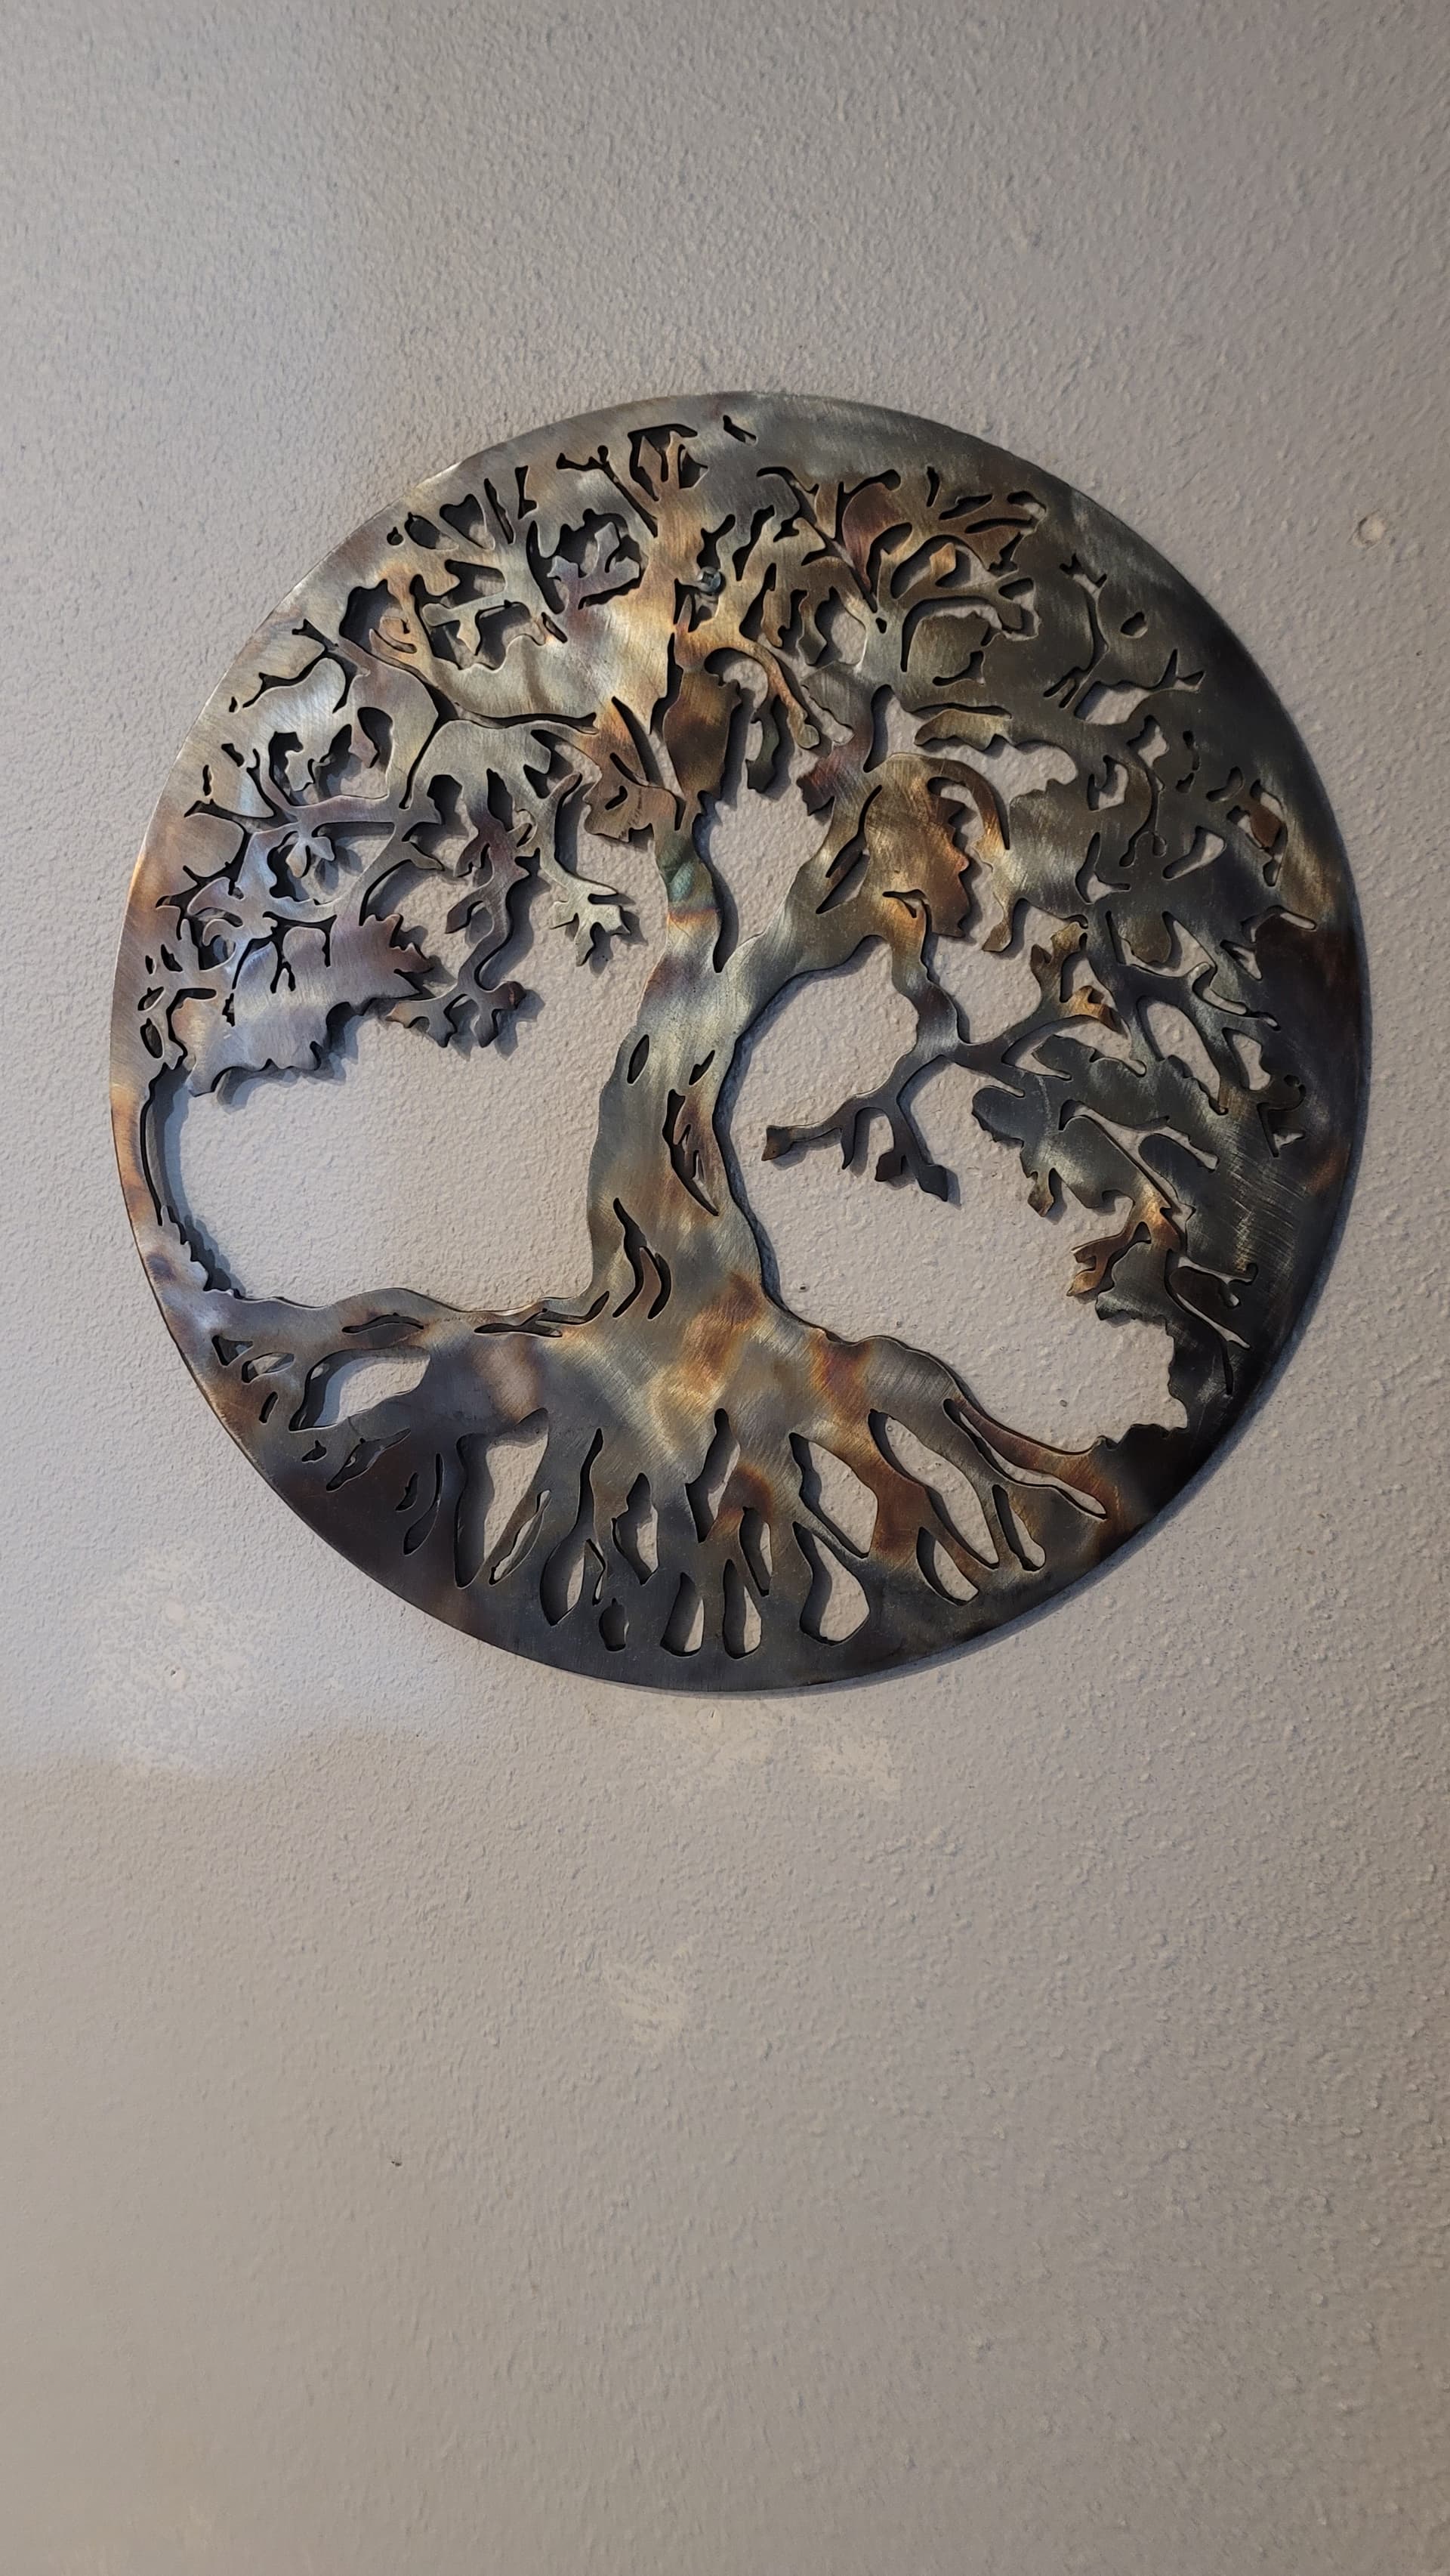
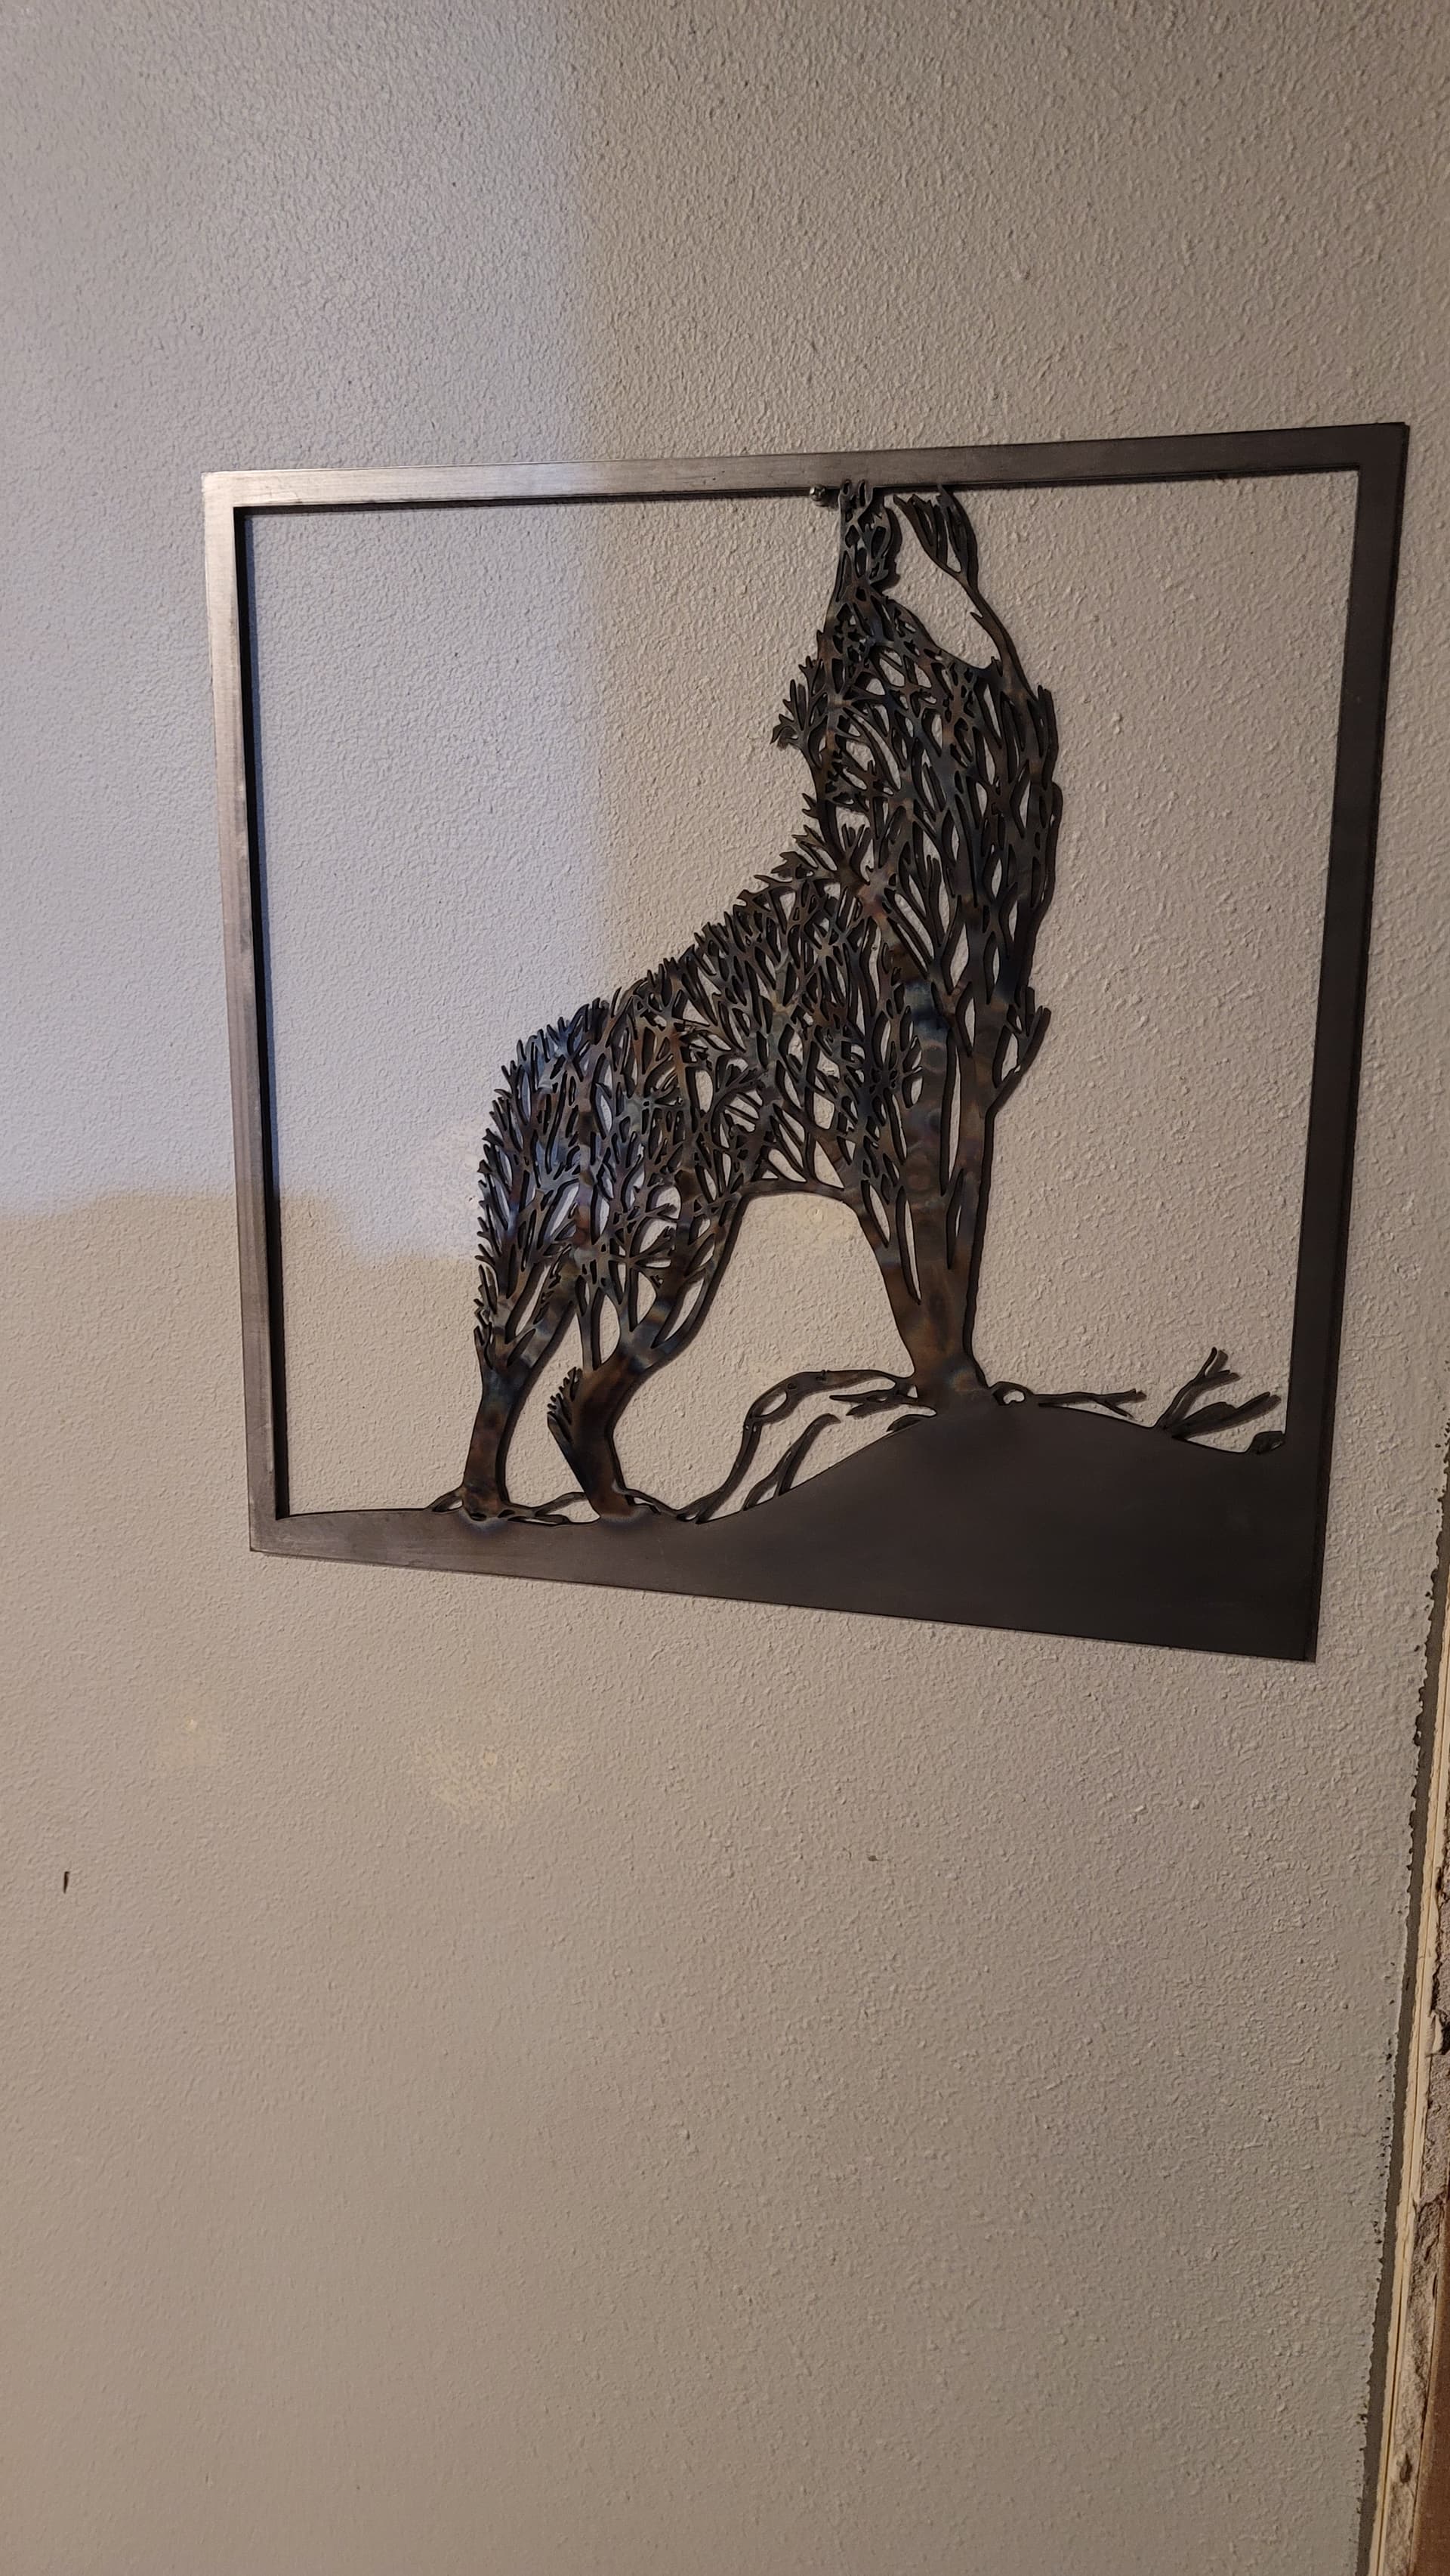
My wife found them on etsy as file downloads to purchase. They took a little detail clean up, but look super awesome. Really cheap, $3.99 each or something.