Hello everyone and here we are again in the next thread about avoiding bevels.
Im using the Crossfire pro (with THC) for a couple of weeks now and first of all the machine works really great.
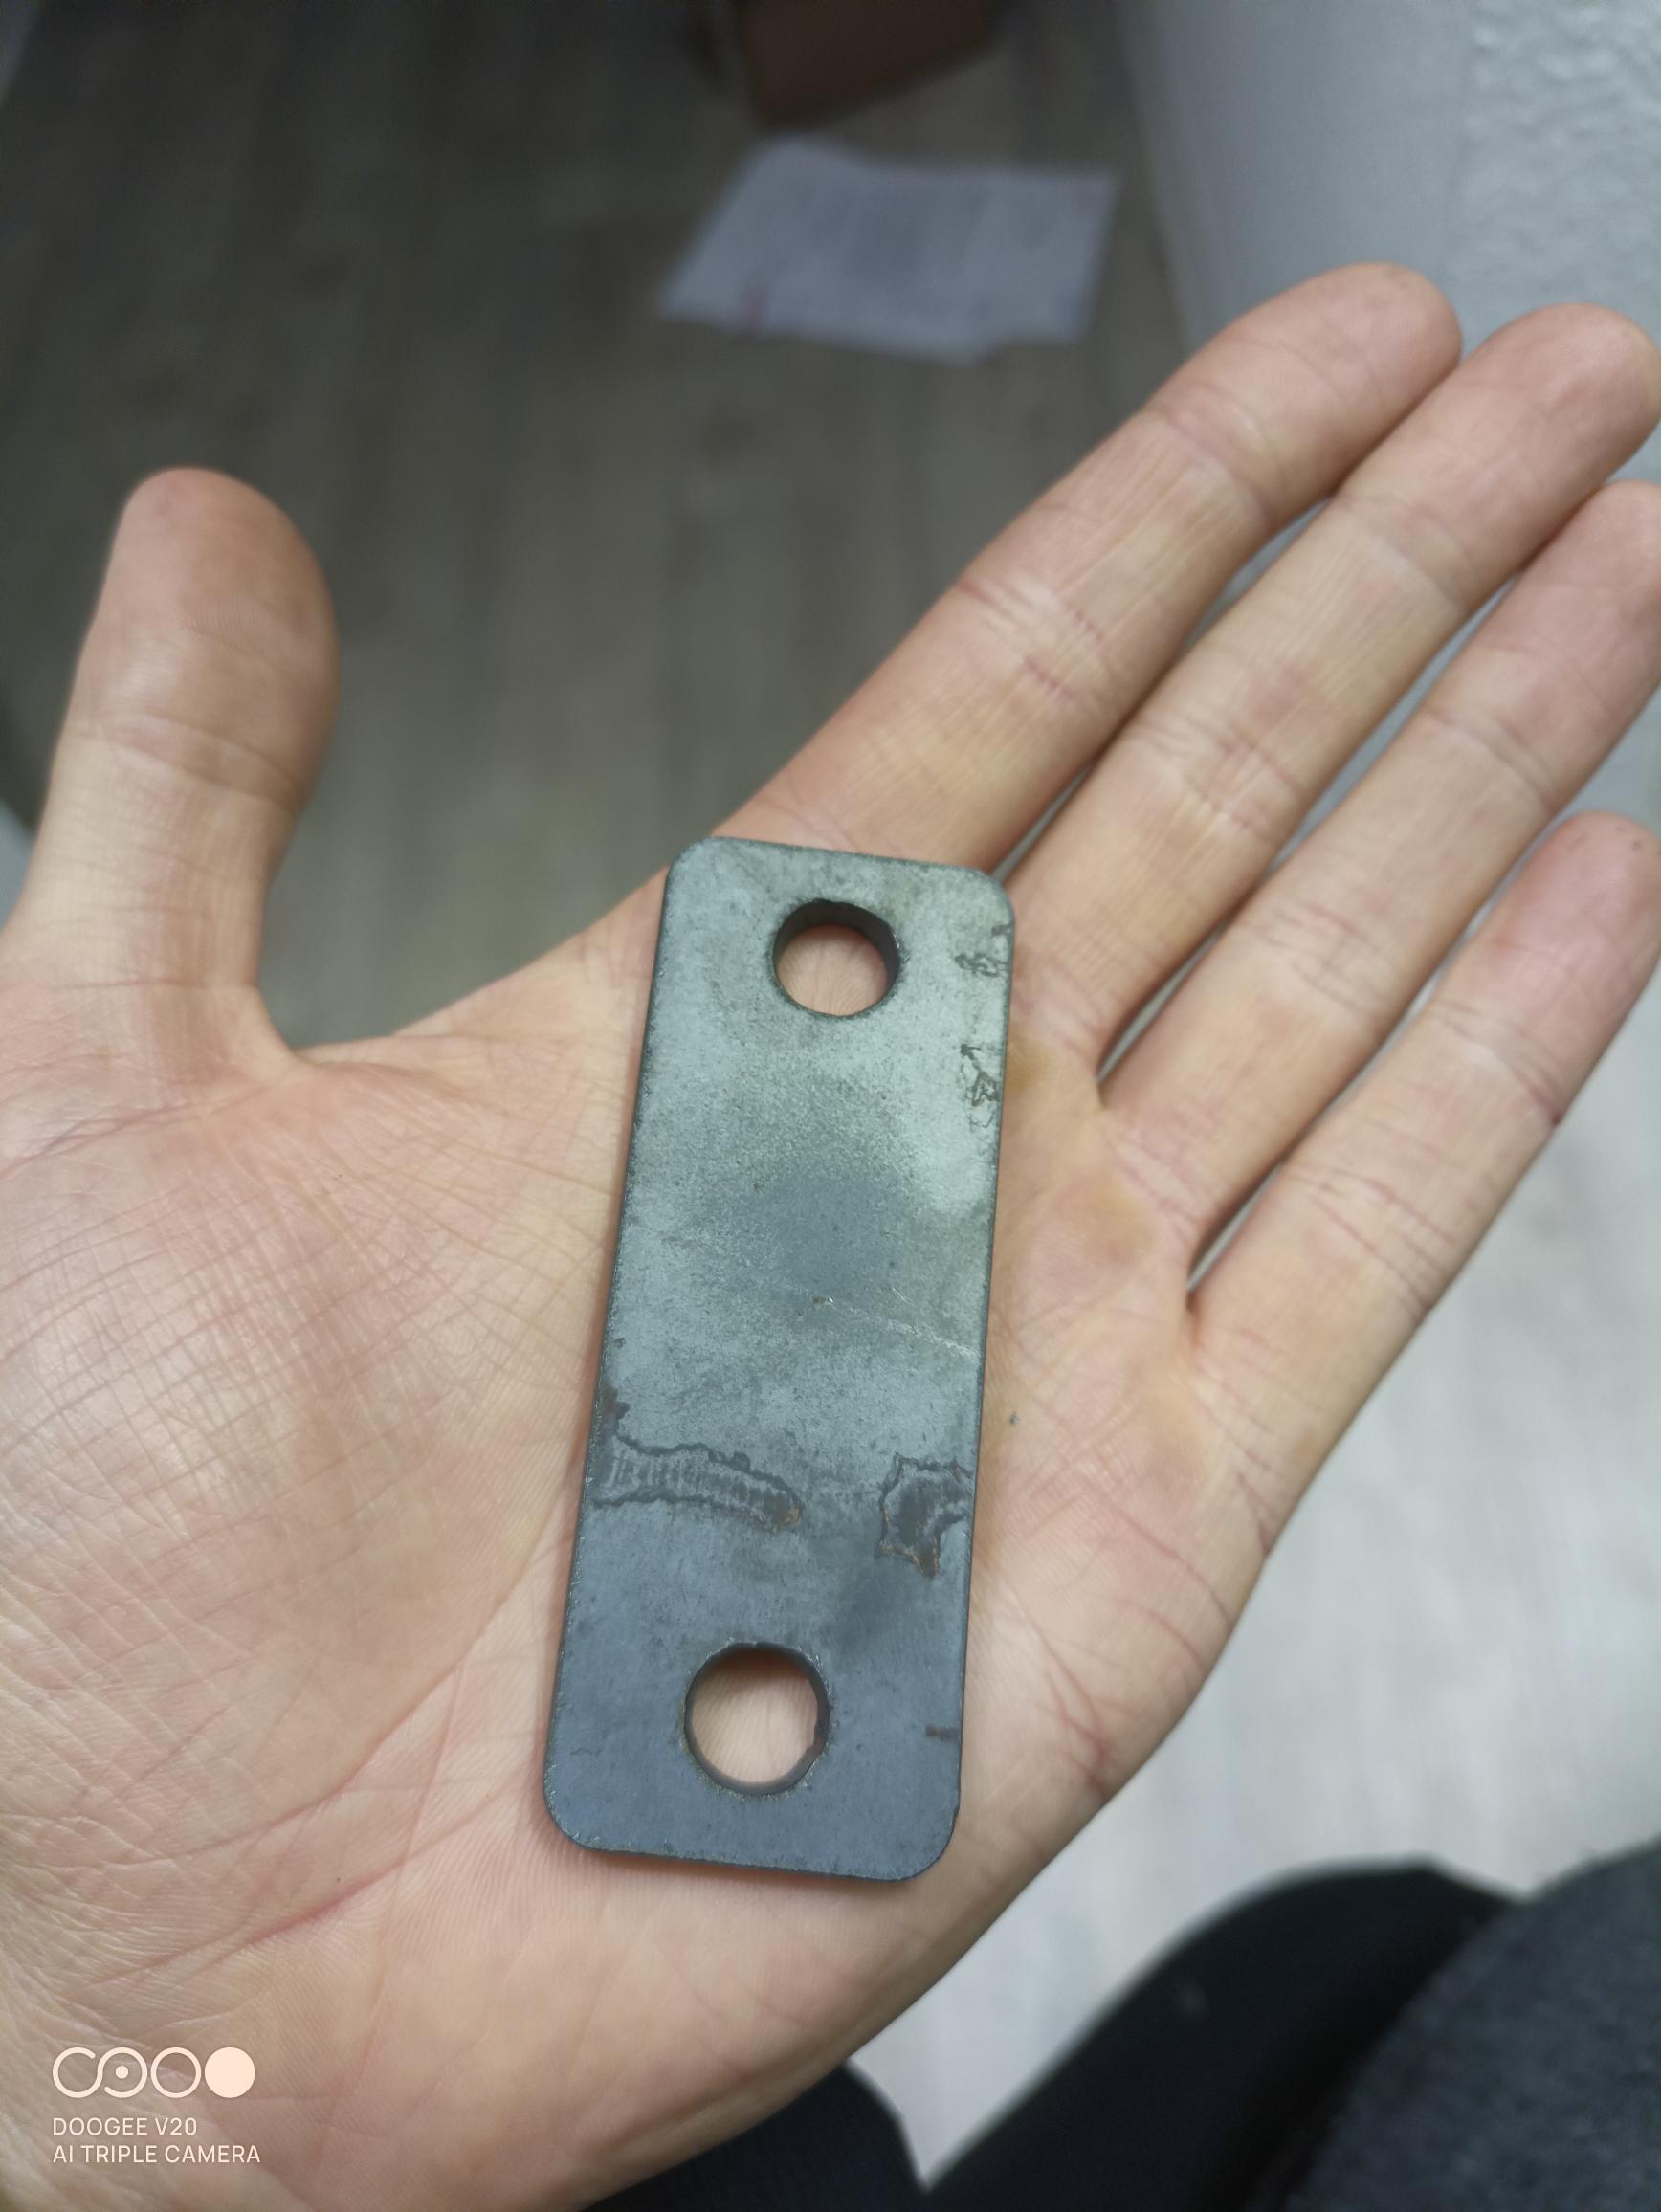
The Hypertherm XP45 is the Plasma cutter im using and for my undertstanding i get really good parts out of this setup based on cut quality, cutting speed and consumable lifetime. Also there is just a little dross on the backside of my parts so i think the amperage and speeds are fine ( picture)
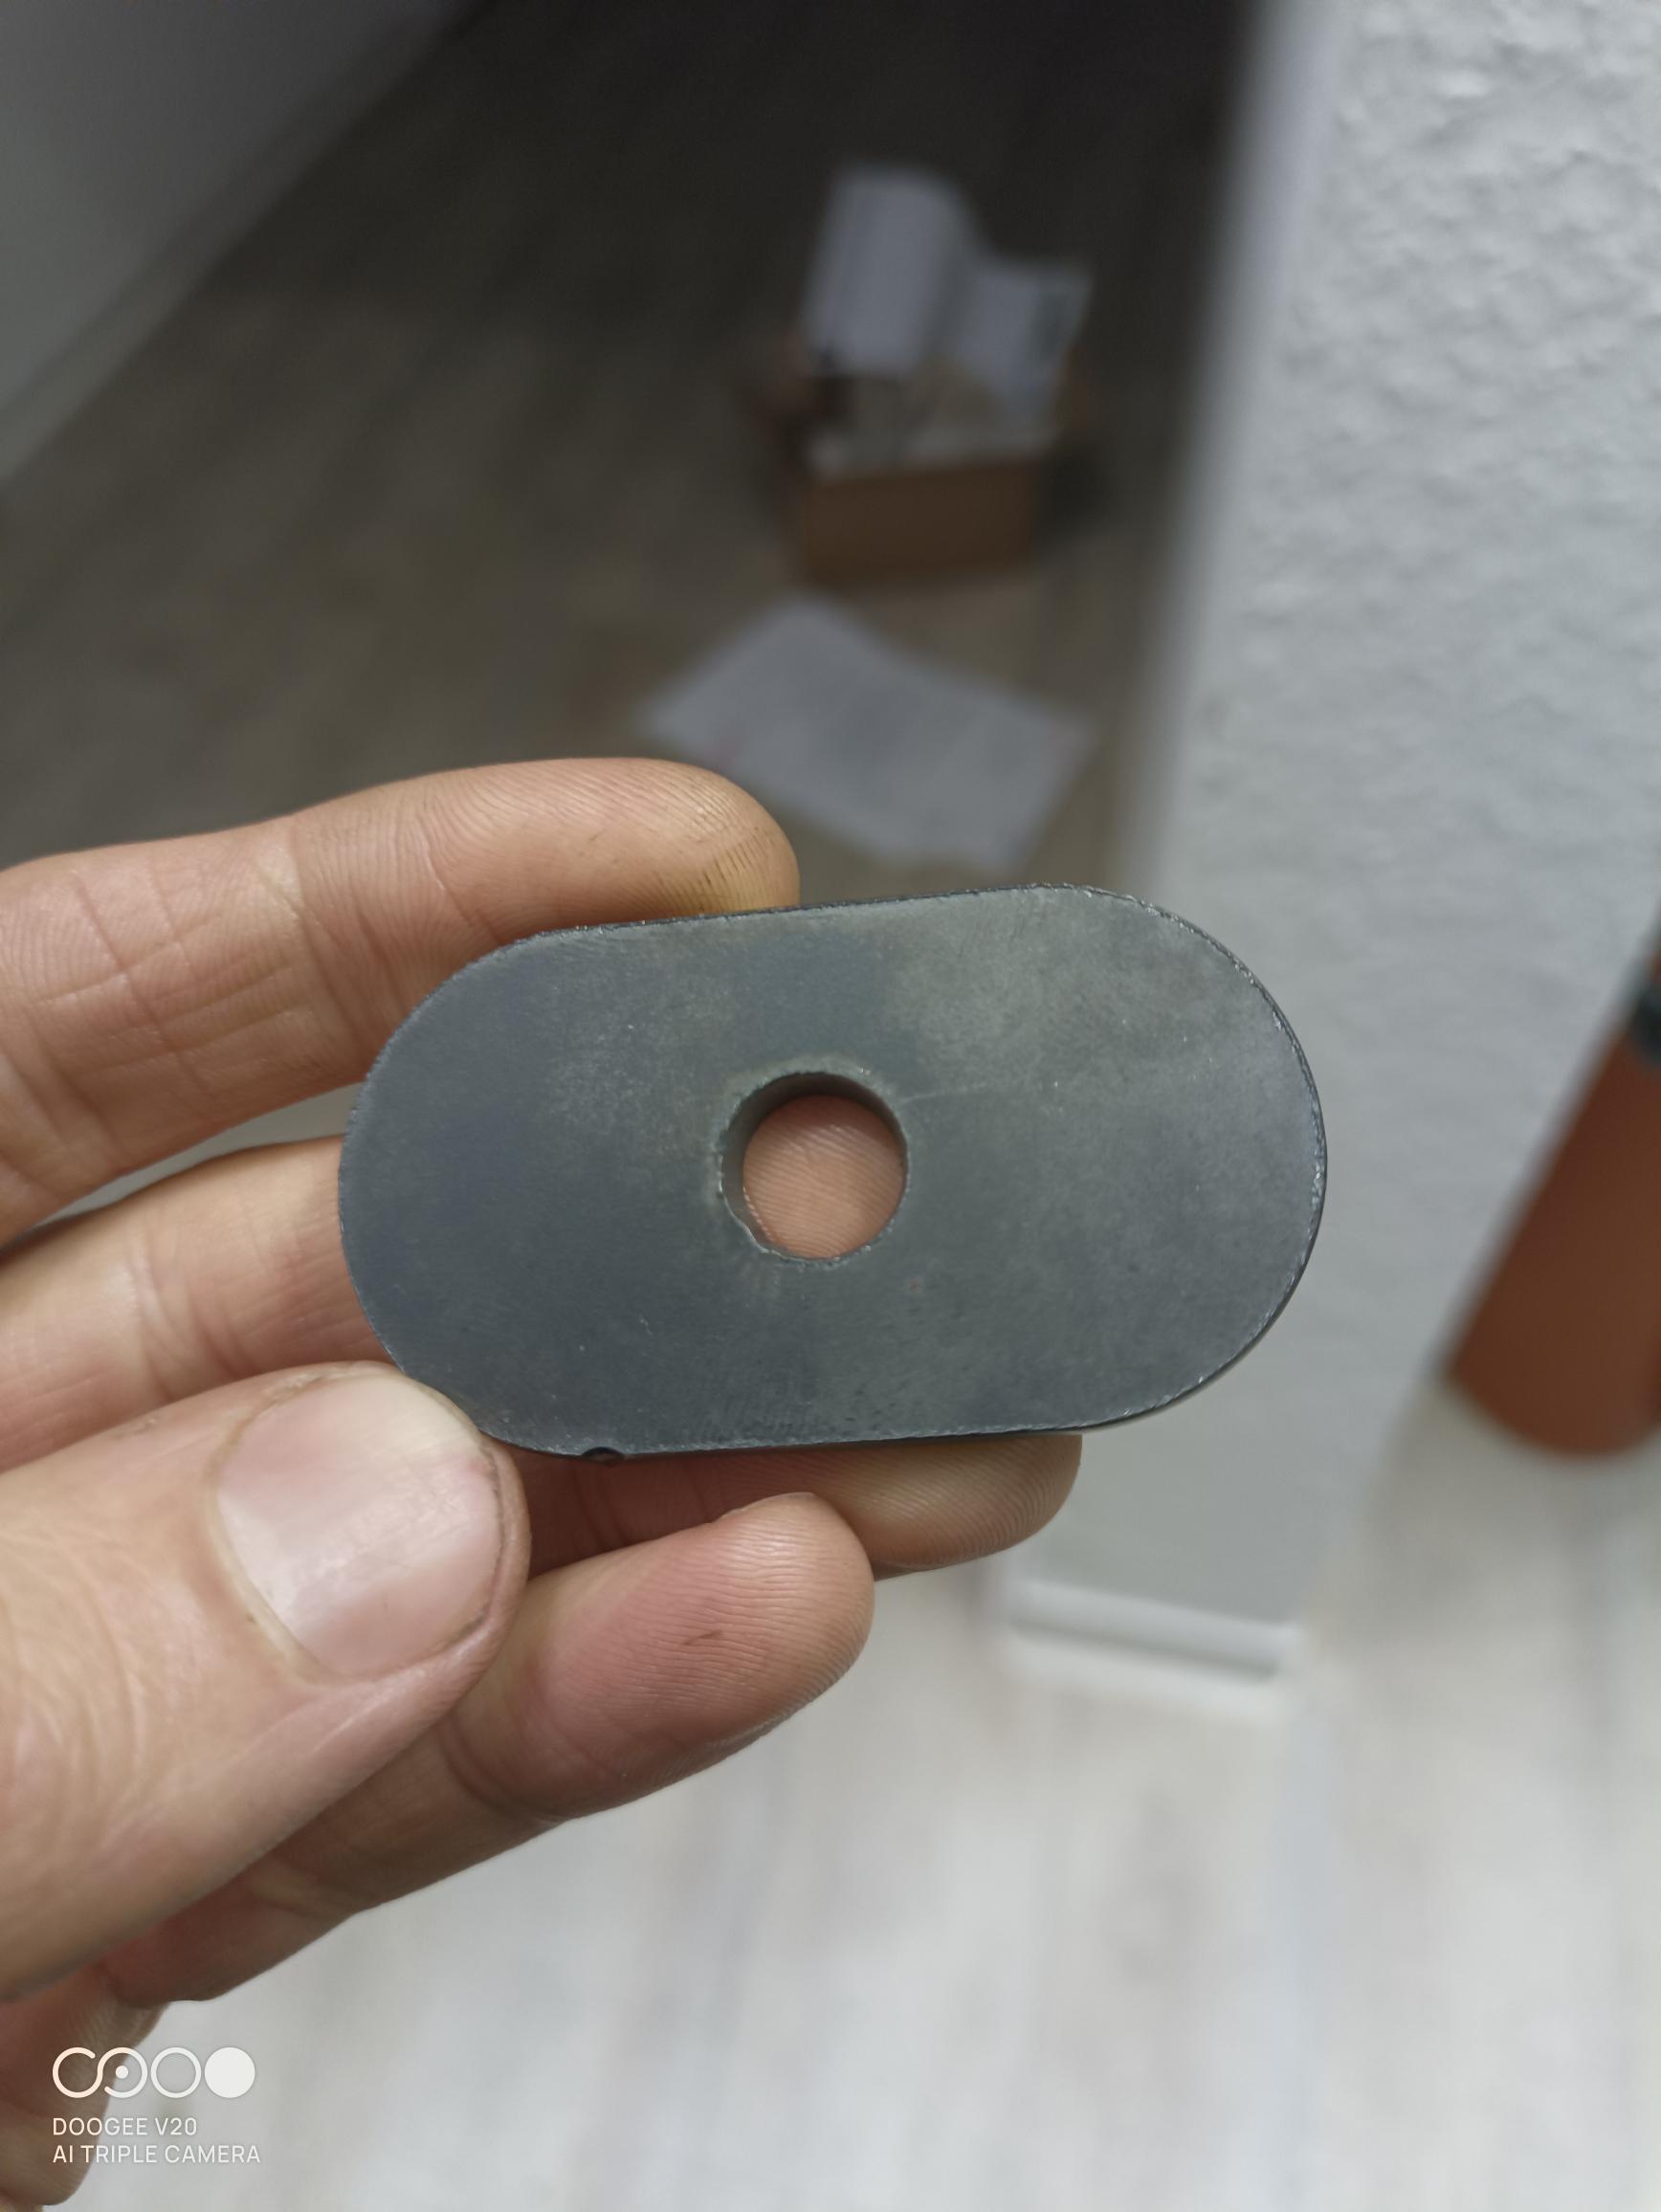
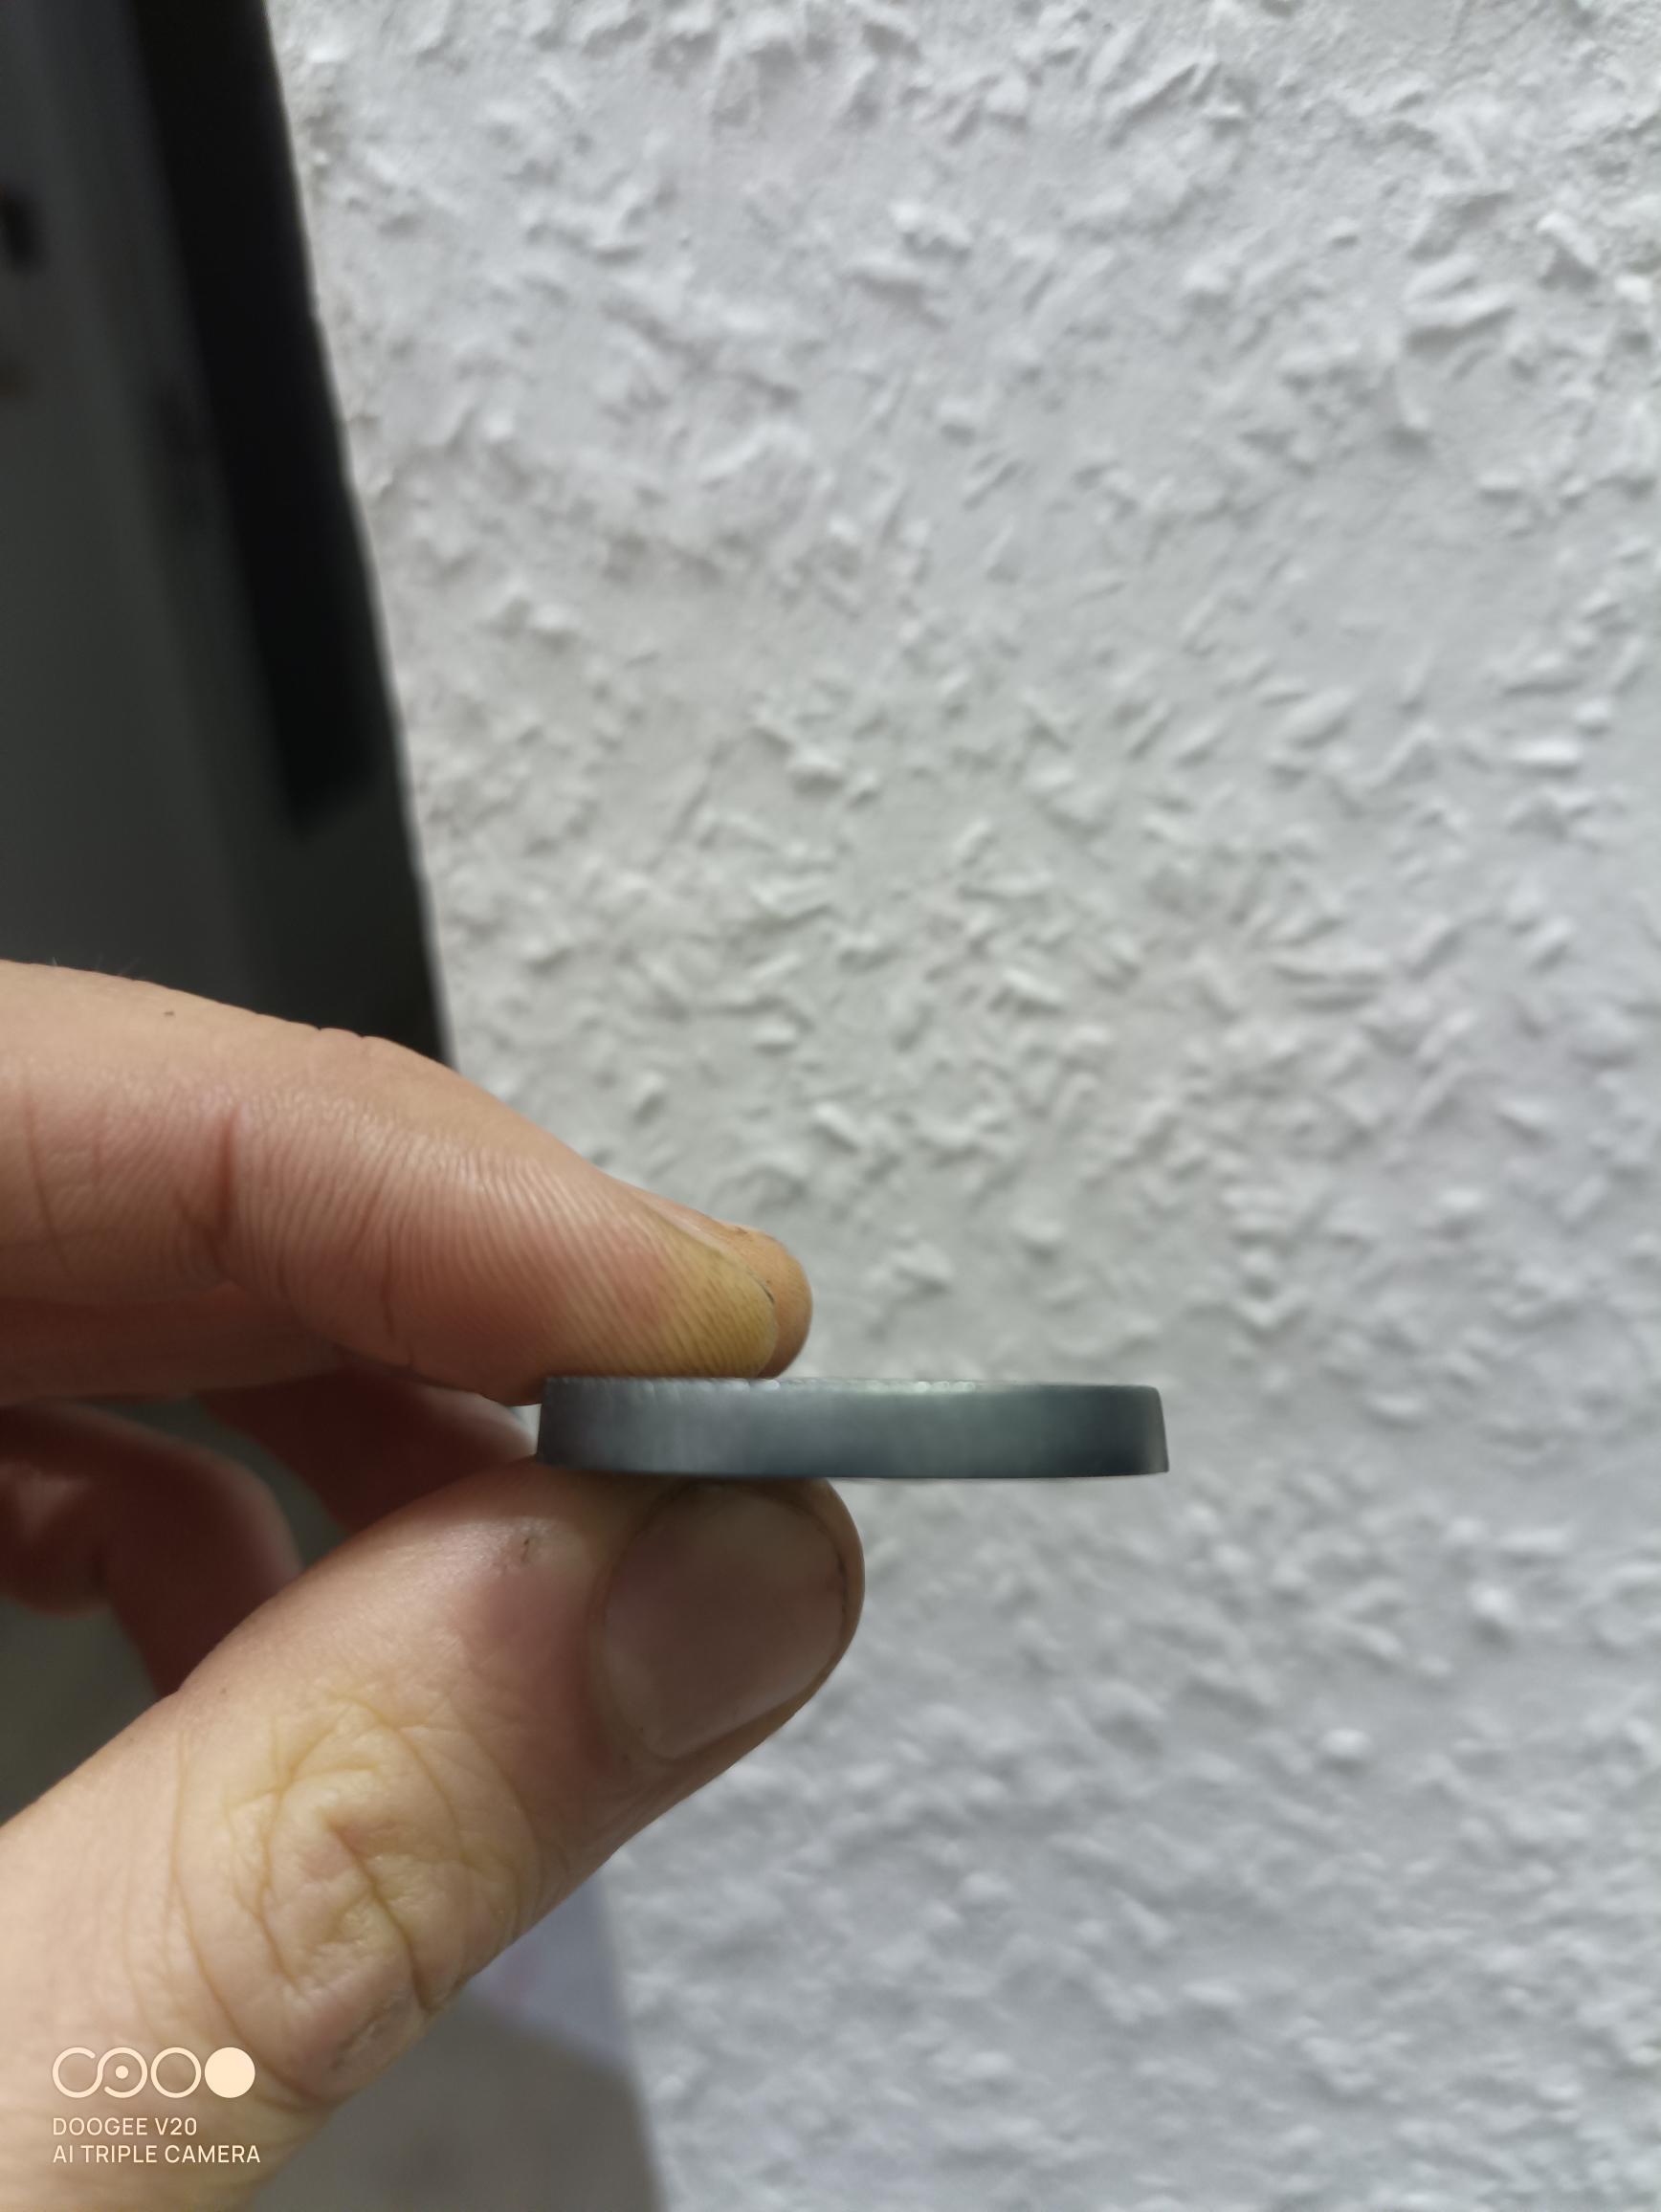
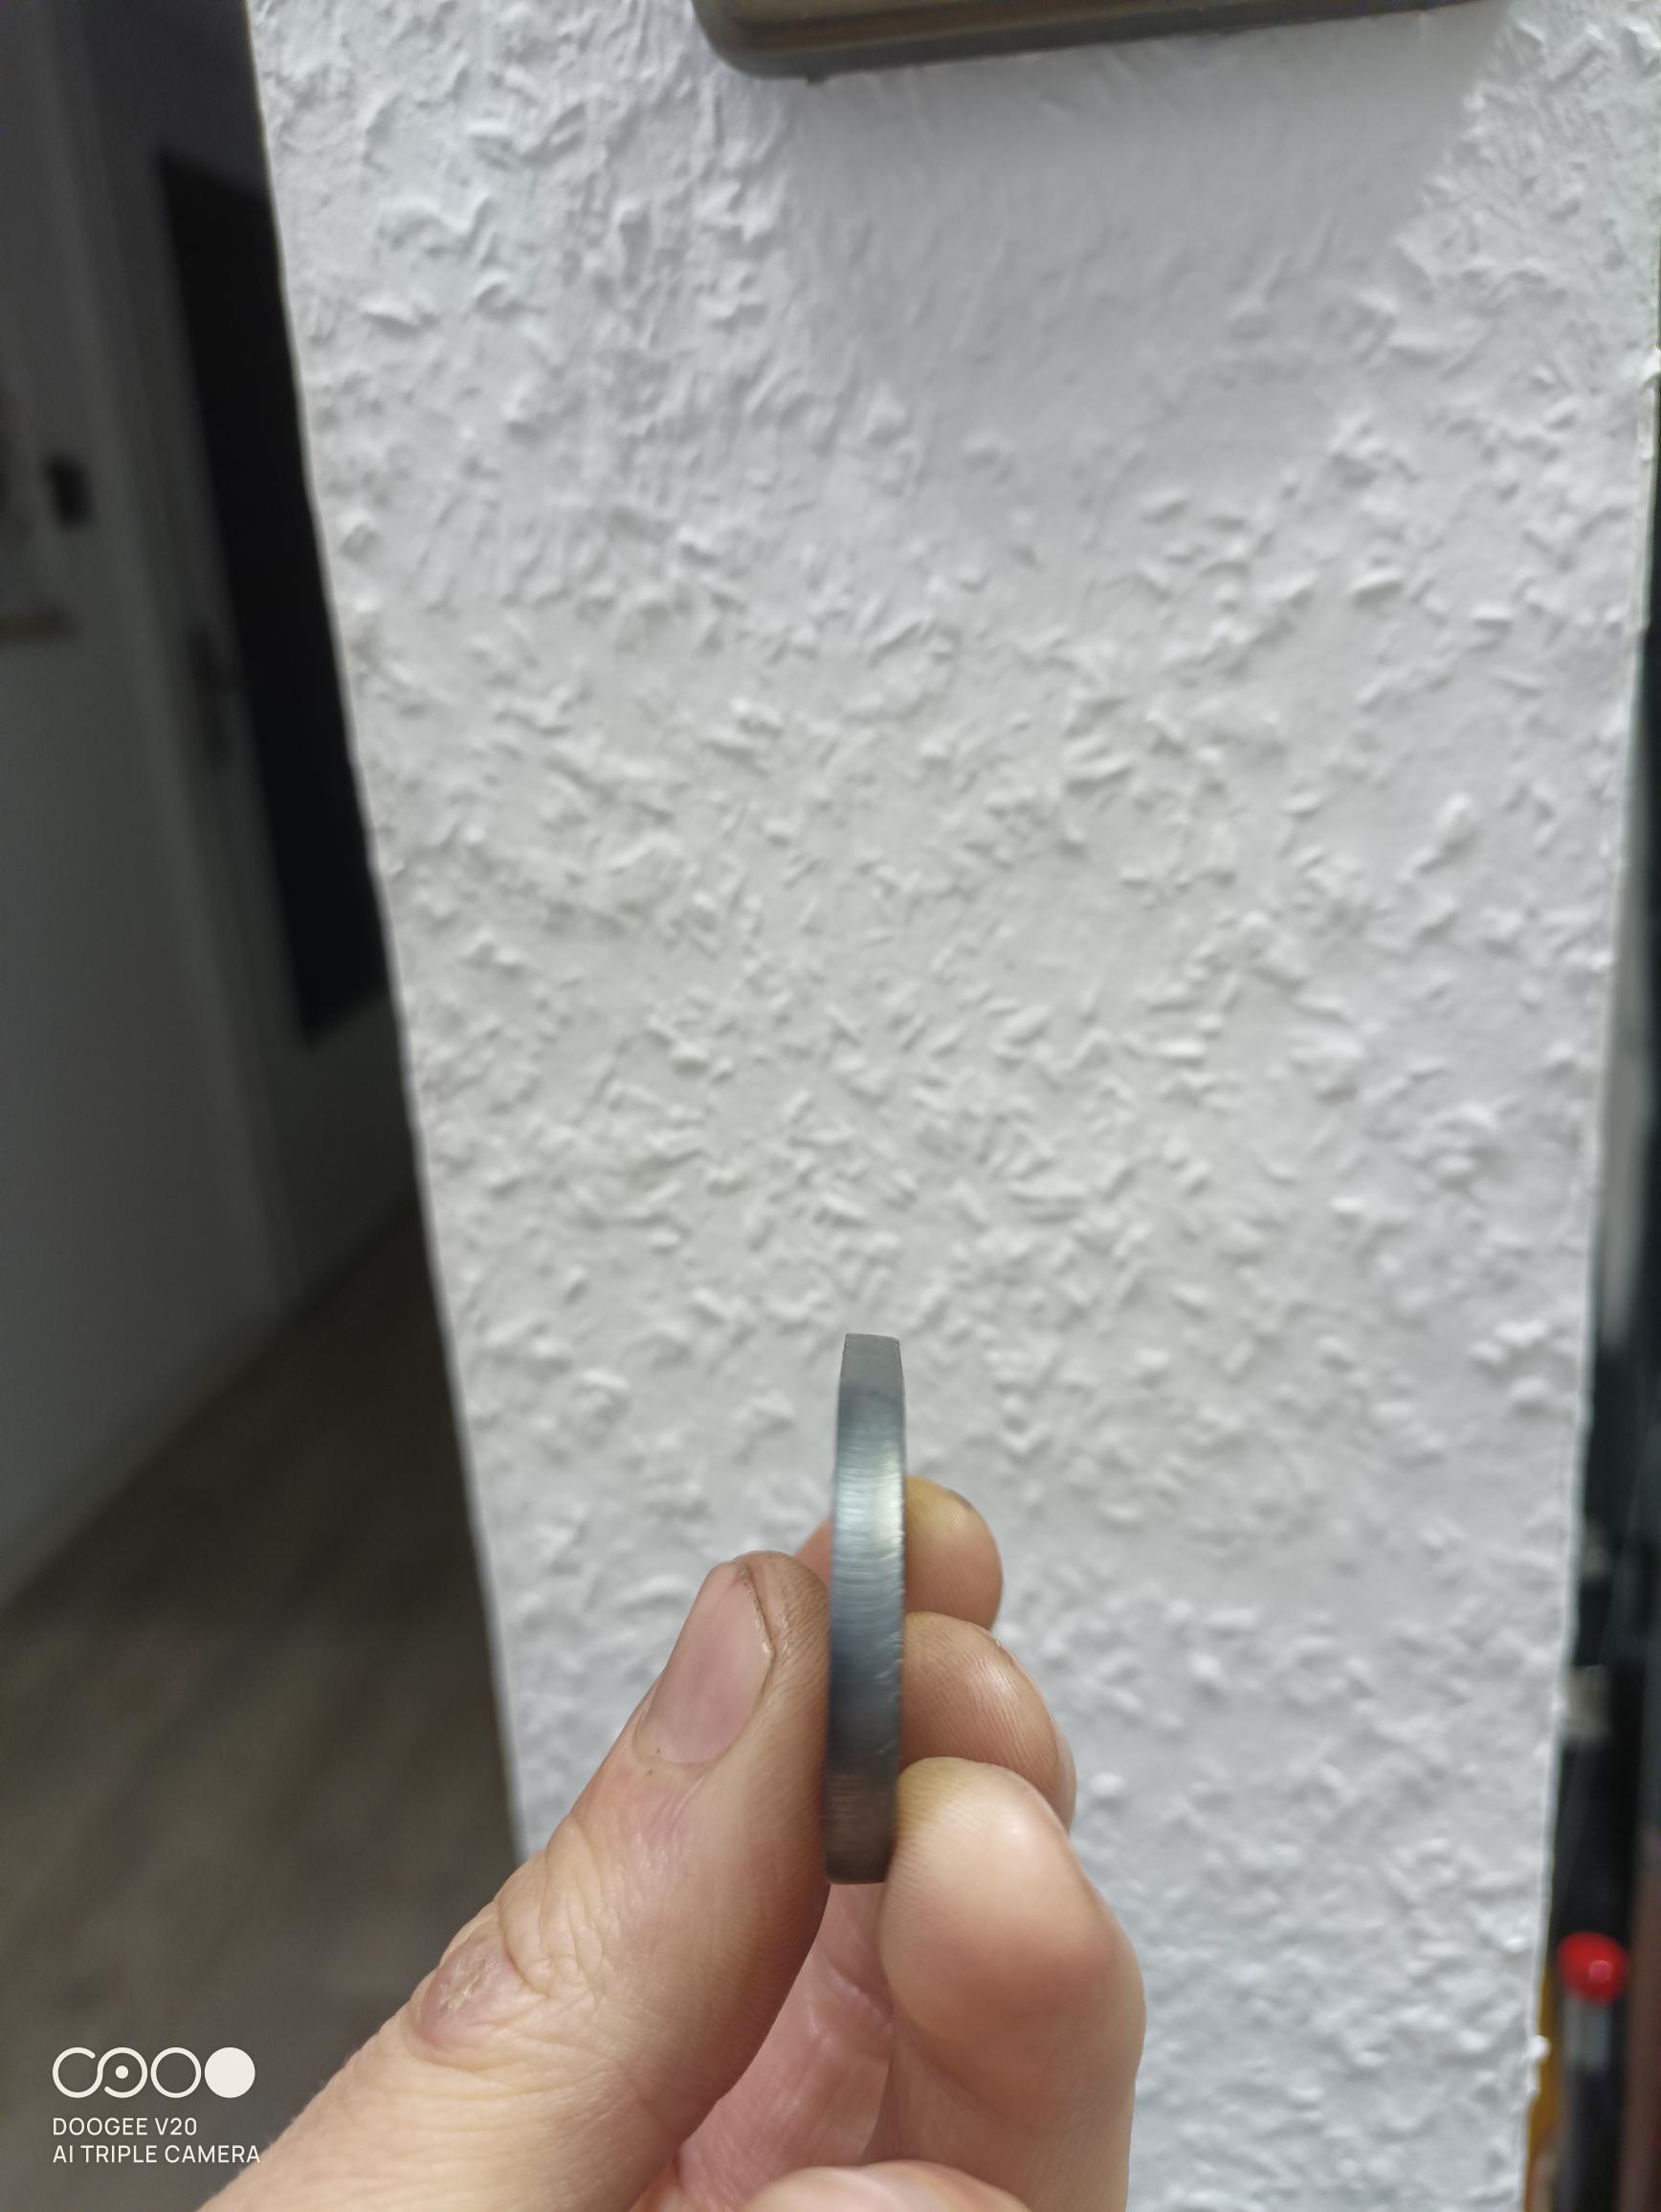
The only thing that bothers me since my first cut is an noticeable bevel on all four sides of my parts (crosscut looks pretty much like a trapezoid )
The bevel is most noticeable in holes, because they always look like they were chamferd.
I searched the Forum and checked all the common parameters:
i used new consumables
checked squareness of torch
made sure the air is dry ( installed in line 3 stage air dryer)
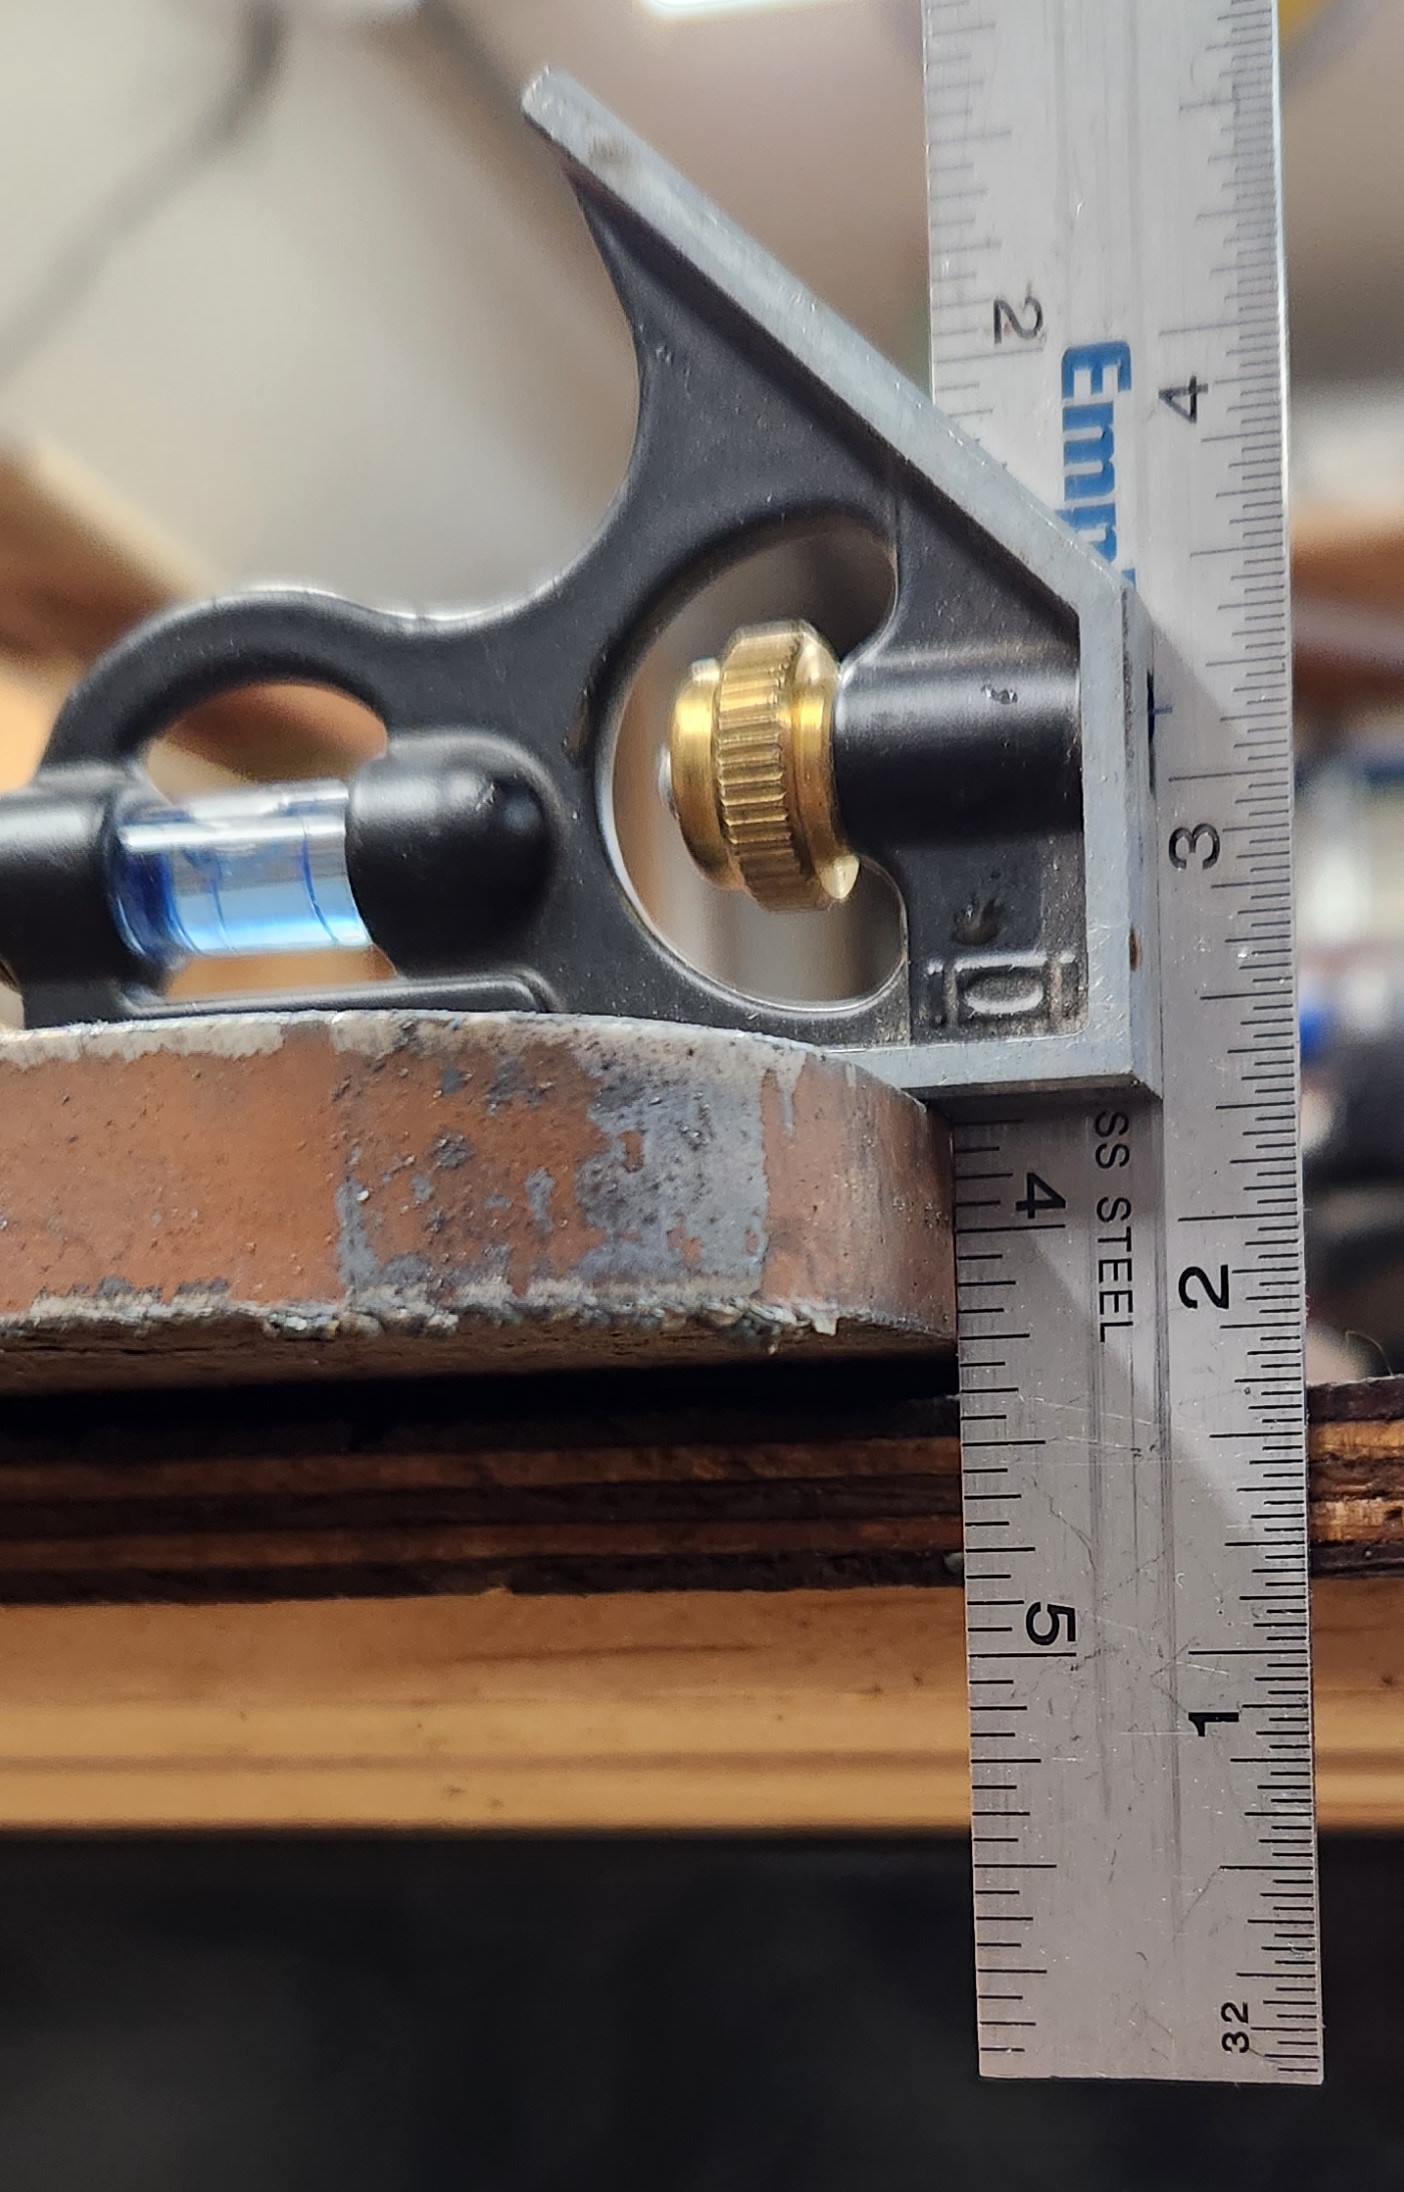
Than i checked the actual cutting hight by running the test program and measuring with the feeler gauge. I noticed that my cutting hight was 1,8 mm (0,07) instead of the programed 1,5mm (0,06).
I changed the cutting hight in the post processor to 1.15 mm (0,045) to compensate the difference but the outcome was pretty much the same.
I than messed around with that number and went to the extremes like 0,3mm (0,01) but still there was no significant changes in cut quality and bevel establishment. The changes do get into the crossfire because i tested very high extremes as well and it was noticeable. So at this point im pretty much done with my competence and for further testing i think i need more general information from you guys so thats why im opening this thread.
I think i need to understand the mechanincs a little bit more to come to an conclusion on whats the issue and i hope that some of you are able to answer the following questions:
What is the straightest cut to achieve? Am i right that there always will be a slight bevel on the parts or could you really tune in the crossfire pro to achieve pretty damn straight cuts. Any experience here?
Is the postprocessor the right place to adjust cut hight?
Does the THC play a part here? Could adjusting the THC be the key ?
I got al lot more questions to this topic but i dont want to overflood this thread. Maybe some of you can share theire experience. Thanks to all of you in andvance!
Mainly because I had straight cuts all around; what you’re running into is the definition of incorrect cut height.
So why am I tagging along? I’m running a different torch with a different consumable set and running into beveling myself now even after utilizing what I know to get rid of the beveling. Still present ever so slightly.
If you are routinely having significant bottom side dross (on straight cuts) then your cut height is too high, amperage too low or cut speed is too fast. And this is really going to be an issue with holes because the plasma stream is lagging behind the torch. If you are not using “Feed Optimization” (Fusion 360) or whatever it is called in SheetCAM, you will forever have poor hole completion.
Do a practice straight cut and hit the space bar to interrupt the cut. That will stop FireControl and turn off the torch. Measure the stand off distance between the torch and the metal. If it measure okay then it is likely your nozzle. Perhaps not the electrode.
I had terrible dross on both sides and a much worse bevel than you are having. My cut height was way too high. Corrected the height by reducing my post processing from 0.06 to 0.022. Perfect cuts and bevel was gone.
Bevel recently returned but no significant dross. It was the nozzle. Nozzle had a perfect concentric orifice but it was enlarged. That was causing the bevel.
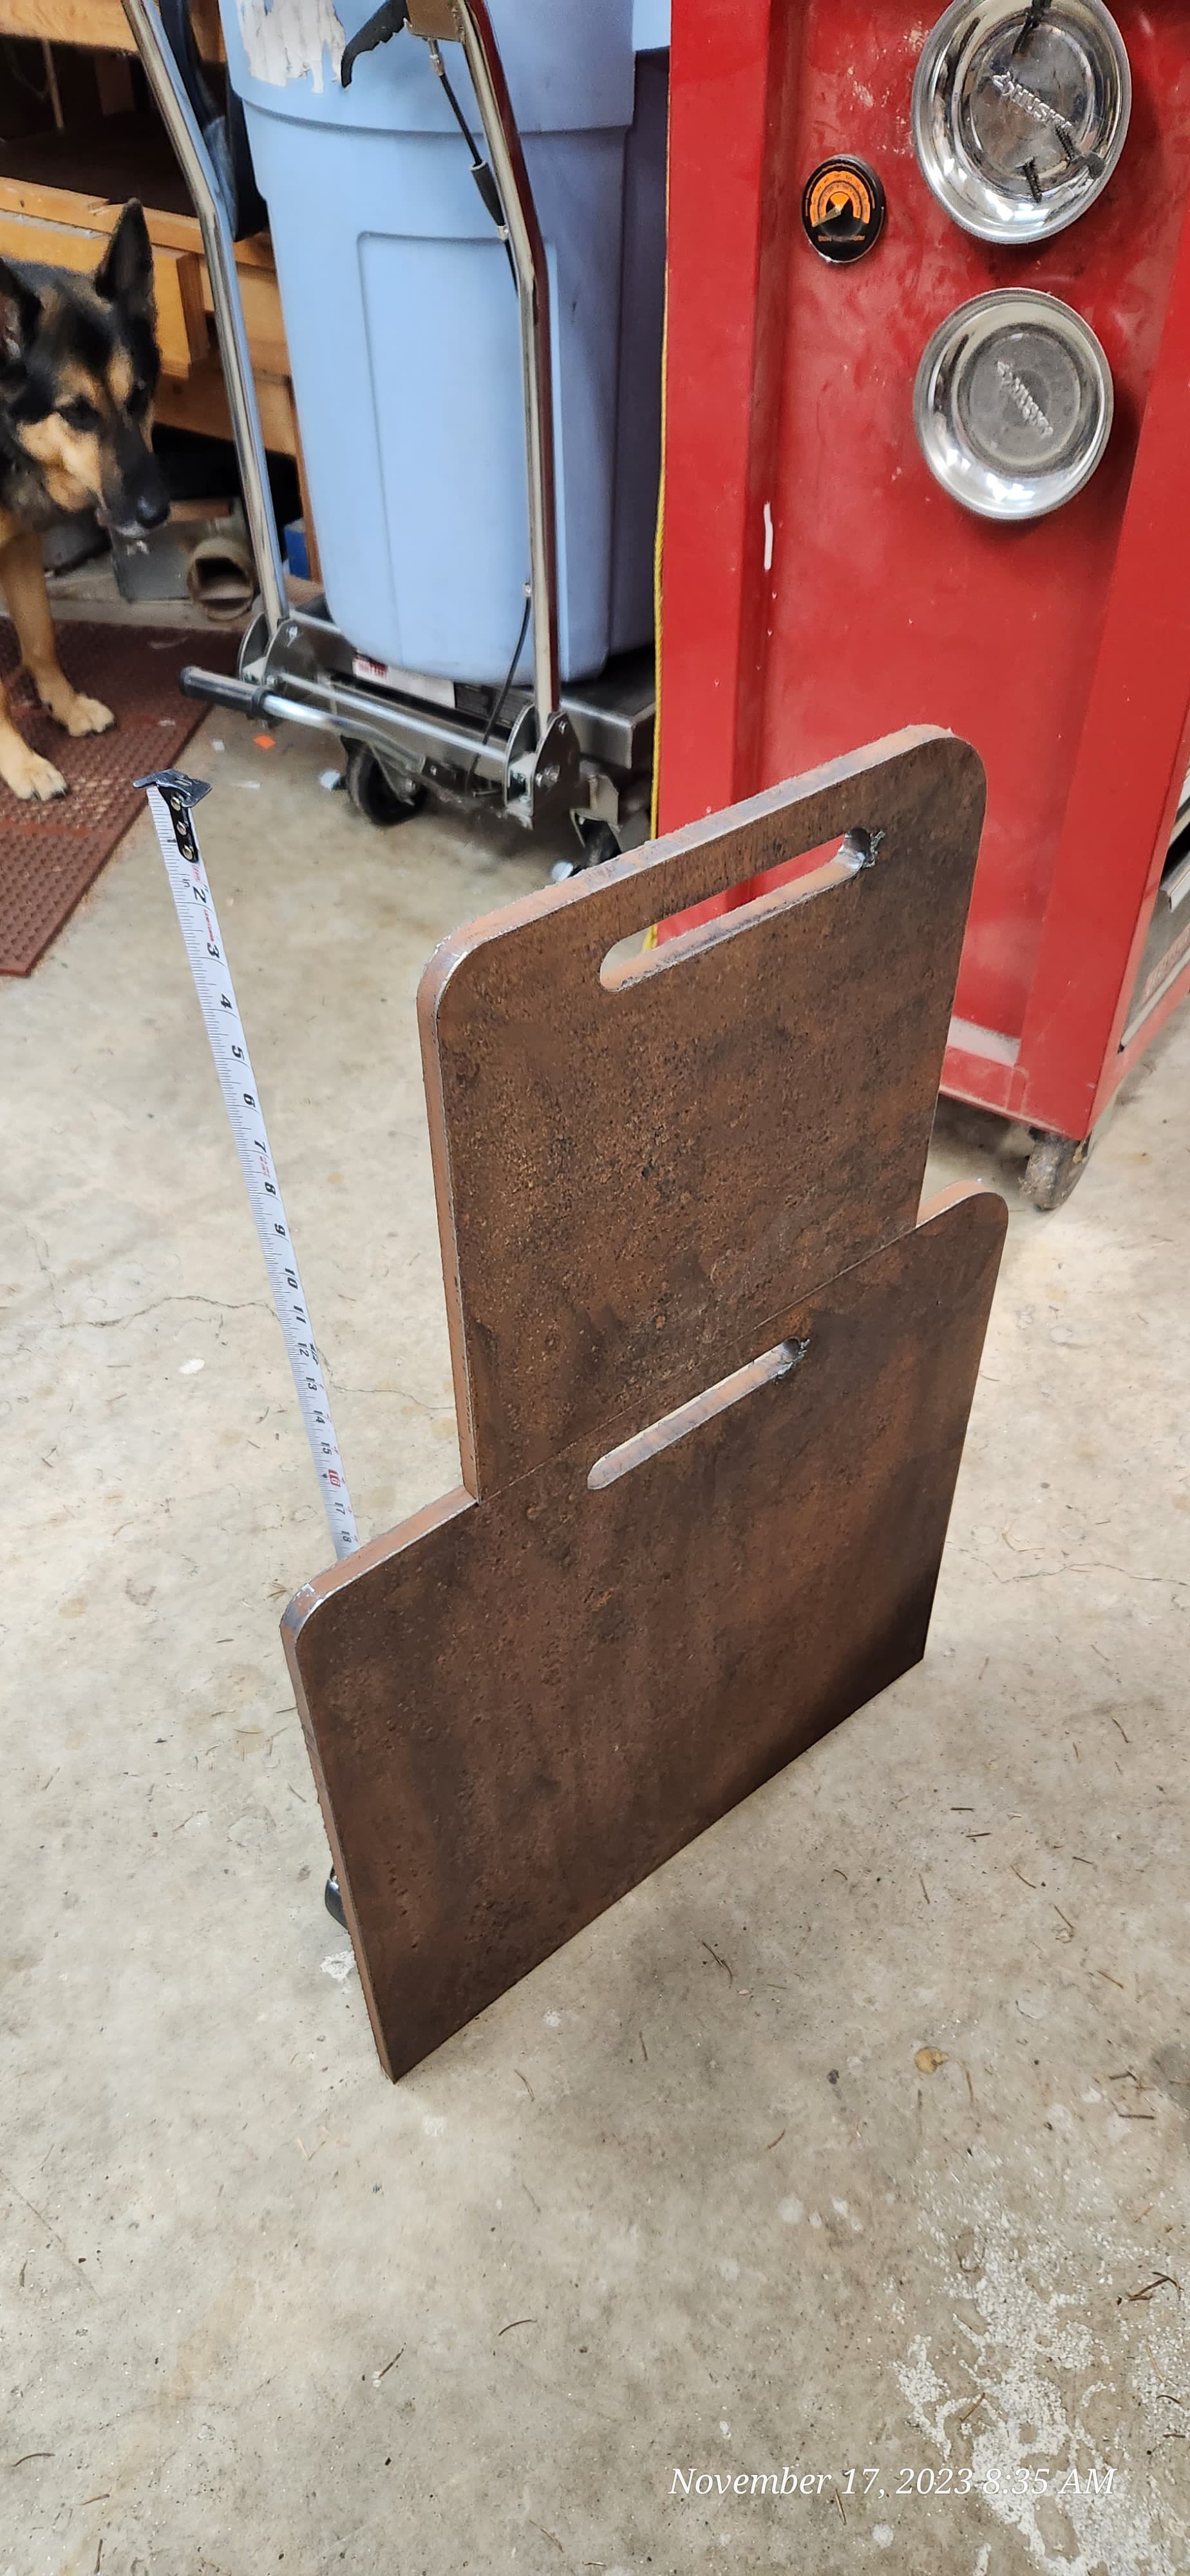
Replaced electrode and nozzle. I have been cutting all sorts of metal with those same consumables. Two days ago I used the same ones on 1/2 inch steel. None of these plates have had any attempt to remove dross whether by chipping, dropping or fingernail. Notice how they balance. No significant bevel.
I was so afraid she was going to bump those plates. The bottom one is 55 pounds and the upper one is about 22 pounds. I was quickly trying to get the pictures.
@ChelanJim great advice on chasing bevel. One thing I did to help improve my cutting. Instead of squaring my torch to the slats I leveled it with a level. When I do thicker metal I will shim the plate to make it level as well… mt thoughts is if you square up to the slates as you cut things the plate won’t be square to the torch.
I guess it could if it was getting some inconsistent readings in the first .25 inches of the cut. The default is that THC monitors for 0.25 inches and then averages the readings. That average is the target it tries to keep.
I am trying what @TinWhisperer said he does (paraphrasing):
When consumables are new/great shape then use Nominal voltage not SmartVoltage. When you get to the last 30% of the life of the consumables, let THC do its job.
Edited after Tin’s reminder which follows:
When I was cutting this 1/2 inch plate I used Nominal Voltage (not SmartVoltage) set at 141 volts as per Hypertherm’s cutting chart.
Side note: I have never used Nominal voltage before so it took me a bit to figure it out. Basically, you tell post-processor that you will be using THC but you go into the settings of THC in FireControl and manually input the Nominal Voltage value. If THC is turned off, you won’t be able to enter a value for Nominal Voltage (SmartVoltage is triggered by entering “0” volts in this area).
When the consumables are brand new I use nominal voltage from the cut charts. Once they have worn down those consumables some I’ll switch over to Smart voltage for the remaining life of that consumable.
For very small or short geometry I also like using nominal voltage. Because it takes a certain amount of time to initiate the smart voltage so some geometry is just too short to have enough time. So that short geometry will not have any THC height correction applied to it. If you were cutting a half inch long single line using smart voltage it takes about 3/8 of an inch of travel before smart voltage really starts coming into effect
First, I would like to say “Love your profile picture.” I never realized you could use a gif for that!
Second, so you are saying the manual says if you have ‘your kind of bevel’, the torch is too high.
So you are describing a positive bevel. (The bevel is away from your piece of project metal and is not undermining it.) There are multiple reasons for a positive bevel:
Metal is not being cut thoroughly so you get a bevel (cut speed too fast, torch too high, perhaps air volume is not adequate)
There is also mechanical reasons such as the torch having slop in the mounting or the torch is mounted incorrectly
The nozzle is worn and needs to be replaced (if you are using junk consumables, the nozzle might be worn after 30 seconds…I had that happen)
The amperage is not sufficient
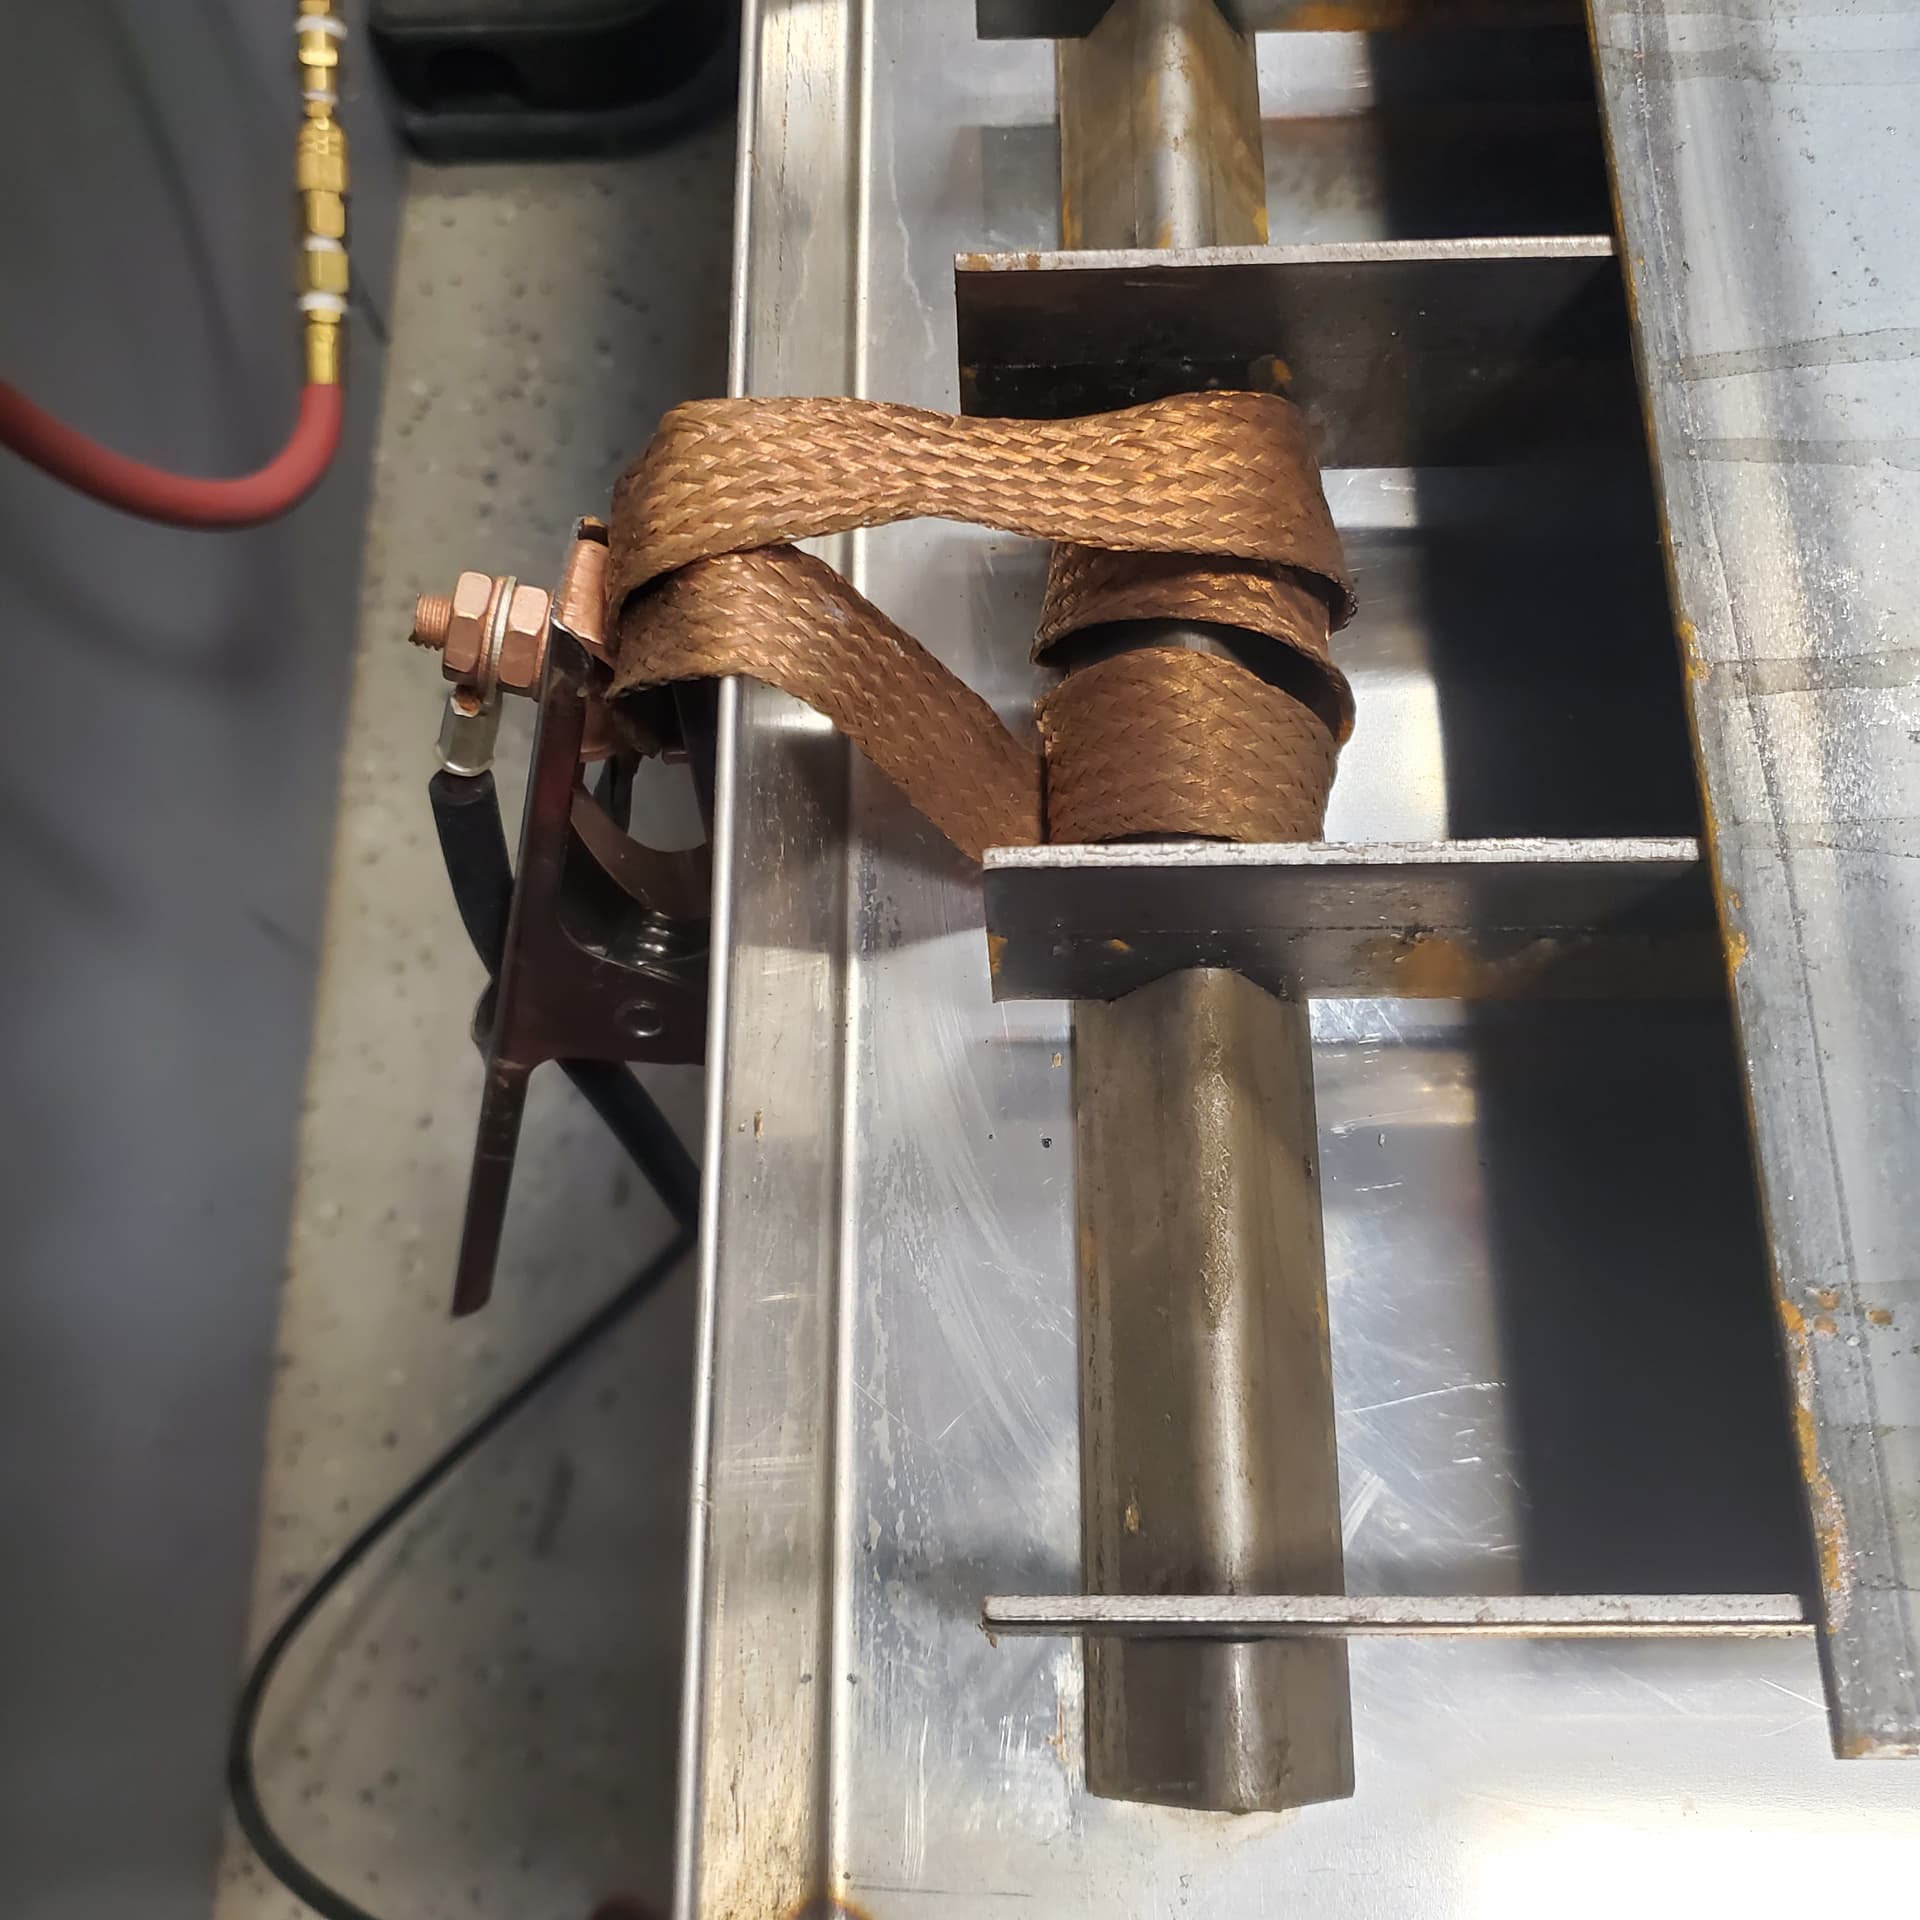
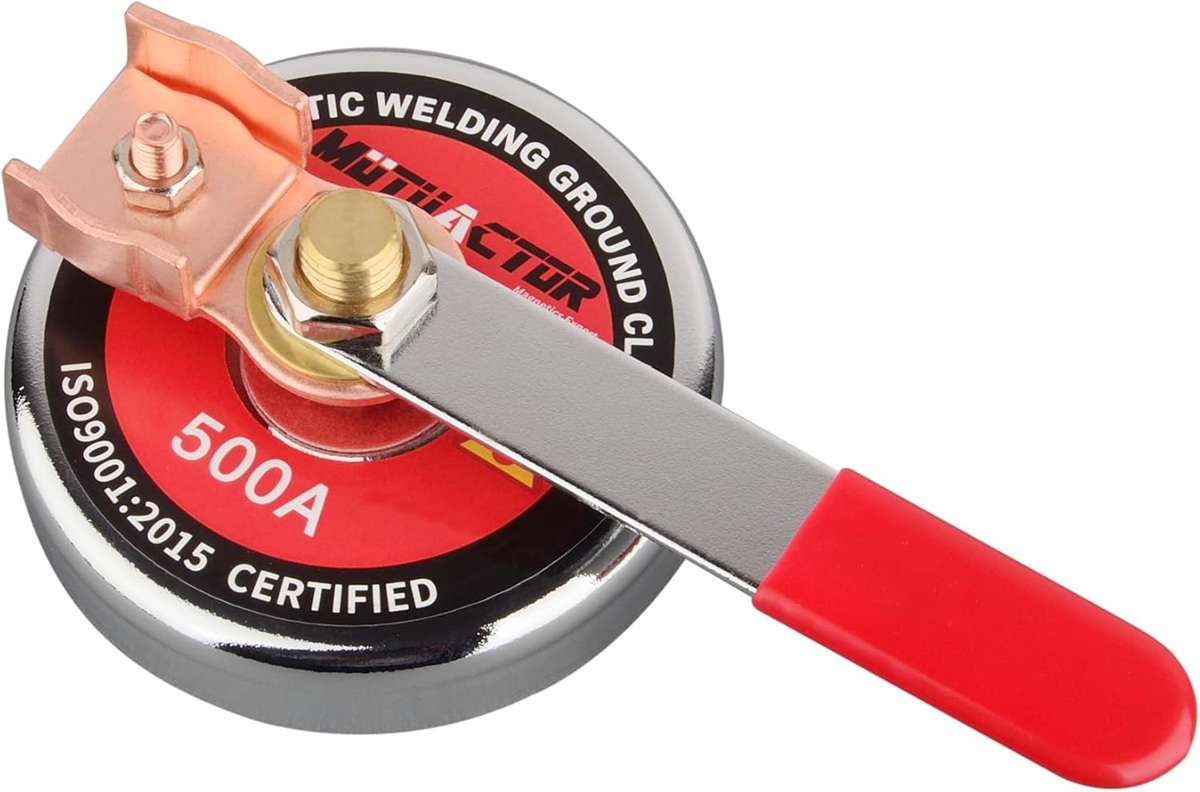
Ground lead is having issues (connection poor with clamp to metal or wire lead to the clamp or cutter)
Please share photos of your setup, the consumables (well lit and focused- I have problems getting good pictures myself so not being critical), details: metal thickness, actual measurement of the torch to the metal during cutting (press space bar to pause cut and measure with feeler gauge), gcode file, edge of the metal cut both in the x direction as well as the y direction.
I think it is cutting very good with the exception of the V or Positive Bevel. I posted earlier about them air pressure to the cutter not sure what the PSI to the cutter be.
I will check that again that was the first things I checked.
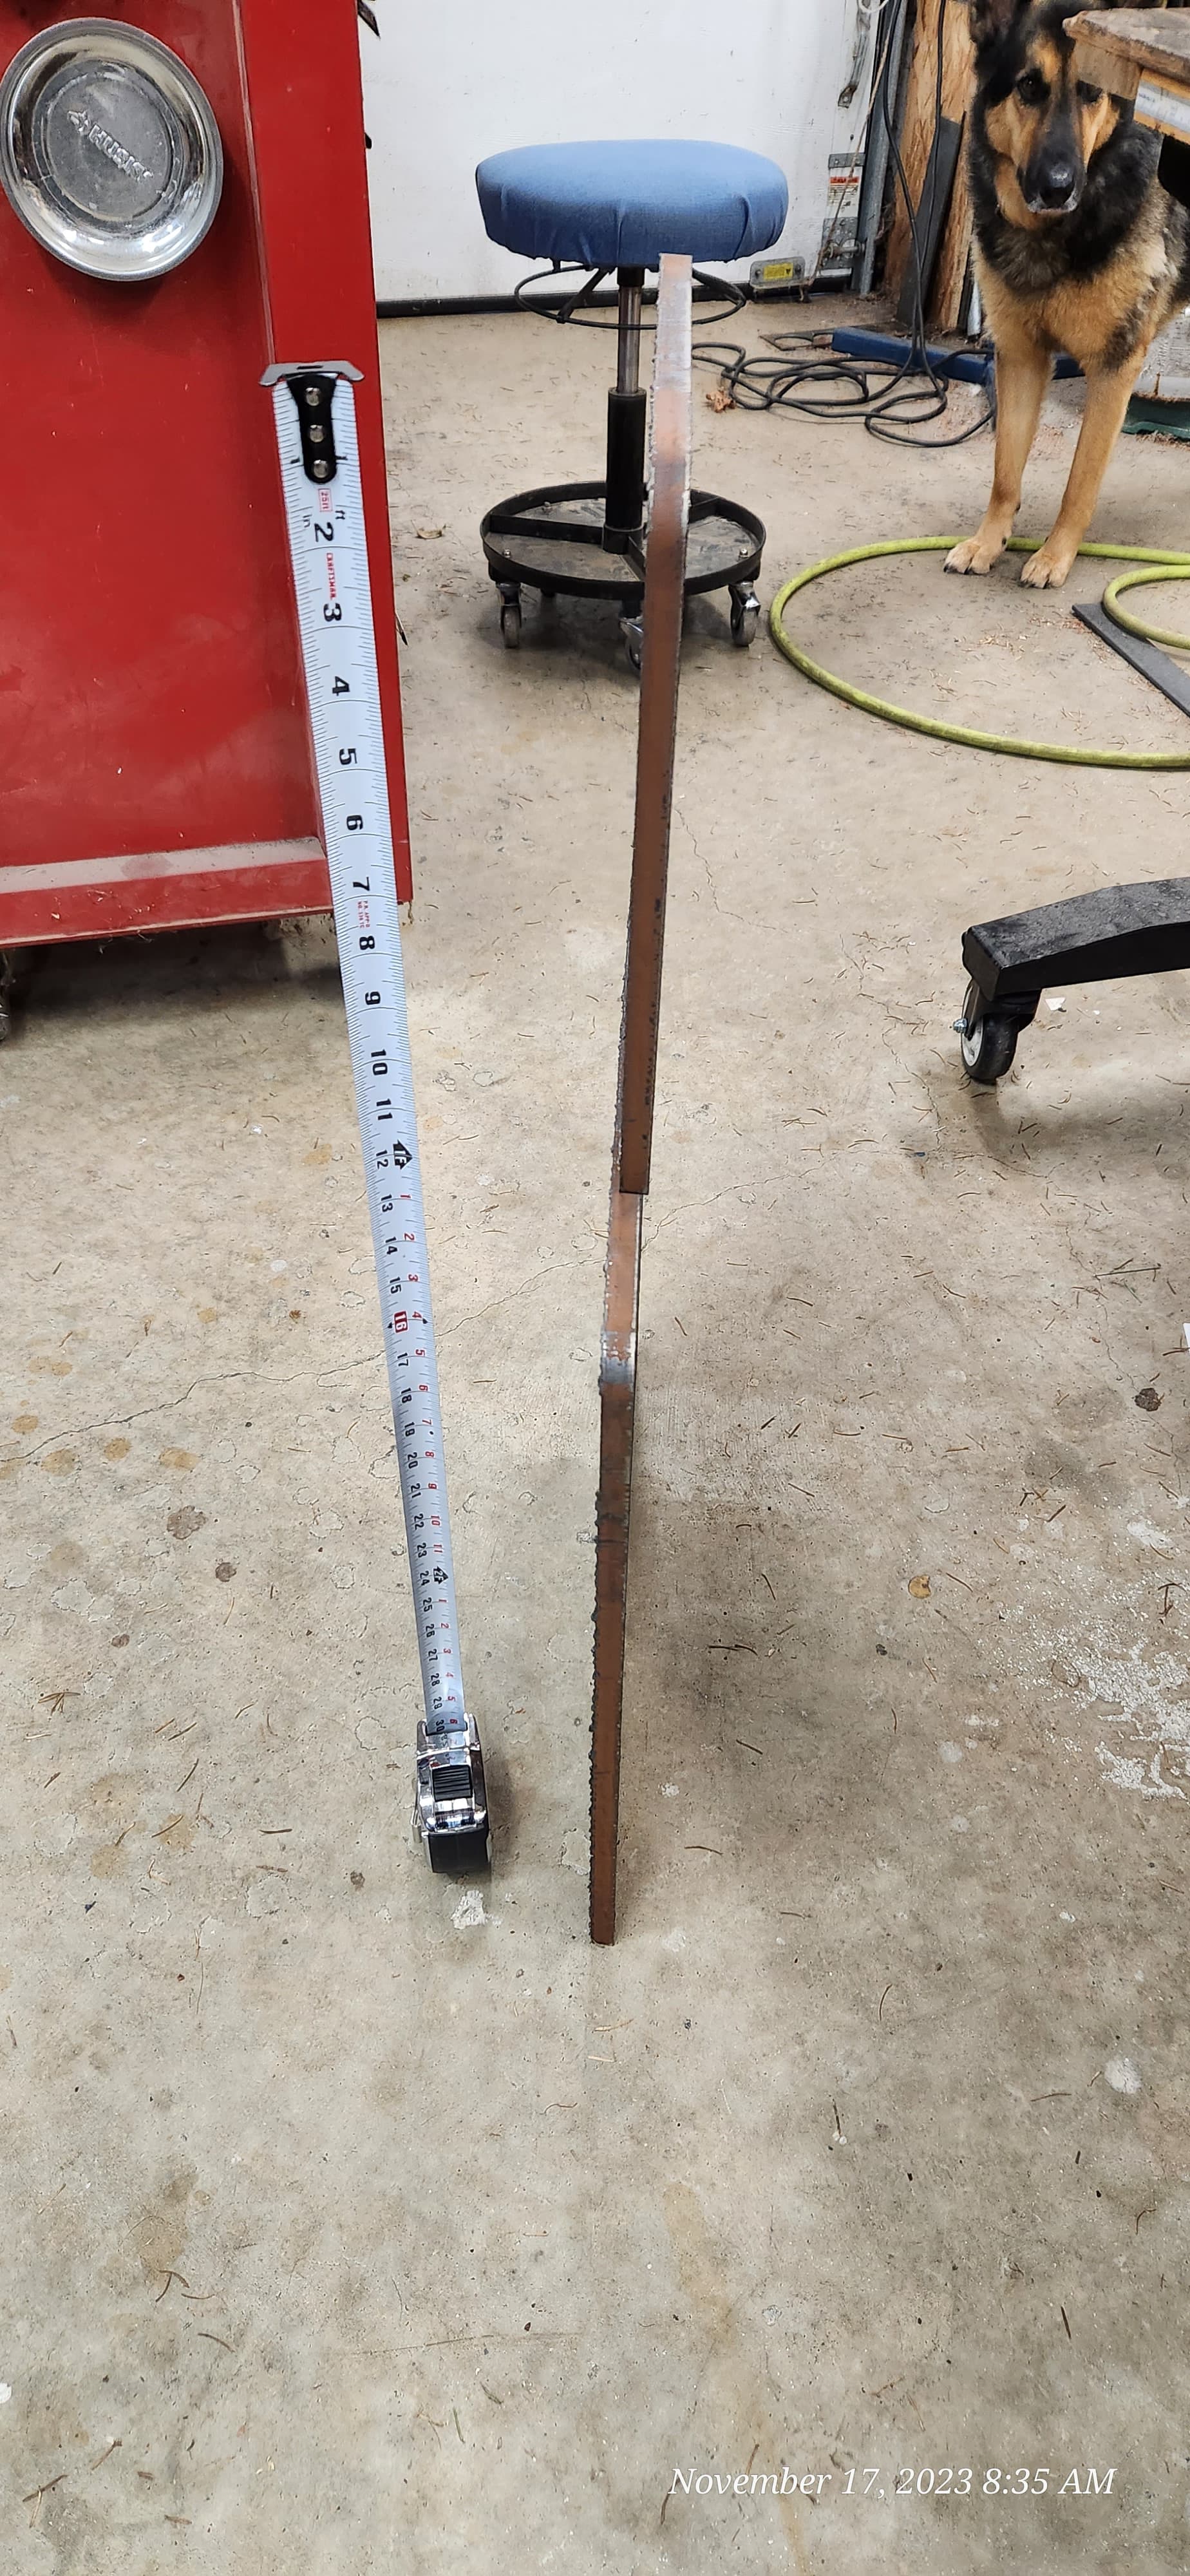
This is brand new that came with the machine. first cut ever
This is posable I was running 35 Amps on 12 gauge. Not sure I went by a chart I got off the web.
This is also posable I will send a photo of my setup tonight I am at work.
Thank you for responding I have some home work to do but will post back. You have some great thoughts.
Thank you for your attention and reply to all of my comments. One point to make: When I said “Metal is not being cut thoroughly”, I was meaning the entire, thorough process of cutting was not happening:
Heating the metal
Clearing the path (via the jet of air)
By nature, there is likely some bevel but if it is really noticeable, then something is “off.”
Sometimes you have to watch whether the decimals in the right place for your cut height. I’ve seen many instances where people write in .6 instead of .06.
Anyhow sometimes this easy fix is overlooked for newcomers
You “might” be getting a good connection with the bright clean metal while the table slats and the metal you are cutting is clean and free of mill scale and oil but as George says “Clamp to the metal” whenever possible.
That removes one “possibility” of cause for an issue.
Knowing what I know now, to rule out the work lead connection to you work piece, I would unplug the cutter, open the case and find the wire that connects to the connector for the work lead. Using a Volt-Ohm meter set to “Ohms”, jump one lead on that wire inside the cutter. Now put the other lead of the meter in between the jaws of the work lead clamp.
Watch the meter and wiggle the work lead where it connects to the machine and where it connects to the work clamp. See if there is any changes in the reading. Your reading should be very low: something in the order of less than 10 ohms.
This test would rule out everything about your work lead. Finding the problem is all about eliminating the “possibles.”
That could cause for capillary action, with your work clamp being attached the way it is leading to rust and more. That would also increase resistance which could attribute to your voltage issue as it directly relates to cut height (and in this case, beveling).
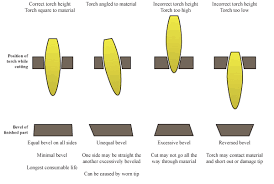
The work clamp setup you have may work in theory but believe us it won’t. Work clamp on the metal you’re cutting always. This chart will give you an idea of what’s happening. Now there are several other factors that could lead to beveling.
Worn consumables or cheap Chinese shit will contribute. Amazon or Plasmadyne are great examples of junk.