I shipped out a brand new cut 45 for repair and have been looking at other options. Would I notice a difference in cut quality on 62i CNC? I looked at bundle that includes 25’ hand and machine torch with CNC inputs. It will require raw voltage but that seems simple to wire to thc.
One future interest is in fine detail with thinner material like .05” aluminum and steel with numerous .14 holes to mount standoffs. I can go larger holes and use weld nuts or threaded inserts and glue them in place with JB weld. Point is would a fine cut tip show an improvement to drop $1475 more on the 62i bundle for crossfire pro. I’d rather spend more and avoid further downtime, keep the 45 as a backup. I want to start the machine and not be stuck watching waiting for failed cuts. I don’t foresee doing much thicker than 1/4 or rarely a 3/8 steel. I cant see a need for more than 1/2 material. Typical for me would be 1/8” alum and steel looking for nice edge detail.
My Everlast has been trouble-free. I recommend just to let them replace your cut 45. They work great. You just got a defective one—just my opinion. You already have the cables and related supplies to hook it up to your table. The cut quality will be identical on both.
30-40 amps
Around 85 ipm
Cut height .06
Pierce delay .7
Pierce height .12
Air 75-70 psi
Dial it in from there.
No Amazon consumable junk.
Good quality parts are much cheaper than a sheet of steel.
Giving you a loaner is what I call jumping through hoops.
I understand that is why I have options for various inserts. I just need the barrel to clear the inside of the hole and the hole to be on average “pretty good” even if not a perfect circle. I can make the holes a little larger for the barrel, then use a jig to hole 4 inserts in position while while I use UV glue to hold them in place which takes 3 seconds per insert to glue and light up. Once in place I can tighten the bolts and lock the inserts into position. JB weld would be more than adequate for some projects to hold standoffs in place.
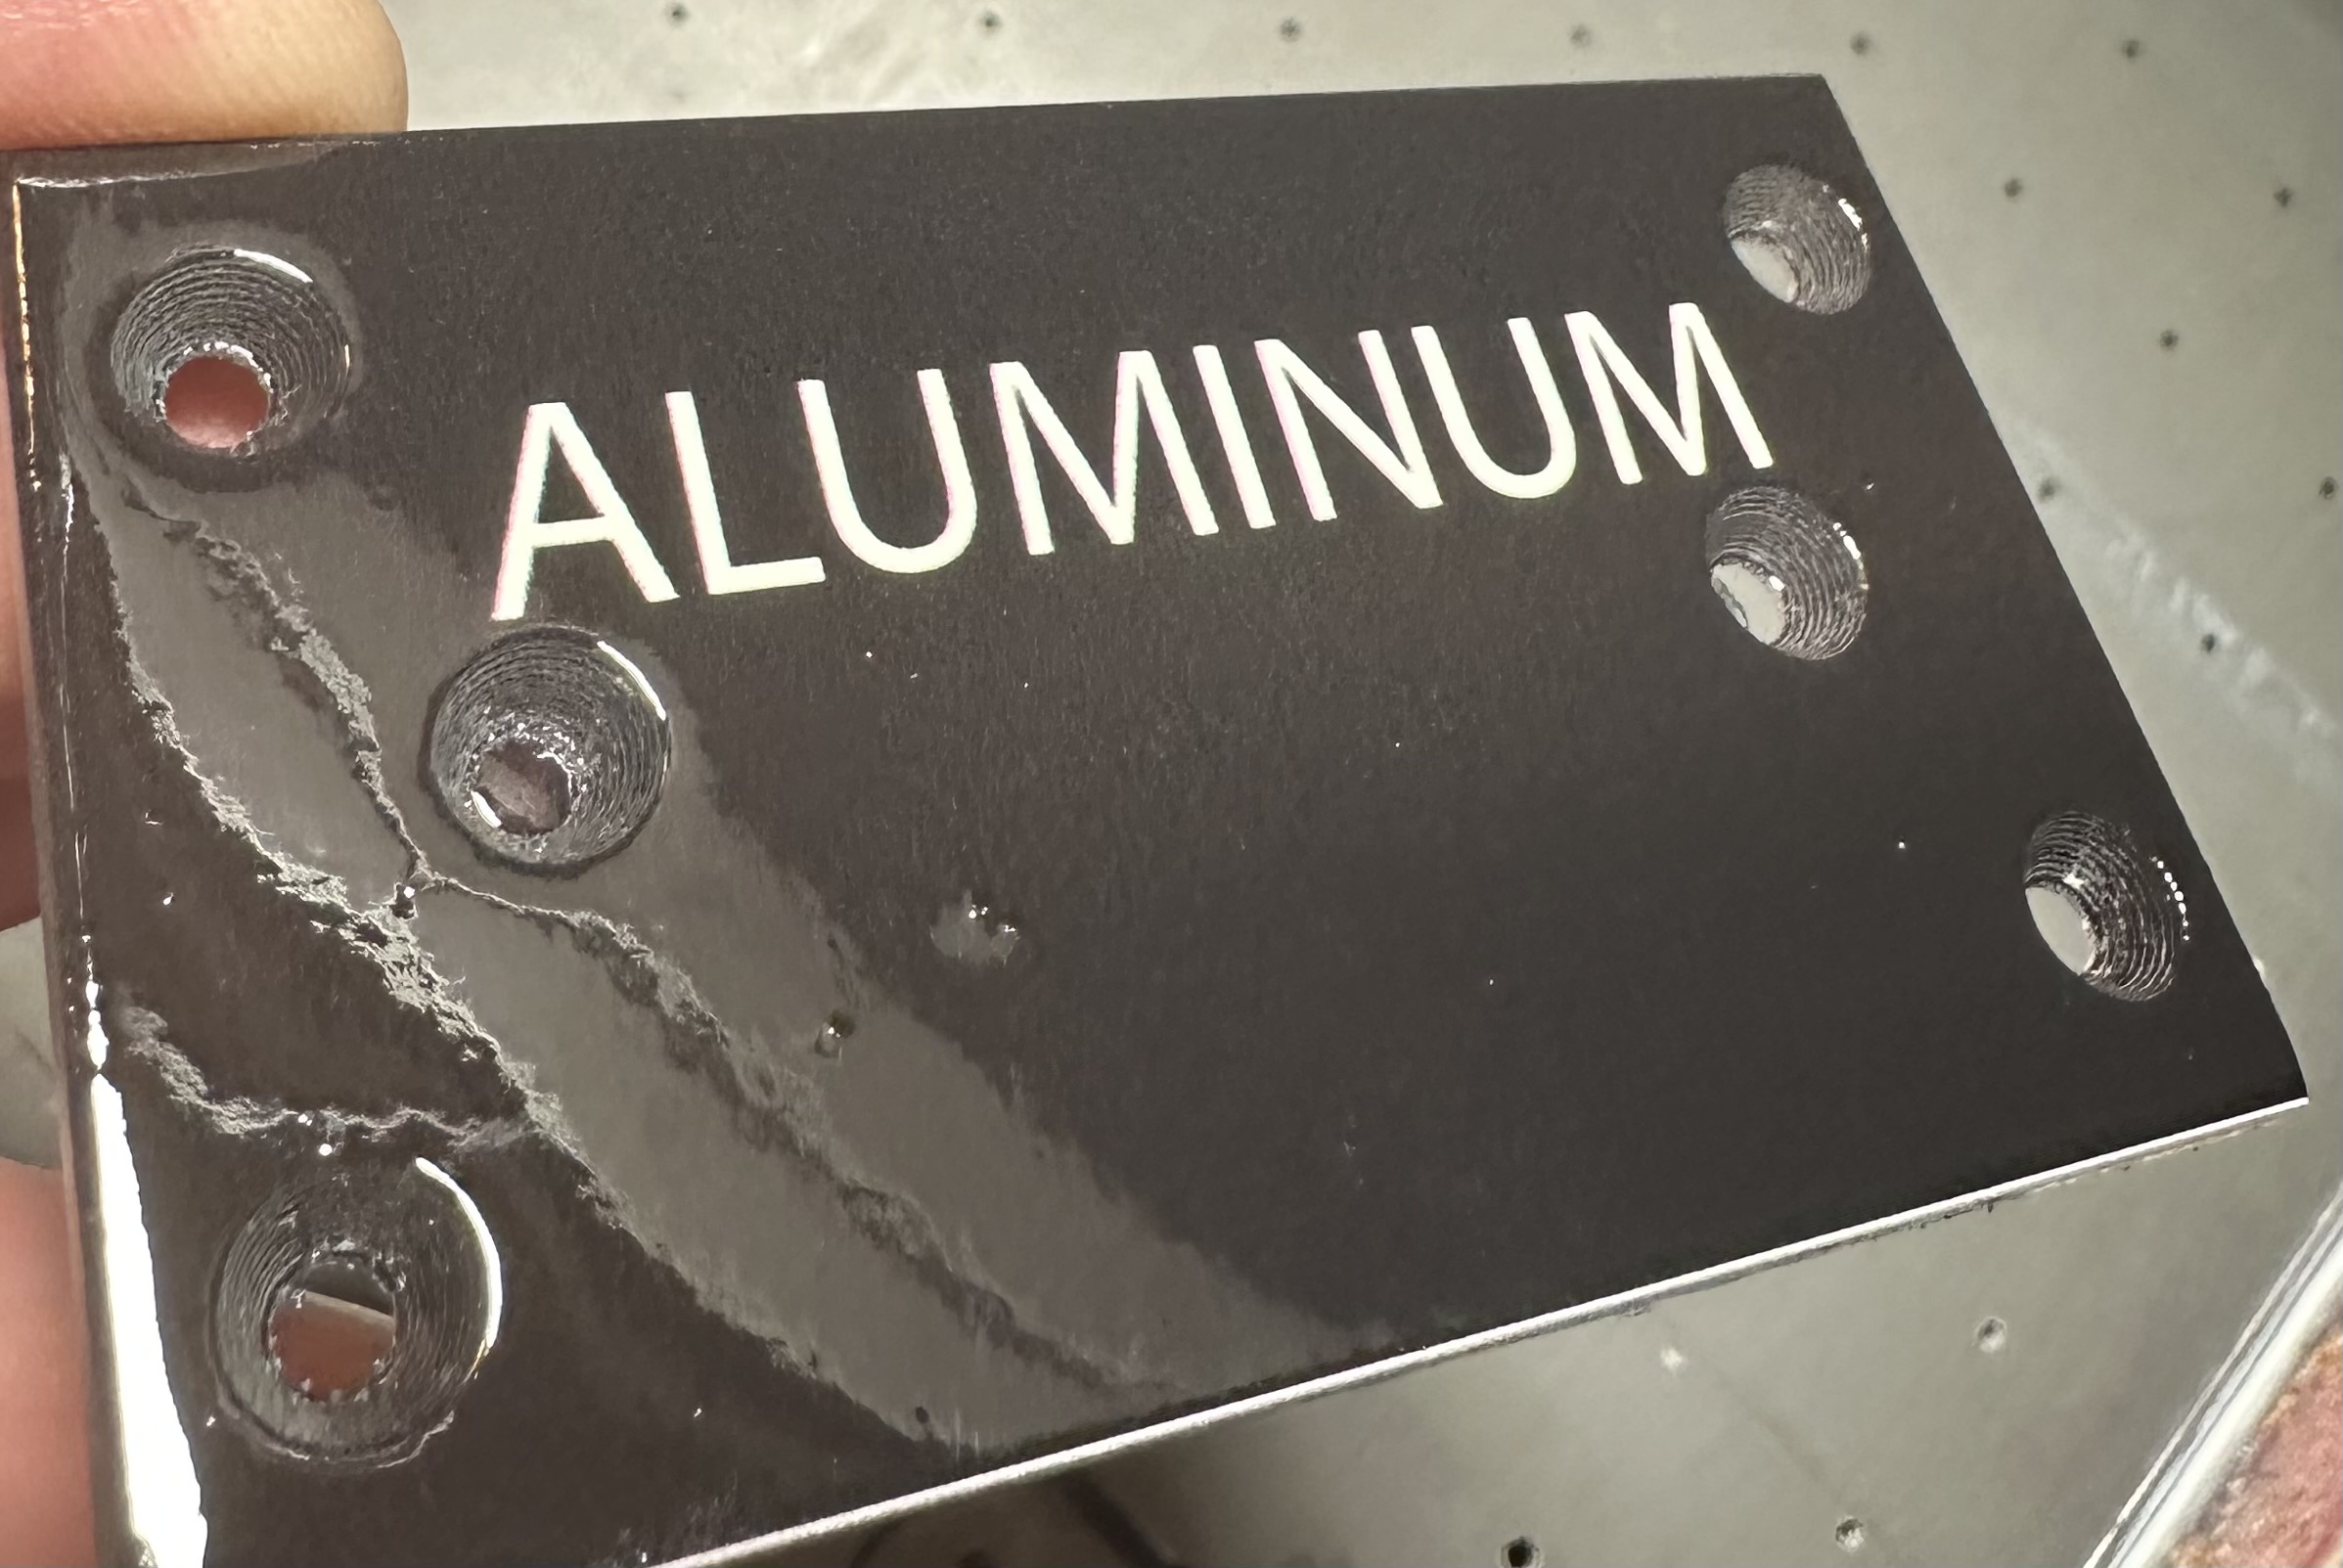
The edges of the aluminum will be more scrutinized.
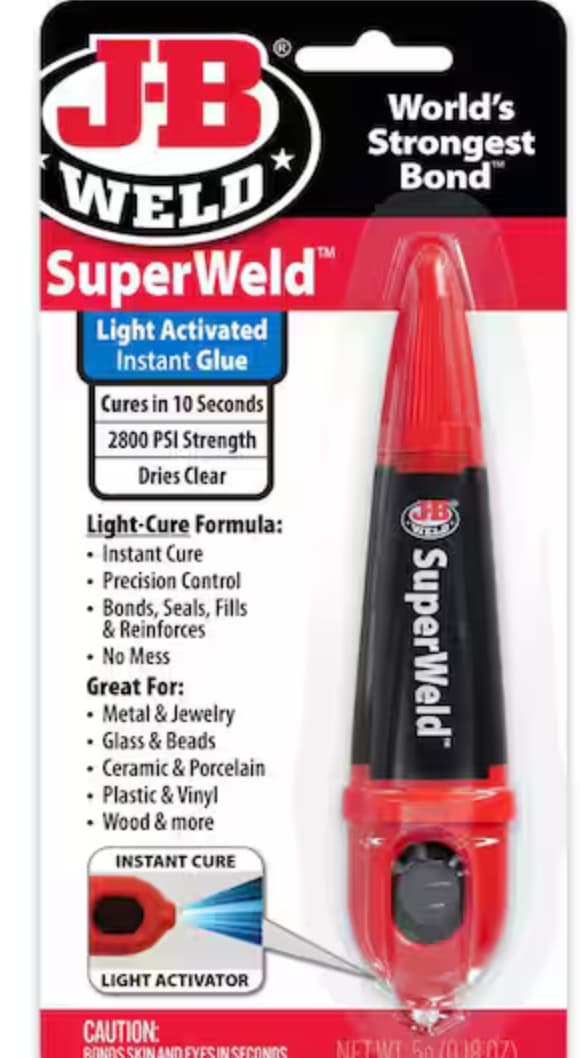
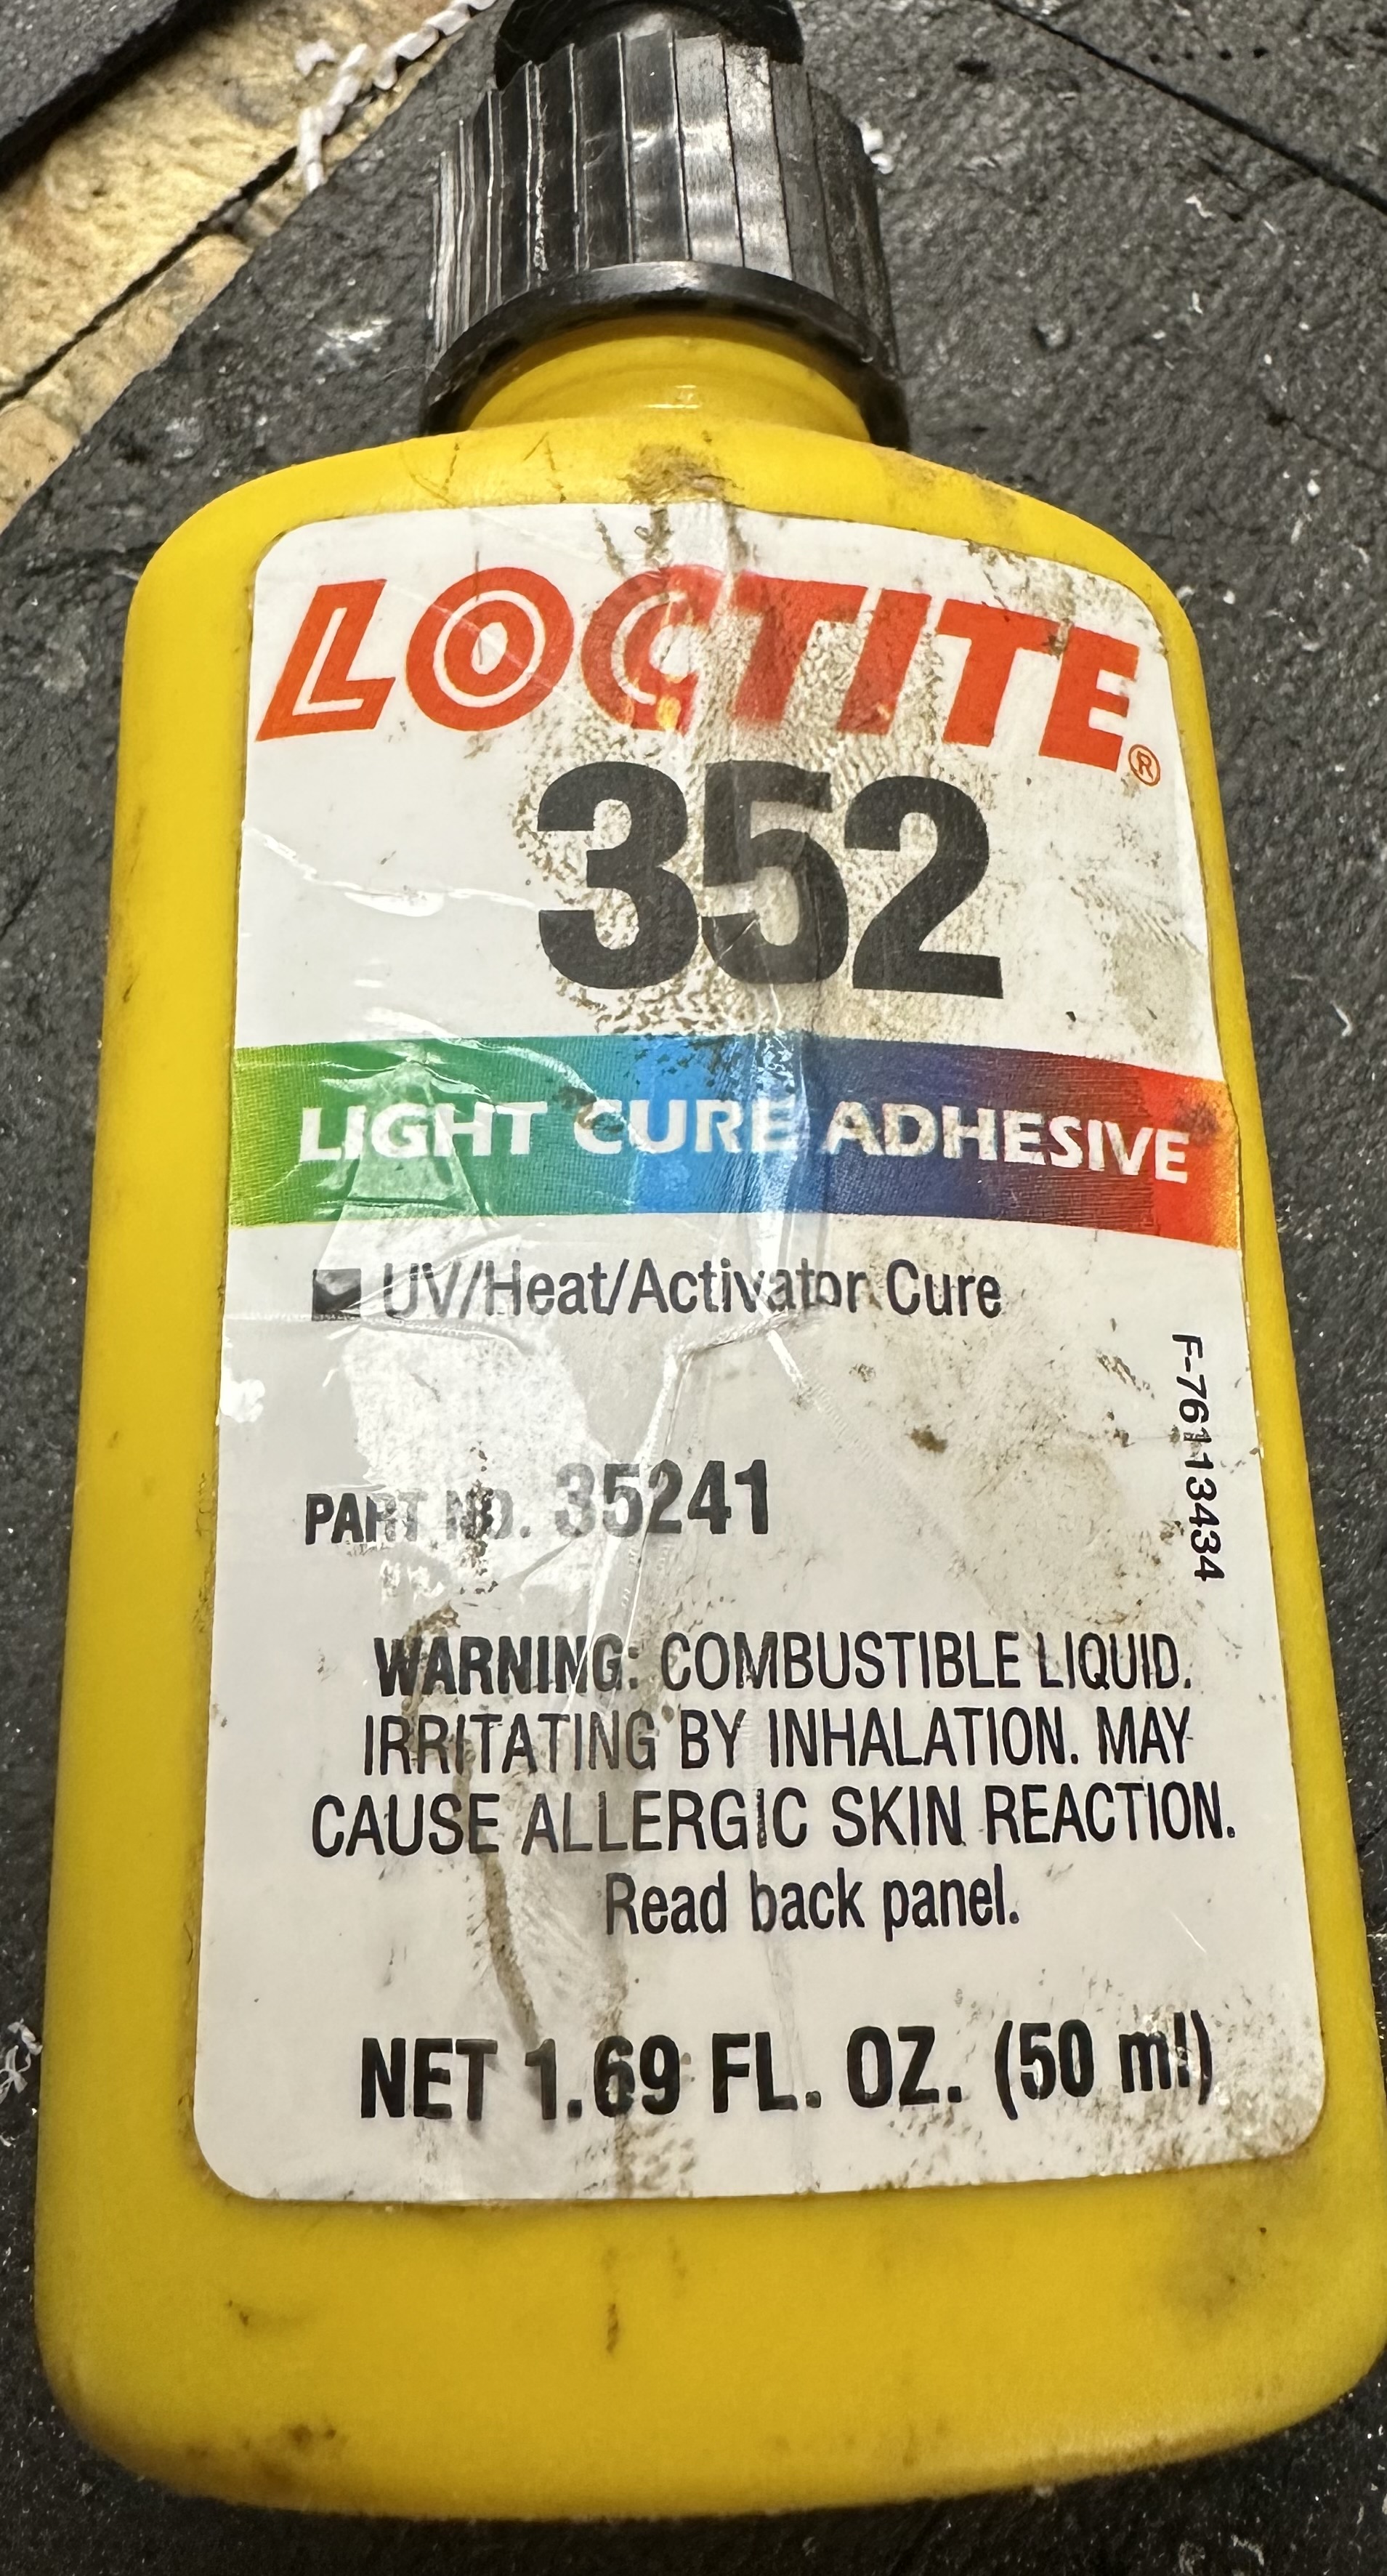
I know this is a bit off topic, but what brand/type of UV glue have you had success with? I have no experience with it but I am always interested in new glues and epoxies.
I have tried wire brush, grinding wheel, and flapper disc (450 grit) for the edge of aluminum (10 gauge). If it will be touched, you need to lightly touch about three times to remove all burrs and slivers of aluminum. It is quite tedious. So far the flapper disc was more effective. Wire brush will leave all sorts of stray scratches. If it is just a straight cut or outside curves…not so bad. Inside curves are difficult to say the least.
I have the HF Burnishing tool and it has potential, just haven’t used it much.
There are many better light cured versions at mcmaster, but for basic stuff I use this almost every day of the week for holding things in place. Home depot and lowes stock. Instant cure. Robust for plastics. I use this for instant cure so you work fast. If you need more robust hold the add epoxy to something afterward when you can wait for cure. I have various mcmaster loctite uv glues for special occasions.
I know you didn’t ask this question: What plasma cutter should I get?
Well, you know we are not shy around here. I think your best course of action is to proceed with getting your Cut 45 fixed/up and running. If you want to consider an upgrade, I would strongly suggest considering the Hypertherm 45XP SYNC in the future.
And NEVER buy discount consumables for whatever brand you decide.
The UV Cure epoxy is interesting for this case. As @tchap points out, he can use an alignment plate, ooze the freeflowing epoxy into the gaps and then quickly cure with UV light…
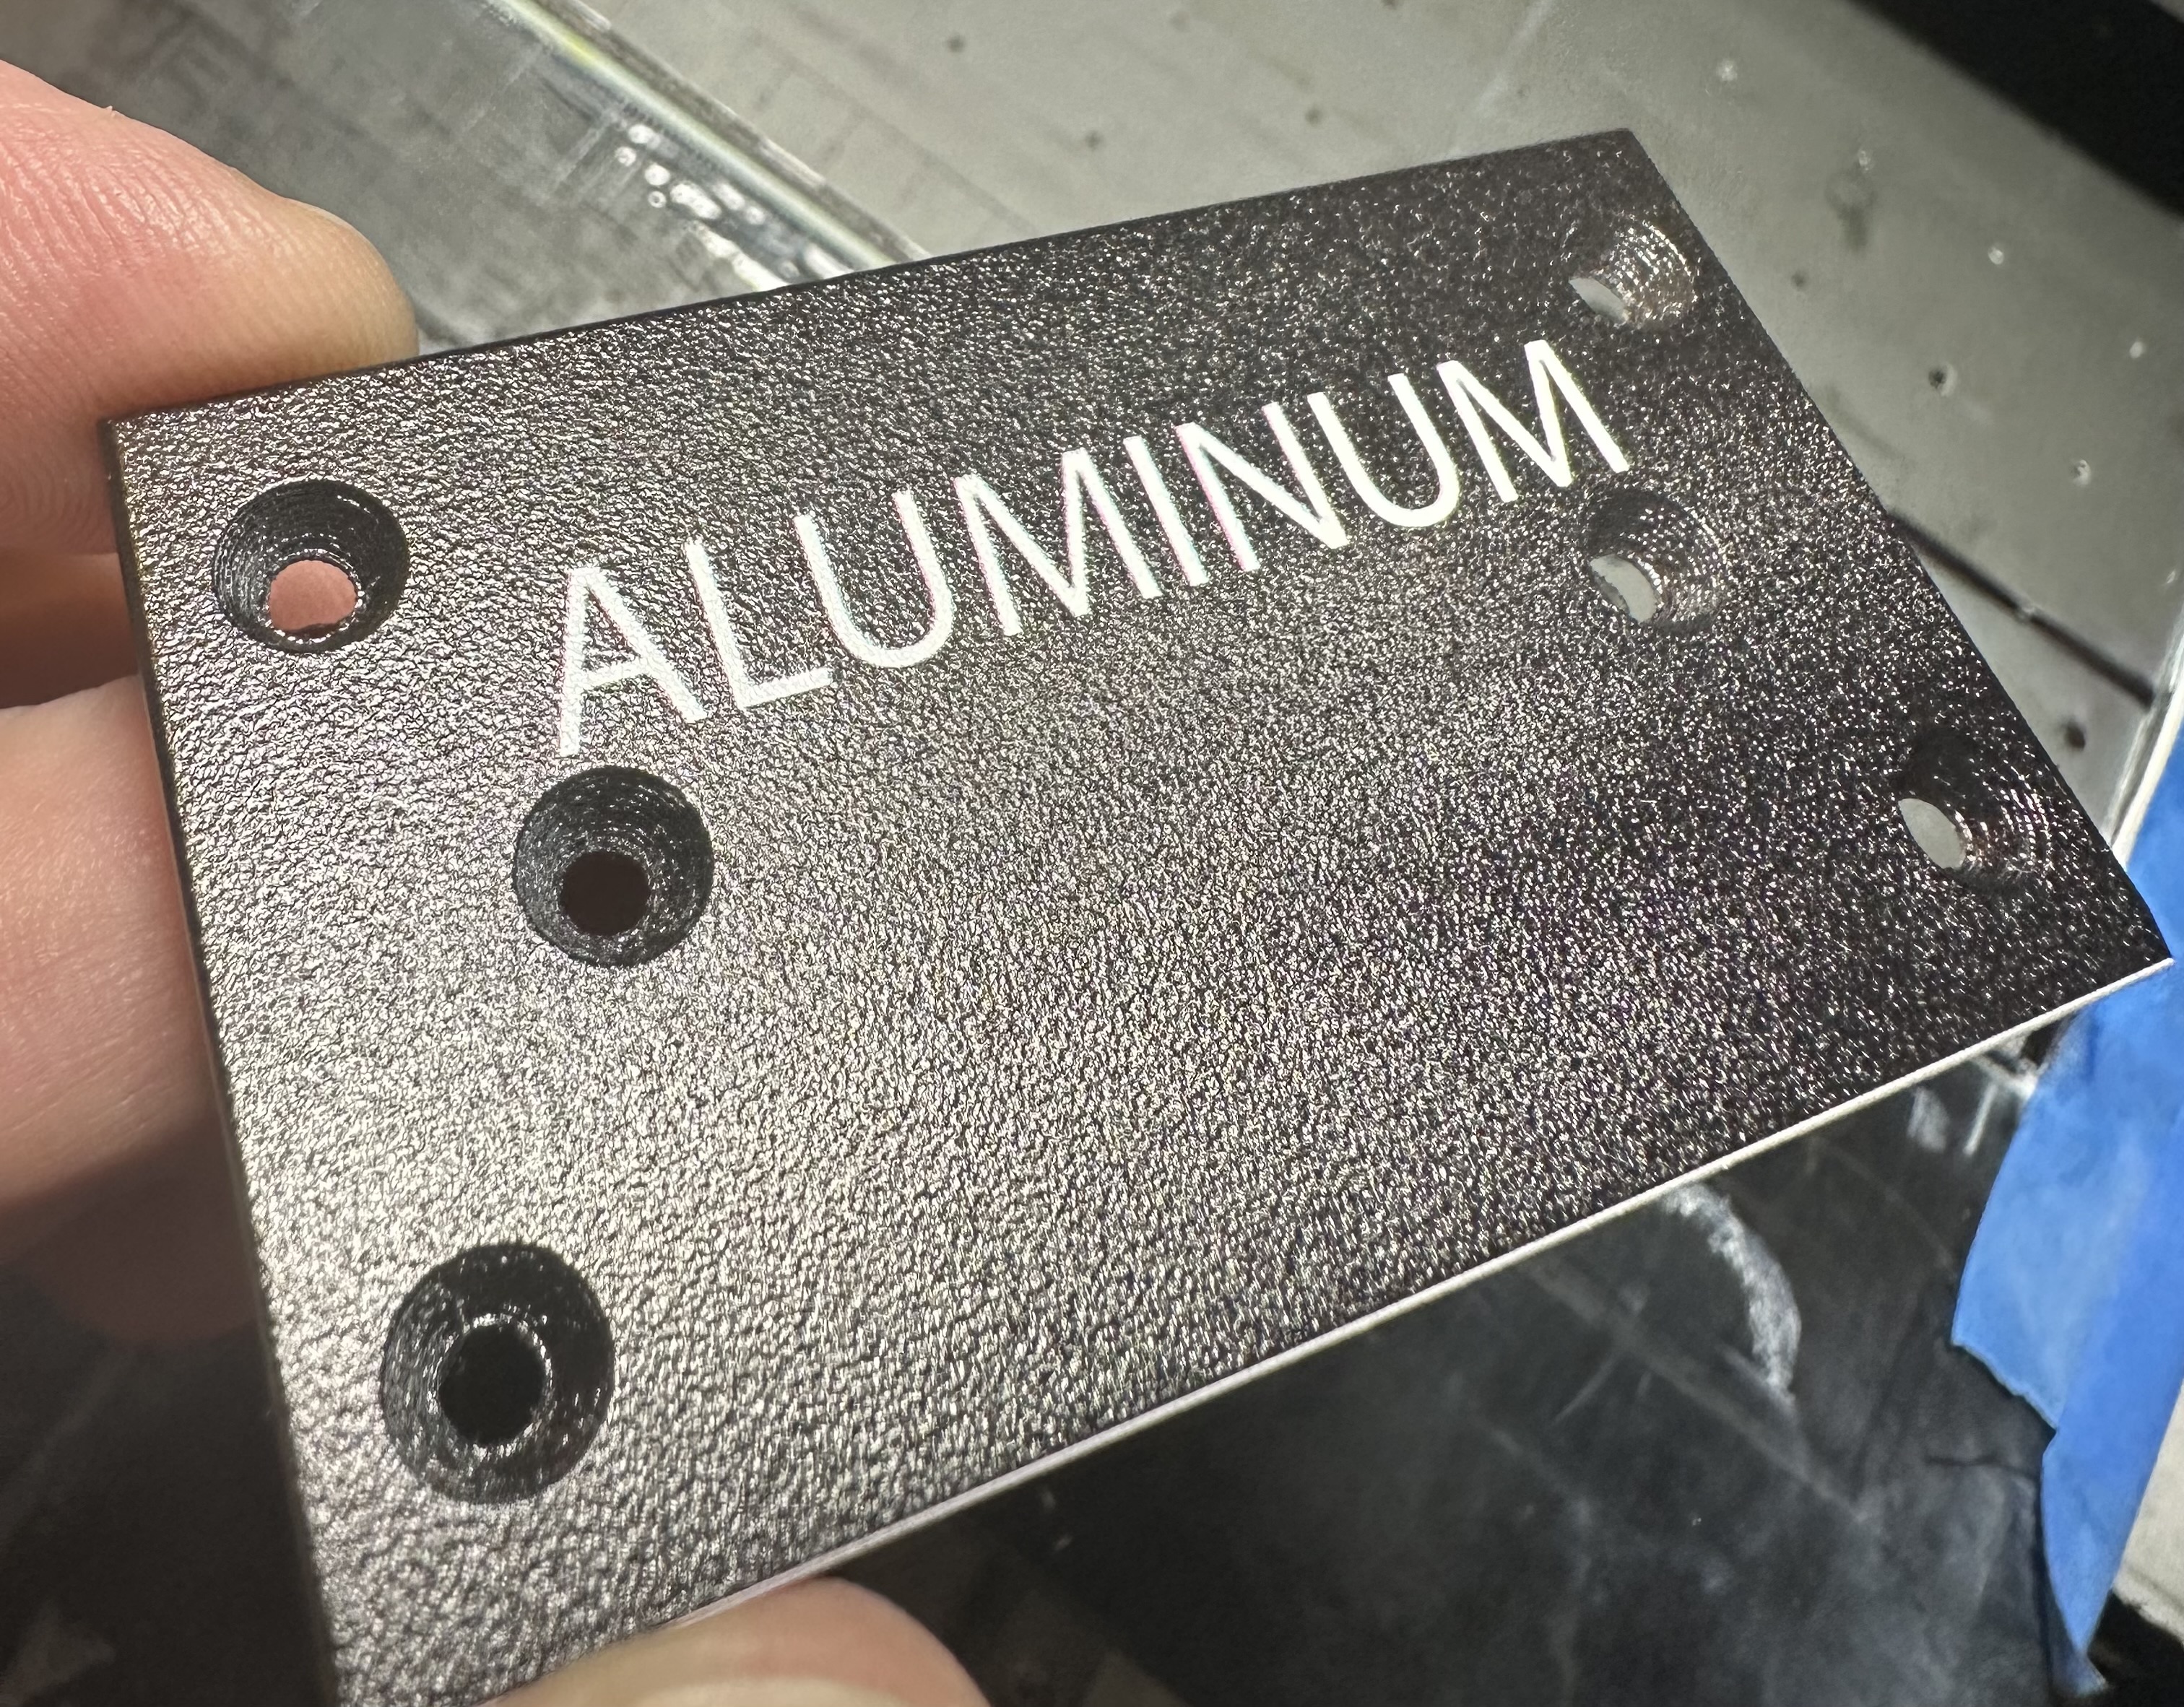
I can Cnc alum but I don’t like the noise. And it’s slow- no coolant system. I was hoping to get decent edges with plasma that can cleanup fast on a belt sander and brief orbital. I can replicate powder coat with my 24”x36” uv printer. I just made a test to show an example. 1440dpi graphics. 1. Raw alum. 2. White base black top layer reveals graphics. 3. Print varnish layer (separate print head )
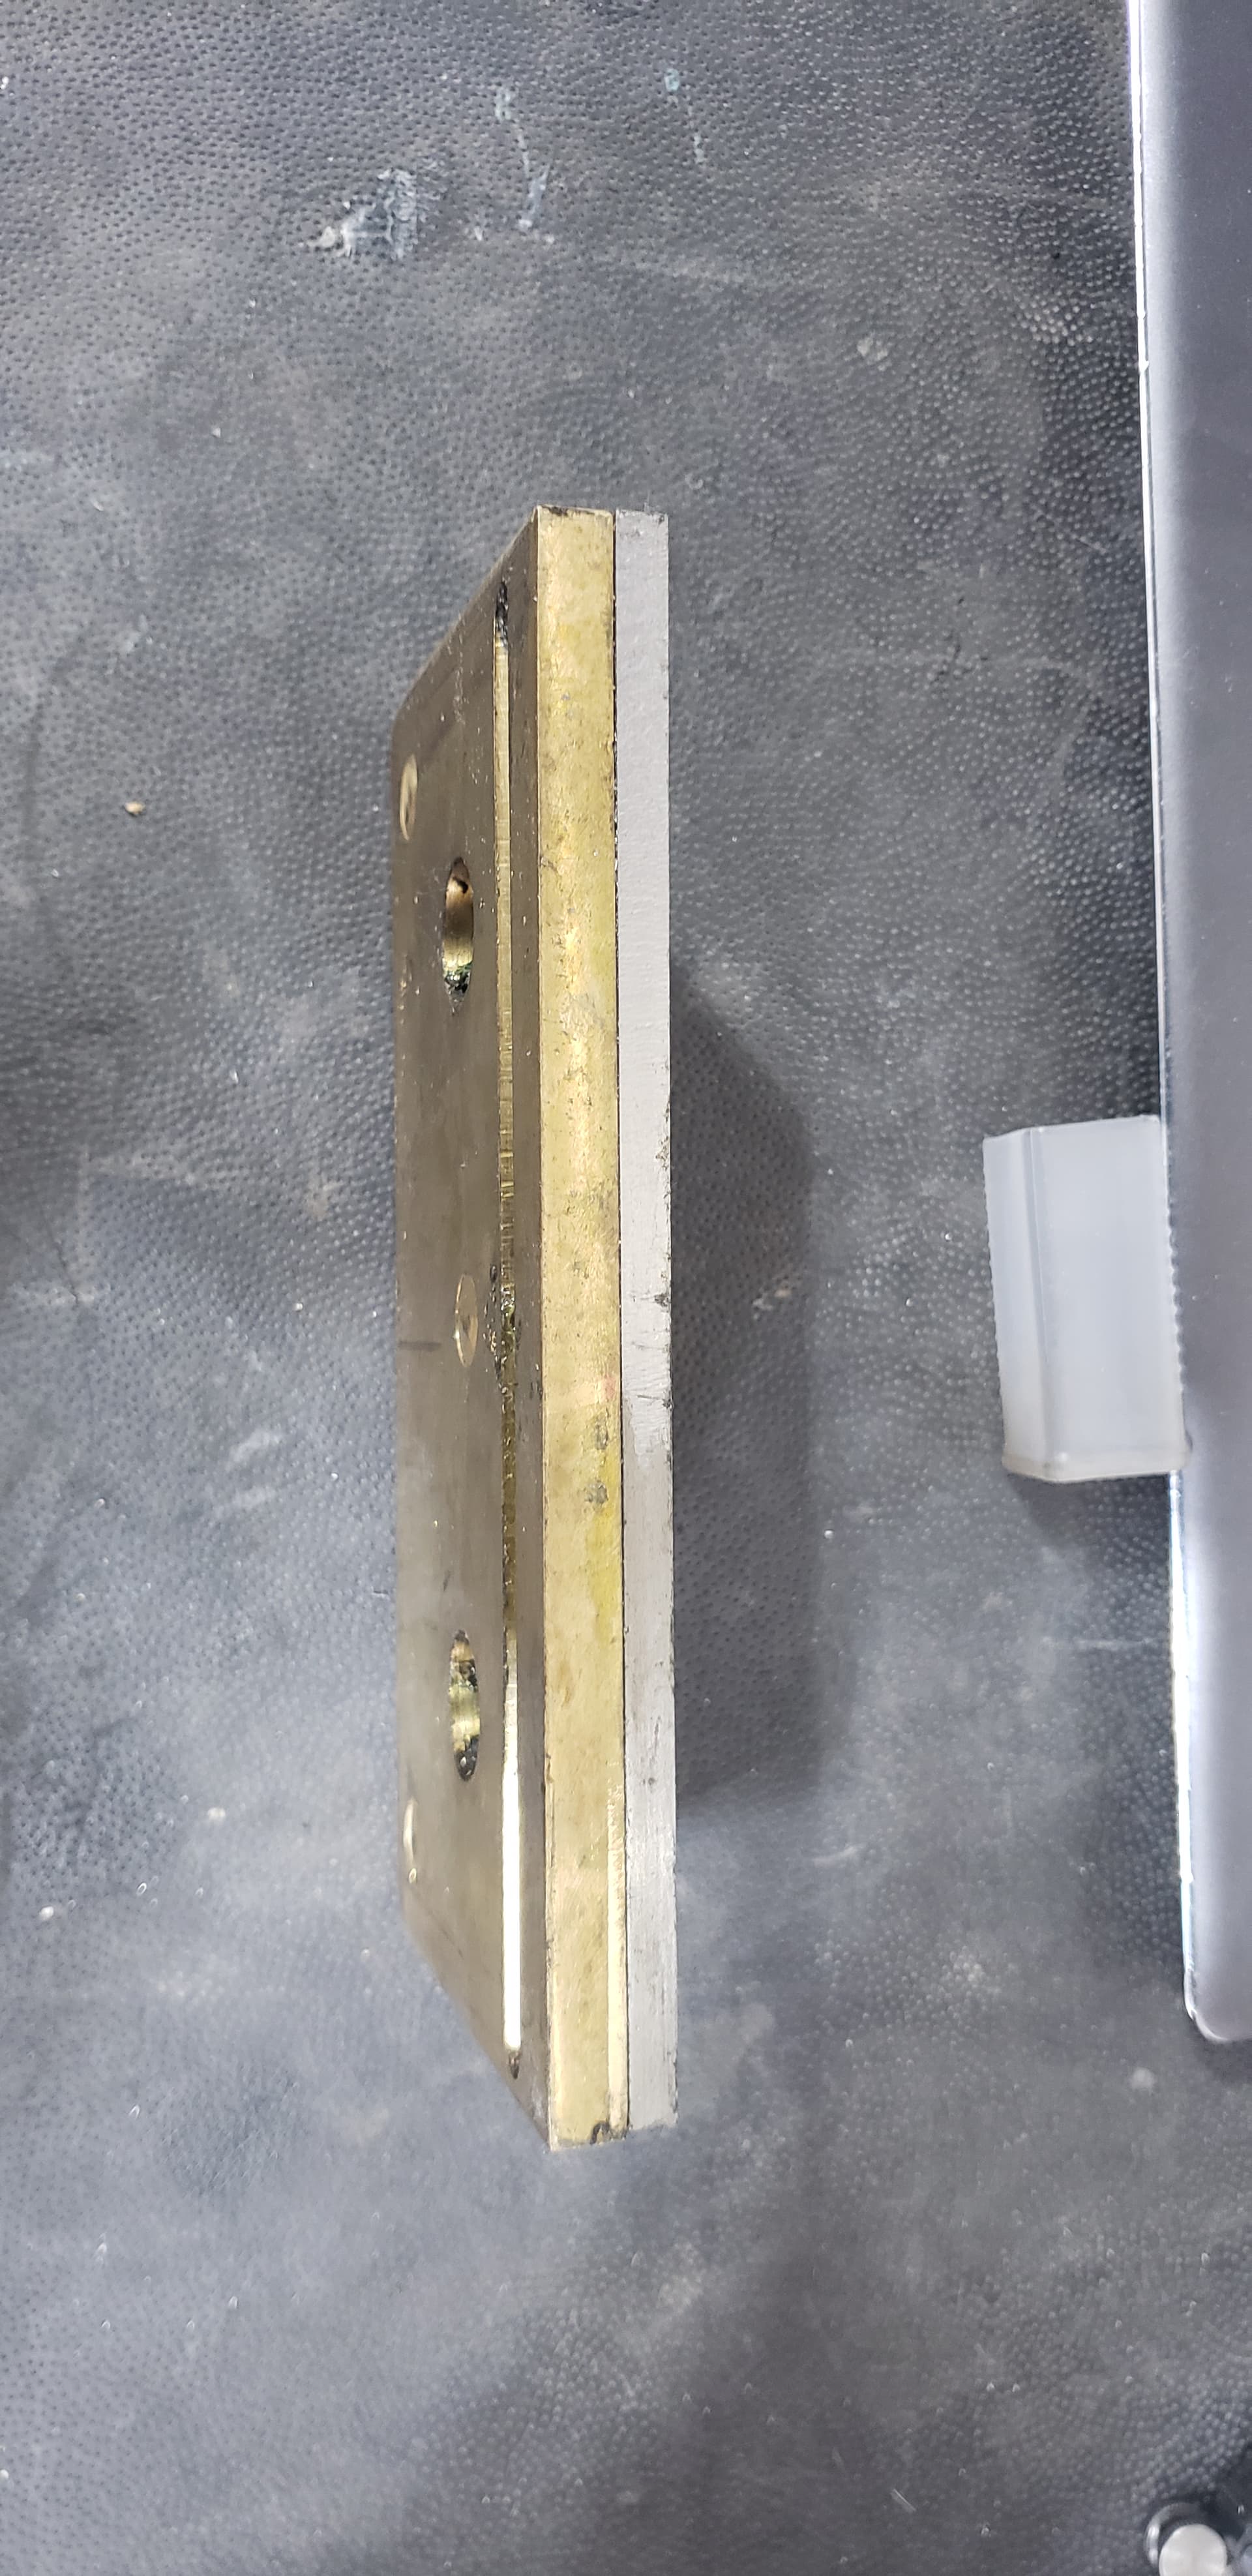
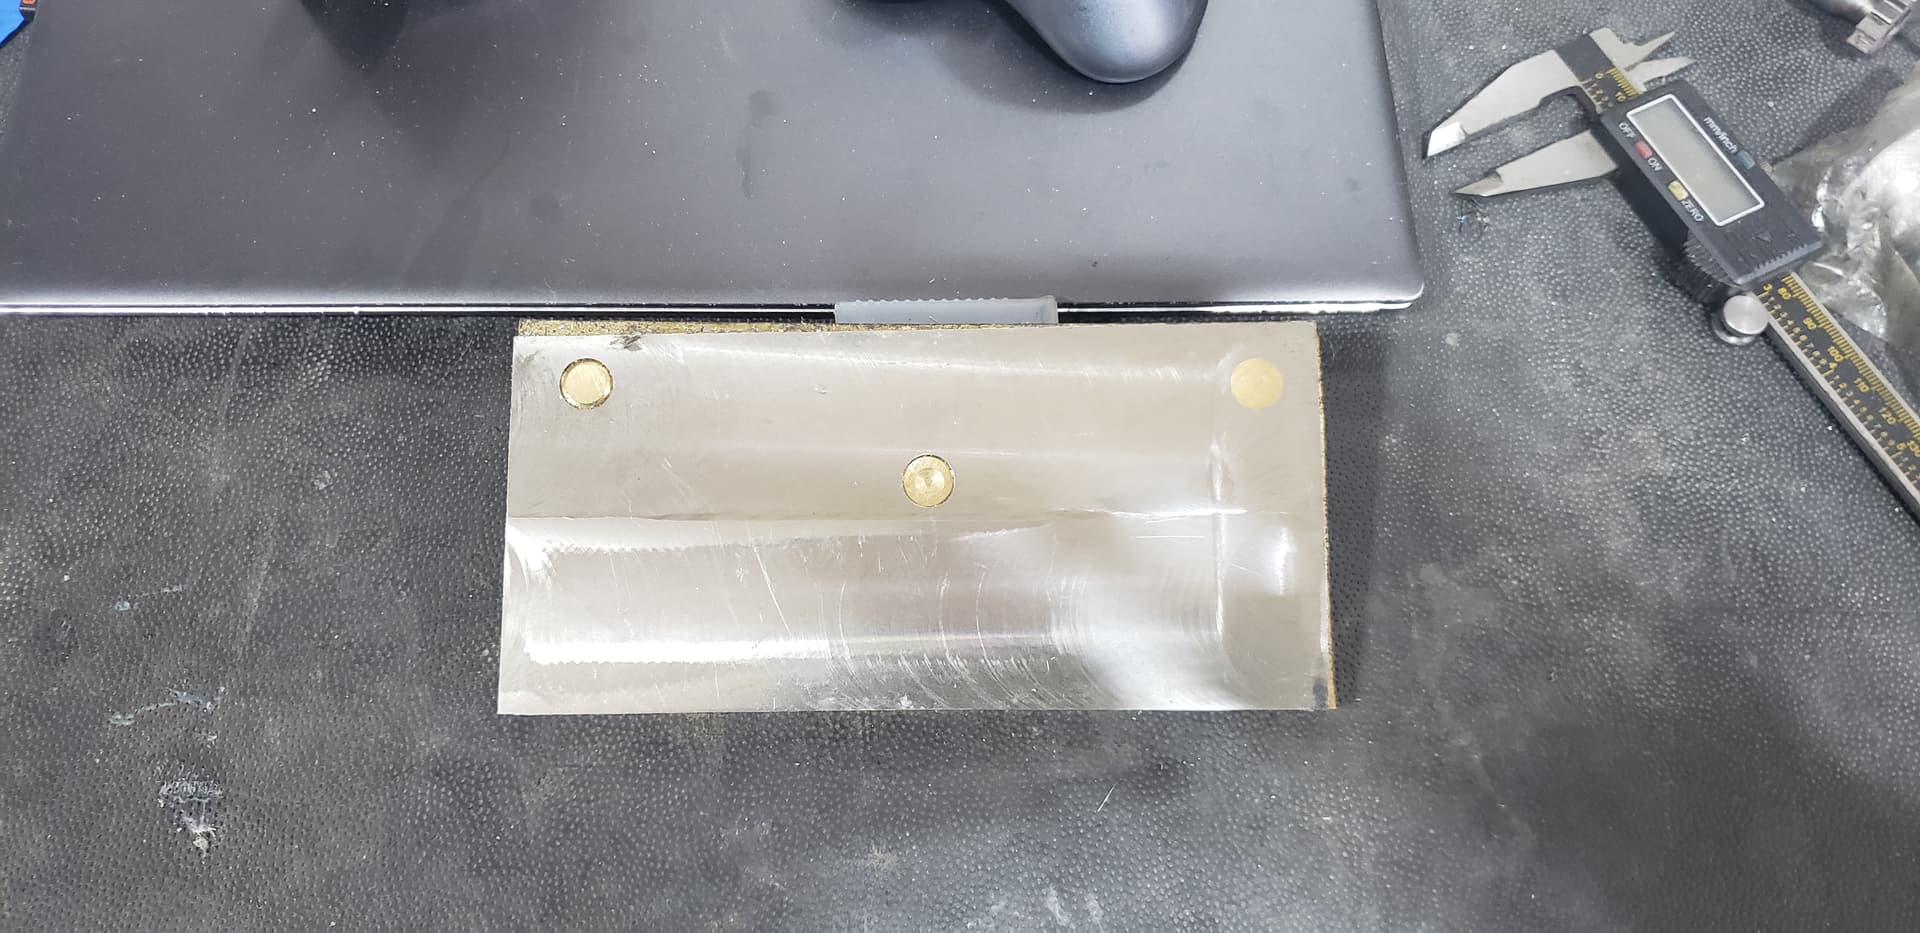
That may be what the destructions say, but this brass plate was bonded to the 303 stainless steel and then machine to thickness . If it needed pressure, it was gravity after I did a twist and slide into place.