So,
I will have to move my machine due to my chosen career in the Military. Now with that being the case I felt the best way to ensure that the machine would survive moving it around.
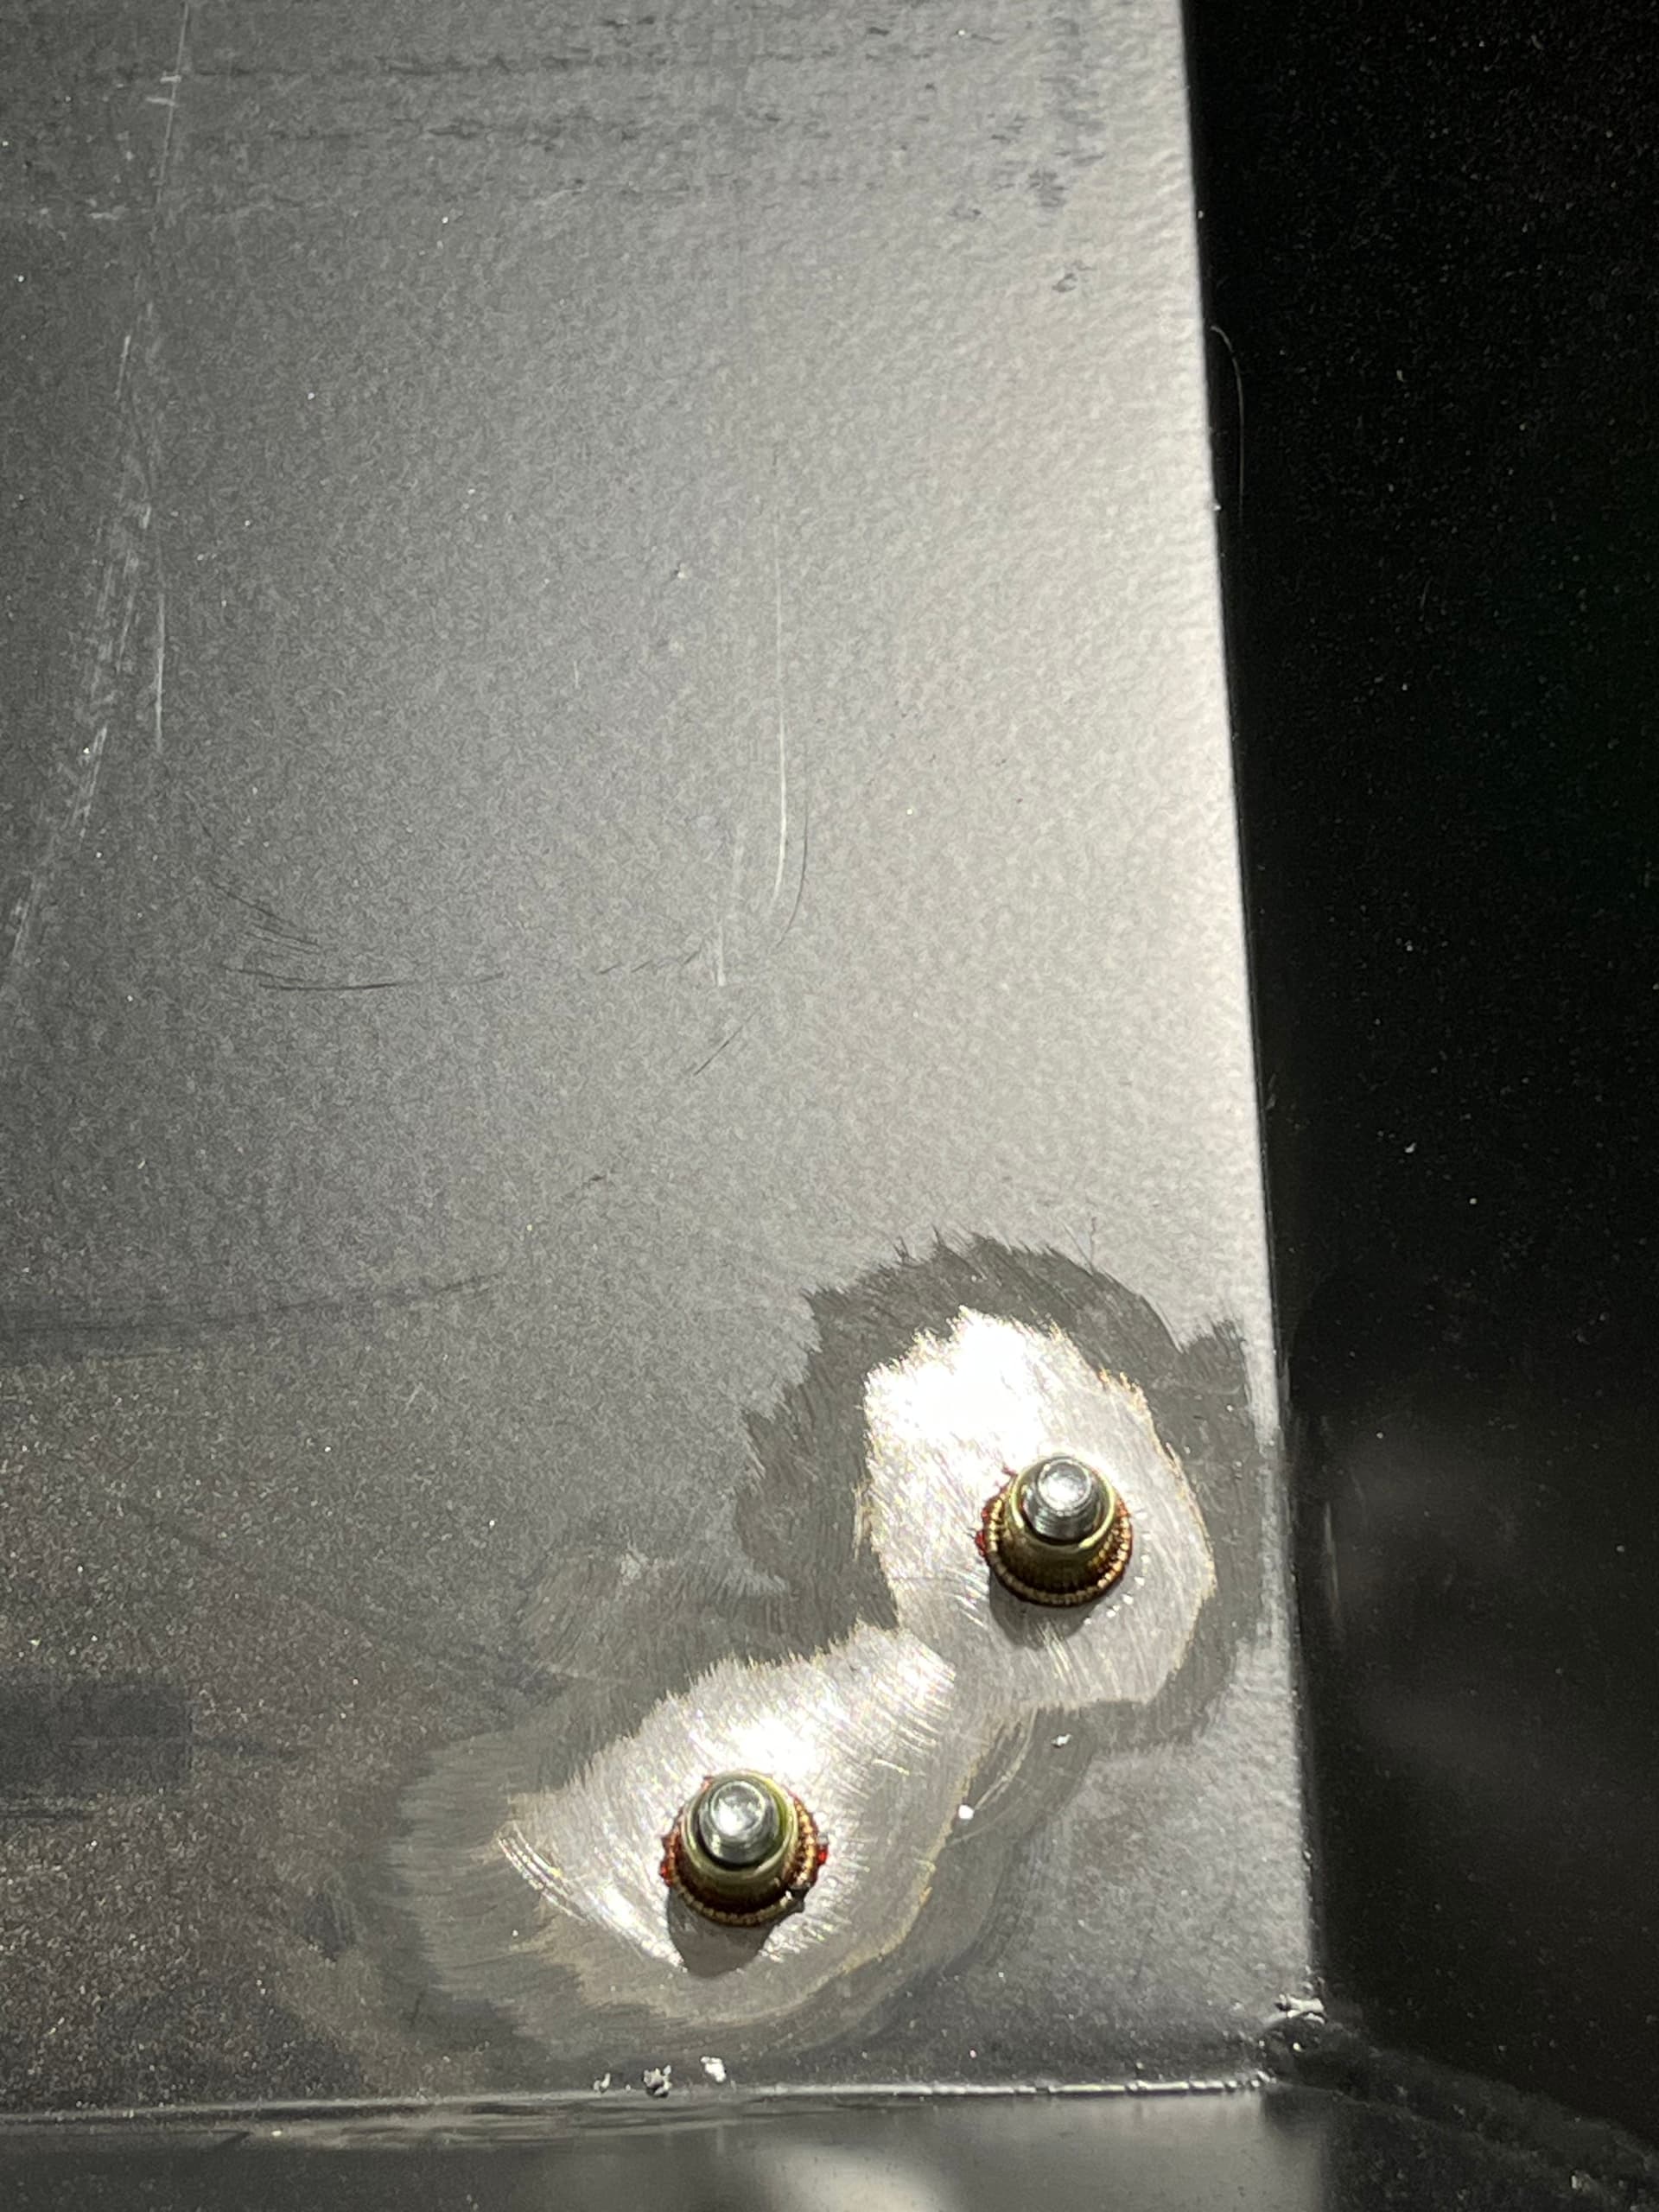
As such I wanted to be able to remove the base if needed to having it placed dirrectly on a pallet, so I had to modify the system of attaching the legs using Rivett Nuts.
2 Likes
To ensure that the epoxy would not jam up the bolts or the rivet nuts I used shrink tubing and closed the ends on each one.
2 Likes
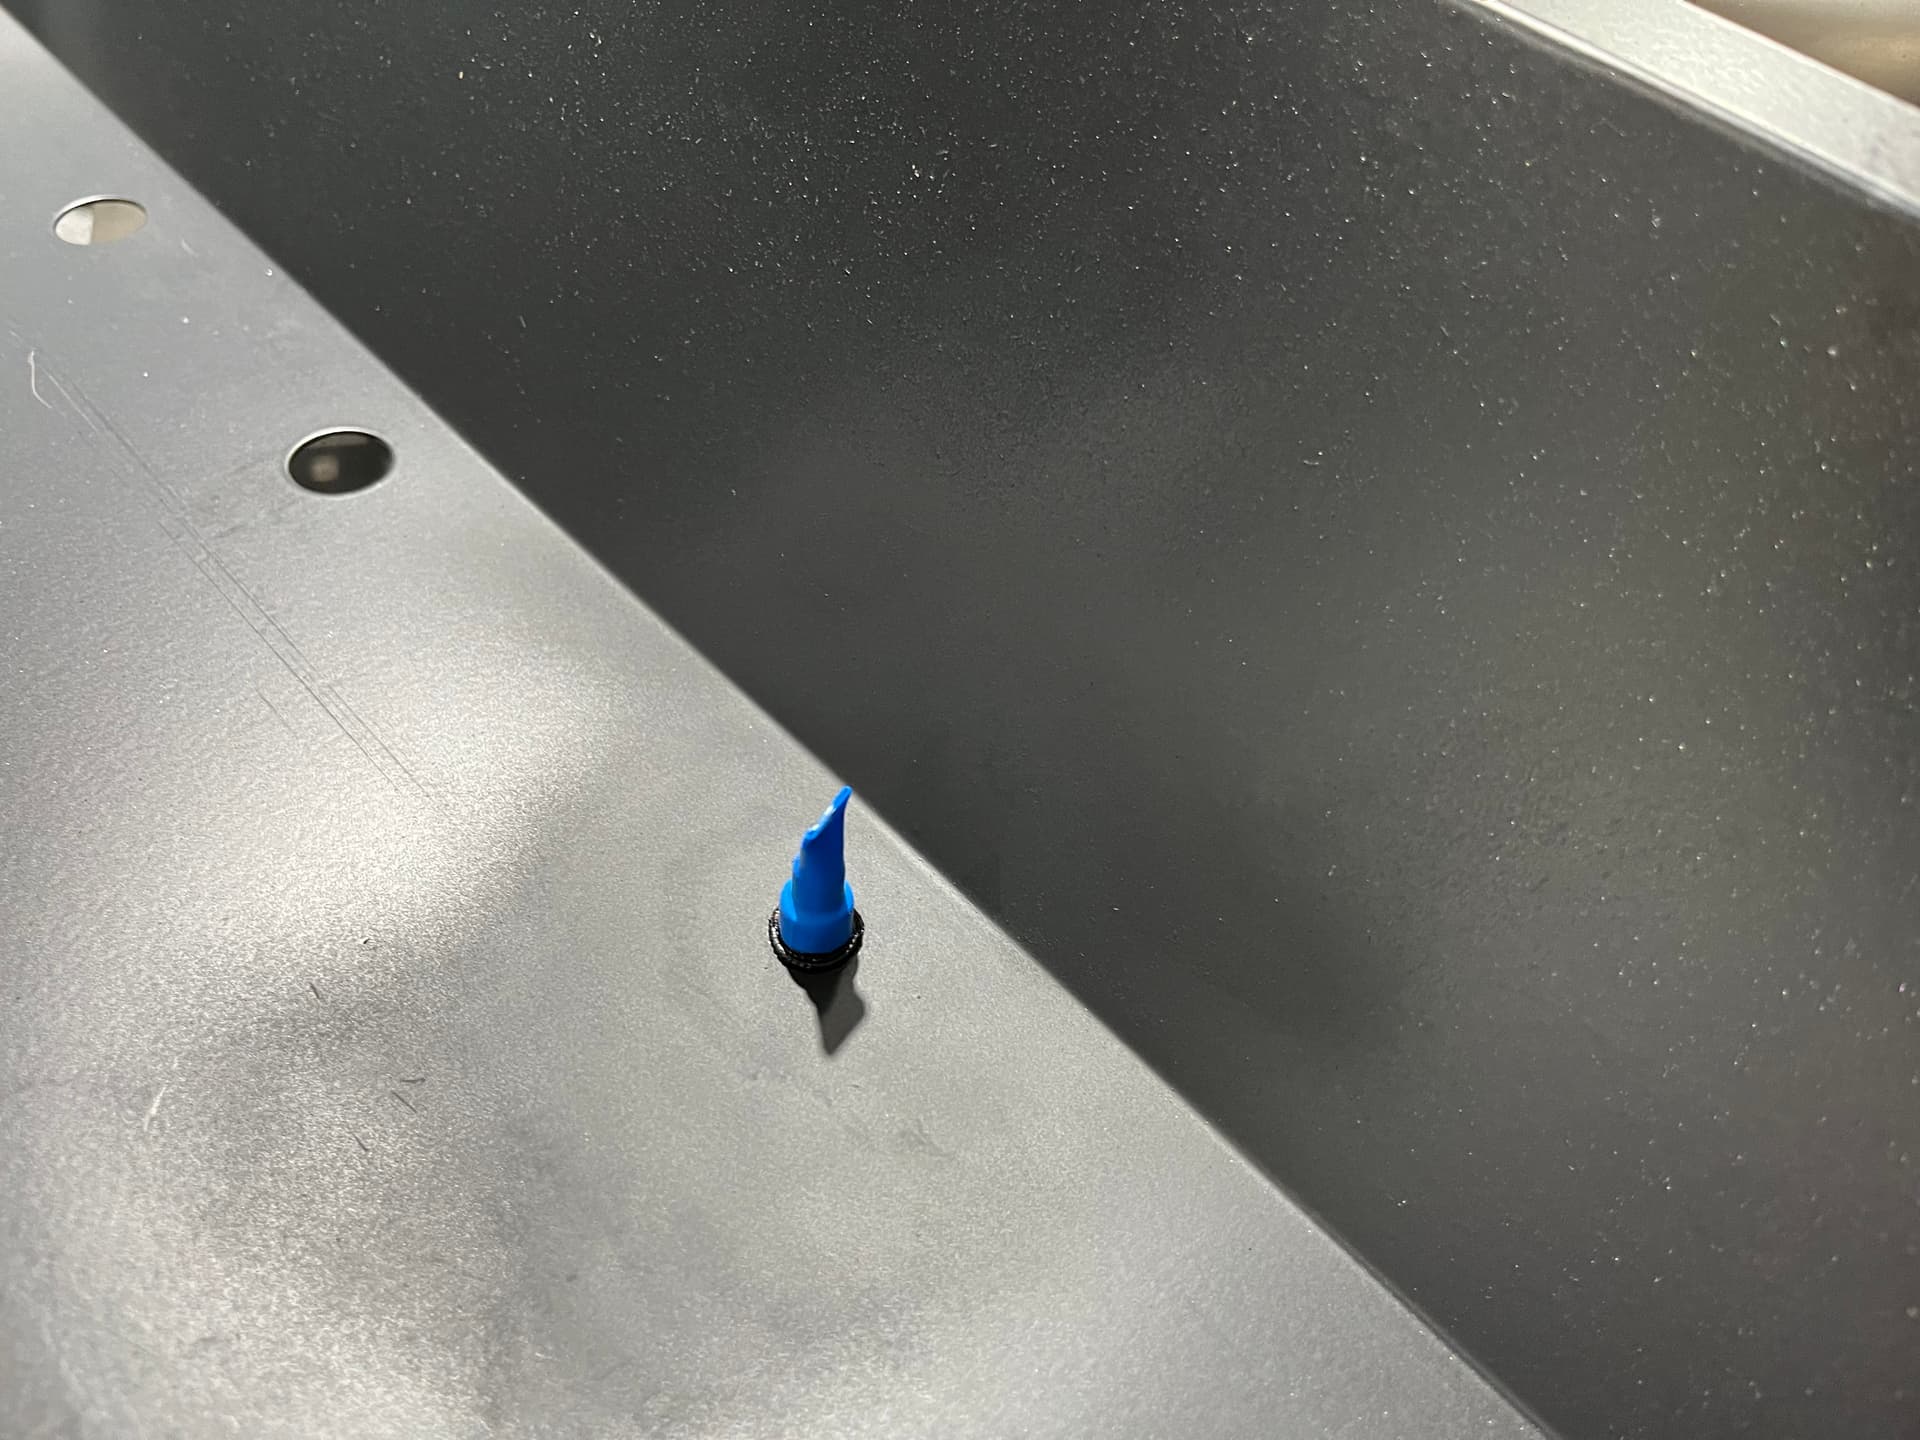
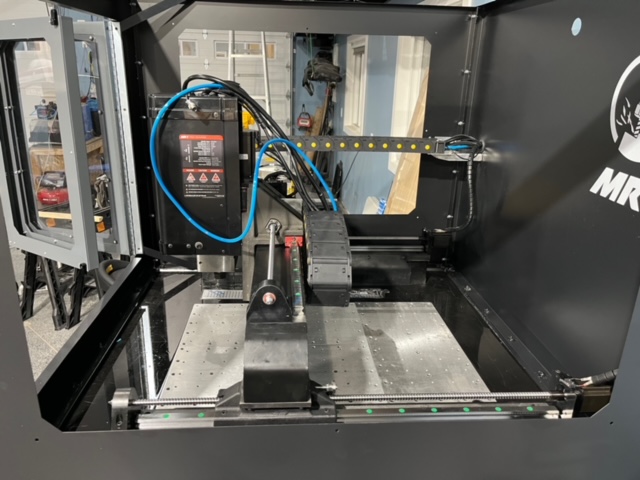
Here is the drain setup I have planned I will have a washdown nozzle that will be plumbed into a custom coolant tank and trip tray setup.
2 Likes
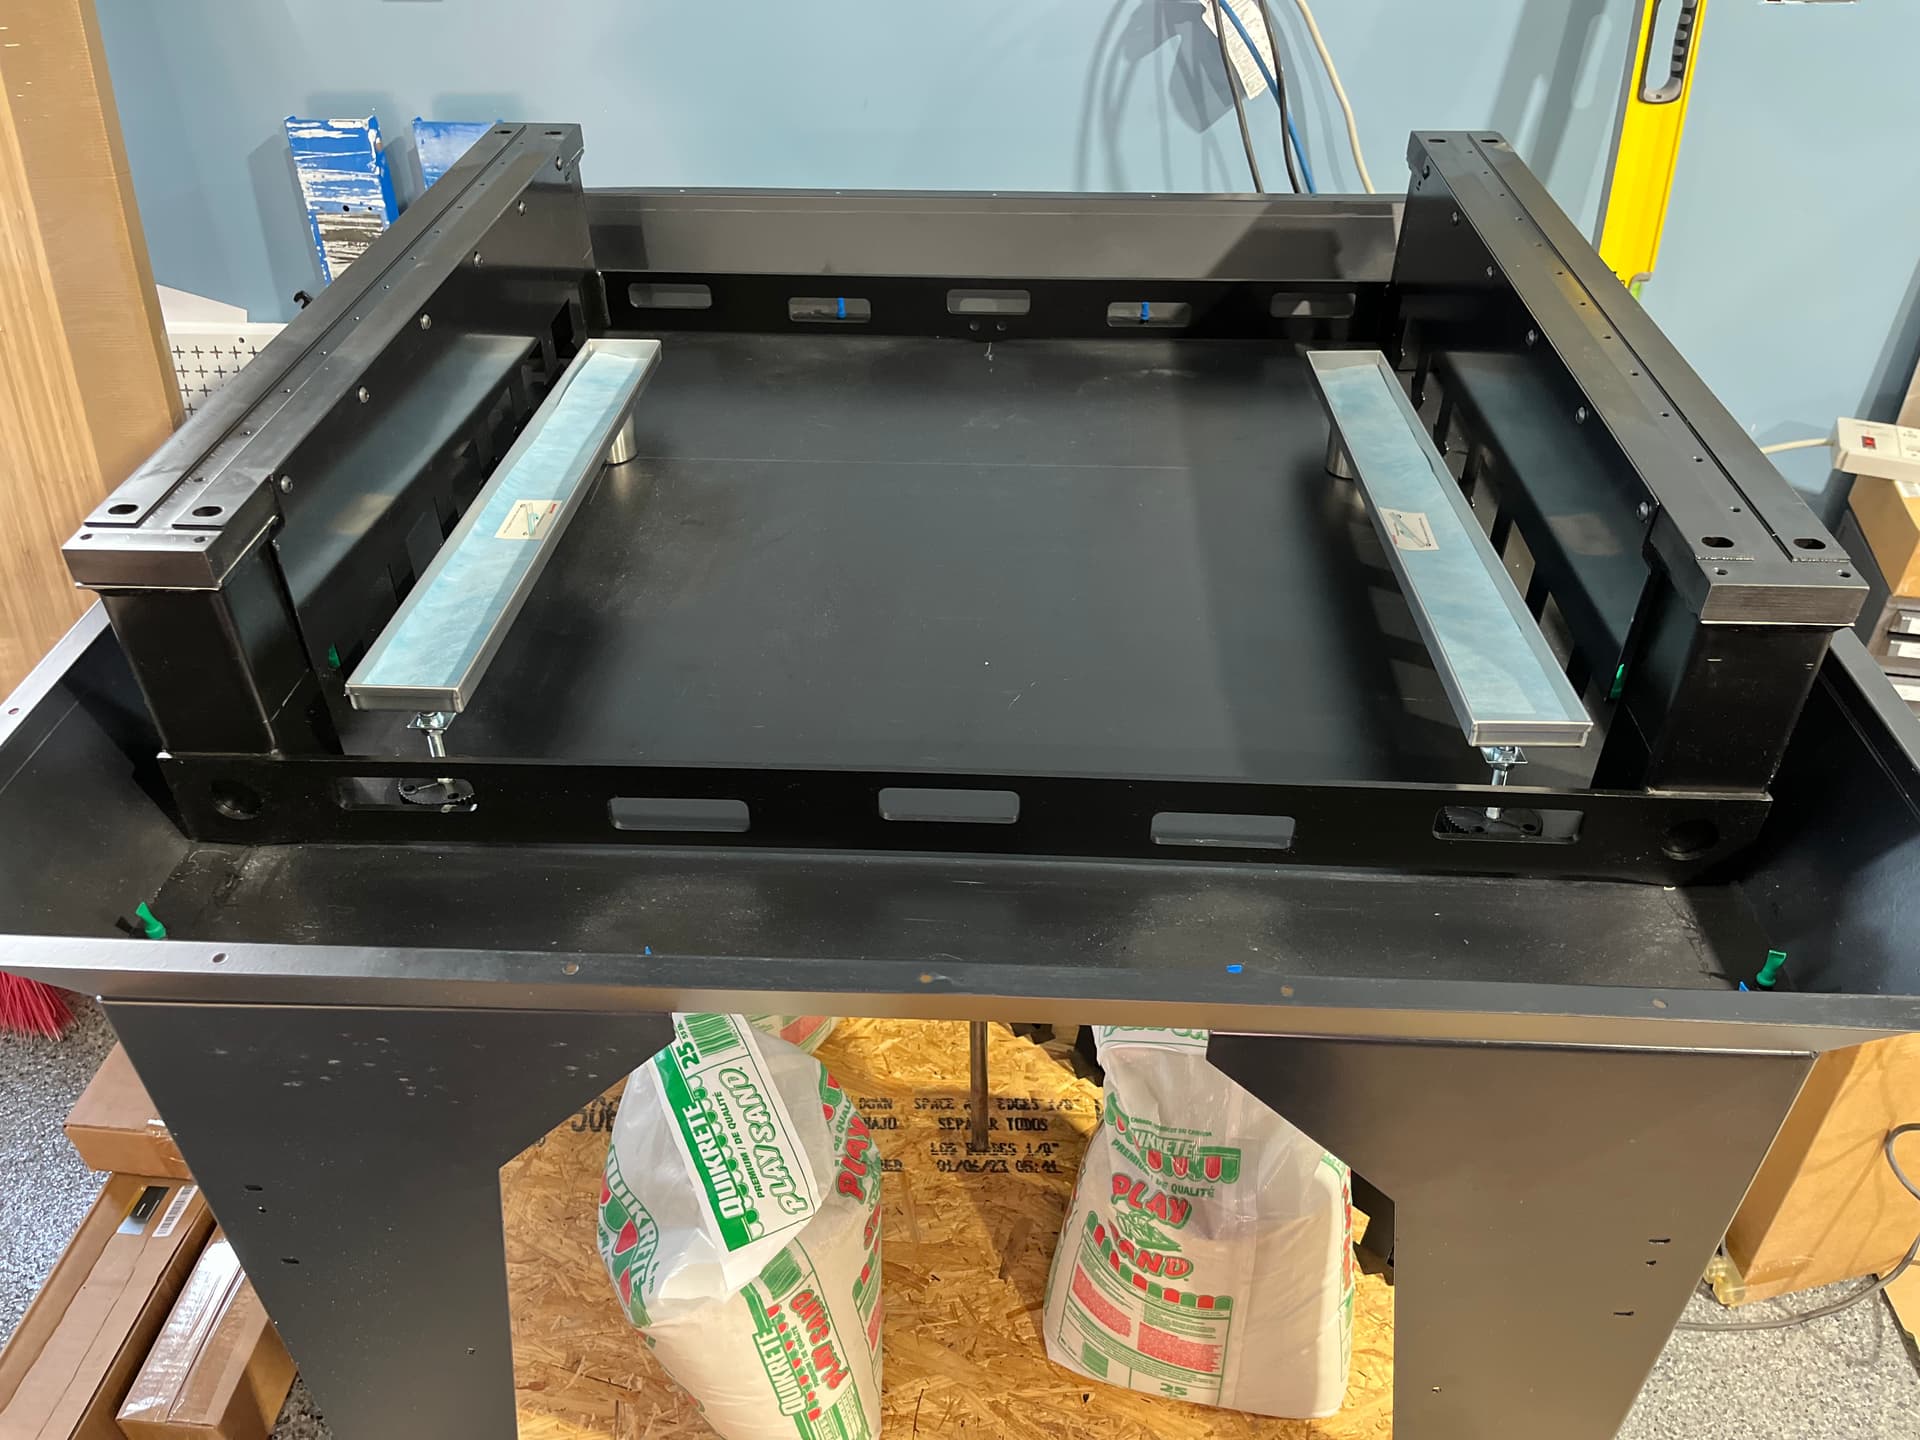
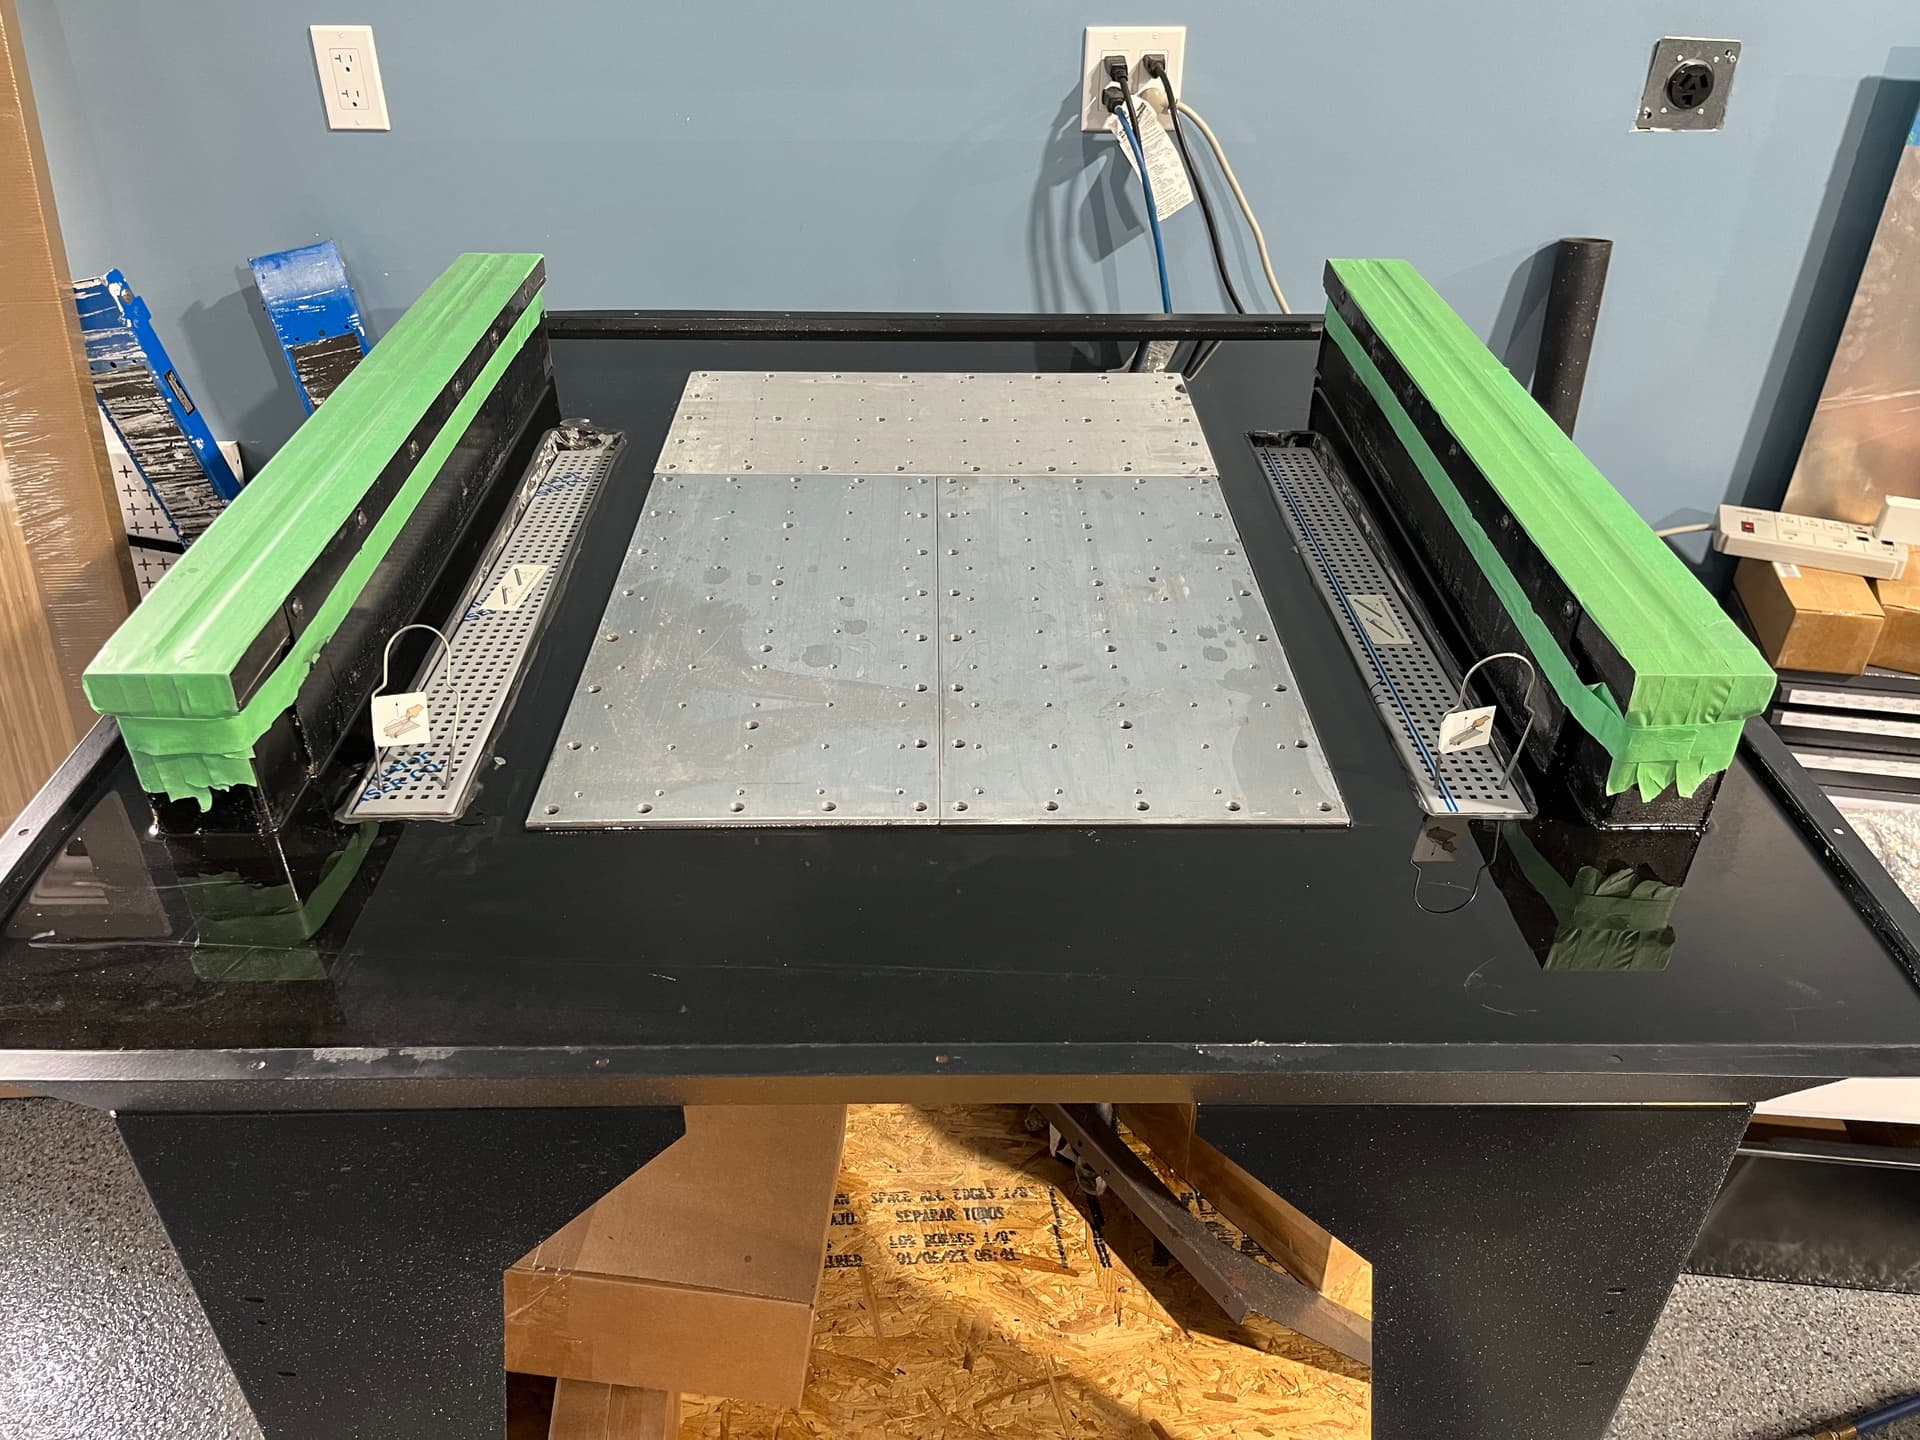
So, with 88% dustless playsand and 12% deep pour epoxy (ensures that thermal reaction is kept to a minimum) mixed 22.5lbs (1/2 bag) at a time by weight with the right amount of epoxy, it was then packed into the tray by hand. Here are the result before the flood coat.
1 Like
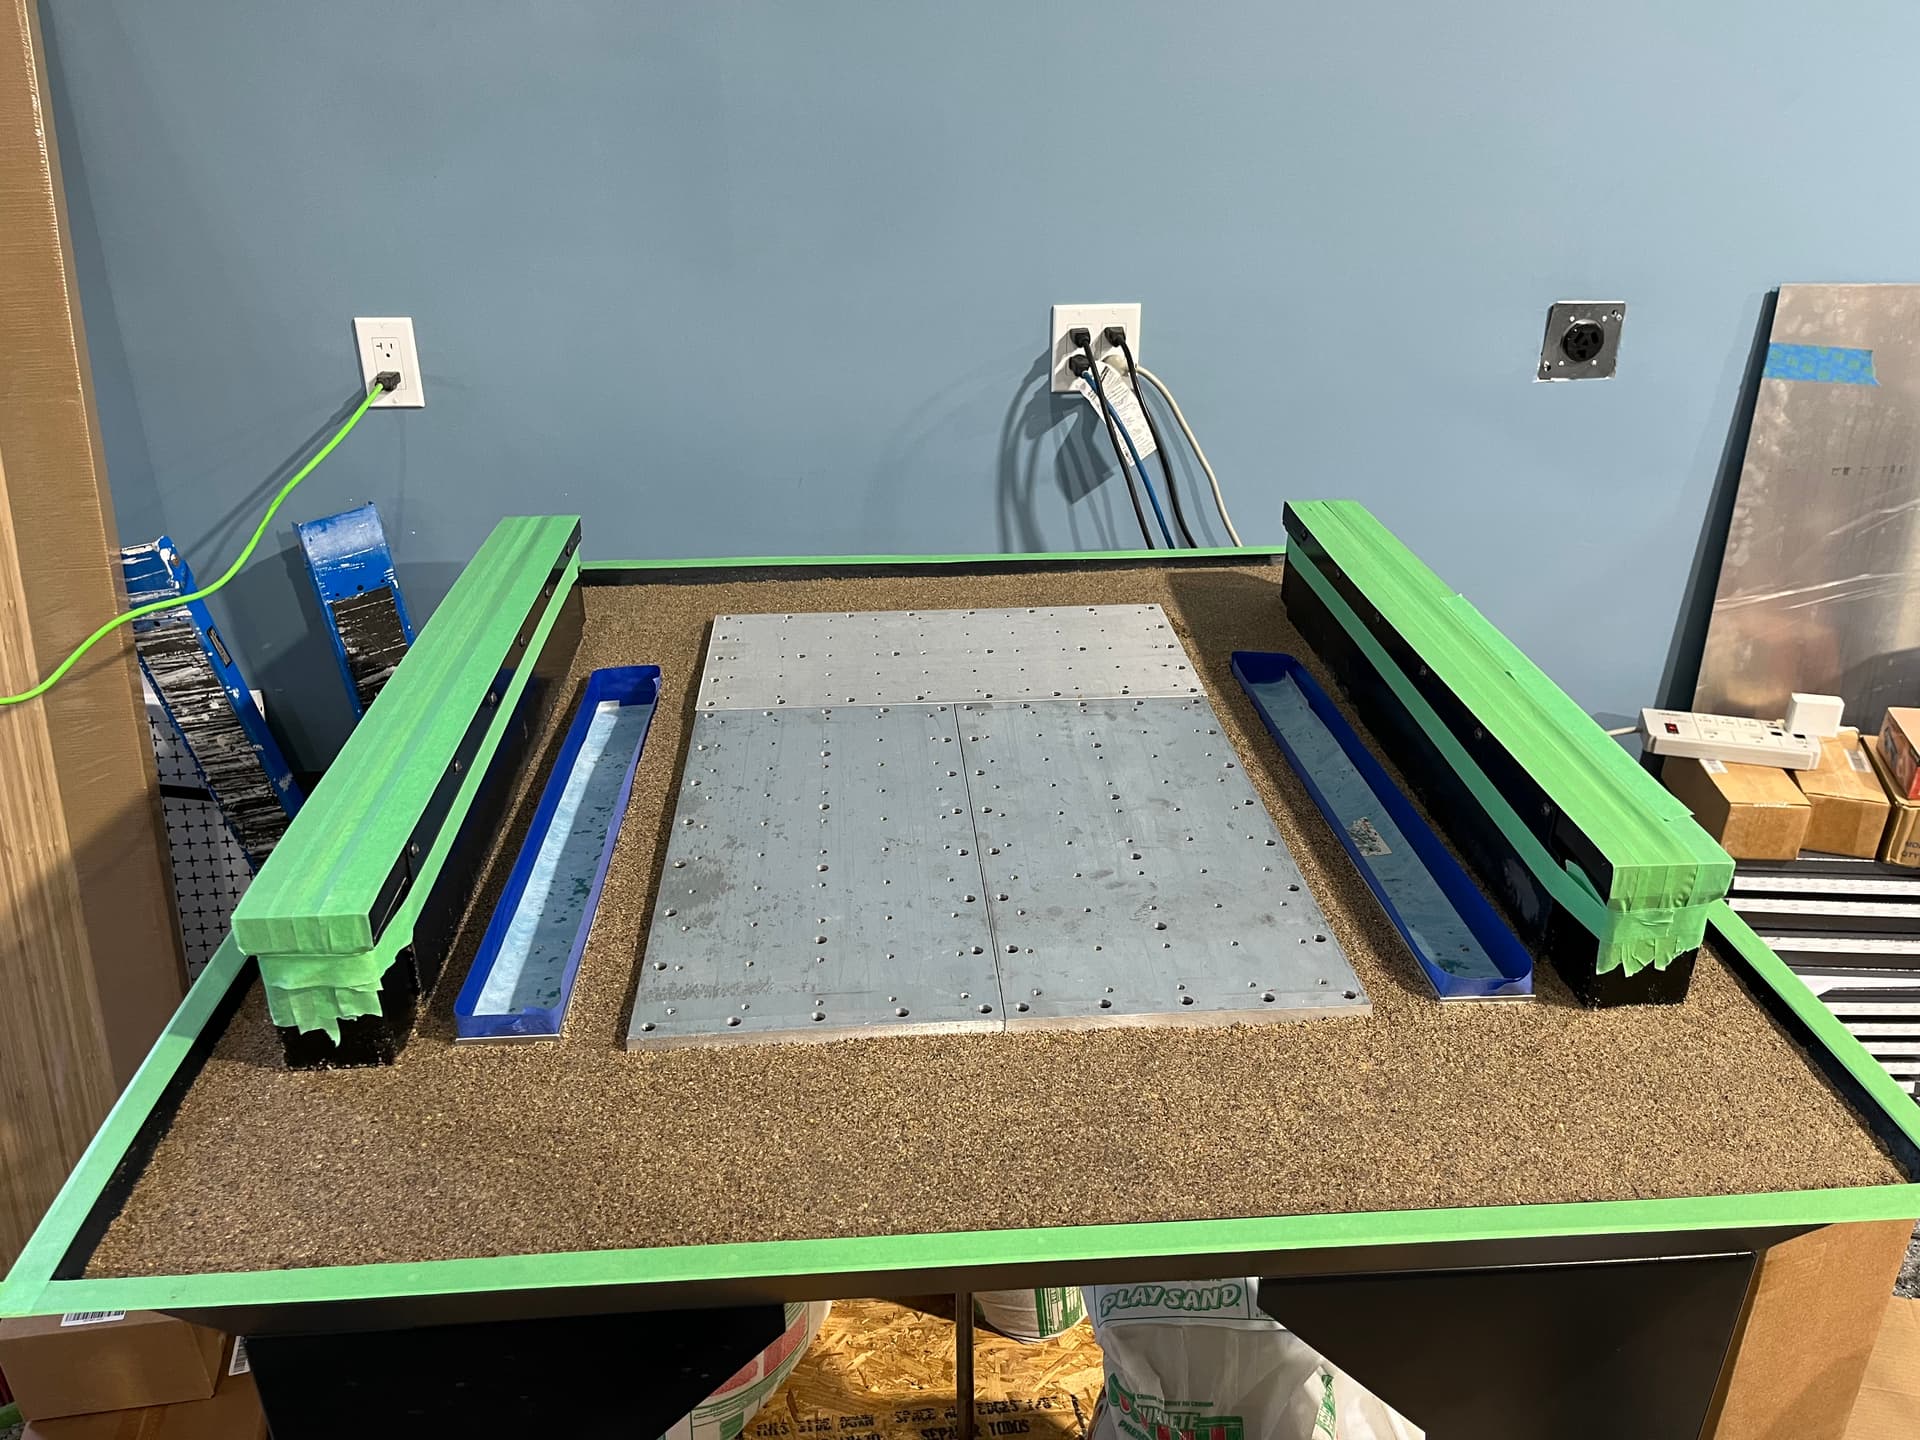
Here it is with the flood coat finished and the epoxy sanded to ensure the coolant/chips flow right into them.
There will be more on this build to come, but for now this is it.
7 Likes
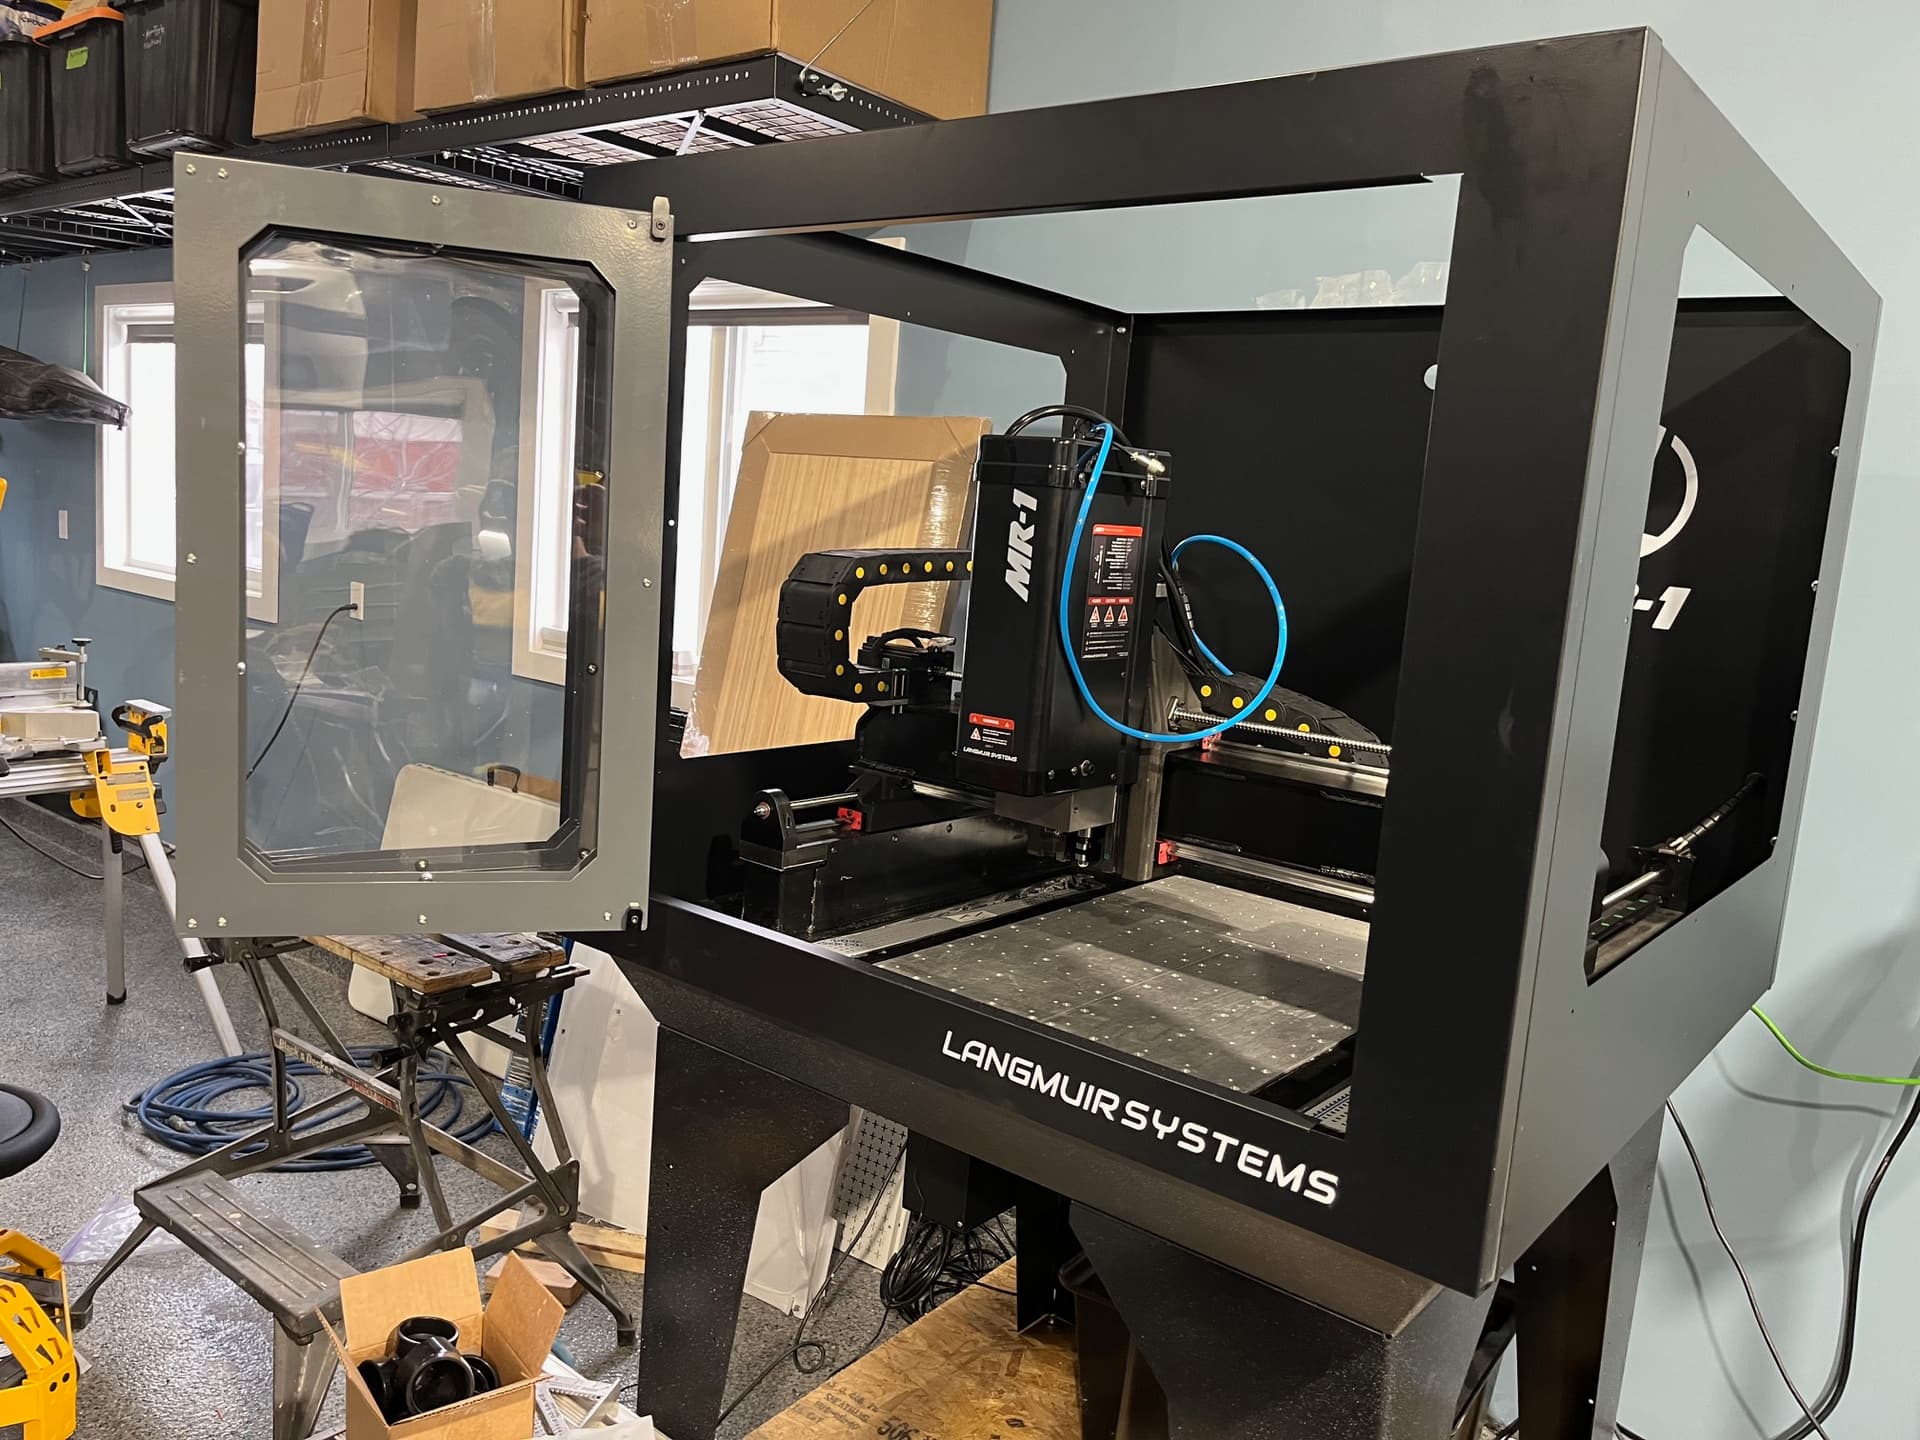
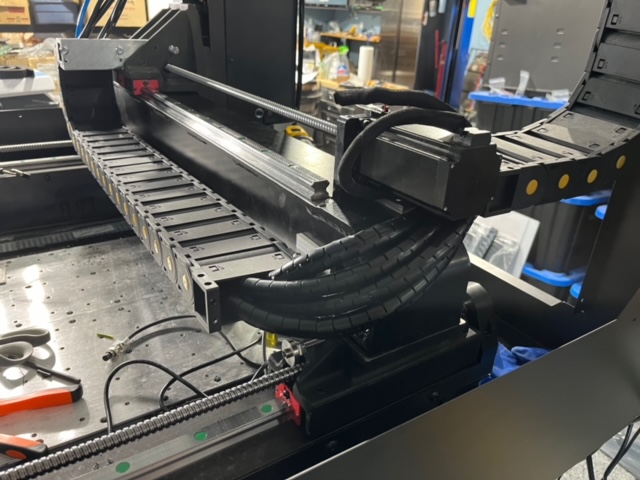
Alright, so lots of work has been done, I purchased some drag chains for the gantry to keep the coolant/air/electrical connections all predictable. Some work designing and figuring out the best mounting and routing options led me to this design.
This design required ordering matching connector for the axis drive motors, and the Touch Probe, and spindle control cable. The spindle drive cable was replaced with a longer cable to allow proper movement and routing of the wiring in the drag chains. New hole was drilled for Y2 axis drive motor and limit switch connectors.

1 Like
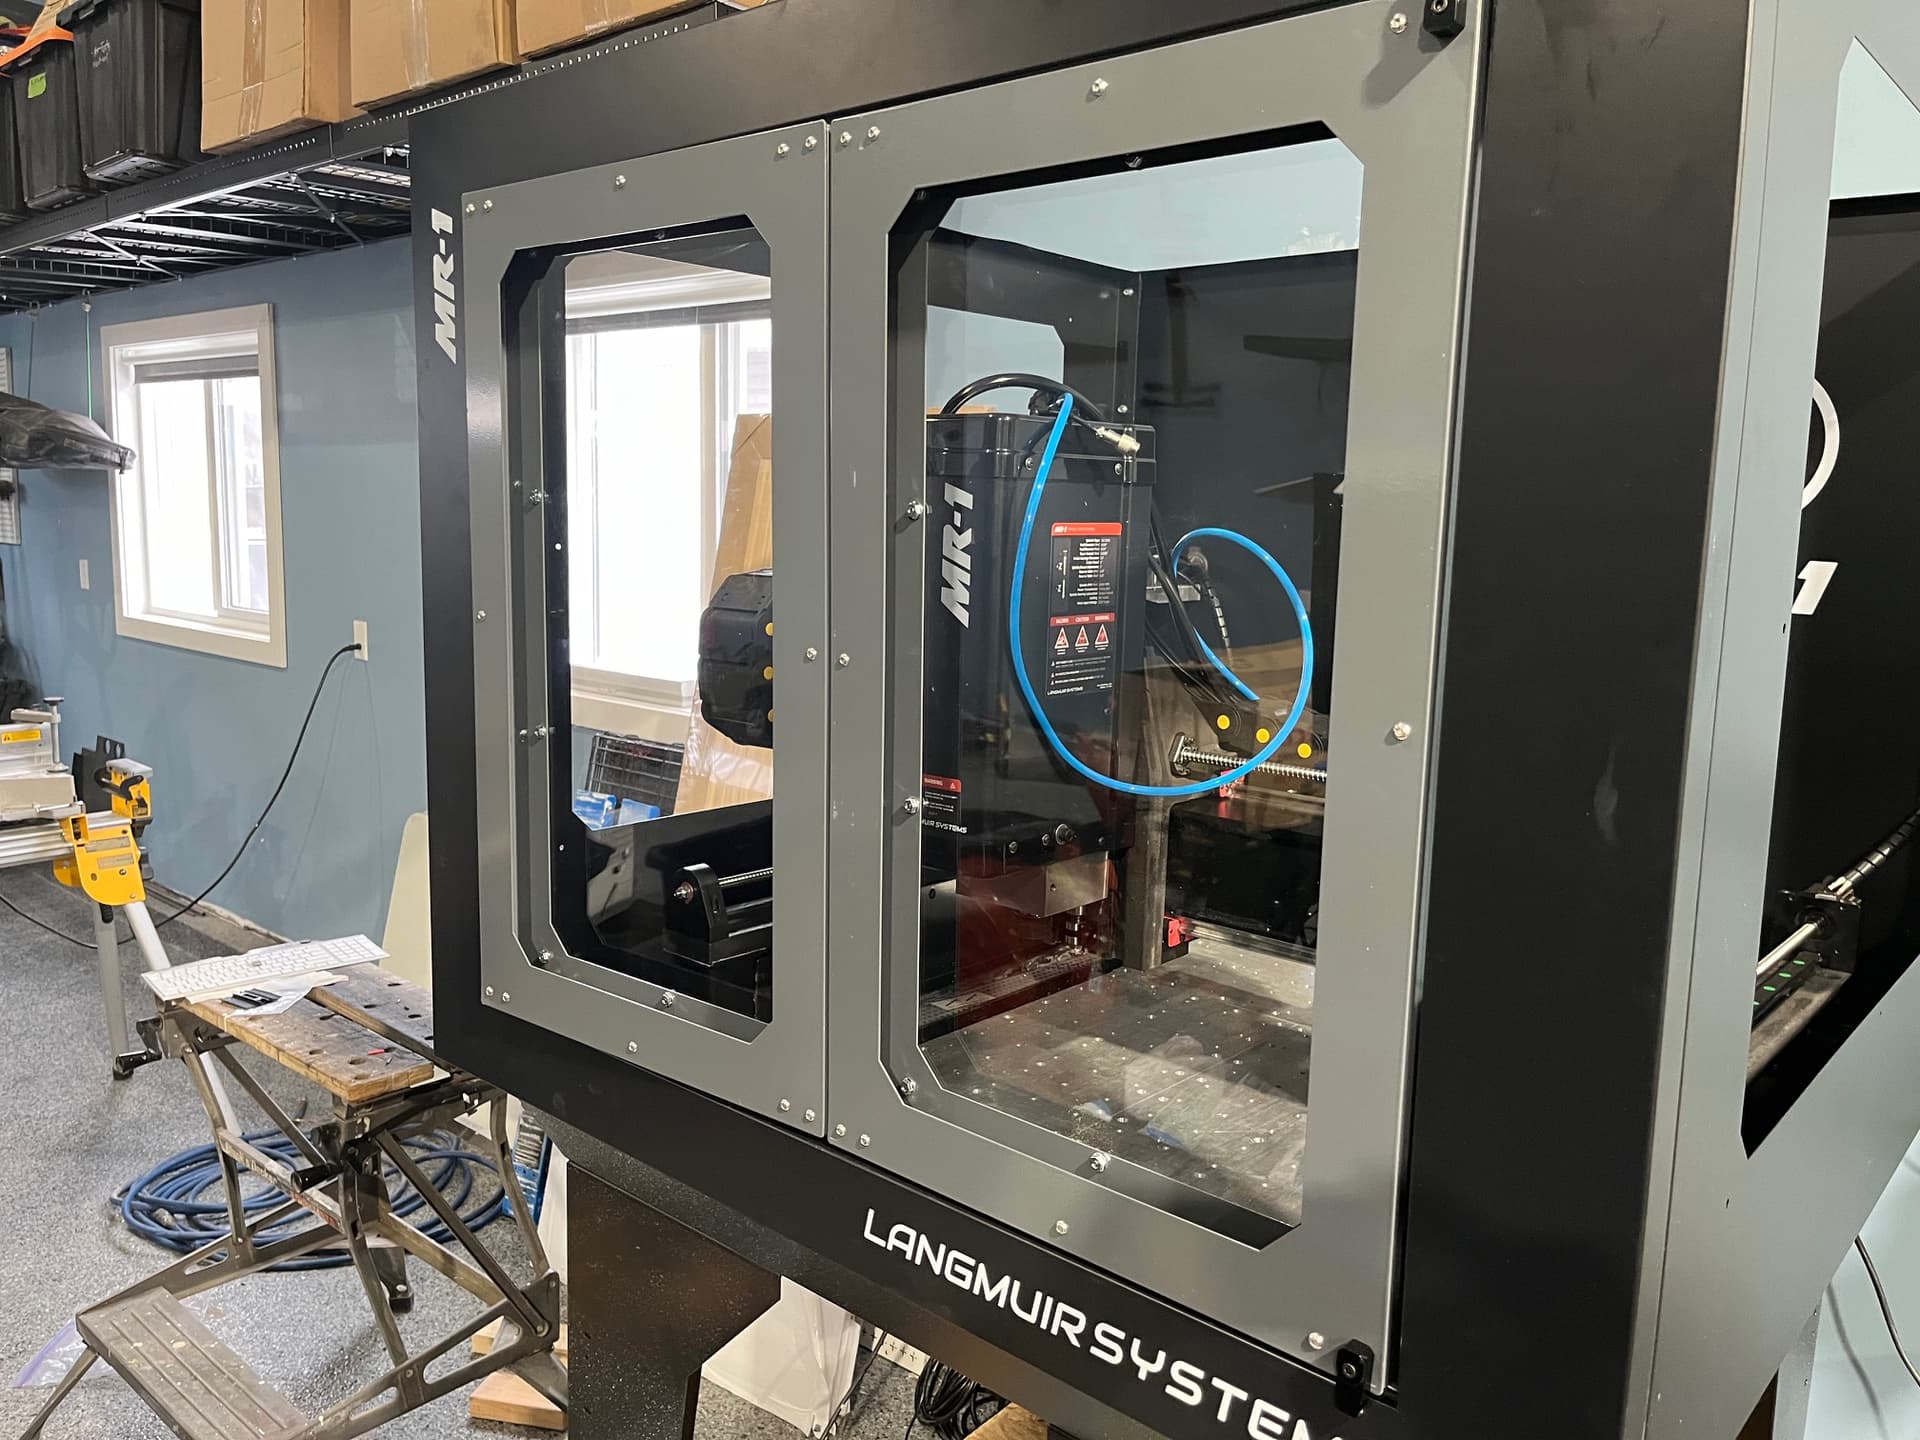
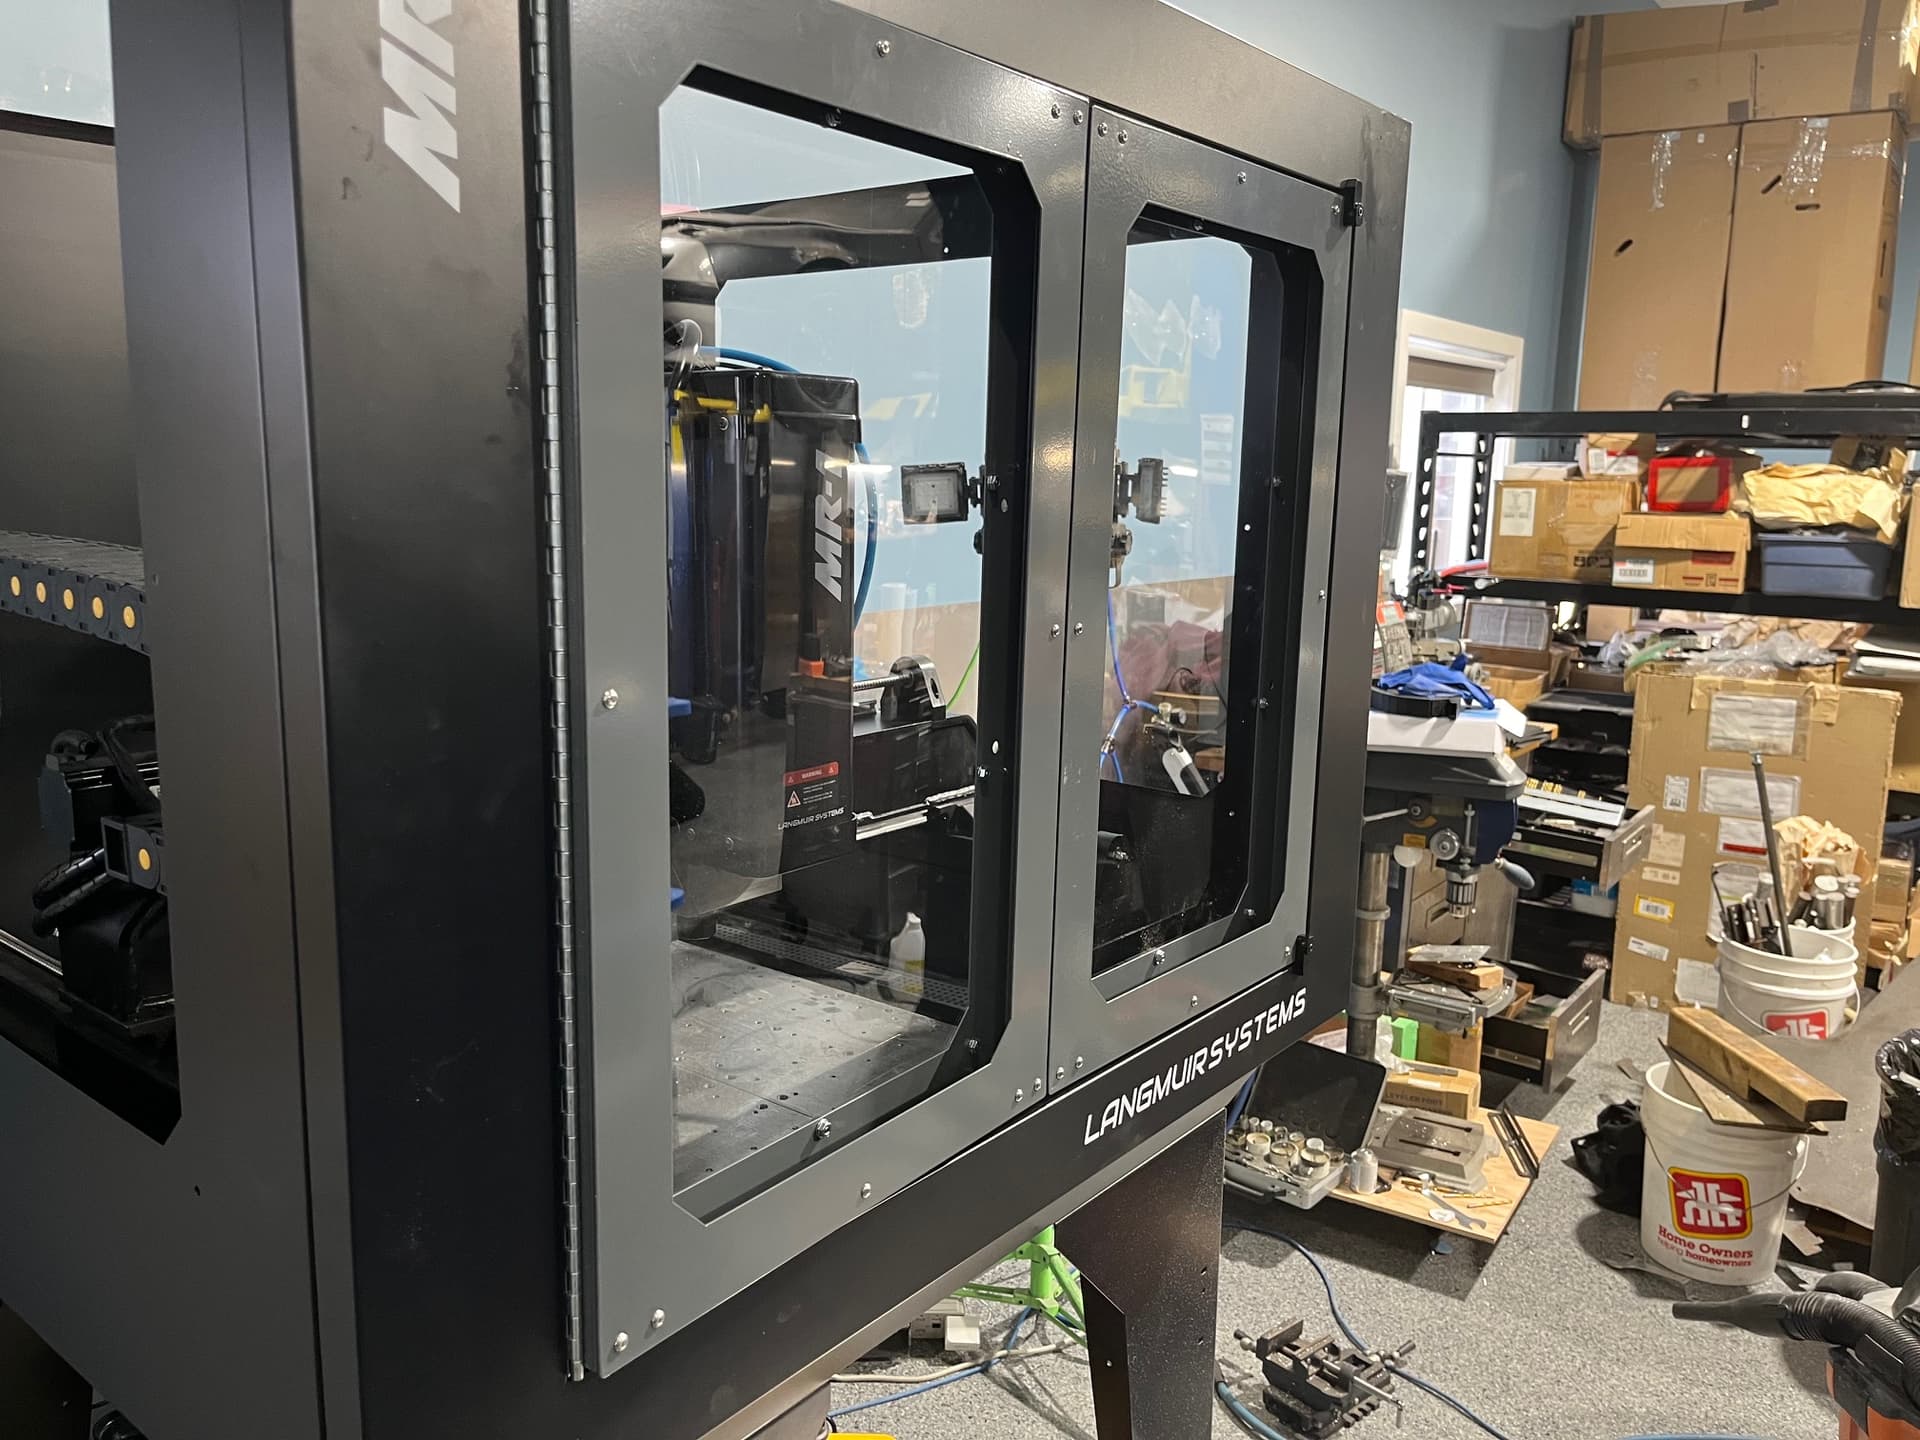
After looking at the door design, I decided that a lot of leaking would ensue and chips being caught. So i decided to basically turn the doors around, and bi-fold them. This required locating marking and drilling a new set of holes on one side of the doors to make it work correctly.
4 Likes
Finally will get ready to machine the Table, I will have to disconnect my drag chain and turn the x gantry around to finish machining the extended rear portion of the plate, but that is relatively easy with this design. Update to follow.
3 Likes
Hi Clockstick,
I’m looking to try the epoxy. I did a 35 pound test with sand and pea gravel. It took a while to mix by hand. Did you use any mechanical means (drill-based paint mixer, etc)/
Any other suggestions?
Thanks
I used a drill with this mixer - Amazon.com
No problem doing half-bags of sand in 5 gallon buckets.
1 Like
I used a 1/2 Drill with a paddle mixer I mixed it in 2 gallon batches in a 5 gallon bucket worked well.
1 Like