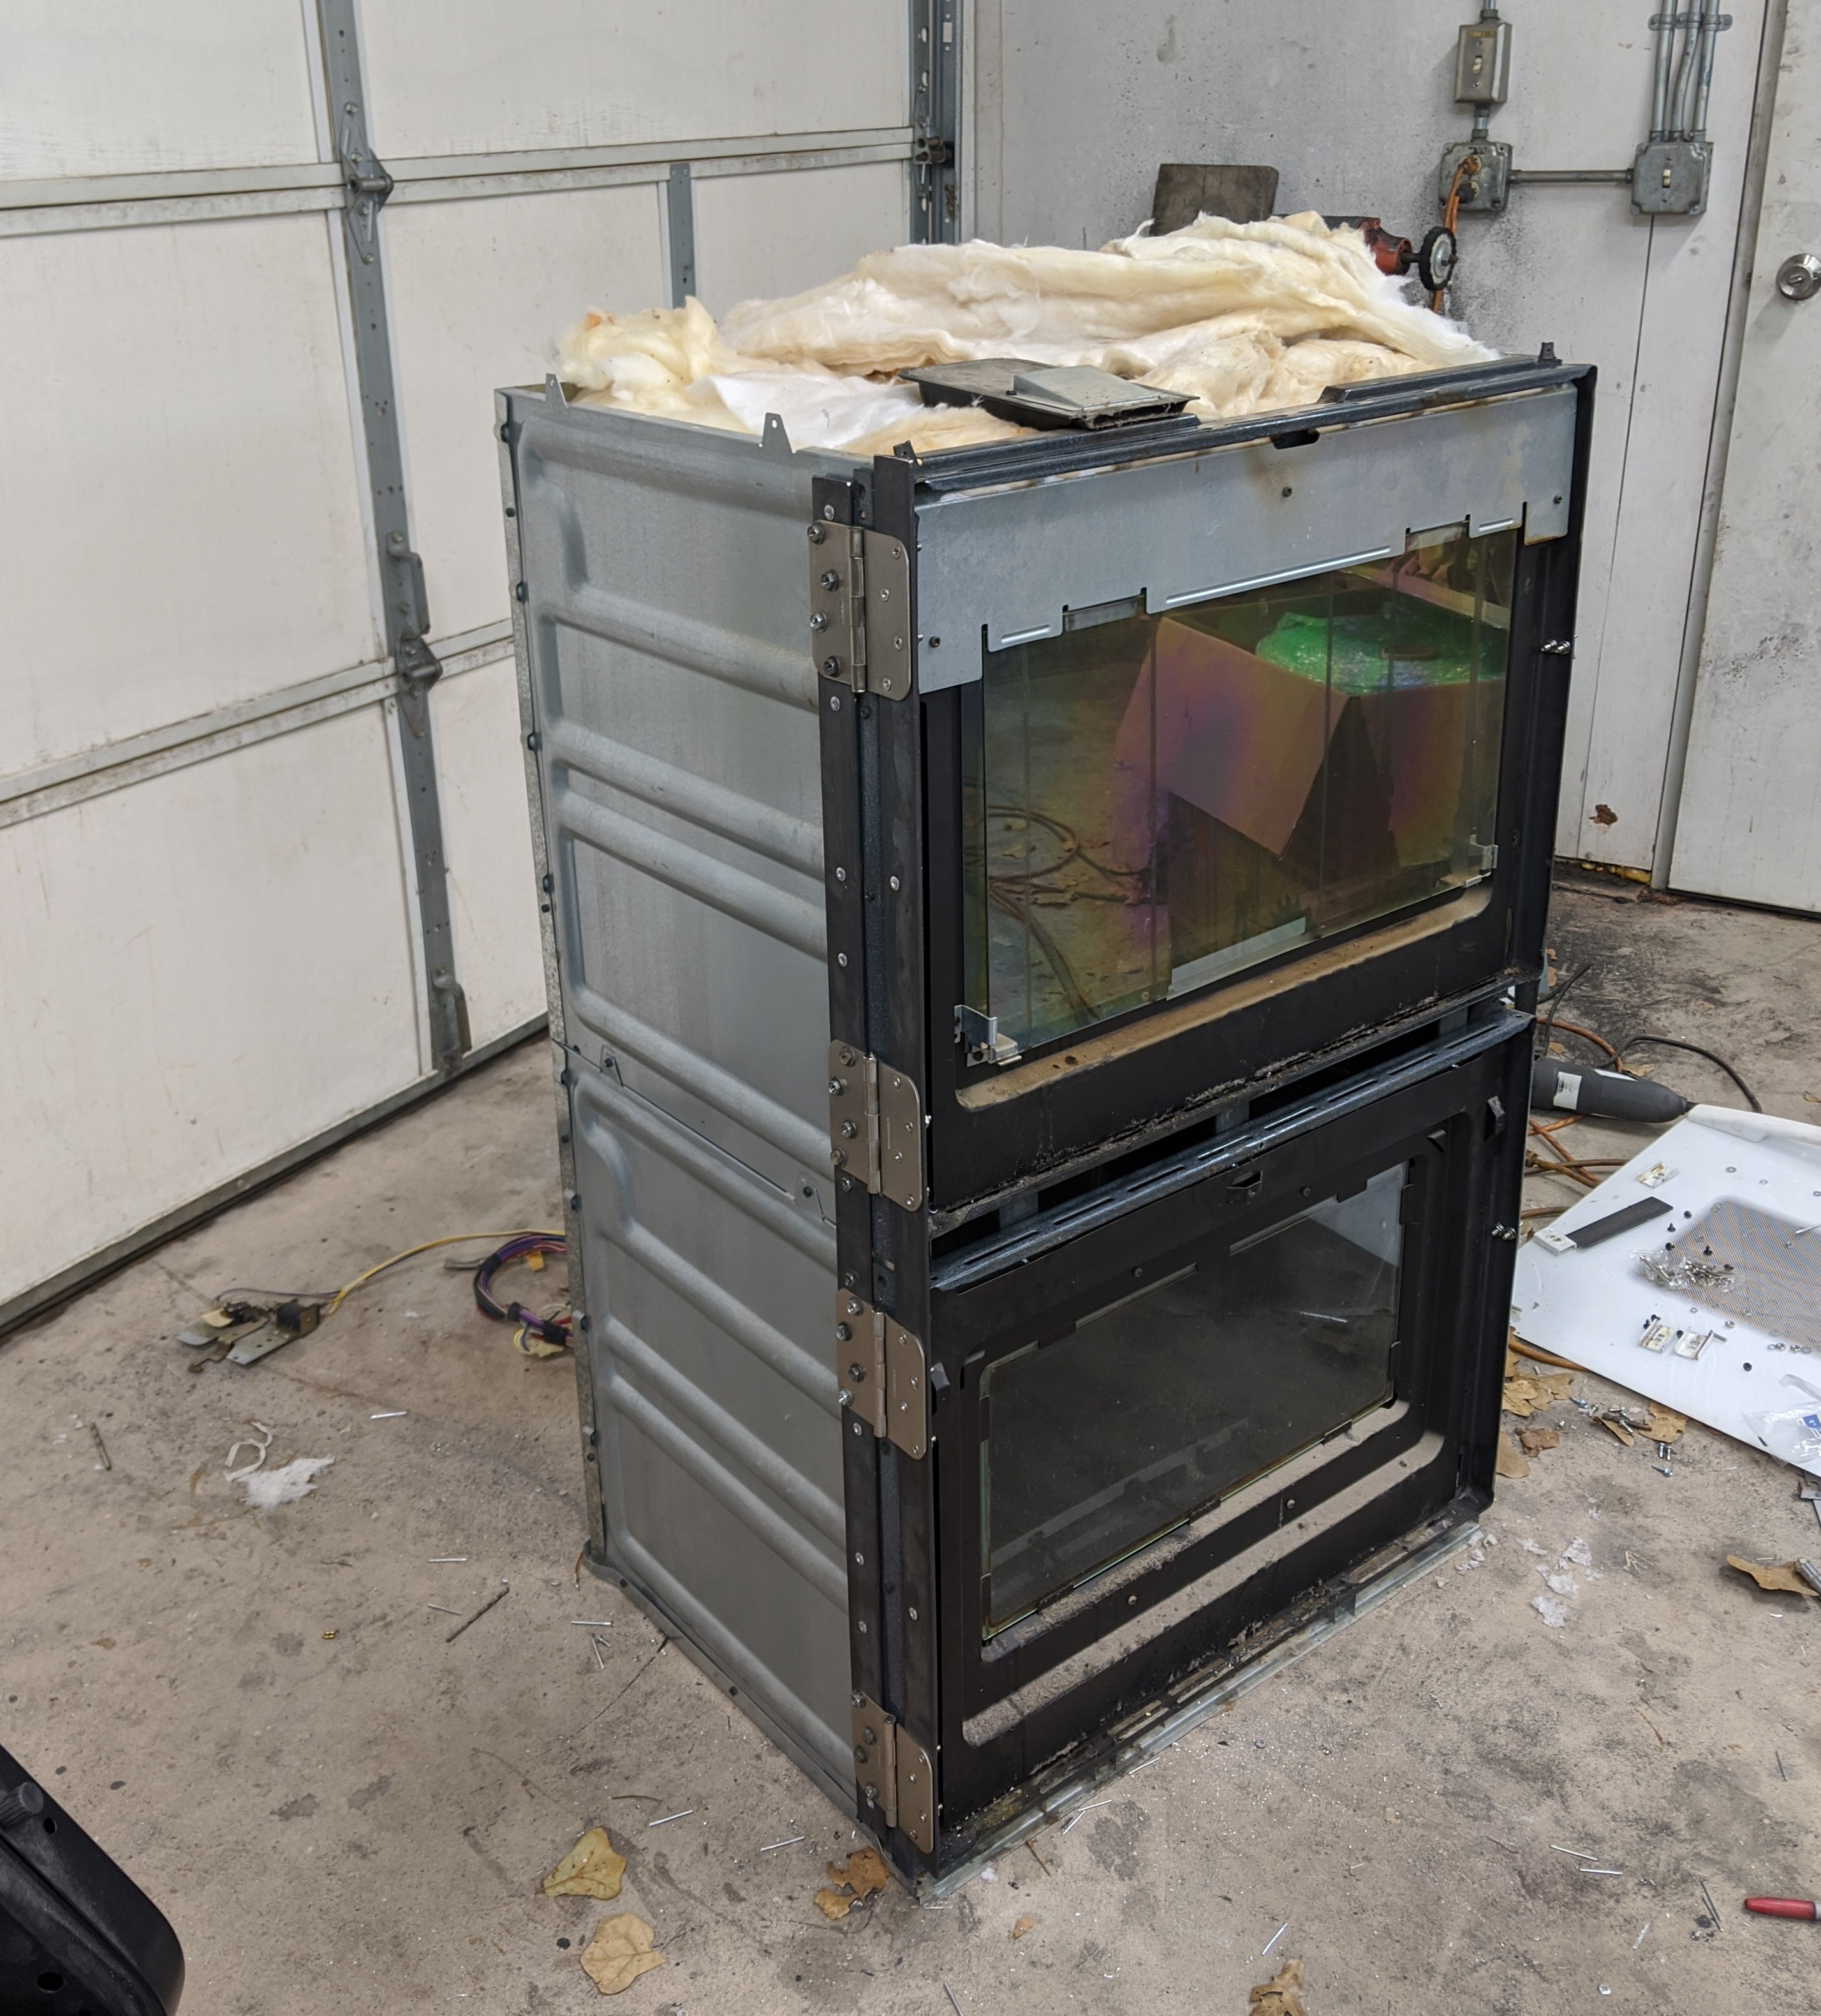
Well I have been wanting to upgrade from my normal house oven to something a bit bigger to do longer parts. So I decided to dive in and start a double oven build. Once done this should give me almost 4’ in height and 2’ width. I will keep you guys updated and provide links to the materials in case anyone else in interested in doing the same.
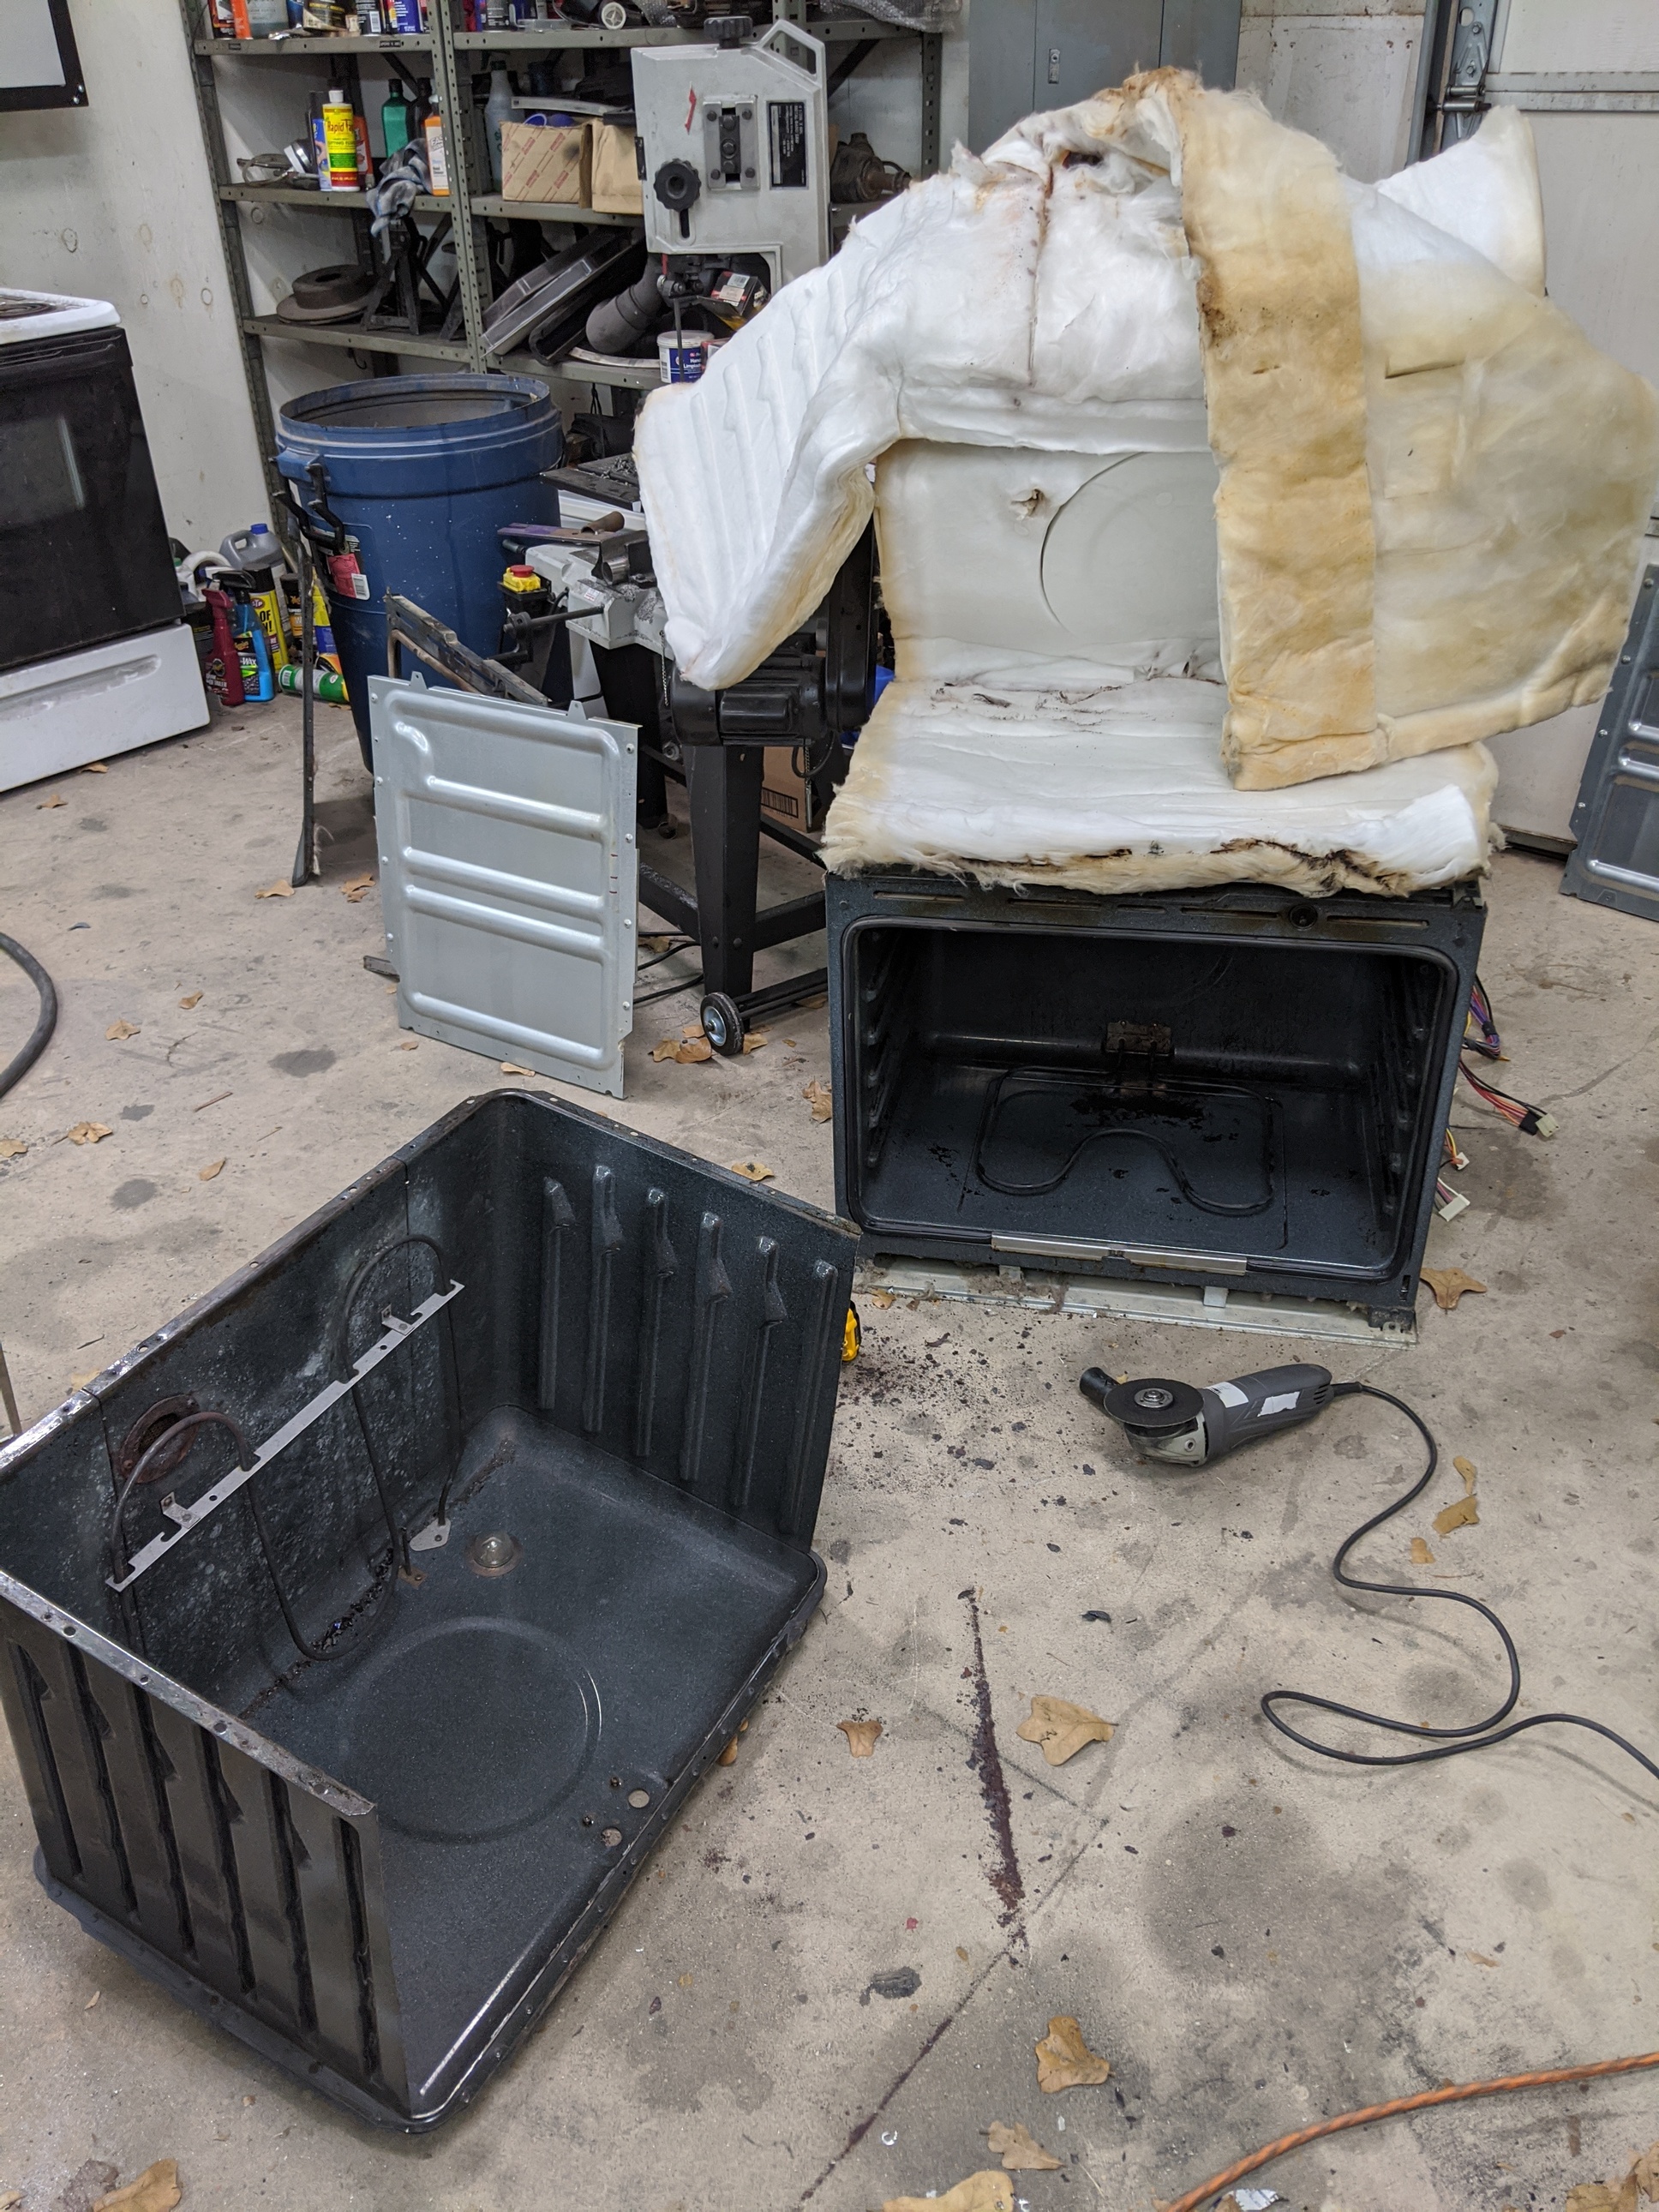
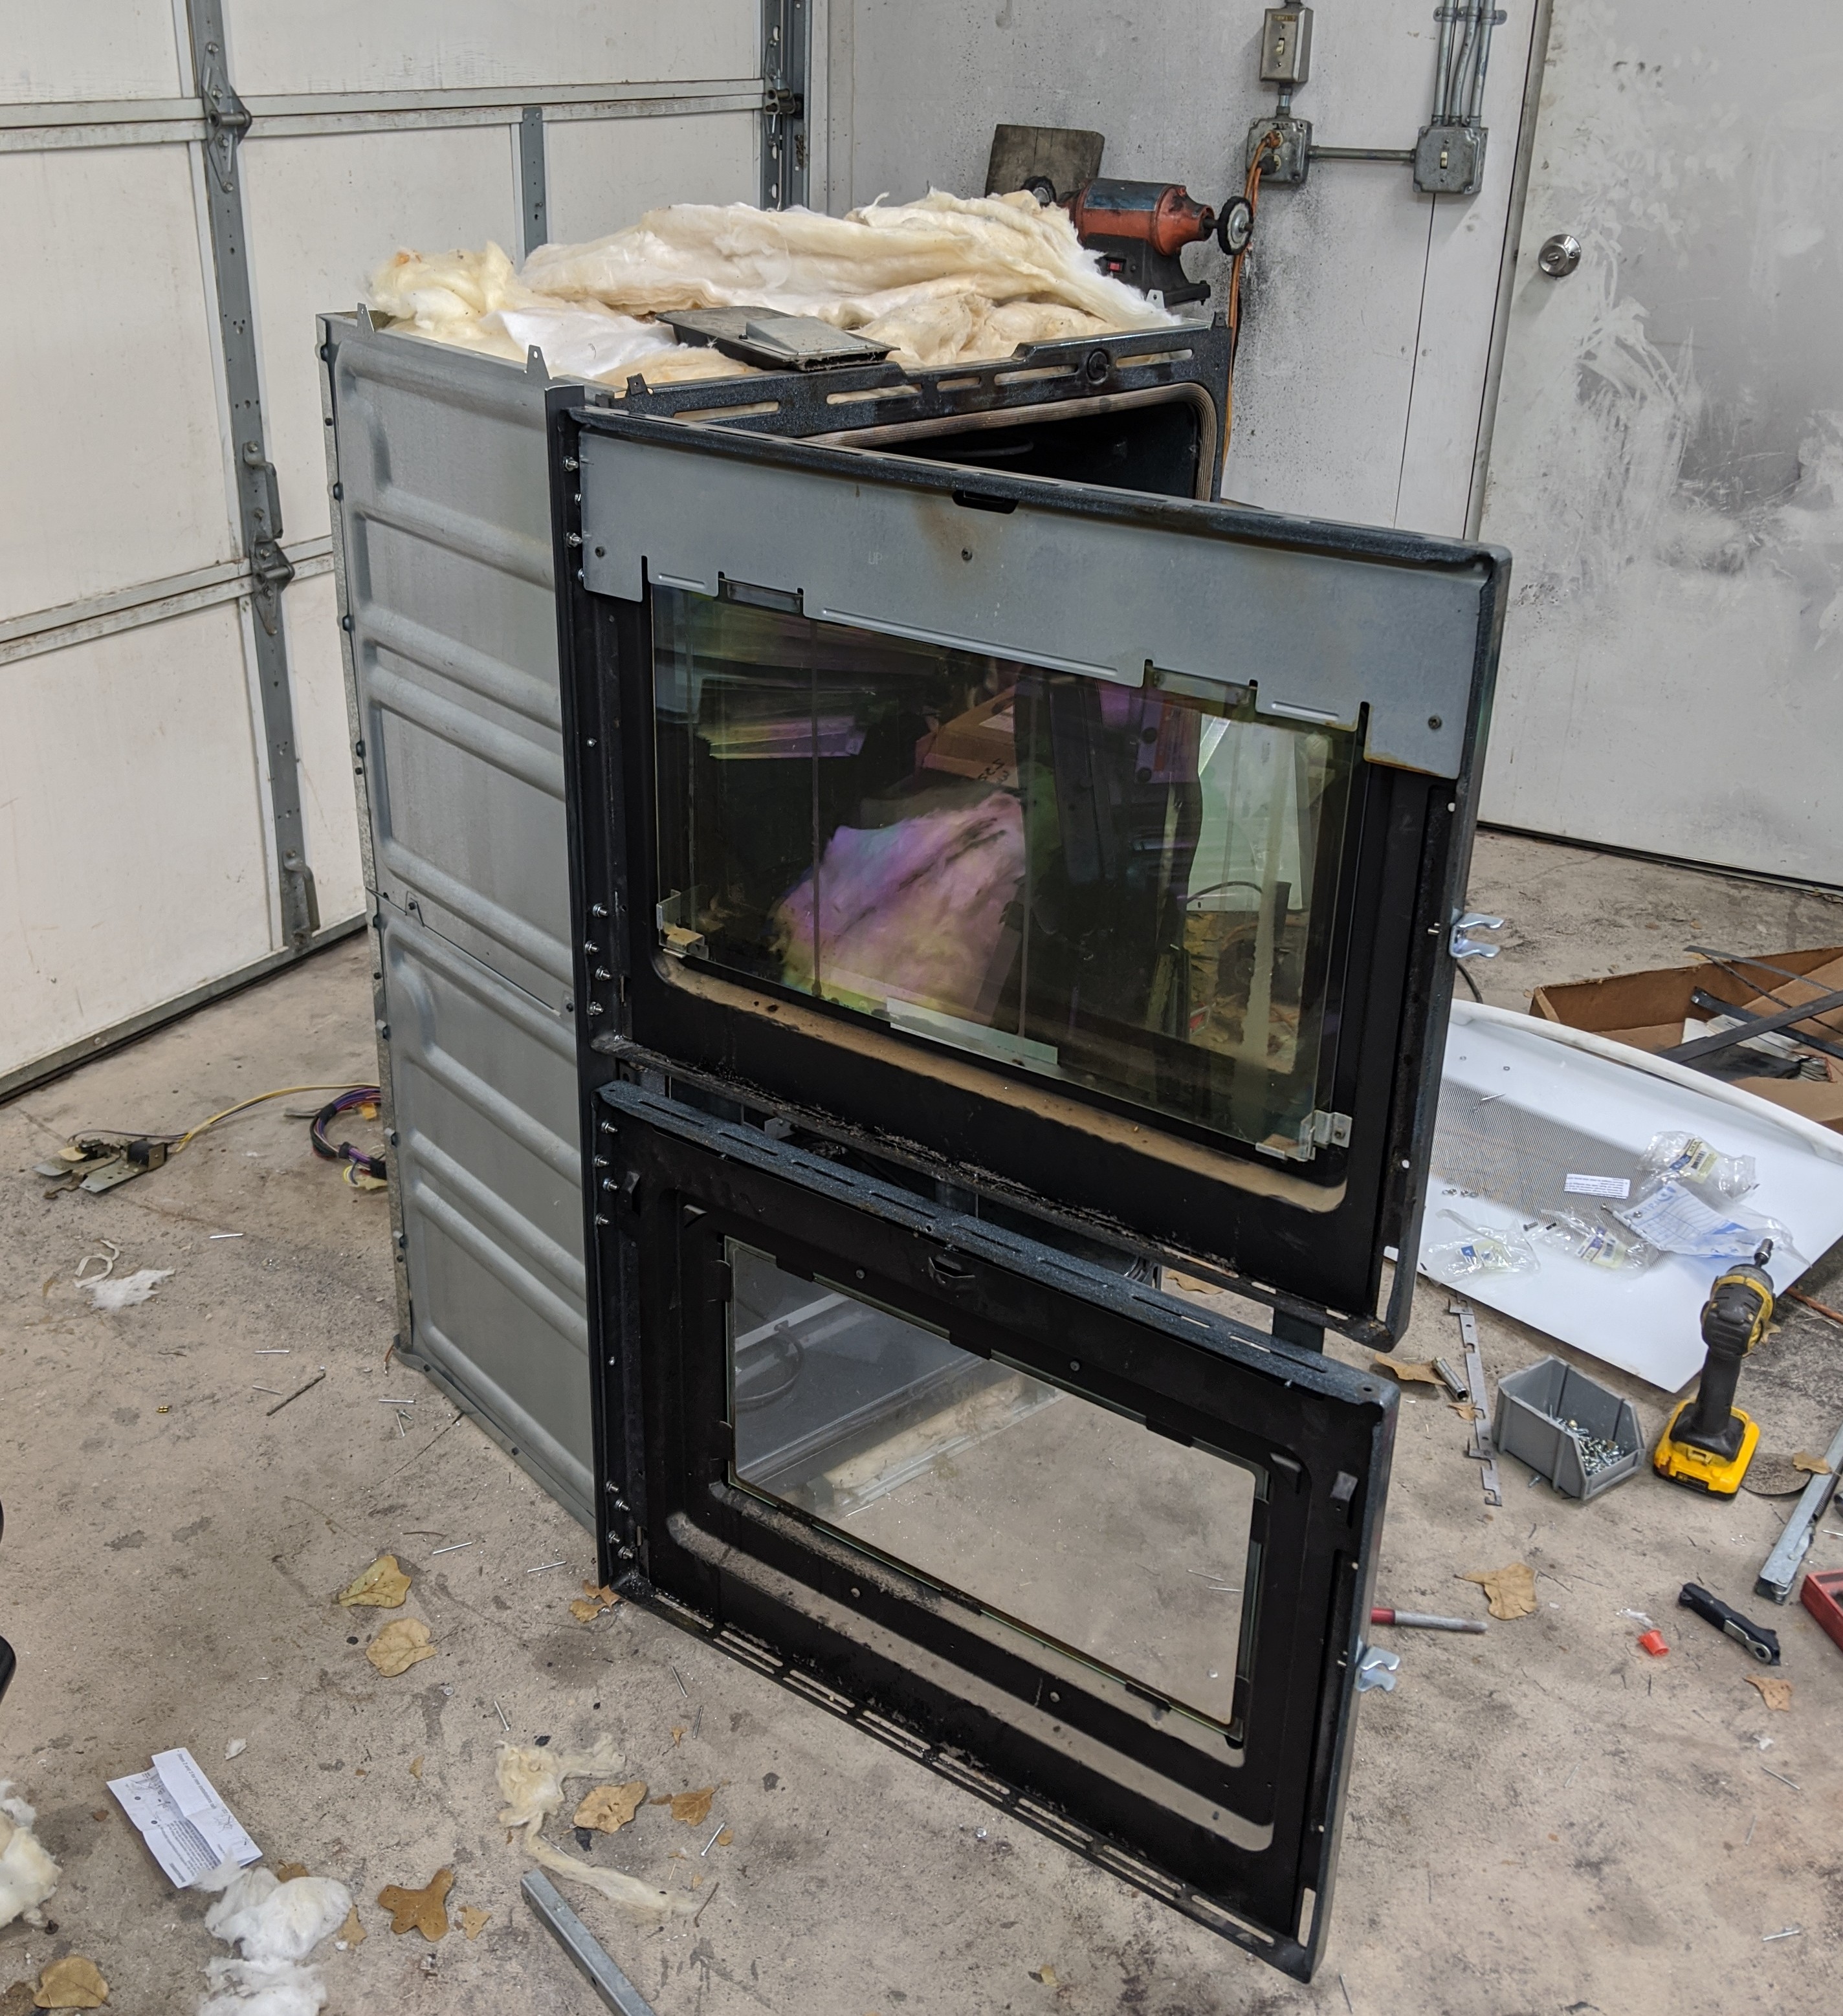
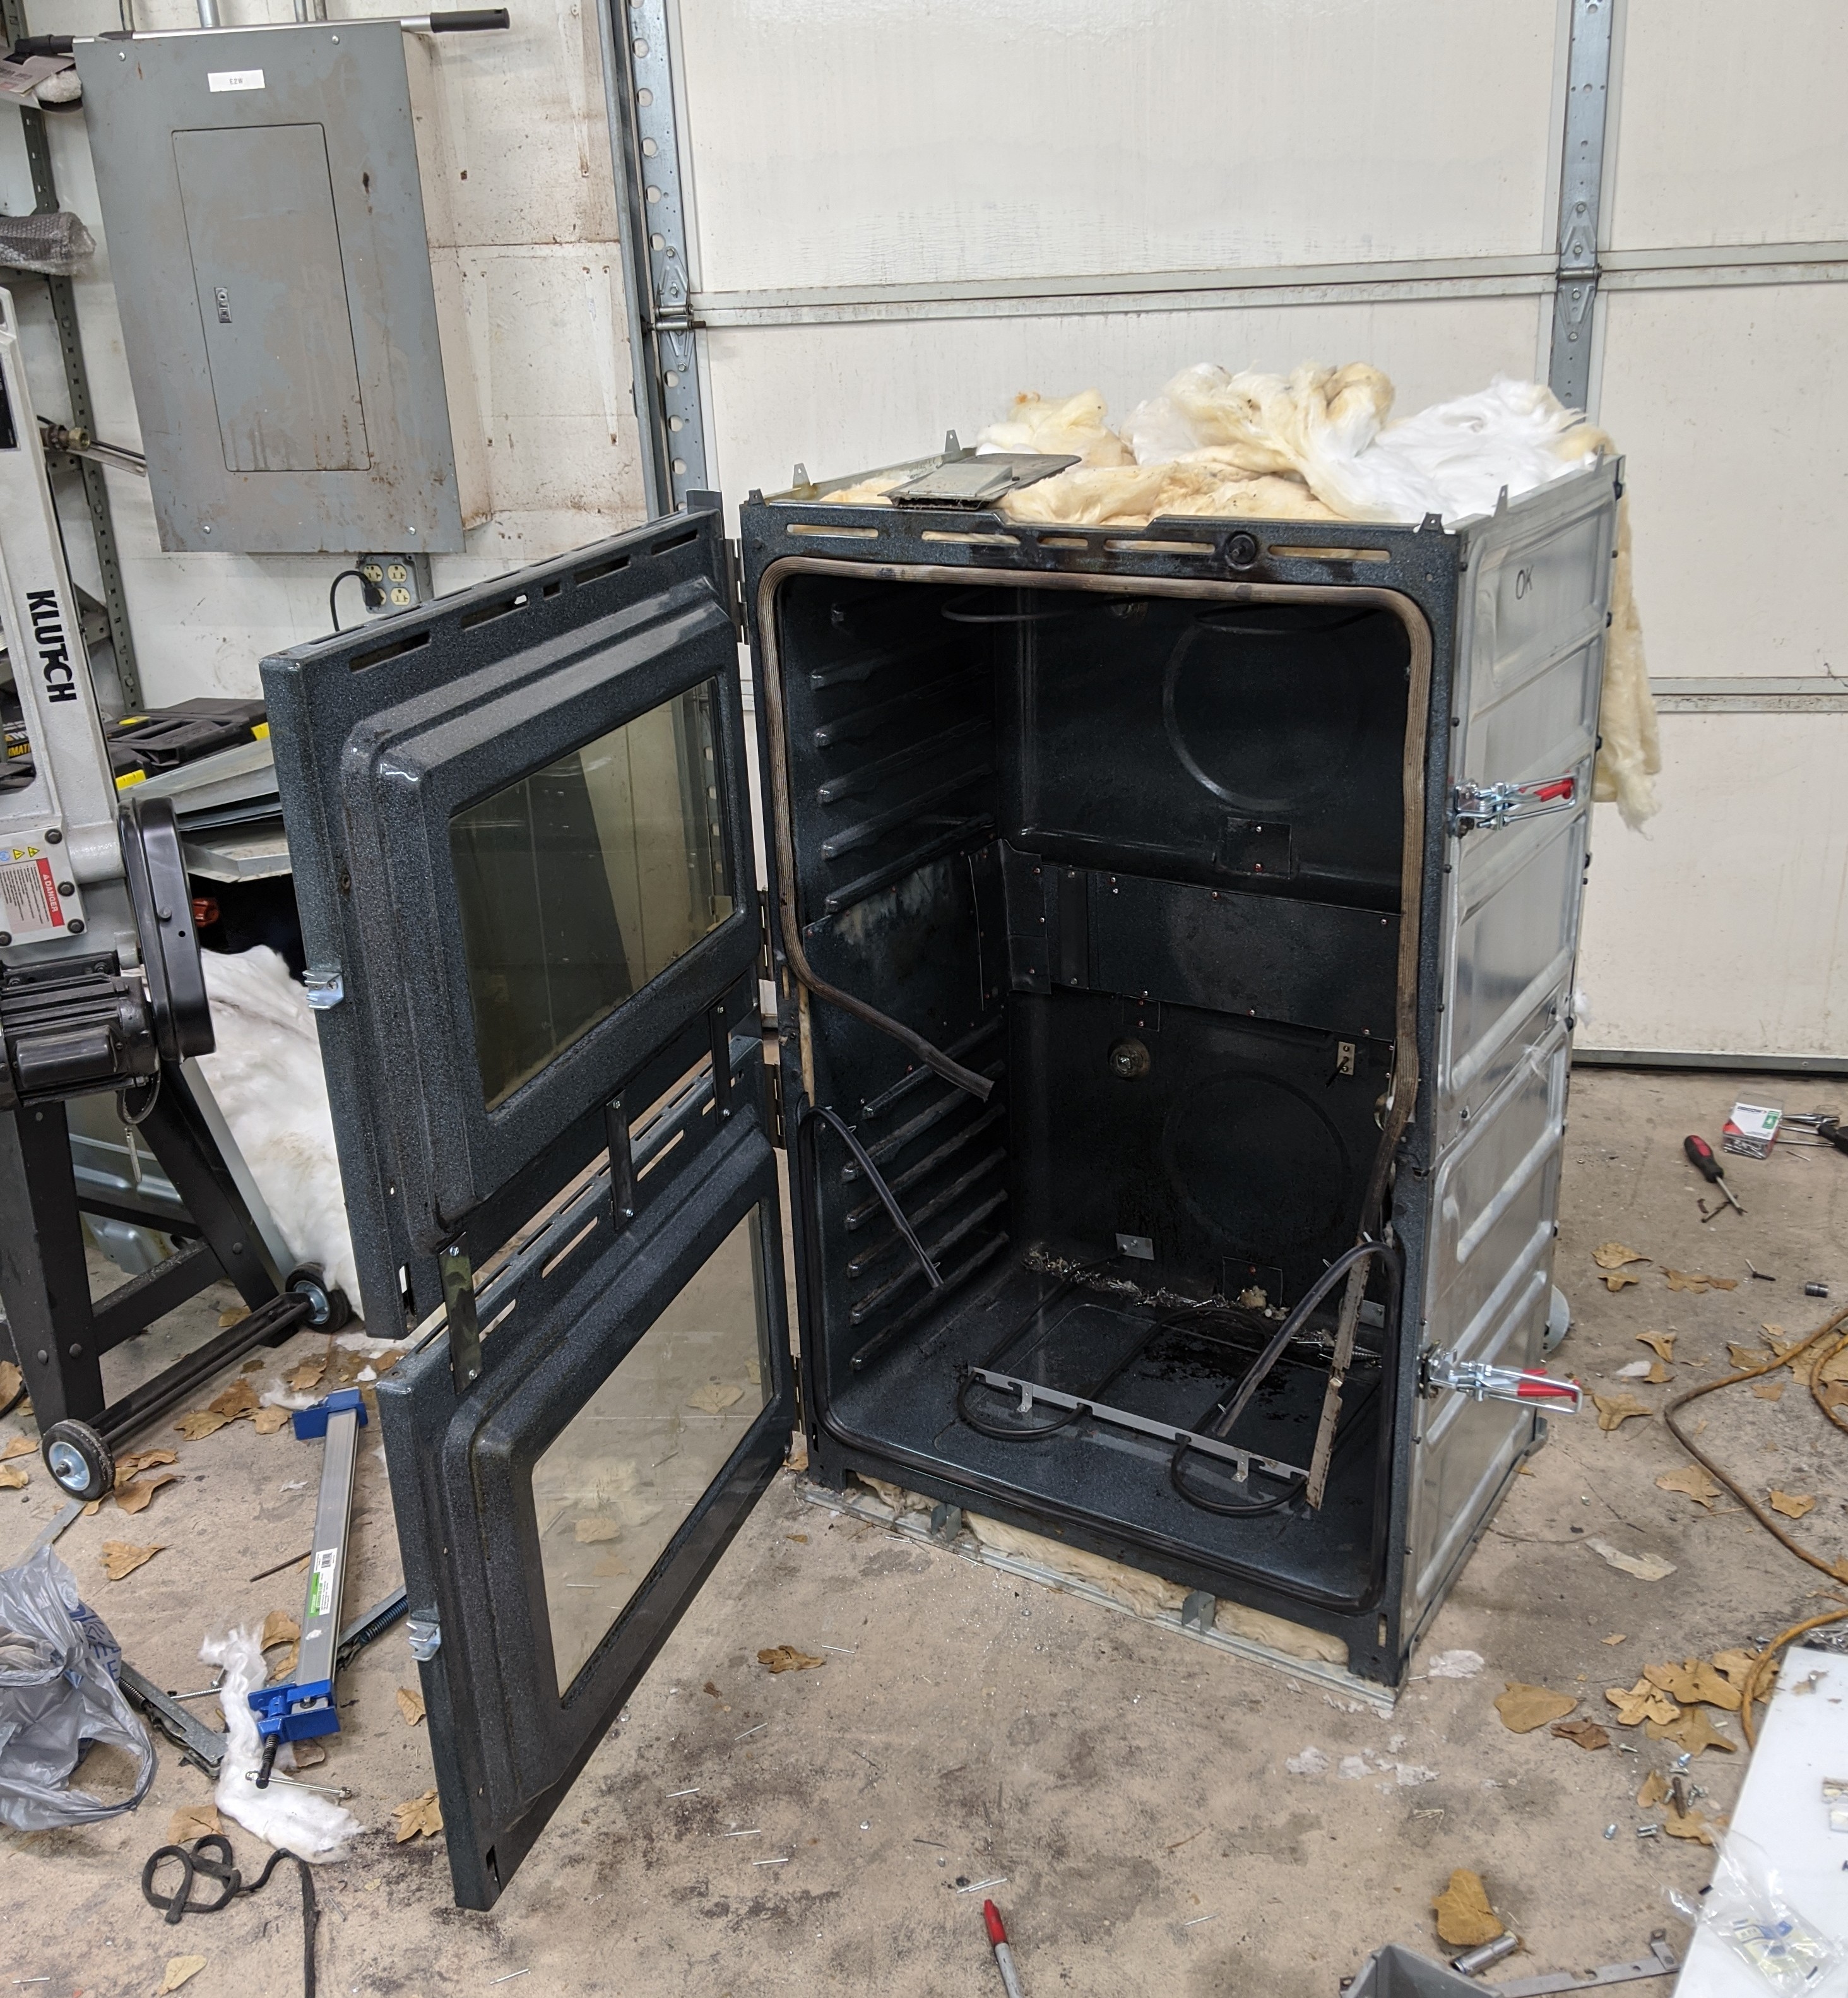
First step was to remove the doors. I will be installing a heavy duty hinge and making the doors into 1 single door that will open to the side. I will also install 2 door latches.
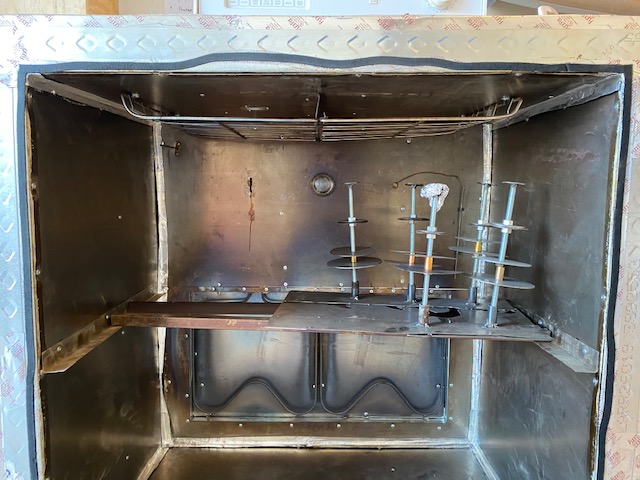
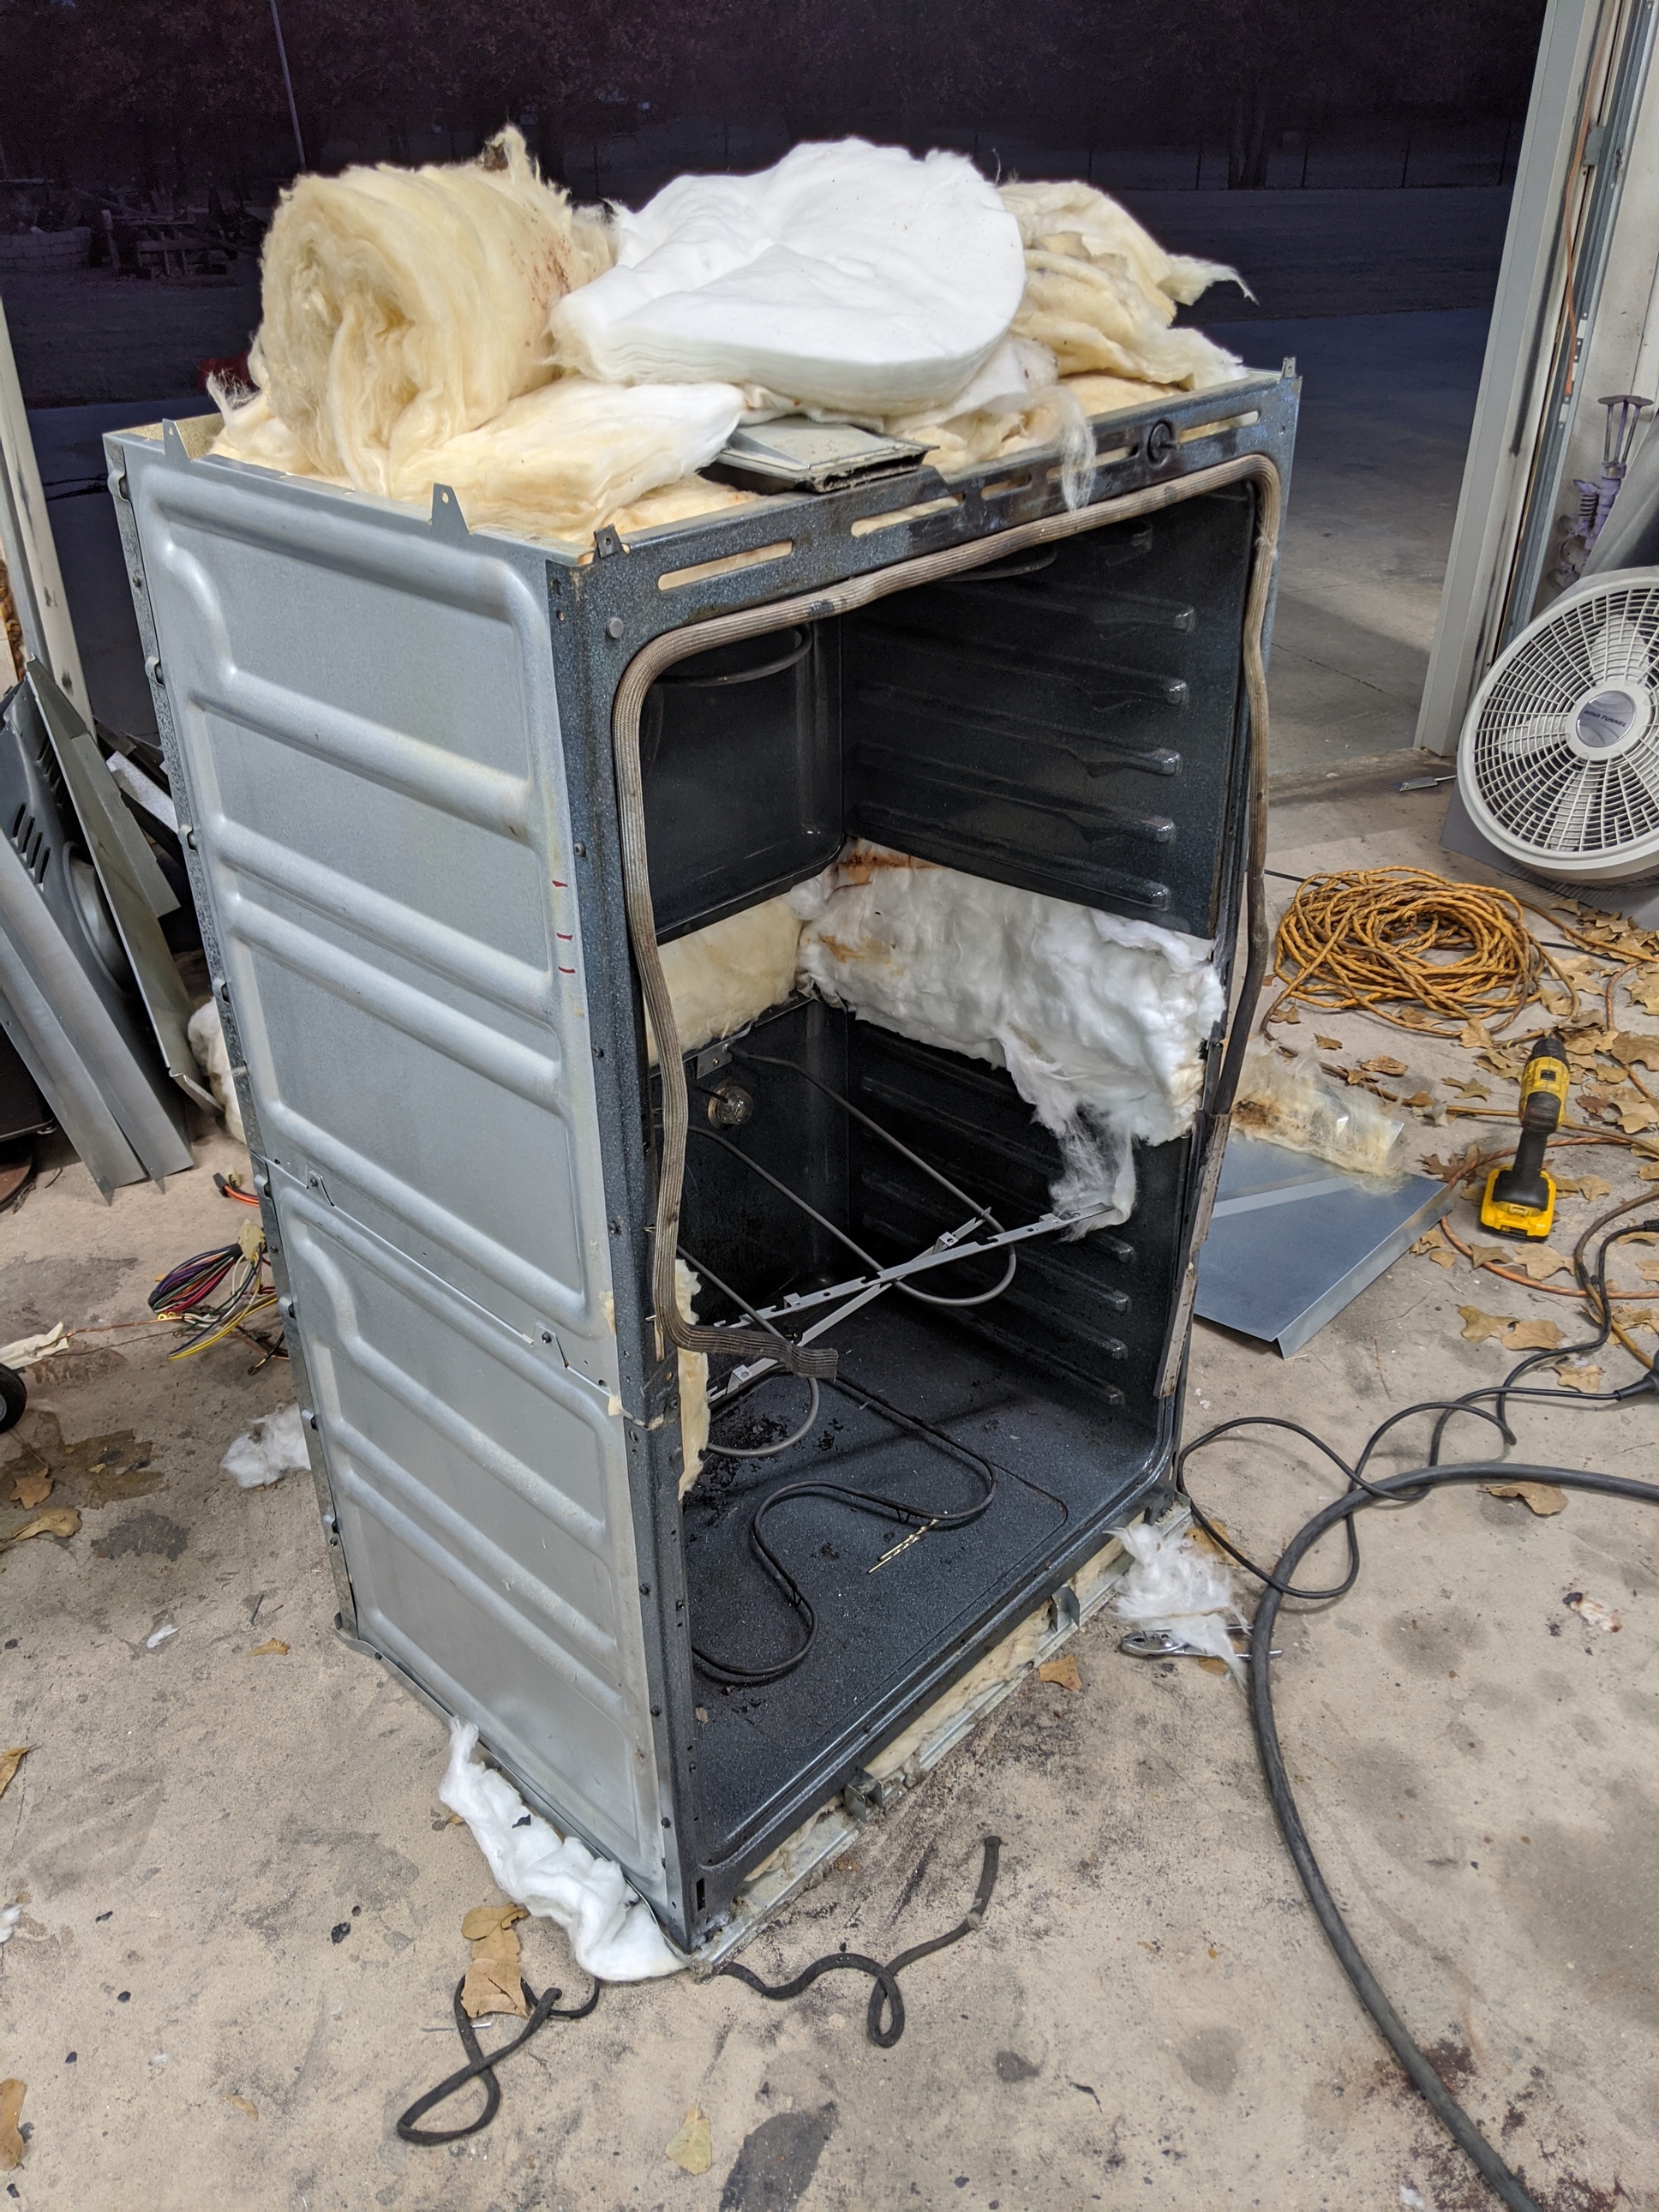
Once I removed the doors it was time to take lots of pictures of all the wiring then start disassembly. Removing the top oven and cutting the bottom off then removing the bottom oven and cutting the top off of it. I will do some more work tonight and update you guys as I go along.
That’s a bunch of foreign language to me lol I do think that just using the heating elements that are on the oven will be sufficient. I have read on a few other forums and others seem to have great success just using the oven how it is
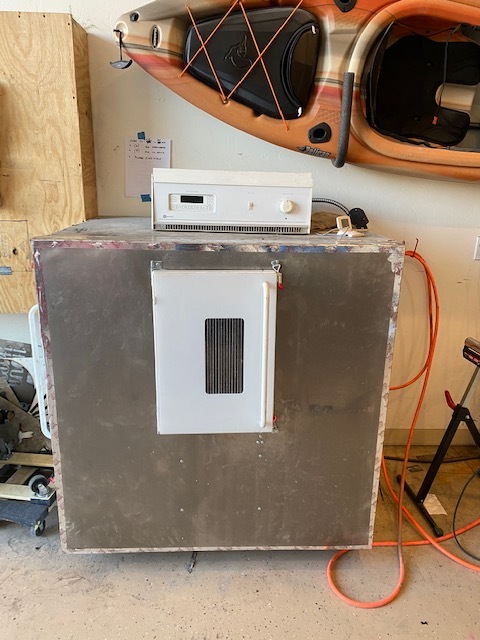
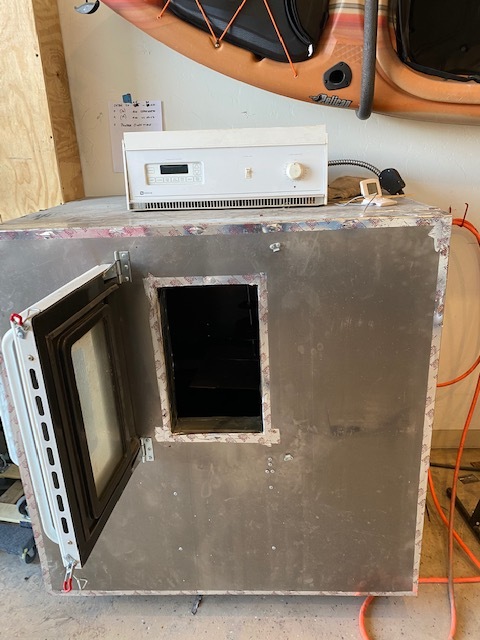
I did this a couple months ago. Used a Maytag double oven (50.00). Used the entire control panel from oven with 2 heating elements and both lights. Will take pictures and post later. Used 22g sheetmetal and 25g metal studs with Roxul insulation. Because of the 4 foot limitations of the sheetmetal and to minimize waste the outside dimensions of the oven are 48x48 and 32 inches deep. Heats to 400 degrees in 20 minutes and does a great job with parts. Vent is also installed on top the same as the original oven with fan. Whole project total cost was less than 400.00.
I would locate the bottom element from the top oven to the top of the top oven. Then eliminate the “broil” wiring. That would give you the heating capability of the normal bake elements from each oven.
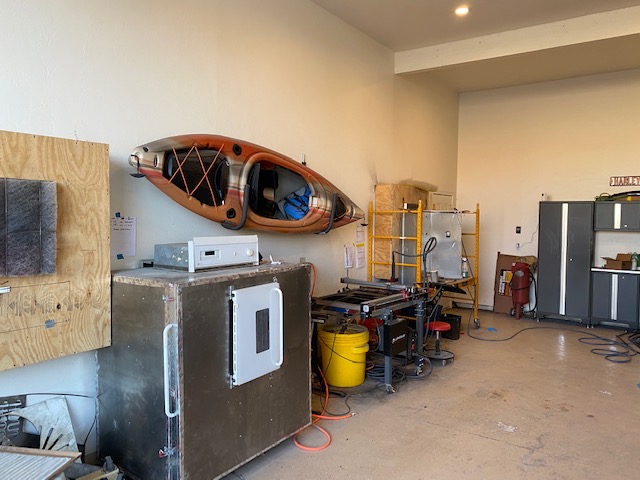
here are pictures of my shop area. Made this to serve as rv garage and paint booth. Plywood boxes have large fans and cover 4x4 casement windows. Open windows and turn on fans and get negative pressure in room. Use to keep smoke out when using table as well. Also serve to ventilate spray booth. Used sheet metal sides of oven for sides of booth.
Sort of yes. The broiling element is usually a higher capacity heating element. It serves two purposes - the one everyone knows about is that it heats from above at high temps. The second function is to support pre-heating. With the boost of the broil element the oven heats faster than just relying on the bottom heating elements. But the bottom ones are fine for keeping the temp steady. If you look in your oven while it’s pre-heating you’ll see the broil element turning on & off.
BTW, one option might be to use the broil element instead of the bottom elements (but not the broil function on the control panel). That should let you heat up faster.
considered that. Still have broiler element and could exchange for one controlled by lower oven thermostat on right of pic. However, heats pretty quickly now with the 2 elements (each with their own thermostat)
Yeah, it’s one of those marginally impactful things for us but for the home baker with no patience and not using the warm up time to heat oils, etc out of the part, it’s a thing
I agree with keeping both oven controls & thermostats so you have flexibility.
Agree. When I built the oven I was not sure of the Wattage for the elements and did not want to overload my 30a 220 Circuit. I looked up the specs later and found I have 4800 w in the 2 elements (22a when both on). Broiler coil would ad 1200w (5.5a) so I would be ok. Still might switch them out when I get some time.
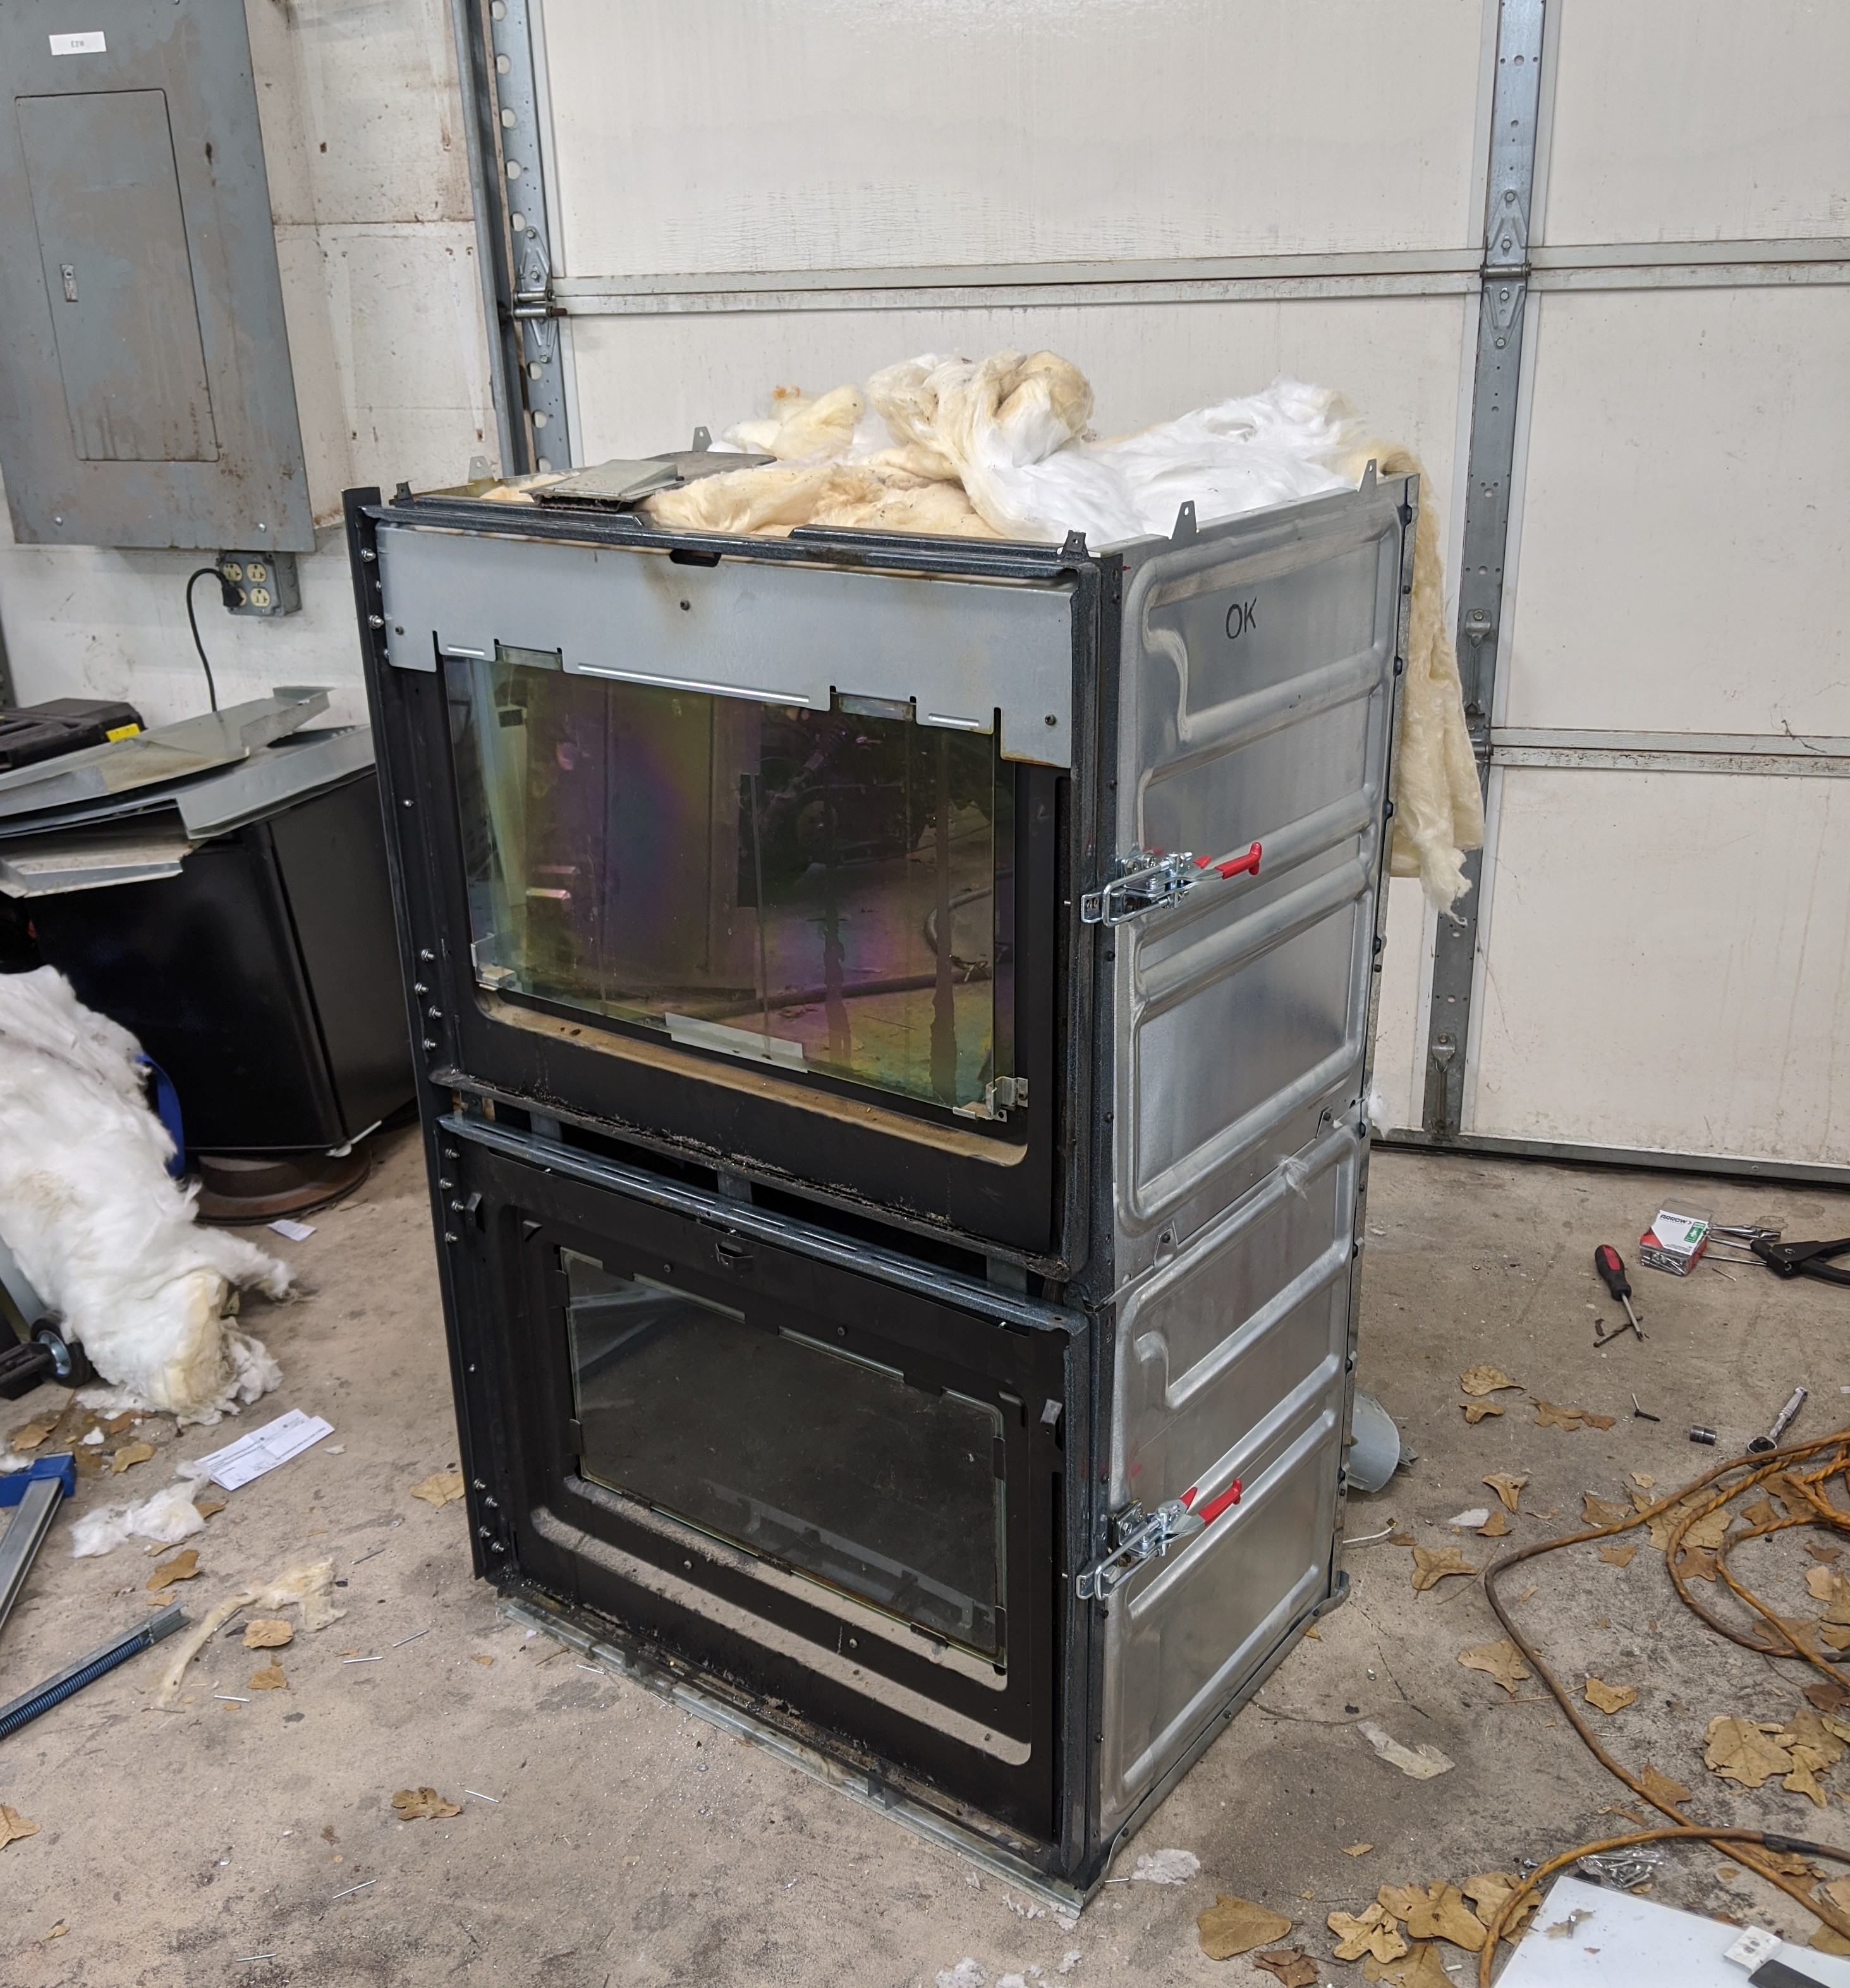
Made a little more progress this evening. Got the top of the bottom cut, then started the assembly. Looks like I will have about 36" of height, 22" width and 18" depth of powder coating space
My 1st Cerakote oven was an old electrode heater with a light bulb in the ceiling 2x2x2 box IIRC, wrapped outside in blue foam and took apart an old toaster oven and used the IR burners and control panel
Removed light bulb and added a crap ton of hooks to the ceiling, worked great for the 1-1/2 hrs at 250*
Right on!!! I got it all sealed up and tried it out last night. Took about 20-25 min to get up to 400*. So I thought I would add a second element to the bottom… That was a bad idea lol pooped something in the control board and now it doesn’t work. So I’m sending it off for repair. That was a $175 mistake
How much insulation does it have? A typical oven will preheat to pizza range in just a couple minutes, you have 2 elements already so both on 400 should of been faster right?
15-20 minutes seems to be the norm from what I’m researching. There is plenty of insulation as I couldn’t cram anymore in the damn thing. The outer skin panels only show 60 degrees or so when the oven is at 400, so I don’t think im losing heat anywhere. I have 1 element at the top and one at the bottom


 right?