I’m going to be cutting 1/4in aluminum plate for the first time and was wondering if I could get some suggestions on settings I’m not really sure on what to set things at. I have a Pro table with a razor weld 45. I don’t have a lot of material to play around with first so I was hoping to get some advice to get started.
The best piece of advice I can think of is to get some extra material for tuning, otherwise you run the risk of ruining the ONLY piece you have.
5 Likes
I’ve done a fair bit of 1/4 aluminum cutting over the years.
It can be finicky. Some of the biggest issues I’ve hadn’t seen are flakes of aluminum getting stuck to the nozzle while cutting. And even if this happens for a very short amount of time it’s enough to direct the plasma column off to one side. This will ultimately all obround the nozzle hole and cause beveling.
You will go through more consumables than cutting steel. I used nozzle dip on the shield or nozzle depending on whether I’m running shielded or non shielded cutting. But since big daddy’s suggestion I’ve moved to ceramic spray. This does help but you have to watch for flakes of aluminum getting stuck to the torch. When it does happen make sure you stop, clean them off and inspect the consumables.
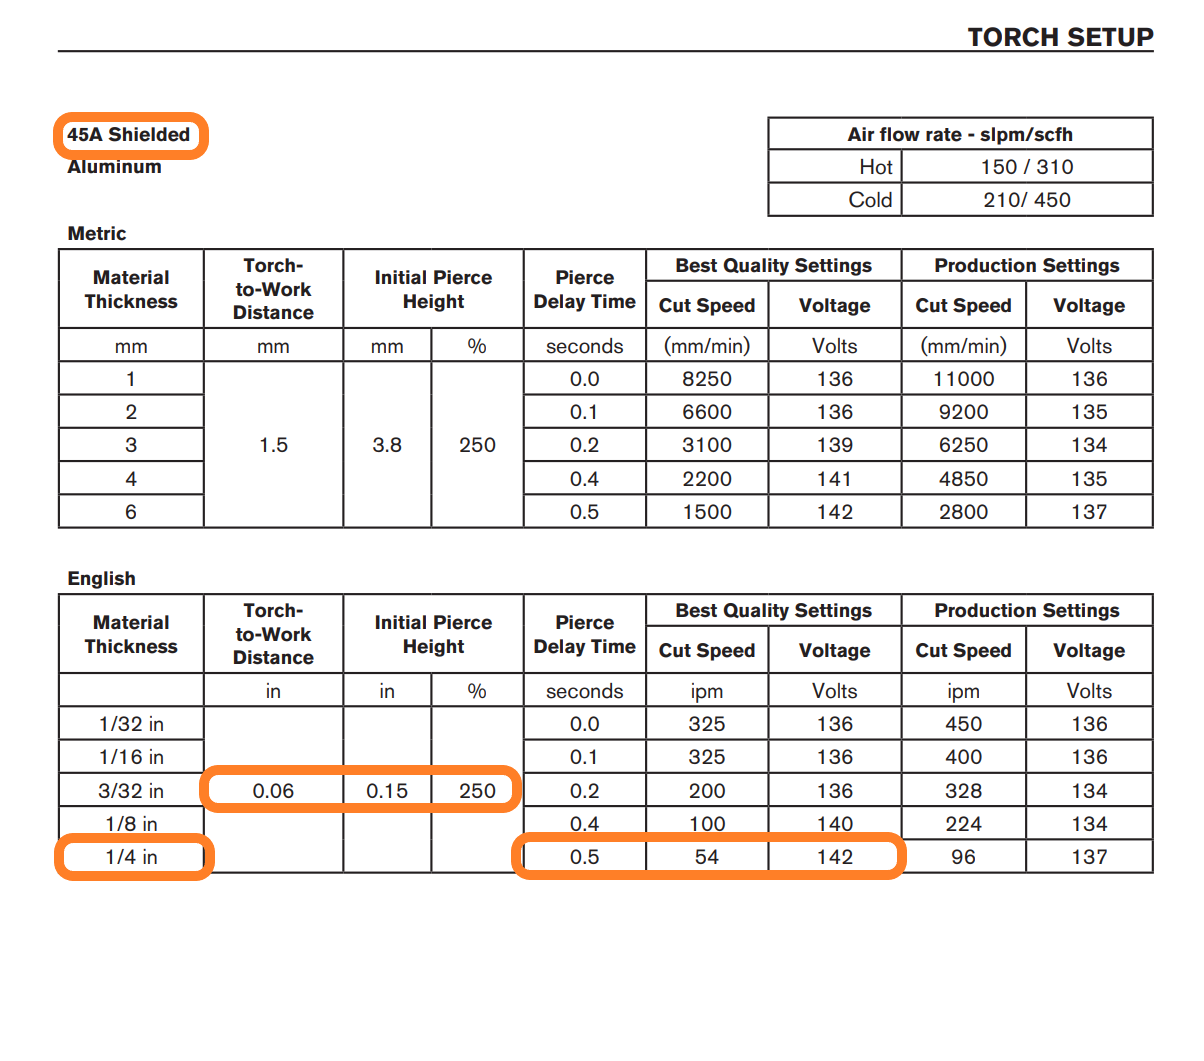
I do not have a Razor Weld but these are the settings I use on my Hypertherm Powermax 85 any detailed aluminum cutting.
I normally run about 10% slower than what’s listed here and I do a 50% reduction for feed rate optimization for the inside corners.
If I’m just cutting out panels without detail I’ll run higher amp consumables which you wouldn’t have the option on your Razorweld.
@TomWS is right, of course, buy some more material and do some test cuts if you don’t you’ll likely be using your project as a test cut and buying more material to finish off the project.
@thebigorangescout How big of a project is this for you? Are we talking multiple sheets and hundreds of inches? Detailed artsy projects or utilitarian things?
2 Likes
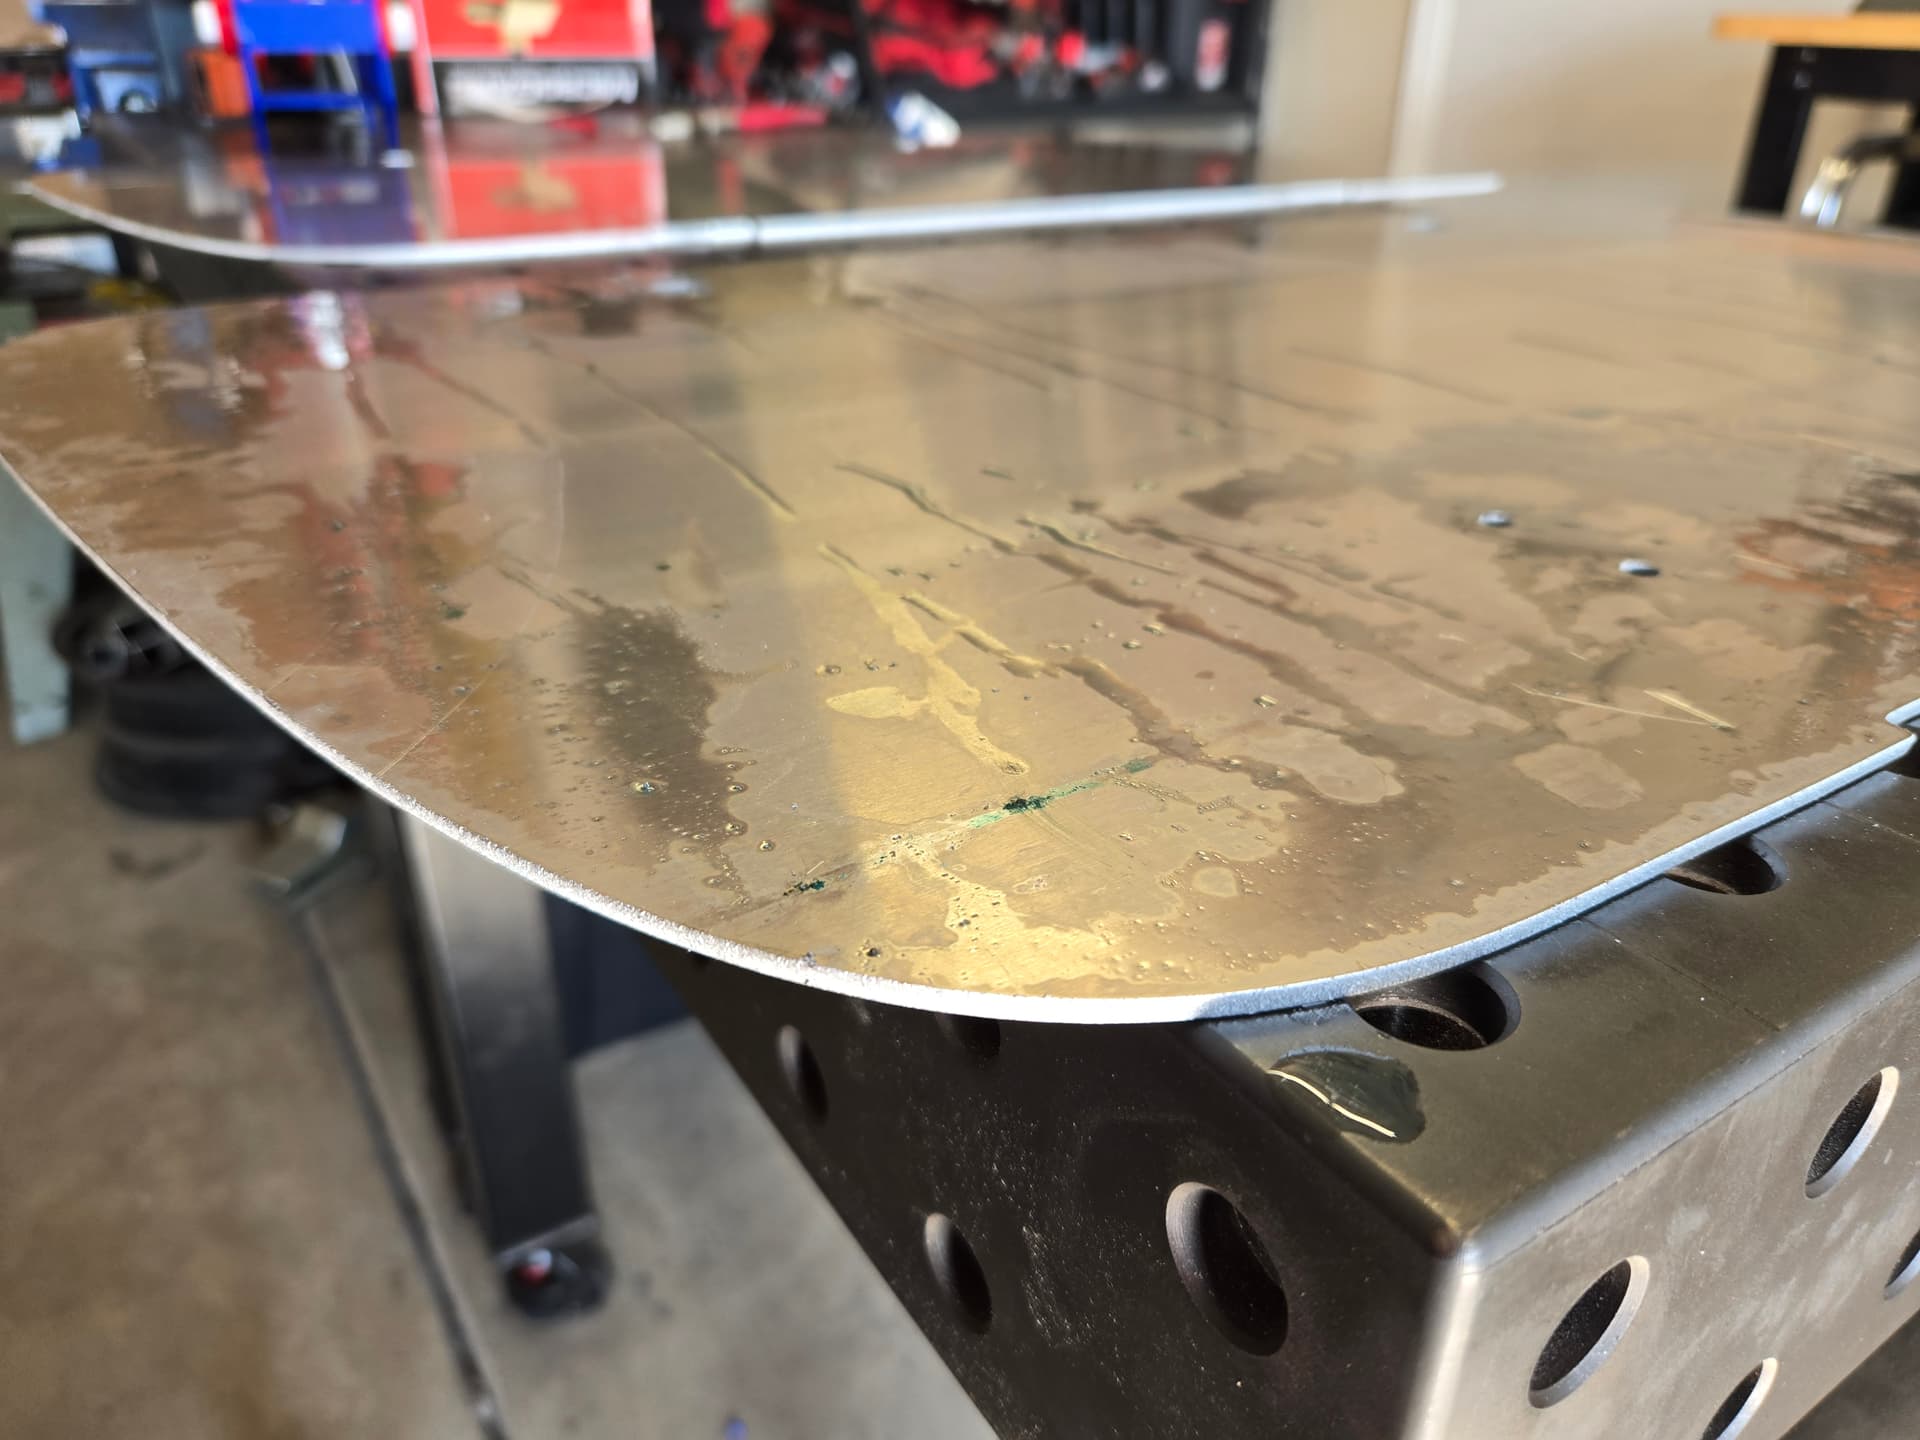
This is I guess an artsy piece. It’s a 9 inch diameter ring with numbers for a clock face. As for the material, they wanted to have the look of the thick numbers, but not have it be very heavy and they happen to have a sheet of aluminum to supply for it that was a panel from an aluminum livestock trailer, it is large enough for two chances at it.
Thank you for those who had some advice. I appreciate it.
When you were talking about shielded cutting, is that gas? I am running just straight air.
Fair warning. This is going to be very hard to achieve in quarter inch aluminum and get a result that you’re going to be happy with. Small aluminum sections tend to want to bevel extremely especially if they are more narrow than the material is thick. And thin artifacts tend to want to vaporize.
I was talking about the deflector or shield for the nozzle itself not the gas.
OK, thank you, that’s good to know like I said this is the first time I’ve tried doing aluminum. The only reason we’re doing it is because they had a piece to try. It’s actually for a family member so if it doesn’t work out, we’ll just try steel I do have some 3/16 plate on hand. I can cut it out of if I have to if the aluminum doesn’t work out we were just gonna try and see how things turned out.
1 Like
The best way to get experience on something is by trying it.
2 Likes
How do I set my Razorweld 45 to 142 volts. It only has amp adjustment.
The voltage shown there is in regards to torch height.
You change your Firecontrol settings from Smartvoltage to Nominal Voltage, and instead of Firecontrol using your programmed cut height value for setting cut height, it will now use the voltage value you entered and adjust its height to maintain that voltage within 1.5v (default).
Ideally you would do test cuts before deciding 142v is what you would/should use.
Really, test cuts for anything new you’re cutting.
3 Likes
You don’t for now.
With your razer weld you’ll likely just be using smart voltage.
Overtime while using smart voltage and getting good cuts you could start paying attention to what the actual voltage is showing up in fire control write it down and then use it under a nominal voltage setting in future operations.
But for right now smart voltage is going to work for you as long as your cut height is correct.
I’m sure one of the guys can link the height test file below.
1 Like
I believe this one is it
cut height test.tap (224 Bytes)
1 Like
Alum ruins the consumable fast. I have cut 1/4 and 3/16 alum and both times I had errors in cutting that made me change consumables and to recut a couple of pieces. Not only that, get a hand file. lol
Should add, I used anti-spatter spray on my consumables.
I’ve cut 1/8” and 3/8” and whether it’s thick or thin, you’ll get some blowback from that initial pierce trying to stick on your nozzle. The spray helps to prevent that.
Dialed in you can get some dross-free cuts too (all bottom side pics)
Very happy with how easy it is to cut
1 Like