Update: I slowed the pierce delay to .6, .5 and .4 and it didn’t help. I added a .2 overlap which kind of helped on the inner cut but still not great. I haven’t pulled out my consumables yet because I wanted to mess around with the settings first. While doing so I cut some 1/8 SS I had laying around and it cut it great, all the way through and around. (still working out the right settings). This pics all pretty much look the same as .8 PD above.
I read thru this post carefully but I often miss things. But what is your pierce height and cut height? And have you confirmed those settings (at least the cut height) by measuring with feeler gauge? Or a piece of 16 gauge steel (about 0.06 inches thick) would get you in the ball park if you don’t have feeler gauge.
My thought is that some of your issues appear at the initial cut. I am guessing you are higher than you plan and the cut is not completely successful. This could also throw debris into the torch that could later cause issues. I had intermittent cutting issues after cutting aluminum. I was then cutting mild steel and it would cut some areas great and others, not so great. Turned out being small flecks of aluminum in between the electrode and the nozzle.
Here is a test file that you can quickly confirm if the system is setting what you think it is setting: cut height test.tap (224 Bytes)
It will go thru the IHS (initial height sensing) and then go to the cut height of 0.060 inches and stop. Measure and see if you are at 0.060 inches. The torch will never fire with this code as it never gets the command to fire.
Here is what the file is:
(v1.6-sc)
G90 G94
G17
G20 (Units: Inches)
H0
G92 Z0.
G38.2 Z-5.0 F100.0
G38.4 Z0.5 F20.0
G92 Z0.0
G0 Z0.02 (IHS Backlash)
G92 Z0.0
G0 Z0.15 (Pierce Height)
G4 P0.5
G1 Z0.06 F100.0 (Cut Height)
M5 M30
(PS100)
Notice it also includes the “springback/Backlash” of 0.02 inches. If you are doing this test on 10 gauge or thicker, you really don’t need any springback so adjust accordingly. You will also notice, this g-code file does not include the M3 (turn torch on) command.
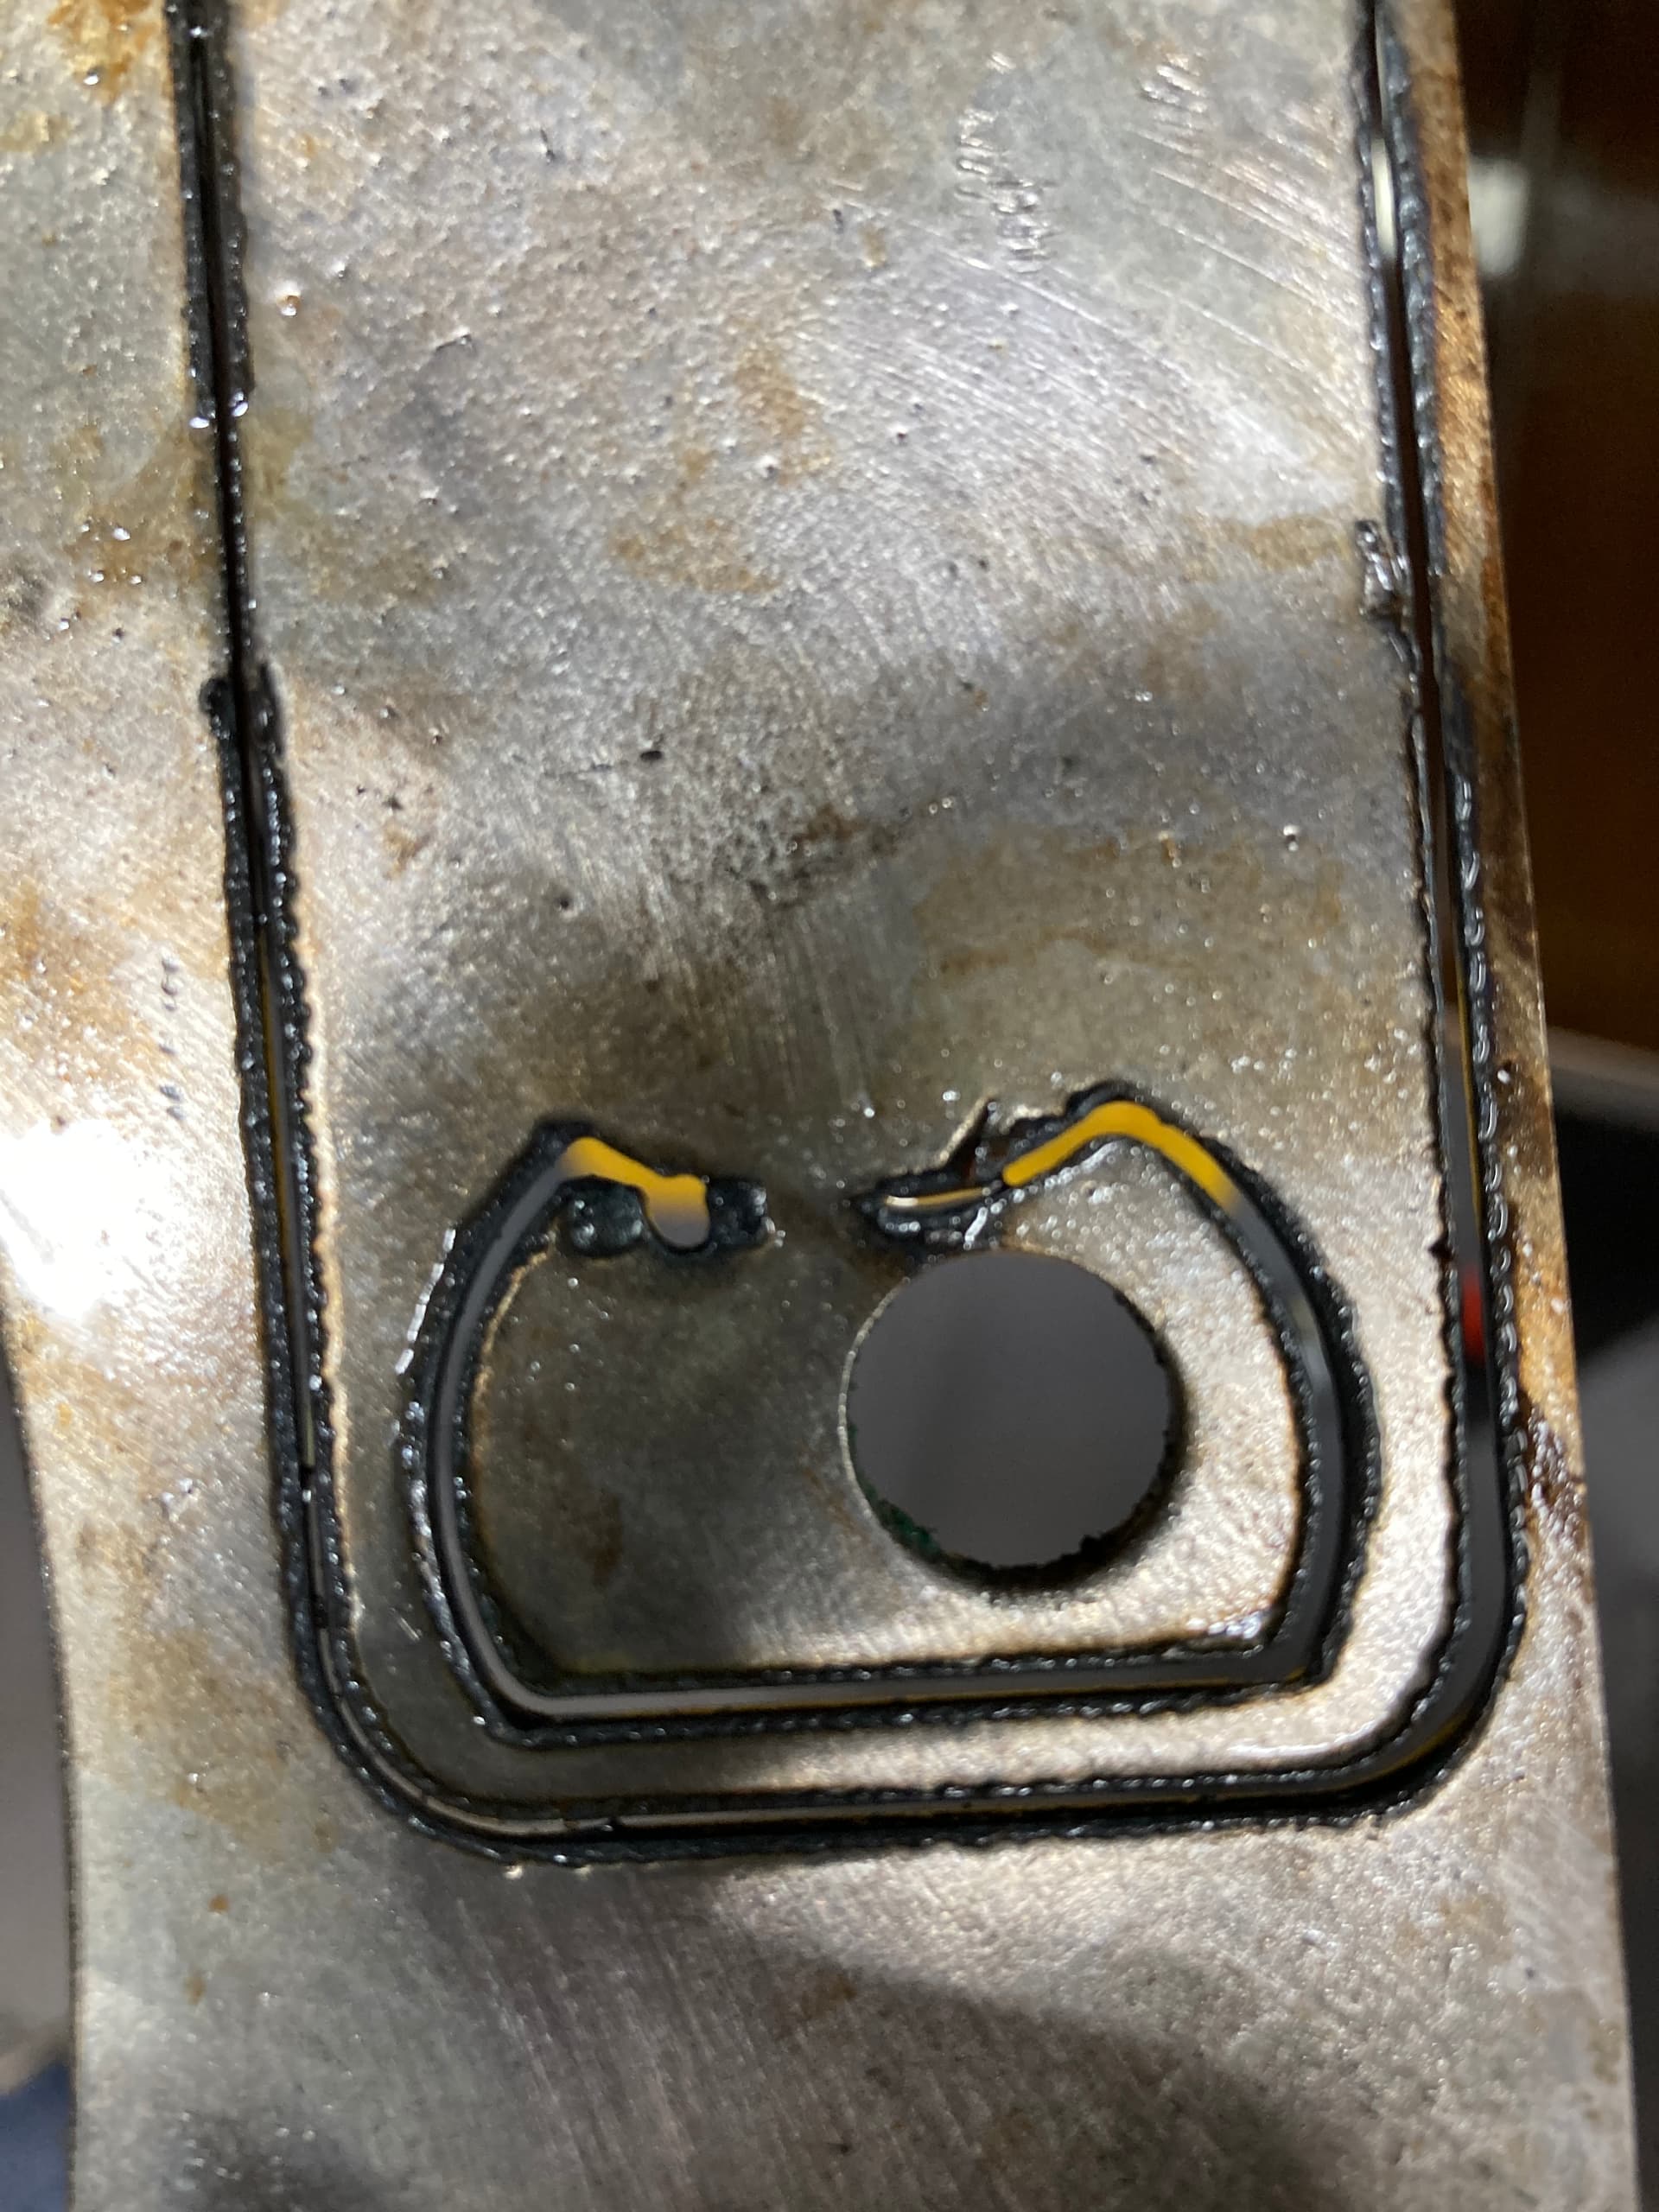
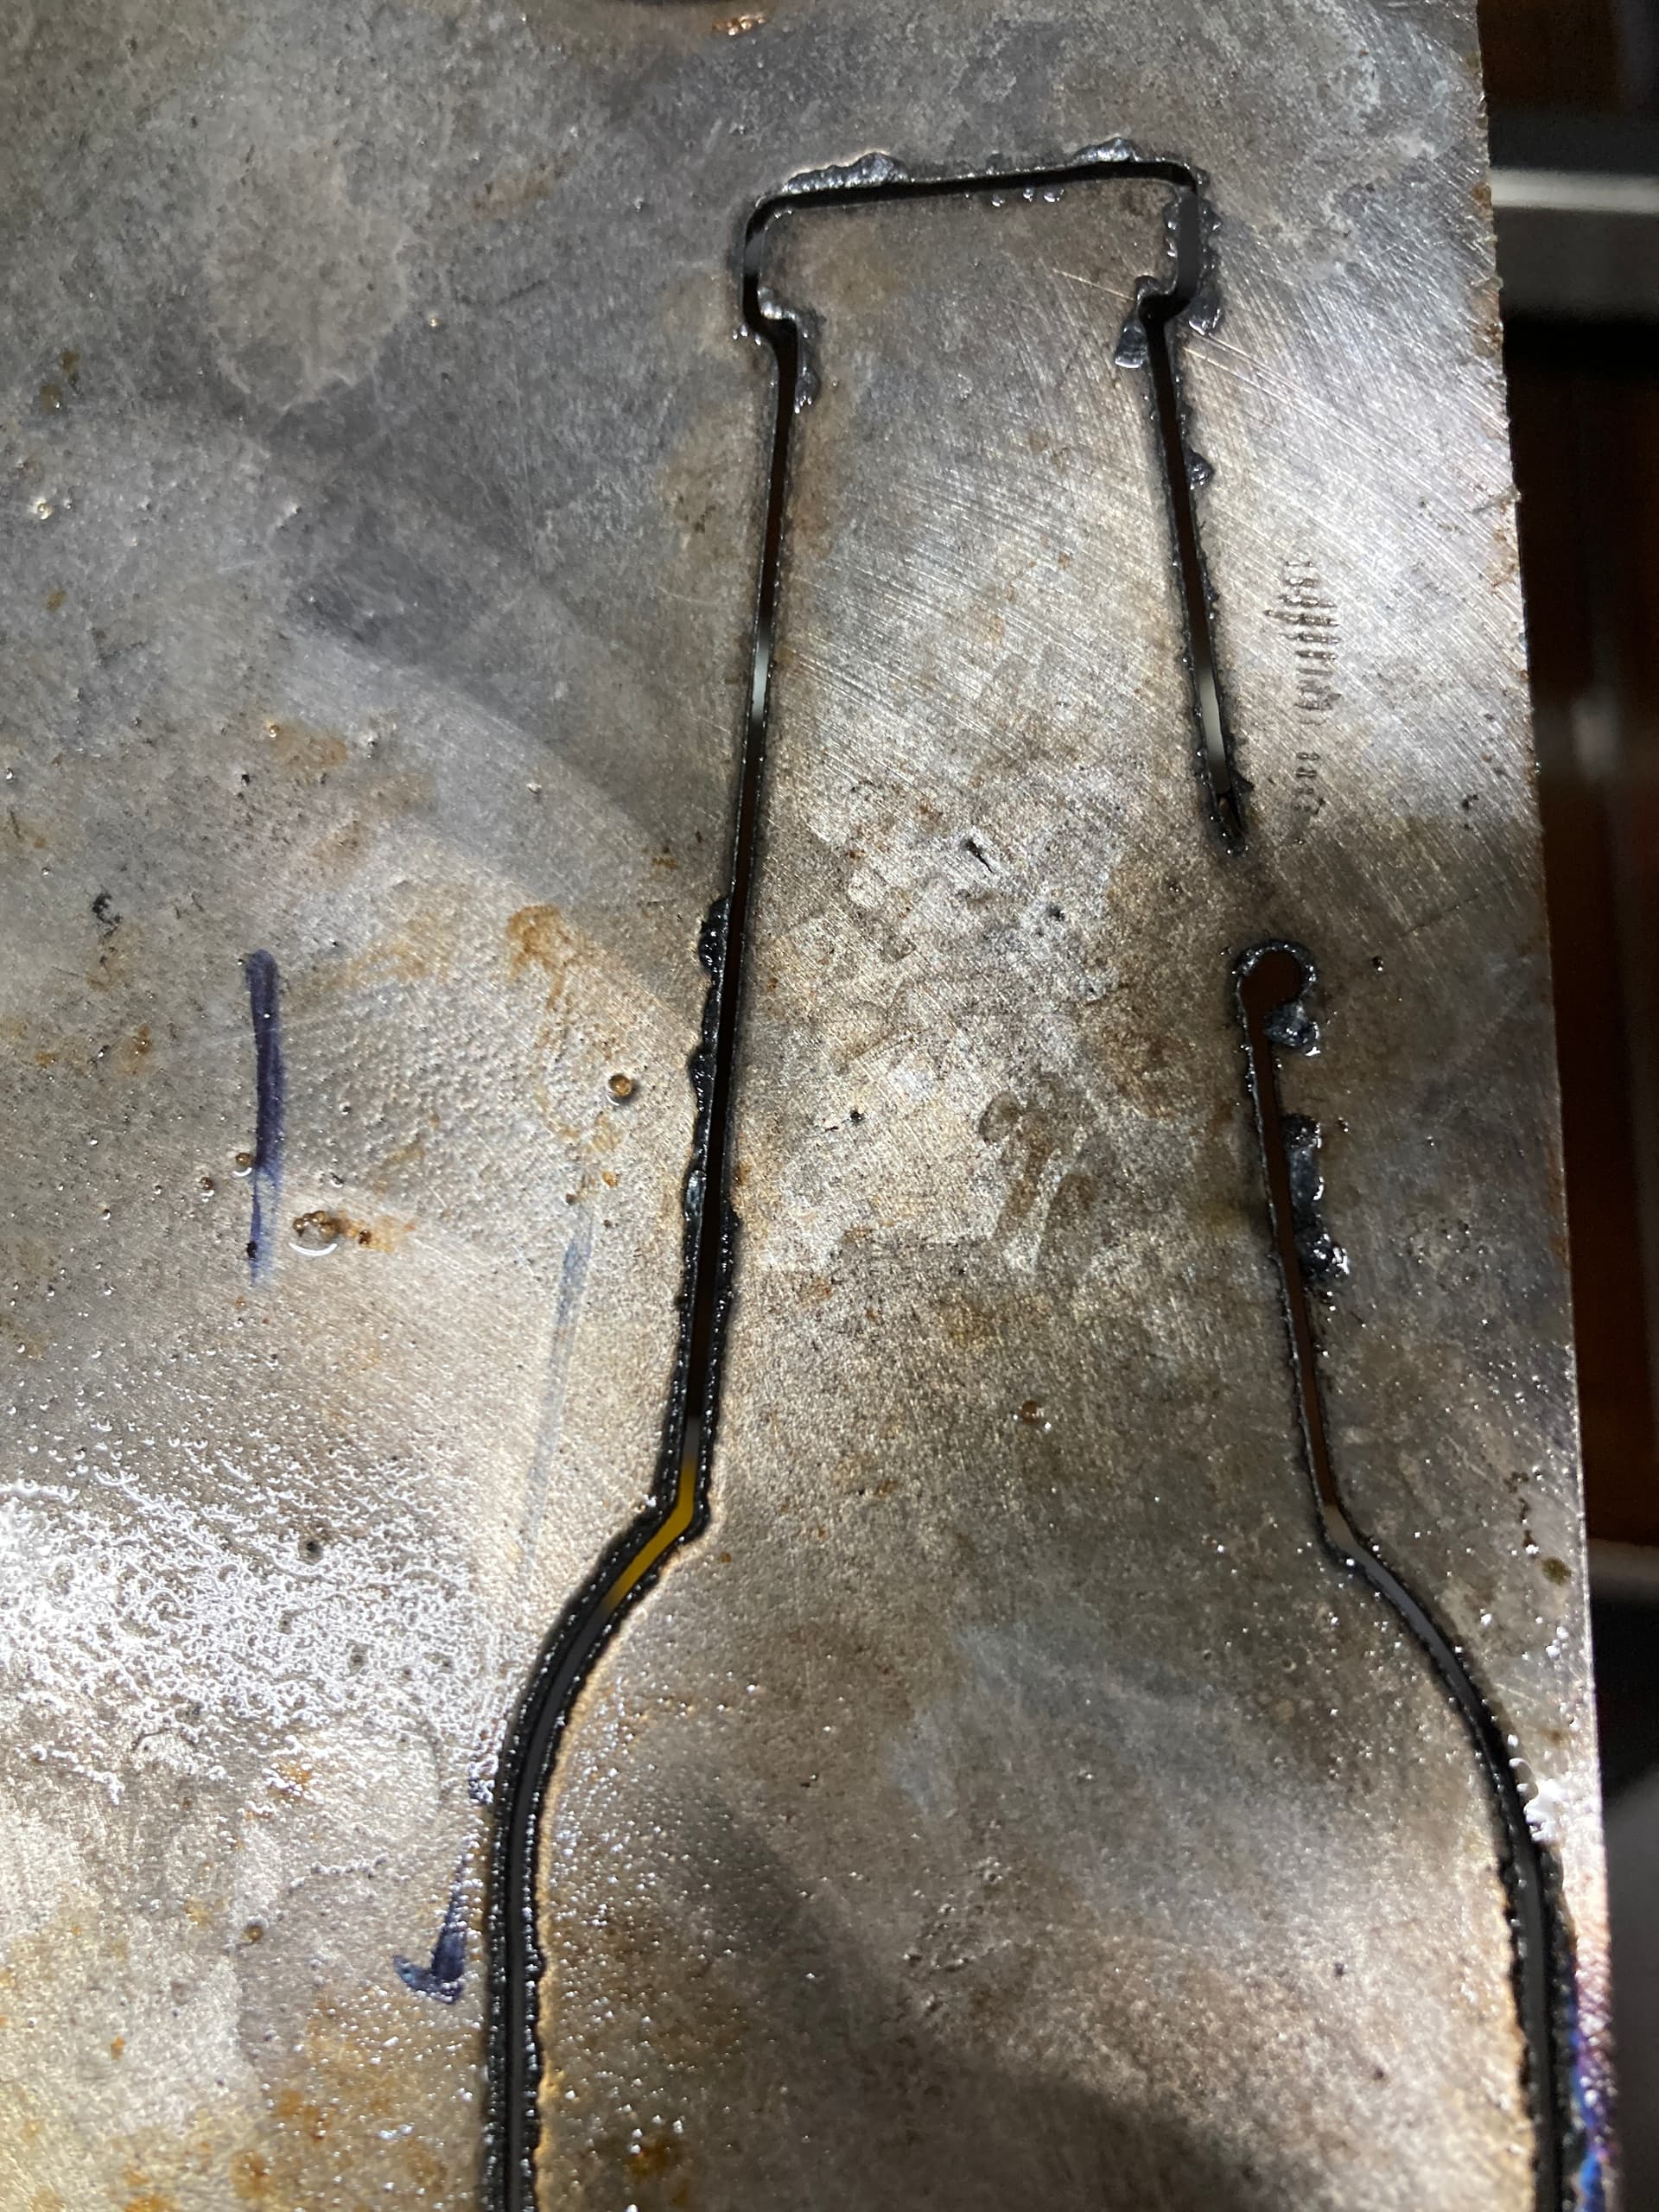
In your pictures, I see that the cut is not only incomplete in some areas, but that there is excessive topside dross throughout the cut. Typically, we expect to only see dross on the bottom side of the cut. Topside dross as shown in your attached pictures is usually caused by either one of or a combination of the following:
Cut height is too high.
If you are experiencing a high incidence of topside dross, it is possible that your chosen pierce height and/or cut height is too high and should be reduced, or that IHS Springback is set when it should be left at 0". We typically recommend a pierce height of 0.15" and a cut height of 0.06", and we only recommend setting an IHS Springback value when cutting metal that is 16 gauge or thinner. What are these values currently set to? Could you attach the G-code you’re cutting so I can take a closer look at the heights settings?
Pierce delay is too short.
If the pierce delay is too short, it does not allow the plasma arc enough time to correctly pierce the material completely before motion begins. We recommend a base value pierce delay of at least 0.5 seconds for metal sheets 1/8" and thinner, or at least 1 second for metal sheets thicker than 1/8". FireControl has a real-time override for pierce delay that allows it to be adjusted without the need to post multiple G-codes.
Amperage is inappropriate for material thickness.
Plasma cutters have an adjustable amperage dial, and the highest current amperage setting may not the best setting for the metal type / thicknesses you are cuttingly cutting. What type / thickness of metal are you using? What is amperage set to?
I tried multiple different PD settings and they didn’t seem to make a difference. I am going to check my cut height with the prgram that @ChelanJim sent me. Any other suggestions are always helpful. Thanks.
Here is the first part of that g-code:
(2D Profile1)
G0 X0.3532 Y0.6866
G92 Z0.
G38.2 Z-5. F100.
G38.4 Z0.5 F20.
G92 Z0.
G0 Z0.04 (IHS Springback + Backlash)
G92 Z0.
G0 Z0.15 (Pierce Height)
M3
G4 P0.5
G0 Z0.063 (Cut Height)
Notice this line: G0 Z0.04 (IHS Springback + Backlash). That is setting the cut height at 0.04 inches above the cut height. Your cut height is being set at 0.063. So those added together are giving you a cut height of at least 0.103 inches. That, alone, will/should give you horrible results. Lets see what you get when you run the ‘cut height test.tap’ file.
So just to explain the Springback value: Fusion 360 is already adding 0.02 inches in the post processor screen. It is little understood but when you enter the springback value of 0.02 inches in the form:
Fusion actually takes your value and adds it to the 0.02 inches that it intends to use. So you must have understandably entered 0.02 inches in that Springback spot. That is why the g-code is coming up with the 0.04 inches.
Notice in the graphic I have presented, there is a negative number entered: -0.02. This will be added to the 0.02 and result in 0.0 springback. Do not enter anything of a greater magnitude than -0.02 as it will be disregarded. Example: Don’t enter -0.03. Fusion would ignore that large of a negative number in the calculation.
Very interesting, not sure how that number ended up as a positive. I will start with the cut height test and then I will adjust that to -0.02 and try again. This forum has been very helpful so far even if I have not got his cut right yet. Thanks.
Yes I started with 0.8 and someone had suggested to try and go faster, I tried both faster and slower and it didn’t make much of a difference. I have a feeling (not based on my experience or knowledge) it might be my cut height issue as mentioned by @ChelanJim. I’ll try to do some more testing tonight. Luckily I’m resilient and not easily frustrated, I’ll get this down eventually. I have 7 yrs until I retire and do this type of stuff ‘fulltime’, plenty of time to learn.
if you are going to check your height…get a set of feeler gauges…do a 6" line and pause the cut at 3"…let it all cool down then measure between the tip and the metal…
yeah trying to see how to adjust it now, any suggestions where to look? I couldn’t find a thread for it or in the assembly instructions. I’m probably just looking in the wrong area.
In Jim’s post with the Fusion screen above, inside the Red box, set the IHS Springback value to zero and that will get you closer to .06". If you need to go lower, set that to a negative value.
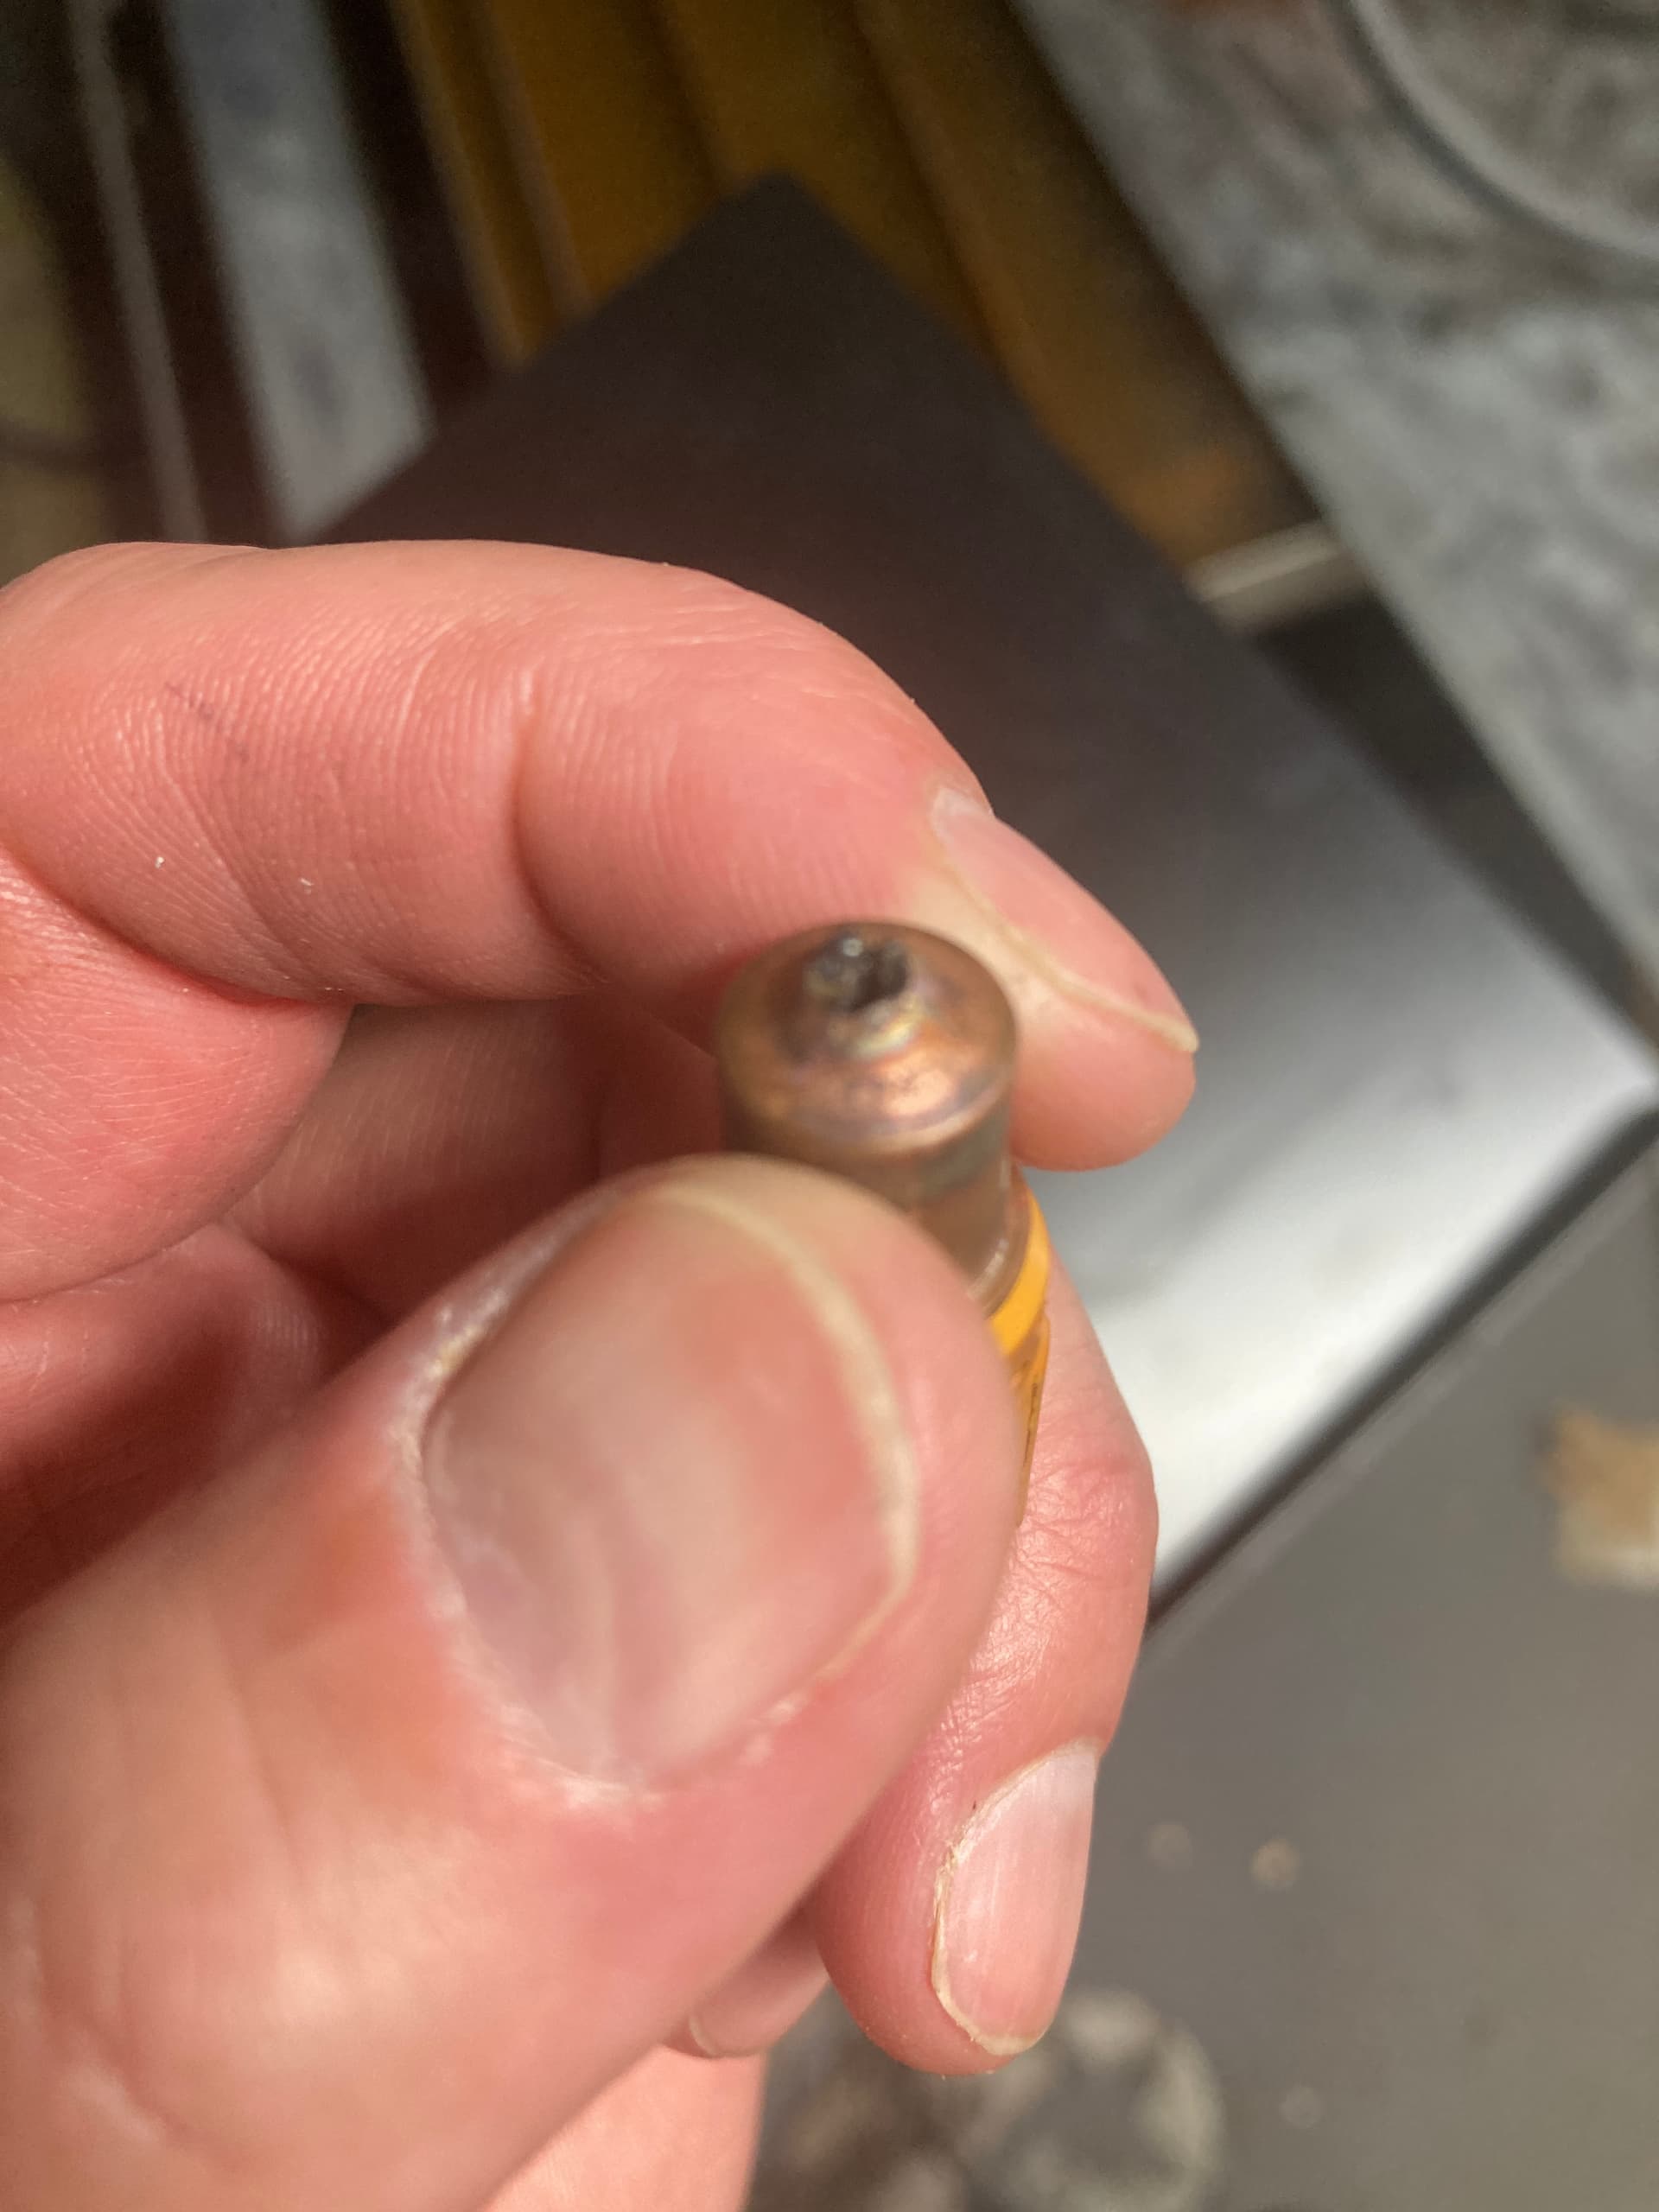
Pretty sure I just ruined my torch consumables. Tried to cut a small piece to test and the torch got stuck on the metal, torch ran wild until I shut off the breaker, now it won’t cut through at all. I’m going to order some new ones and will figure this out in a week or so…
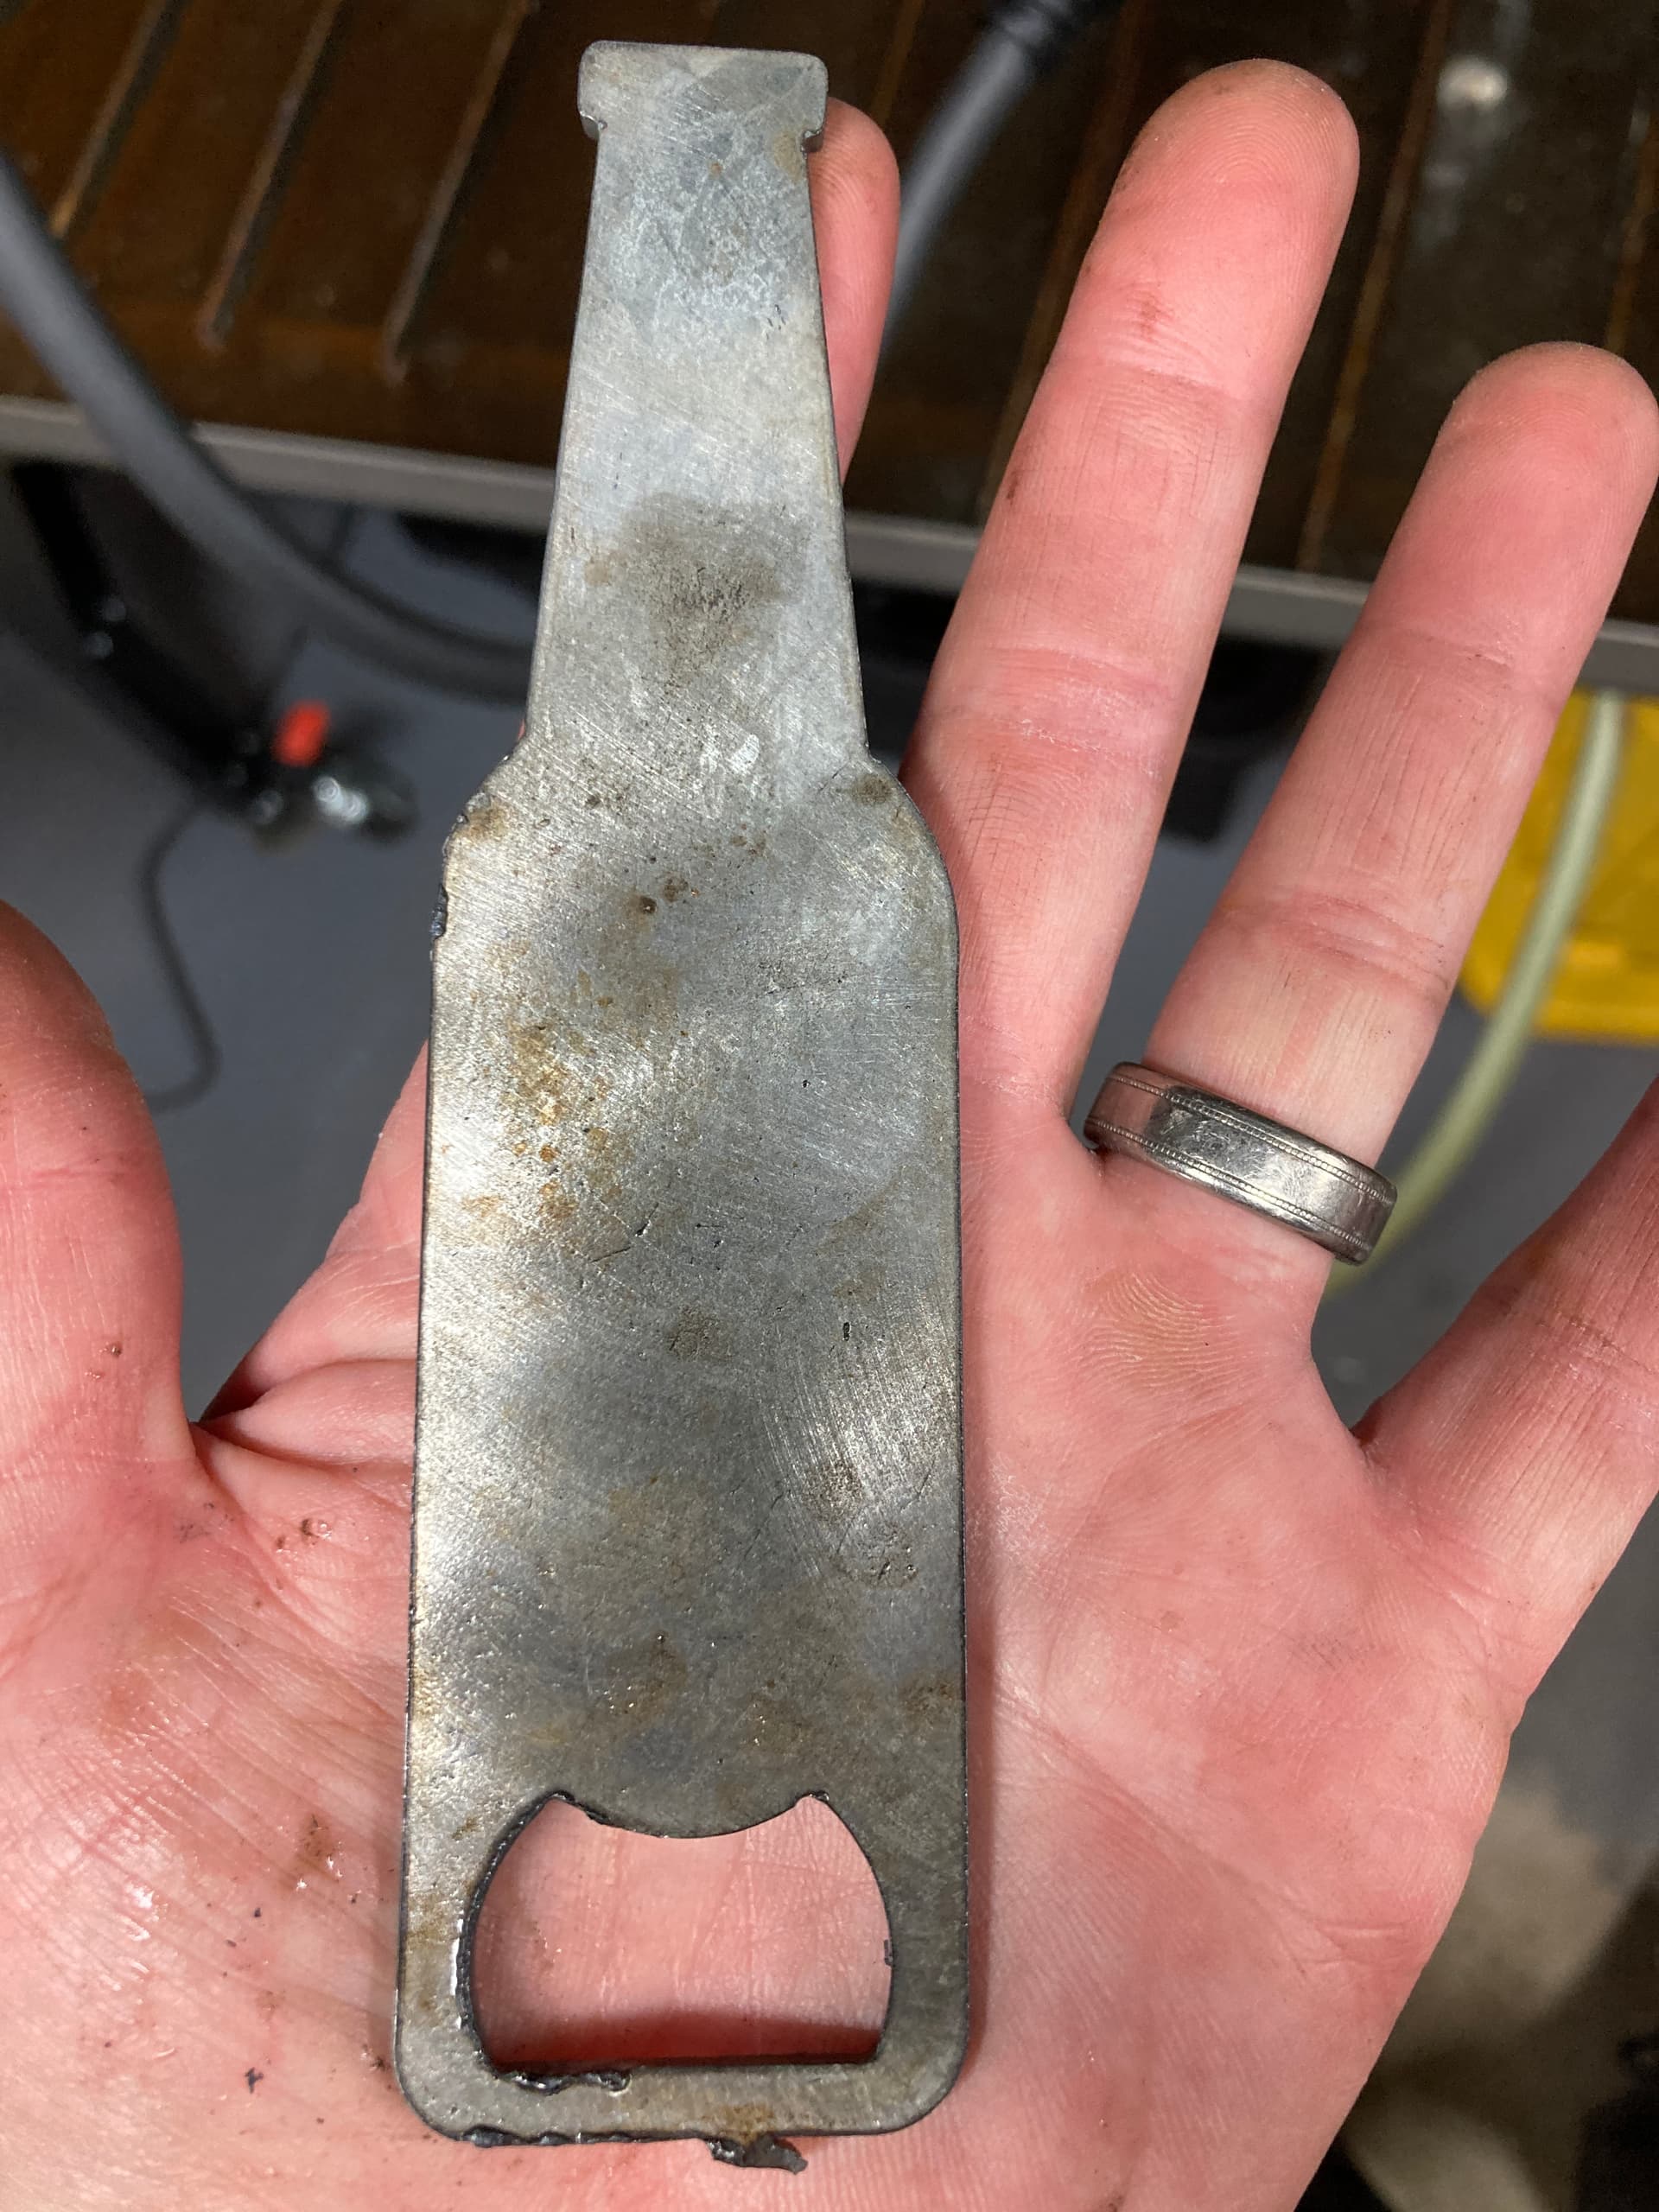
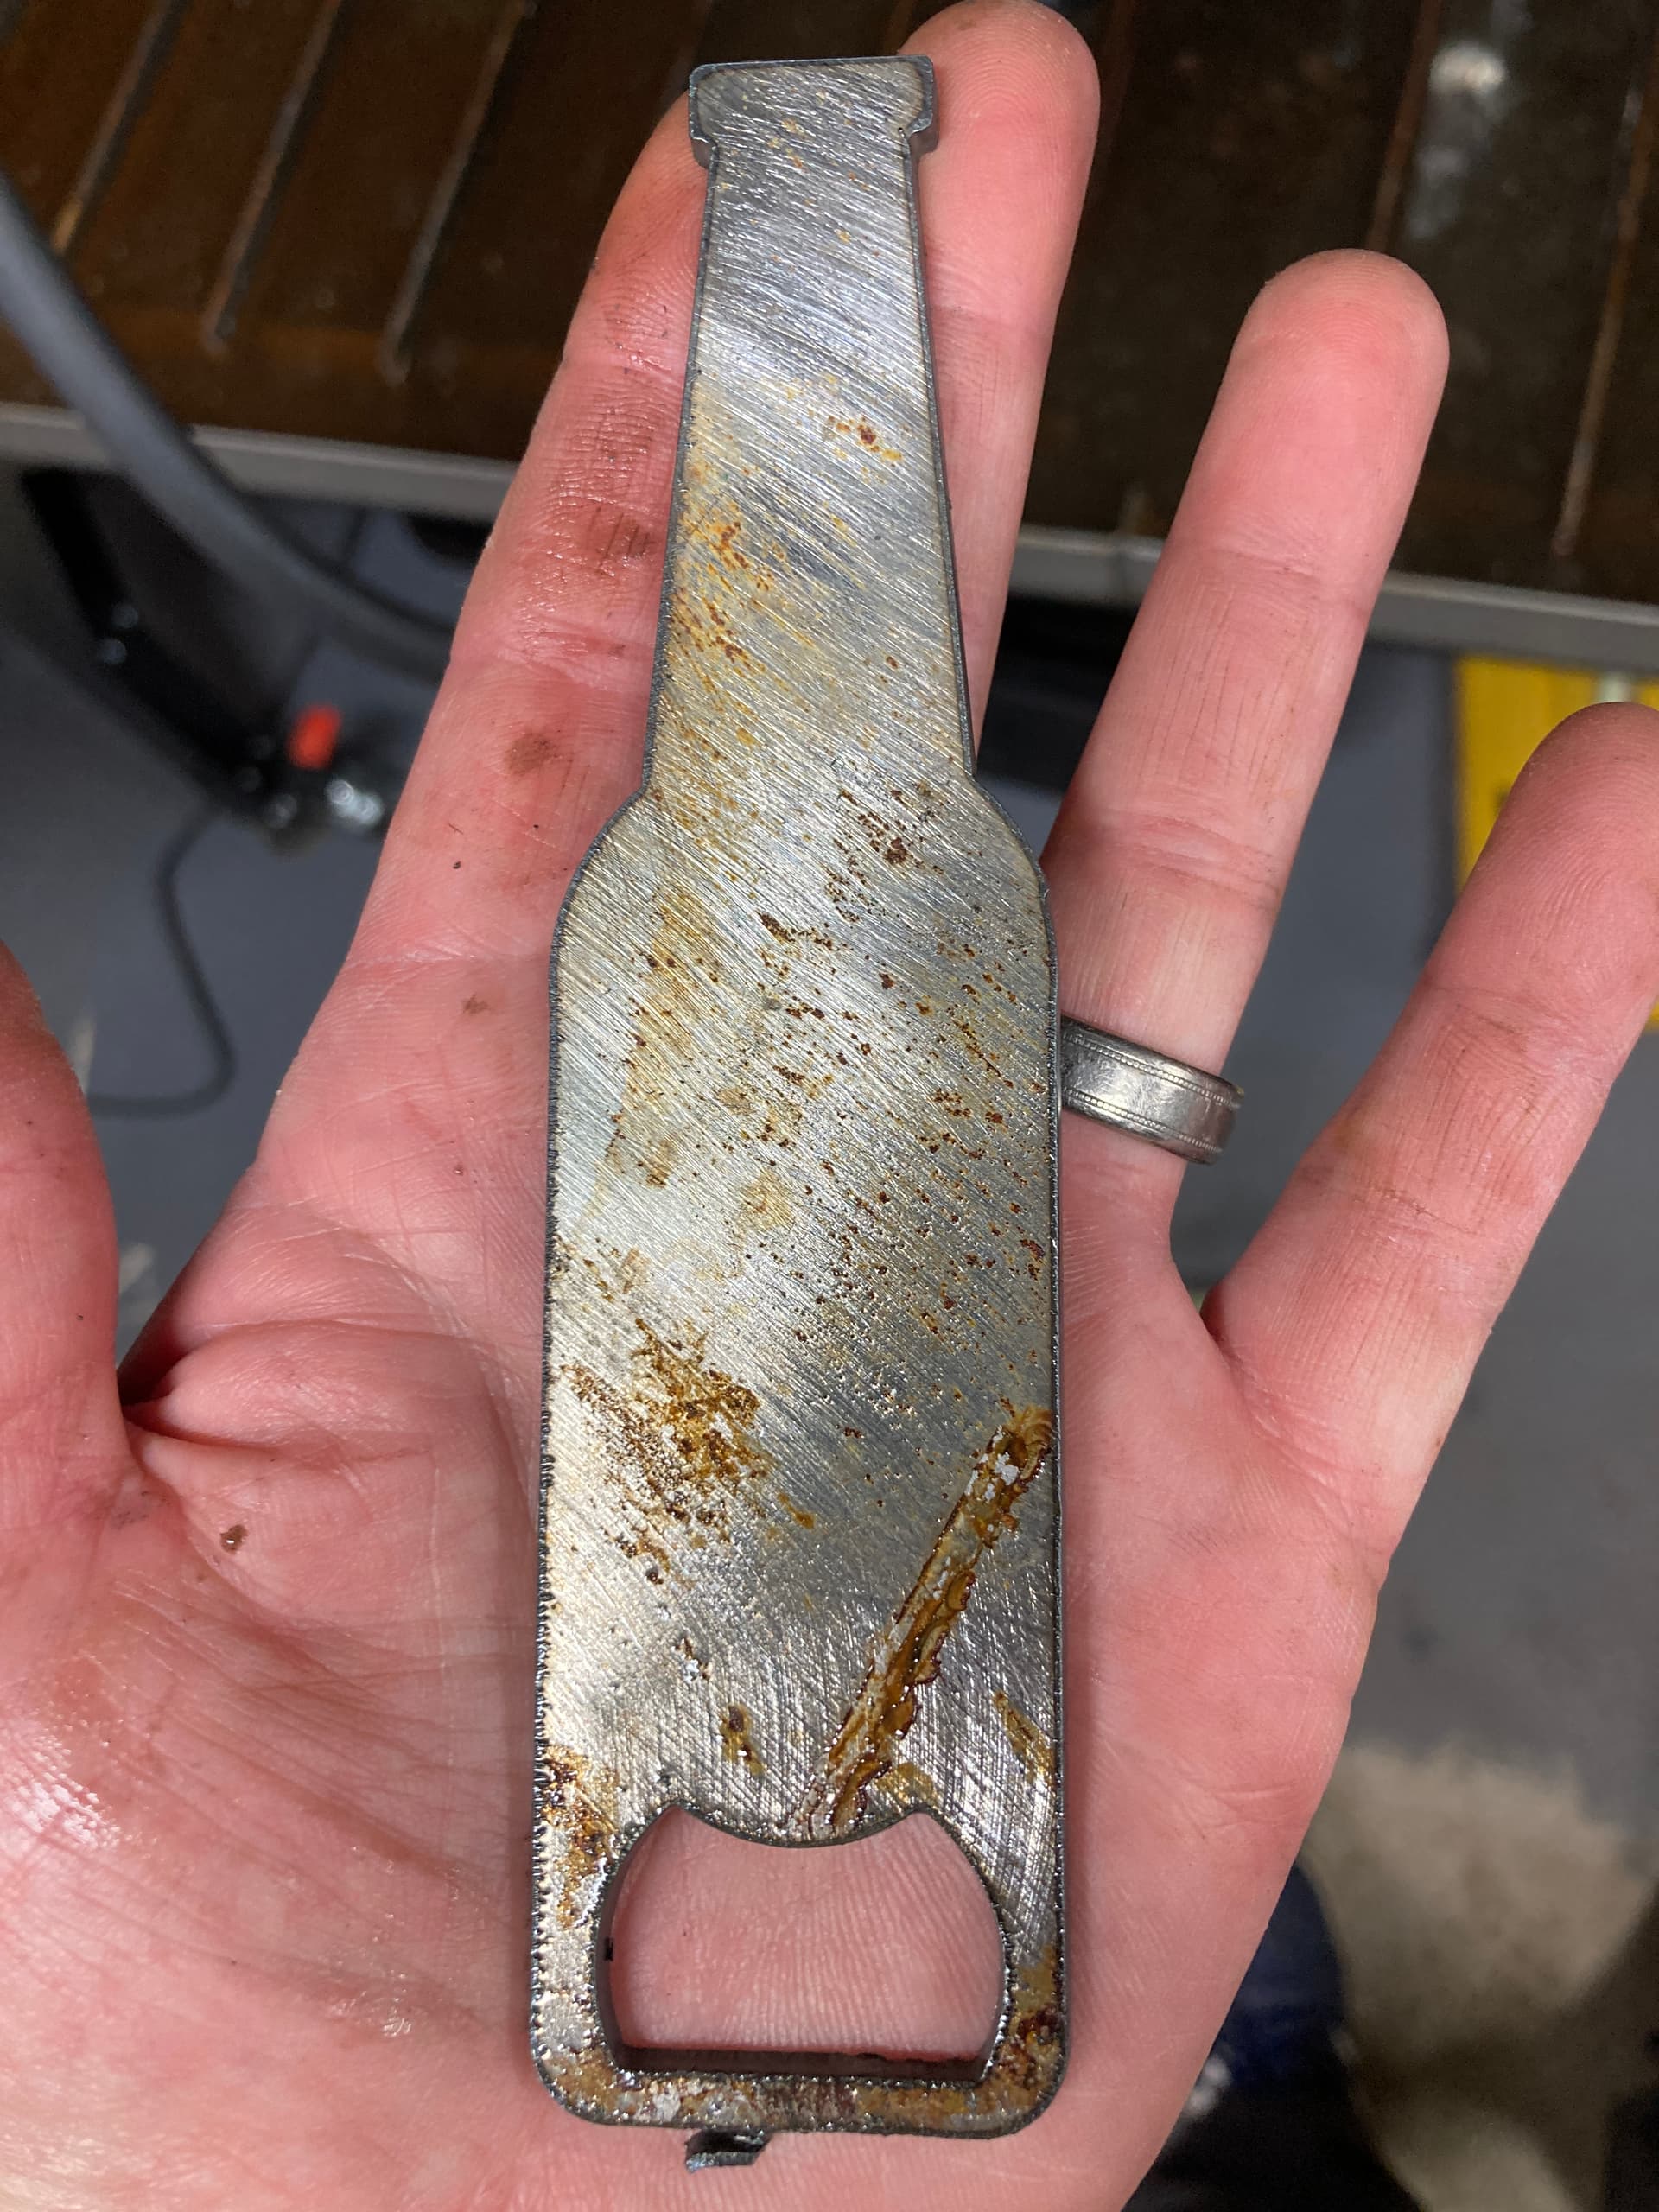
I took these pictures on a potato, well my iPhone 5 but might as well have been.
Unfortunately I didn’t inspect them prior but could tell right when this happened that something was different. Posted that while the machine was still cooling and now I’m very sure haha. Thanks for all the help, the saga continues into next week.
Just to be clear, David and I were both suggesting to adjust the springback setting. Don’t mess with your cut height yet…once you get some new consumables.
DO NOT USE the values that are in black on the image I supplied. They were only a sample of what I needed to set for my system.