Thank you. I will check to be sure.
Finished mine this morning. Had a do-over when I found the upper gantry tube has a “right side up” orientation. If it’s not correct the small holes for the bearing mounting block & the y-axis motor mount won’t line up correctly with the corresponding holes in the black plates.
I did have to re-level the x-axis gantry.
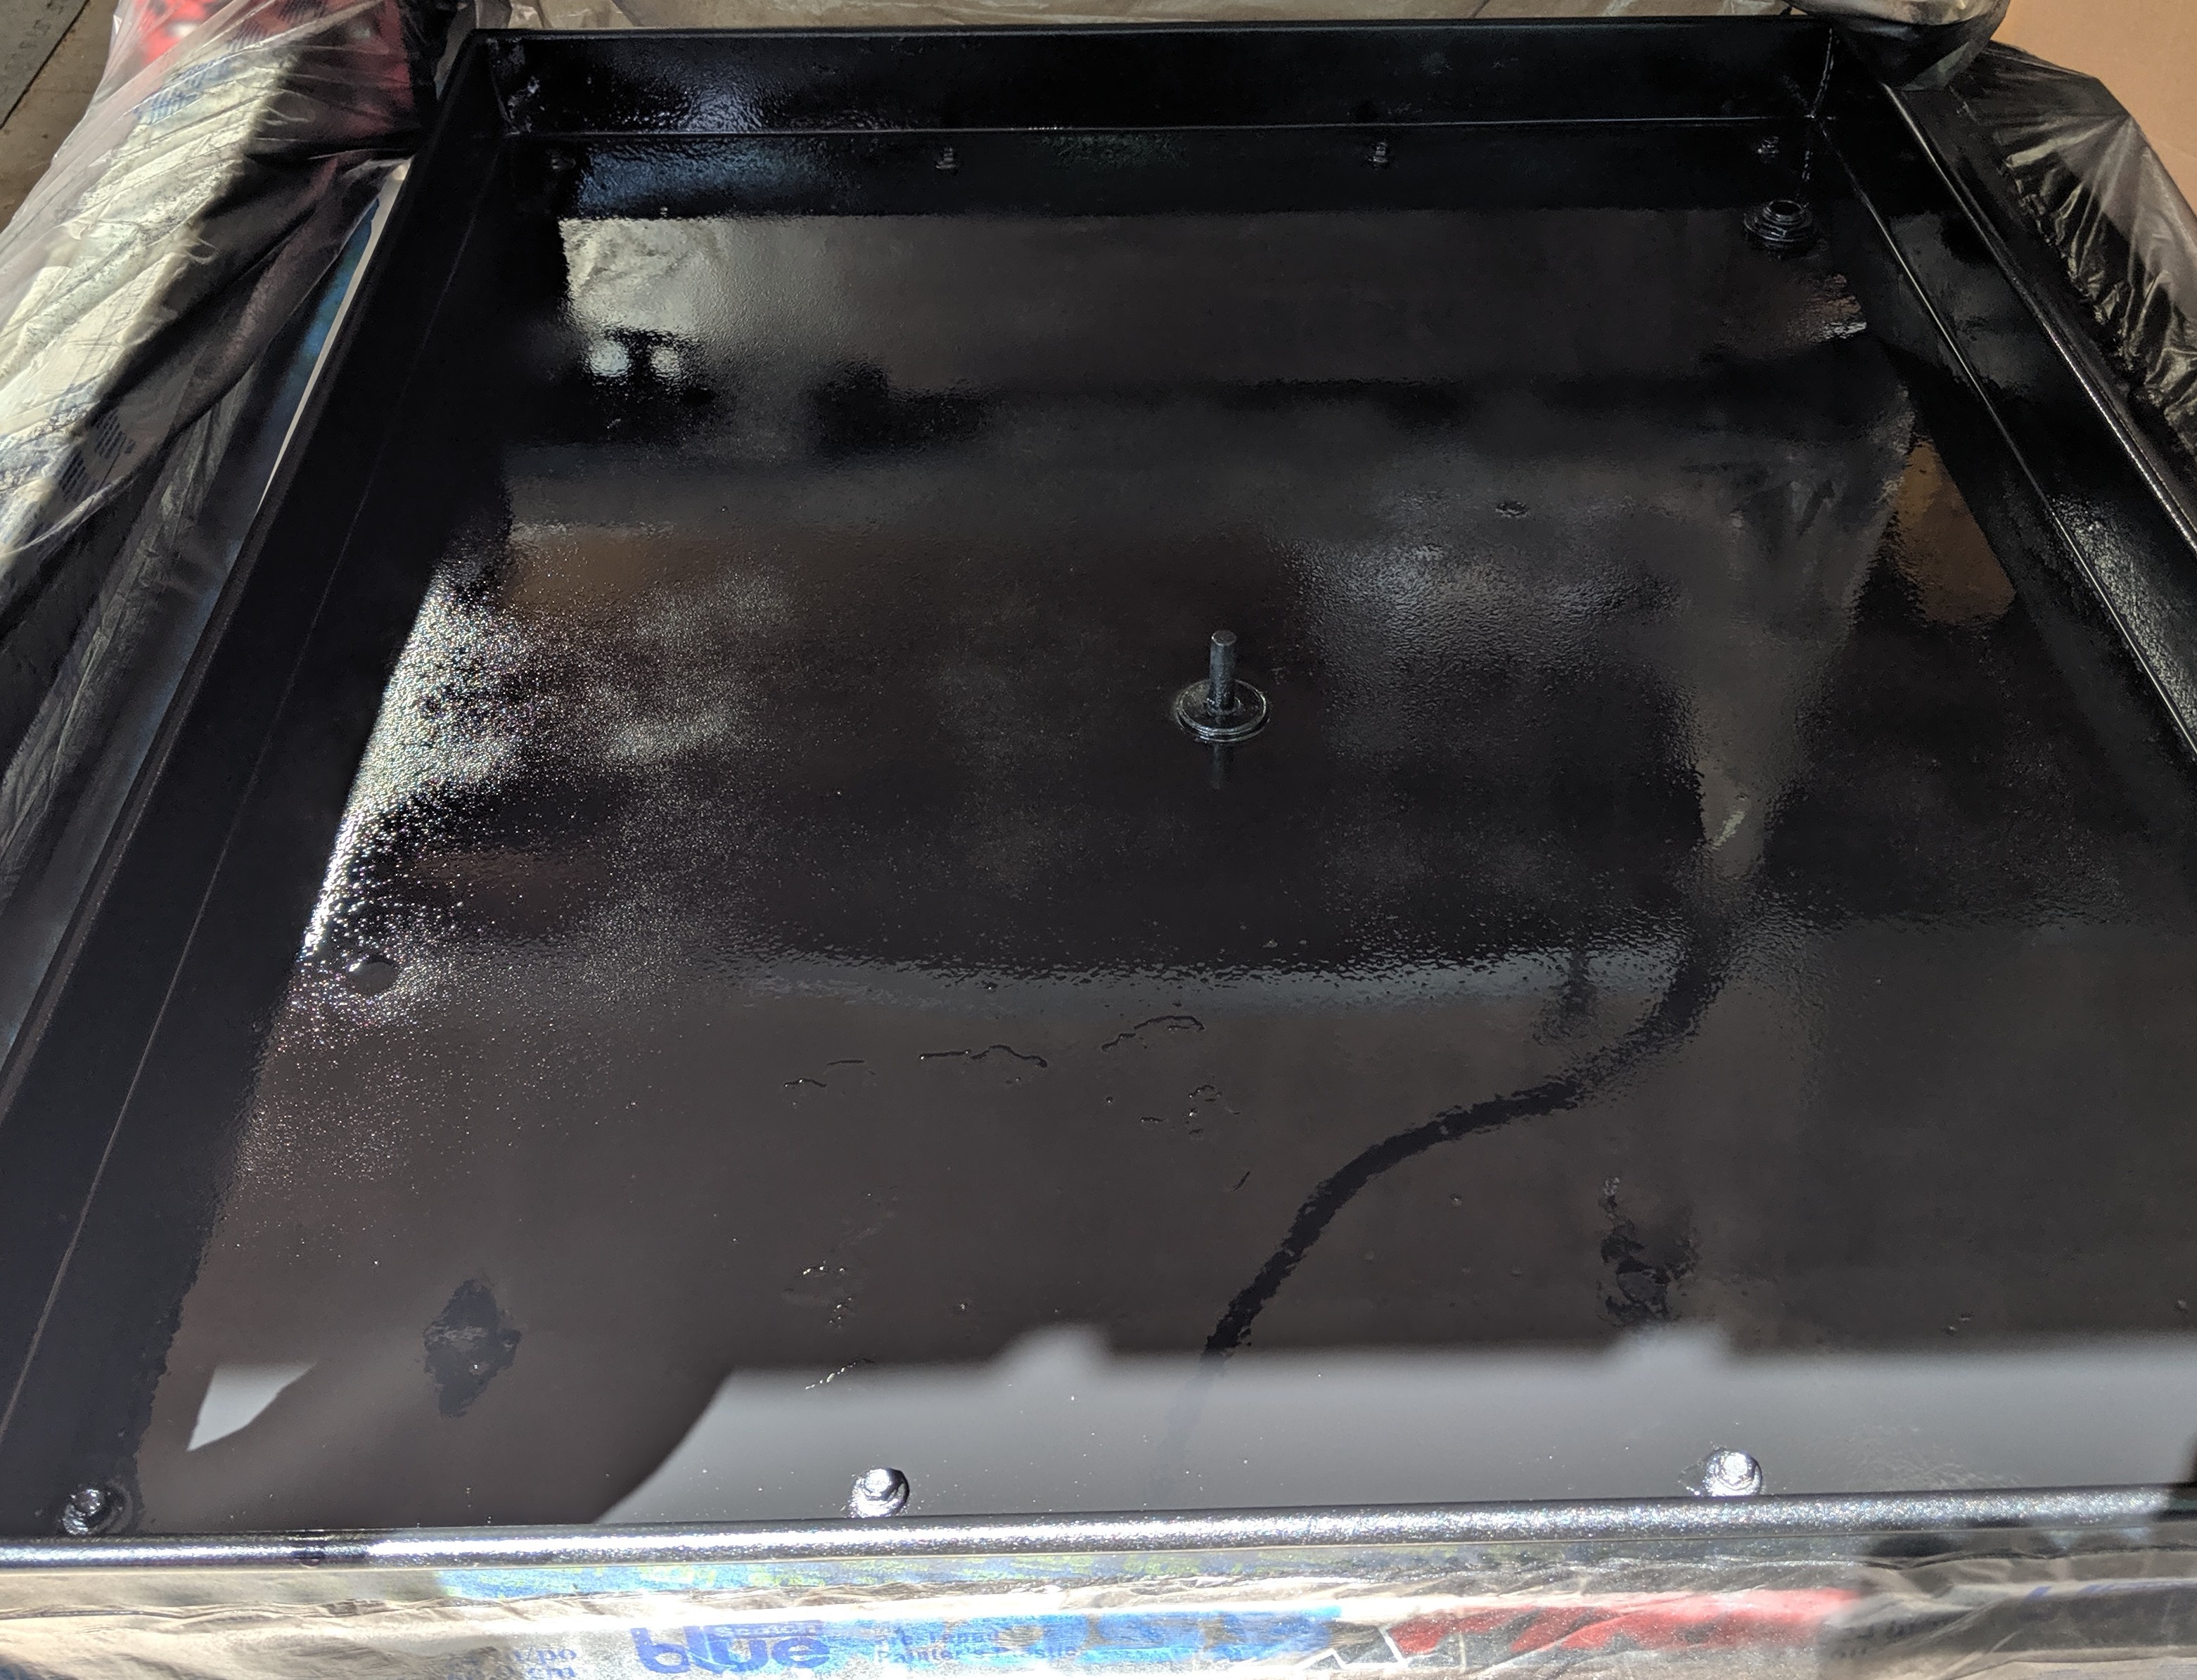
Cleaned out the water table and now I’m going to try to rhino bedliner coat it. I had used Flex-seal but inadvertently ran a quick job with no water in the table and I think I got some pinholes in the flex seal so water got under it and it peeled. Scraped it all off, cleaned it with denatured alcohol and am going to Rhino it next.
Goes to the far corners. Just about as far to the edges possible.
Y-axis max
Y-axis min
Cleaned & coated water table. (Yeah the anode is covered too but I’ll clean it off later - it’s not critical because I drain the table & I attach the ground to the material, it’s just insurance.)
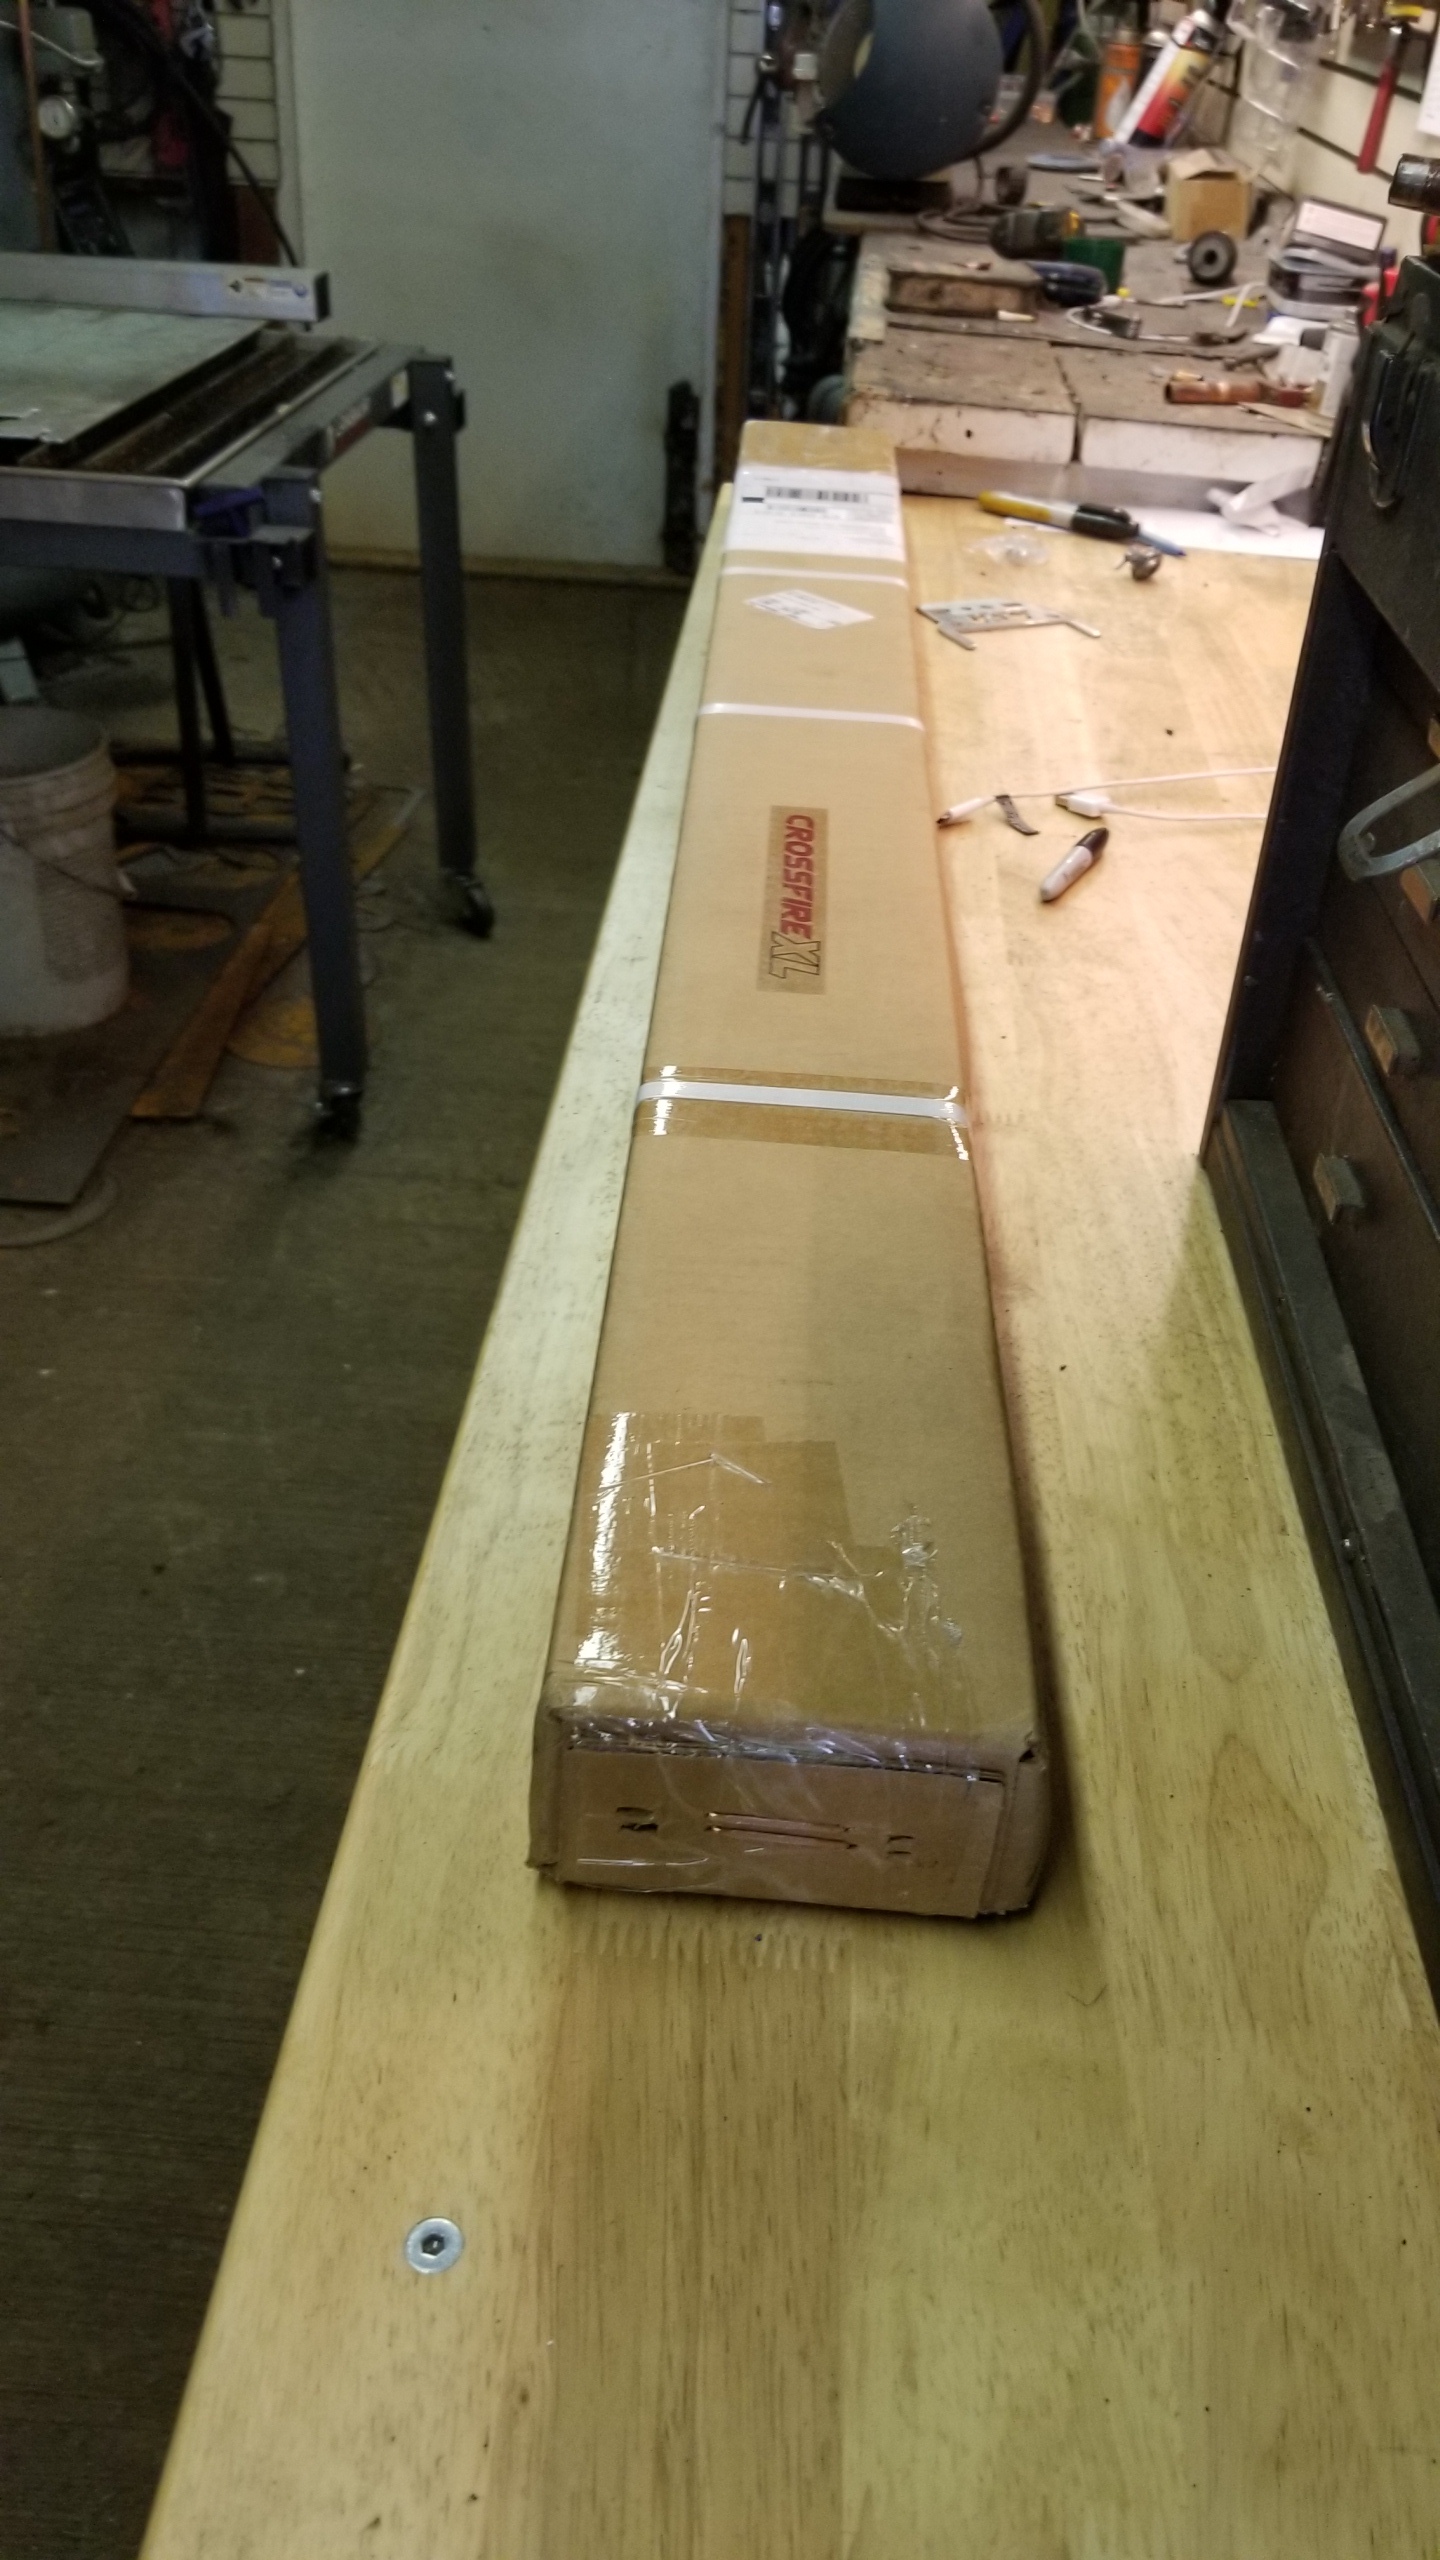
Put my expansion kit on today, went well, no do overs. Leveled it up but havnt tried it yet. Need to get some more metal sheared to fit on the new travel length. no idea how long it took but went rather fast.
I probably spent a couple hours last night (part of that was because of having to do some of it over) and then another couple hours today leveling and cleaning and re-treating the water tray. Not really part of the extension install but it needed it. I haven’t even run a grinder over the slats in a couple of months.
your do over saved me some time, thanks for posting it I had mine in upside down too
1 Like
amazon 3’ lead screw 59.60 for 2 free shipping…
and why are you priceing stainless tubing? its zink coated steel…
im sure that that will make your price come down considerably…
I’ll get back with you on the price if i even upgrade my curent setup.
Im curently building a 4x4 from scratch using 4" extruded alum stock and racks and gear drive and a z axis.
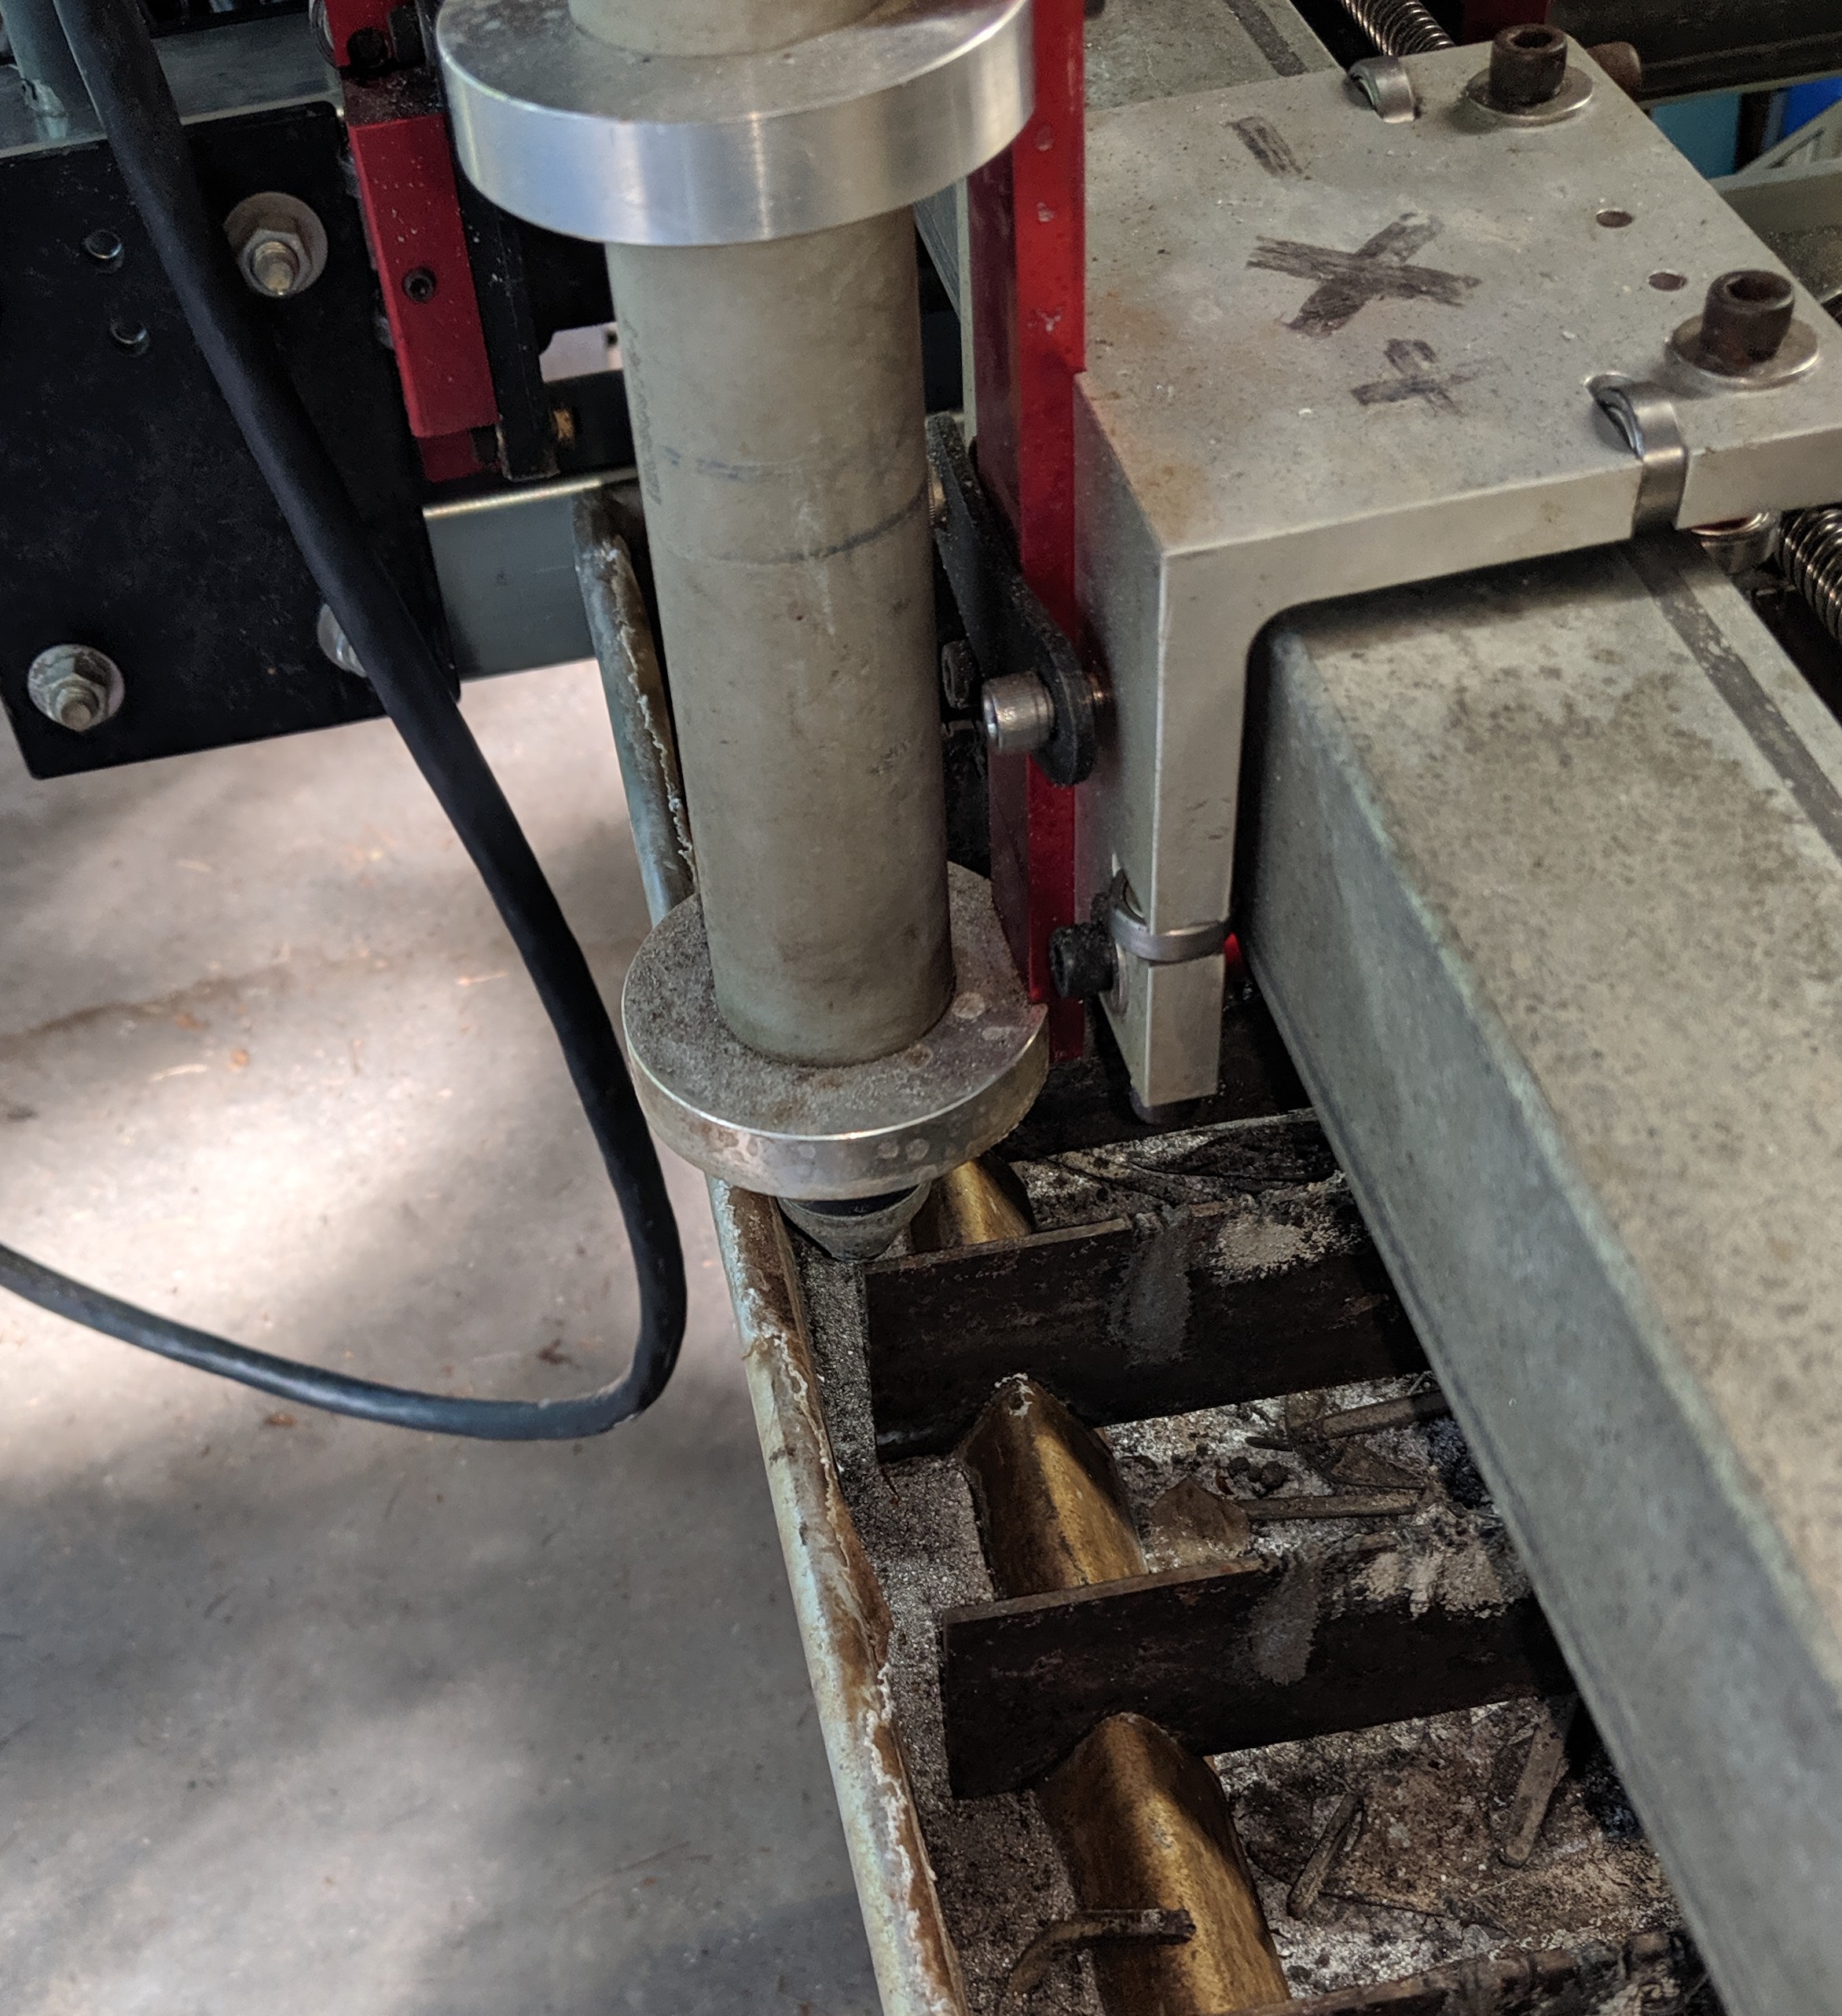
I like your “X” with “+ -” written on the top. I struggle constantly trying to remember which is the x and which is the Y 
1 Like
I actually had both gantries marked before I replaced the Y with the expansion rail. ![]()
I also marked both with the max size in that direction as a handy reminder which of course changed with the expansion.
The + and - is really handy until you get it worn into your brain. Part of the problem is that the laptop mount us catcornered so the x and y are opposite what you’d expect. I keep thinking I should turn it but never get to that.
(I Sharpied @ctgolfer’s gantries when I met him the first time ![]() )
)
Yup, and still marked, I would be lost without @jamesdhatch to help me out.
I started to install my expansion kit and I got the Gantry onto the new tube but it fits too tight. It takes significant effort to make it travel by hand. I think I need to loosen those screws on the red billet blocks with the wheels? If I’m thinking this correctly, won’t my two axis’ lose their 90 degree orientation?
1 Like
Ok ordered one a several weeks ago… still hasn’t shipped… any word on when I might get that?
I had to do the same thing. Wasn’t terrible to realign.
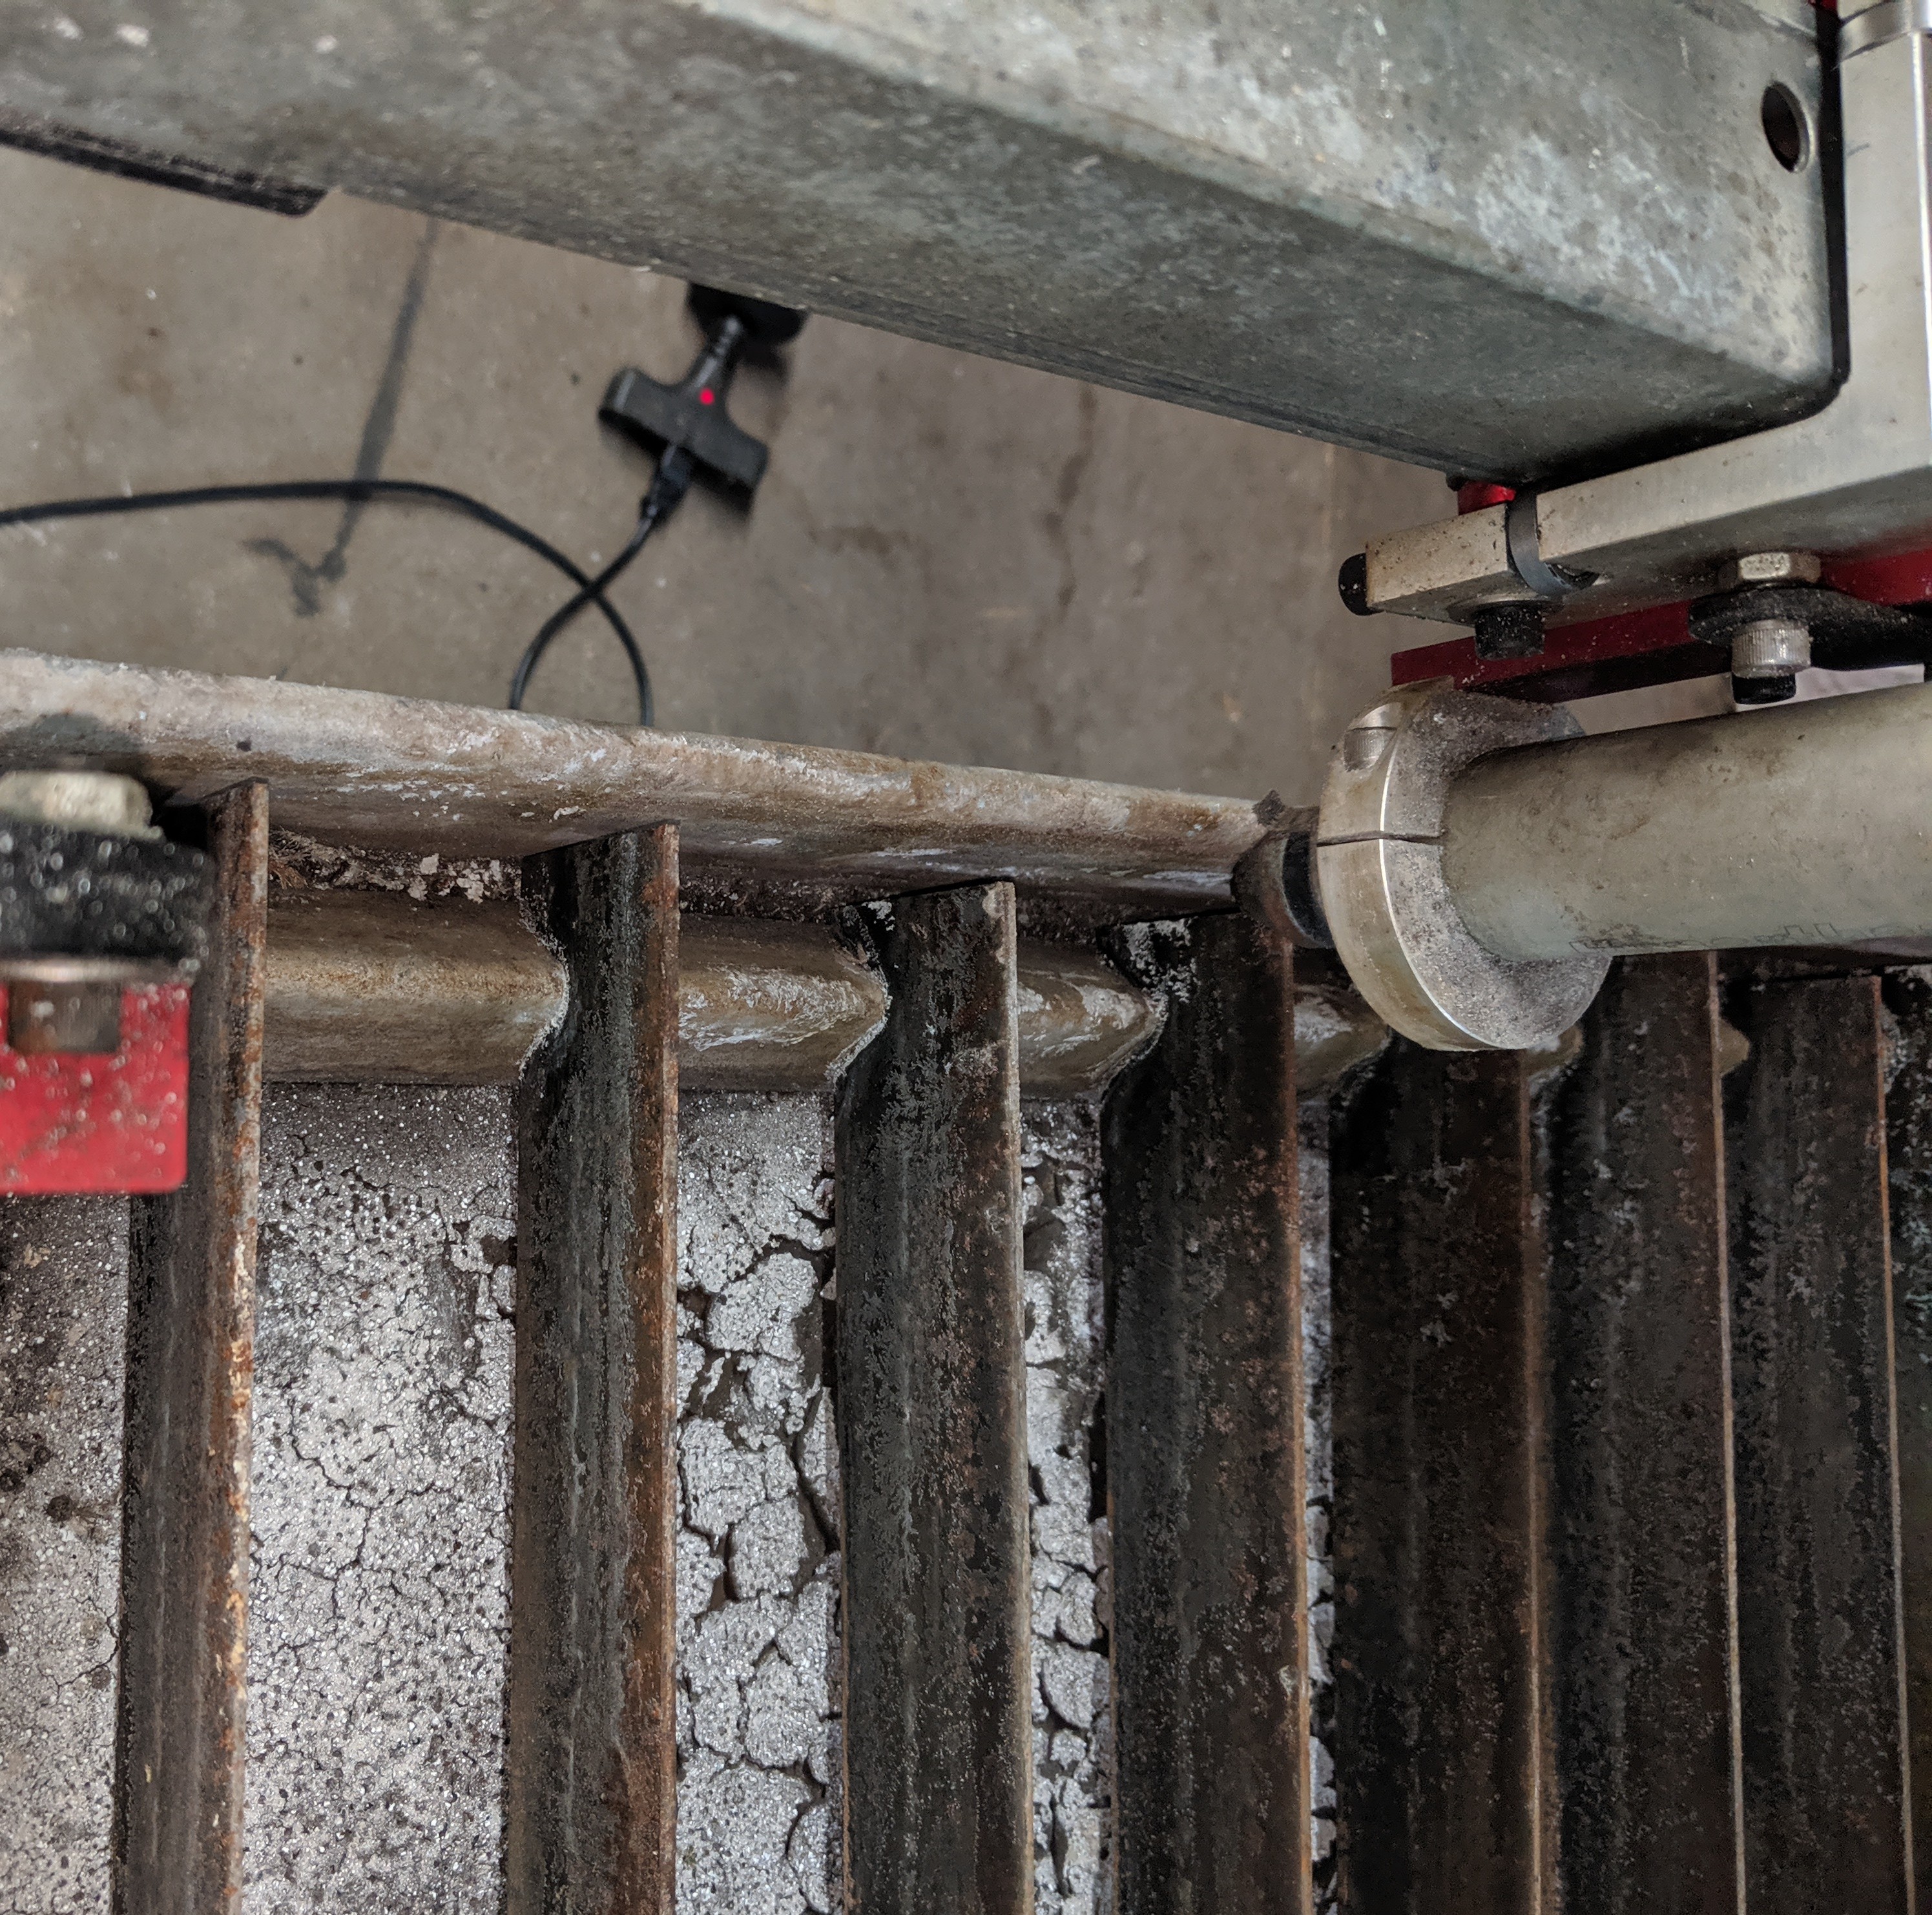
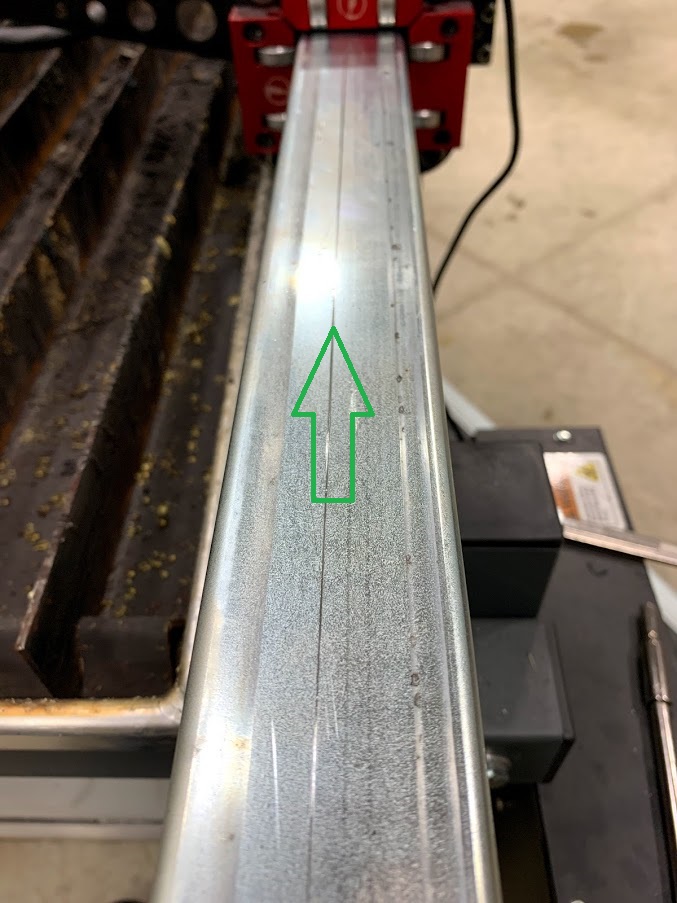
what method did you use to check square? I couldn’t see a video anywhere. I figured out why my gantry slid so hard. evidently there’s a metal flap that hangs down and drags on the top of the Y axis until it has a groove made. I messed with the bearings and got them all making good contact with the Y axis. Then I slid it back and forth several times and it quickly got really easy to slide but it makes a very light groove on the top of the Y axis beam.
I took a picture from the end of the beam but it’s difficult to tell but there’s a flat piece that hangs down and it has now made it’s own groove and it slides really nicely now. You can see the groove it makes. It did it to the old beam as well.
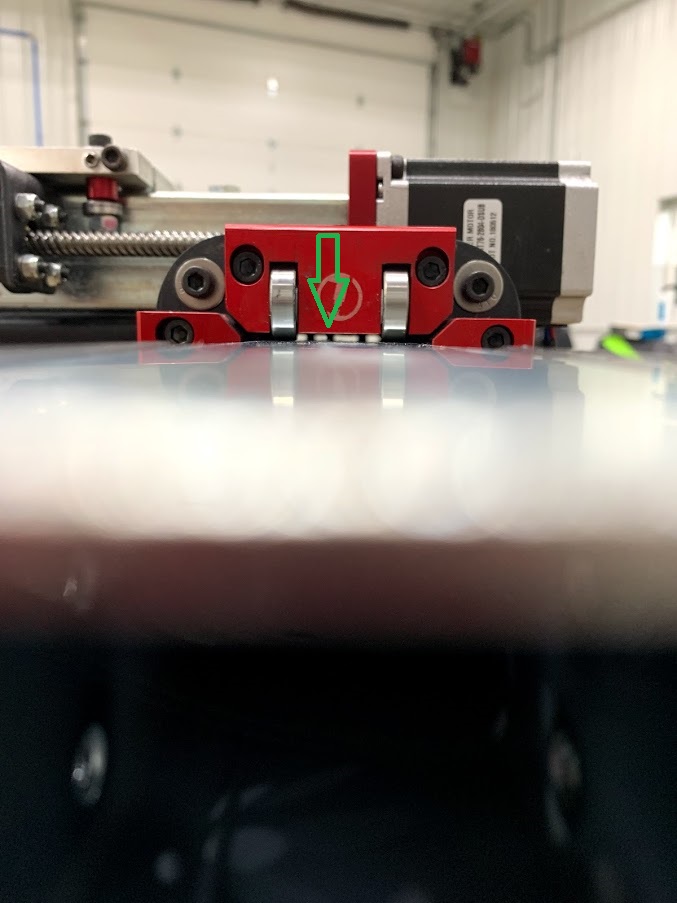

I dont think theres anything thats supposed to be under there. the only thing that touches on mine is the bearings. I’d take it off and see what that is and where it’s supposed to be.
Gantry installation video.
Machine alignment video
2 Likes
How is that so clean…?
Slats look unused?
I unfortunately didn’t mark my X Y so went back to the video. Didn’t like how it seemed my table was running from what I expected and kept having to remember which keys went to which axis. Also when I ran the break in program what was shown on mach-3 was the opposite of the motion on the table. Went to the mach 3 site and found some good information to modify the parameters and now I have the orientation that is the same as the laptop and also set some soft stops to prevent the axis from running beyond the physical limits.