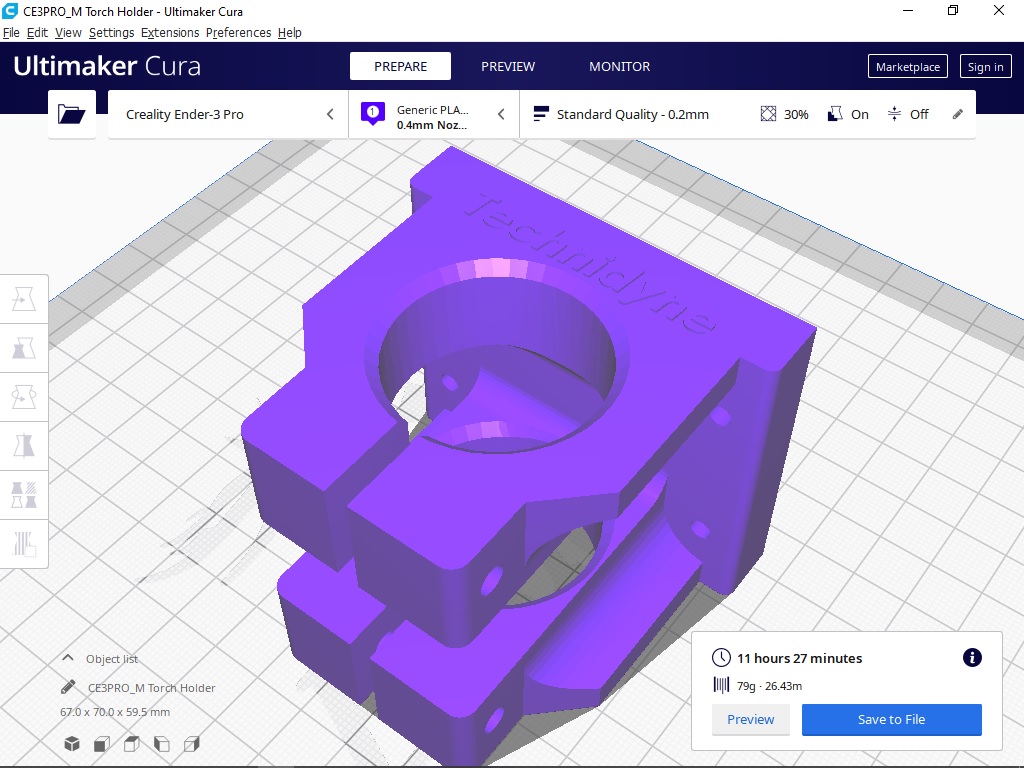
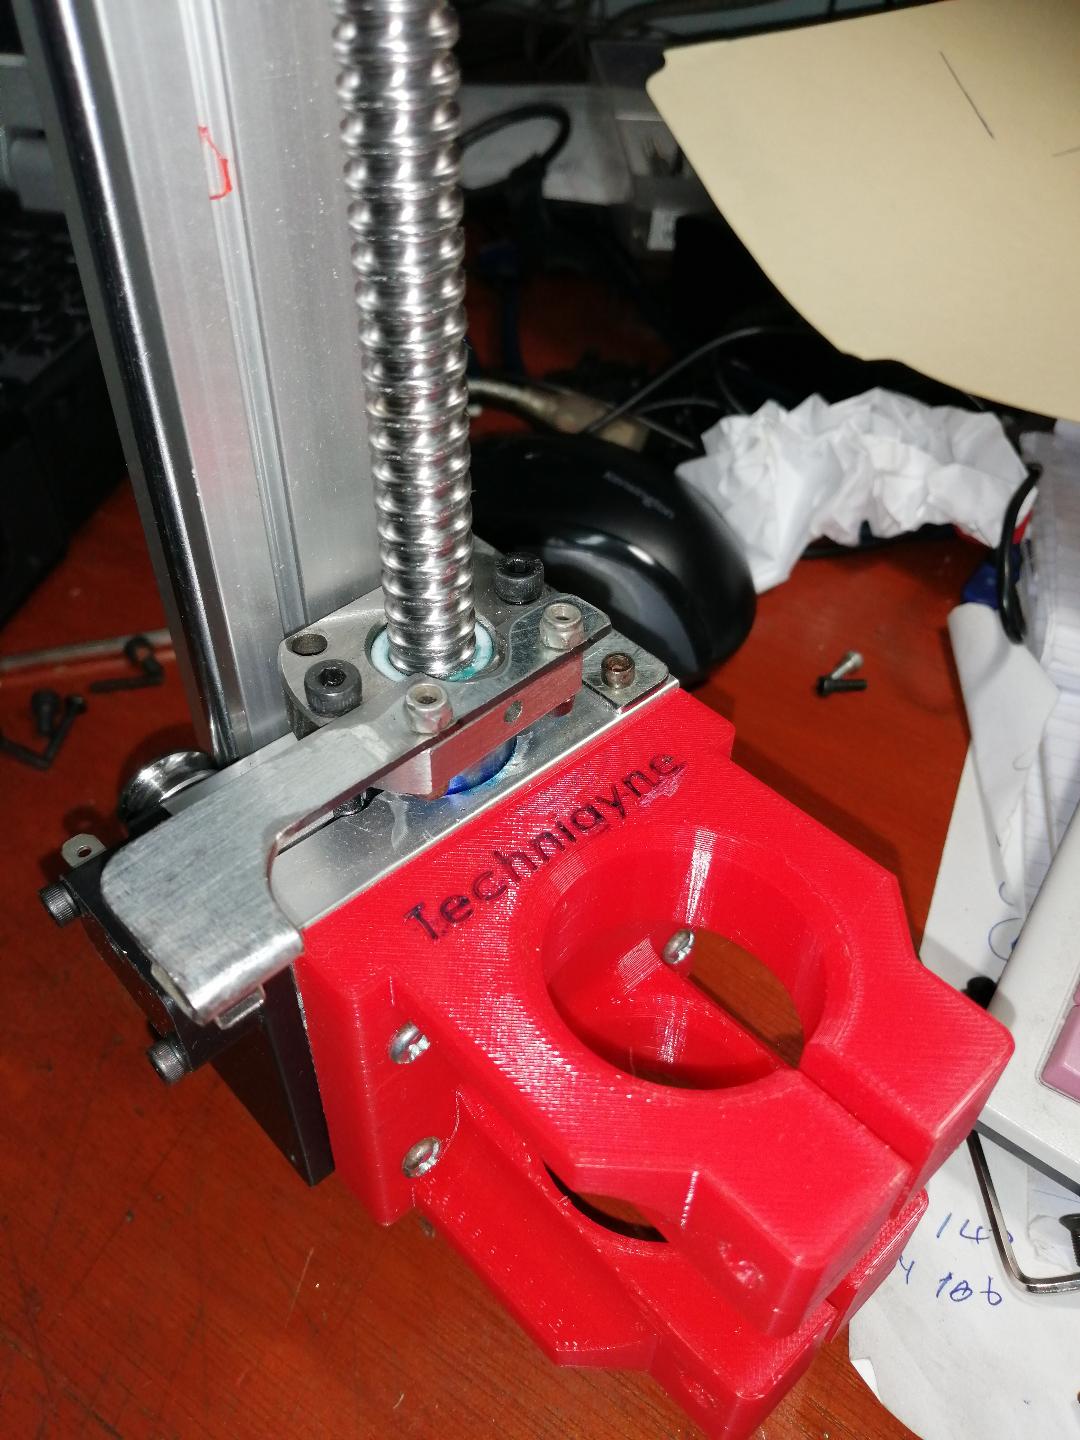
Ok, sent to the printer for a long print:
2 Likes
Just a suggestion but look at ABS or PETG for a torch mount. If PLA doesn’t melt completely from the heat coming off the torch and material, it’ll quickly decompose and fail thanks to the water.
Roger that, thanks, I have some PETG on order and will print another.
I’d go with the resin. Won’t have any issues with the water either and will be stronger than filament prints.
I’d run an initial one at .05mm layers and after I tested it to make sure it worked I’d reprint at .01mm. That’ll be a pretty strong mount.
Have you measured the backlash yet?
No, not yet. Moving on to building the control system.
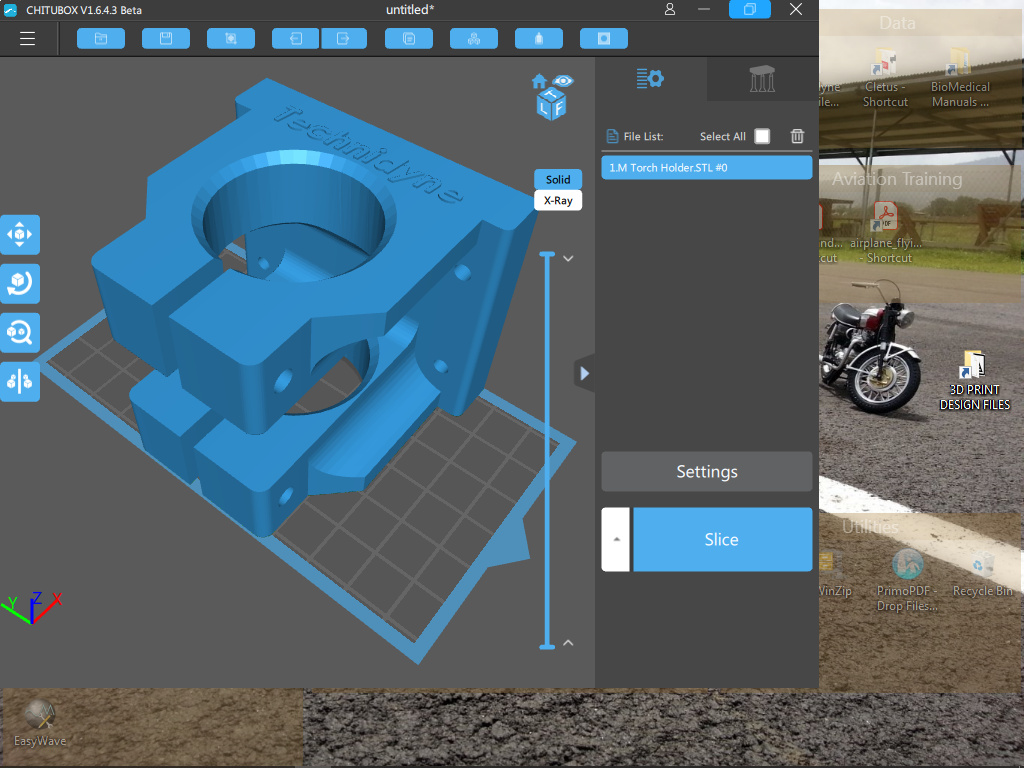
I’d flip it on its back (lot fewer supports needed). Would it fit?
2 Likes
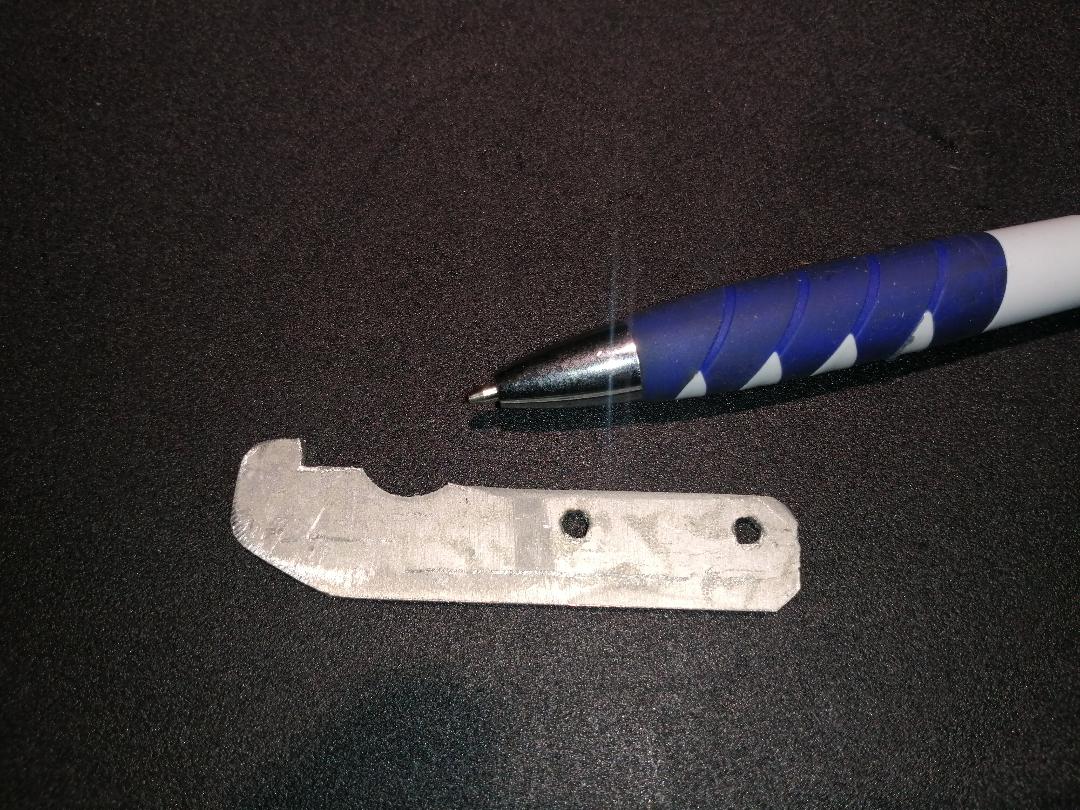
Ok, so i needed to make this little, itsy, bitsy microswitch striker. I start thinking bandsaw and mill. I really did not think the Crossfire could get down and make it happen. 20-minutes measuring and AutoCAD, and like 8-seconds on the Crossfire. I had trouble finding it in the depths of the water table afterwards ![]()
Did I mention, I’m like luvvin this here machine? ![]()
3 Likes
Your just having way to much funnnnnn 
1 Like
…and, don’t I know it!
1 Like
I have to force myself not to do stuff like that. I cut something out with shears this weekend. Thought about the Crossfire and then figured that hand cutting (& finishing on the grinding wheel) would take 5 minutes - cracking open design software, making the pattern, running the pathing, pulling out the Crossfire… not 5 minutes ![]()
I used to do things like that though just to prove I could. I used a CNC Router (Shopbot) to mill a 45% angle through the thickness of some material by stepping a V-bit mill in successive passes across & down. It would have been a 30 second job with a 4-axis CNC but I didn’t have that. It might have been 45 seconds using a table saw or chop saw (which I did have) but then I wouldn’t have been using the CNC. So I burned nearly 3 hours getting the steps and depths right to get the smooth 45 bevel I wanted. Someone asked me why I did it that way and I told them it was so I could prove to myself that it could be done. That’s when I decided I had gone overboard with my computer controlled toys ![]()
1 Like
Well my eldest brother was a very accomplished graphic and theatrical design artist in these parts and he always noted I could not draw a straight line! …he was so right!
I started using Autocad since around 1980 and Solid Works later on, and ever since, every thing I design, I use it, so I’ve become pretty quick with it. I’m now learning Sheetcam and Inkscape and making good progress. For my CNC 4-Axis mill, I usually use CamBam and for my CNC engravers I like LightBurn. I am AMAZED how precise the Crossfire is and, I have not even used any of the consumables selection fromGeorge as yet. I’ve only been using the stuff that came with the CUT60.
1 Like
I love my cut 60 also
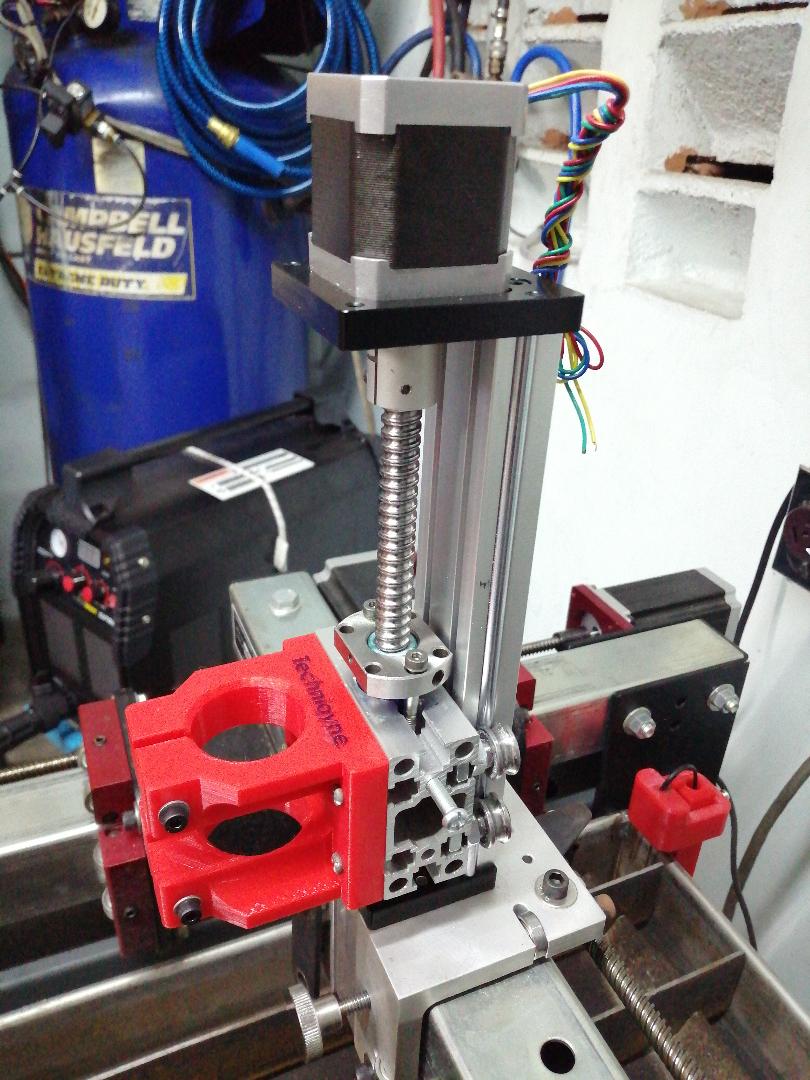
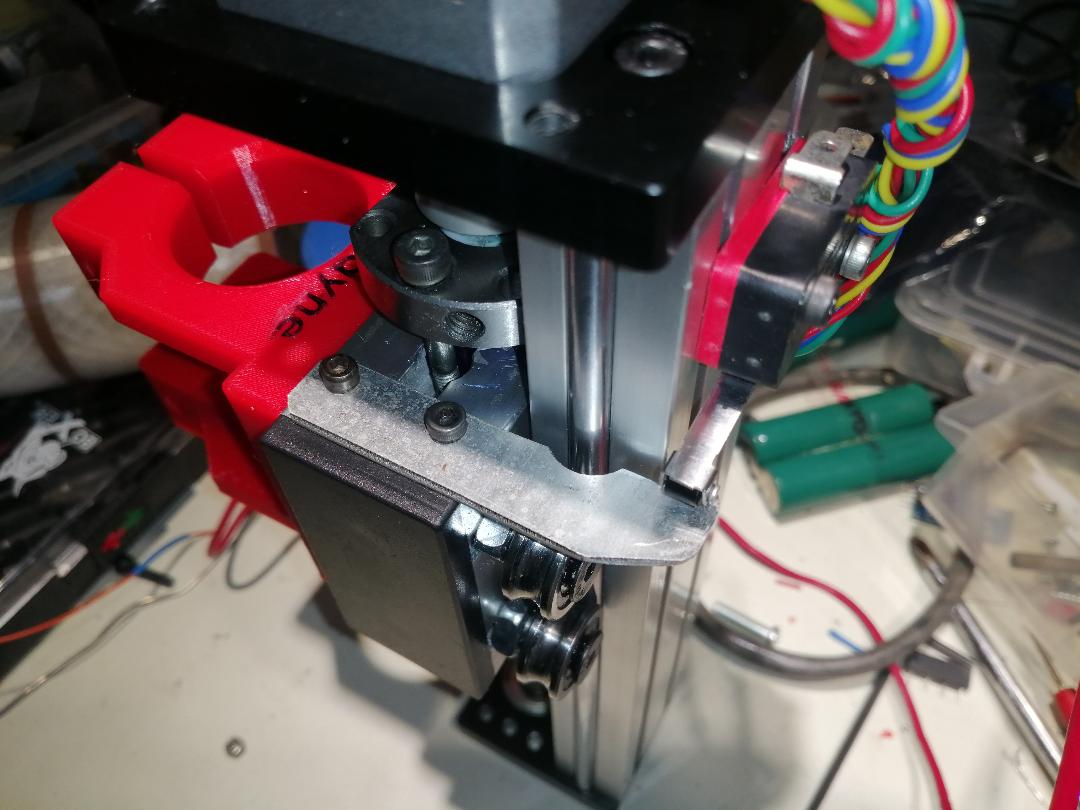
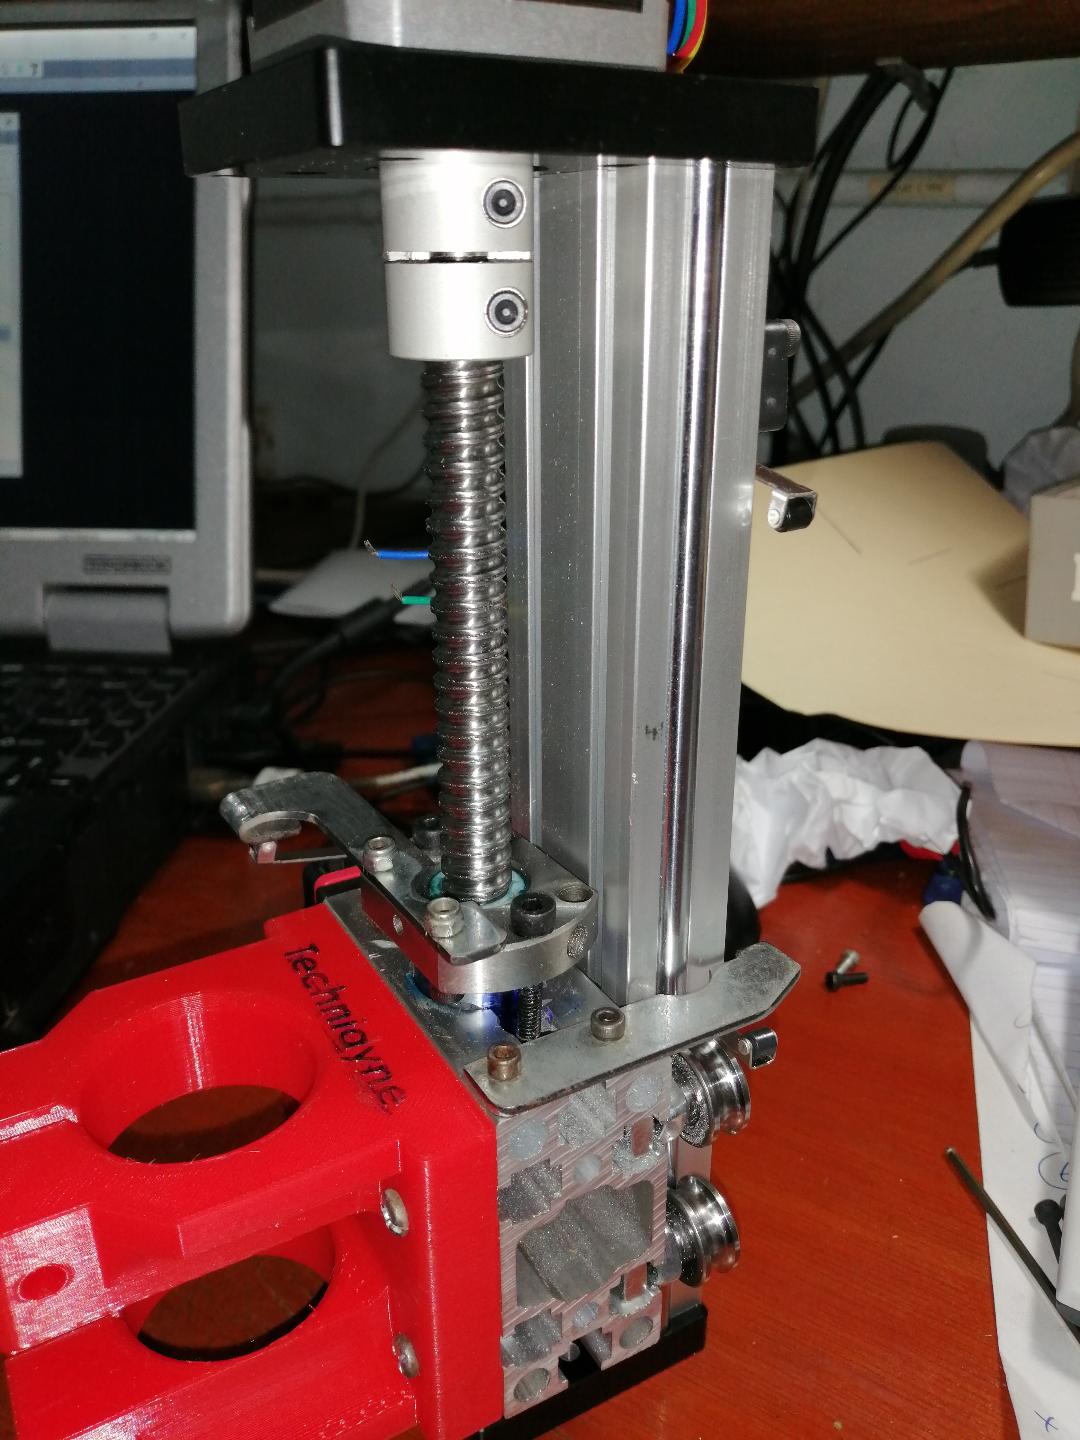
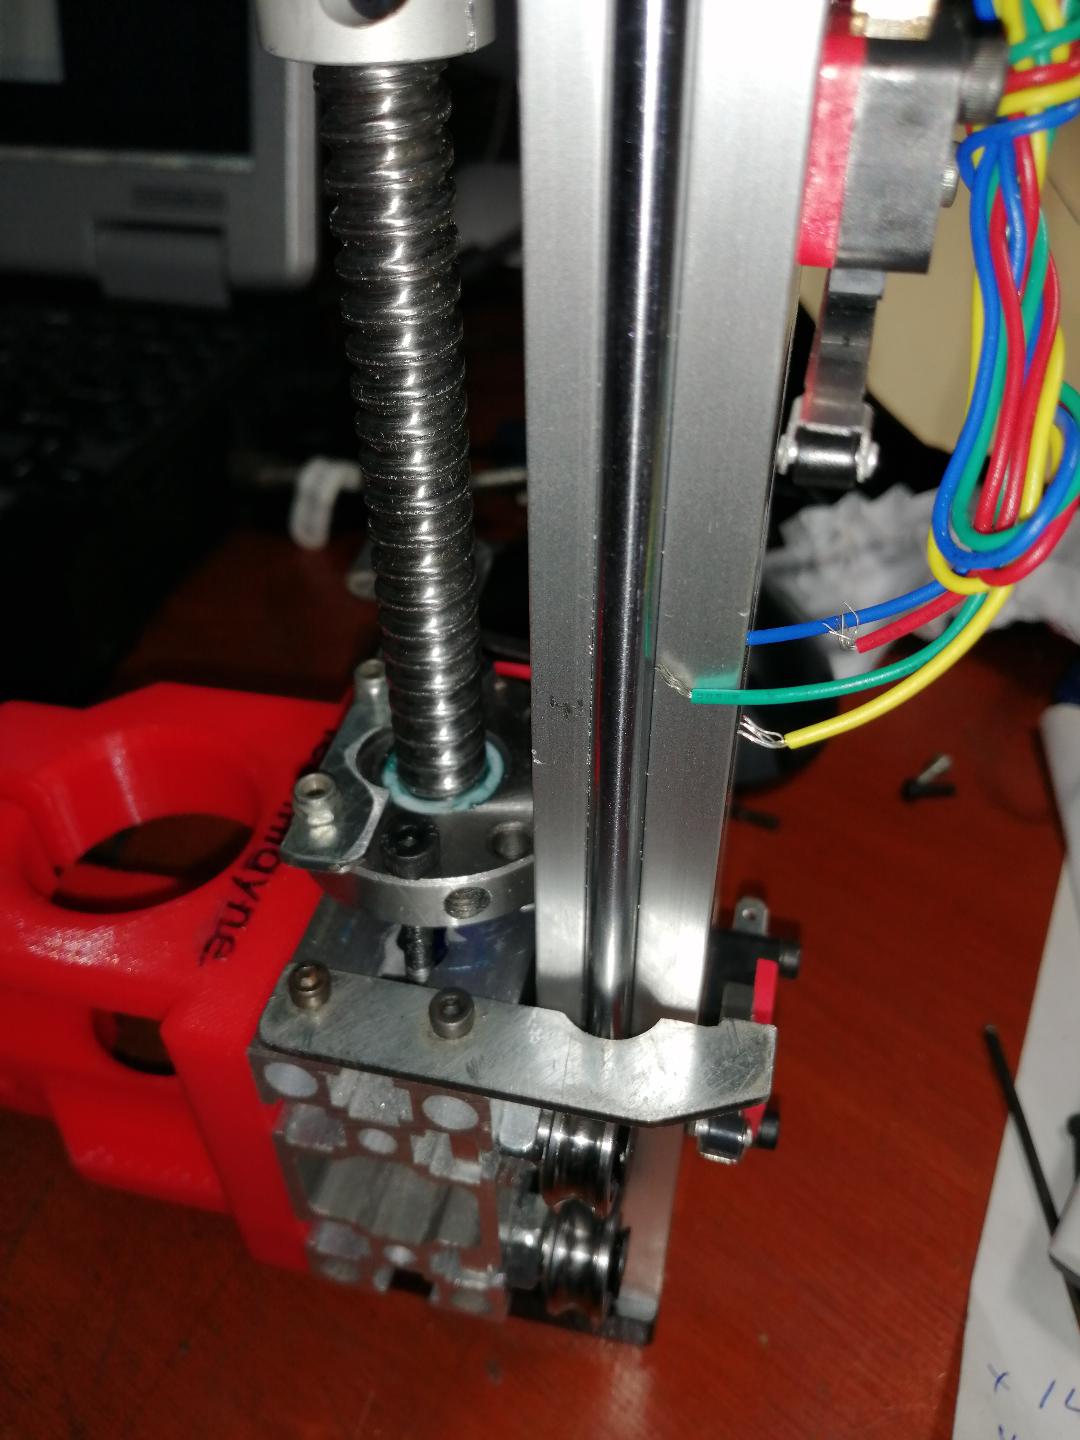
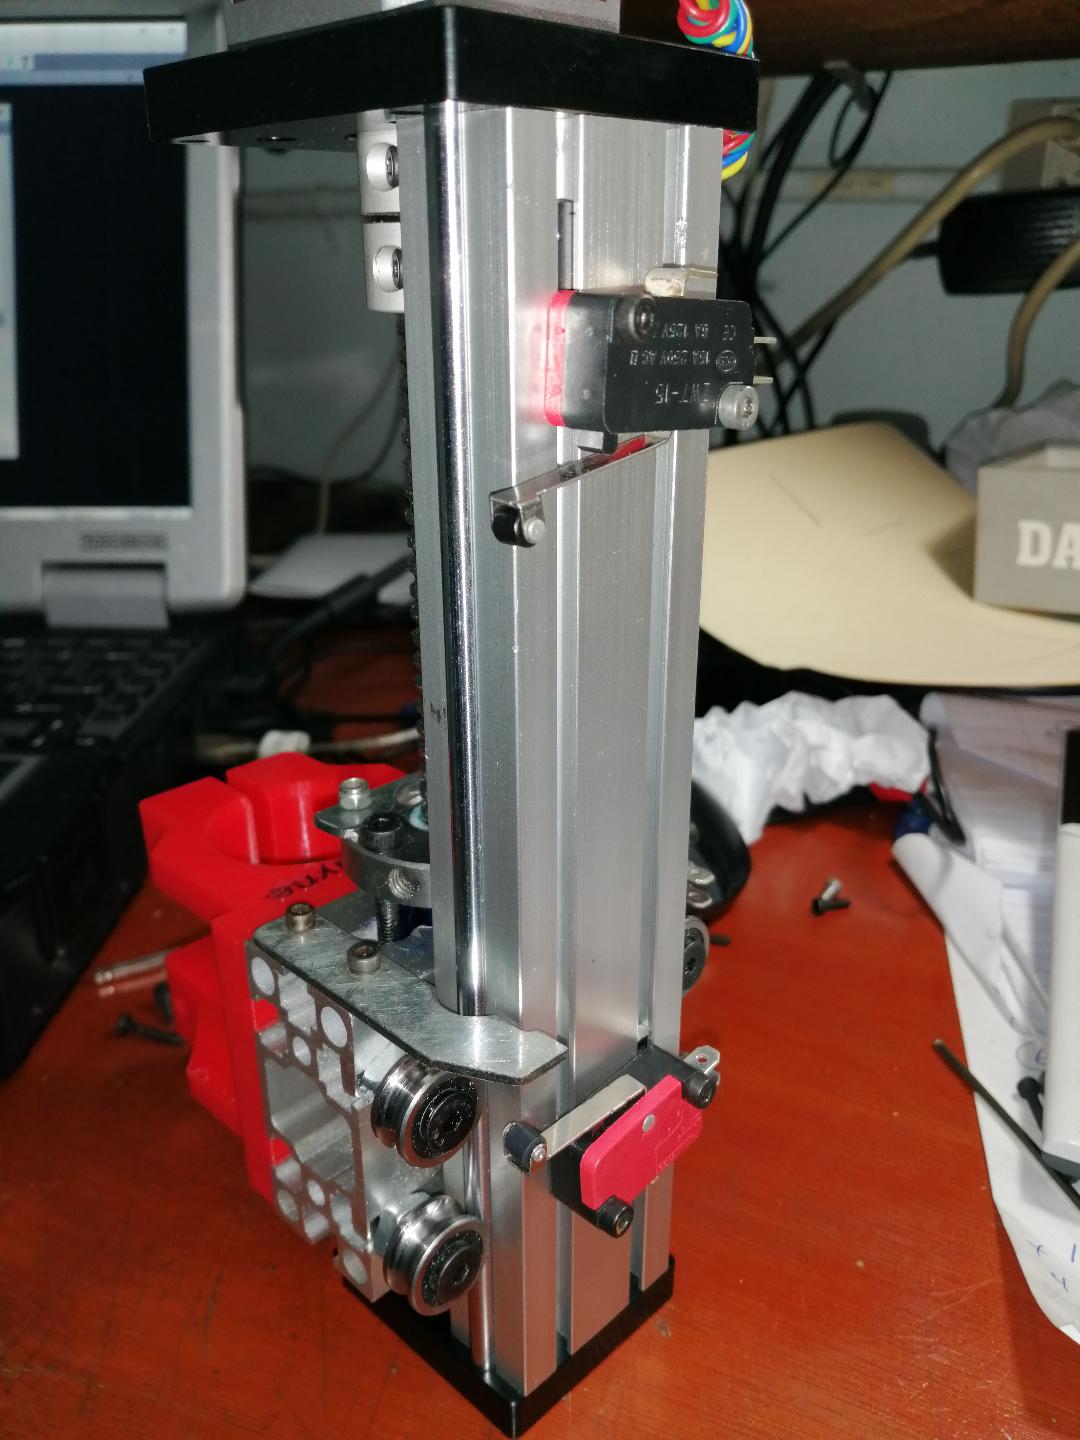
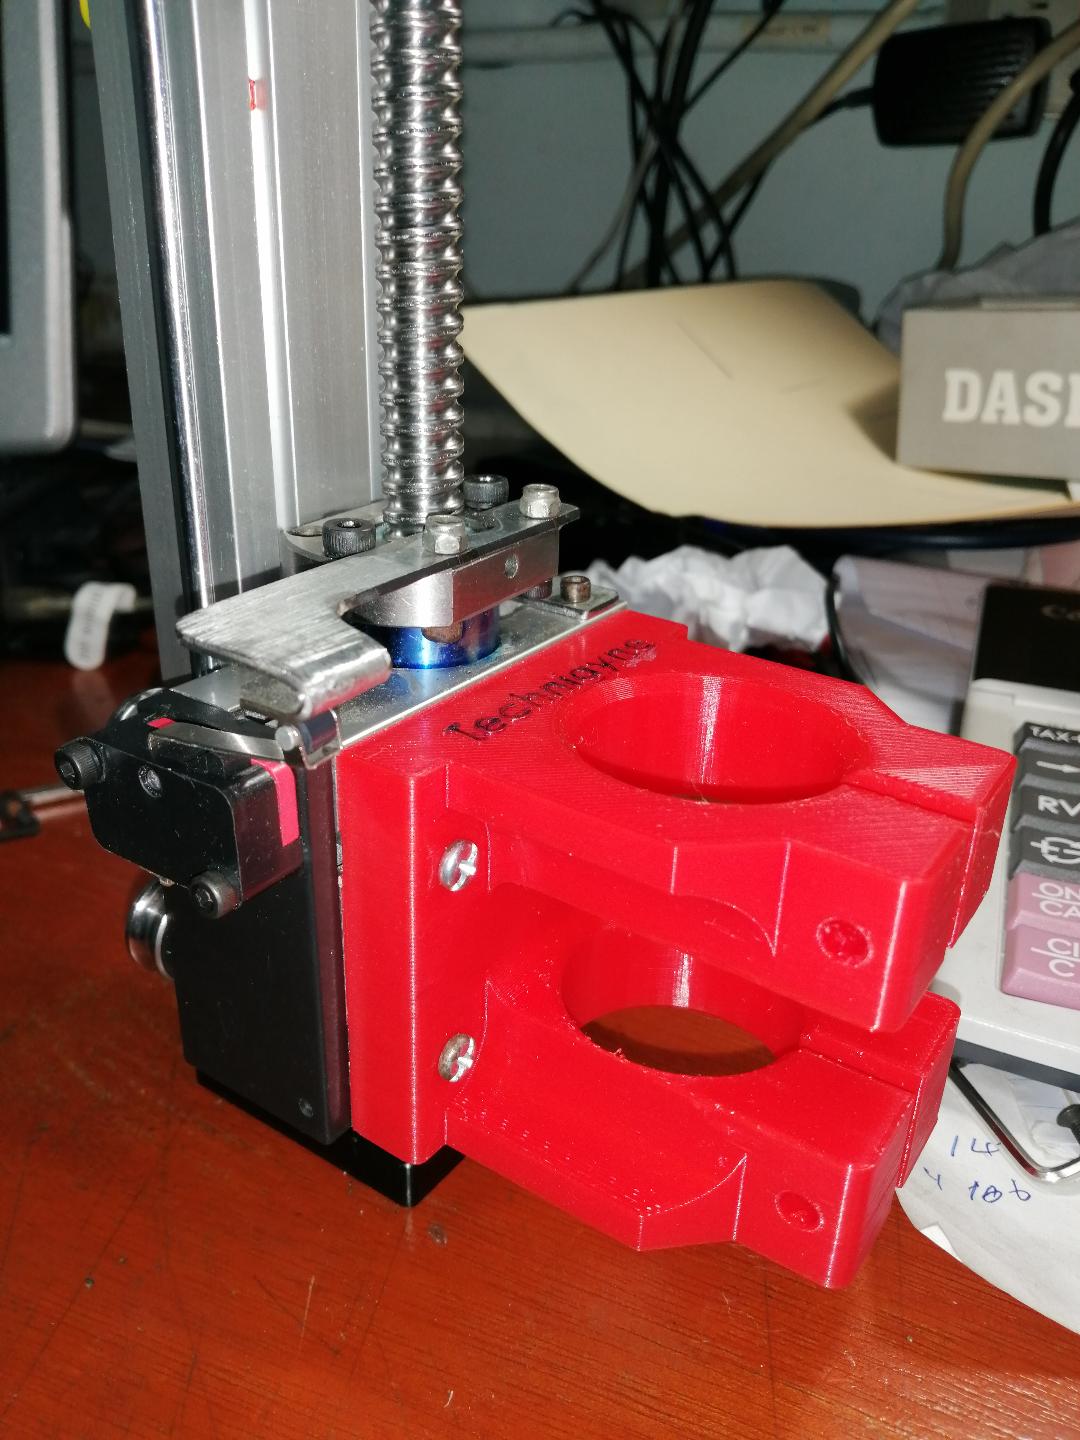
Trial fit of the Limit, Homing and Floating Torch Microswitches. All parts are here with the exception of the THC. It’s on the way.
1 Like
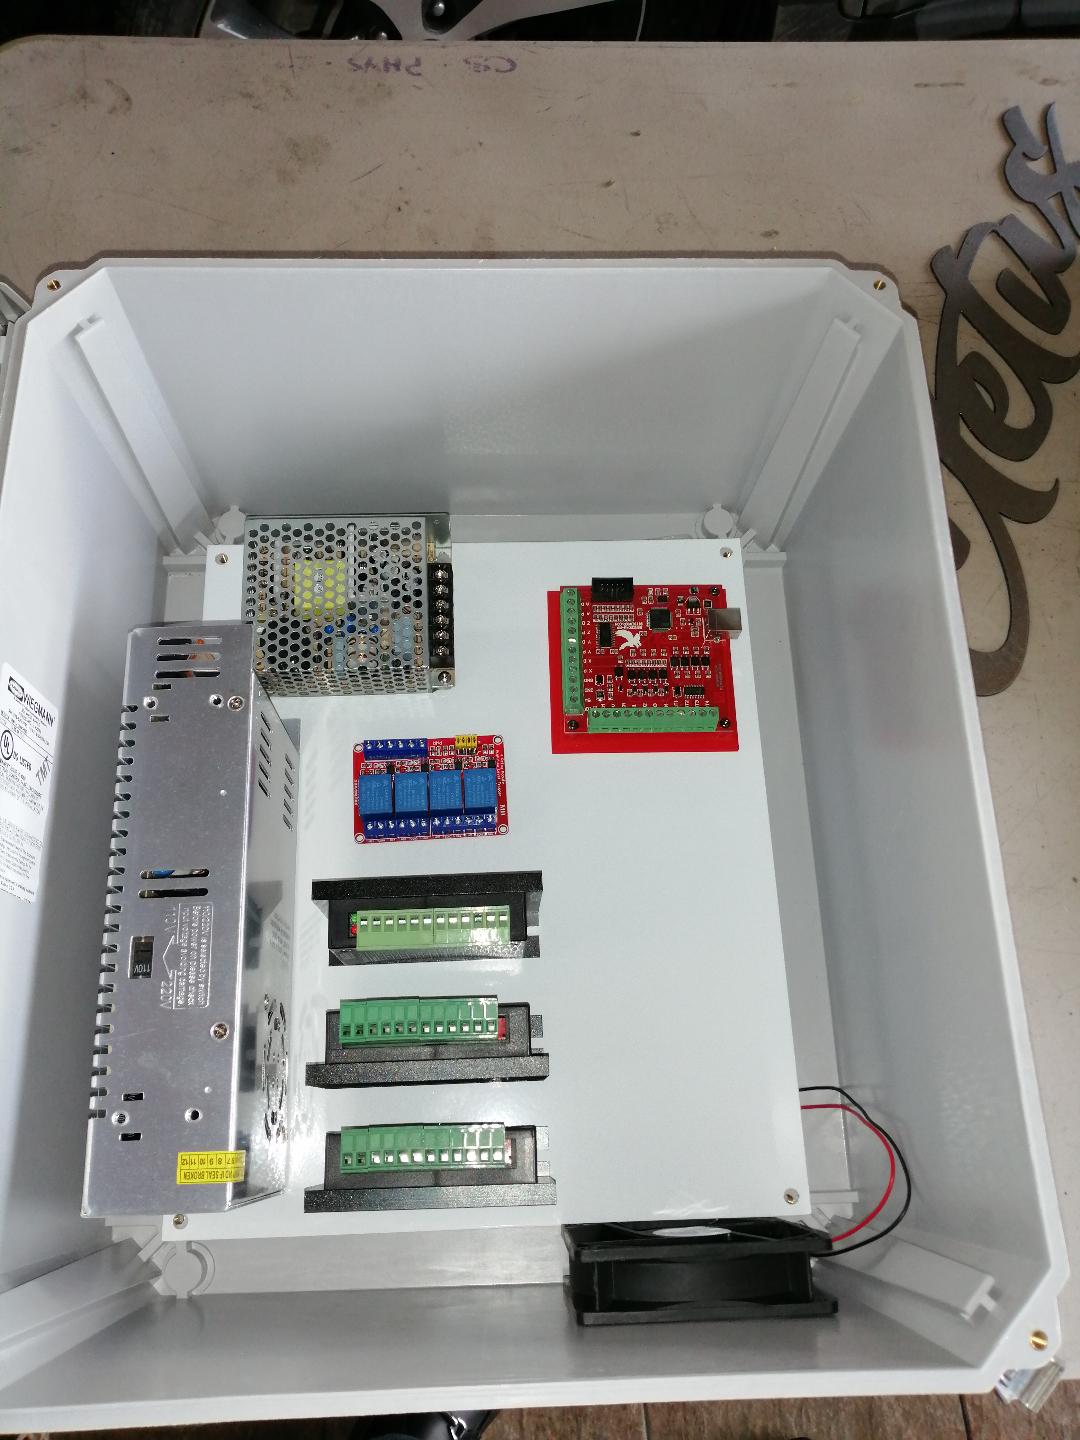
Got me a nice fiberglass electronics cabinet today. Here’s the prelim layout. Lots of room for the THC, I think.
In Z5, is the switch activated when the torch hits the workpiece (rather than being deactivated)?
The reason I ask is that the switch will become a hardstop in that case, whereas if it opens up, then the Z can float farther…
Any reason this big automotive type relay was used for the THC override? Or can I just use another one of the blue 24V relays?
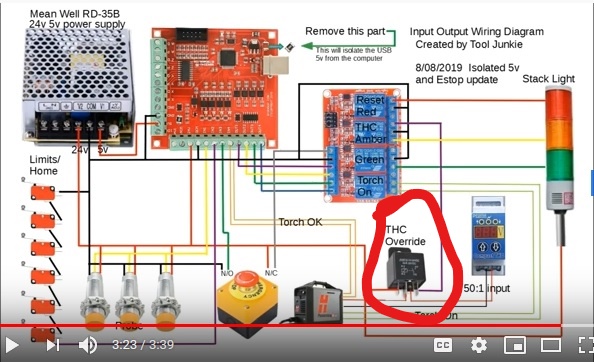
have you tried to comment on tool junkies YT video about that? he’s very responsive. He answered a couple of questions for me.
1 Like