Yee Hah! ![]()
![]() Very first cut, scrap 1/16" Aluminum, 4" square with a 2" Circle, 25 amperes 127IPM. BTW that hole in the upper right corner of the material was done with a hole-saw some time ago.
Very first cut, scrap 1/16" Aluminum, 4" square with a 2" Circle, 25 amperes 127IPM. BTW that hole in the upper right corner of the material was done with a hole-saw some time ago.
I kept waiting for the torch to lift up! 
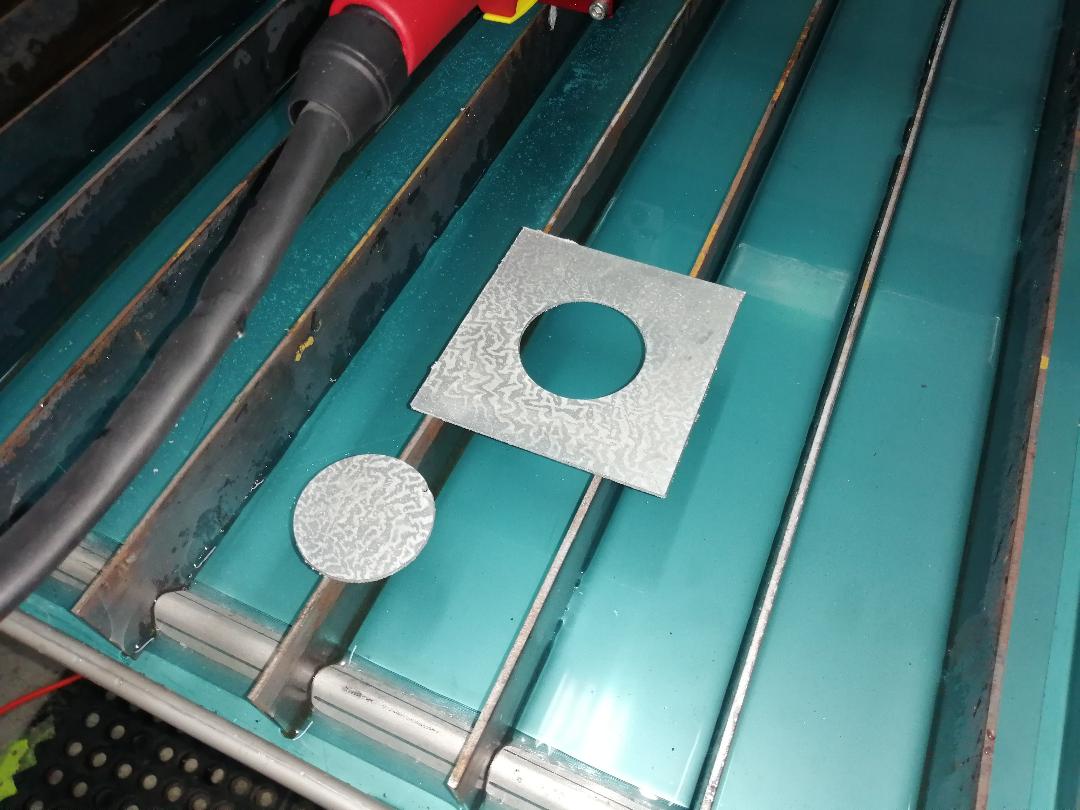
Great job getting it ready! The fluid in the table looks very cote d’azur!
Man, this thing is awesome!
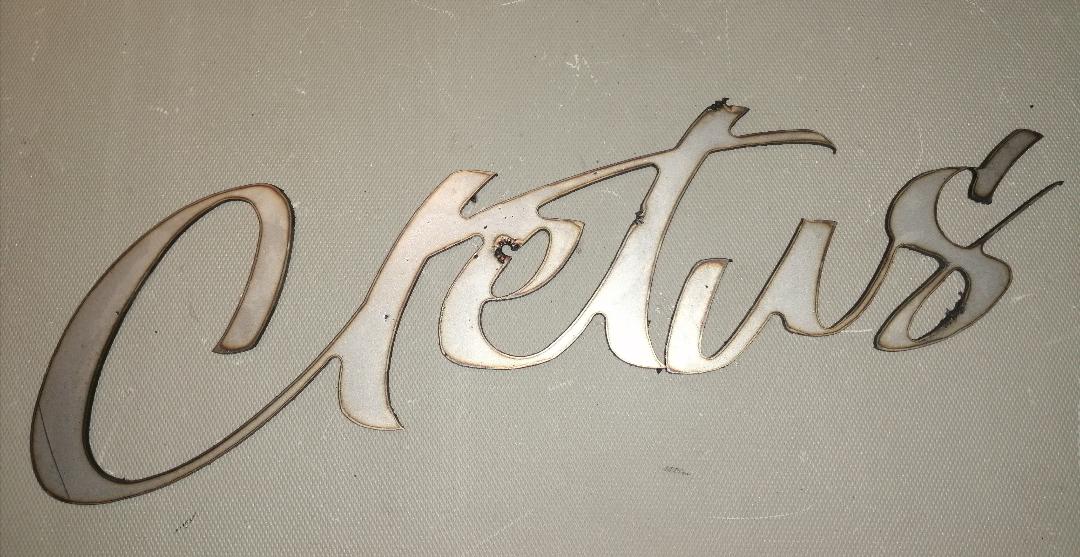
It’s alive, look out world Cletus is on the loose 
Now no metal is safe!
Have a sheet of 1/16 coming tomorrow. That’s essentially to practice on, demonstrate to people, make a couple signs,etc.
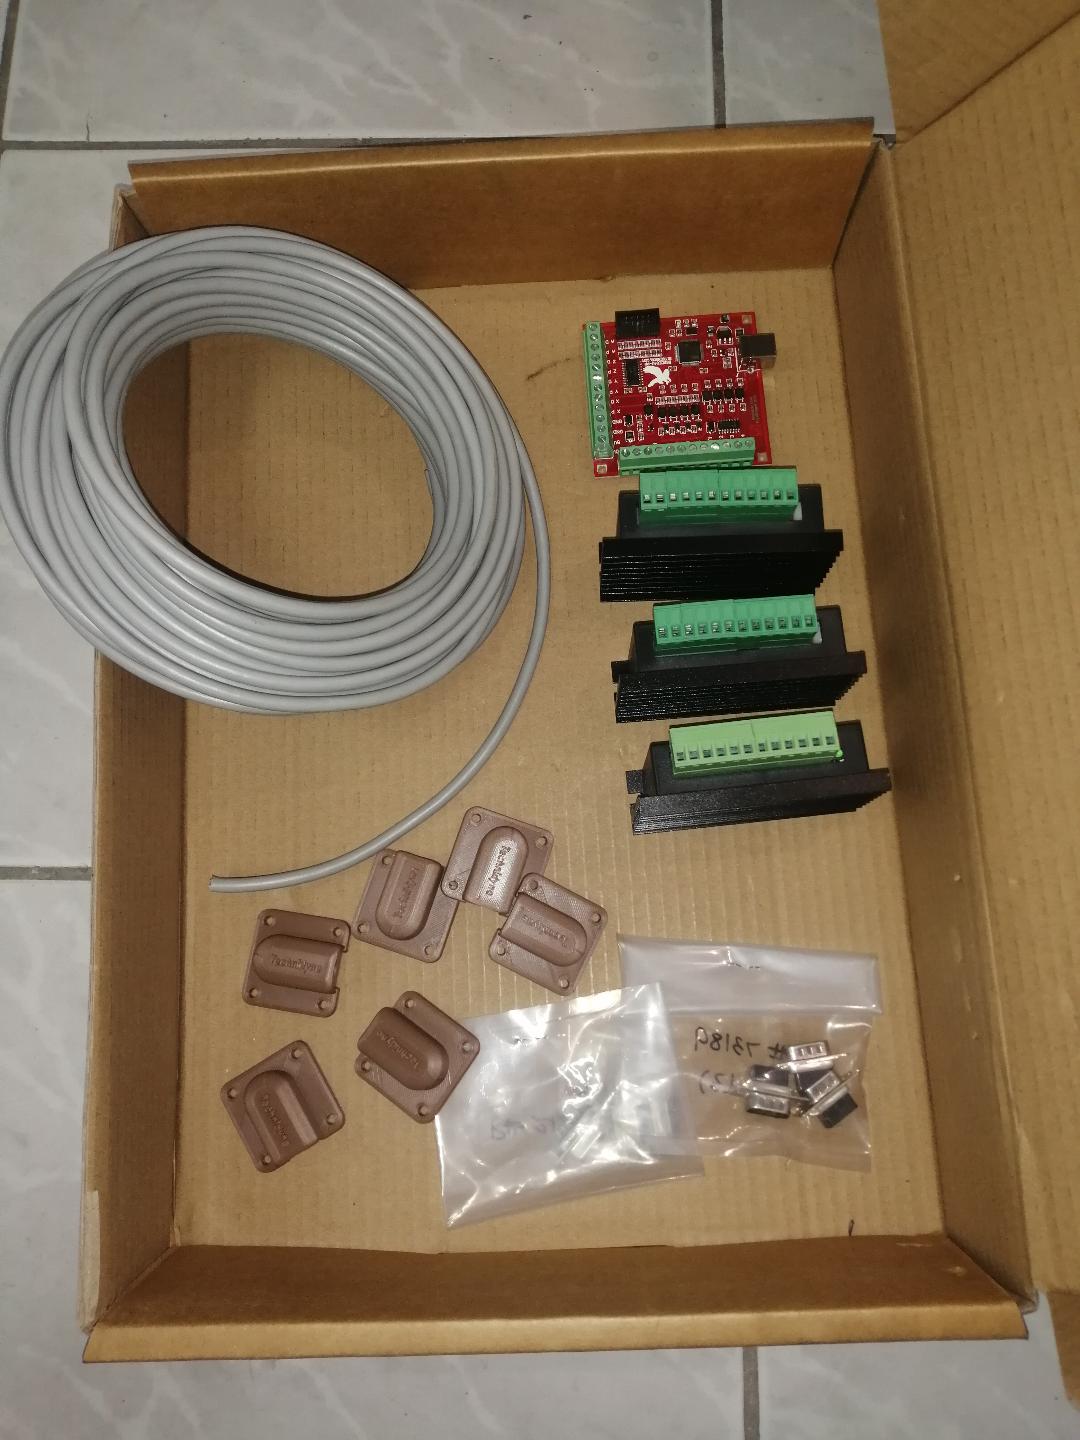
Next week we’ll roll in some 3/16 and 1/8. Also some aluminum as I’m laying out the cutouts for connectors etc for my new control box. the linear rail and NEMA 17 motor is here, also the Red-Board, and being delivered tomorrow.
dude…looking real good…all the extras and mods and prep you have done…a true Bio-Med Enginner at work…
I would highly suggest you design and install a water guard under the torch.
the splash back due to not THC will start to cause premature wear on the torch consumables.
with you contacts and resourcefulness I think a clear heat resistant polycarbonate shield would allow visability and protections from splash back.
I have to agree with toolboy, splash and blow back guard would be a very good thing to protect the torch.
Are we talking about a splash guard to protect the trigger area of the torch?
check out this thread…silicone funnel on torch head…reduces splash back.
there is even a fileshare design
https://www.langmuirsystems.com/fireshare/torch-shield-for-xfire
Ahhh, OK, Thanks!
Will try to design something elegant, in the meantime will use some saran wrap.![]()
Well, I stuck a piece of 1.5mm 316 stainless in there but I messed up in Sheetcam (did not notice I was setup for inside offset instead of outside offset) and my pierce points got loused up (the devil resides in the details). Nonetheless, the machine did its job just fine 40A 69ips cut completed in 70secs. minimal dross (messy water table)
Well yayah! Gotta have a messy table otherwise ya ain’t doin’ nothin’!
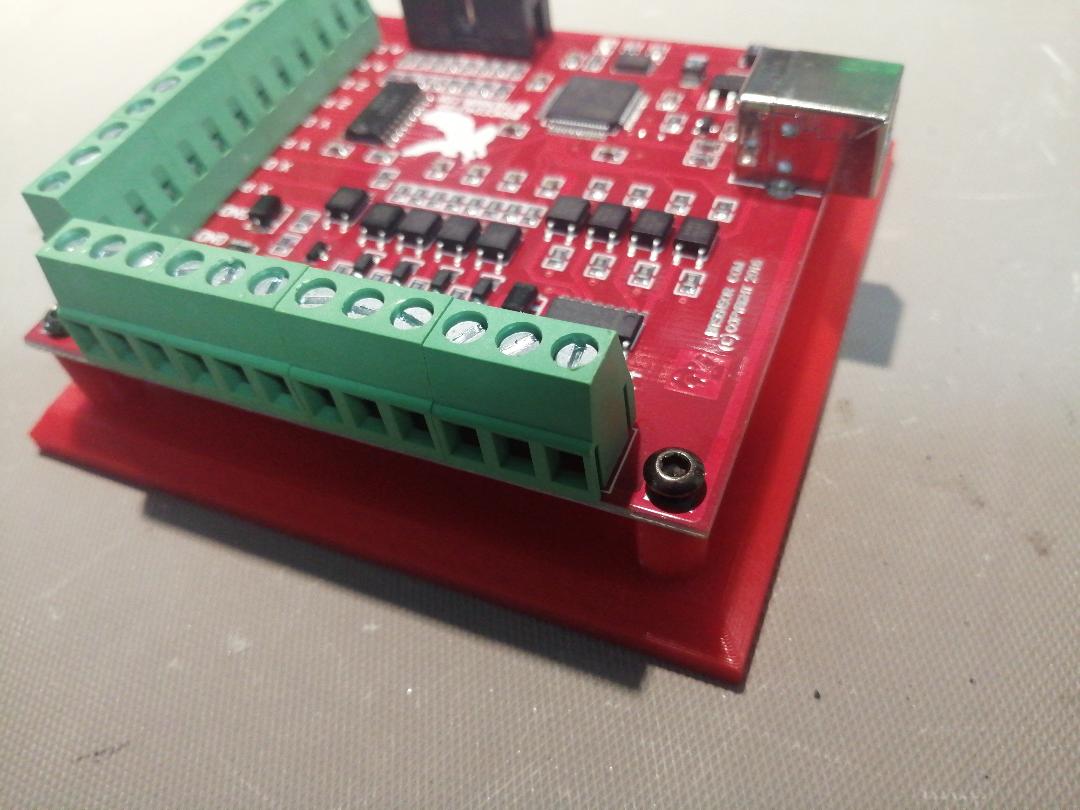
All components for my custom control system / Z-axis / THC are here or have been ordered. The THC will take a couple months to arrive and thus I will order the XL Kit from Langmuir on Tuesday. I got the Red Board today. thus, I will begin building sub-assemblies and tying it all together as stuff arrives.
I don’t know ANYBODY who has done that! … crickets…
Of course, there might be a select few who use SheetCam who might have done that… maybe at least once or twice…
Seriously, I have found that if you discipline yourself to always edit the start points (even if you don’t think you need to) you’ll discover the occasional mess up. I mean, really, start points should never be left to a programmer to select. Ya know what I mean?
I’m in the tropics, so cleanup is easy, Let the water down after cutting, and let it dry overnight. Then the ShopVac can eat the dust and crud for breakfast!
Oh, I hear you ![]()
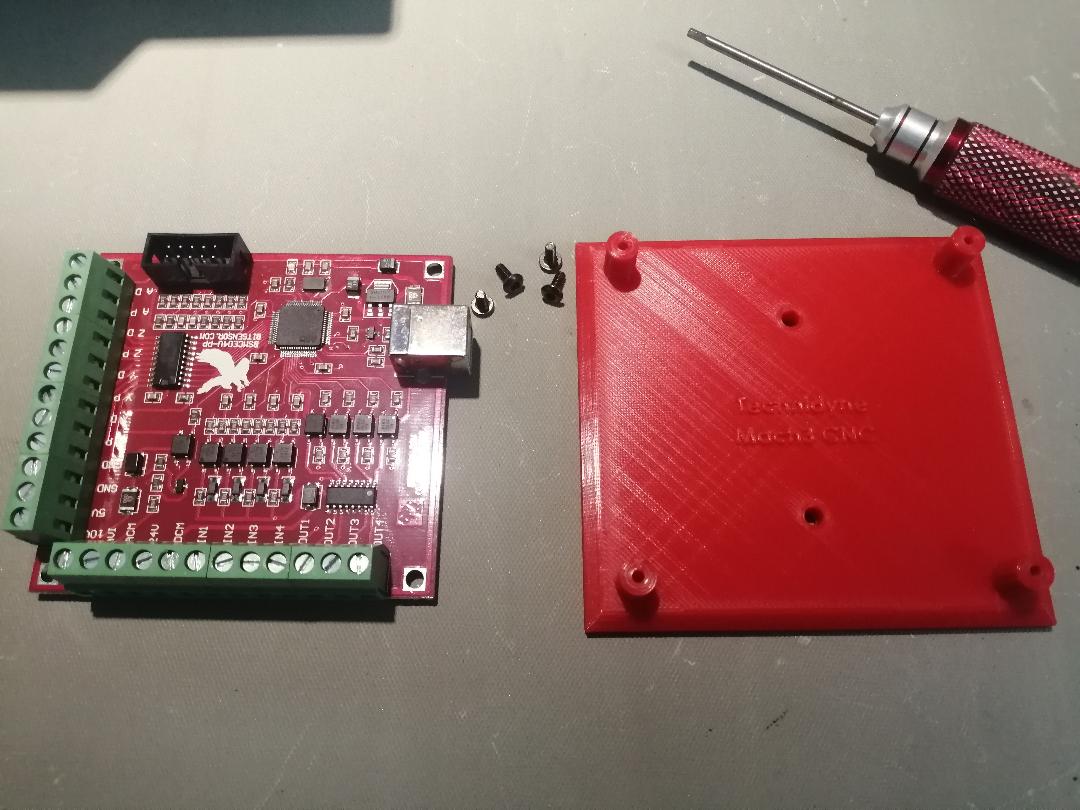
Very professional looking.
While you have your board easy to mod, it would be a good time to jumper the IN1-IN4 resistors with a lower value so your inputs will respond to 5V levels (820ohm 805 sized resistors work well). Unless you’re planning on using 24V logic. CrossFire uses 5V torch relay on OUT4, but didn’t update their board for 5V IN making it an inconvenient hybrid…
Thanks, but Running 24V logic on this build.