Let the games begin! The adrenaline is pumping now kids!
6 Likes
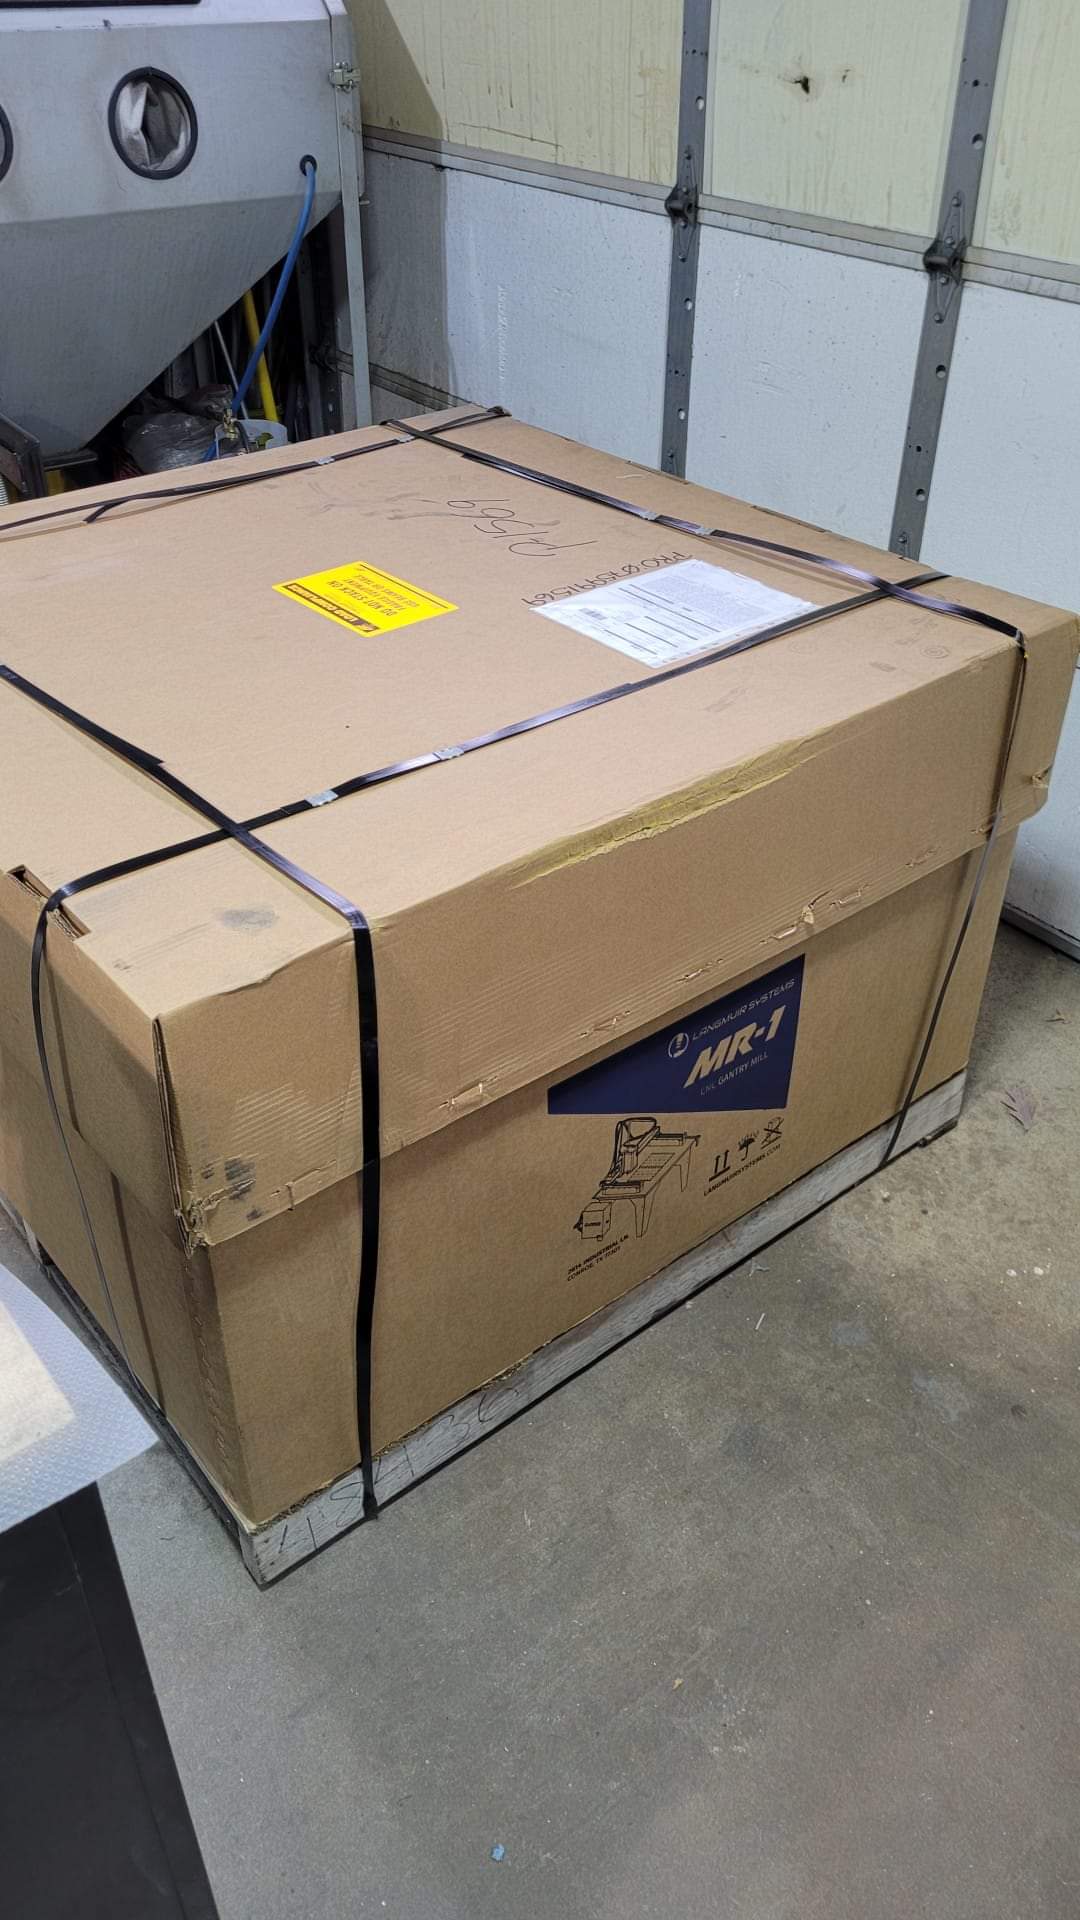
The shipping box is in great condition.
1 Like
Looks great! ![]()
![]()
![]()
1 Like
Where’s the location? Keep us posted. Hungry for MR1 Content.
1 Like
I’m in Milwaukee Wisconsin.
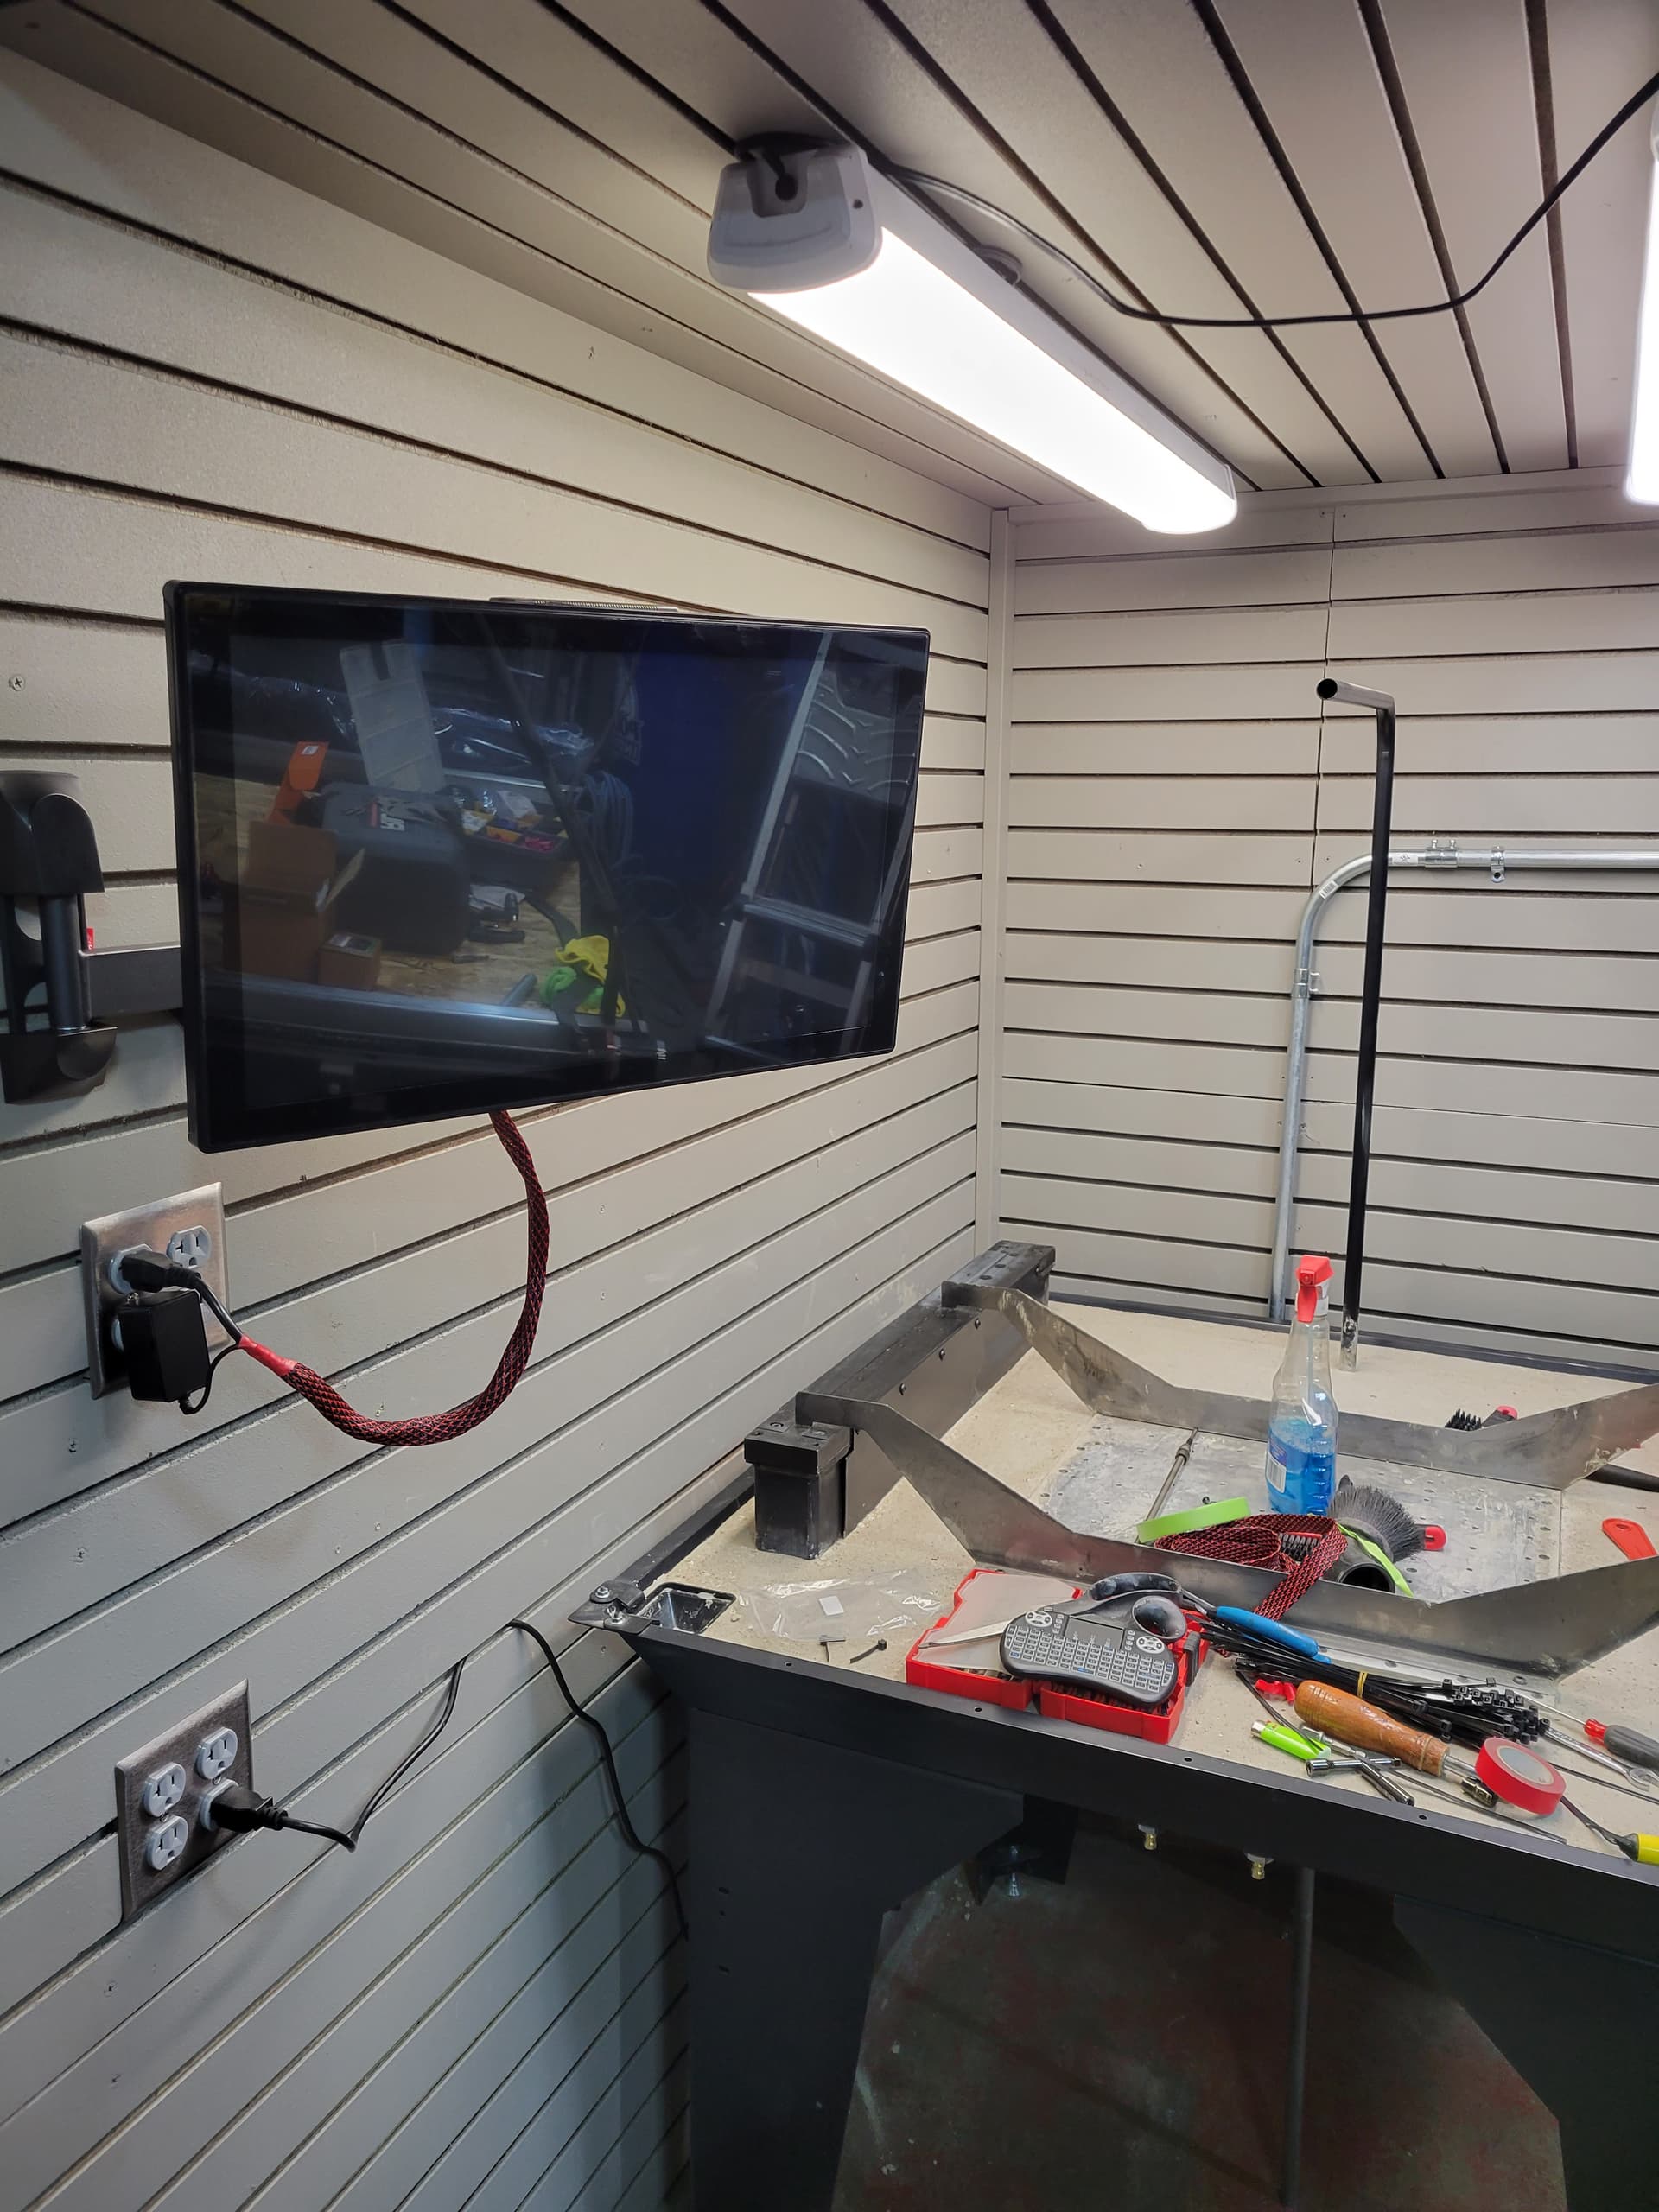
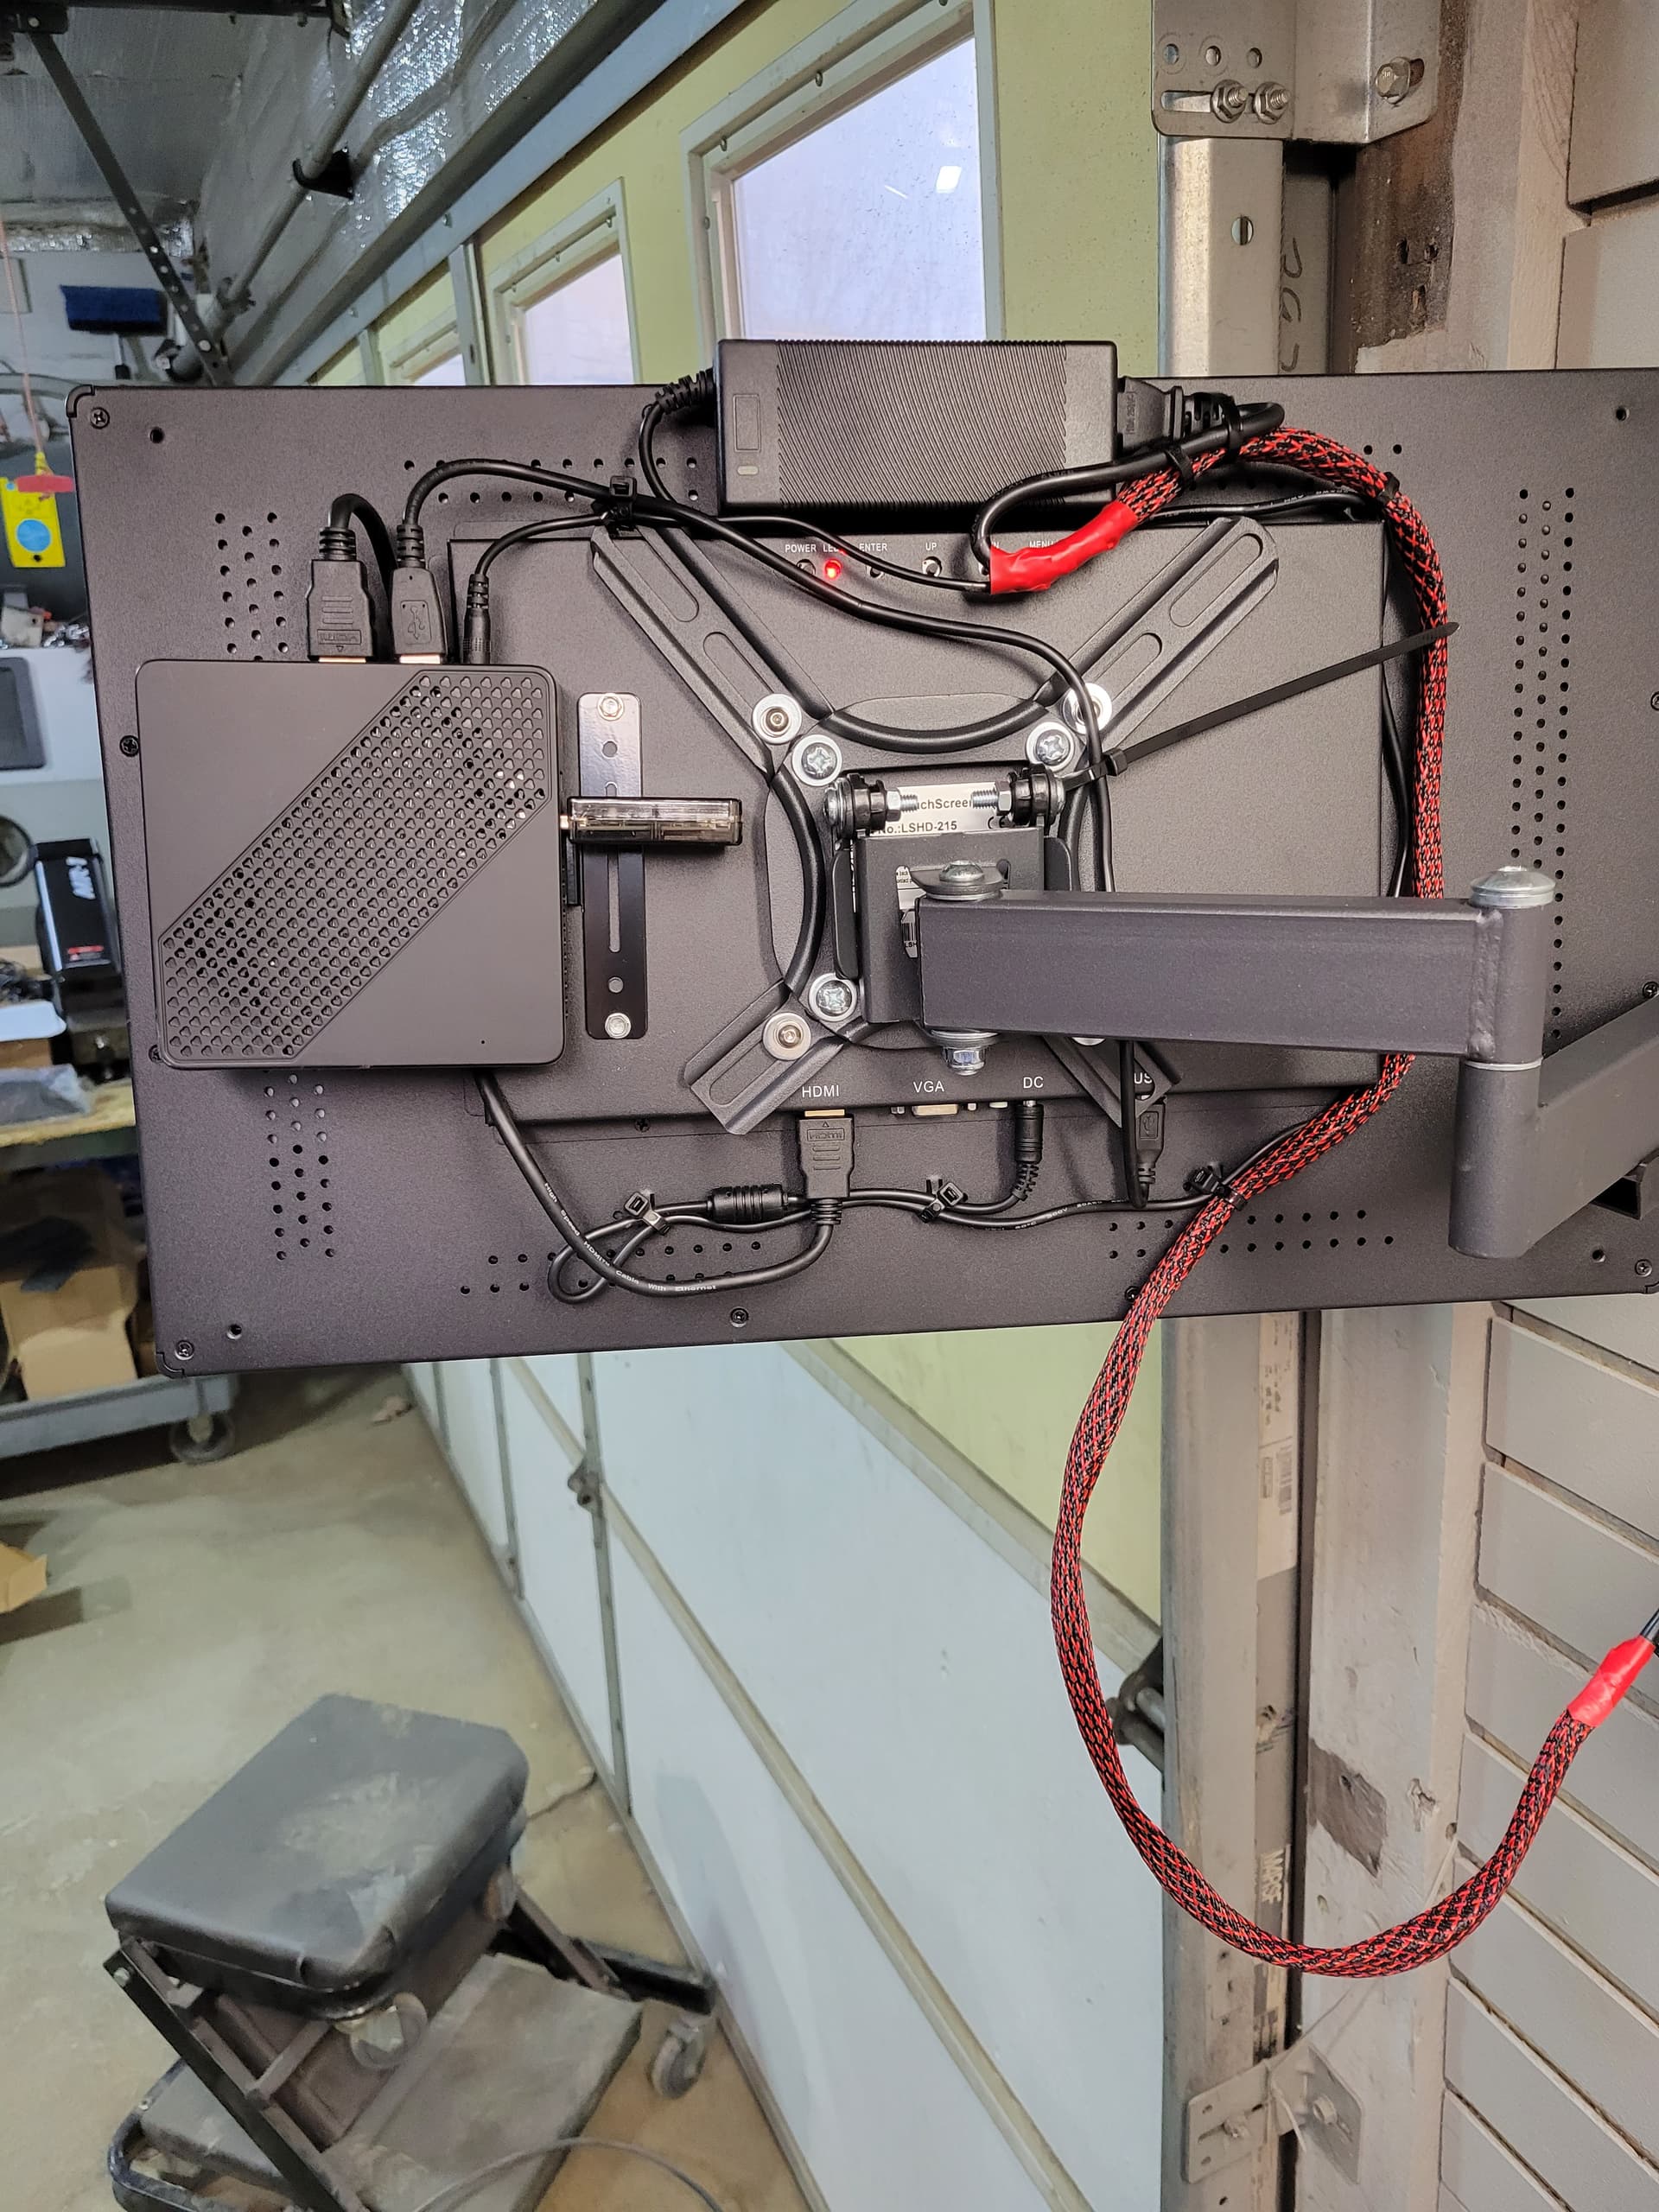
Since I have to wait for concrete to cure I decided to get started on the electronics. Everything is custom due to having it against the wall. I moved the electronic box and mounted it to the wall. And used a TV mount for the monitor. I have a left over gantry from one of my 3d printers that I’m going to end up mounting on a 4040 extrusion. And then mounting the TV mount to that. Then I can completely get it out of the way. I might even make a little garage for the monitor to park in😂
3 Likes
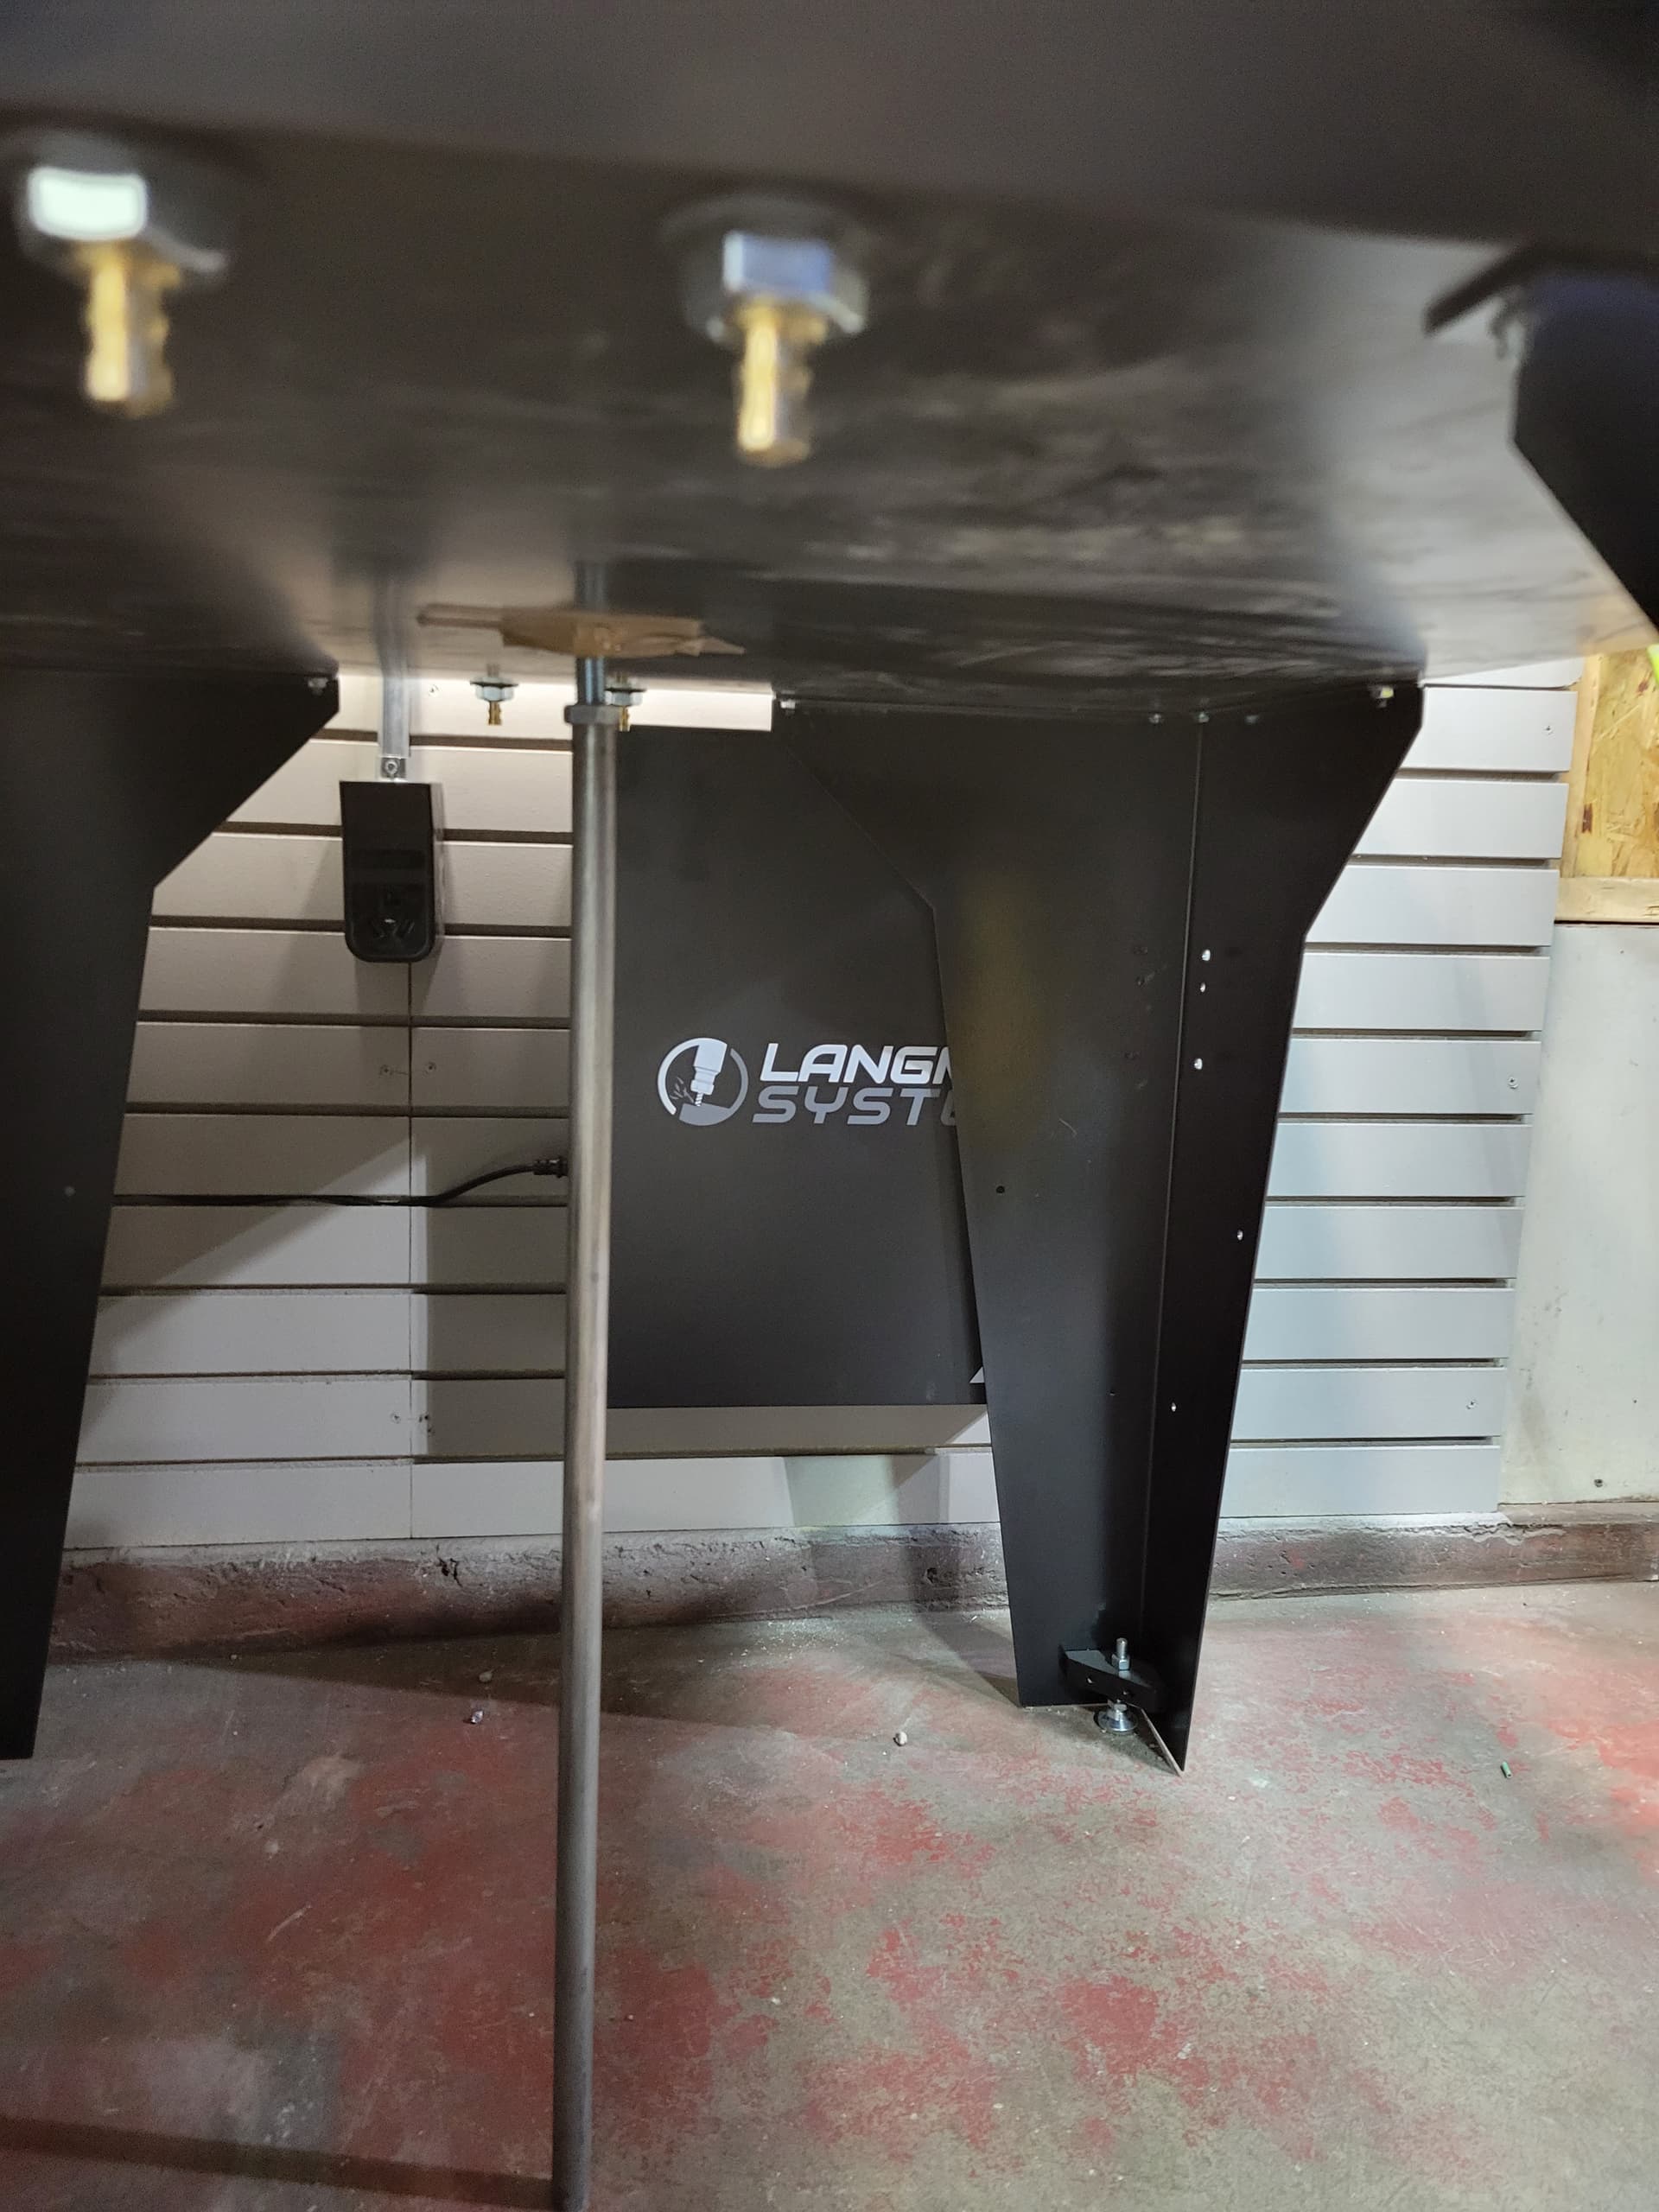
And yes the legs of the machine were scratched really bad from shipping. Hopefully they start wrapping them better for future customers. I have touch up paint so I’m not concerned about it.
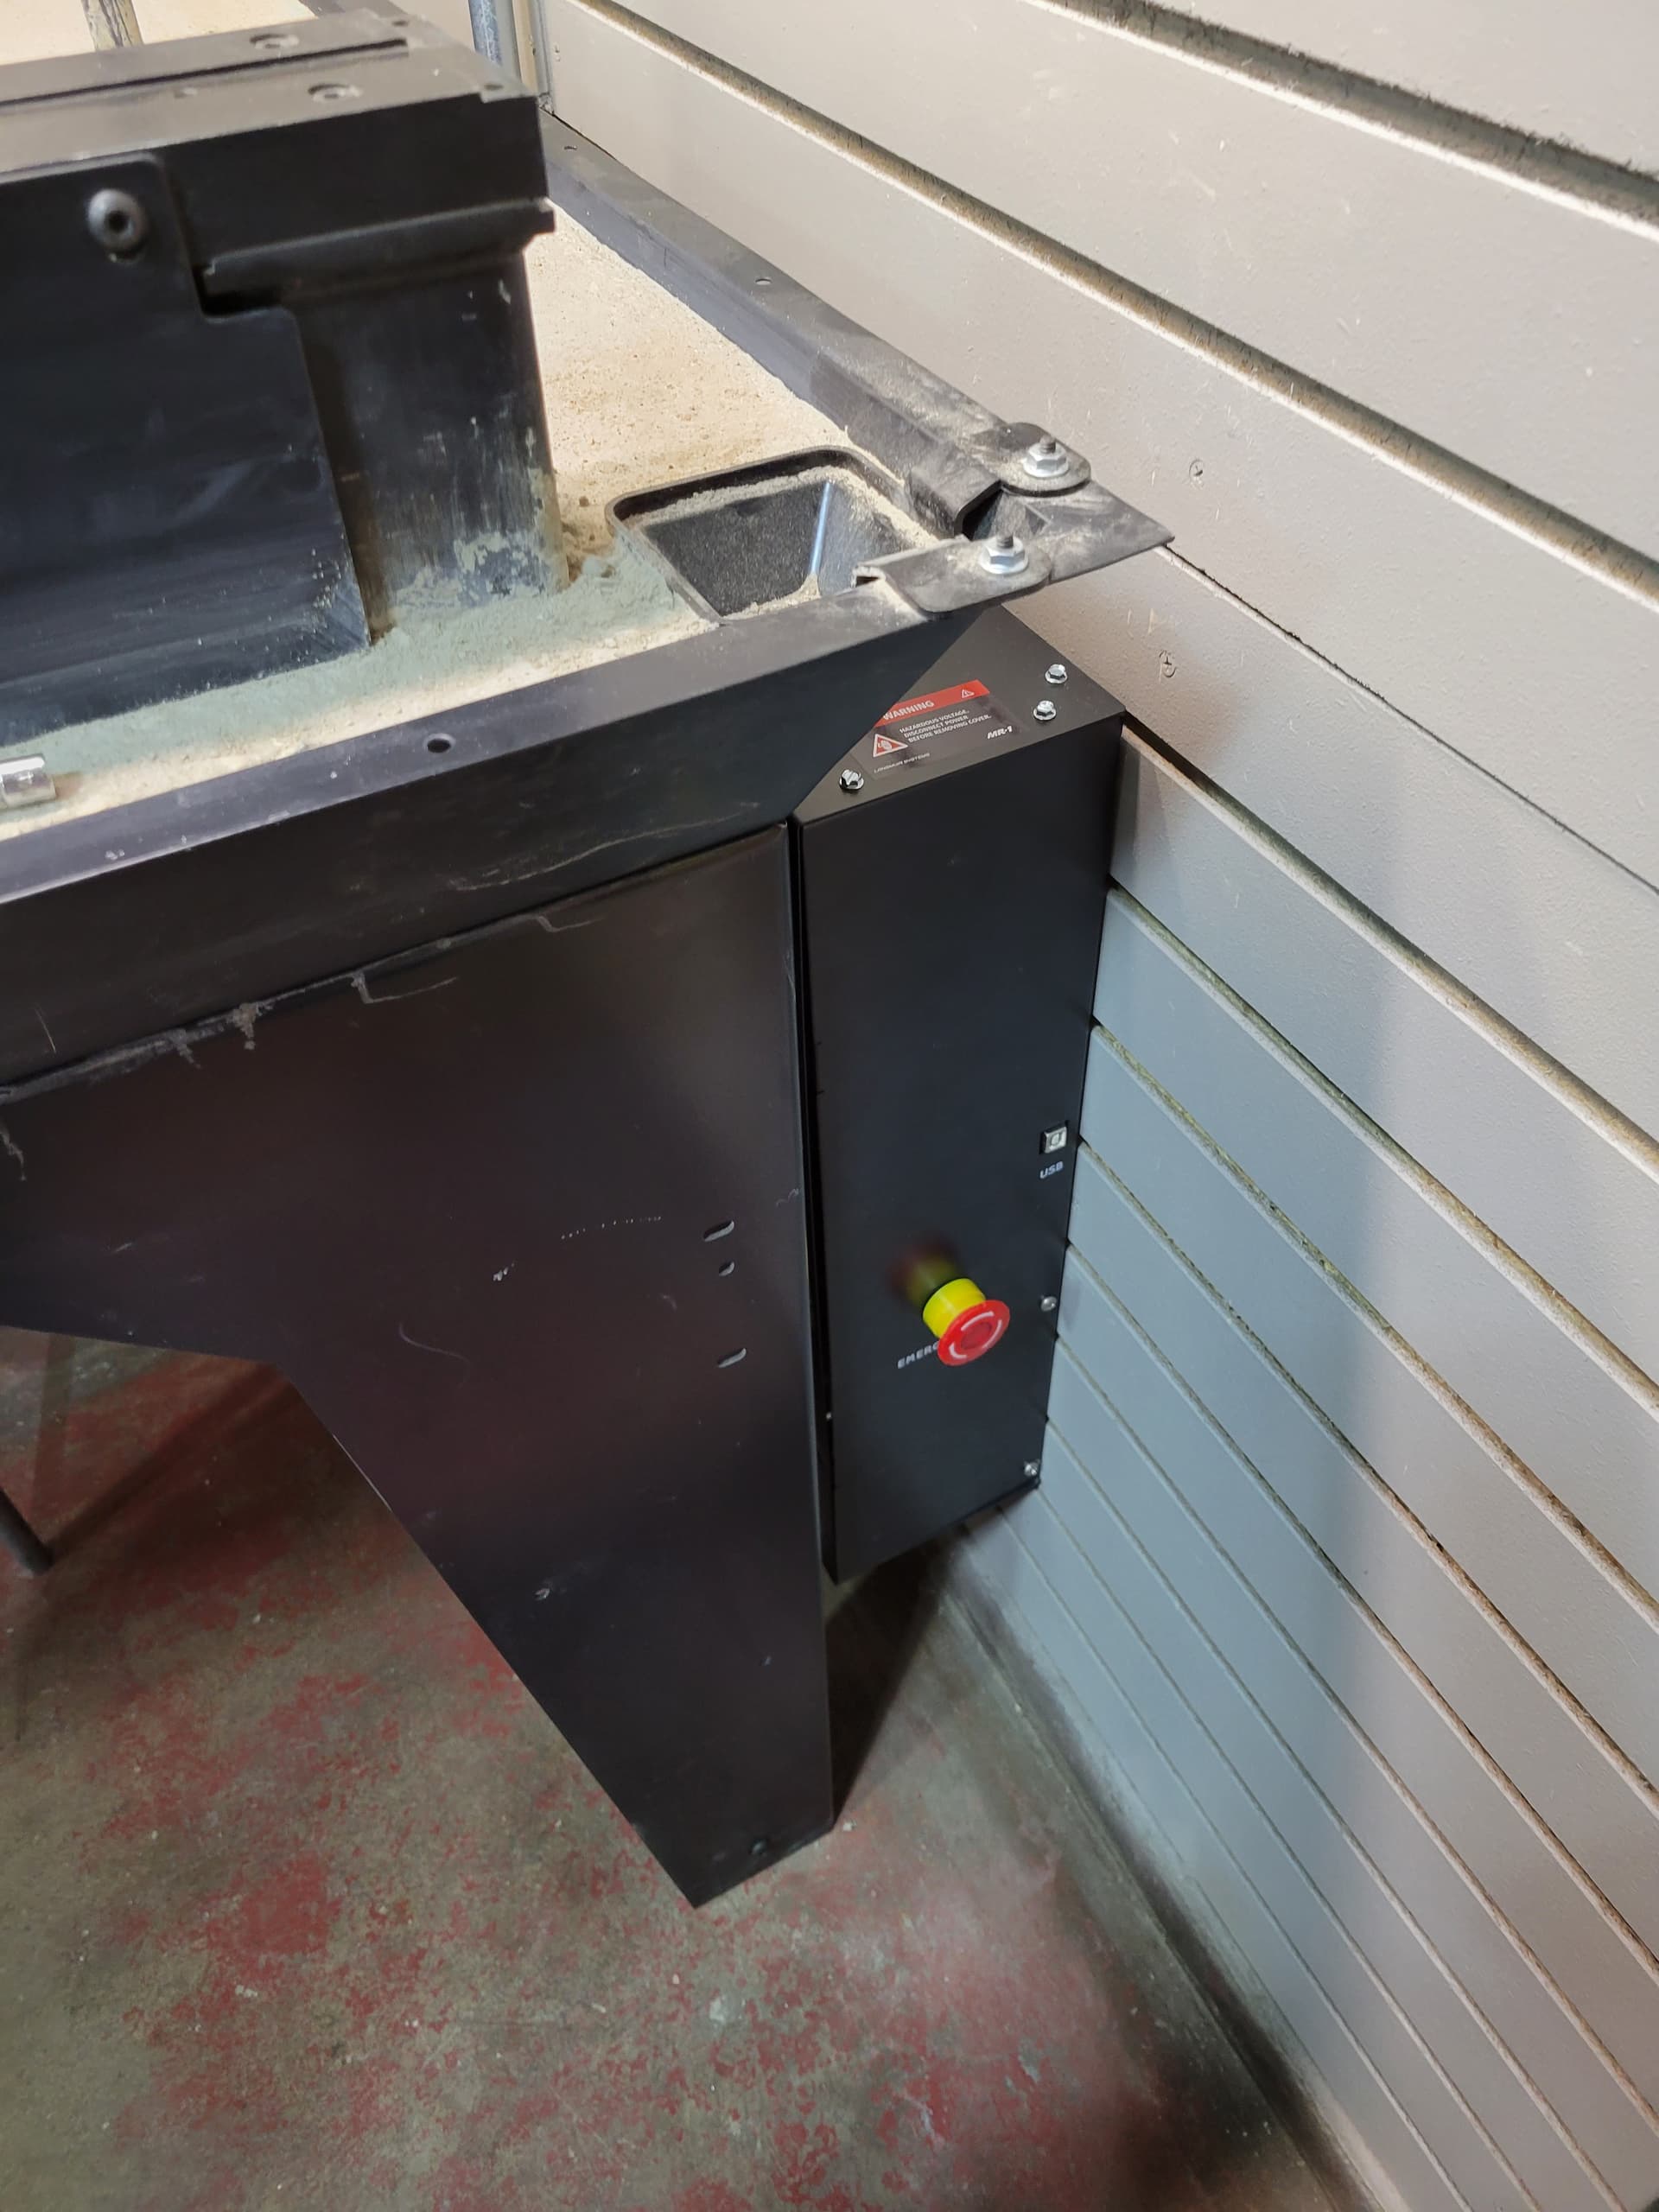
My control box had lots of scratches on the removeable cover and I picked my MR-1 up in person. Looks like whoever put the drivers in the box laid the cover on top of some other open control box or similar bare sheetmetal parts and it got slid around a few times. It was in a plastic bag and cardboard box, out of my big MR-1 box. Only blemishes I have found on anything in my kit. Like you show, it will be out of the way and under the mill, so nobody will probably ever see or notice the scratches, so they don’t bother me. The scratches are very fine, so you pretty much only notice the large Langmuir Systems logo anyway. No points taken away for this minor cosmetic flaw. Still amazing how well they have executed the overall packaging and presentation of the items in the big box.
3 Likes
I agree, this thing made it 1000 miles and only had a few scratches. They were definitely scratched in the crate from moving around.
1 Like
Do you have remote switches or plugs since you can’t access the ones on the control box?
Yes I bought some remote switches. I’m only going to use the one for the control box. I’m going to rewire the panel and cut new holes to put the switches where I can reach them. I
1 Like
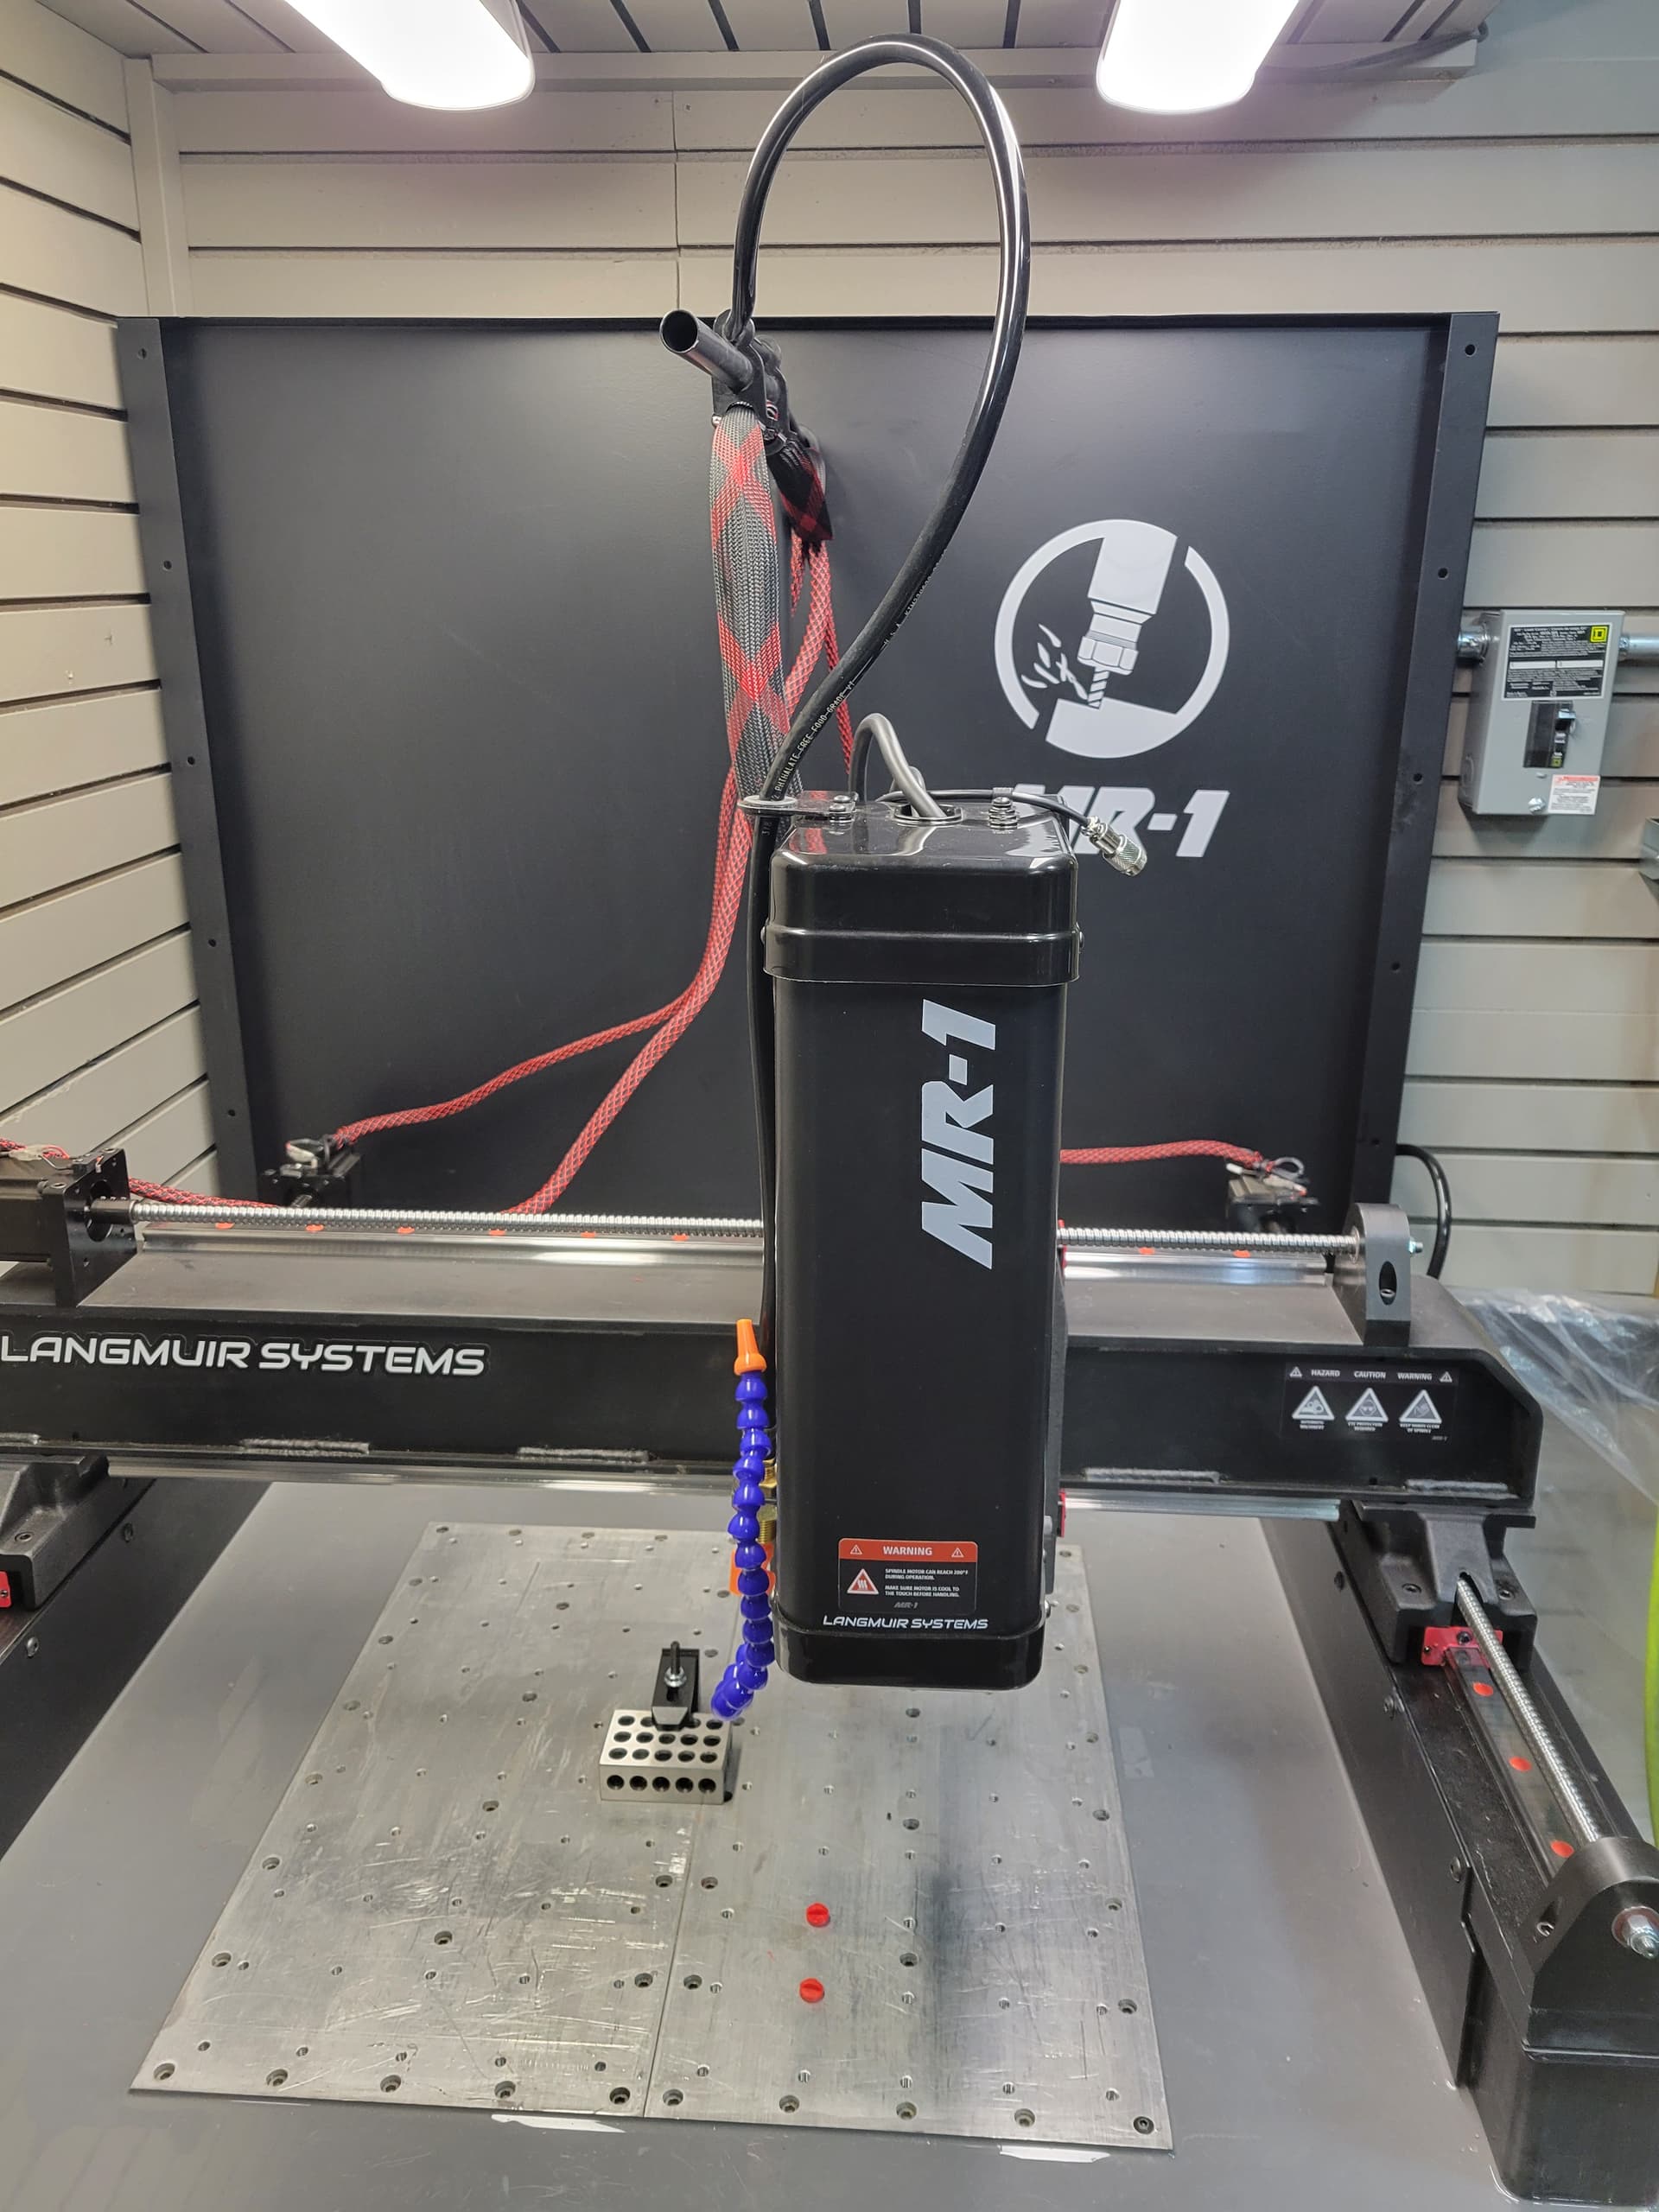
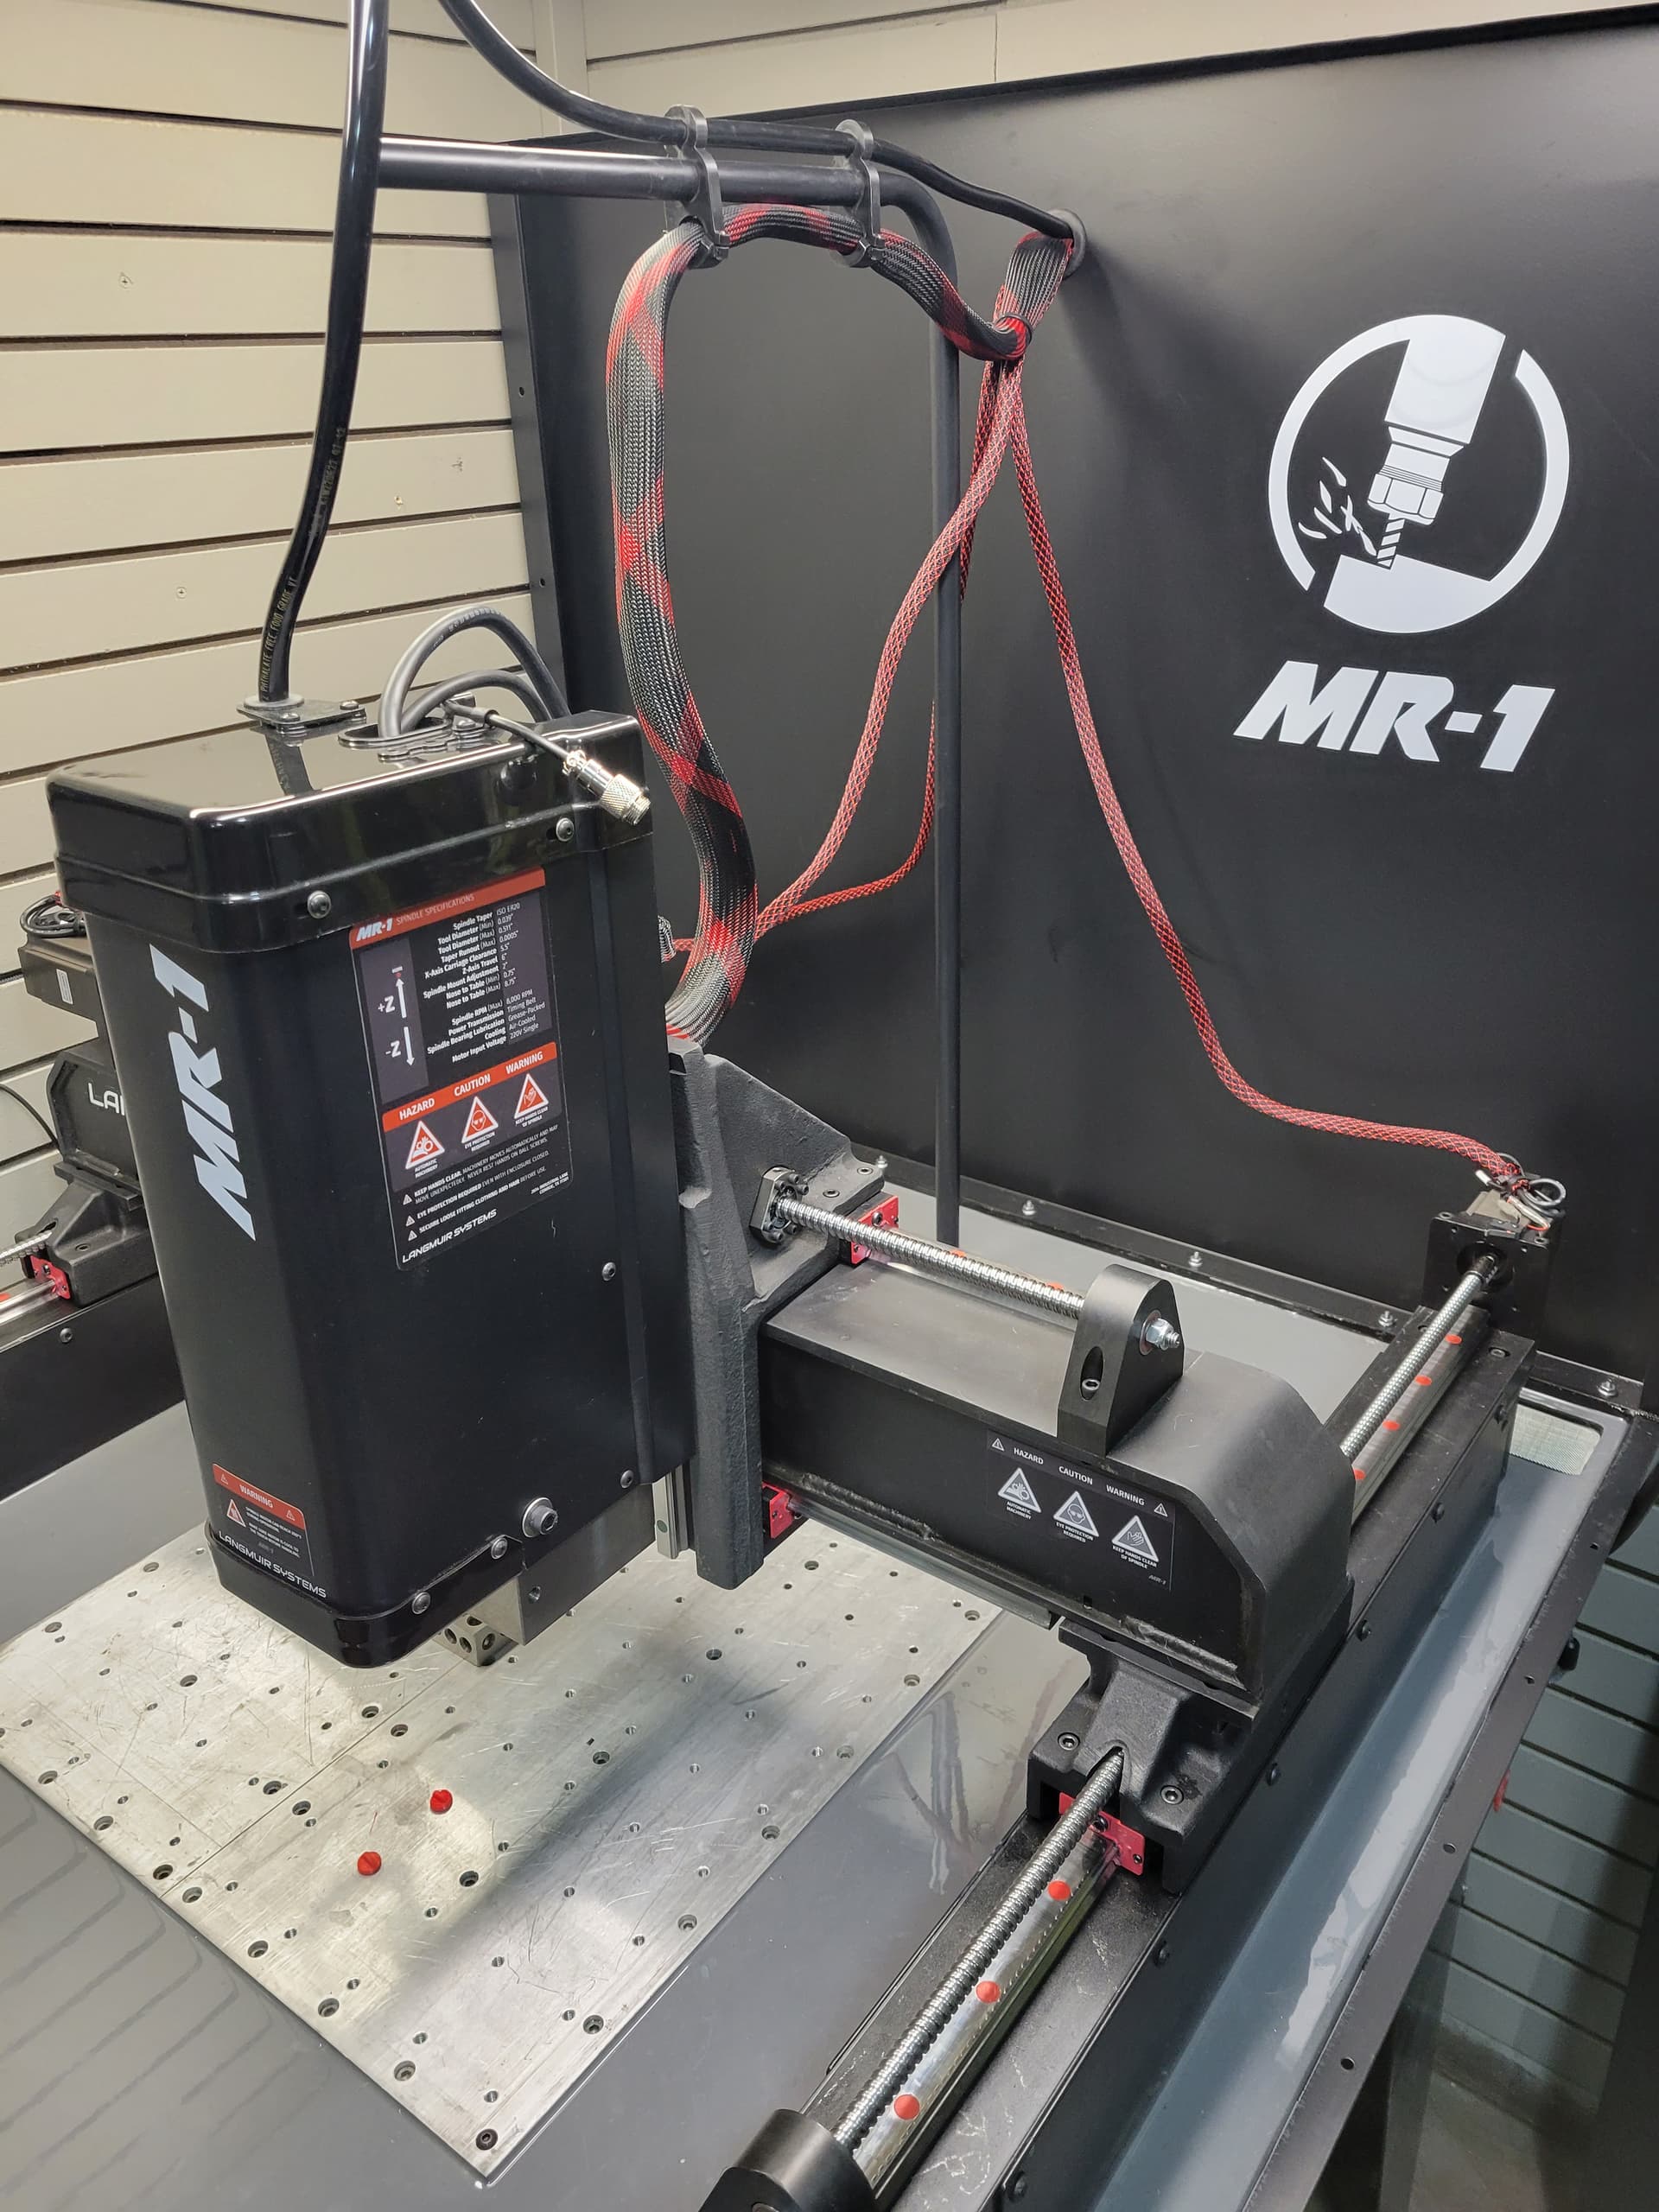
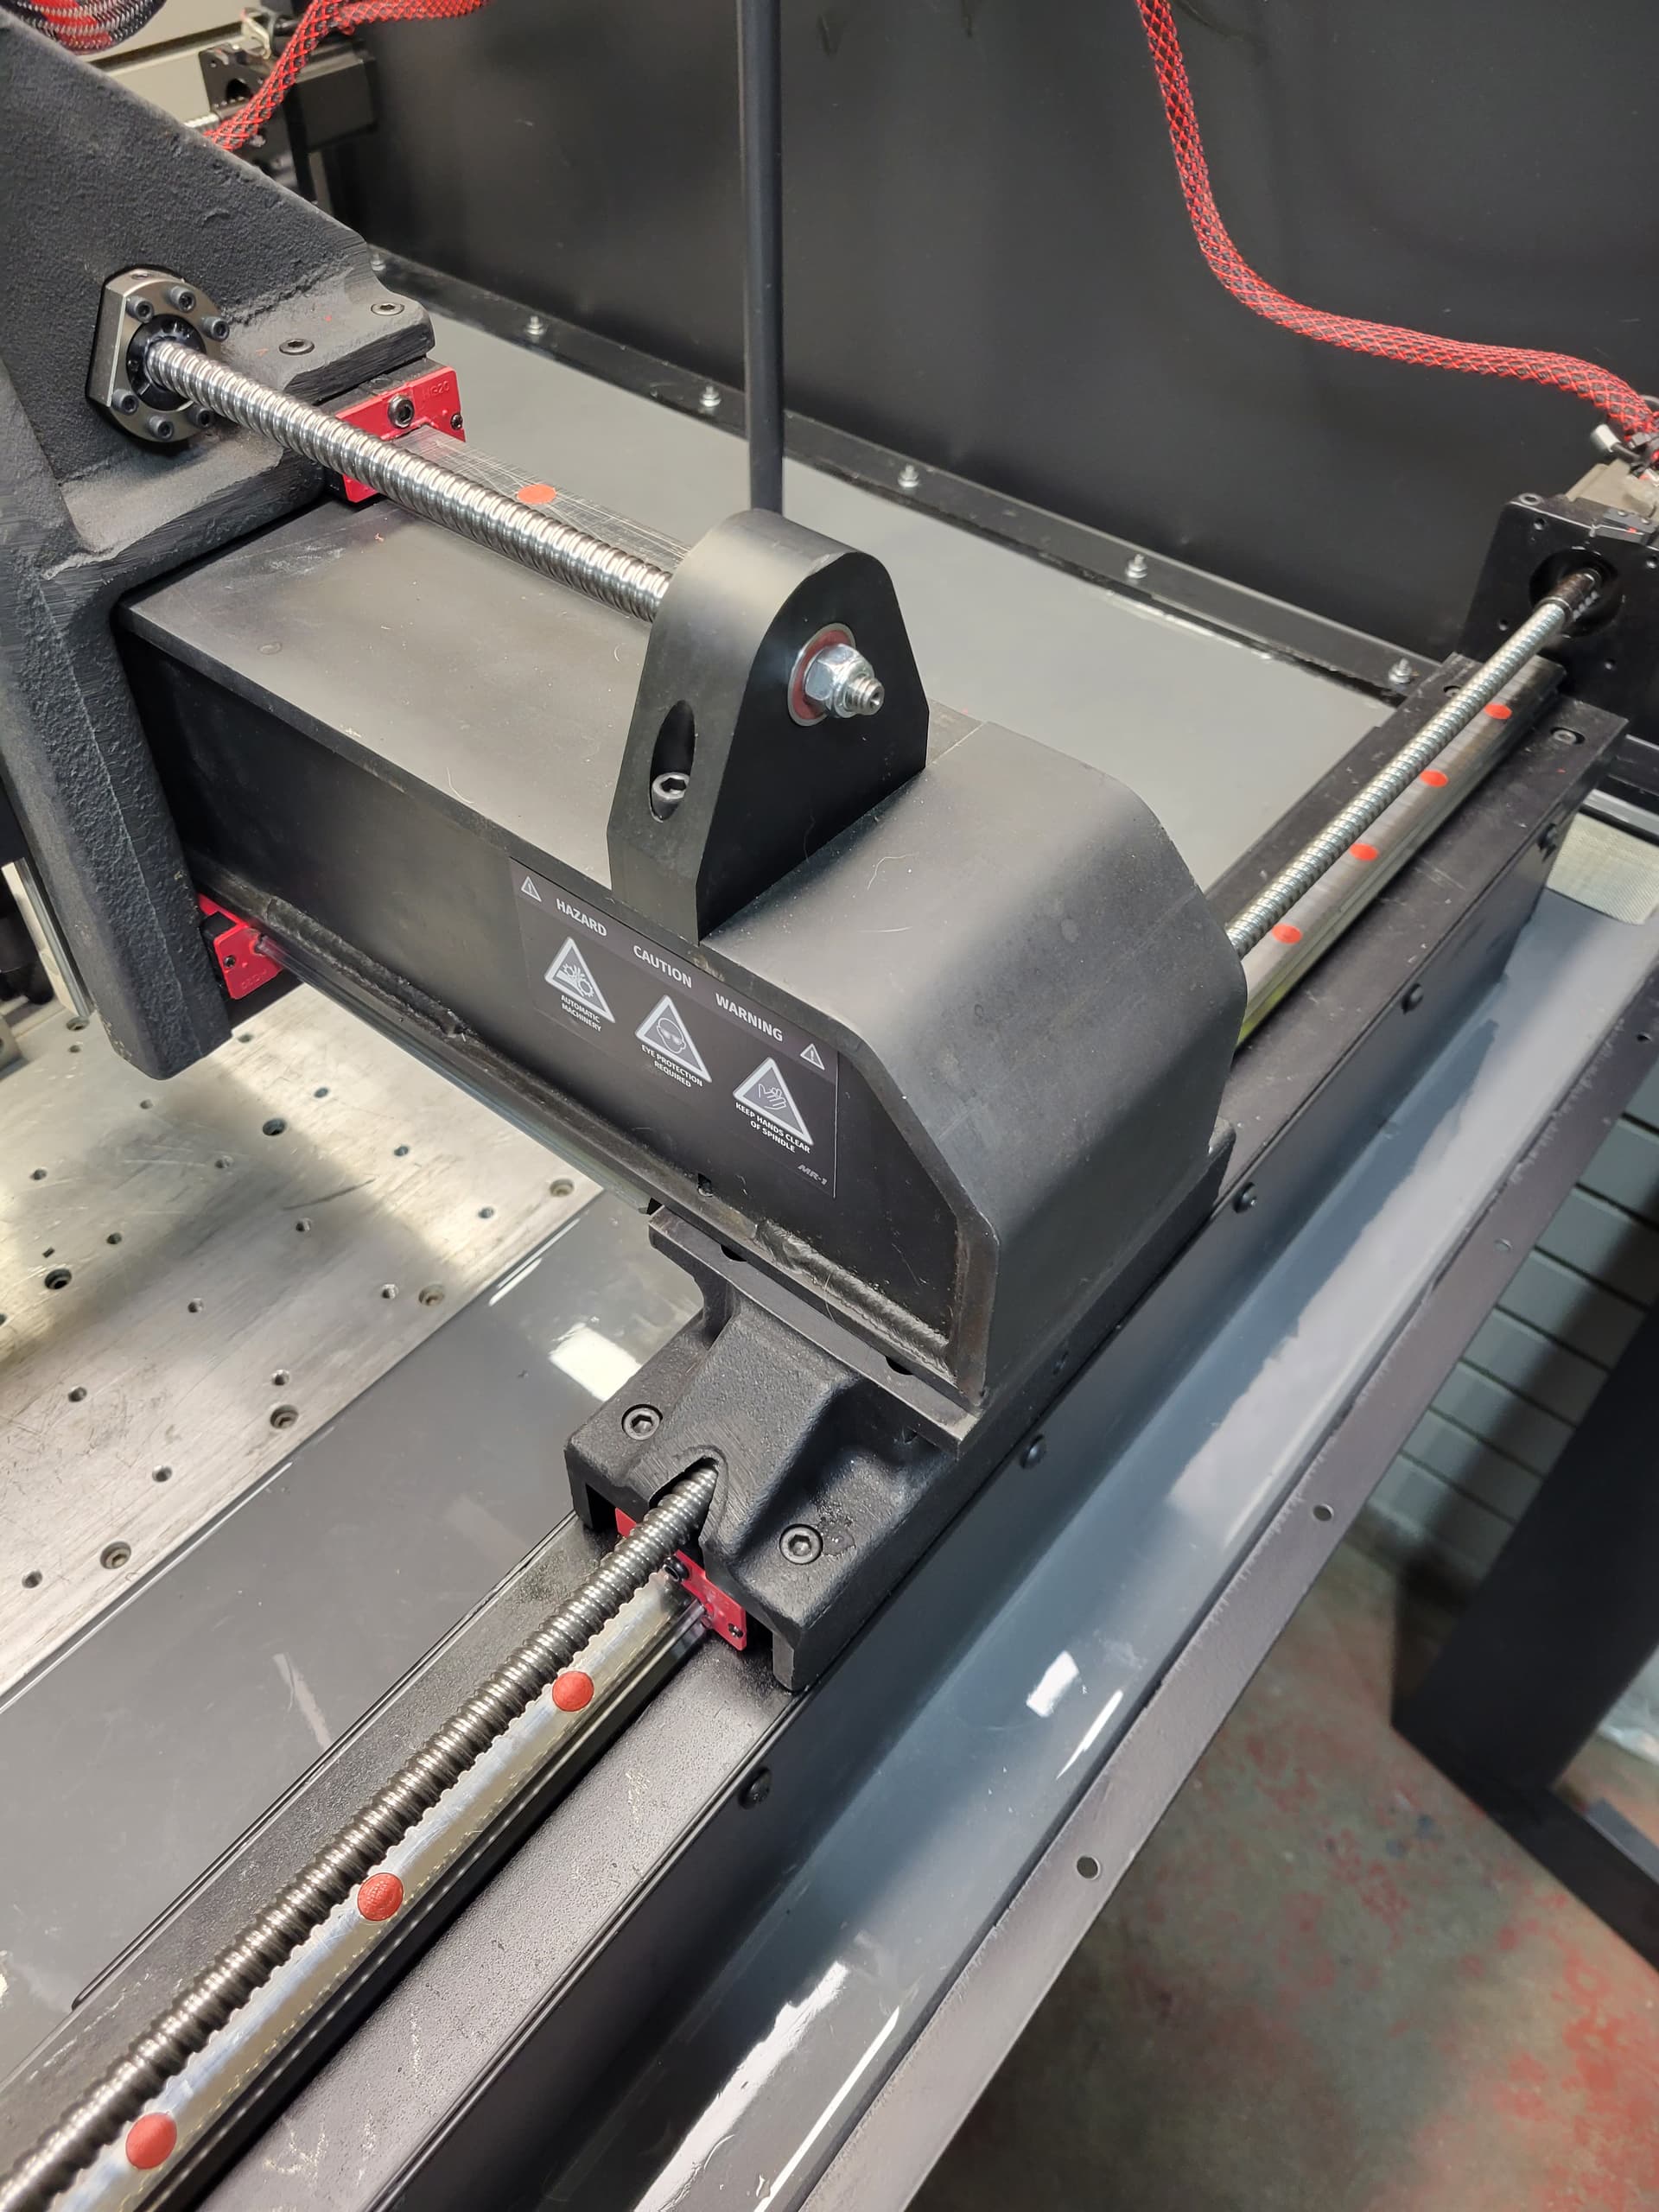
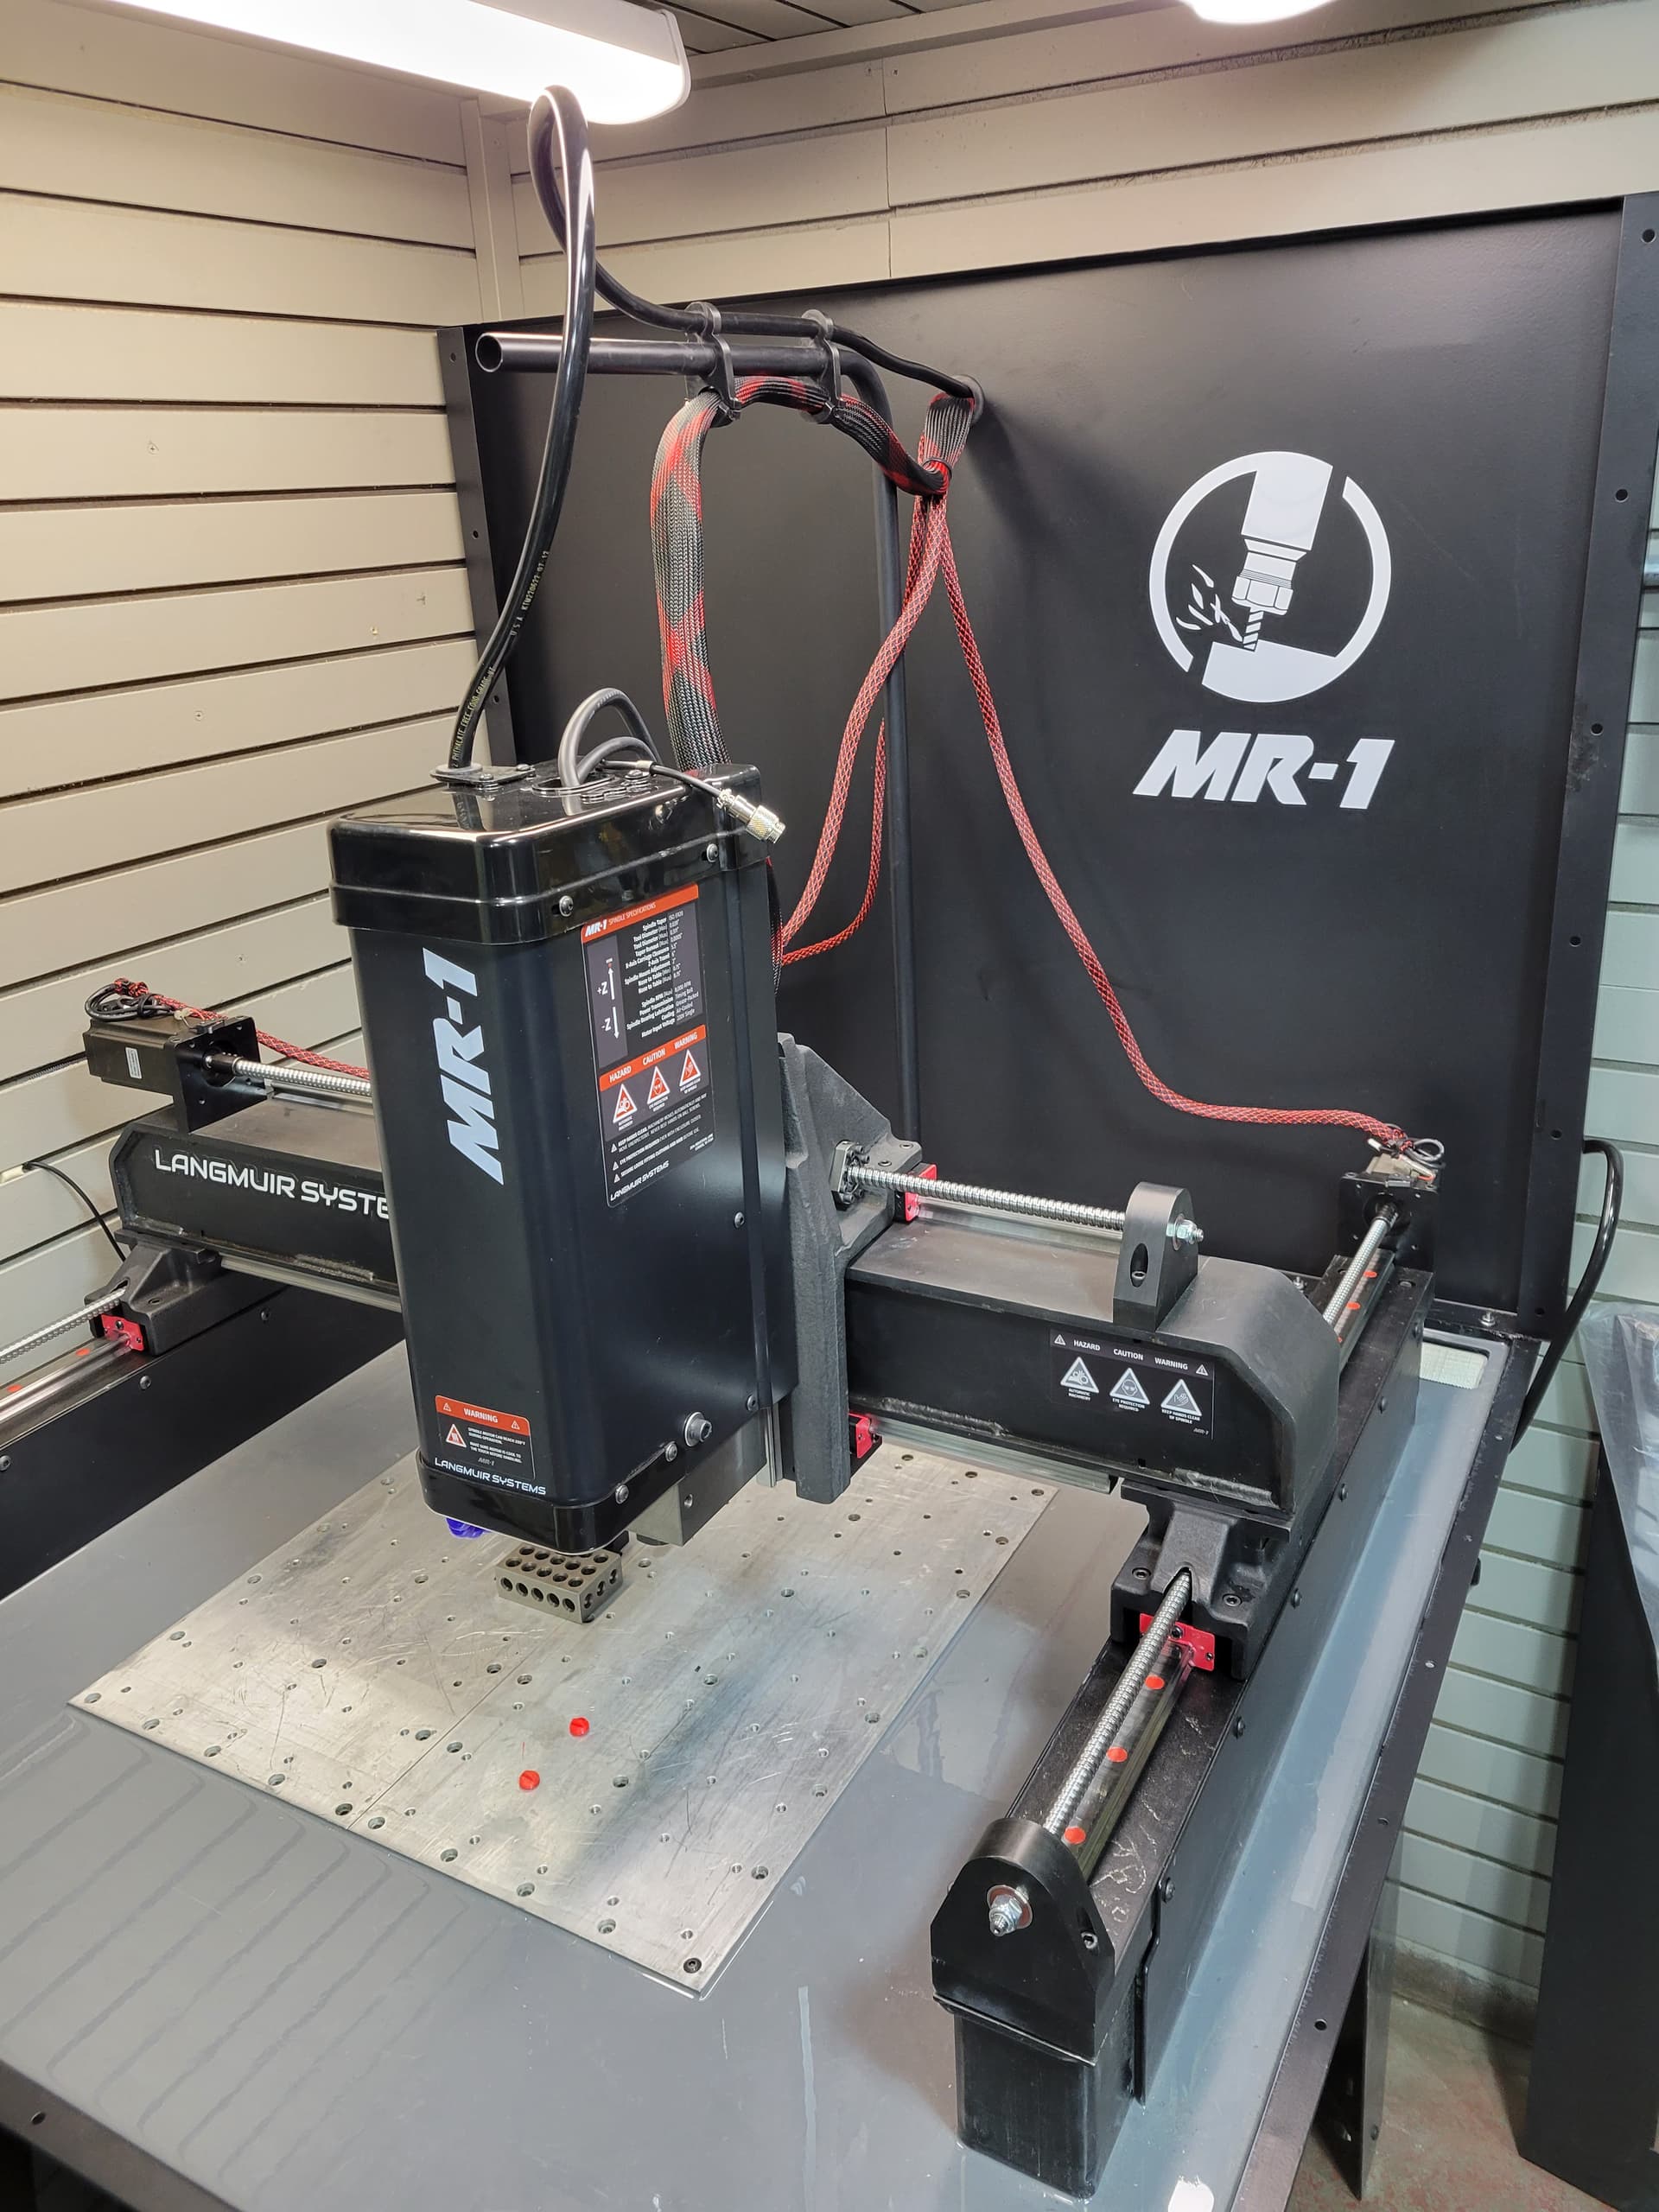
Working on some cable management tonight. 3d printed some mounts for the z cables and flood tube.
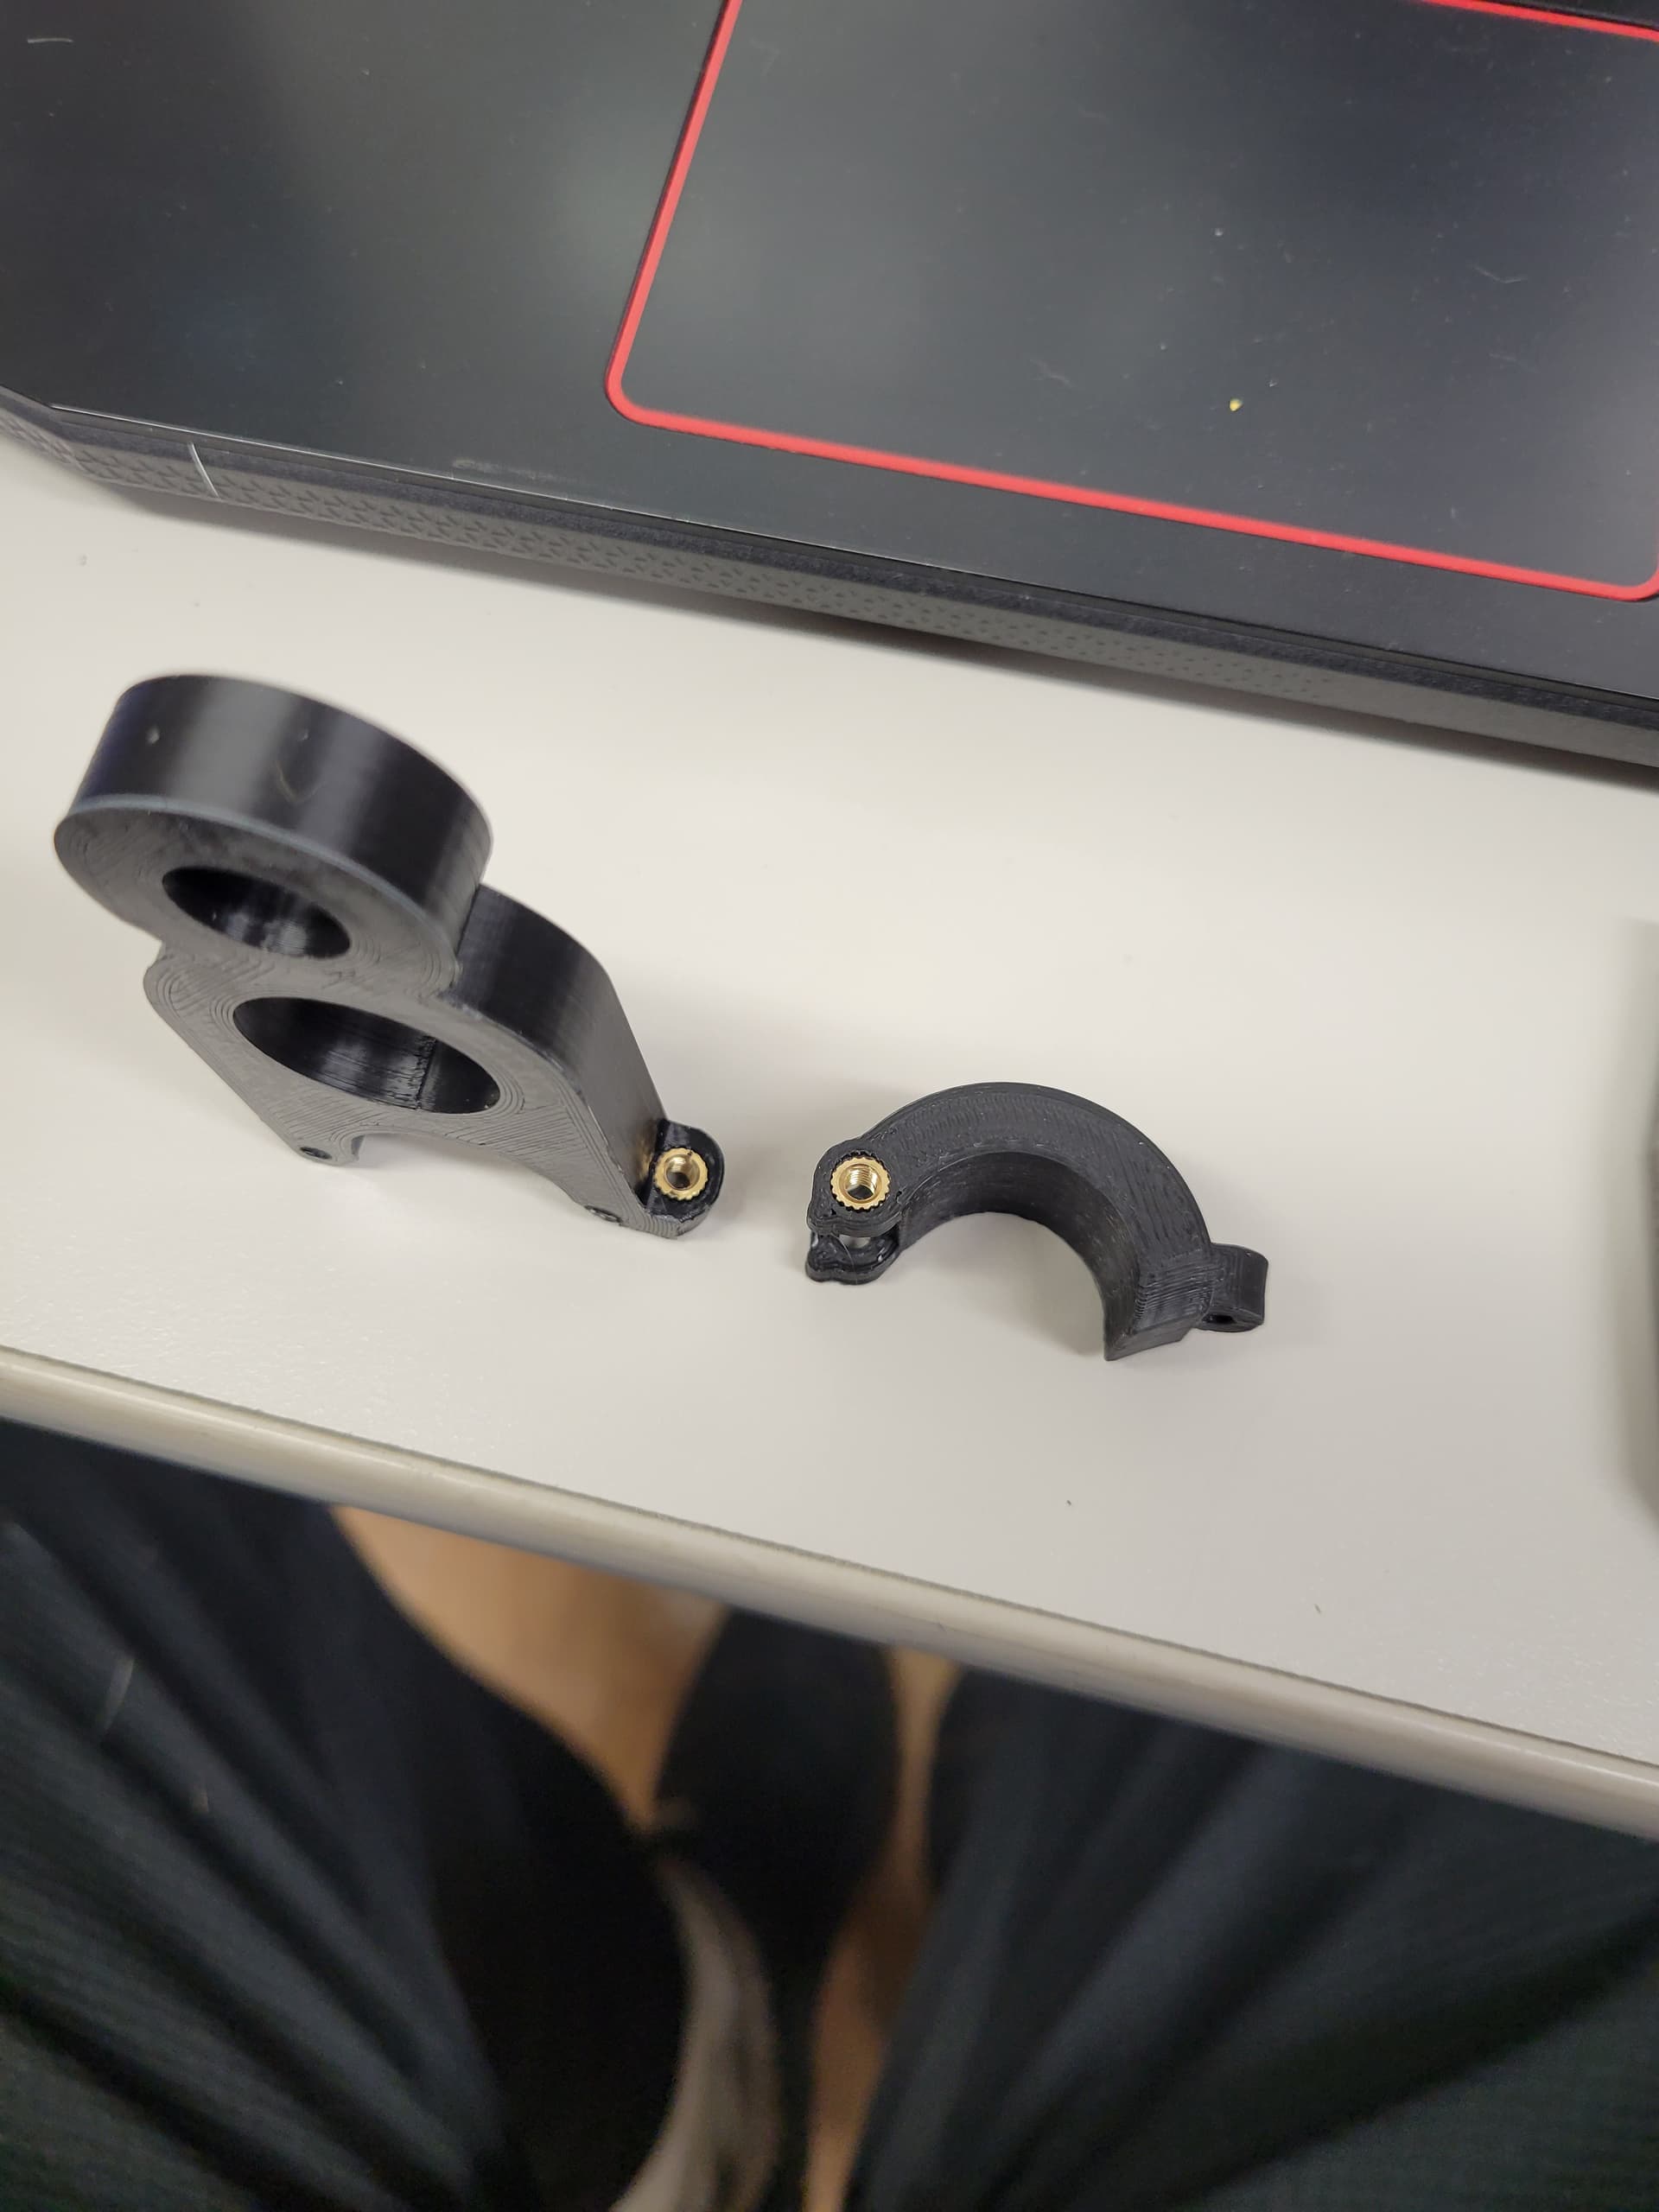
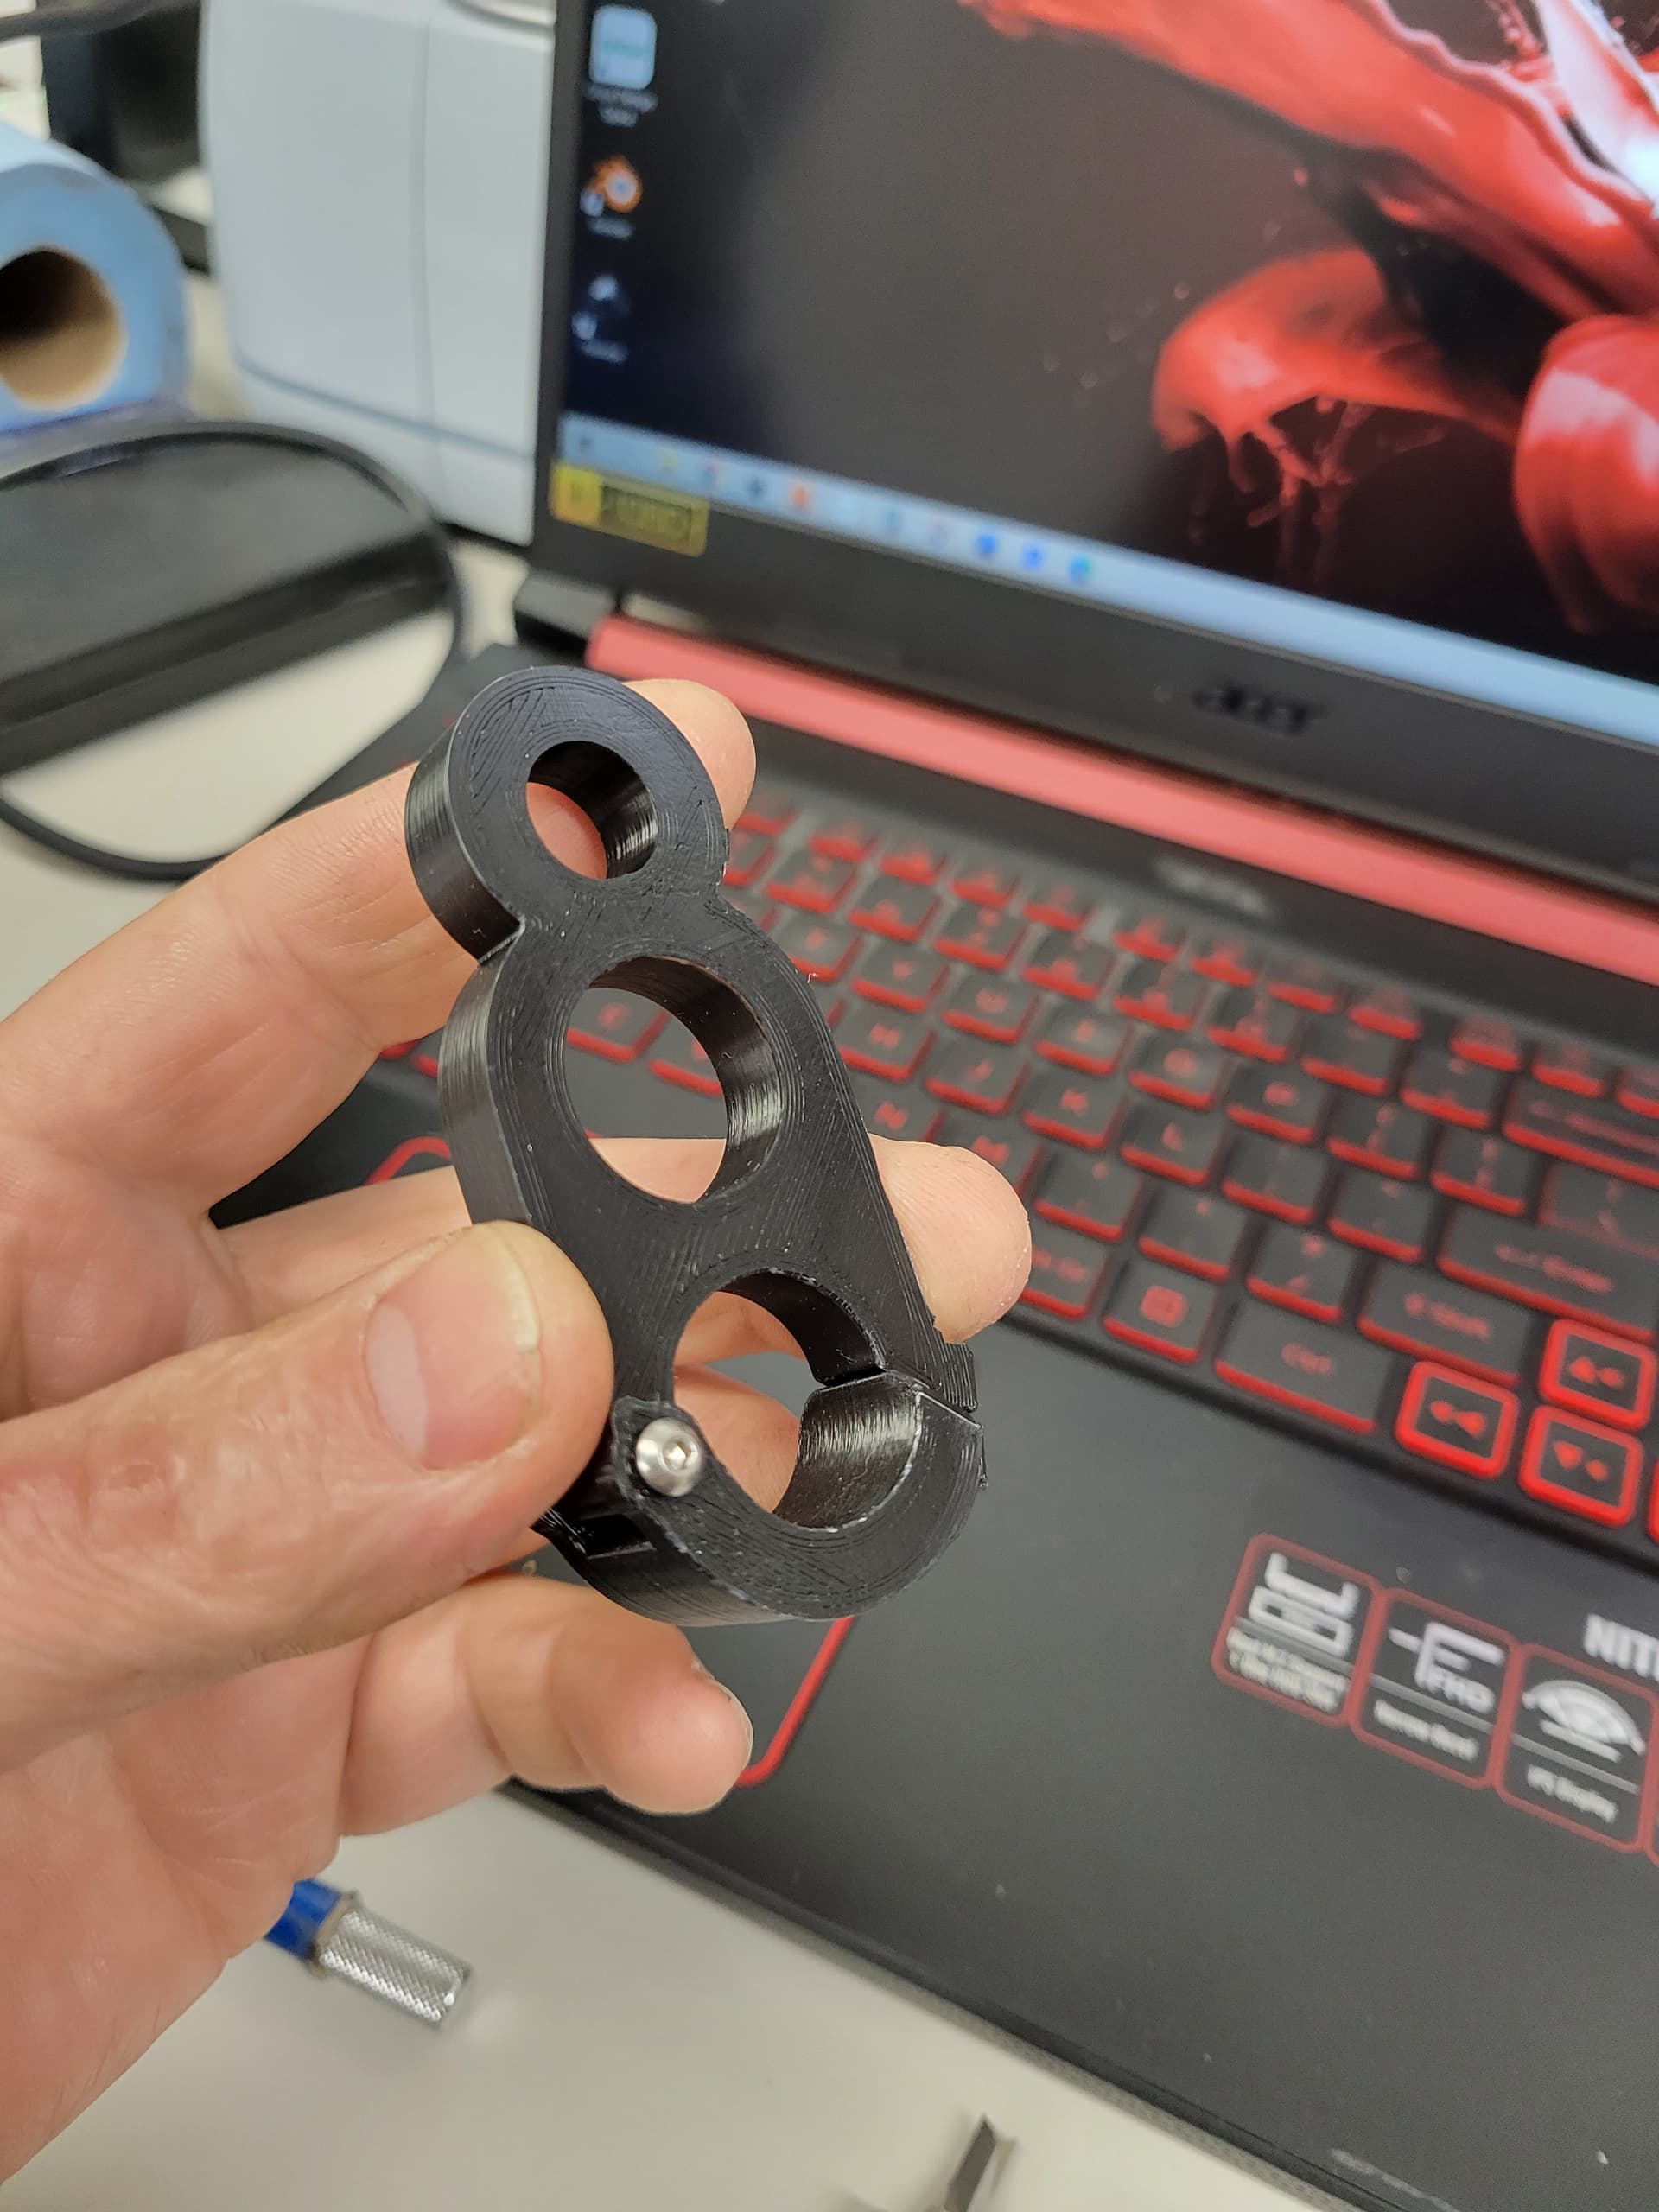
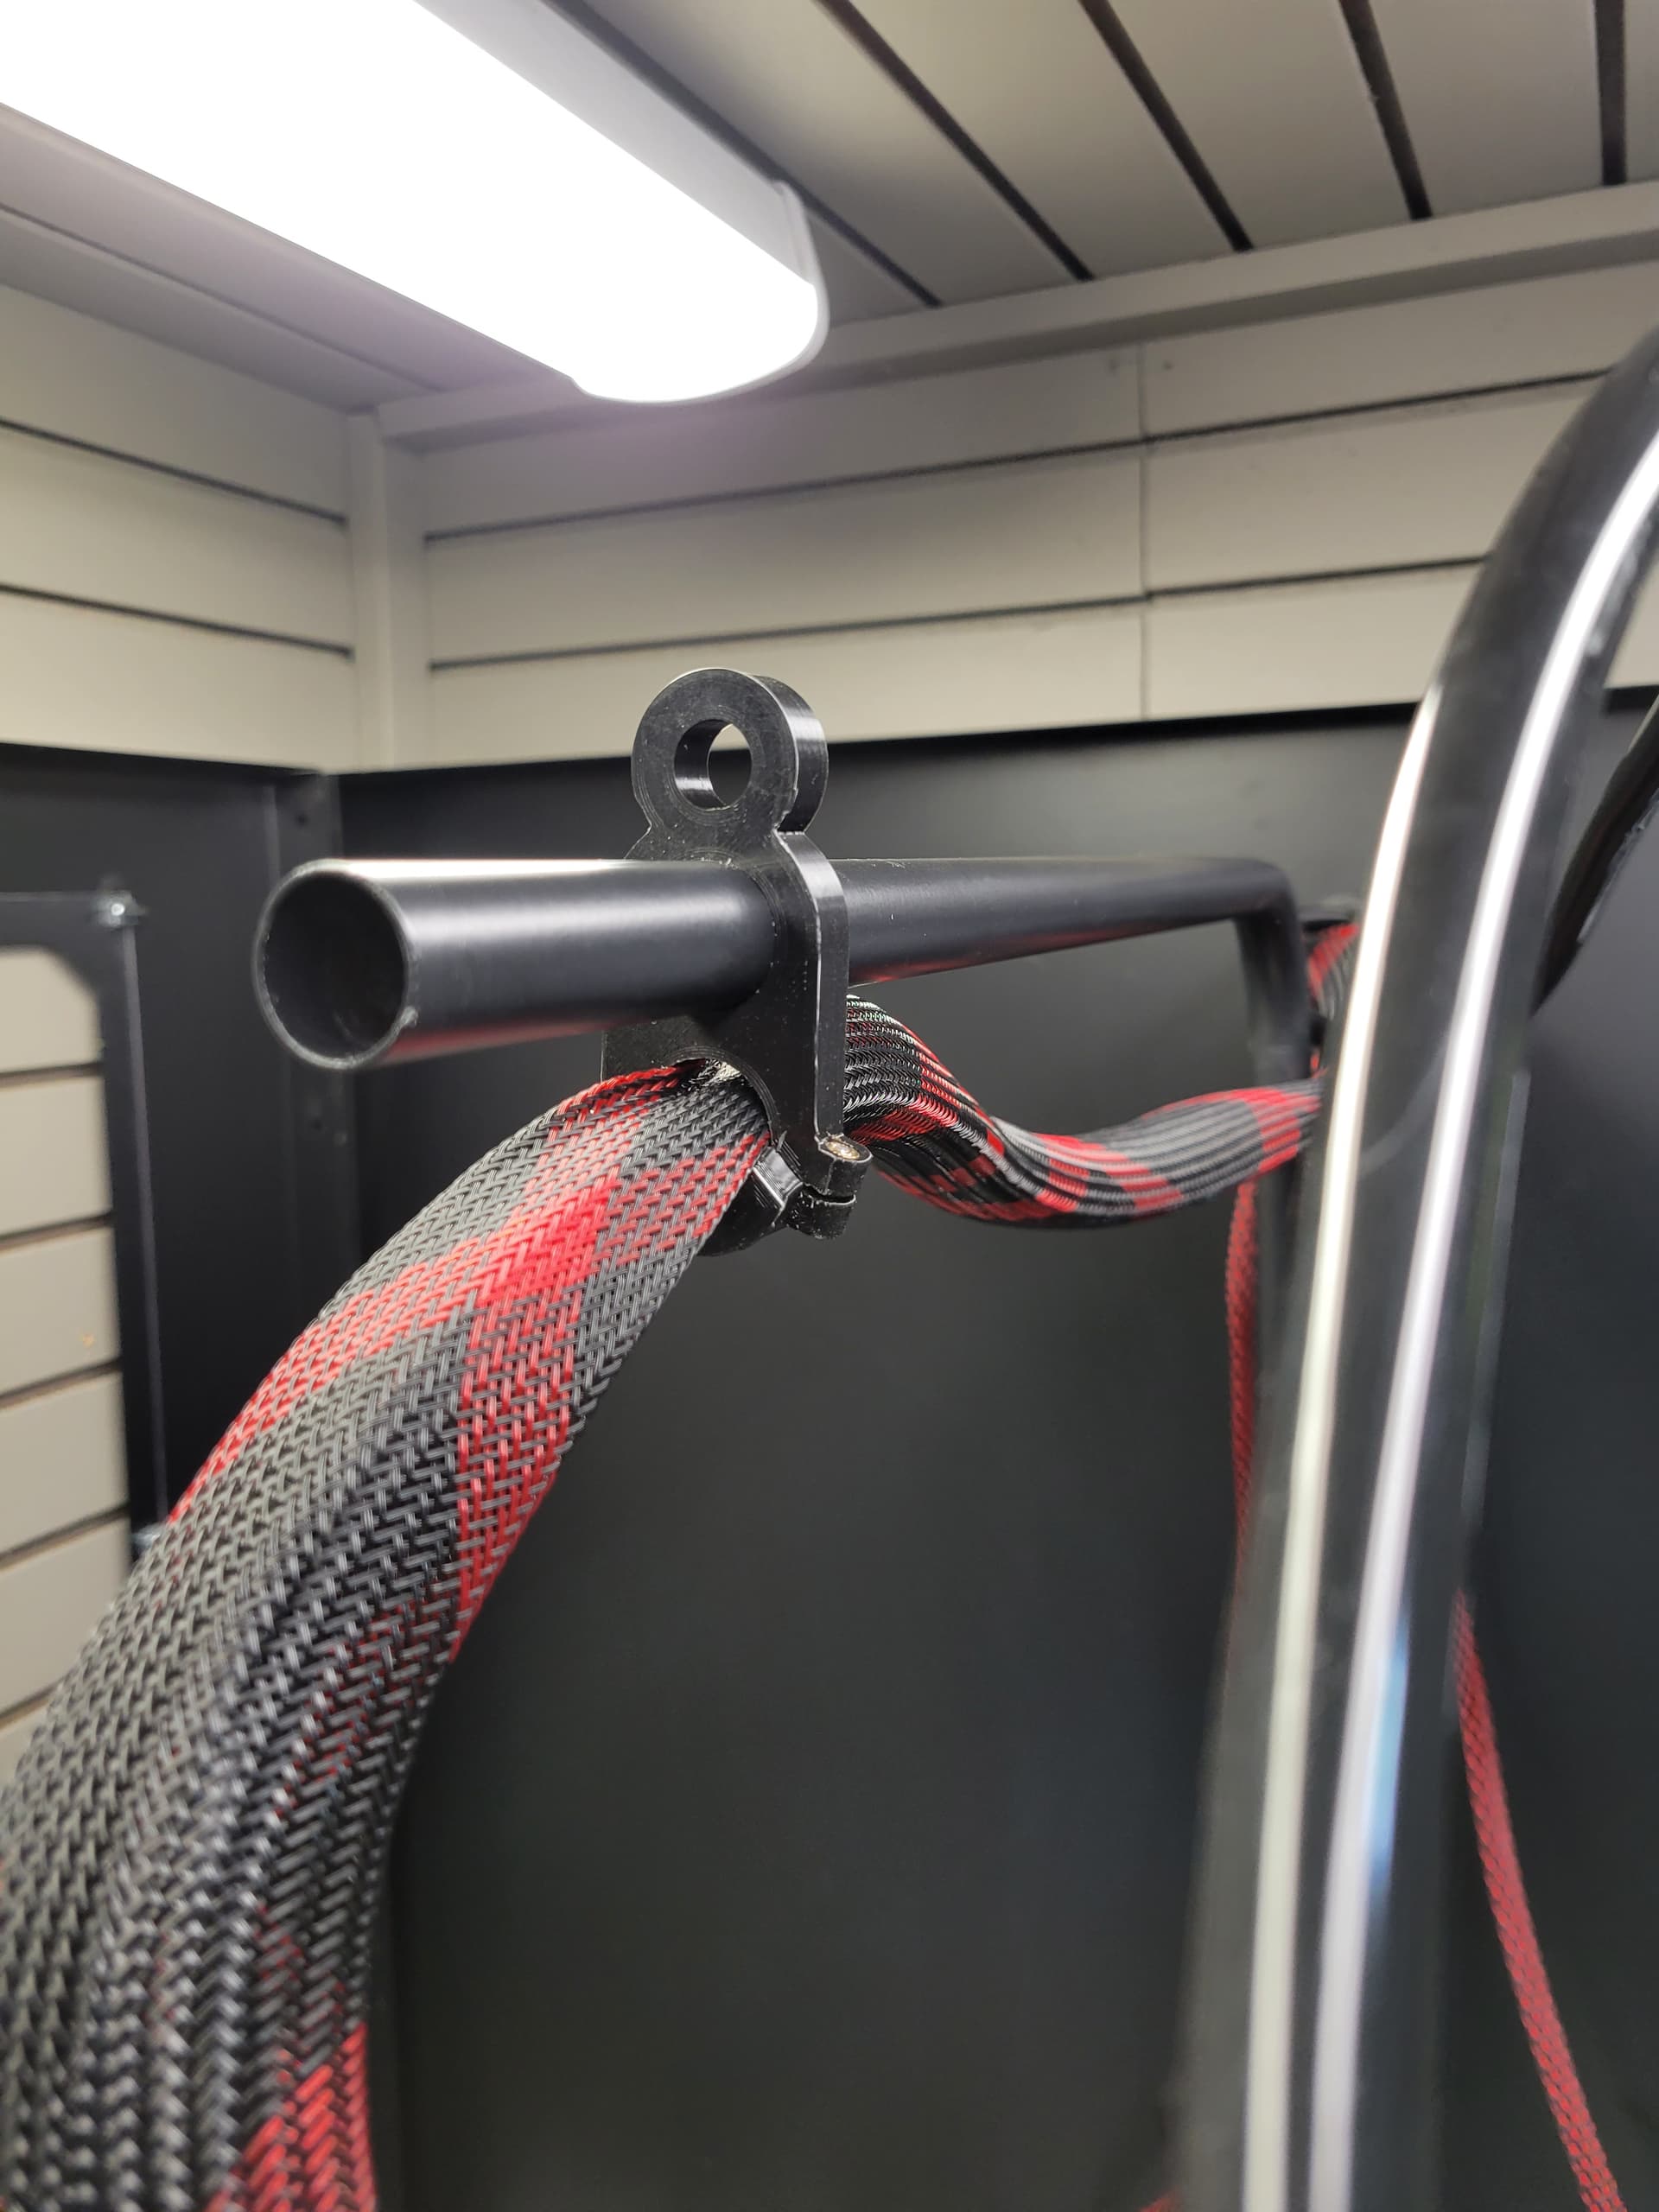

I’m planning on using three of them. Also thinking about making another version that locks to the center support tube.
7 Likes