BigDaddy Inspired Extra Drain

Thanks to @Bigdaddy2166 for providing the impetus for adding an extra drain to my MR1.

I used a cheap Chinese core drill from Amazon: Vevor Core Drilling Machine
I did get this on sale for $239, but it’s now $299. It appears to go on and off sale often. It came with a 4.25" bit which was perfect (albeit a bit too long - more on that below).

I didn’t have any extra aluminum stock laying around that would work so I simply bought a stainless steel drain: Elkay LK99 Drain

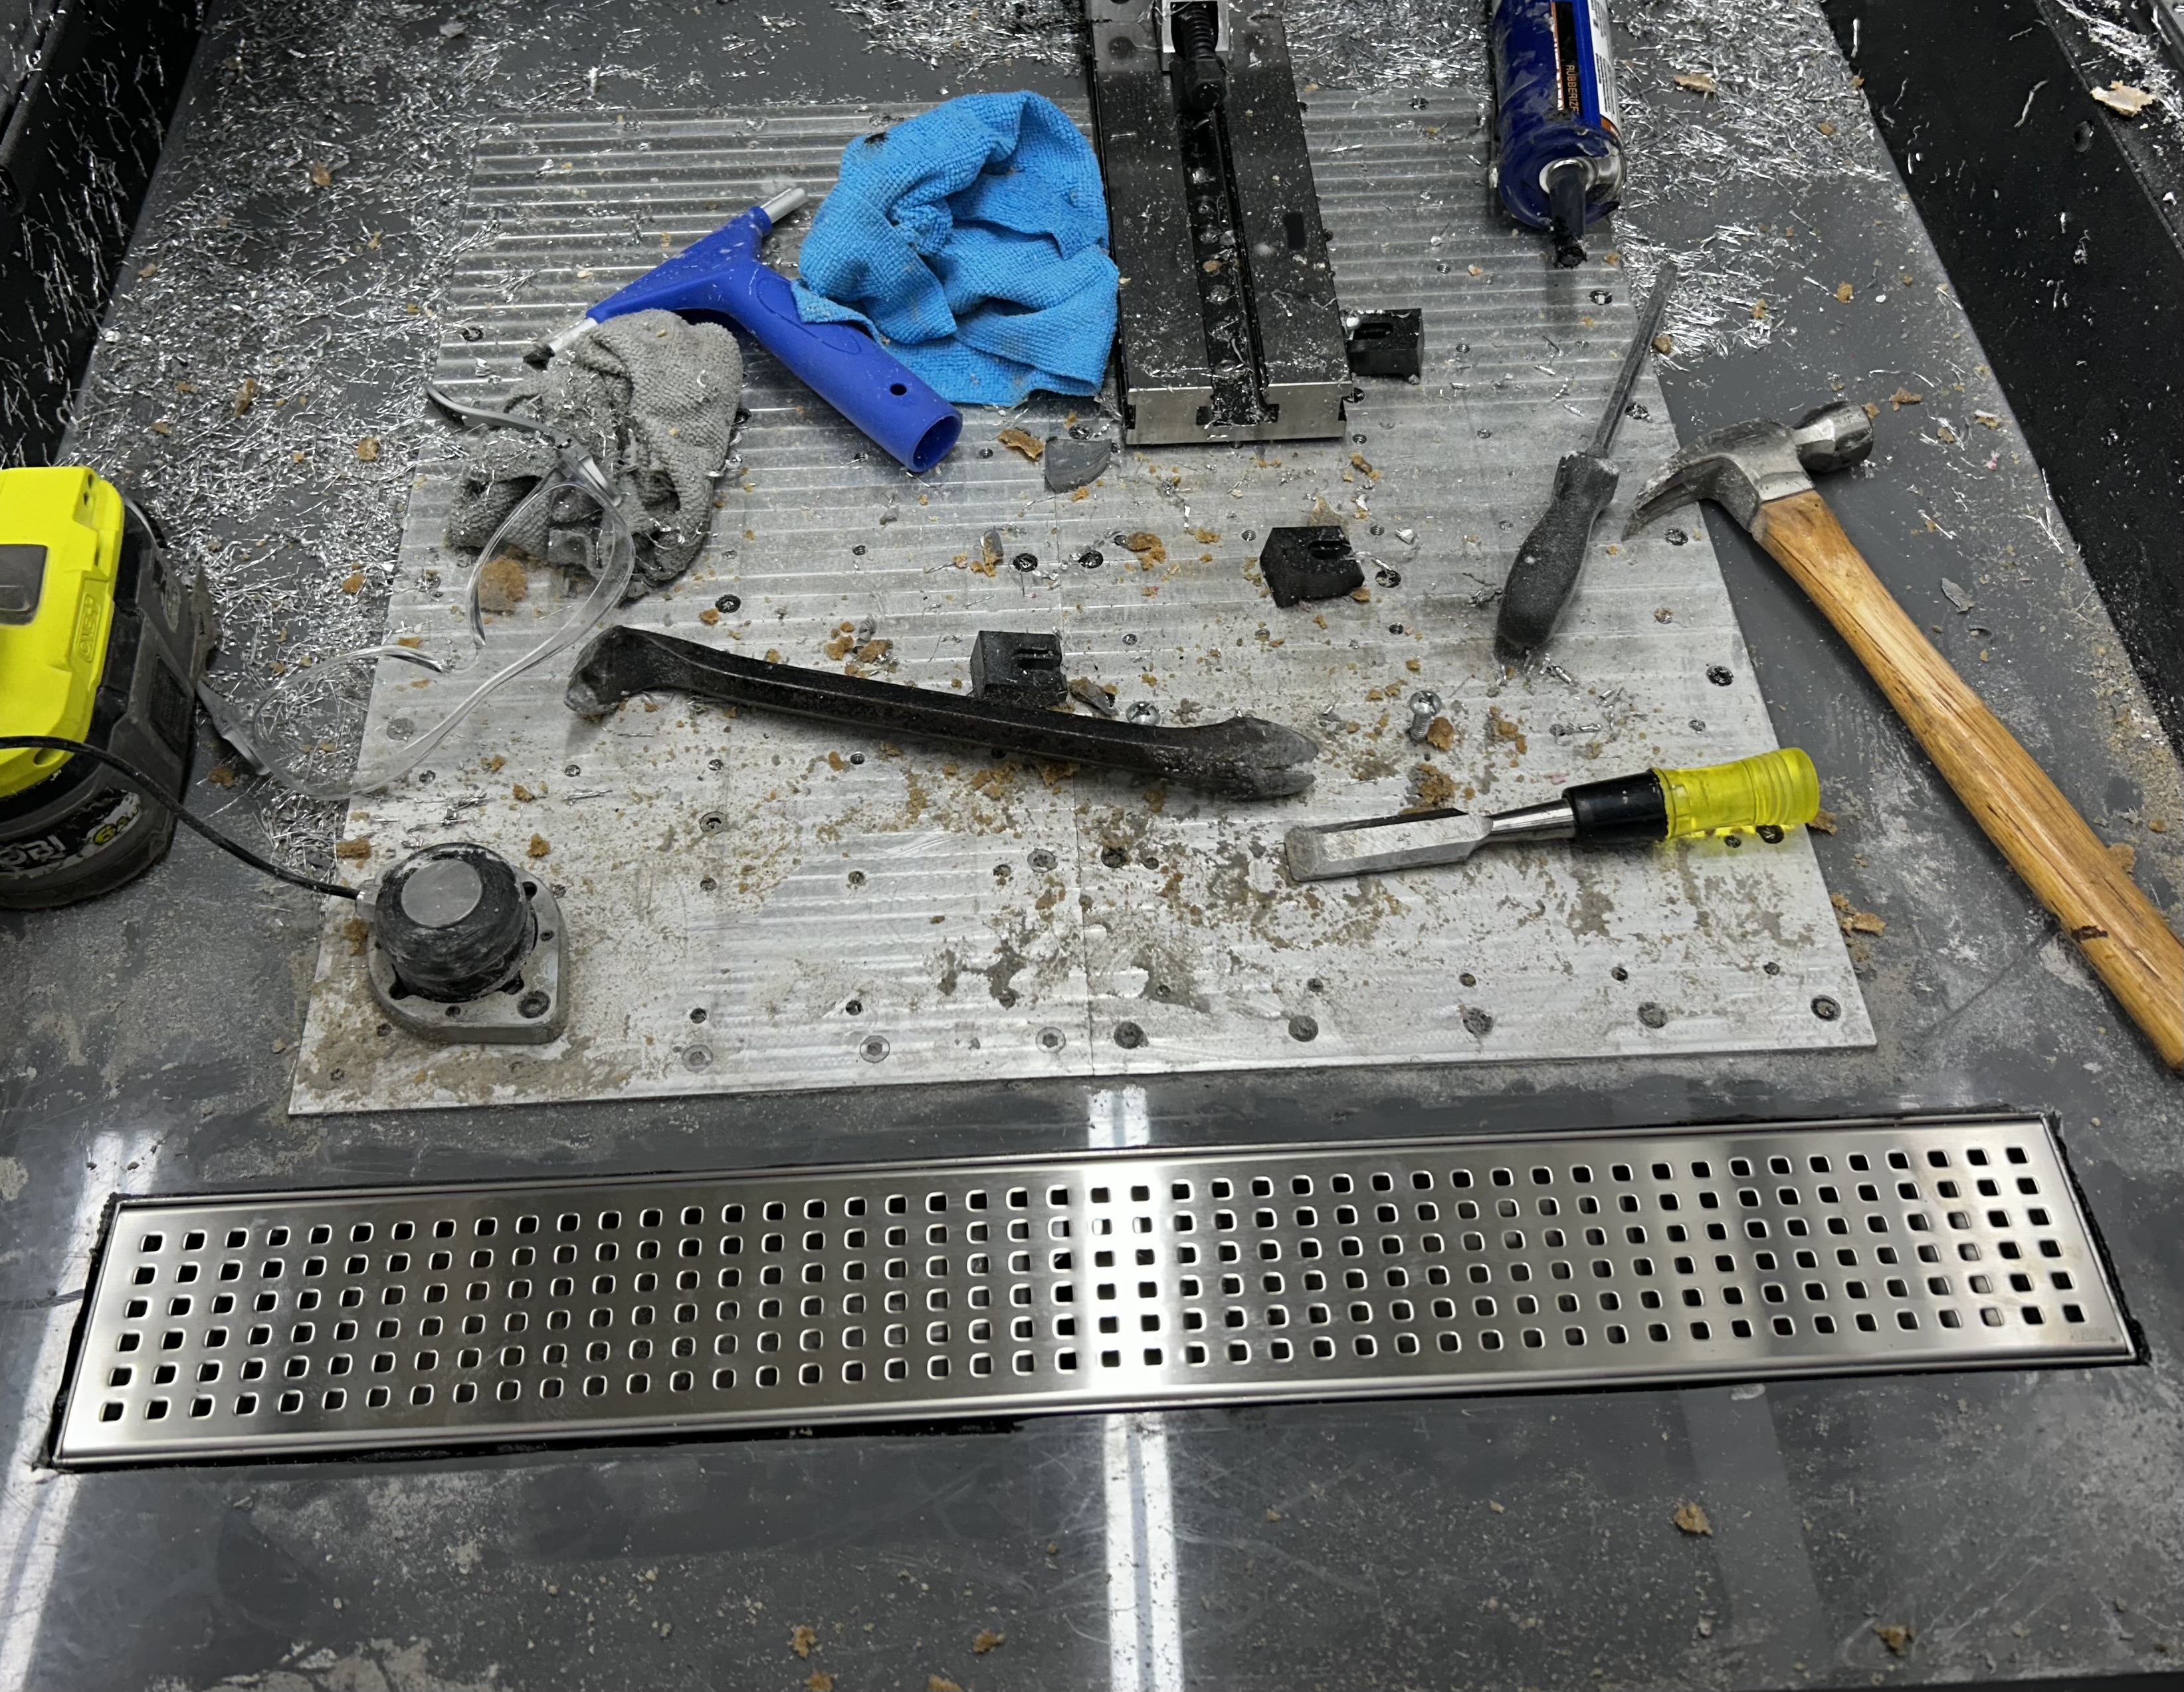
First step was to remove my second SMW vise to enable me to mount the core drill to the base plate. Since I wanted to drill the center, rear pole ended up being in the way since the bit it came with is 14" long. I was able to just wedge the core drill under the pole and it fit (see photos).

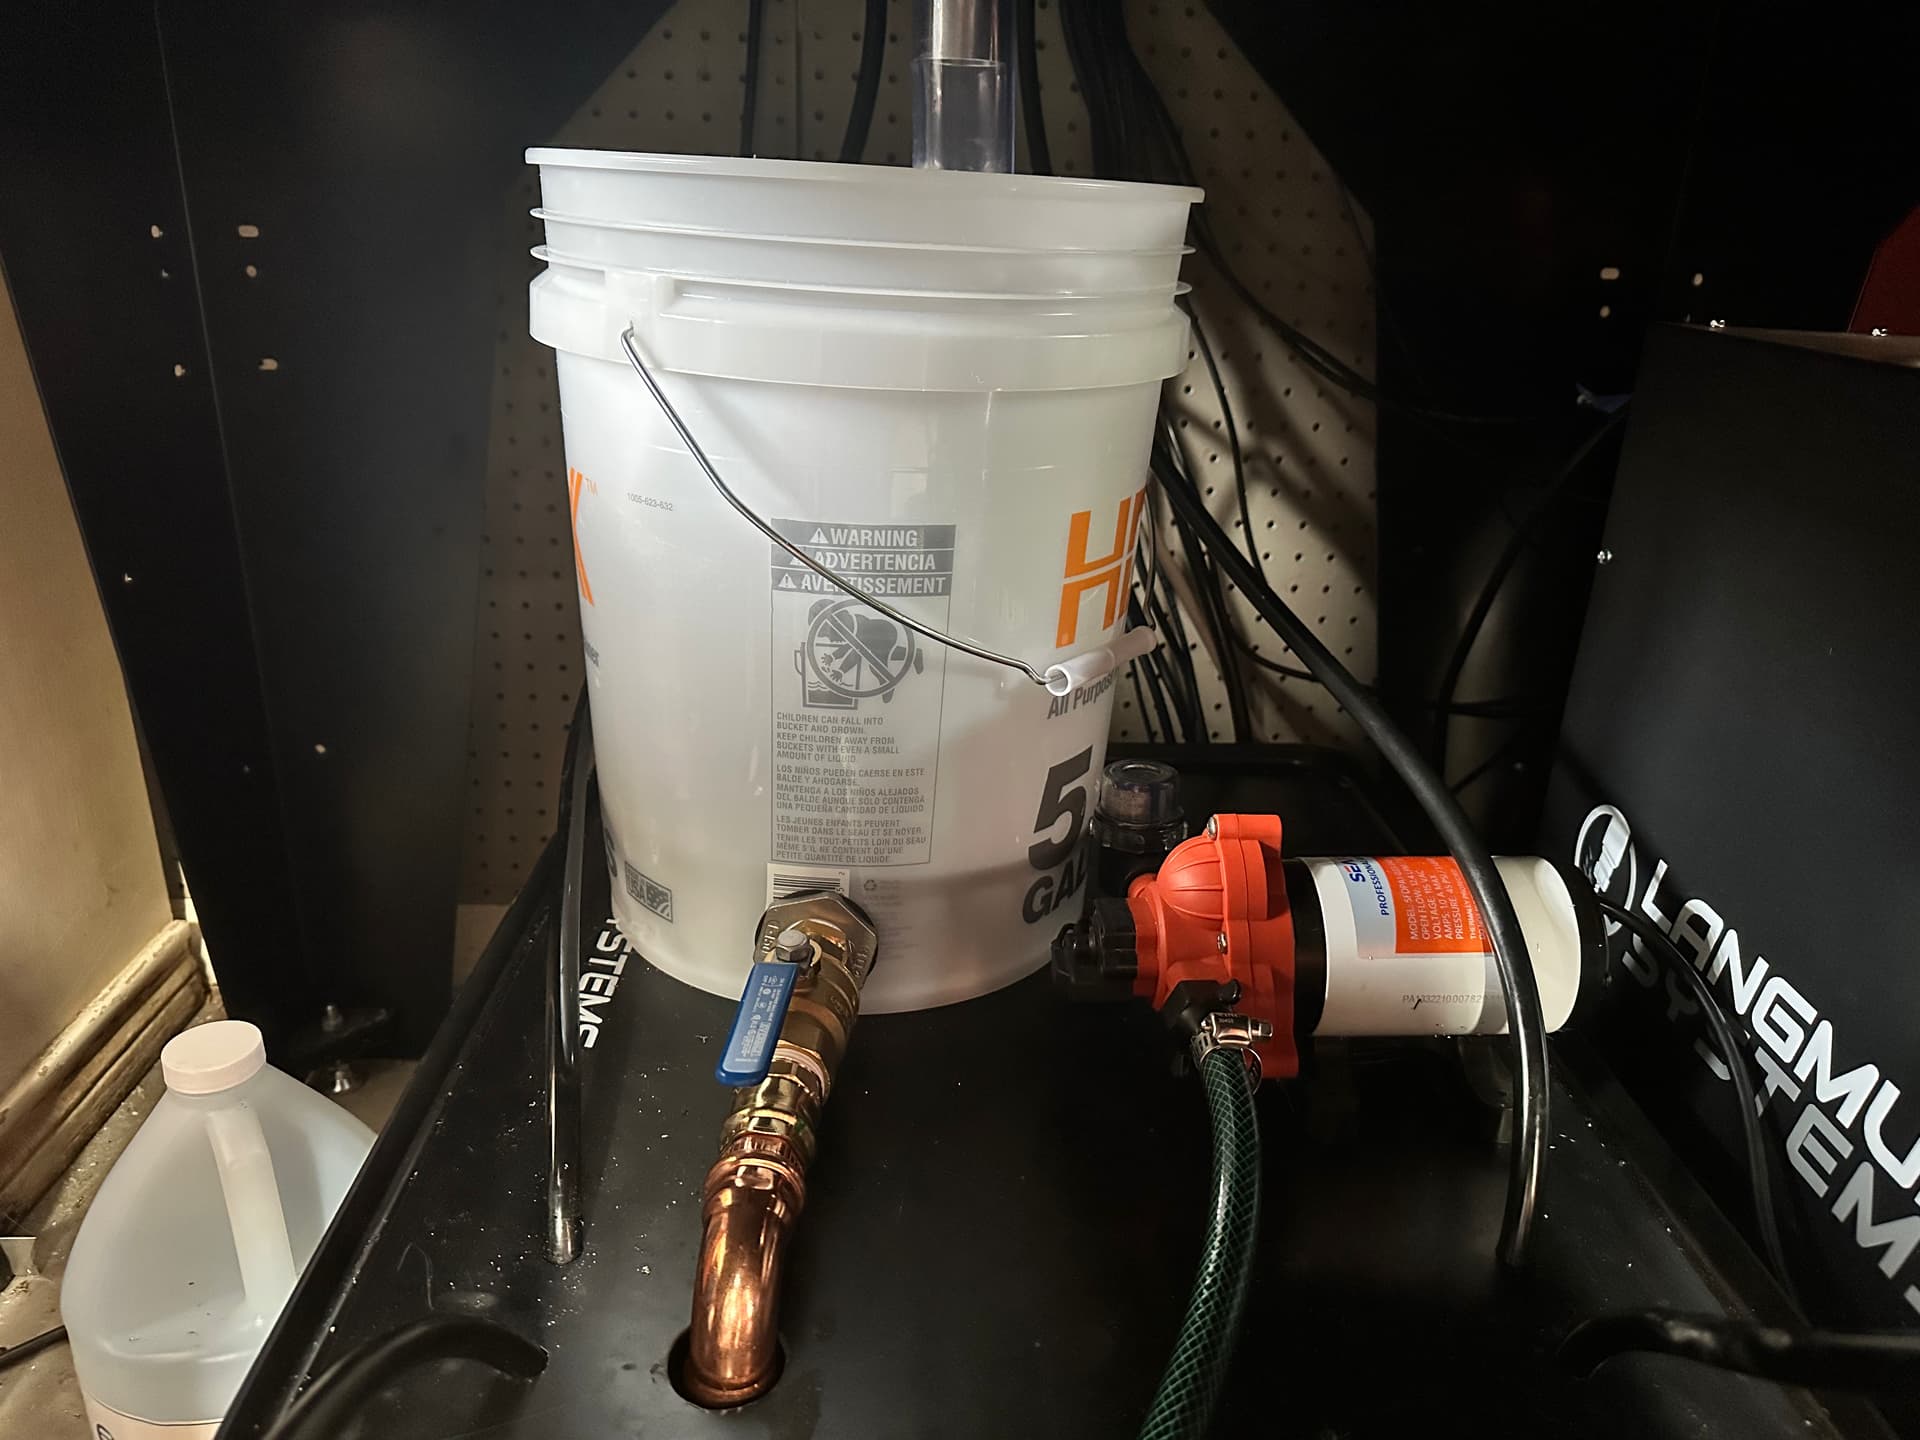
I diverted the existing corner drains into some 5 gallon buckets so when I ran water during the cut, it wouldn’t pollute my lubrication liquid.

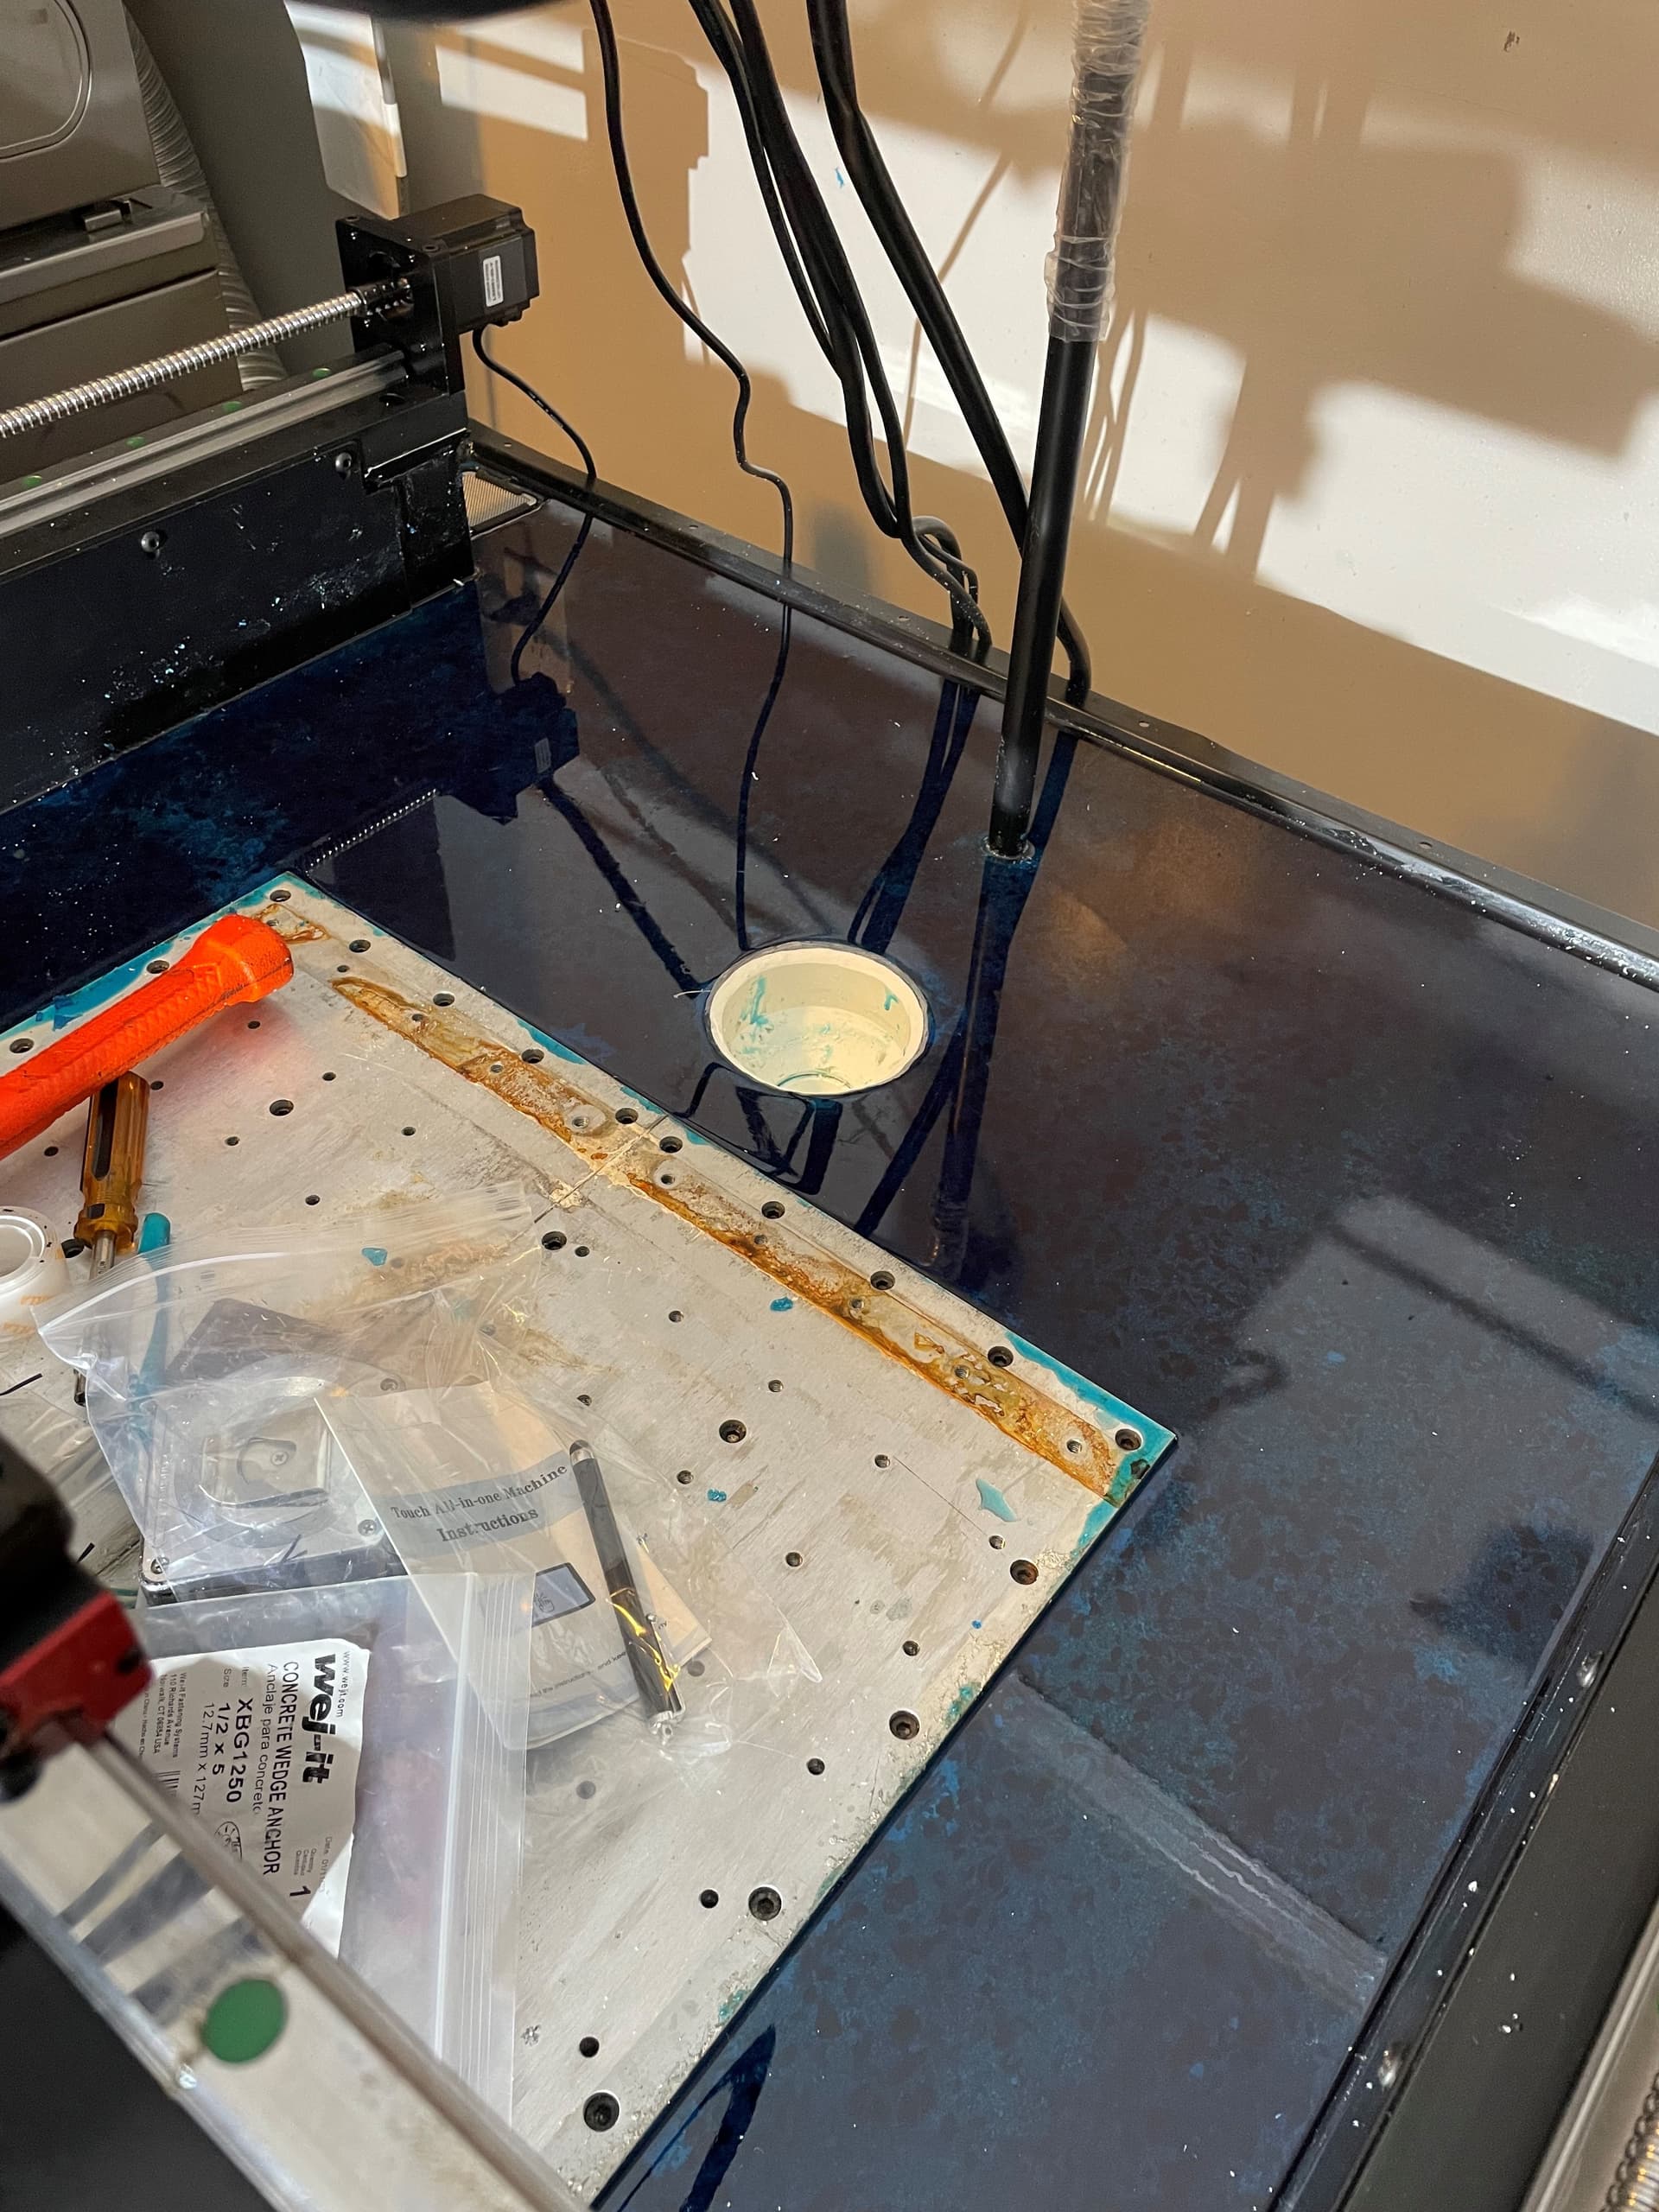
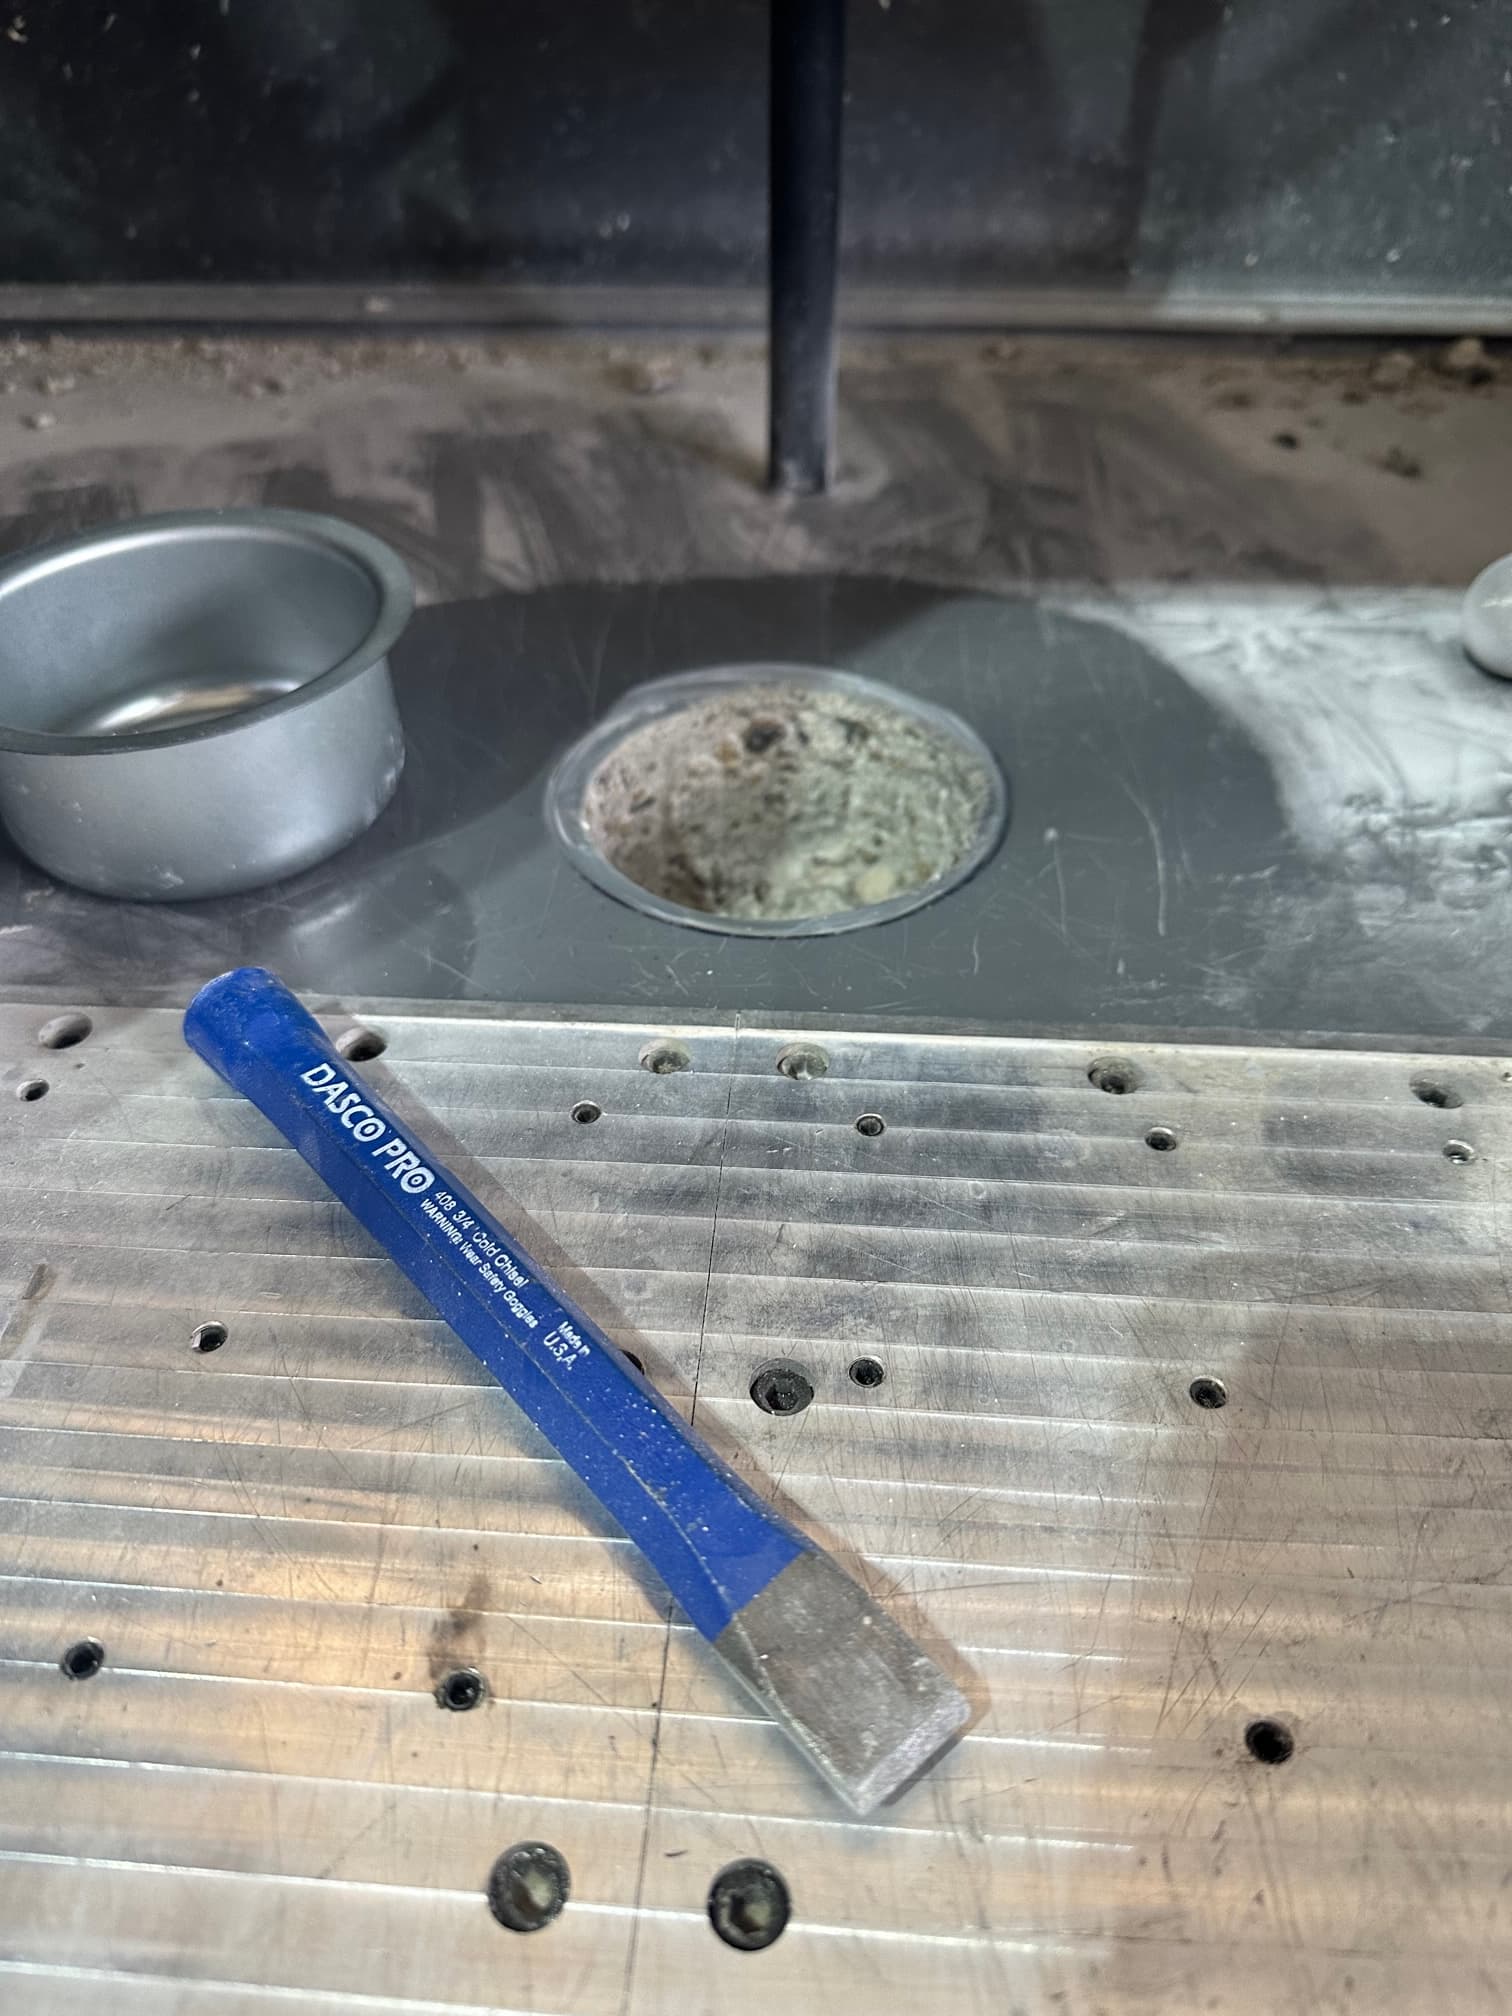
The cutting was simple and a non-event as the saw cut with ease. I too was concerned about drilling through the bottom, but it turns out that wasn’t an issue as when the drill breaks through the last bit of concrete there is a very discernible change in the feel of the drill (via the feed handle). When I felt this change, I stopped immediately and didn’t even scratch the metal surface of the bottom pan. The concrete lifted out with ease as expected.

Once that was out, I drilled out a 1 3/4" hole in the center of the pan. This allows a little play when dropping in the drain and the concrete epoxy readily fills any gaps.

Since the core drill such a clean and perfect surface, I simply used a rabbet router bit set to about 1/16" depth and 1/8" width to route out a lip so the drain would mount flush.

I used concrete epoxy to fill in solid mounting around the top and bottom of the drain (where the drain sits into the hole and where the tailpiece comes out the bottom). I was able to shoot all the extra epoxy into the cavity via extra space in the bottom of the opening (since the tailpiece is 1 1/2" and the opening was 1 3/4"). I did this since the tube only had one mixing nozzle so the tube is essentially a single use item.

The epoxy I used was: Quikrete Fast Acting Epoxy

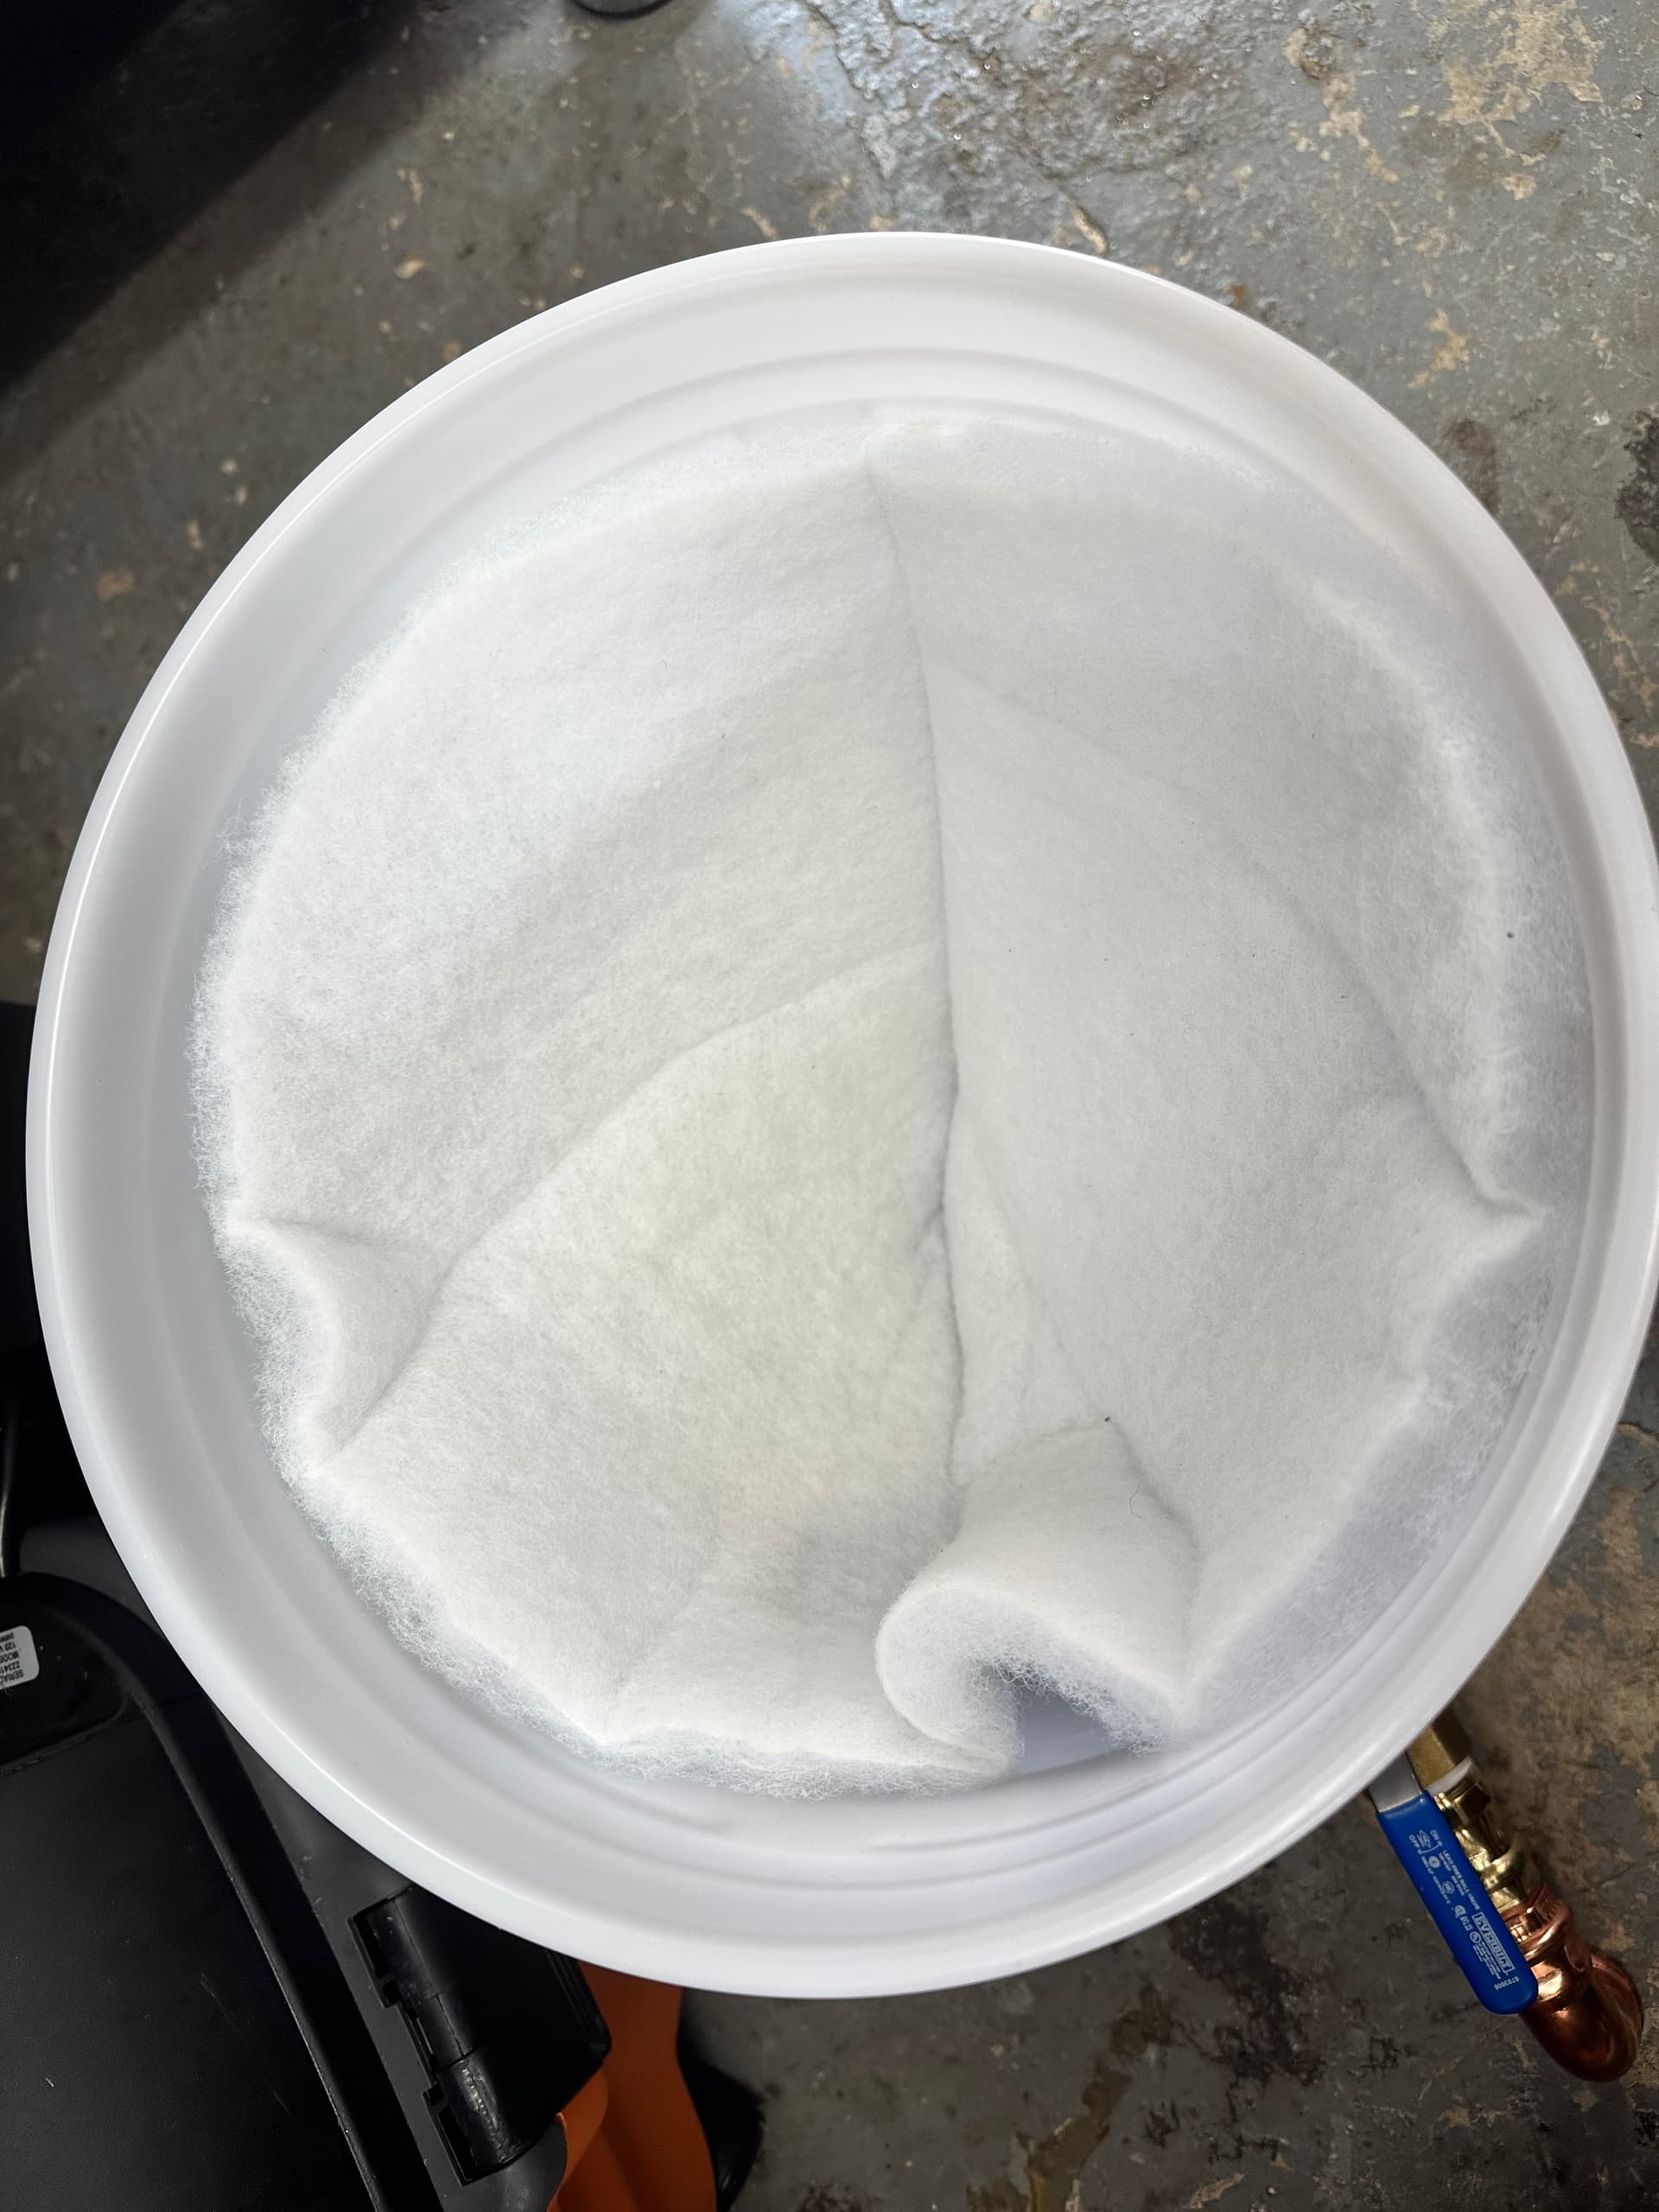
My intent is to run a clear tube from the tailpiece into a 5 gallon bucket that will hold my filtering and ultimately feed back into the black tub.

#langmuirsystems #mr1 #cncmill Drilling a new and improved drain into the MR1 CNC Mill using a core drill through 4” of concrete. pic.twitter.com/hETKI2gI85

— Kevin Gregory (@kevingregory) August 20, 2023
3 Likes

Glad I could help. Mine flows like a flushed toilet. My problem has been solved
Almost no coolant even makes the corner drains. Which I left in the stock configuration.

3 Likes

Yeah, i think i am going to wind up following Bigdaddy on what he did. But in the mean time, about a month ago, i used the silicone that langmuir provided and silicone’d those suckers down to try it and see what happened. Well, to my surprise, i have not had a problem since. The big pieces are the culprits and they do not get down in the drains at all now. yes, the tiny, tiny, tiny pieces go down the drain, but it does not clog at all. Give it a try cause it sure is a pain in the a$$.

1 Like

Curious why you went with the larger 8” model versus the smaller ones?

I didn’t want the handheld version as I didn’t trust myself not to screw things up - lol. And the 8" was on sale at the time for $239 so was actually cheaper than the smaller mountable one. I do think any mounted one would work and I think the handheld one would work if you had a pilot bit to keep the larger bore from wobbling too much at the start.

My local home despot will rent a Hilti for 4 hours for $99. However, I figured by the time time I drove half an hour each way, discovered the rental was broken, purchased a drill bit, and then inevitably rolled past the 4 hour limit, it was probably a wash cost wise with buying the drill from amazon. The lower hassel option won.

How did you get your enclosure so clean? I can’t get anywhere near what the twitter videos look like even with using a coolant sprayer for wash down. I just ordered a dust deputy kit to see if I can vacuum more of the chips up if I wait a week for the chips to kinda-sorta dry out.

Have you found a mesh strainer that works with the drain? Maybe something like https://www.amazon.com/Strainer-Stainless-Strainer,Sink-Strainers-Diameter/dp/B09DP95475 ?

Or maybe the disposable option would work: Amazon.com

Yeah that was my thinking on rentals. I figured I might need it at some point in the future too - can’t ever have enough tools :slight_smile:

As far as keeping things clean - lol - I thought I wasn’t doing a very good job but glad it at least LOOKS like I am! I added a spray system with a secondary pump as well. That does leave alot so I also have a dedicated shop vac with a brush head that loosens any sticky chips as I vac. That does a great job getting anything left. Since it’s dedicated, I just pour any liquid collected from it back into the tub when done.

Regarding a strainer, I just let it flow directly from the 1.5" tailpiece into a into a 5 gallon bucket below and that holds a funnel I fashioned out of aquarium filter material. Making it into the shape of a funnel allows the chips to collect but still drain well. After the filter it flows out of the bottom of the bucket, directly into the tub via an extra hole I drilled in the lid. Photos below.


1 Like

what pump is that? Diaphram?

@VGT Looks like a Seaflow pressure washer pump or something similar.

1 Like

It is indeed a SeaFlow: SEAFLO 33-Series Industrial Water Pressure Pump w/Power Plug for Wall Outlet - 115VAC, 3.3 GPM, 45 PSI.

Seaflow-33

1 Like

Not sure why everyone is concerned about renting a core drill and going through concrete. It is much easier to add the center drain before the concrete pour :stuck_out_tongue_closed_eyes:

Kidding aside, appreciate the heads up on these topics from the pioneers. Still putting my machine together, but I was able to incorporate a Ø3" to Ø1" PVC reducer with a Ø3/4" barb fitting sticking out through a hole drilled in the pan. The stack height was pretty perfect for the concrete pour, just caulked the assembly to the pan before pouring to seal and hold in place. The Ø3" reducer was about level with the base plate after concrete pouring and epoxy coating, so I knocked it down level with the epoxy using a Dremel. Hoping this center drain will alleviate any issues with the corner drains once I get the machine up and running.

2 Likes

LOOKS GREAT. The coolant will not even get to the corners. Great job. And I like your color choice on the epoxy.

1 Like

I am another person that finally got fed up with the drains. Didn’t want to spend the money on a 3.5" concrete drill bit so drilled a perimeter of 5/16" holes then got to work with the cold chisel. Not a fun project but got it done. Thanks to everyone for the idea to do this!

2 Likes

Just finished cutting/chiseling my new drain in. Shouldn’t ever clog now. I always had issues even with the rear drain so now I should be good.

4 Likes

Here is my version. Thanks for all the inspiration guys! https://youtu.be/OR4l_XaE3DI?si=UzPZqt86POTIXEot

3 Likes

Great job. Love the separator idea.

1 Like

I was going to weld up a settling tank but I decided to see if I could find a clear tote first. I saw lots of guys trying to filter their drains and that just seemed like a nightmare to me.

Now if I run plastic parts… I might need to stick some type of filter into the drain.

2 Likes