I am a new Crossfire owner, and first time CNC anything other than 3d printing, and then the Gcode aspect of that has been made borderline idiot proof.
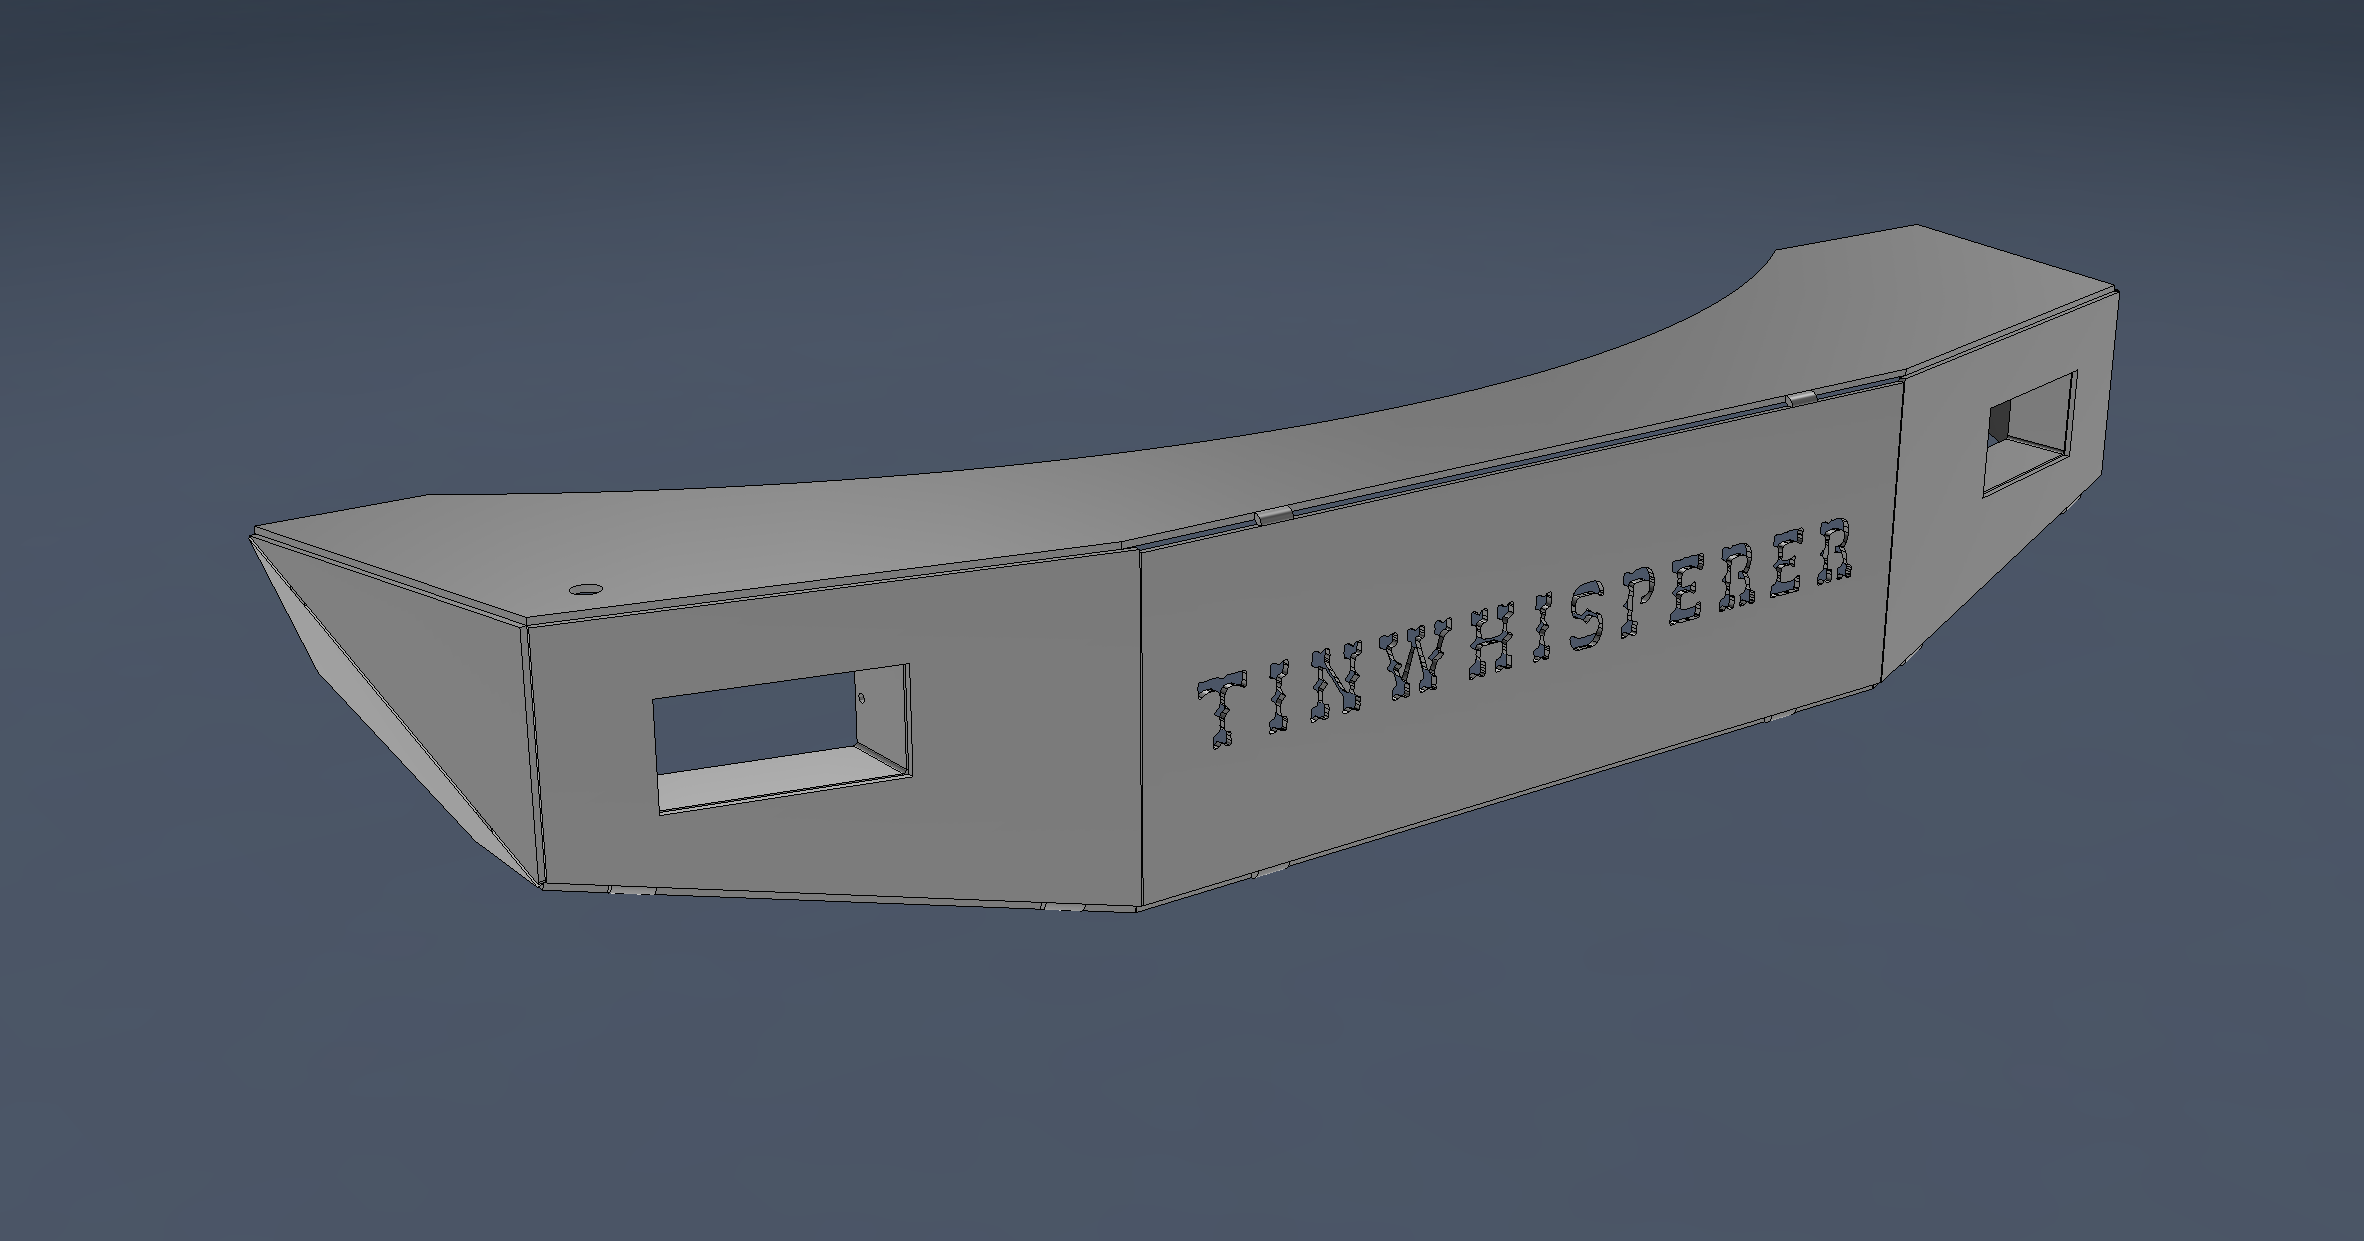
I need to cut a quantity of 18 of a part that I designed in Fusion 360 - to which I am still new to and trying to figure out. Repetition and remember. This will be a common aspect of my plasma table use for my work. Then pulling up old files and cutting them again in a few months or year.
Looks like there was a “beta” nesting feature a while back, but is either gone, or is the $1600 a year extension (not paying that). I could not find anything else just yet on how to do this, other than creating a new file and manually arranging them then do the manufacture process.
I have read a lot here use SheetCam. Is this something I need to look at? I wish there was a trial so I could see the details. Trying youtube search next.
I am a “monkey see monkey do” type of learner and YouTube has been a godsend in that respect. Simply reading how to do a thing then doing it has always been a challenge.
You should be able to do it in f360 i don’t use it a lot so I am no help. It is very easy to do in sheet cam if you are comfortable with f360 I don’t see buying it.
You can do what you want right in fire control to be honest. I assume you want to nest multiple of the same part?
The Nesting option in Fusion has been moved into the Machining Extension, which I can’t see paying an additional $1600 for…
Depending on the shape, the patterning feature of FireControl may offer you a solution. It sets a grid of your parts, so many wide, so many tall.
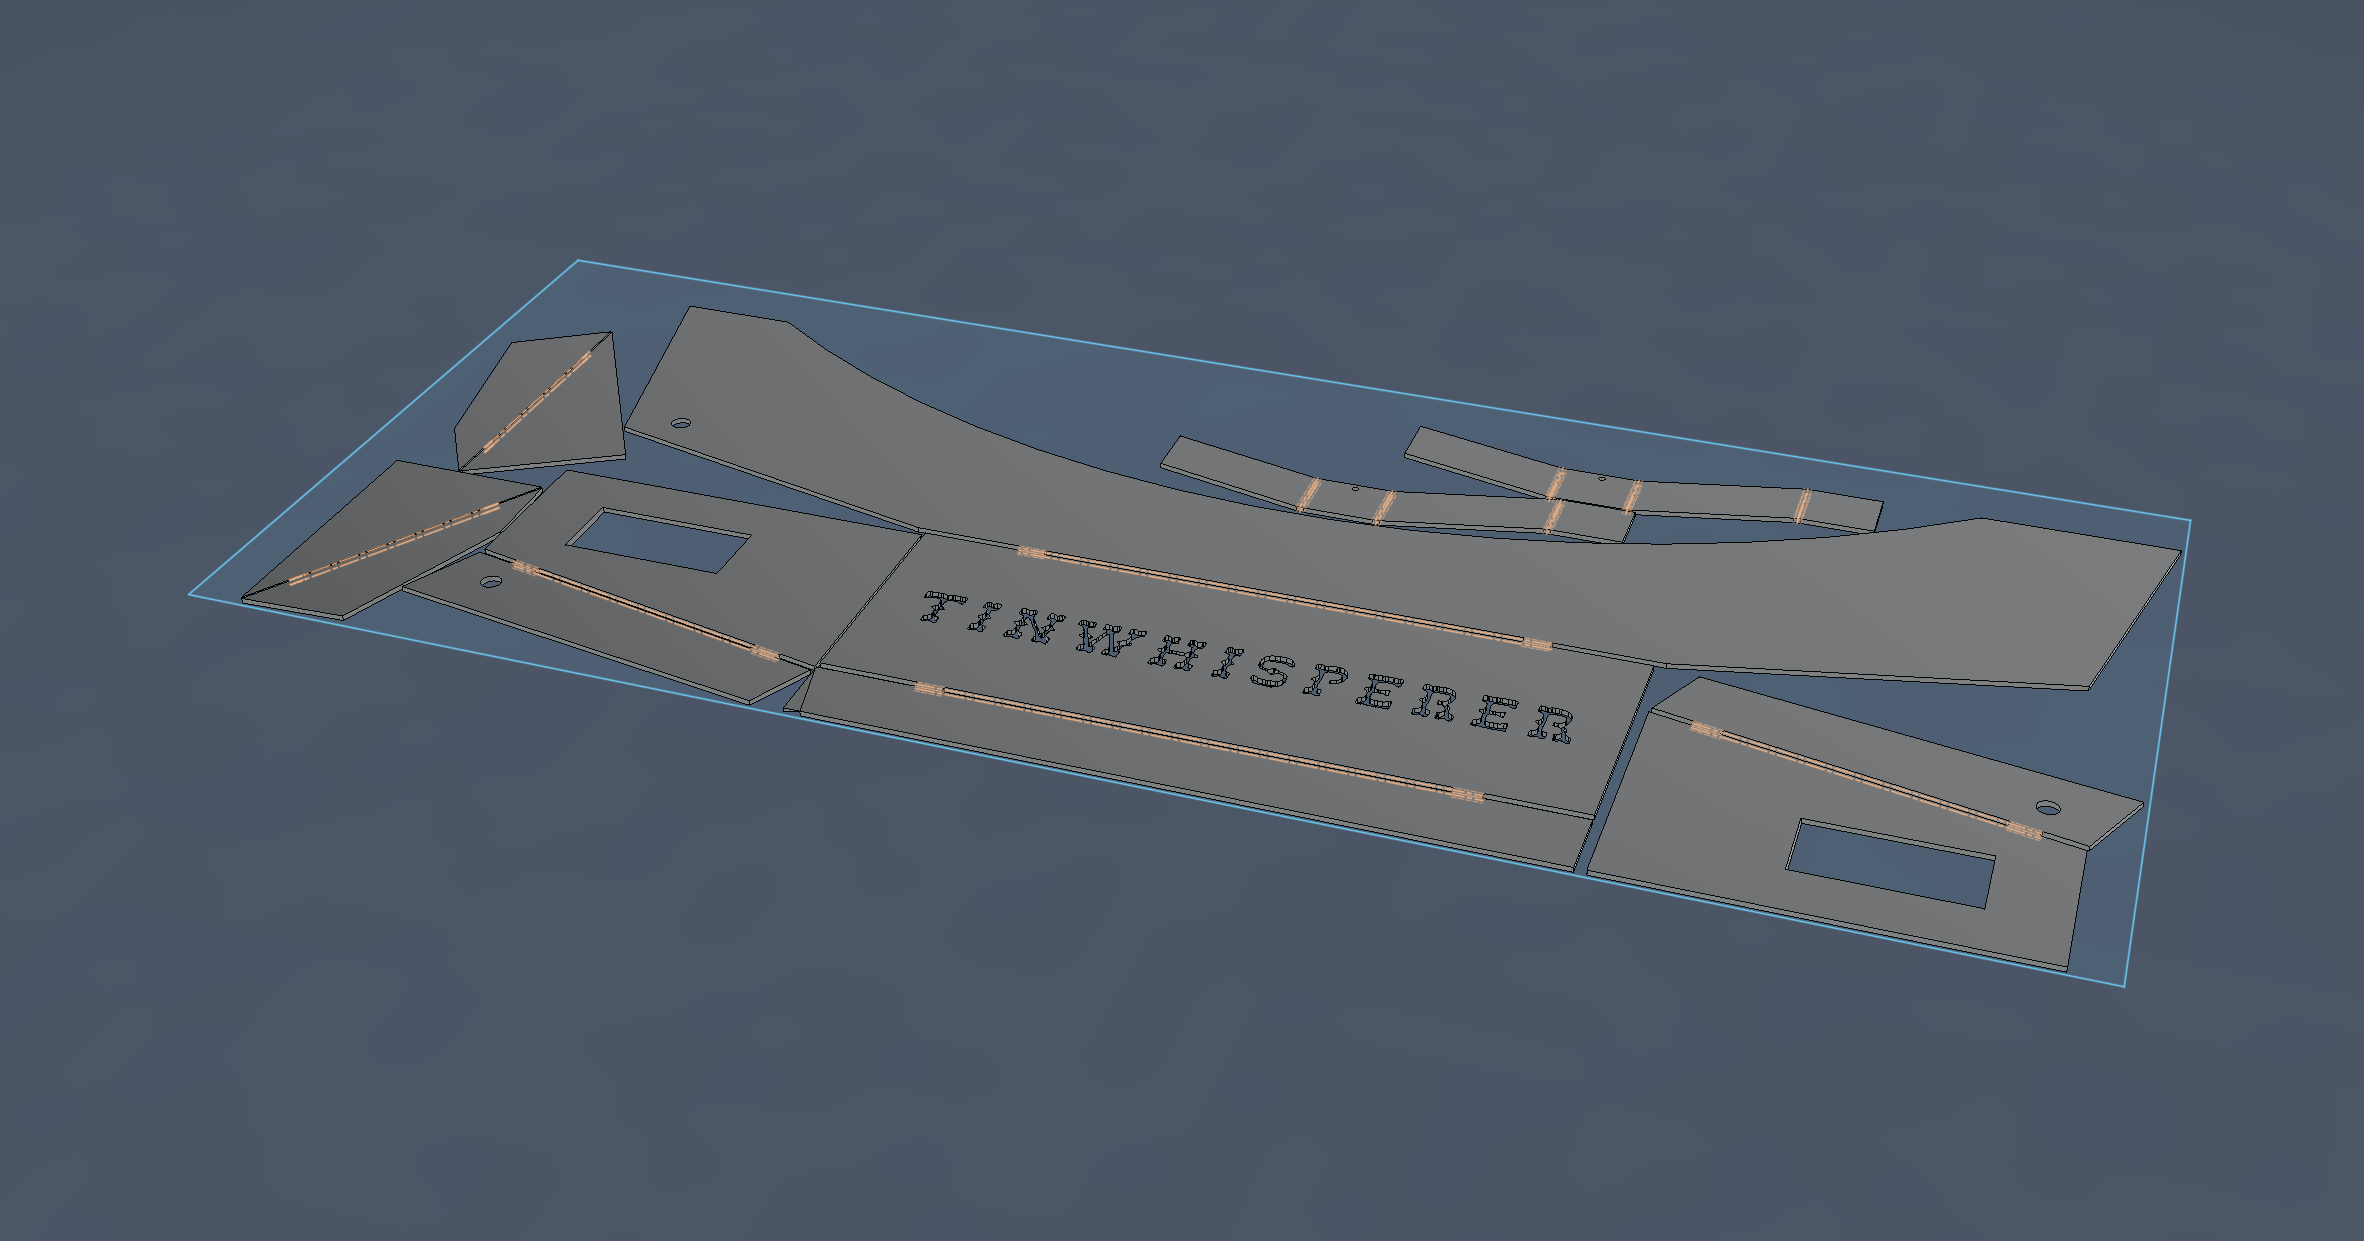
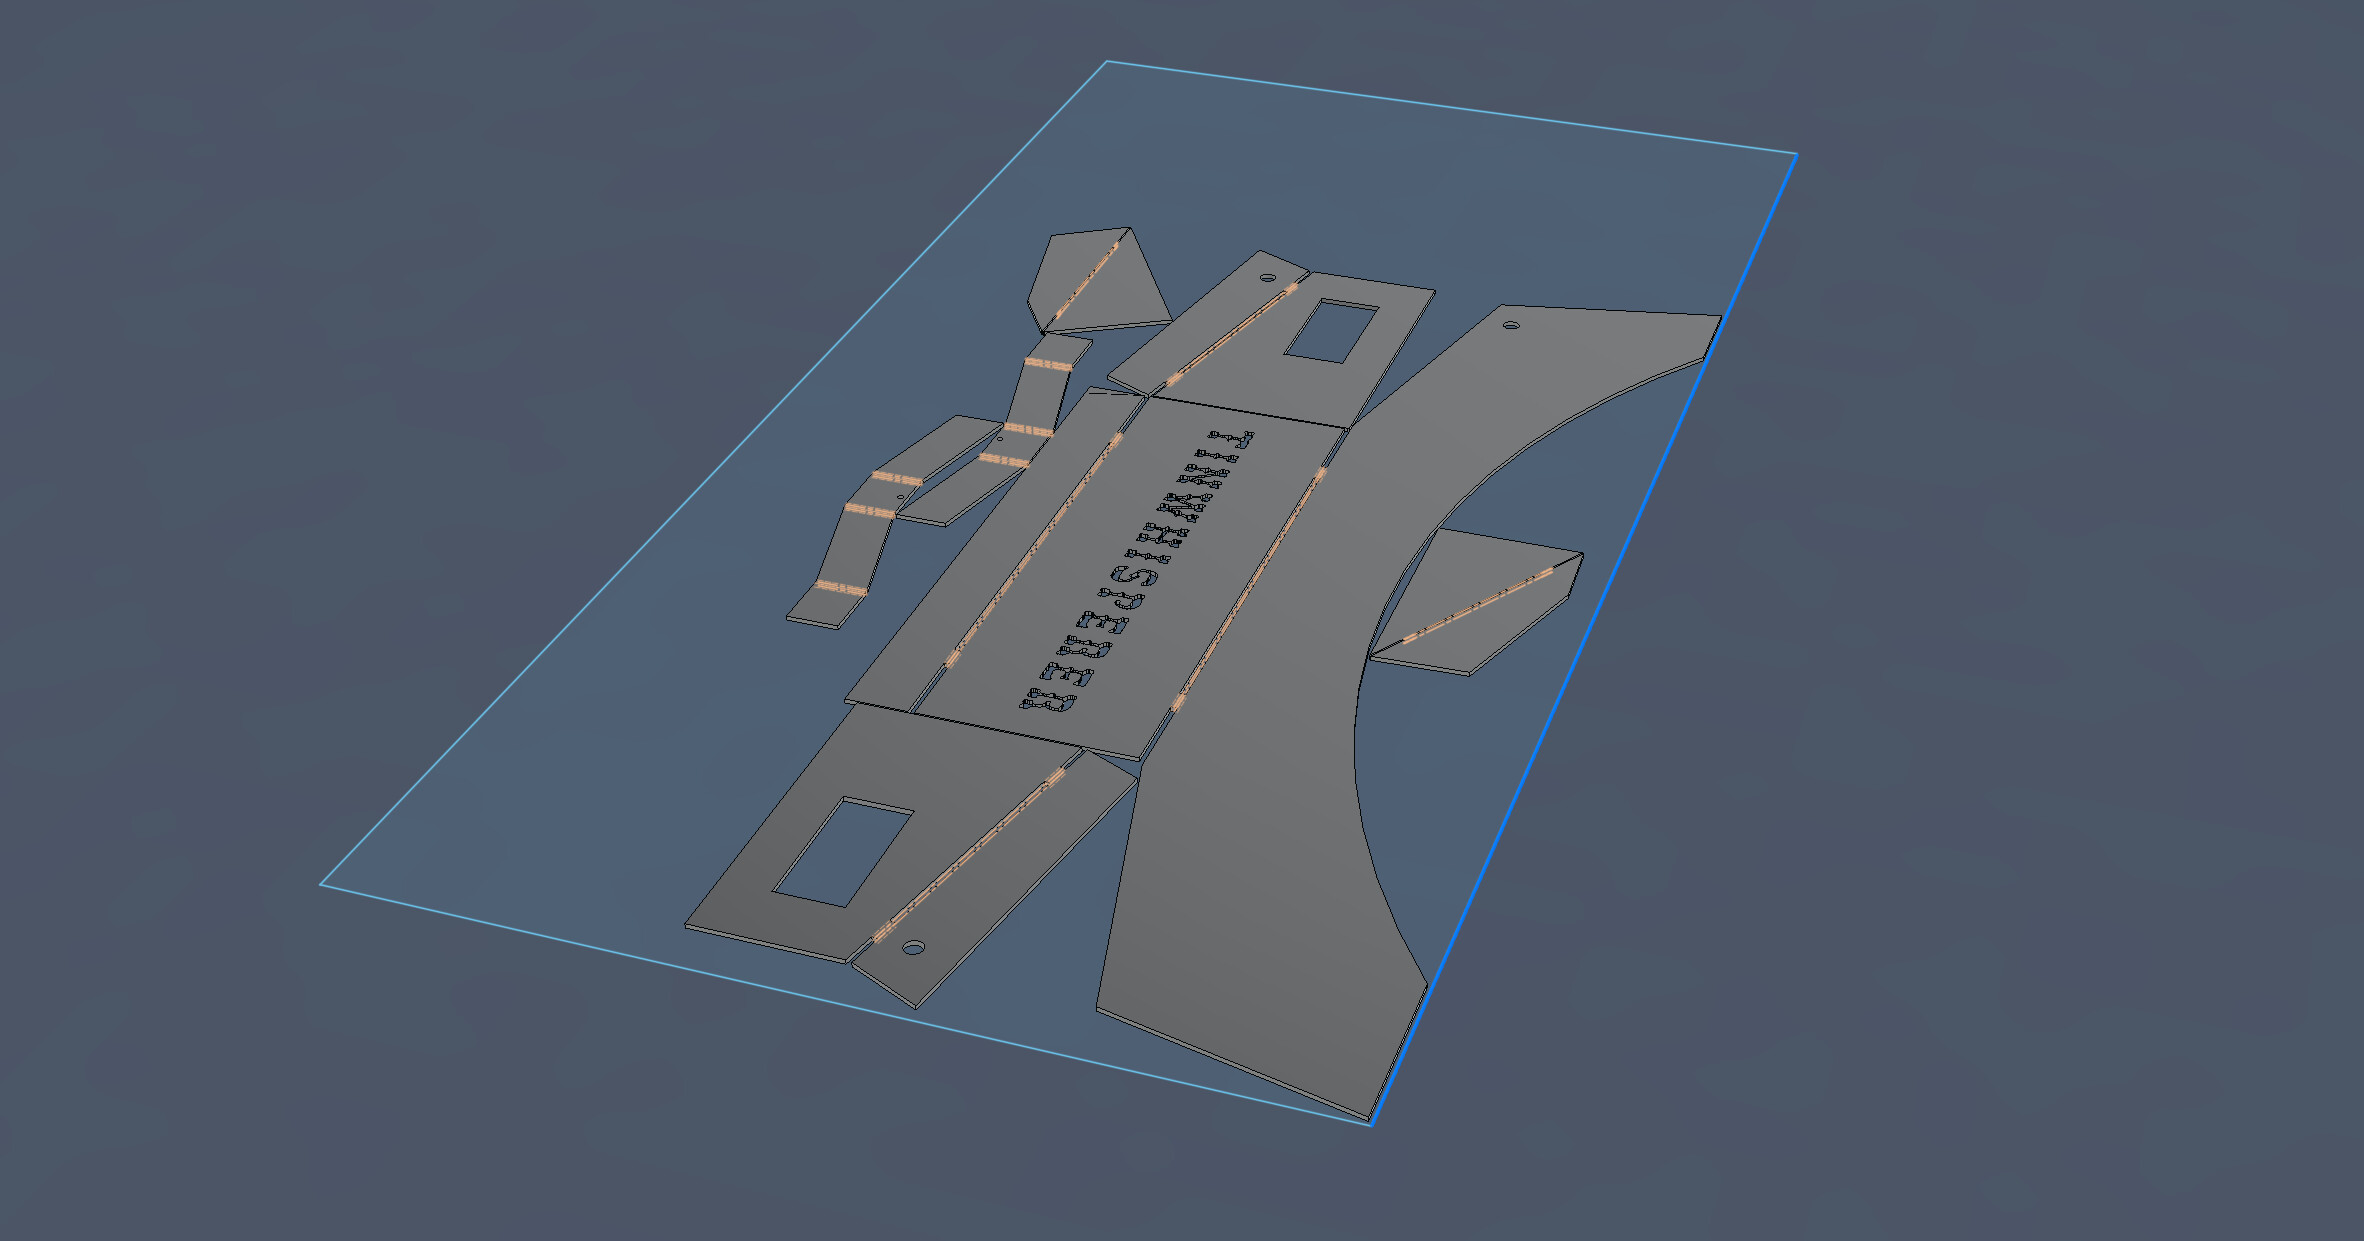
The last option you alluded to is to manually nest the parts. Save the profile as a DXF, create a new file, then import and arrange as needed. Then return to manufacturing and create your G-Code.
How would the best or most efficient way be to do this. $140 for SheetCam I can live with. I would prefer not to have to sit and manually arrange parts if I can avoid it.
If FireControl can do it, then I have to wait until my table is assembled and running before I can play with the program.
ETA - Thank you for the quick responses and advice.
I get nothing when I try to open that DXF with both Sheetcam and Inkscape.
Sheetcam can do nesting of duplicates, but it’s not automatic. You have to duplicate or copy the parts and rotate/move them into position with the keyboard or mouse.
Nesting parts is great when you have a full sheet of metal to cut them from. Not so great when you have a nested file and not enough metal available to cut the full nest in one spot. I’ve found that it is better for me to have an individual cut file and pattern it in Firecontrol. That way I can pattern it to cut multiples or cut individual parts to use up space on a sheet.
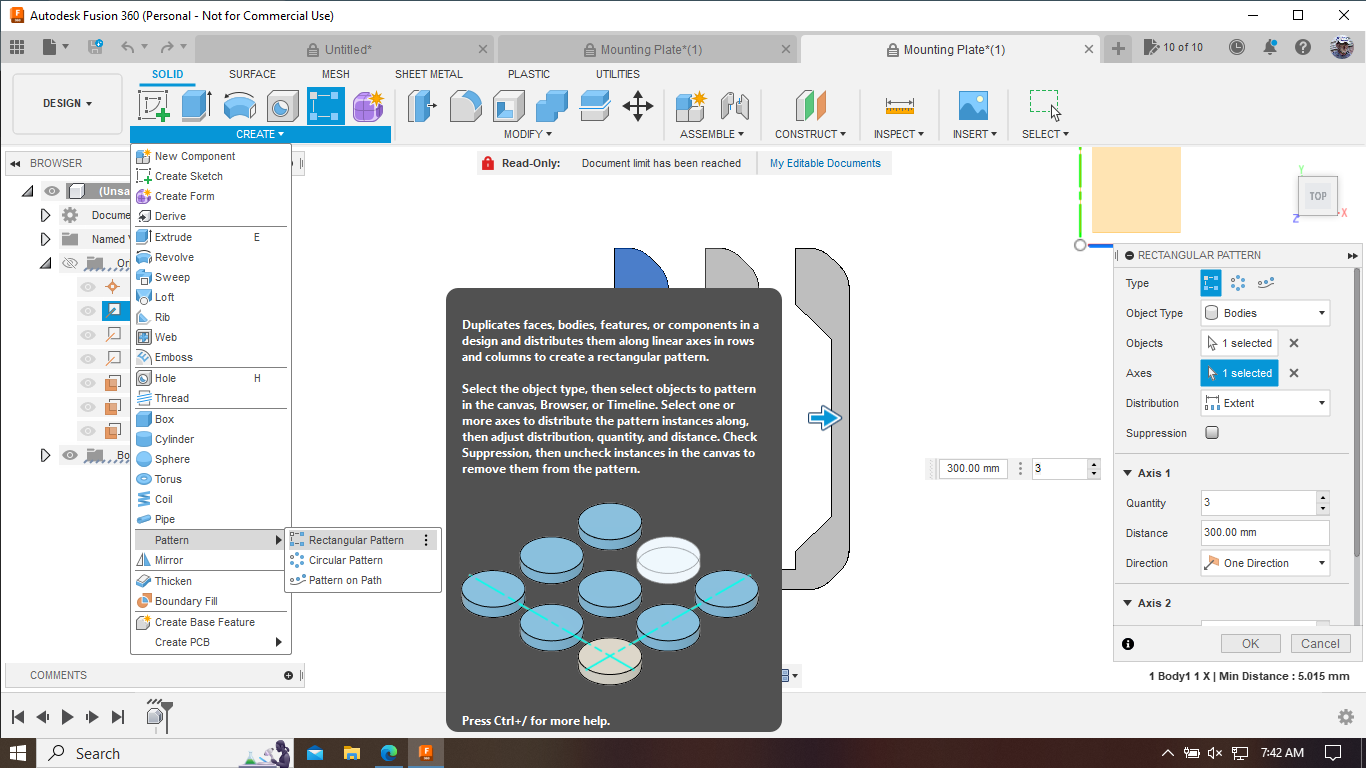
Have you played with the Create, Pattern, Rectangle function in F360? It’s included in the free version. You could create a nested pair, then replicate inpattern.
@Sticks There’s three options that are available with a standard subscription.
You could use the rectangular pattern tool to pattern the body as many times as you’d like.
You could use the arrange tool after you’ve had in those bodies to arrange them on a envelope that you choose the size of.
And you can pattern the actual toolpaths themselves so you can create a toolpath for one object and then just pattern those two of us this is available in the manufacturing workspace.
You do not need to spend the extra money on the add-on
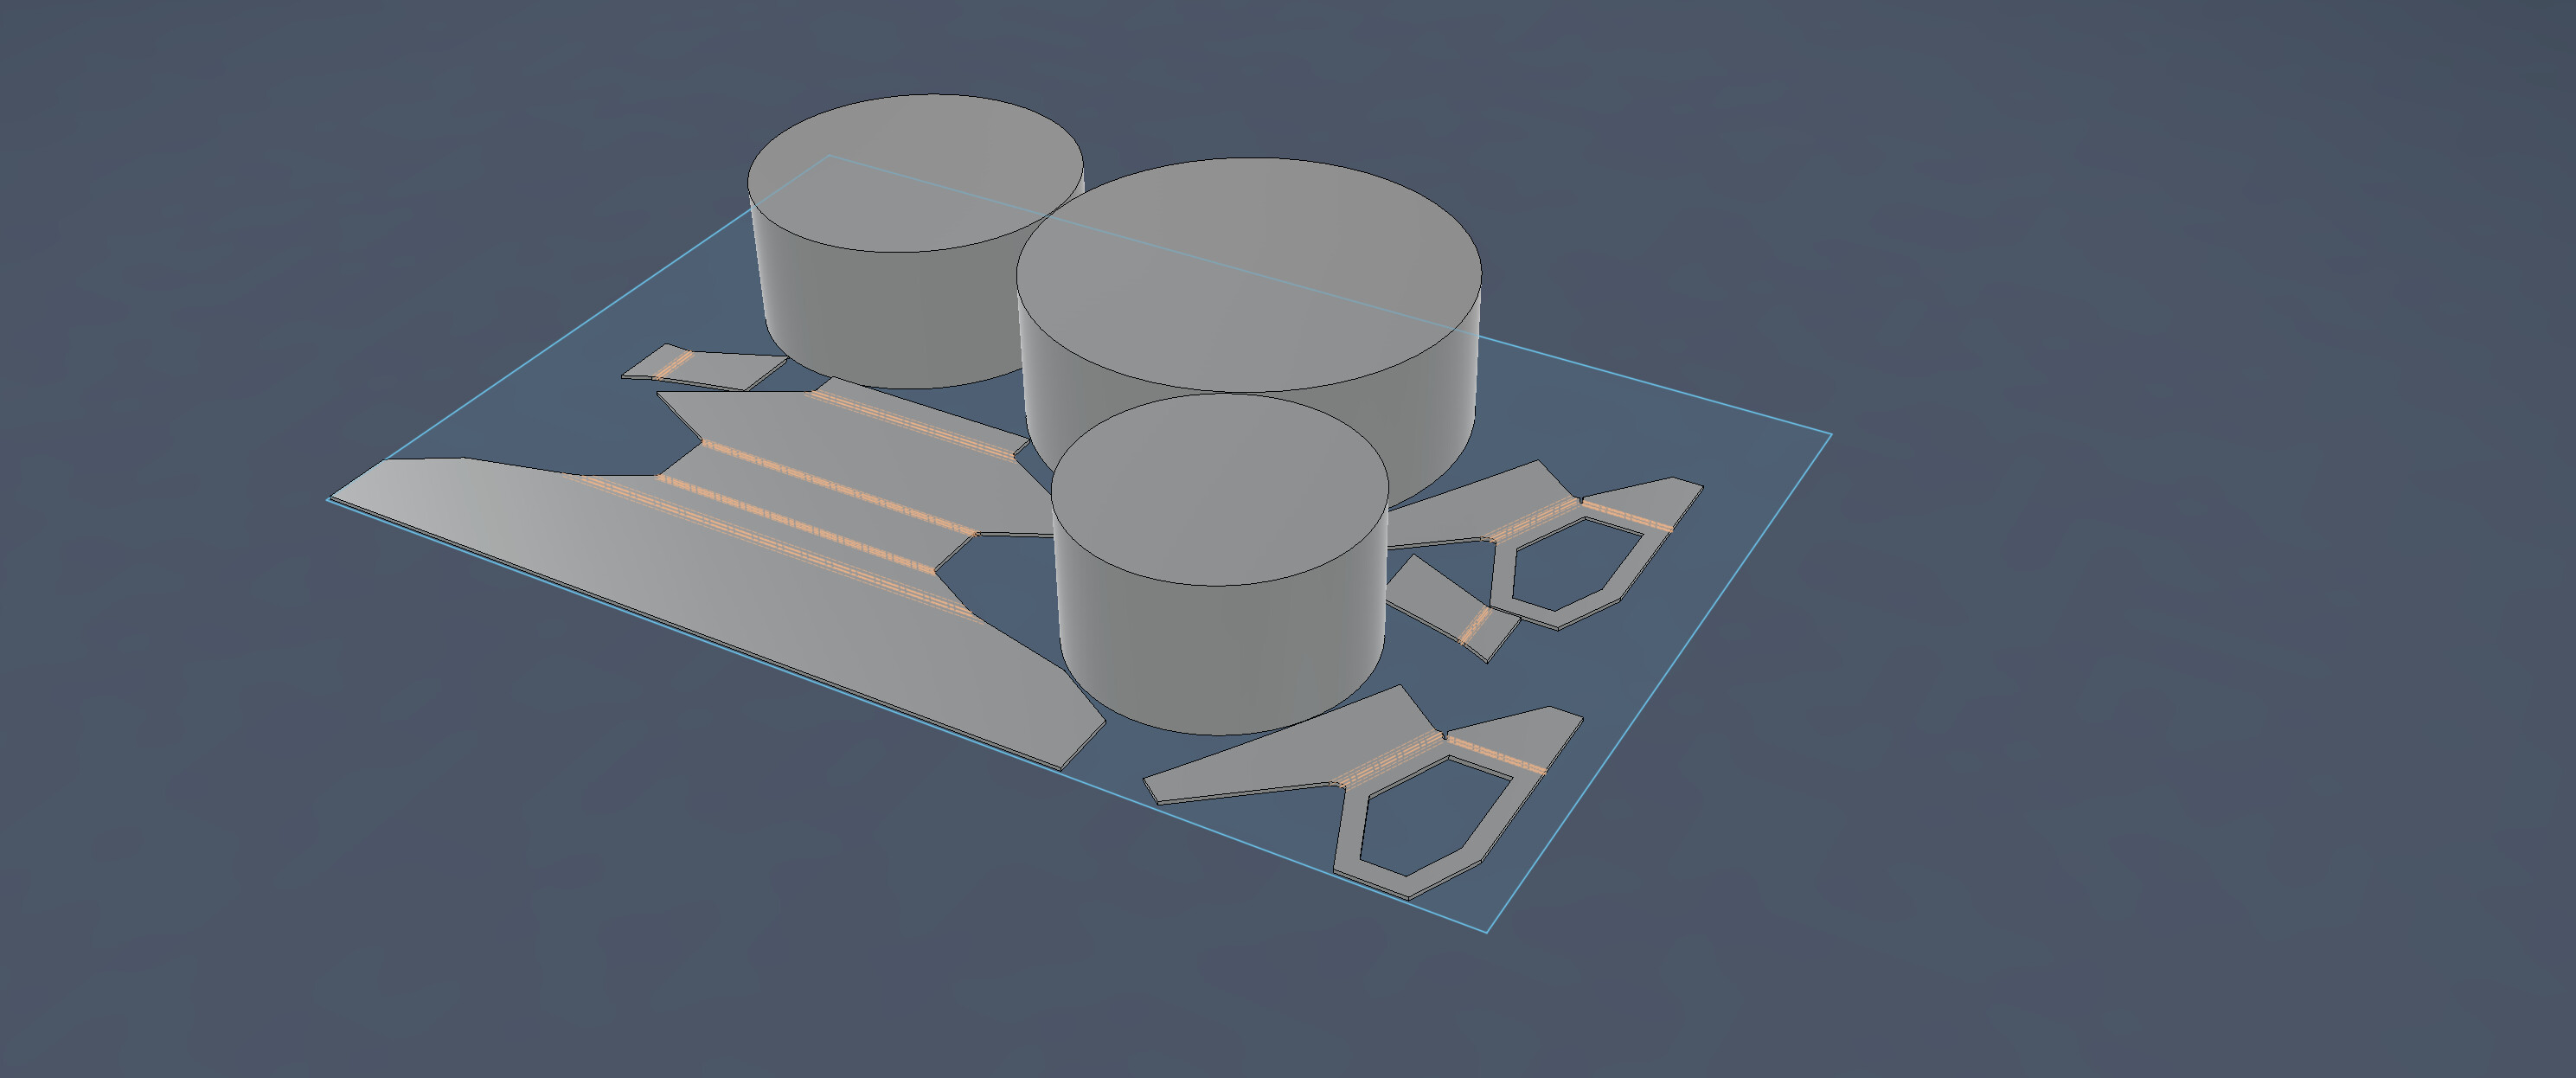
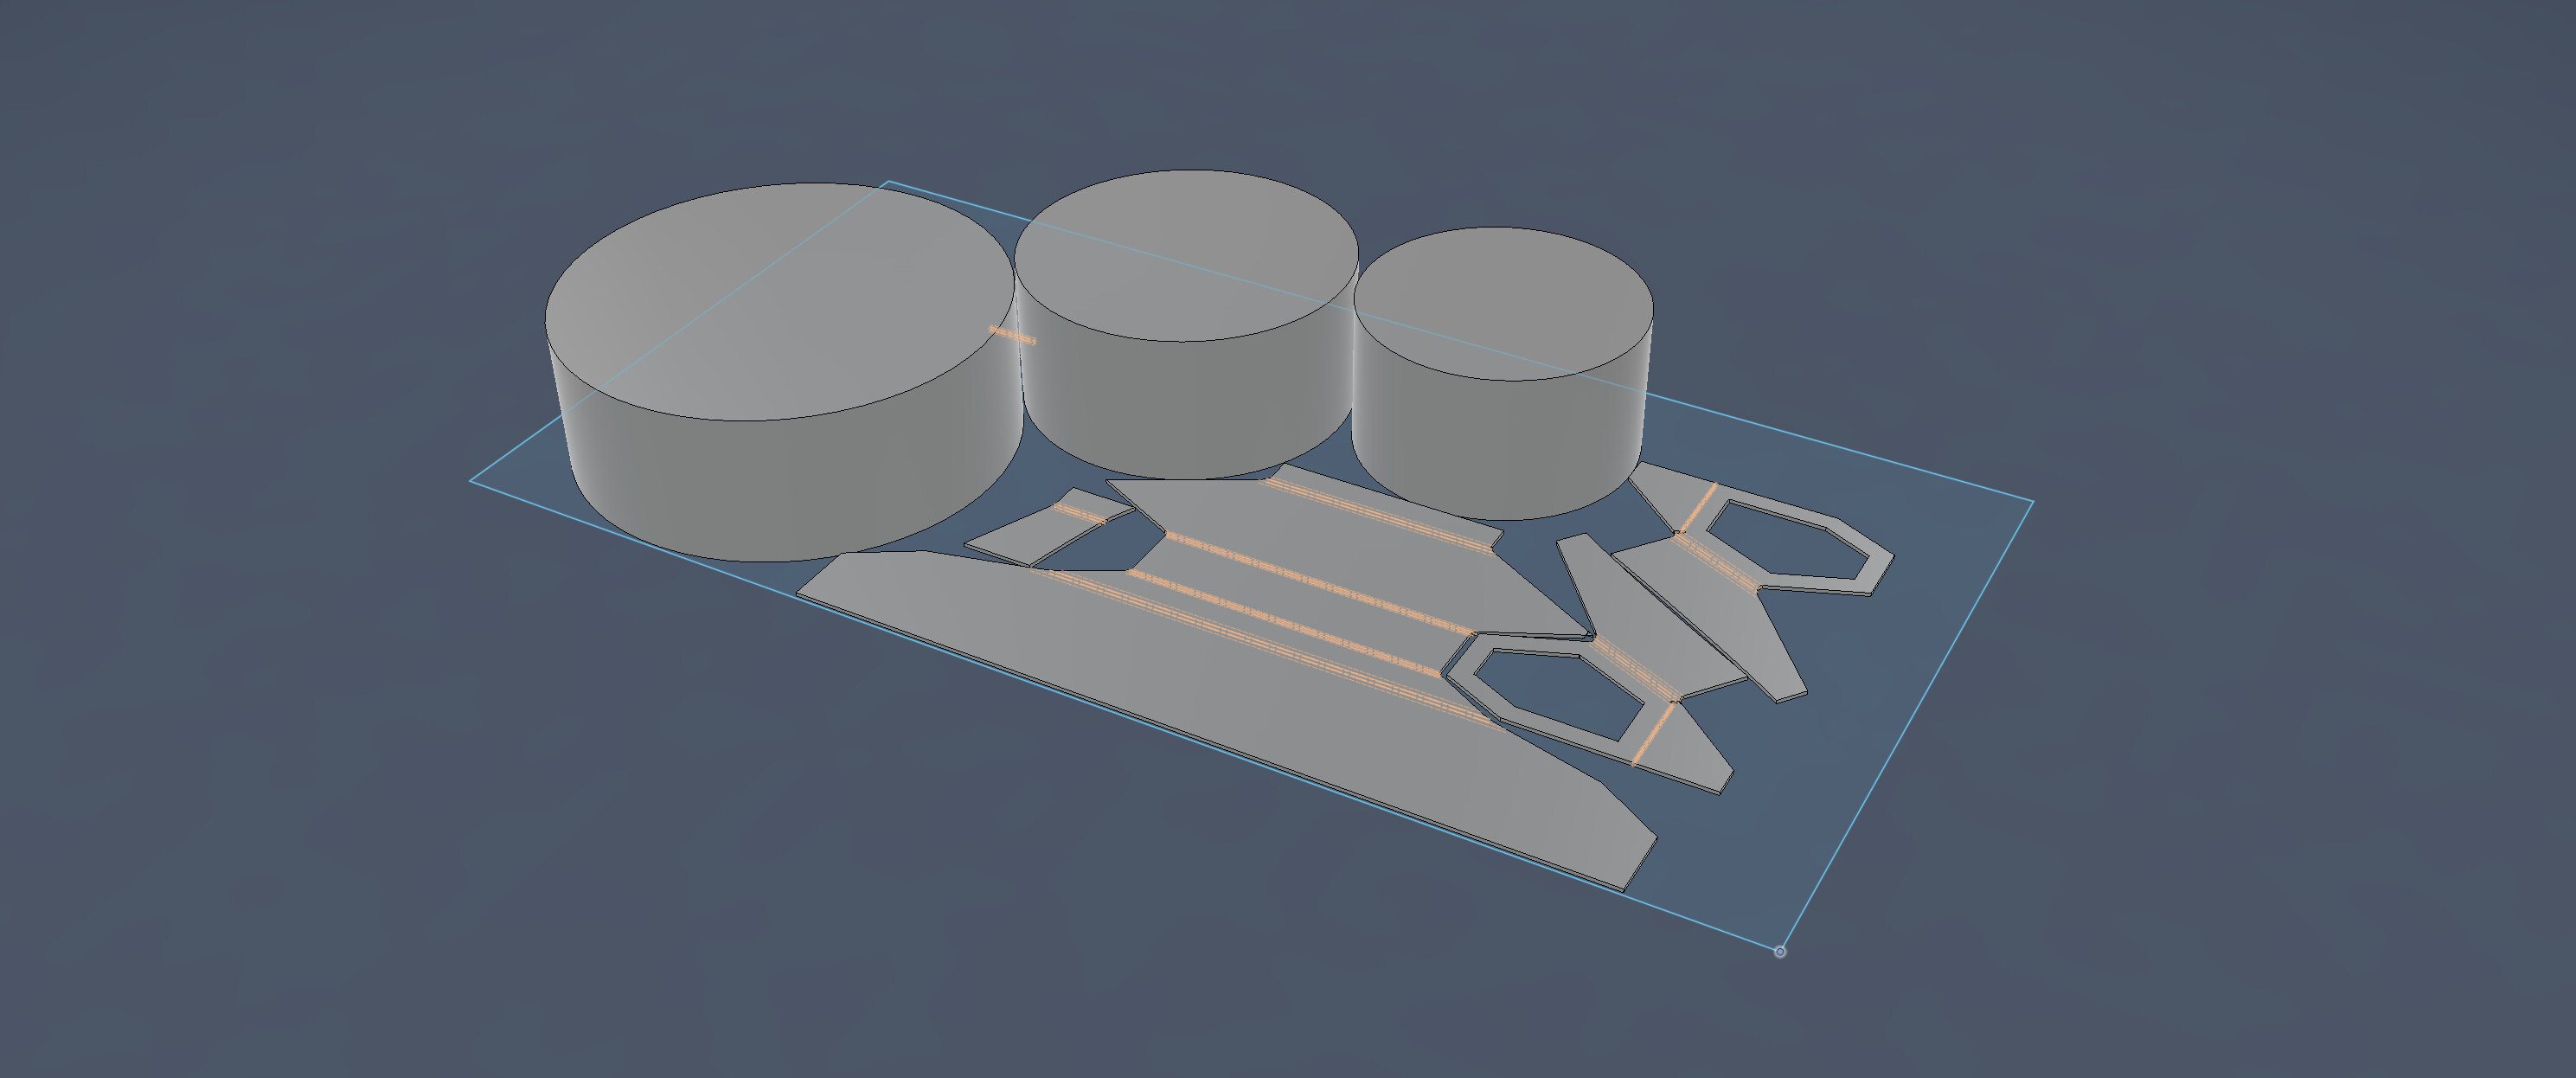
That looks like you have them nested against each other, so they share a common cut line. That does not work well for plasma cutting. The cut path must go around each part, so they need to be at least far enough apart for the kerf width on each part.
I planned on doing a full square cut (movement only) on the table once I get it assembled, to see what it’s actual boundaries are so I know what I can work with.
I need to do a little bit more reading and research, I’m surprised nobody has come up with a method to make this a legitimate full 48x36-in cutting area.