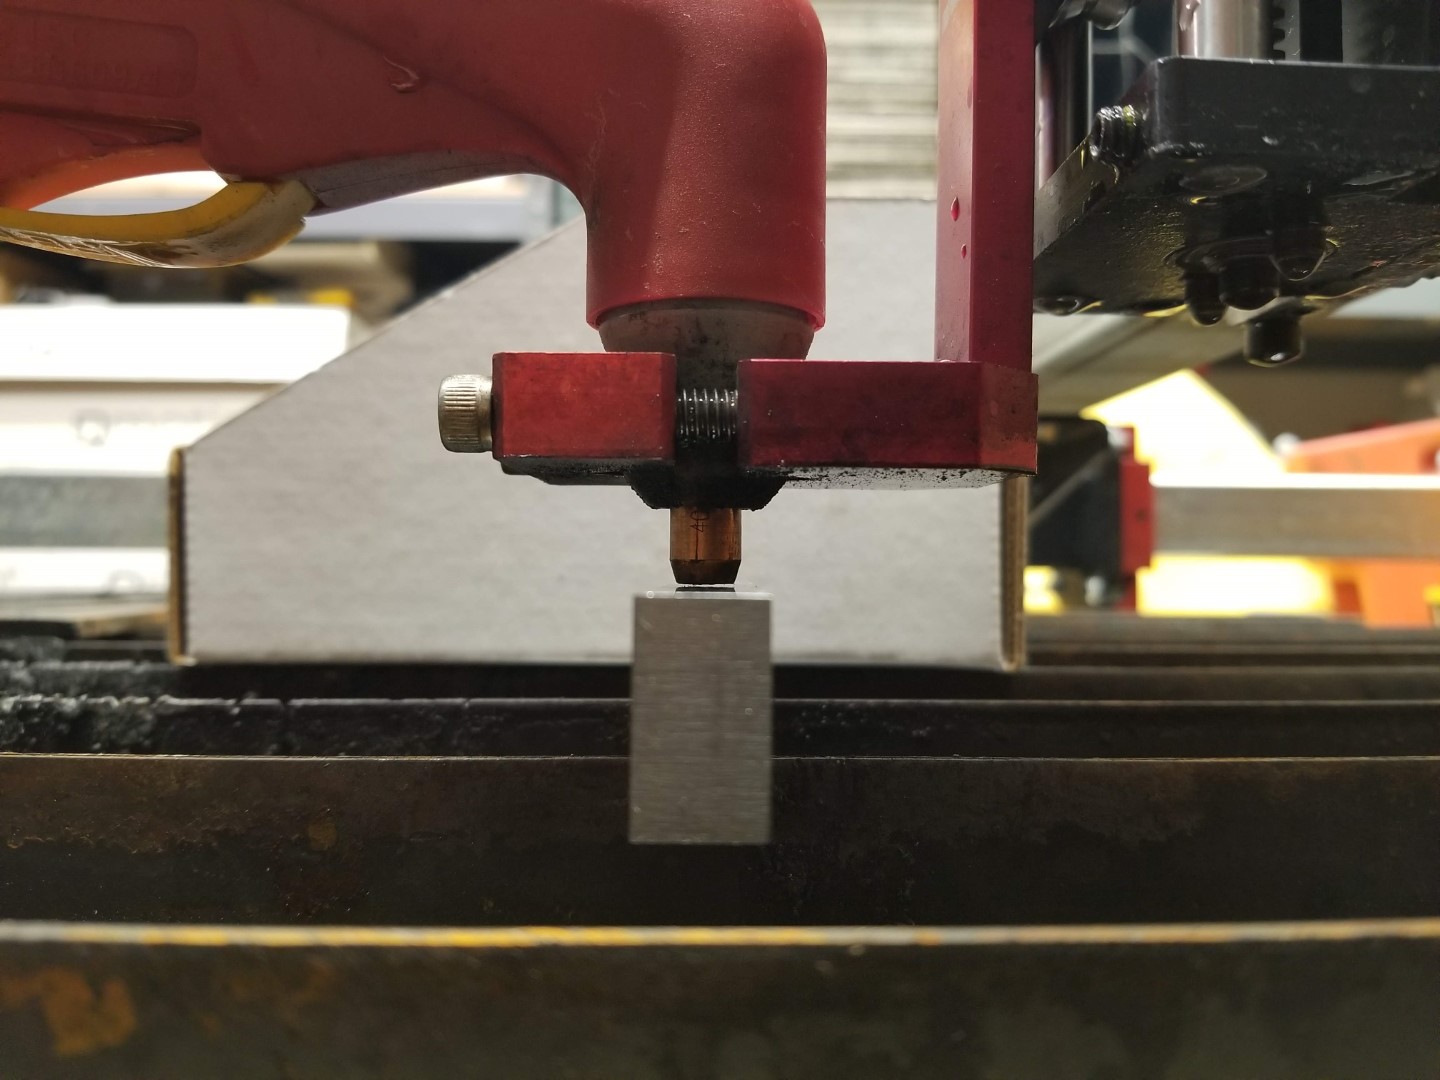
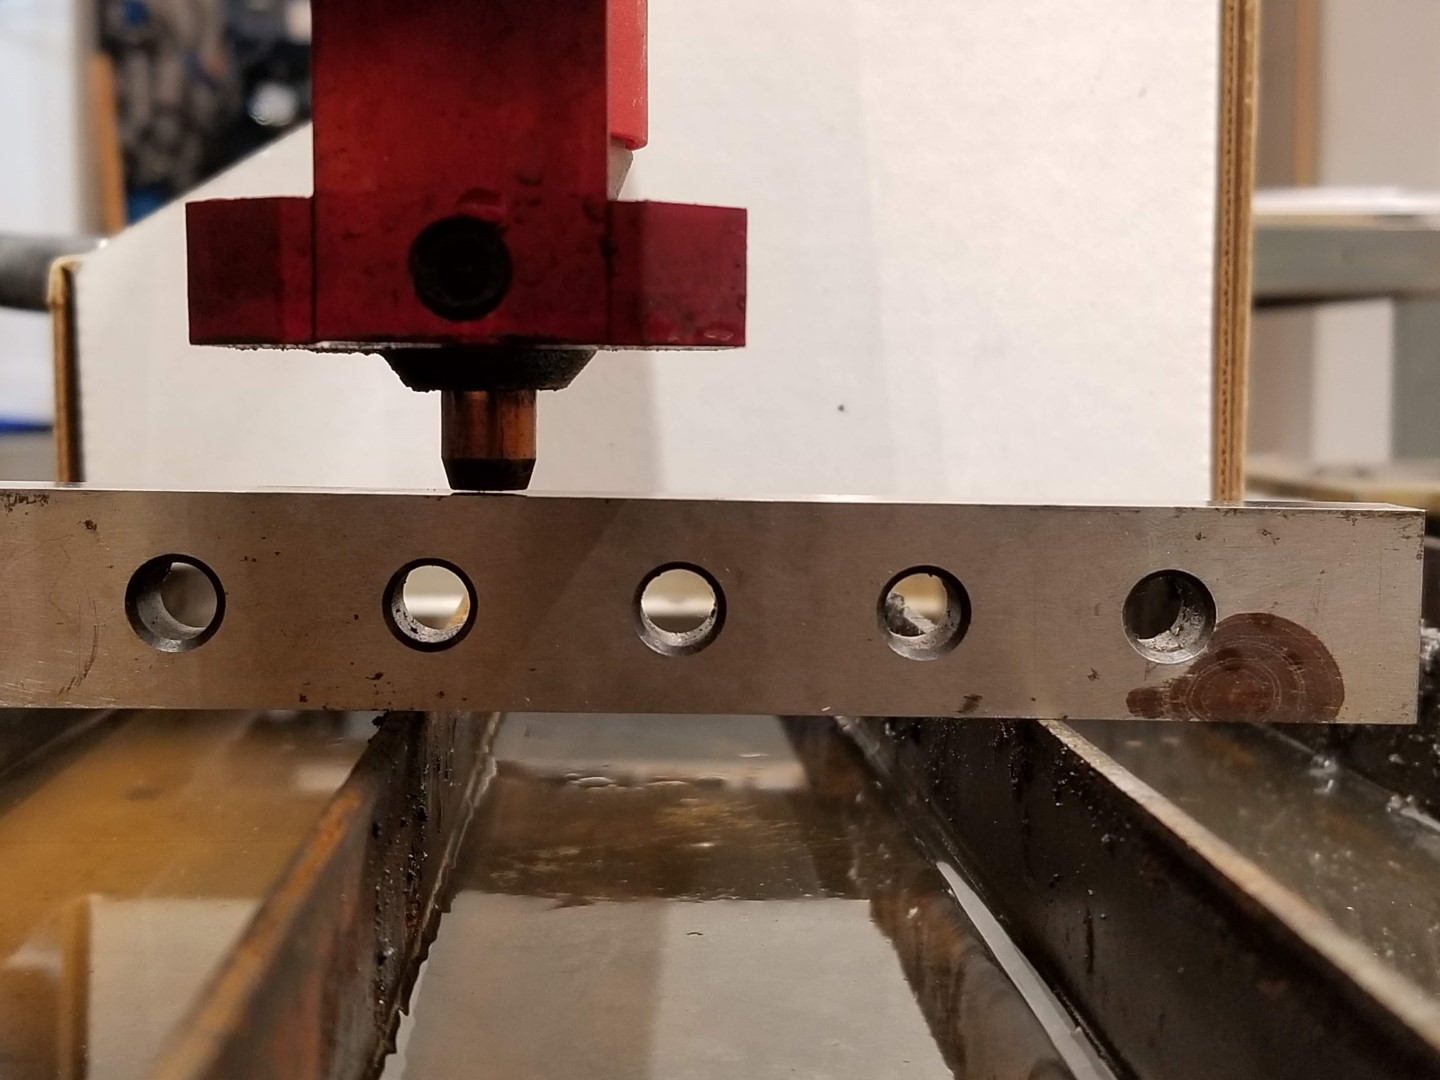
Hello everyone. I was getting some pretty badly beveled cuts with the original consumables on my plasma cutter, which I chalked up to poor quality or damage by a beginner. So, after getting the new Z-axis and THC installed on my Crossfire XL, I swapped them out for some new 40A tips and electrodes from George. Unfortunately, the issue has persisted. It’s cutting like the torch isn’t mounted square (it is), and the angle of the cut follows the rotation of the nozzle (if I turn the tip 90 degrees, the direction of bevel changes accordingly). It’s behaving like the nozzle is blown out, but since the very first cut had the issue too, is there anything else within the nozzle assembly that could be causing this problem with brand new consumables?
My current setup is:
Primeweld CUT60D
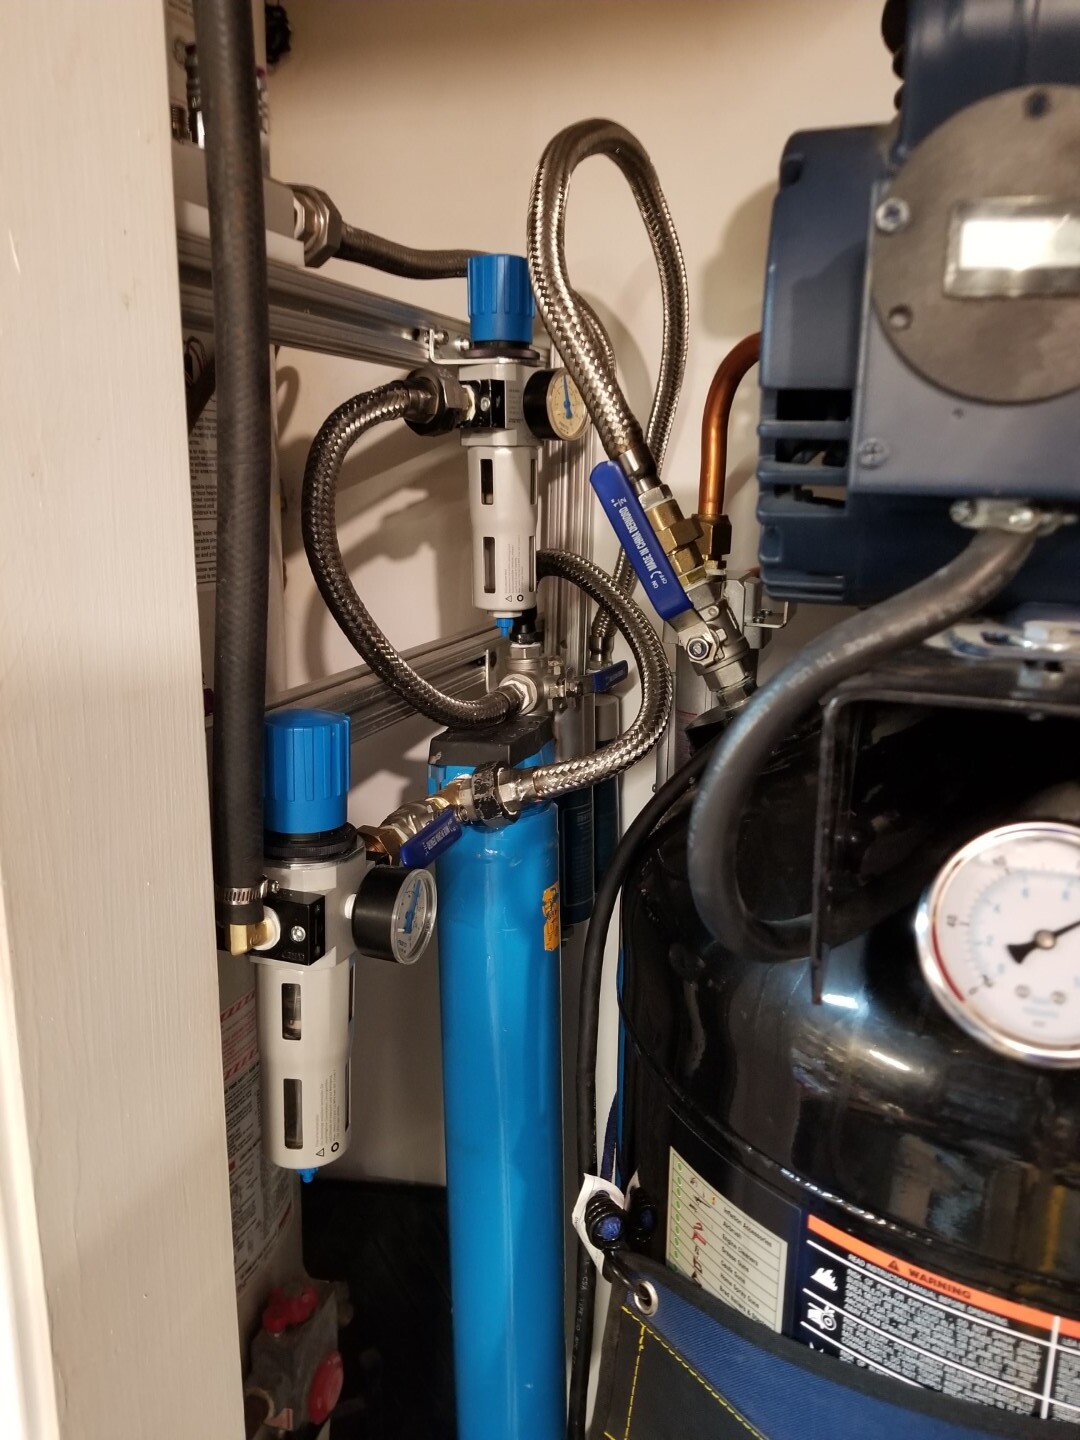
5HP 60 gallon air compressor in climate-controlled garage (16 CFM @ 90PSI, 165 PSI max) with after cooler, water separator, large desiccant dryer, air filter, and 1/2" ID line all the way to the plasma cutter.
Cutting 1/4" mild steel with a 40A tip, 40A and 65 PSI set on the machine, 0.8s pierce delay and 38 IPM
Steady voltage when cutting of 92-93V
Stopping the program mid-cut to measure the height shows that it’s usually close to the 0.065" it’s supposed to be, though a few times I measured the gap at closer to 0.089"
I verified the swirl ring is installed in the correct orientation, but even tried flipping it with no change
The effect was present with the old tip and electrode, but was present immediately after switching to new consumables.
So, I guess I’m just trying to figure out if the tip is indeed already damaged after almost no use, and if so, is there something else in the setup that could be causing this to happen from the start? The tip has never had more than 40A to it, and since I’ve been testing, the torch hasn’t been on for more than 15 seconds continuously.
I would really appreciate any guidance, as I’ve ruled out everything that I can think of after many hours of reading forum posts! Thanks in advance!
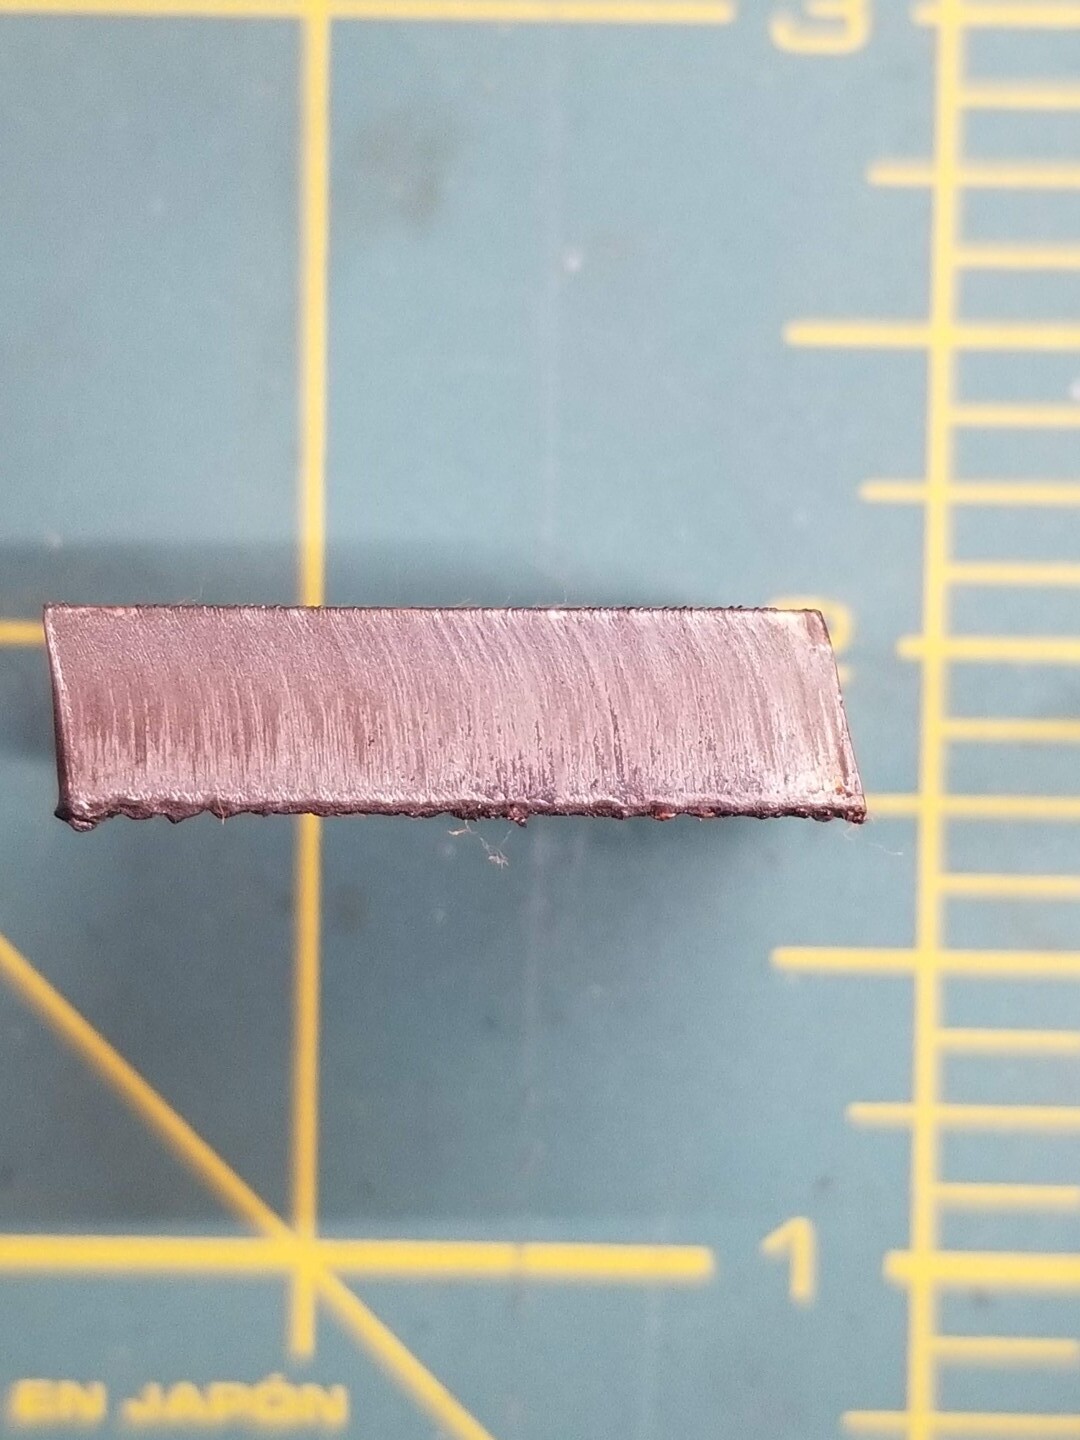
Cut chart for the Cut60 indicates 45 Amps and 47.27 IPM on 0.25" mild. I don’t cut much 1/4", but I did a quick test with my Cut60 on some scrap. Settings with 50 Amp Tip: 48 Amps, 65 psi flow pressure, 40.5 IPM. Bevel was 0.009"
I think you need to switch to a 50 Amp tips and up your amps.
Well, the original consumables were rated for 60A, and I was getting the exact same results when using the settings from the manual. I can switch back to that tip, but since 0.25" is the thickest material that I plan to regularly cut, I had hoped I could do that with the 40A tip so that I didn’t have to frequently change tips (and hopefully create a smaller kerf). I’ve seen quite a few examples of others on the forum cutting 1/4" steel with lower amperage tips and settings, so it seemed reasonable.
I’ll do a quick test with the exact settings you listed, and post the results shortly…
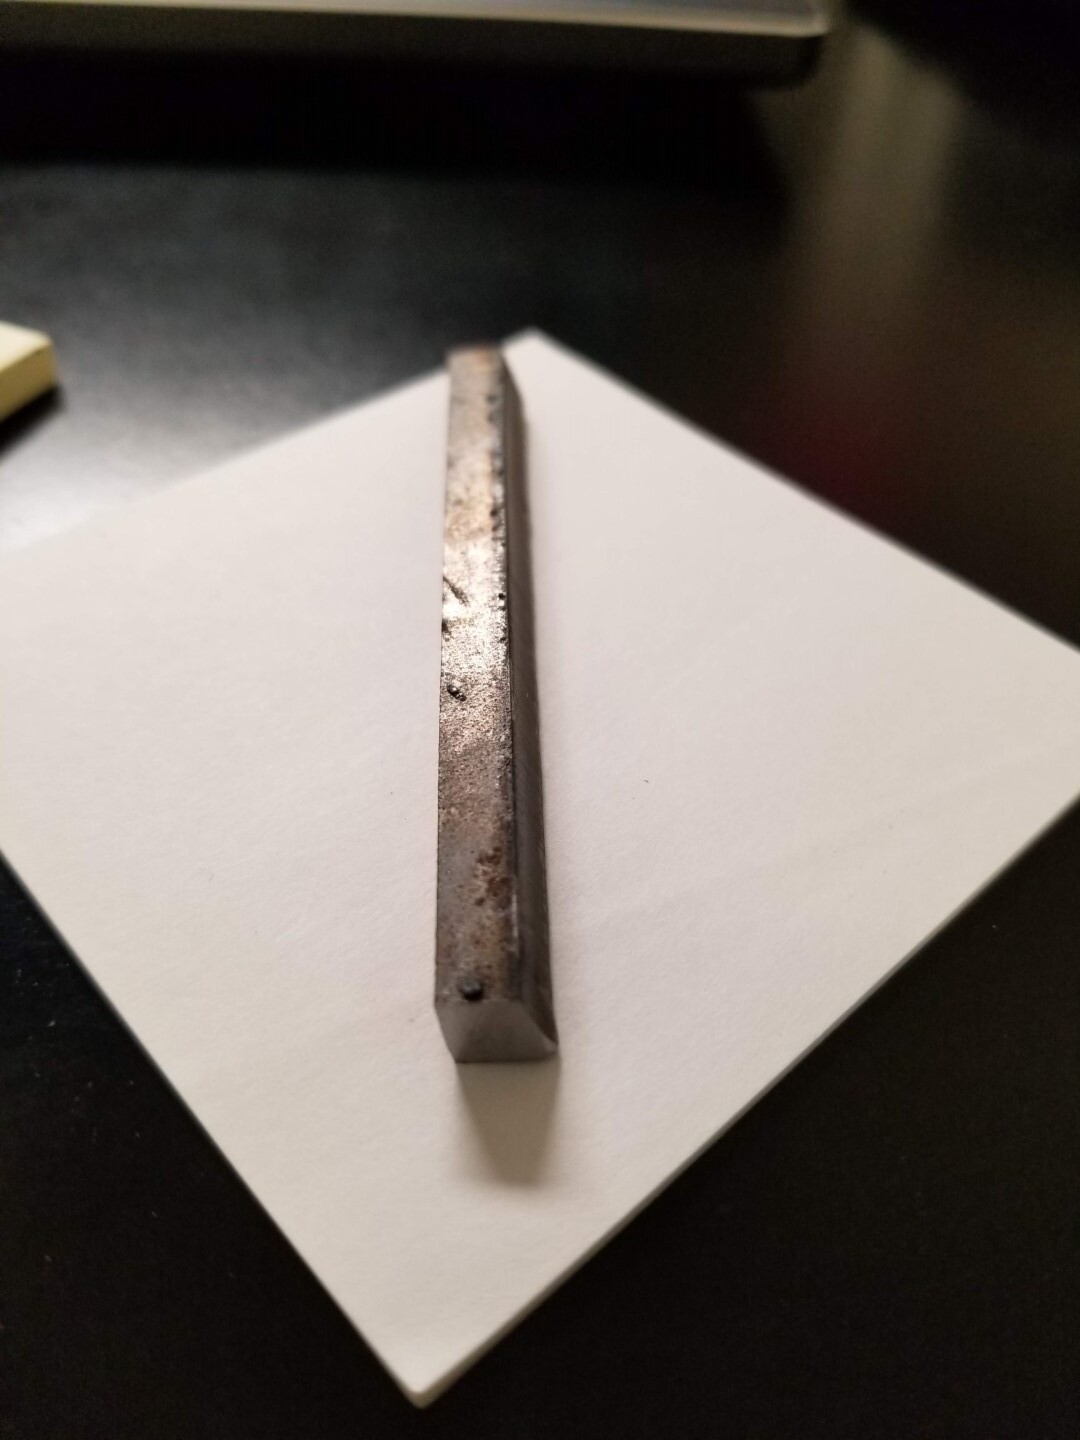
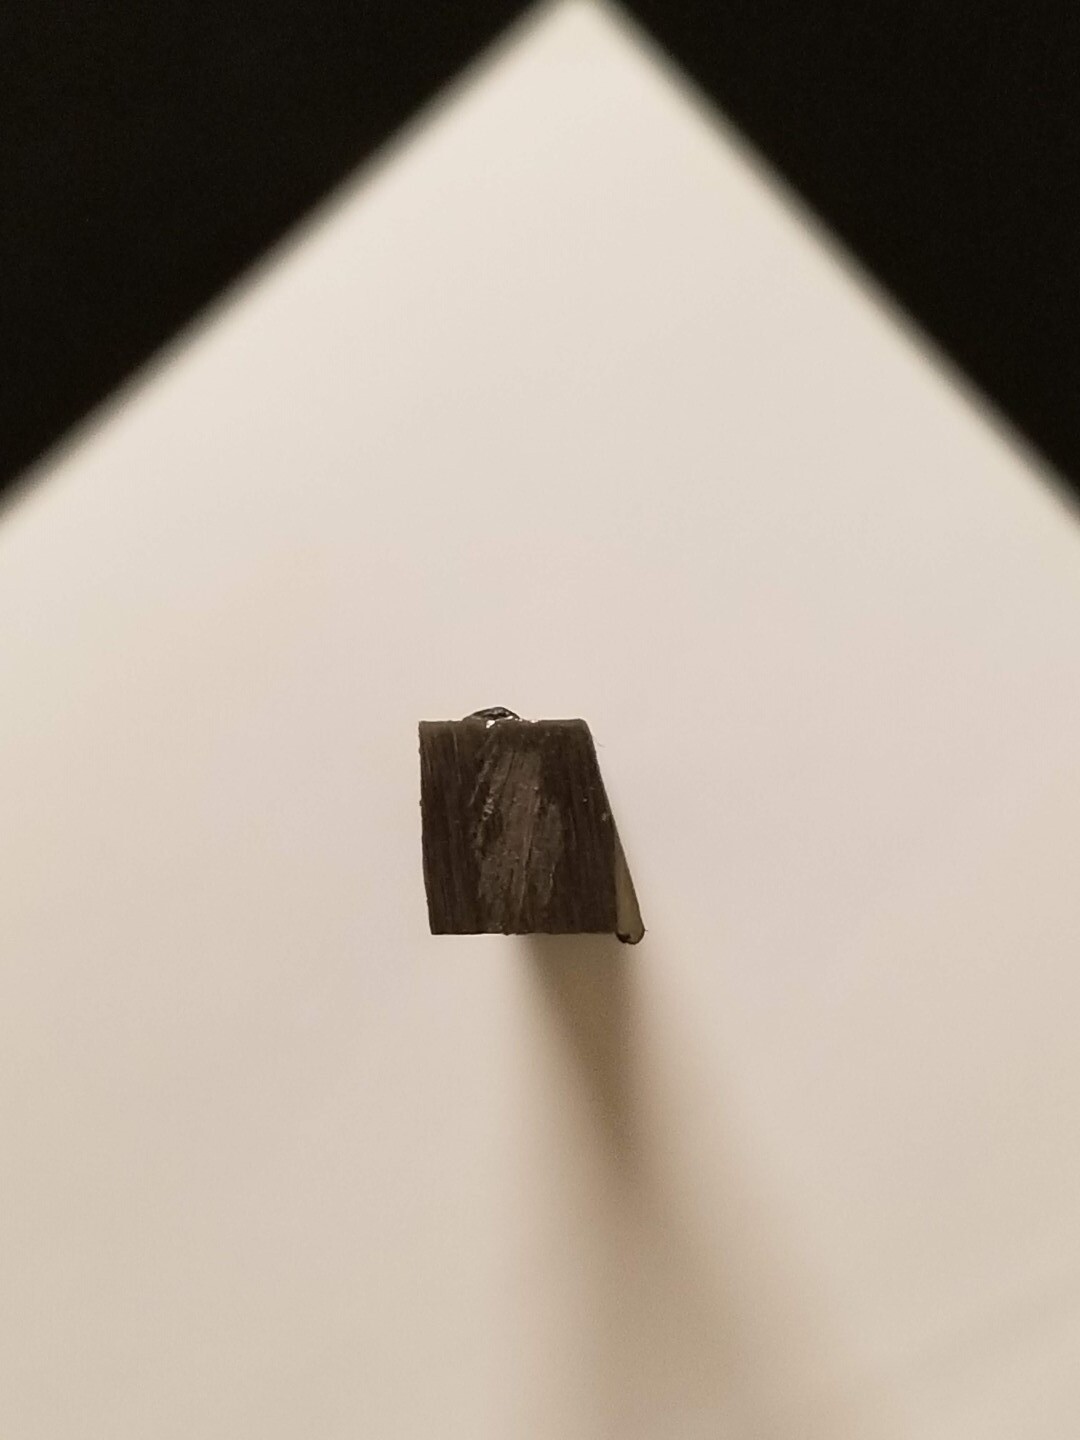
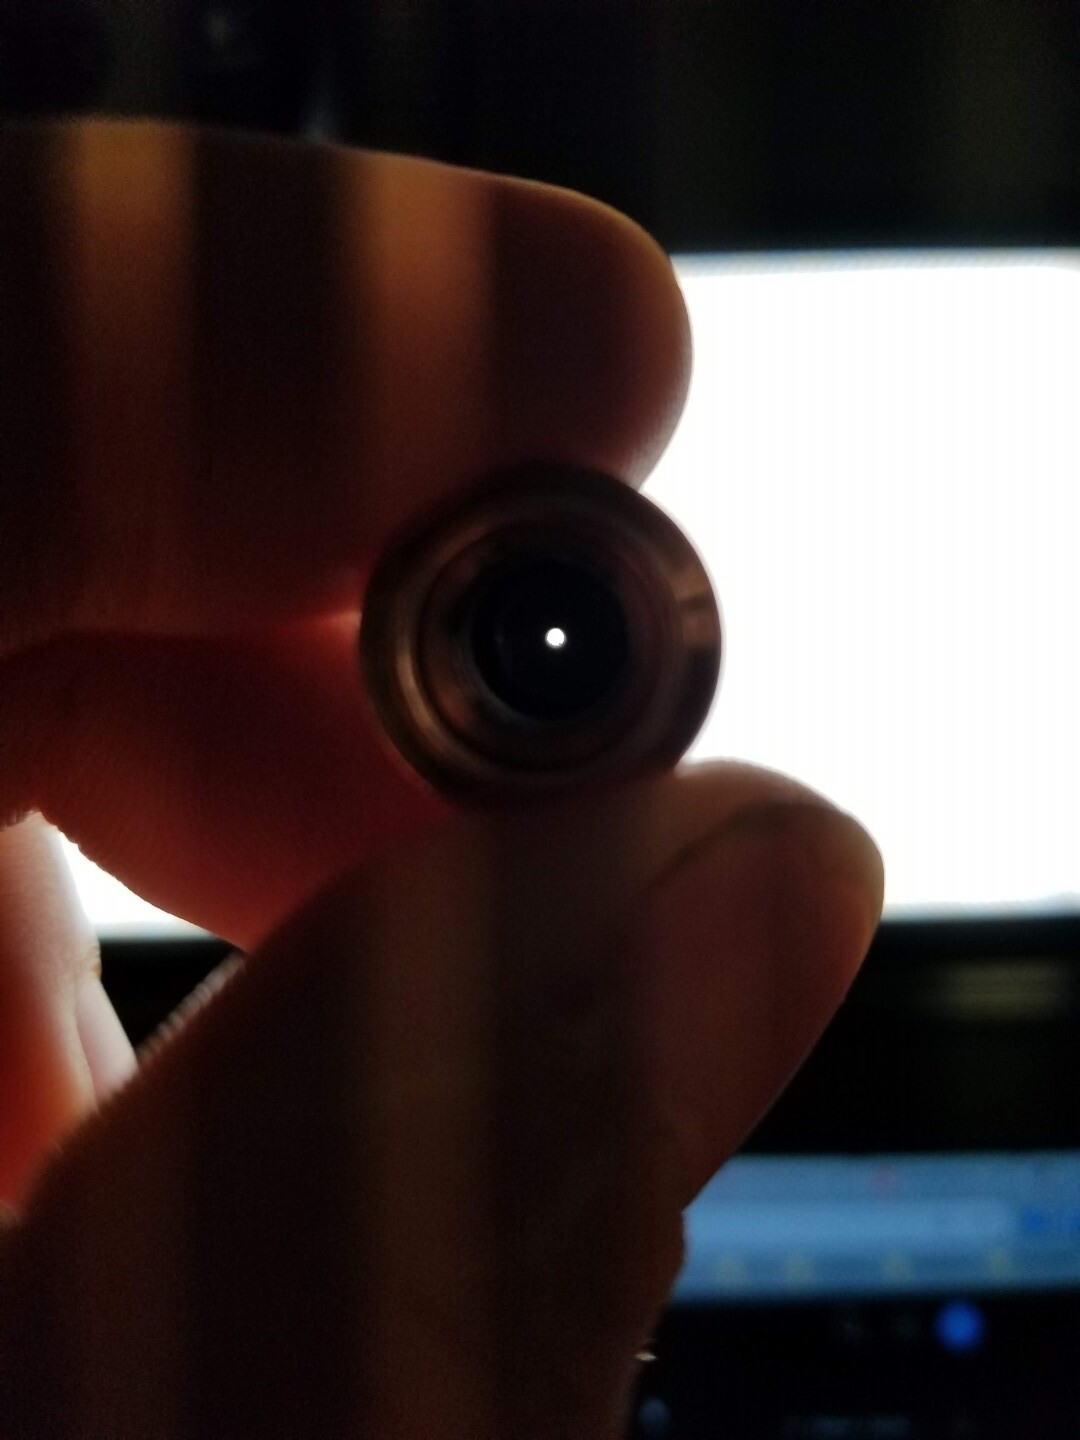
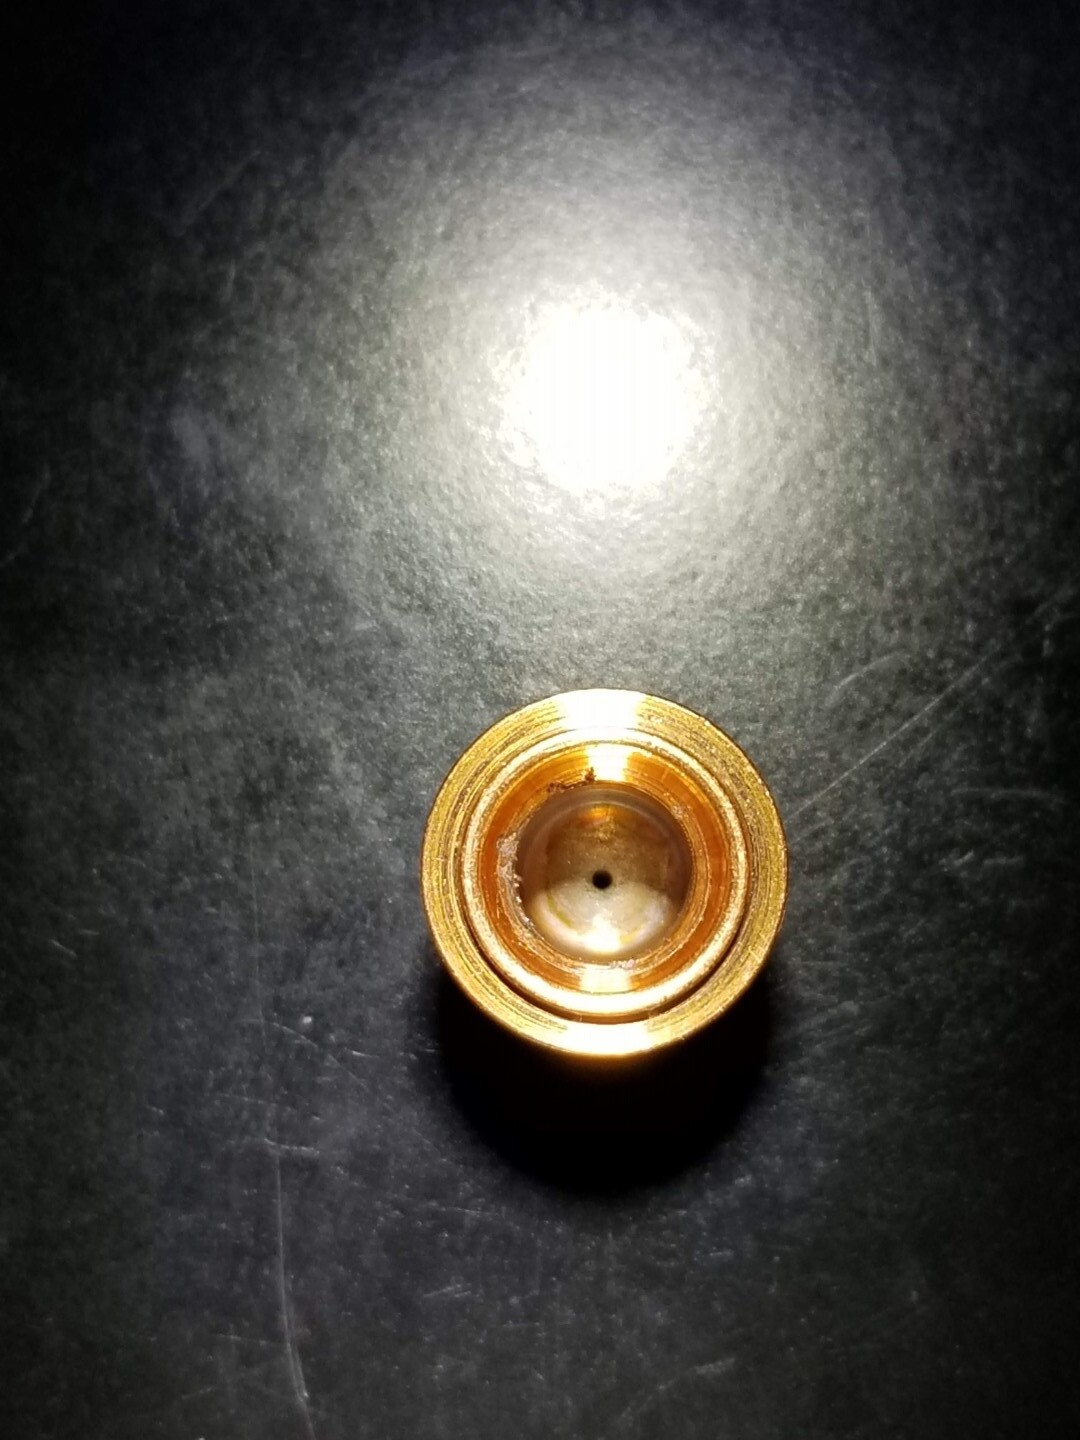
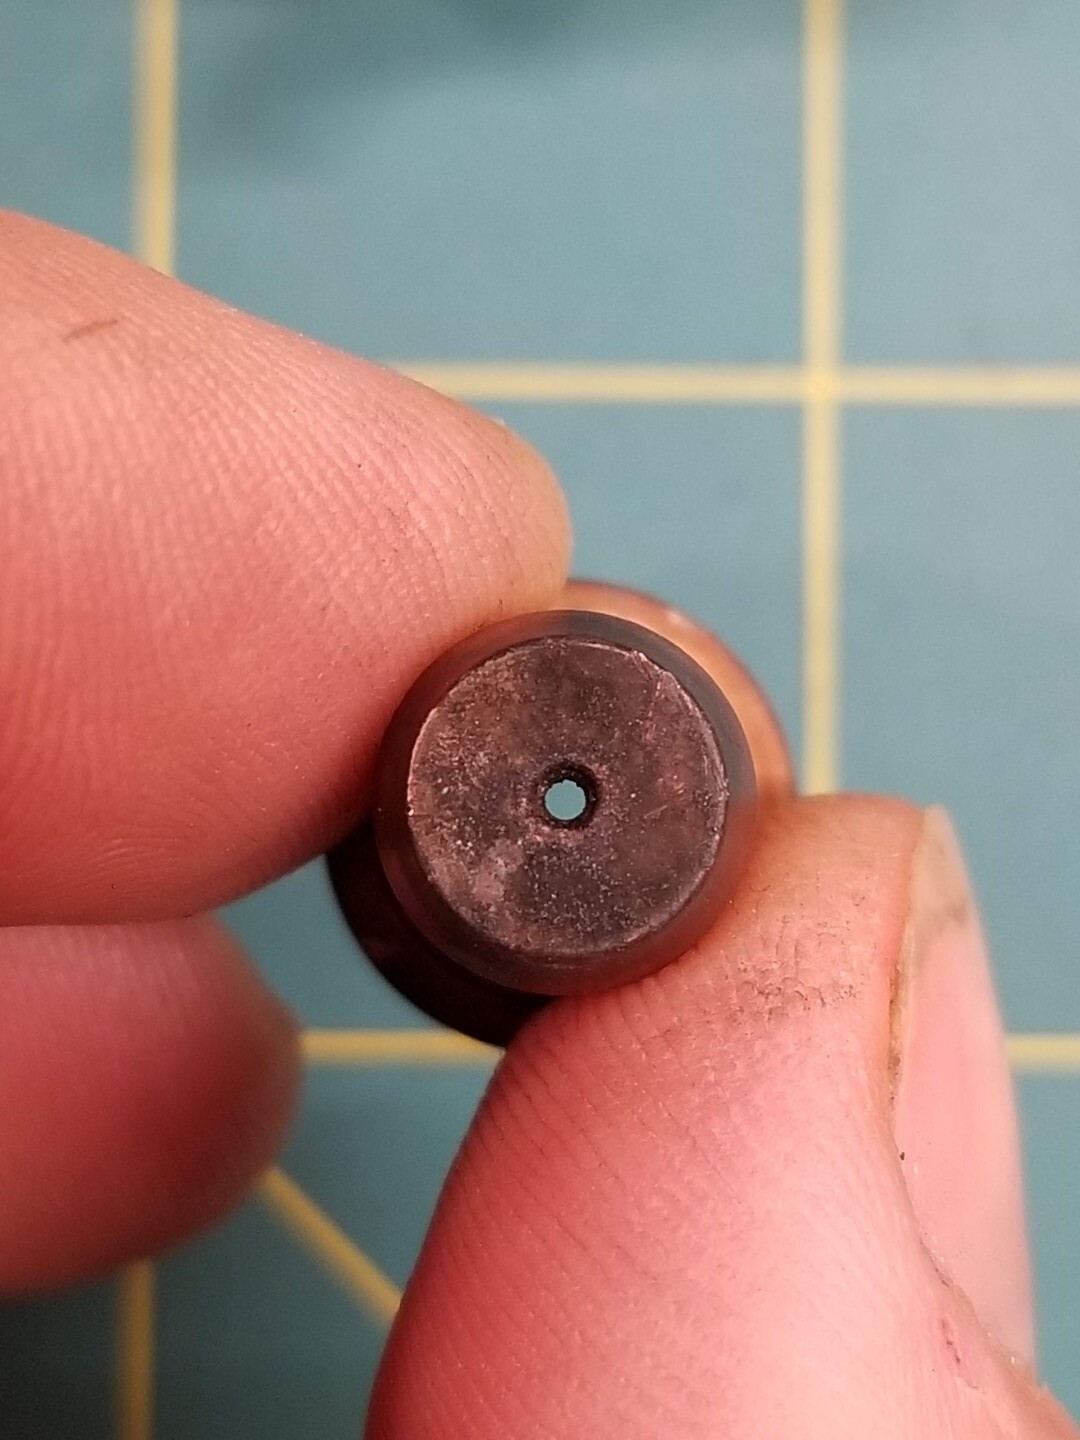
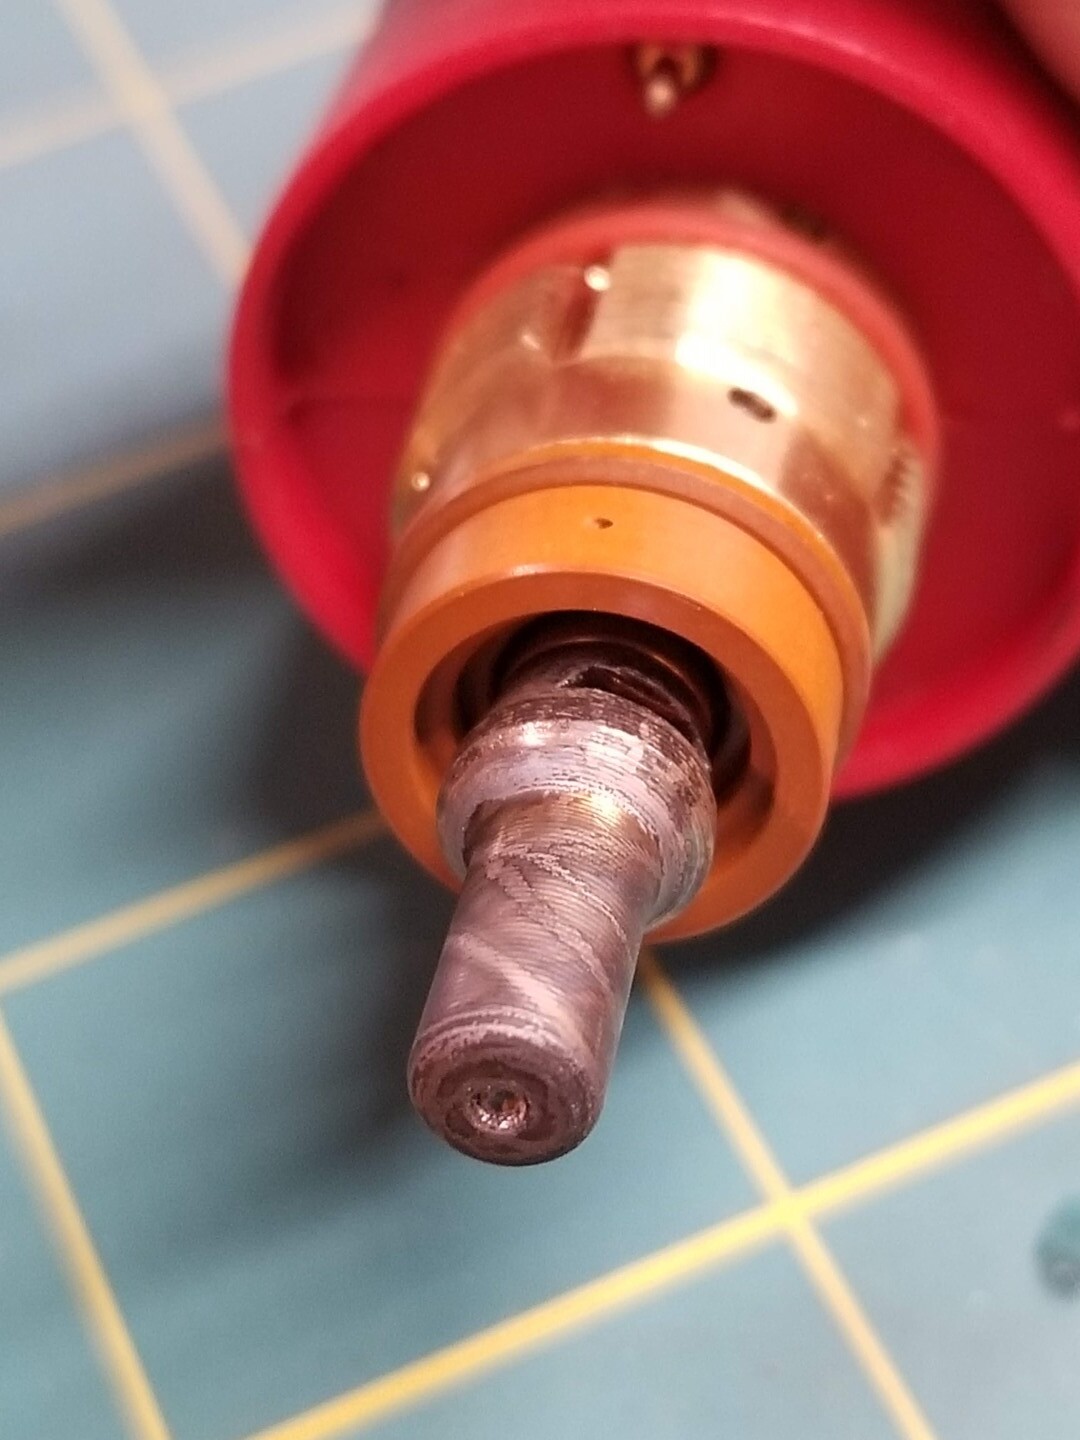
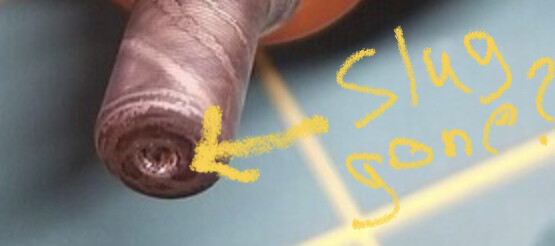
Alright, so I swapped back to the 60A consumables (photos below), and they look fine to my eye, but I’m getting a similar taper, though it doesn’t seem quite as bad. I ran it at the settings you suggested, and it cuts cleanly, just not square.
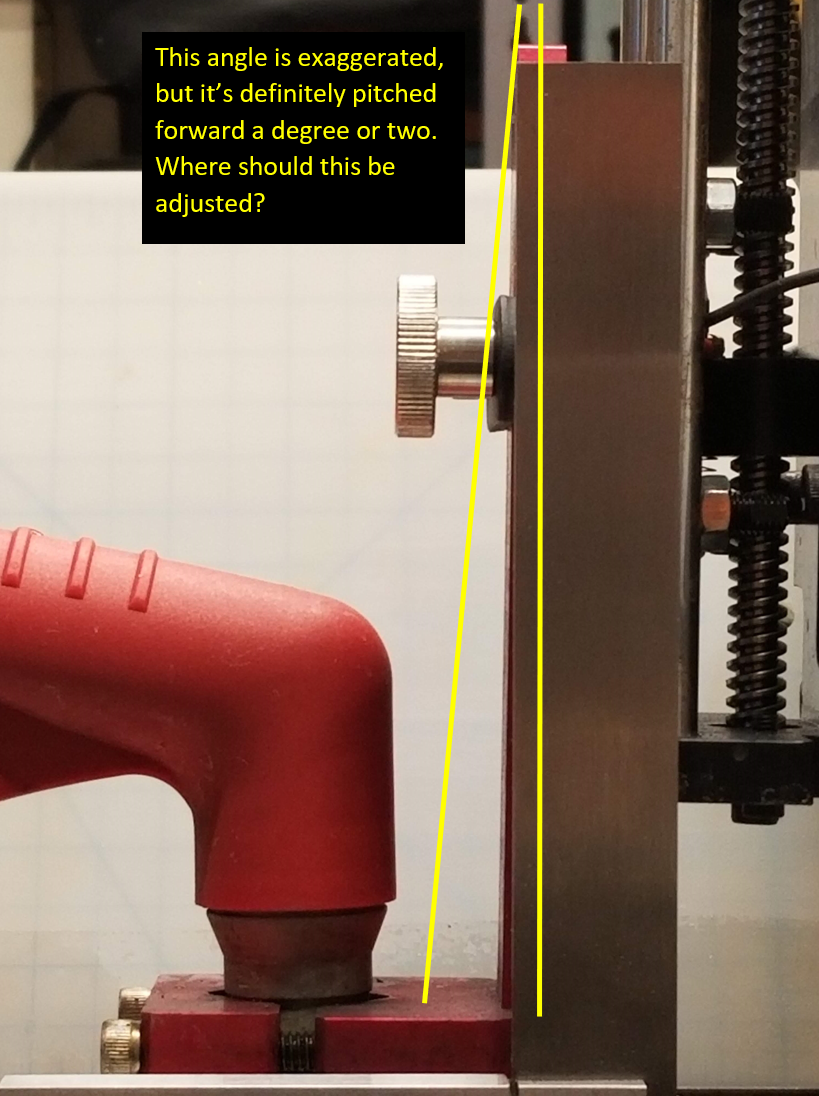
I’m also rechecking everything with a machinist square, and it looks like the Z-axis slider might be a tiny bit out of perpendicular, so I’m going to try to eliminate that and then re-run my tests. It just seems like a really big coincidence that the side with the taper followed the rotation of the tip, but I suppose it could be a fluke.
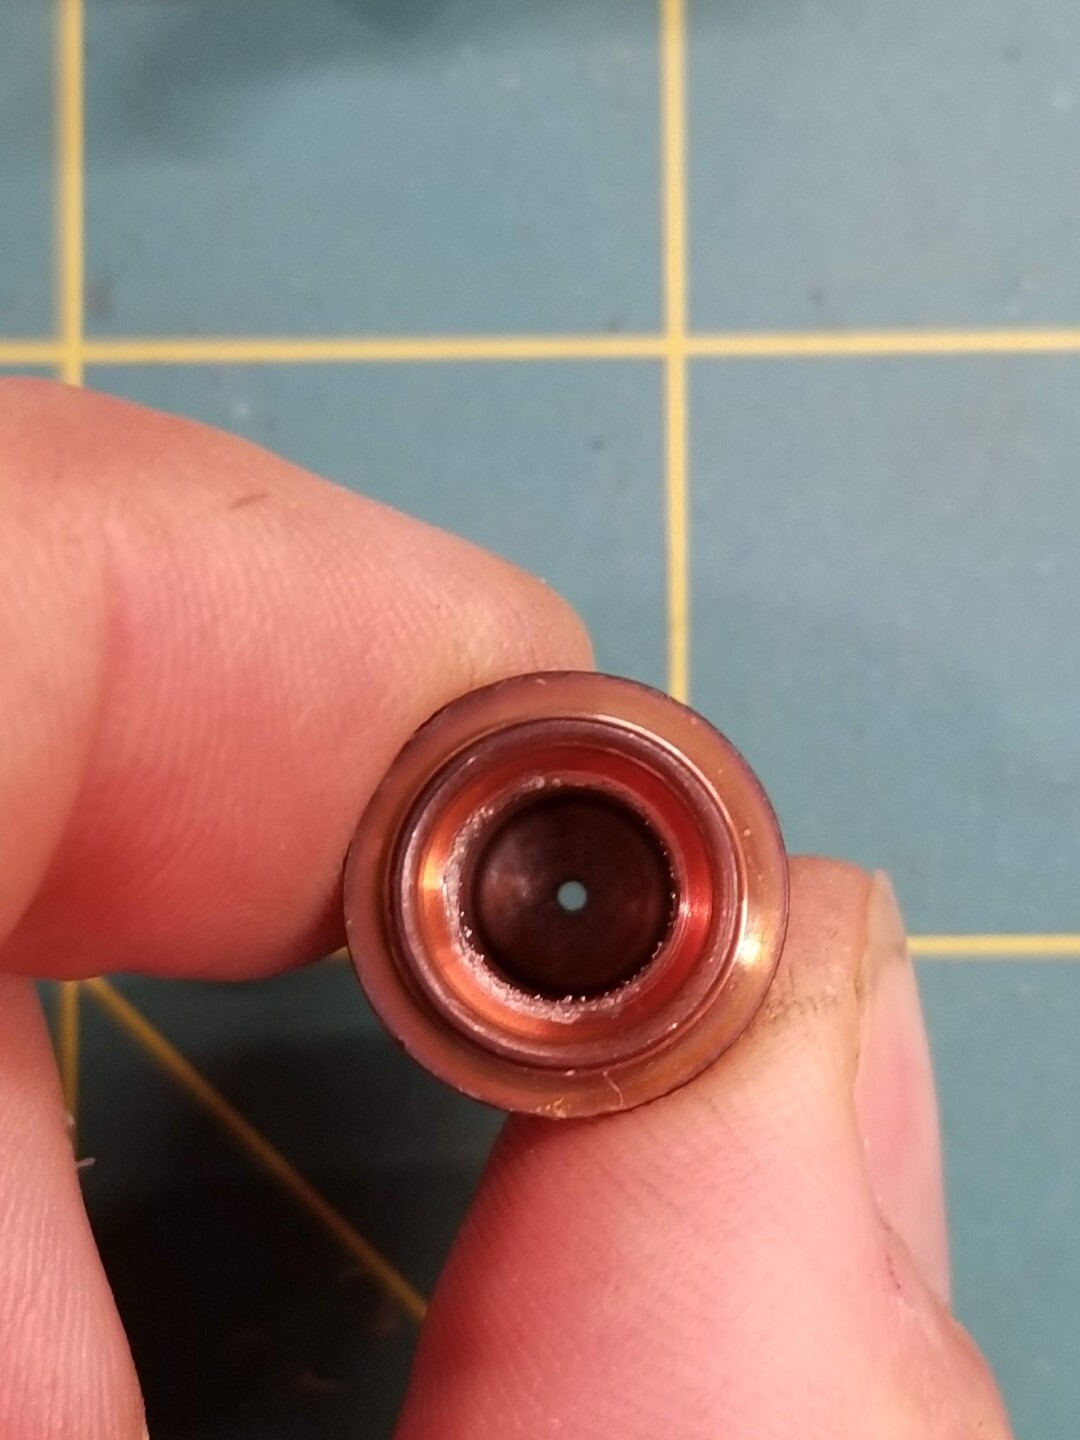
Don’t think the consumables are the problem. @mechanic416 sells the real deal and I don’t see anything wrong with them in the pics aside from the swirl marks on the electrode.
Is your air pressure regulator set high enough to ensure you have sustained 60/65 psi flow pressure? That’s the only other thing I can think of that might cause excessive beveling.
I’m sure others will chime in with their 2 cents. Maybe worth more than my 2 cents.
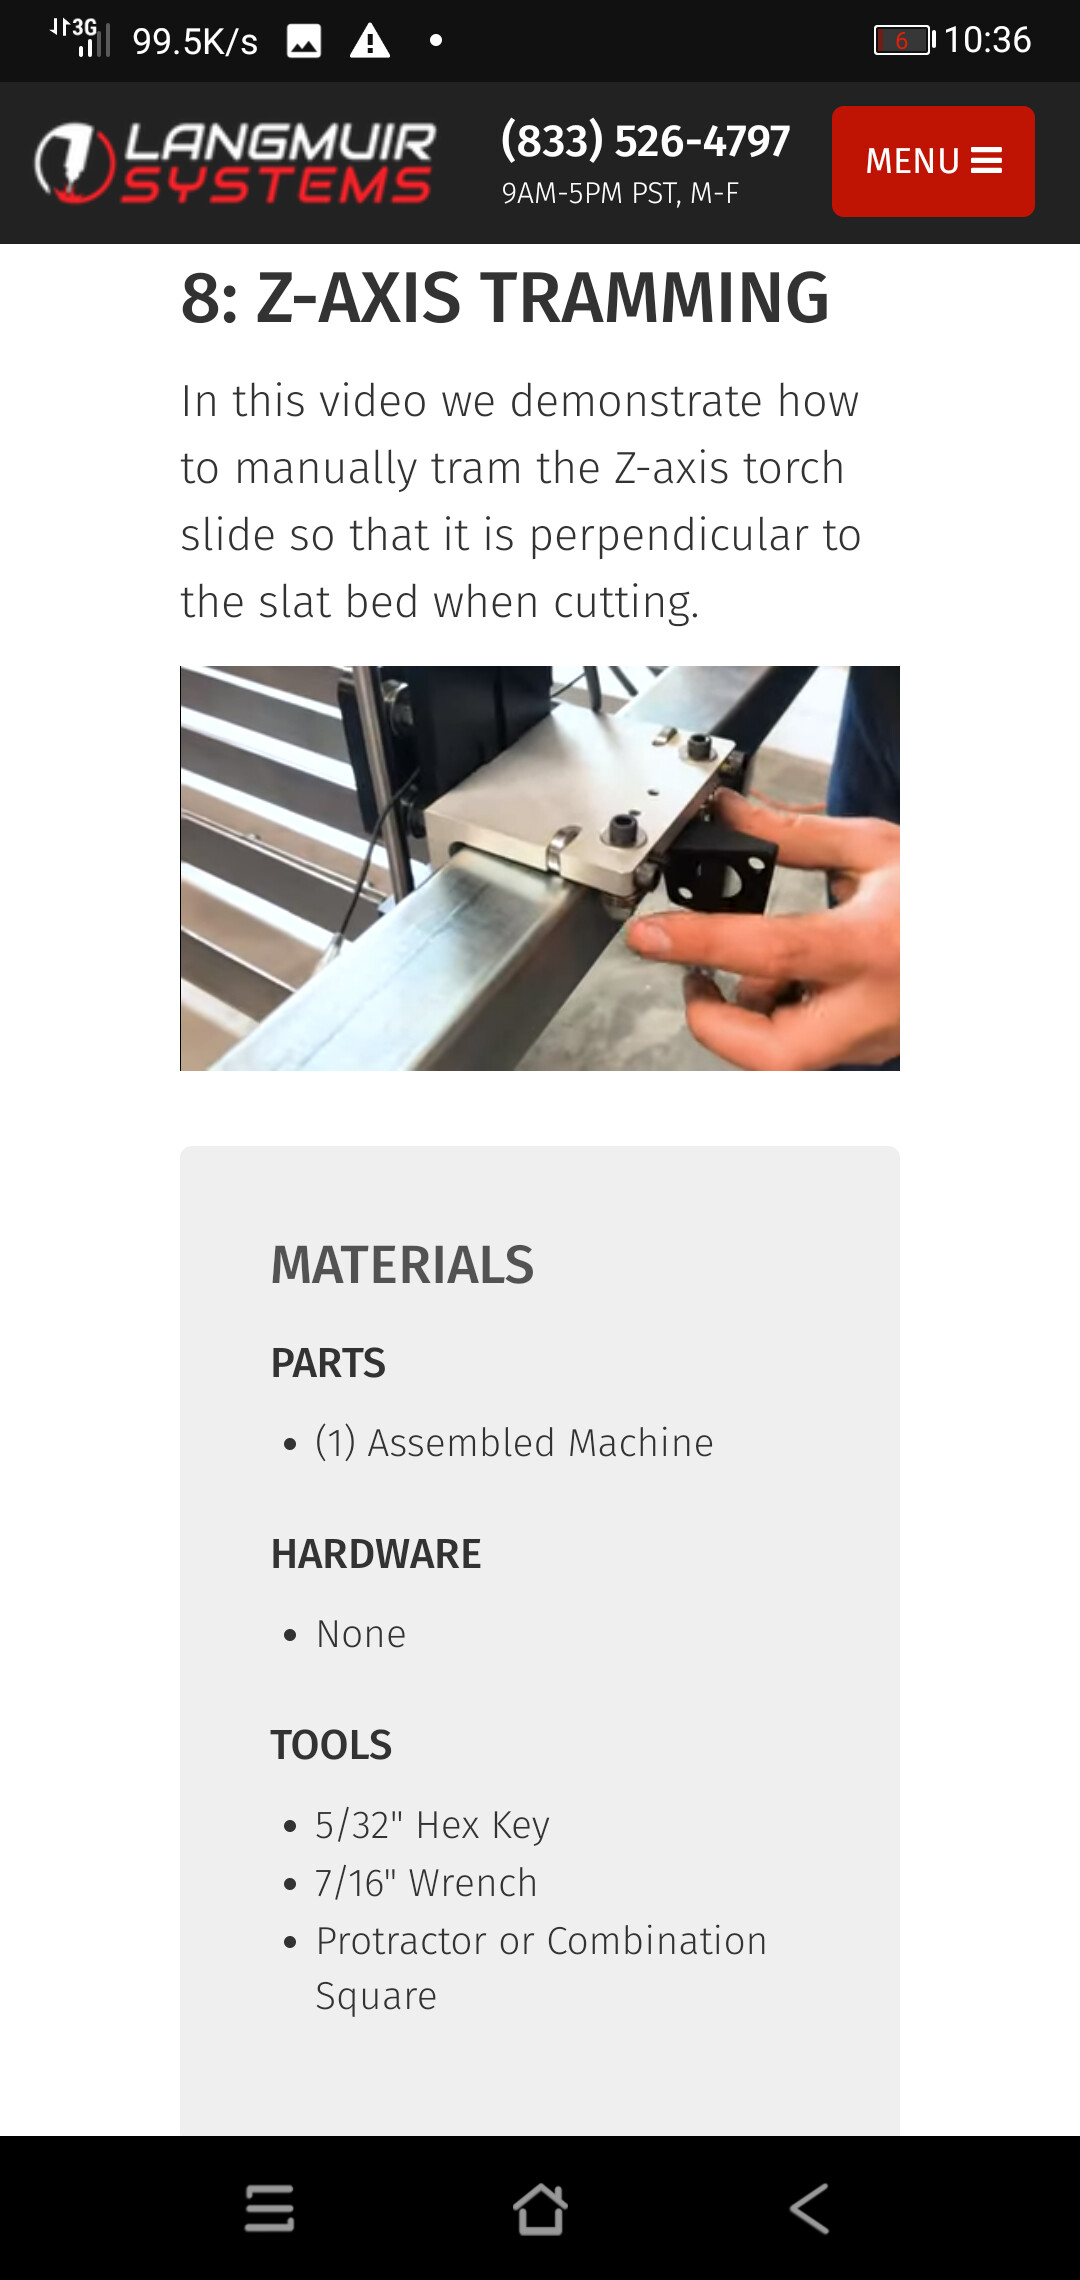
Thanks for the additional insight! I’ll certainly try new consumables again, and document their condition after the first few cuts. As for the Z-axis alignment, what’s the preferred method for adjusting the vertical alignment front-to-back? Even though I’ve checked it before, if I set set up a flat plate and use a precision square, I can definitely see that there’s some room for adjustment. I haven’t seen this particular alignment addressed in the tutorial videos unless I missed one somewhere…
Ah, perfect, thank you! I guess I neglected to also search the support info for the Pro, but it makes sense that this portion of the process would be the same.
Thanks for the link. I did actually test with the swirl ring in both orientations, and separately ran the same profile in opposite directions, yet the result was always the same. I did get a replacement Tecmo swirl ring from George to go with the Tecmo tips, so I will test out that combination shortly and see if anything changes (I was using the original swirl ring previously).
Yes, I don’t doubt that I could cut faster and more optimally at higher settings, but even George has said that I should be able to cut everything up to 1/2" with a 40A tip (running slower than at 50A or 60A, naturally). I will typically be cutting thinner materials, so it would be nice not to have to swap tips back and forth to be able to cut the odd piece of 1/4" plate. I just received some new shielded 40A tips from him last week, so I’m going to try swapping everything out, and then run my tests again. I’ll post an update once complete!
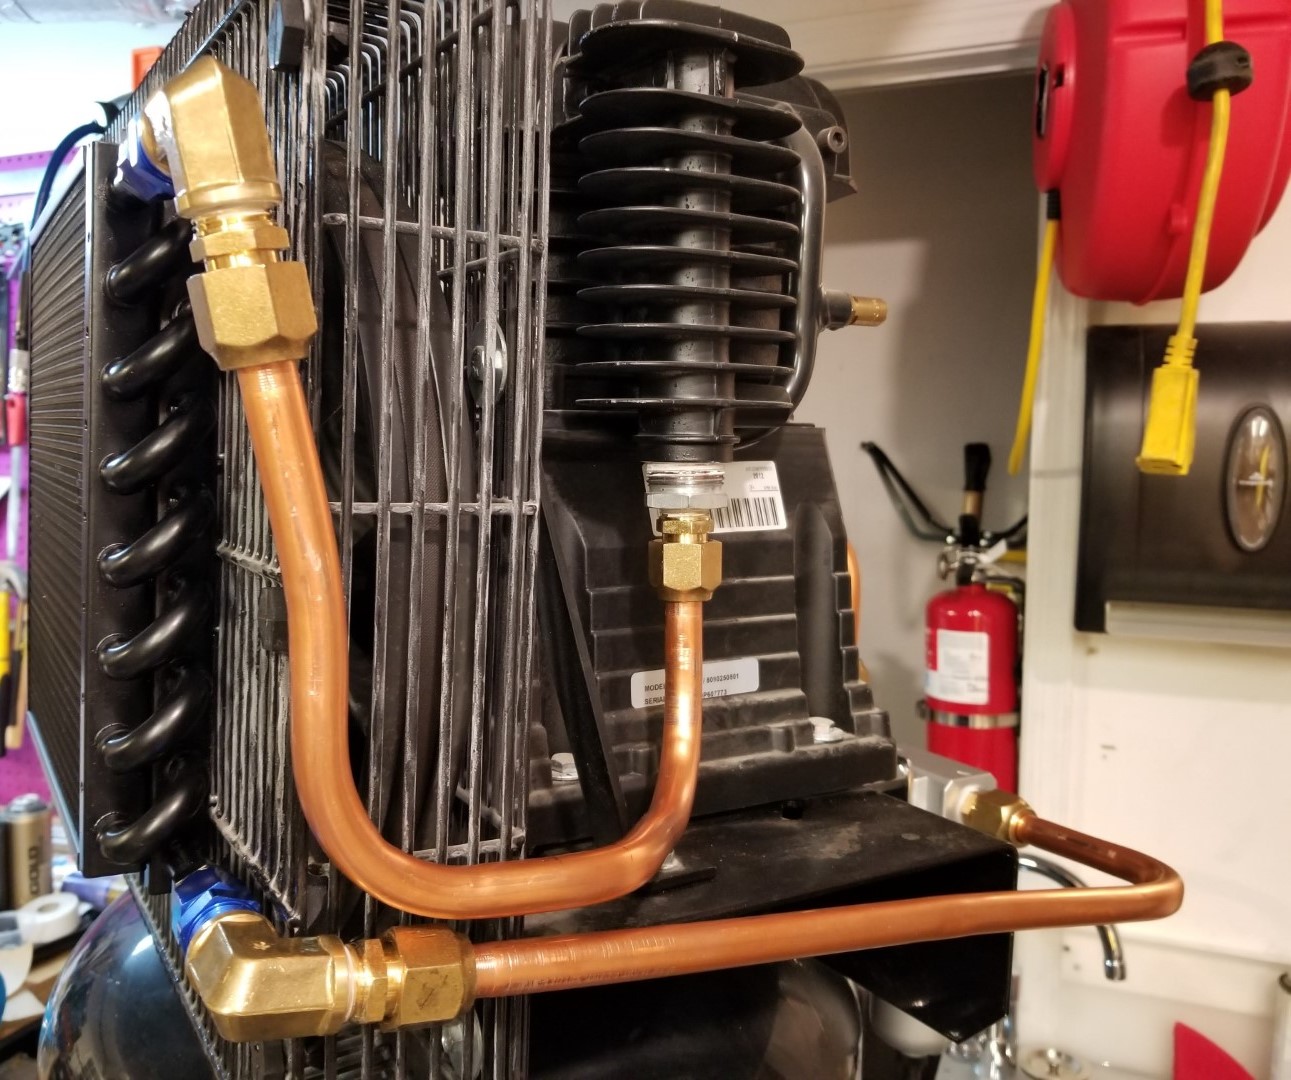
I’m not sure how that’s possible, or what more I could add. As I mentioned in my original post, I’m running my 5HP 60 gallon air compressor in an air conditioned garage, with an after cooler, a water separator, a large desiccant dryer (rated at 40 CFM flow), air filter, and 1/2" ID line all the way to the plasma cutter.
A motorguard filter may help, or add a copper manifold with drops to catch water. Refrigerated dryer would be next. But you’ve got those swirls and discoloration on your electrode which is bad news. Or check the status of the dessicant.
The desiccant is freshly dehydrated, and hasn’t even begun to change color yet. Isn’t the copper manifold with drops essentially functioning as an after cooler? The air is quite cool after the heat exchanger at the point where it enters my tank, and I haven’t gotten even a drop of water out of the bottom of the tank itself (the water separator is located just before air enters the tank).
I guess I will need to monitor the new consumables very closely during my first tests, and make sure that those swirl marks don’t appear right from the start.
I’ve always gotten those swirl marks on iPT-60 torch electrodes, even with perfectly dry air. I think it has to do with the arc jumping, not moisture. If you have a lot of soot, that’s more likely moisture.