Assumptions of worn nozzles

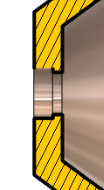
Assumptions about nozzles

Consumable life is very nebulous for me since I am relatively new to plasma cutting. We are taught that if the nozzle is “worn” or the orifice is oblong or irregular then it is time to replace. My cuts were basically dross free but there was a significant bevel occurring with nearly all cuts. I expected if the cut height was off, I would have dross issues. My current project was relying heavily on welding/grinding so the bevel could be used to my advantage.

I suspected the nozzle but this information kept swirling around in my head. Another factor is that I did not want to think is that my ‘cut height’ was off again. That would mean my system is changing and in nearly constant flux: not a good feeling.

Copied from Hypertherm’s article: “How do I know when it is time to change out my consumables?”
With all of those factors to consider, there are obviously no hard and fast rules. Generally though, a set of consumables will last approximately two to three hours when hand cutting and three to five hours when machine cutting. It’s important to understand that these hours apply to actual “arc-on” time. Plasma actually needs to be flowing through your torch.

Another “general” rule to keep in mind is that the electrode will wear out first during machine cutting and the nozzle will wear out first when hand cutting. People often mistakenly assume both the electrode and nozzle need to be changed at the same time, which isn’t always the case.

Another very good article is by Jim Colt: Plasma cutting maintenance: Are you throwing money away?
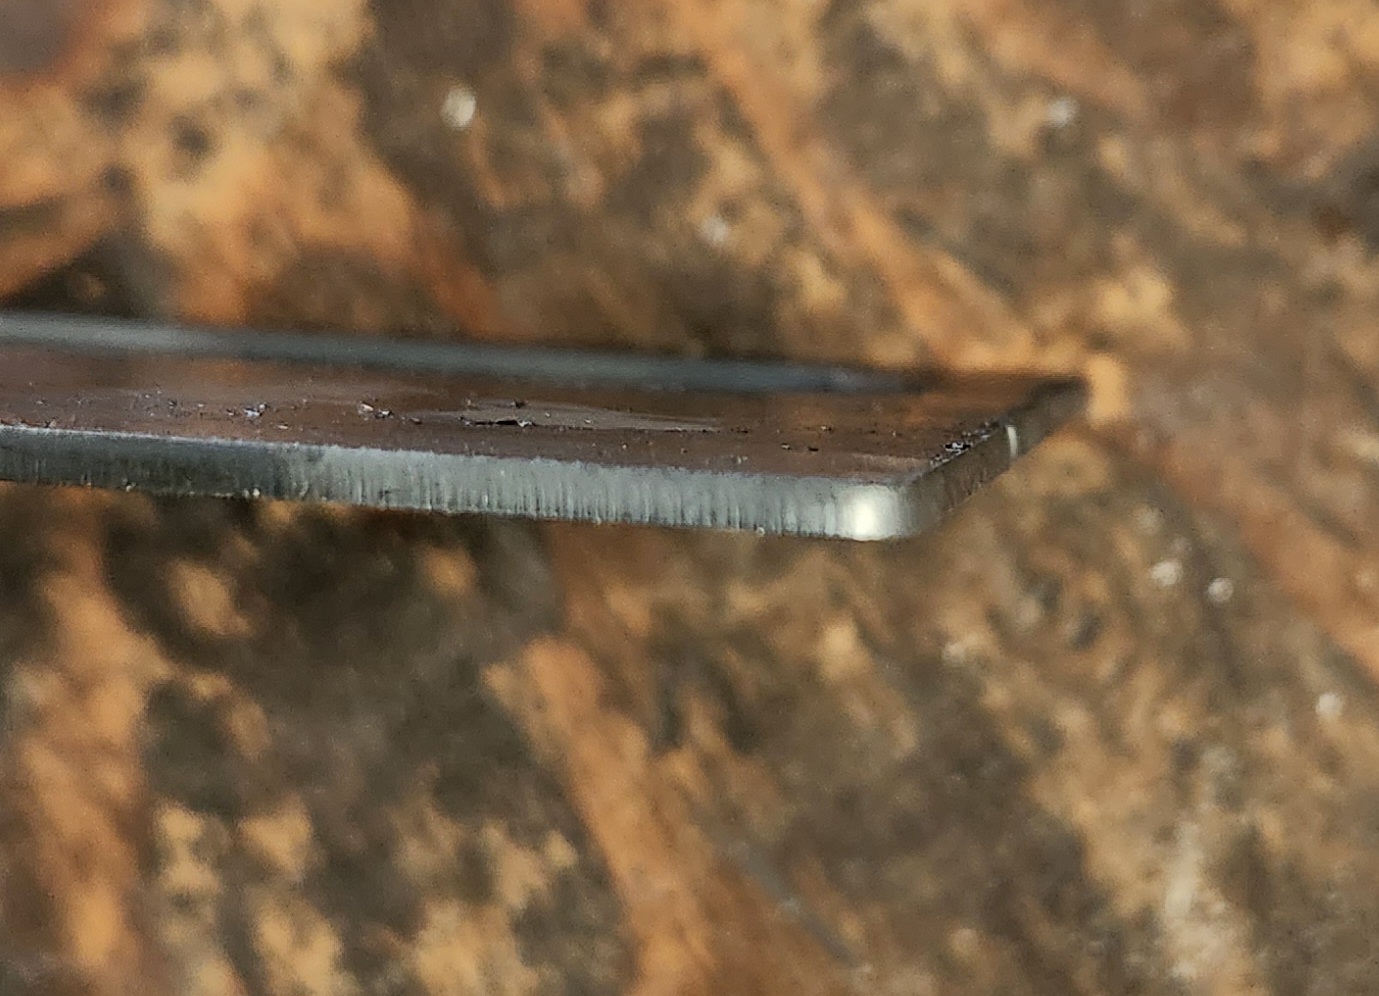
On the outside, make sure the orifice bore is perfectly round with no nicks. A new nozzle will have very sharp edges on the orifice, and after some wear those orifice edges will start to become rounded. This eventually affects cut quality: (see Figure 6).

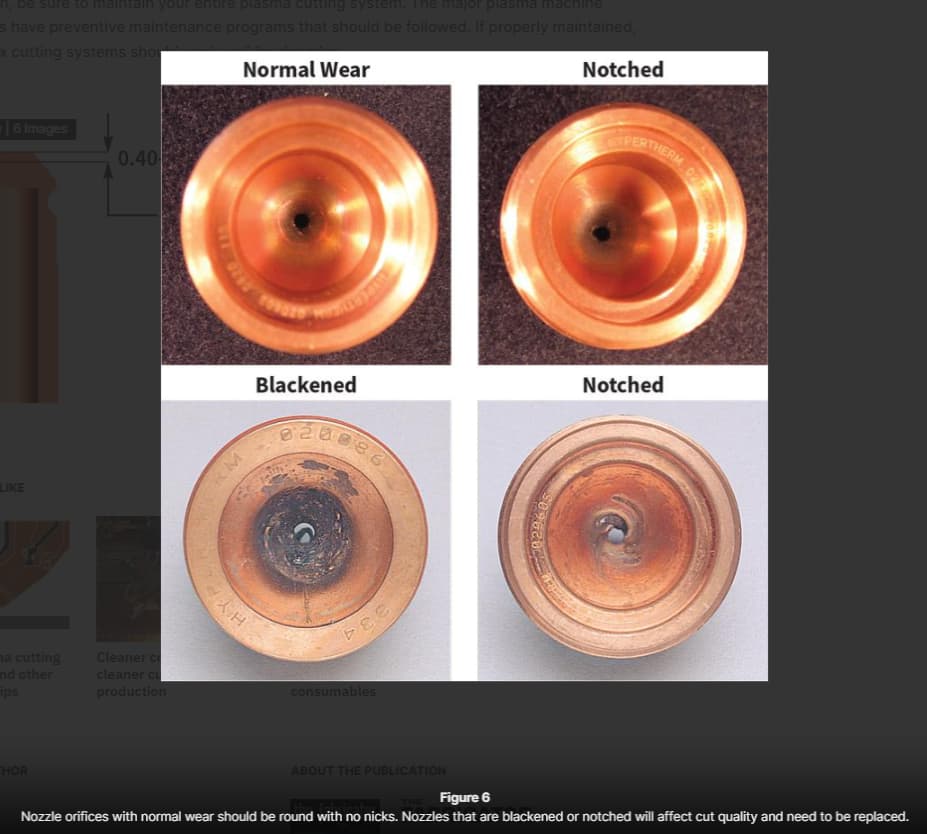
My vision is definitely an issue but I kept inspecting the nozzle looking for irregularities. Here is how the orifice appeared. I now realize that it has increased, uniformly, in size and the outside is really beginning to dish out. In the photo, it really reveals how worn. Hypertherm just does such a great job with the air swirl design that this nozzle never exhibited significant “irregularities” (my word, not a professional assessment).

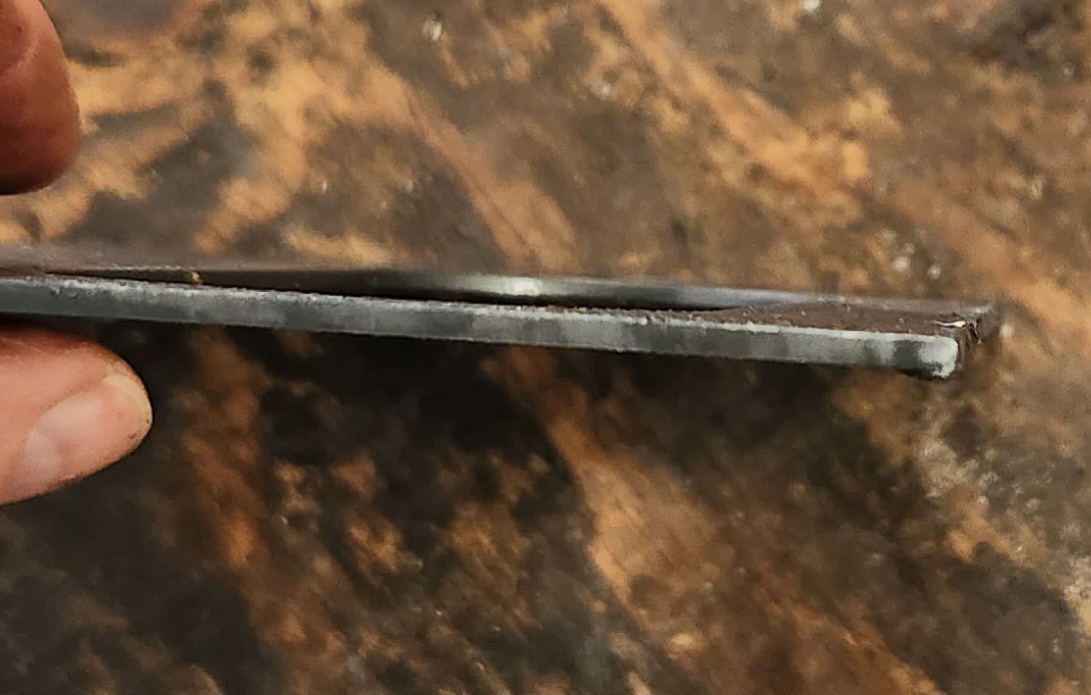
Here is my nozzle. Yes, I know in the photo it looks really worn but the orifice was clouding my judgement.

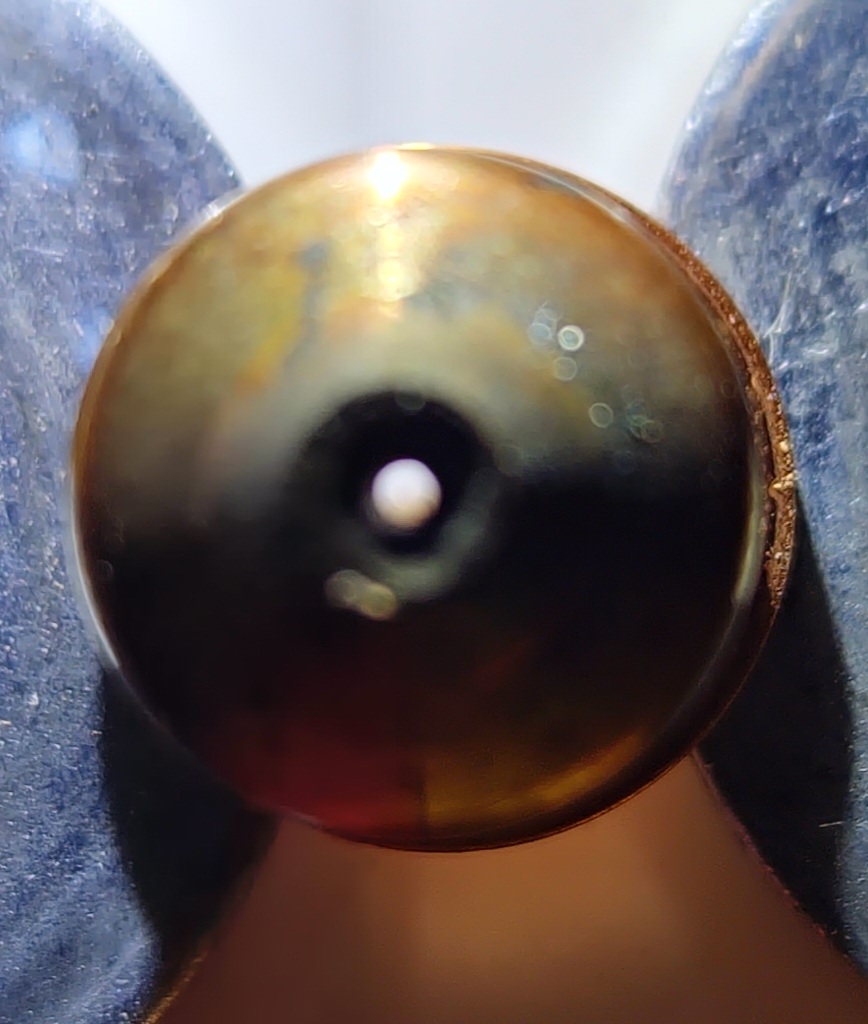
Here is the nozzle and electrode: They really needed replacing, I now see, but the dross free cutting?!?!

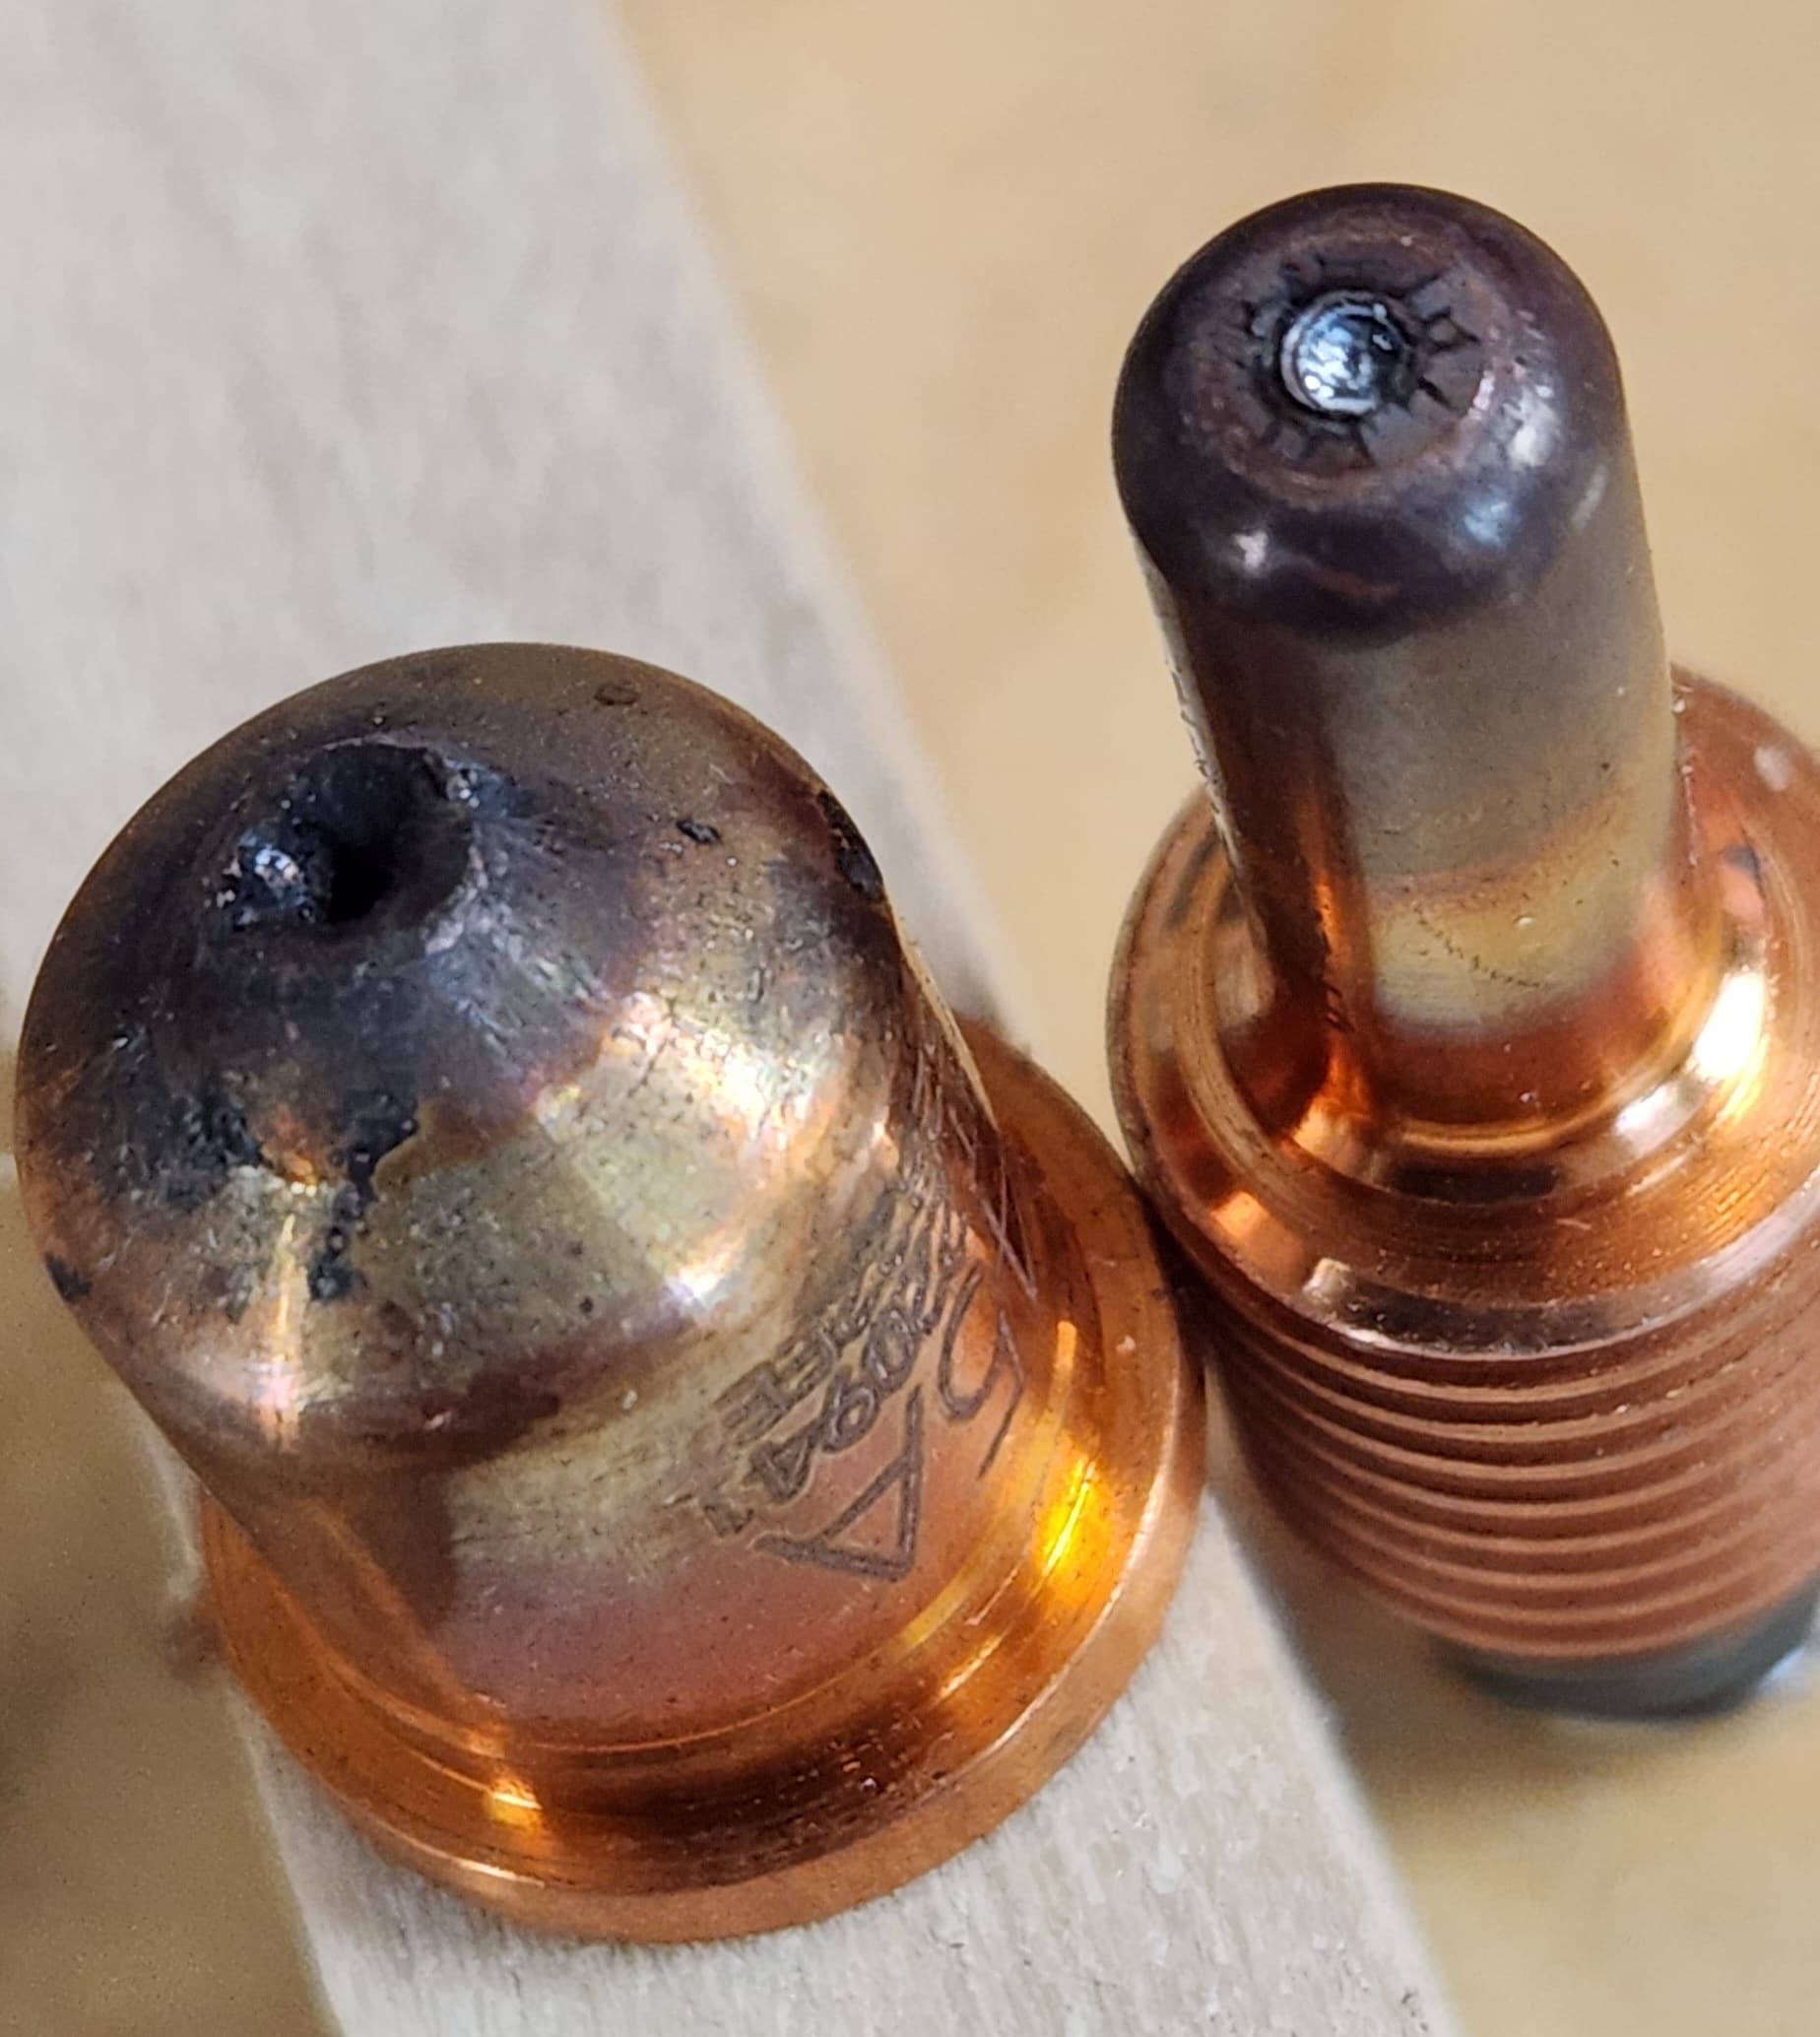
Nozzle and electrode replaced:


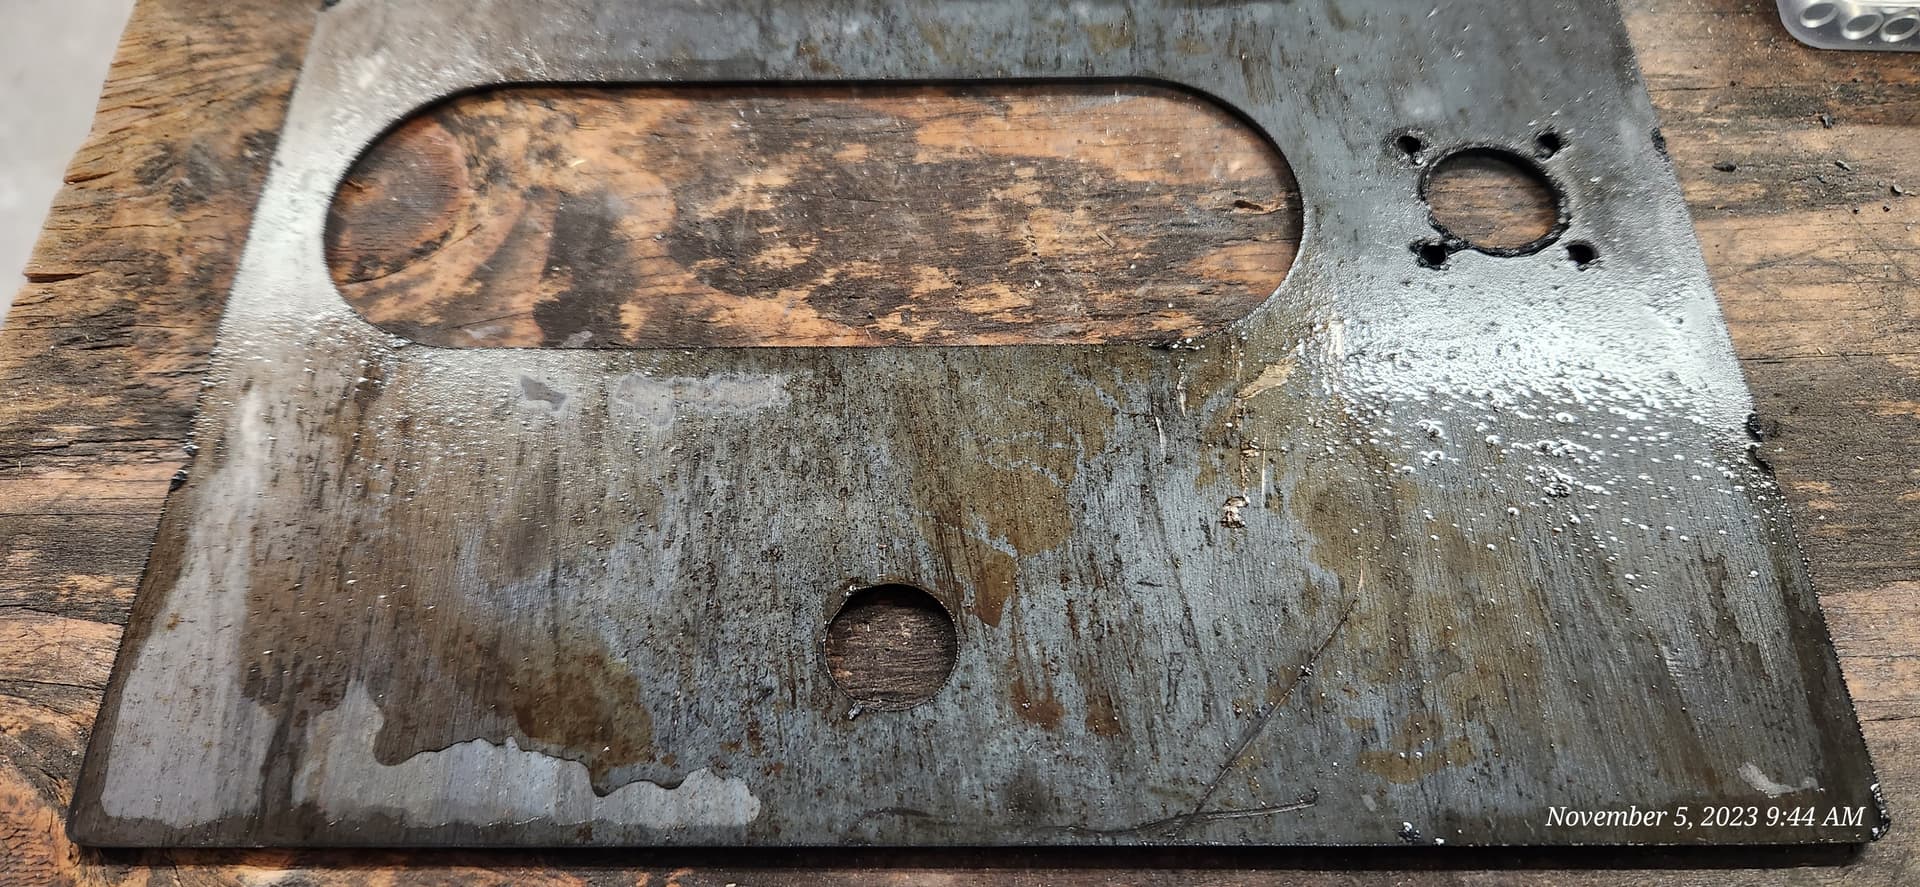
This metal was directly off the table. Basically no dross, front or back and the edge cut is quite perpendicular to the face. Notice the only dross is around the holes where “feed optimization” was used to get accurate holes. And they were quite accurate:

Lesson learned.

3 Likes

@ChelanJim nice write up.

Ill add this link about nozzles under a mircoscope

2 Likes

That step in the orifice of the nozzle, that you documented in your article, is significant. Once that is gone, the orifice will increase. It does not appear to be a lot of material in that step. I would think that is going to make a significant change in the cut.
image

1 Like

It is my understanding that dross comes from cutting speed and air quality. Worn consumables will still cut dross free, but with a bevel on one side or all sides, depending on the damage to the nozzle.

3 Likes

Yep. Agree. But, my worst case of dross came when my cut height was too high: terrible hard dross on the bottom.

So I would add cut height to that list. Low amperage would also pair with too fast of cut speed and creating some dross if it successfully cut through.

We all come from some of the lessons we have learned in the past and often try to relate them to those experiences. Not really an ideal solution but a short cut we seem to do in life. Since I had the terrible bevel earlier this year with the terrible dross, I relate back to that experience. I have now seen the dross free cut with a bevel and will never forget this lesson.

But always appreciate your input. It is very much valued.

2 Likes

Sorry for long read but is good one….

Types Of Dross And Their Solutions

1. Top Dross And Slag

In top dross, spatter appears on the top edge of both pieces of the plate. This can be caused by using worn consumables including cutting tips that have outlasted their usefulness. Cutting the piece too fast can also introduce top dross. Incorrect torch height (or standoff) will also result in top dross accumulation.

Solutions:

  • Replace worn cutting tip
  • Decrease the speed of your cut incrementally until dross in minimized
  • Lower the torch height incrementally
  • Lower voltage incrementally

RELATED: What To Check Before Replacing Your Consumables

2. High-Speed Dross And Slag

High-speed dross occurs, as its name implies, is when the cutting speed is too high. Higher speeds causes the CNC plasma arc to fall behind the torch, leaving hard globs of uncut metal on the bottom of the plate and requiring tenacious cleanup.

Solutions:

  • Replace worn cutting tip, especially if the orifice shows signs of wear
  • Decrease the speed of your cut incrementally until dross in minimized
  • Lower the torch height incrementally
  • Boost current, being careful not to exceed 95% of your nozzles AMP rating

3. Low-Speed Dross And Slag

When your cutting speed is too slow, the plasma arc becomes like an hungry animal, looking for more metal to keep itself alive. The arc becomes wider, which in turn widens the cut to a point where the gas velocity from the torch can no longer blast the molten metal away. As a result, thick slag that would have been blown away forms on the bottom of the plate.

RELATED: How to Avoid Unintended Bevel

Solutions:

  • Incrementally increase cut speed until dross in minimized
  • Raise the torch height incrementally
  • Reduce current incrementally

As you can tell, having a worn/ineffective plasma consumables is one of the top causes for dross and slag appearing on your plates. Without superior equipment, you’ll find this is a recurring problem.

4 Likes