I’m looking for a quick and more or less foolproof multiplier for making through holes using the Hypertherm specs of cut speed, kerf width, amps, etc. A little slop is ok. I would like to eliminate the need to drill or enlarge holes or slots on the milling machine.
I am thinking something like add 15-20%. And reducing cut speed somewhat. I will probably do a few tests next time I am cutting something but for now am looking for a simple starting point that works for some of you guys.
I design in metric and usually add .5mm, which would be about .020". Slow down to 60% of the program speed for holes. You’ll get more dross, but less bevel on the holes.
If you’ve dialed in your kerf, your holes “should” be as drawn, within an acceptable tolerance. Adding .020 - .030" to the hole diameter has been my go to for allowing clearance on thru holes.
Reducing cut speed to 60% (Fusion Feed Optimization) will provide nice results.
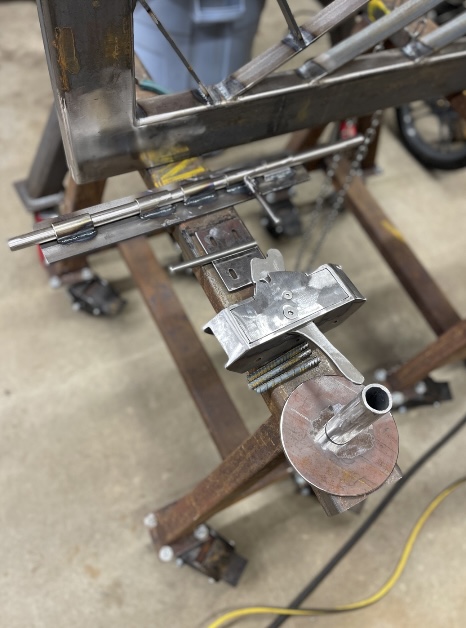
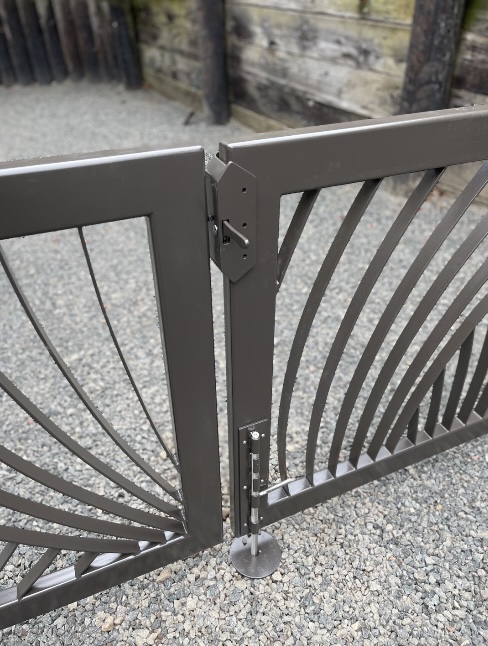
I need to take some time to do some tests and see what the limitations are. What I am making? Making some steel gates. They are heavier than I can move so I built a small gantry to roll around inside my shop and a larger 2 ton gantry I can roll around on the gravel outside. Made the large gantry so I can rotate the wheels 90 degrees and lower the main beam so I can roll it partially into the door of my shop. I can manage heavier things now like a 4’ machinist lathe or 15’ gate. Get it on or off of a trailer and in and out of my shop.
Posted a pic under projects showing the wheel set up. Just made a latch for the gate. I am going to redo the moving parts in 1/4" stainless. The Hypertherm settings gave me a close cut but I still had to do some grinding and filing to dial it in. For the pivot I cut the parts on my cnc machine out of some thin plywood and used that as a template to locate the holes to drill on a milling machine.
I’m wondering if there Is there a way to mark a hole center on a piece of steel with the plasma cutter for drilling later?
With stainless try dropping you cut height and cut as fast as you can. It seems to cut better close and fast.
What cam program do you use? Seem I have read in sheetcam you can do a drill operation and just pierce. You could always just do a smaller hole. I believe you should be able to get it dialed in to the point drilling isn’t necessary. I use sheetcam I also start in the center of holes smaller than 1 inch.
Thanks. Yes, it is a pretty fun project.
I am using sheetcam. Still just getting into that. I would think there should be a pierce something or other. In the Hypertherm manual there is something about “marking”. Not sure what that is about either… When I was testing the torch the other day I plugged in the hand torch and pulled the trigger to see if it would fire. It did fire. It pierced a piece of 1/2" plate about 6" away that I was using as a sort of backstop. Left a blob of steel on the facing surface but the backside had an almost perfect t 1/8" hole. Pretty surprising. Thought it would be a big mess.
Thanks for the suggestions. I’;ll check them out when I get back to it.
Search on here about piercings for drilling. The marking you can search here too. It just scores the material. It takes special consumables also I believe.
Understanding you are using SheetCAM, I believe I’ve seen references to a center only pierce for holes. (Search should bring up the relevant threads.) I do know that the Forum modified Fusion post provides for a center pierce, however I’ve yet to use it.
so what you want to do in sheetcam is use the “drilling” function…
I recently cut and made a Houseworks Generation 5 belt grinder and used the “drilling” function in sheecam to mark all my holes that needed to be accurate…worked like a charm as it pecked the center of each leaving a tiny little mark.
then I went on to drill all the marks I needed to be drilled…easy…
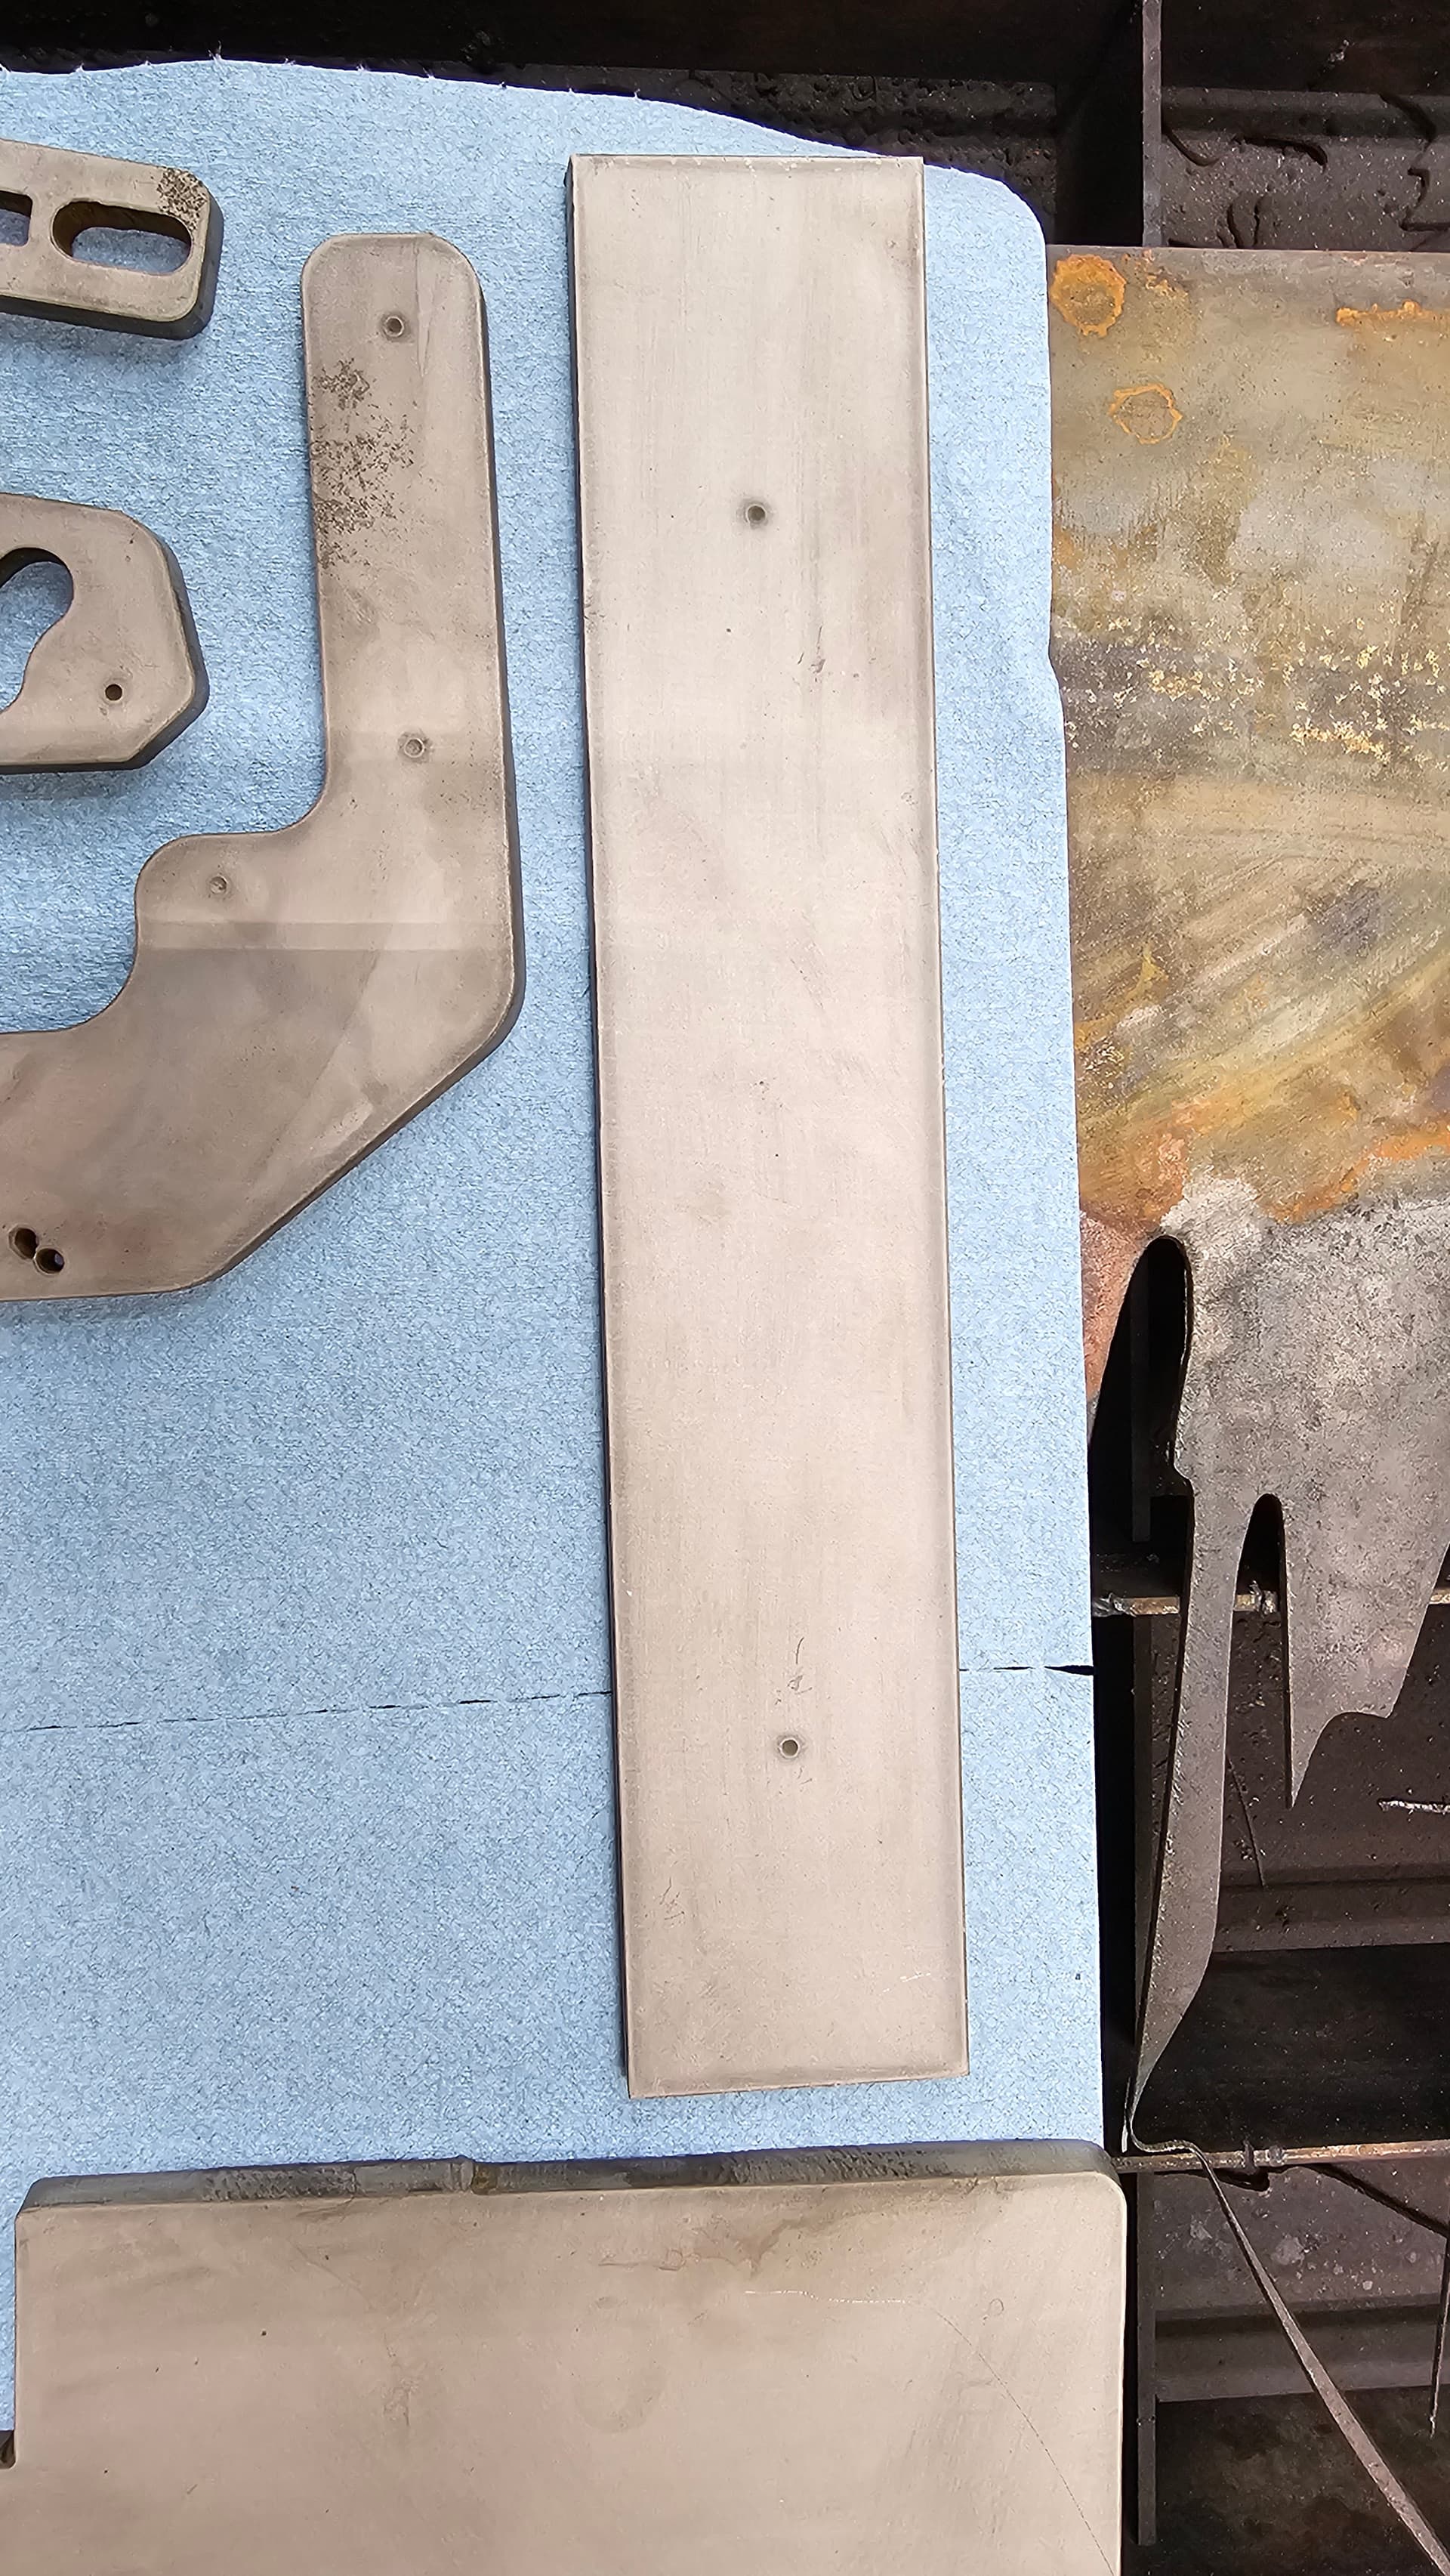
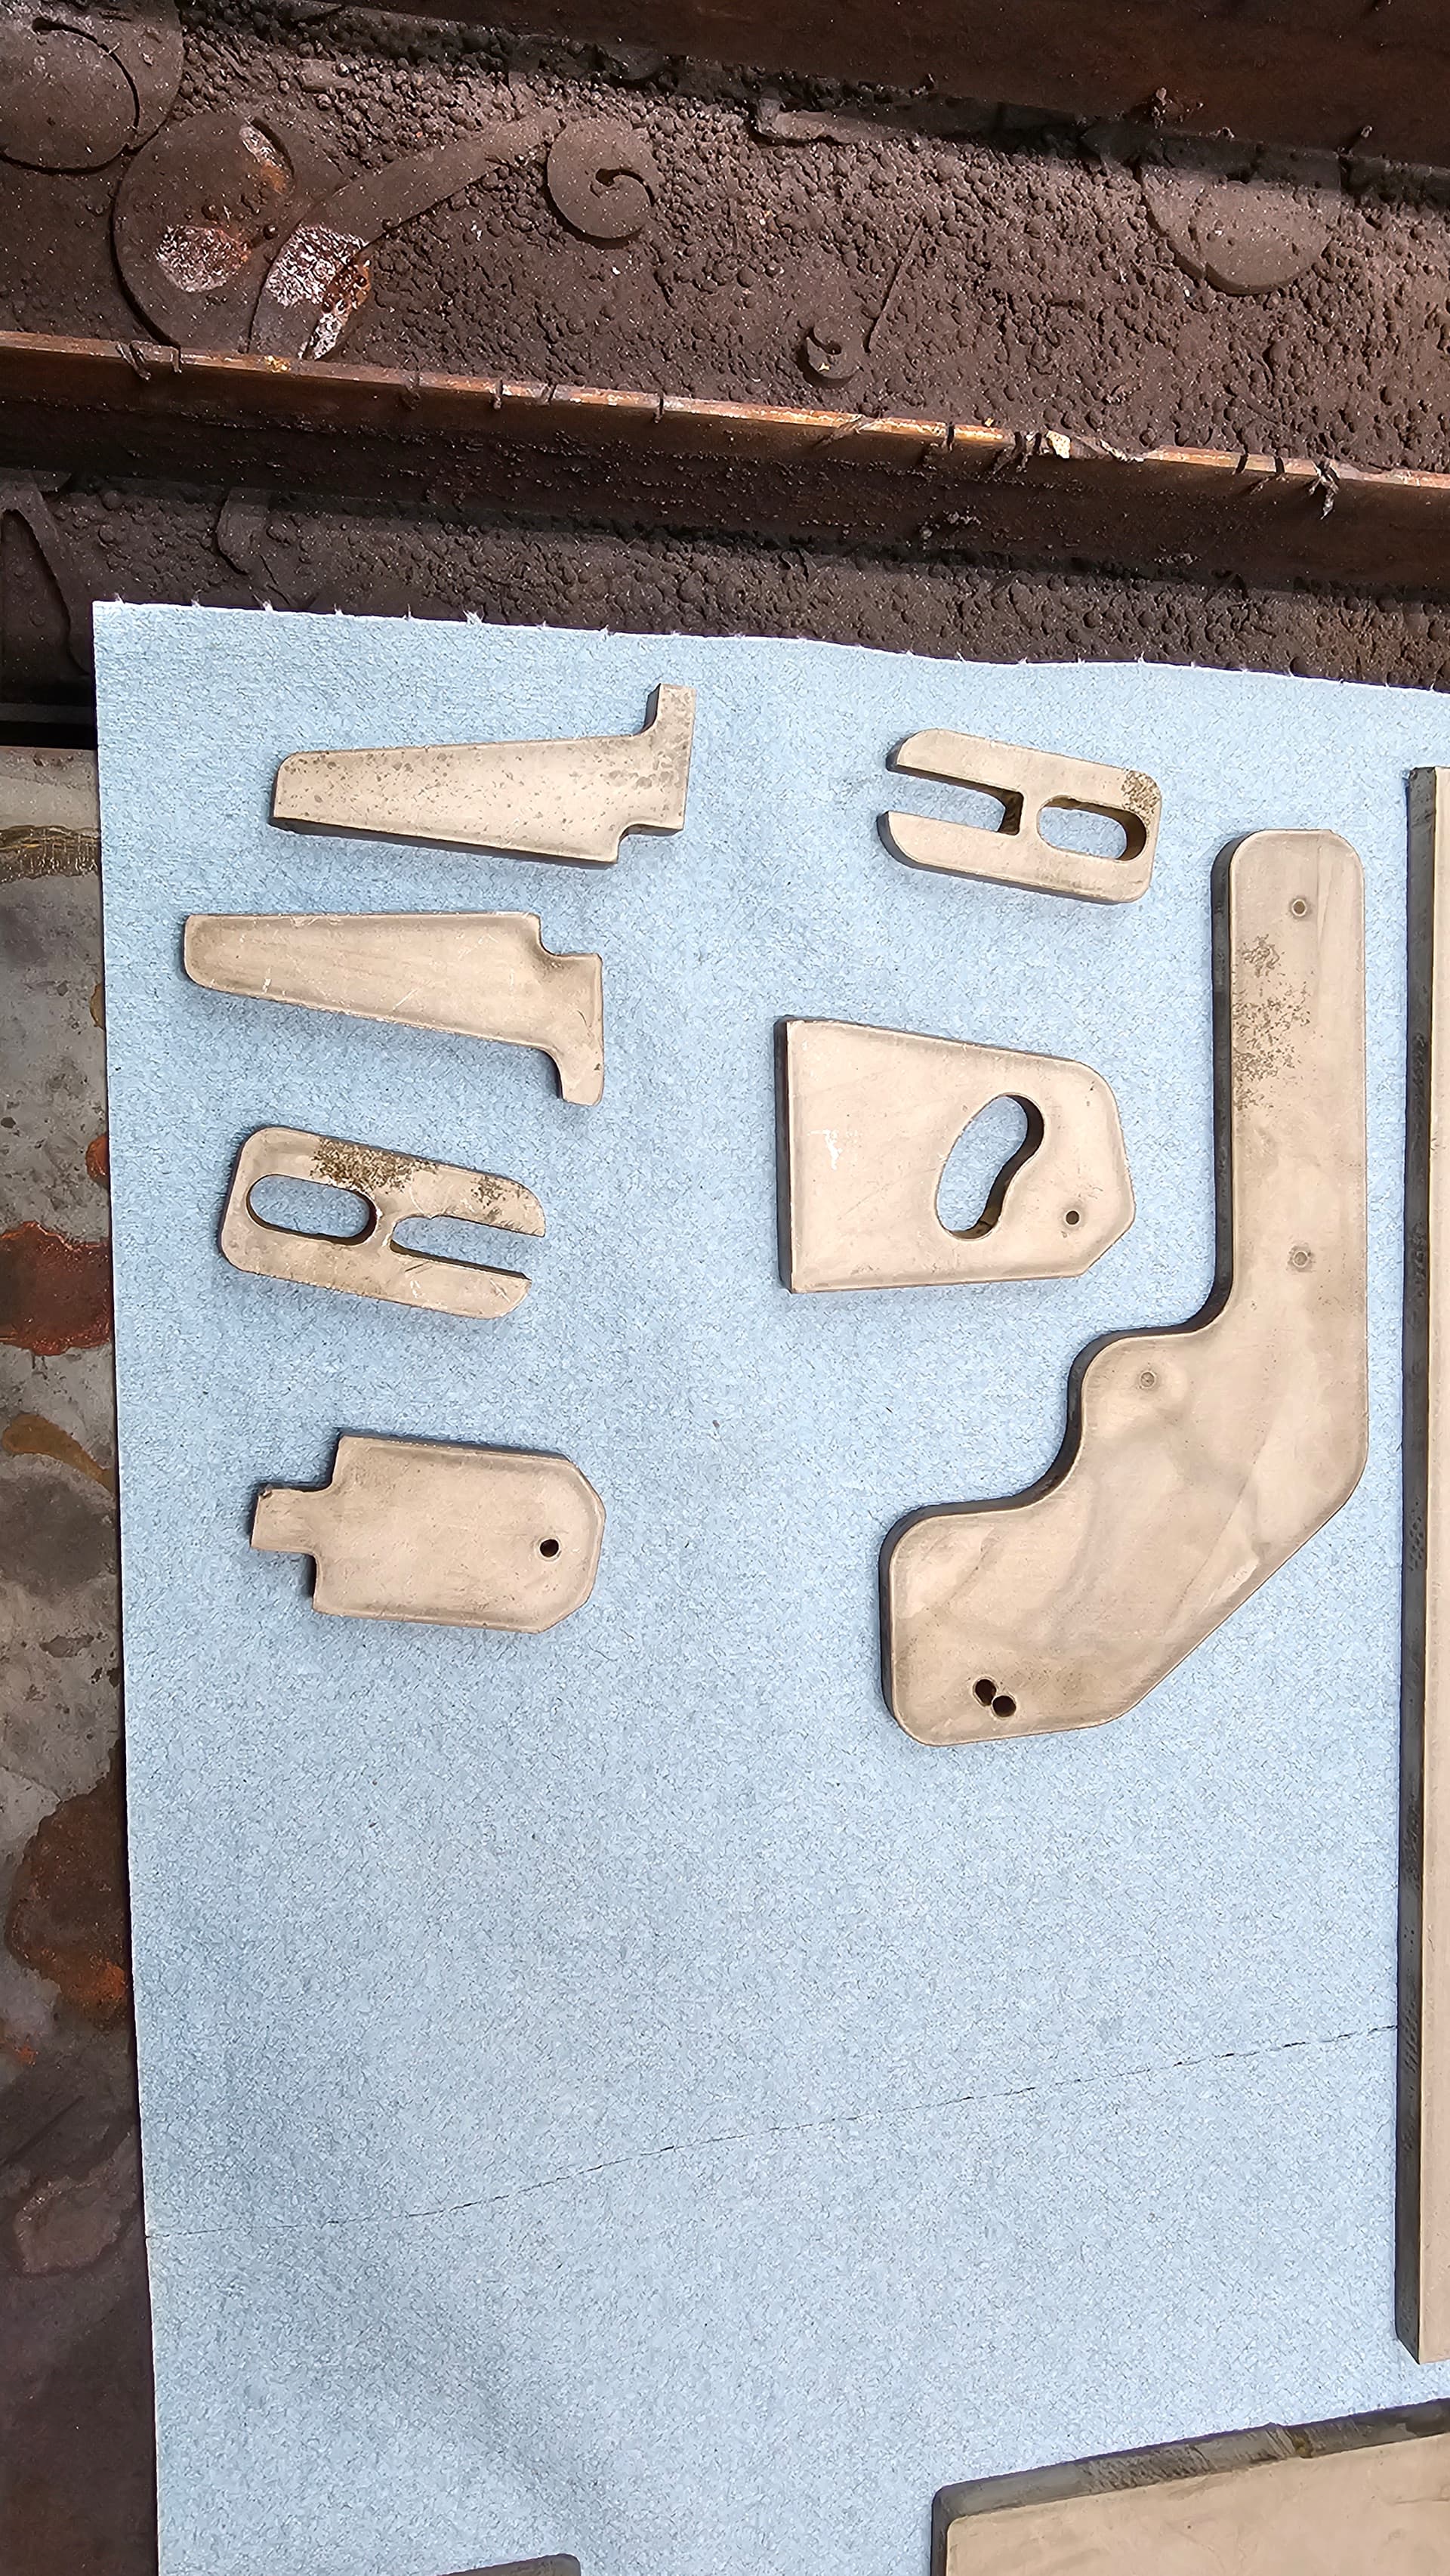
I use the drill function in sheetCam as toolboy suggested as well, here is the marks it leaves in material to be drilled.Doesnt hardened the steel easy to drill holes, marks the centers accurately. The black marks are where hole is marked, looks and feels like were marked with center punch. Ignore two holes on the one plate, I wasn’t paying attention and forgot to pause torch after last hole was marked.
That is very helpful, thx. I’ll have to look at that. Funny, I am right now taking a break from welding my Houseworks belt grinder. Just have the work support lift to weld. I cheated and bought the kit.
I just welded up all of the laser cut parts from the kit so I am familiar with the pieces. Did you mark hole centers for the motor mount and drill them as well as the pivots for the adjustable tables?
Just tried the marking process. Sheet cam has a marking setting under drilling. I had 16 Giles to mark. The torch fired for the first mark but not for the rest. For now, I made a file for each hole rather than trying figure out how to get the torch to fire again.