I was given an opportunity to cut a design into three different antique saws. Two are an 18 gauge and one is about 20 gauge. The design wanted is mountains and trees. I’ll be using the razorweld45 cutter and a Crossfire Pro. Any tips or tricks for this project?
1 Like
honest advice would be finding some scrap to practice. turn your amps down around 30ish then try…
what i want to say is a old timer dies every time someone cuts up a antique saw. i would try to talk them into keeping saw intack and going and buy a newer saw and age it… you cant find saws like that anymore
4 Likes
Check with @DonP he has done lots of these saws
1 Like
I’ve posted a few times on cutting these saw. I also posted on the fileshare a couple quick designs. I plan on making some really cool designs this winter. I find these at garage sales for $1-$2 and people love them as gifts. I have hypertherm 45xp and use same settings as 16ga steel and fine cut tip.
Examples…
Rock climber - hand saw | FireShare | Langmuir Systems
https://www.langmuirsystems.com/fireshare/cubs-with-mother-bear-on-hand-saw
Talk on recent saw -
Give your saw blades new life and they can be enjoyed for many more years!
2 Likes
It’s interesting that you could do the same thing on a plain sheet of metal and it would be eh, nice. But repurpose a rusty old saw blade that will never be used again? Oooh, that’s REALLY Nice.
Good job.
1 Like
@toolboy and @DonP both have some good saw designs they have cut.
I do just as @Phillipw suggested… mic the saw you plan to cut and practice on a similar thickness before cutting out the actual saw.
Use discretion on what saws you cut up. Some are worth some money… some are worth the dollar you pay for them.
All those old saws all have different shape… I turn on the grid on my phone camera and take a shot from above, import the canvas in fusion and draw the outline I need to fit the design into and go from there. For me the hardest part is getting the saw lined up on the table before you cut. A guide and some lasers would come in handy… right now I just use a tape measure.
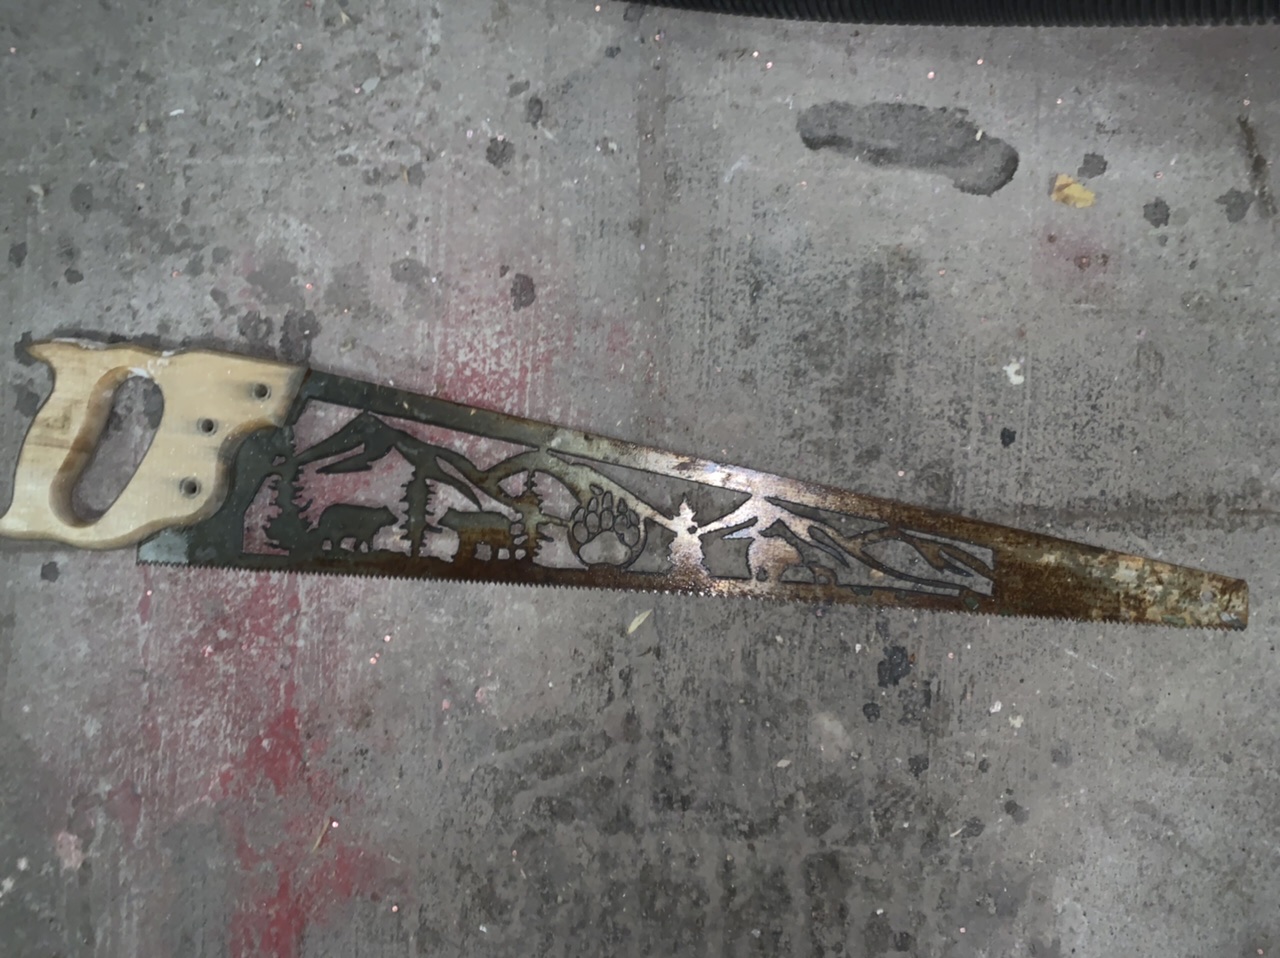
I cut this one out for my dad last year for his birthday.
My friend in southern Utah collects them at garage sales ect. and keeps them for me. This is his latest group. I haven’t picked them up yet. Most of them he paid 1-5 dollars for.
3 Likes
Very cool…so your calibrating the picture as canvas? I just did video on how to use picture and scale it to size. I normally just take end width and width near handle and connect them for my saw blades.
As far as cutting…
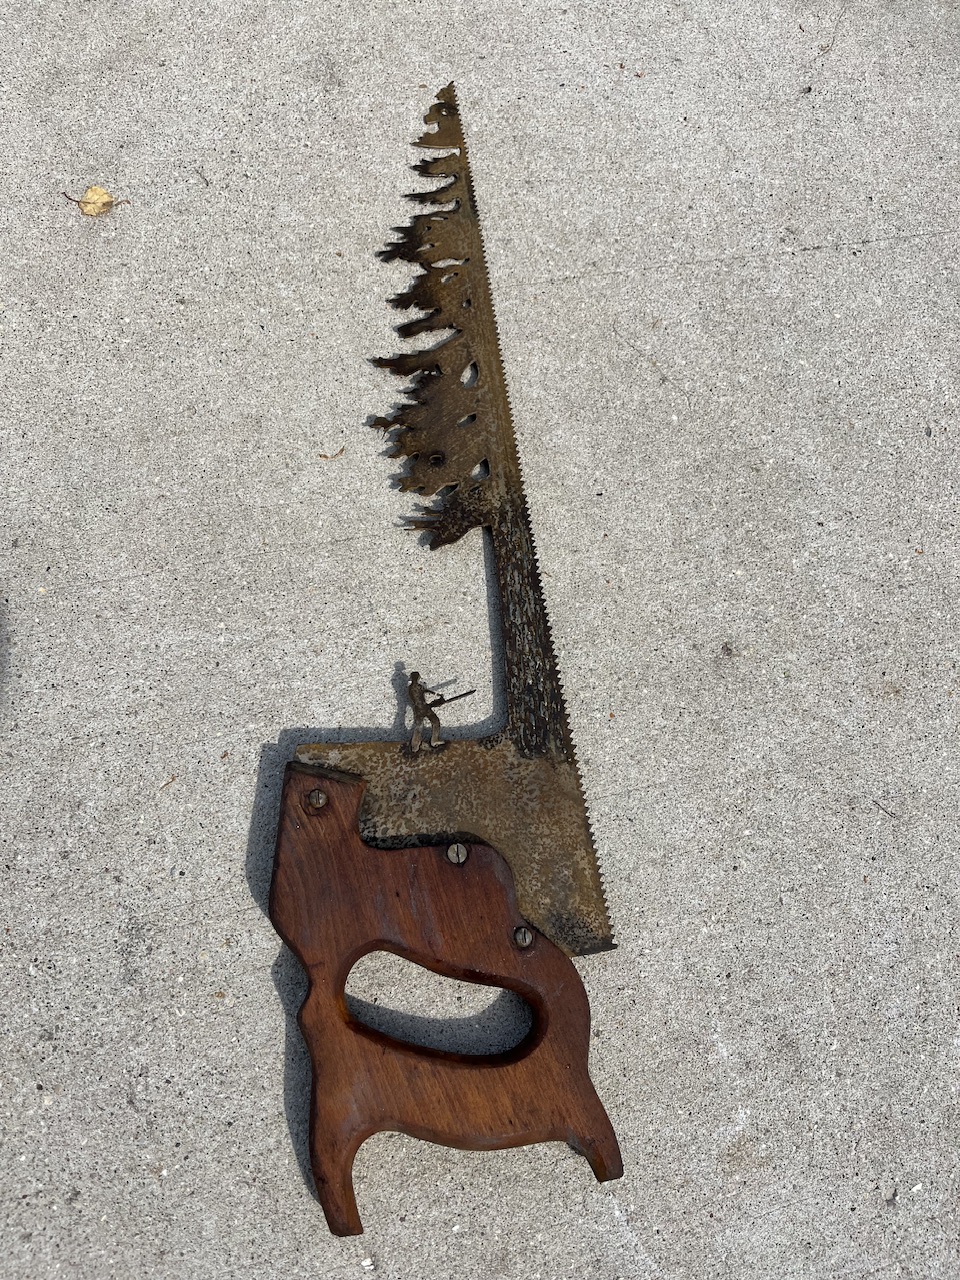
I remove 2 slots on my crossfire pro so the saw can lay flat since handle is thicker. Then mark 2 or 3 tiny spots on saw with marker and move firecontrol to each of them until i get the saw positioned to line up. I haven’t got that serious into cutting saws but do have a really cool one I planned on doing with guy holding chainsaw and big tree which I’ll post when i get around to it.
3 Likes
I should have included I take the handle off for the picture and when I cut it out.
That is a good idea moving the slats.
Yes, I take a couple measurements of the saw as you said and then calibrate the canvas and sketch over it. I probably get a little to detailed on the measurements… it’s in my DNA I can’t shut it off… it’s called Engineers Complexity Disability… or Analysis Paralysis. You have to make everything harder than it really is and take longer than it really should! ![]()
![]()
![]()
4 Likes
Measure twice and cut once. One other thing I did on my horse roping saw was have a separate .NC file with single 0.25" circle and moved in firecontrol were I wanted it on the saw and zeroed it and cut it. I didn’t want that hole in my design to complicate the lining up of saw on my table.
1 Like
Awesome! Thank you guys soo much. I’ll check some garage sales, find one to practice on. Not gonna lie, I’m a bit, “anxious” with this. I appreciate the help
3 Likes

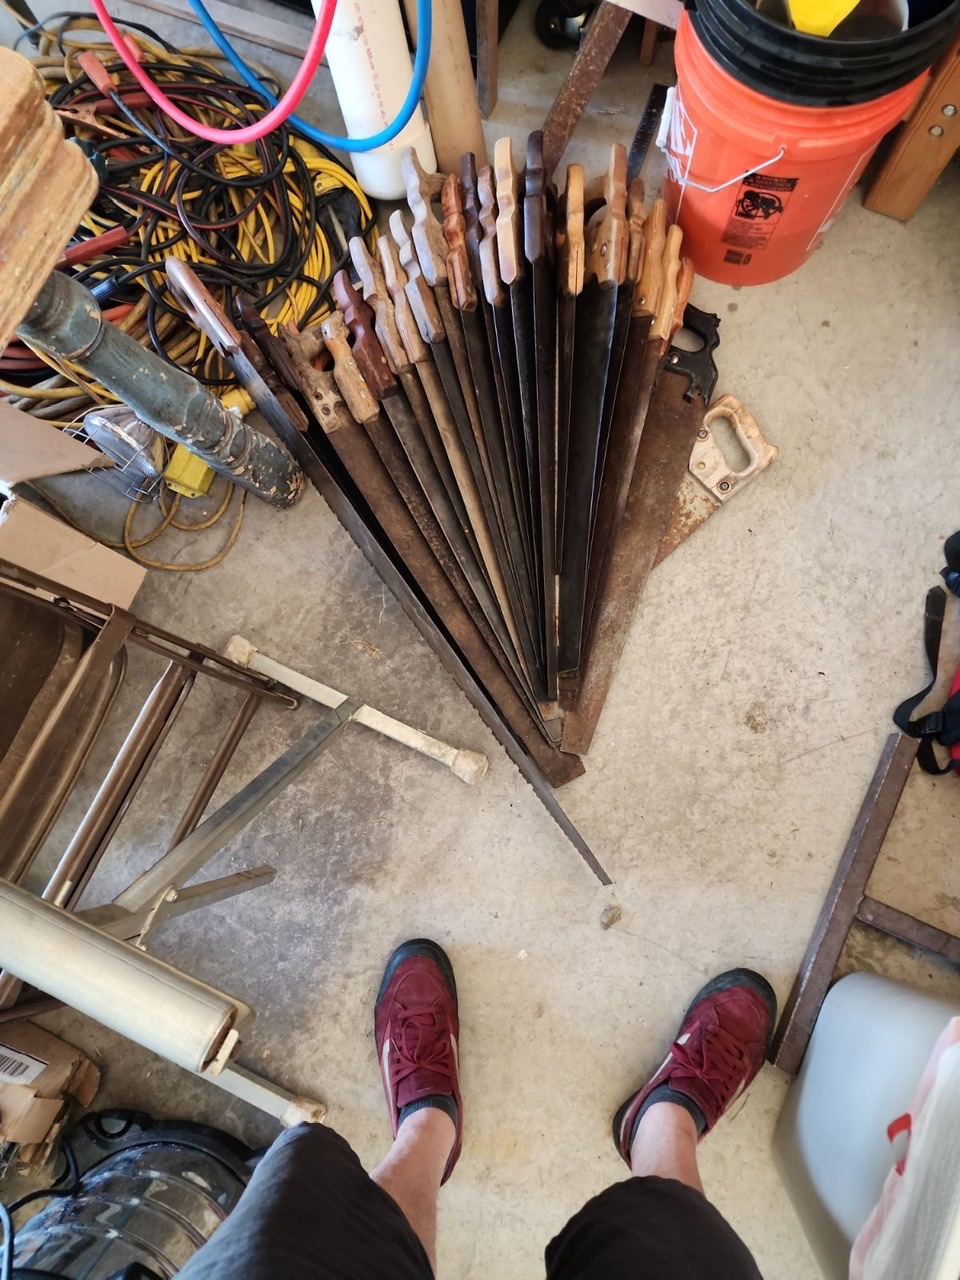
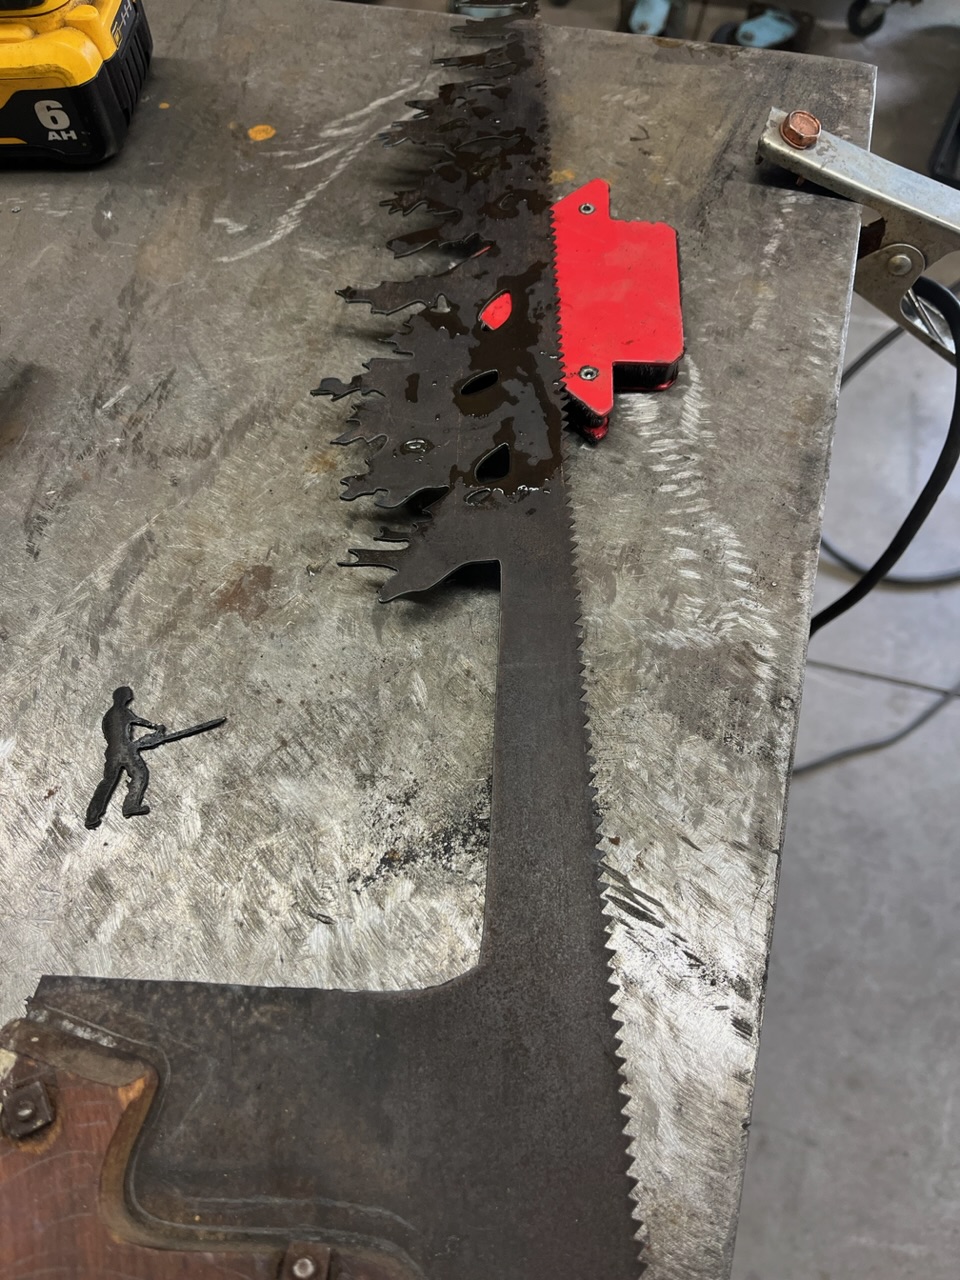
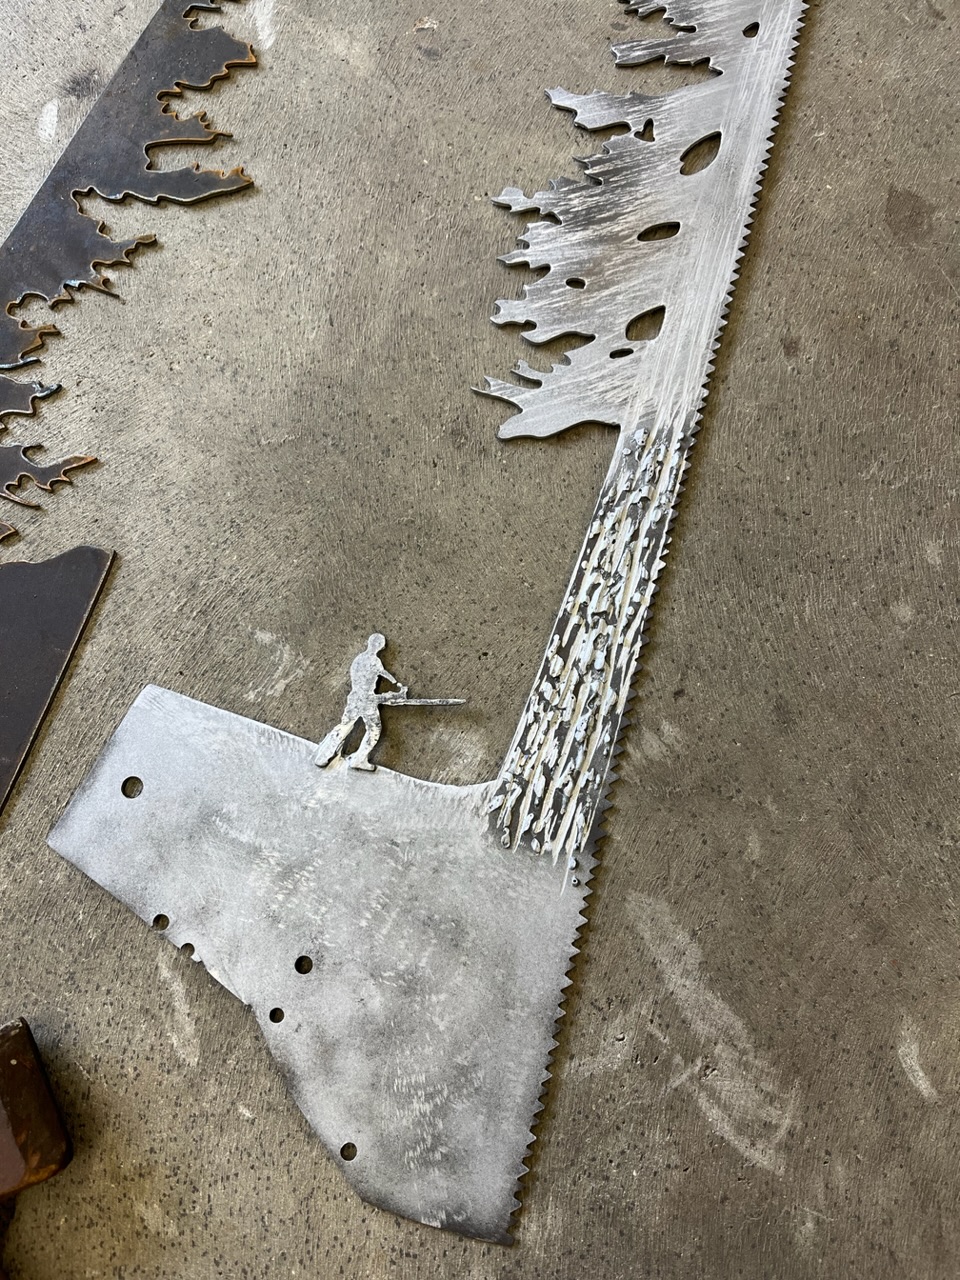
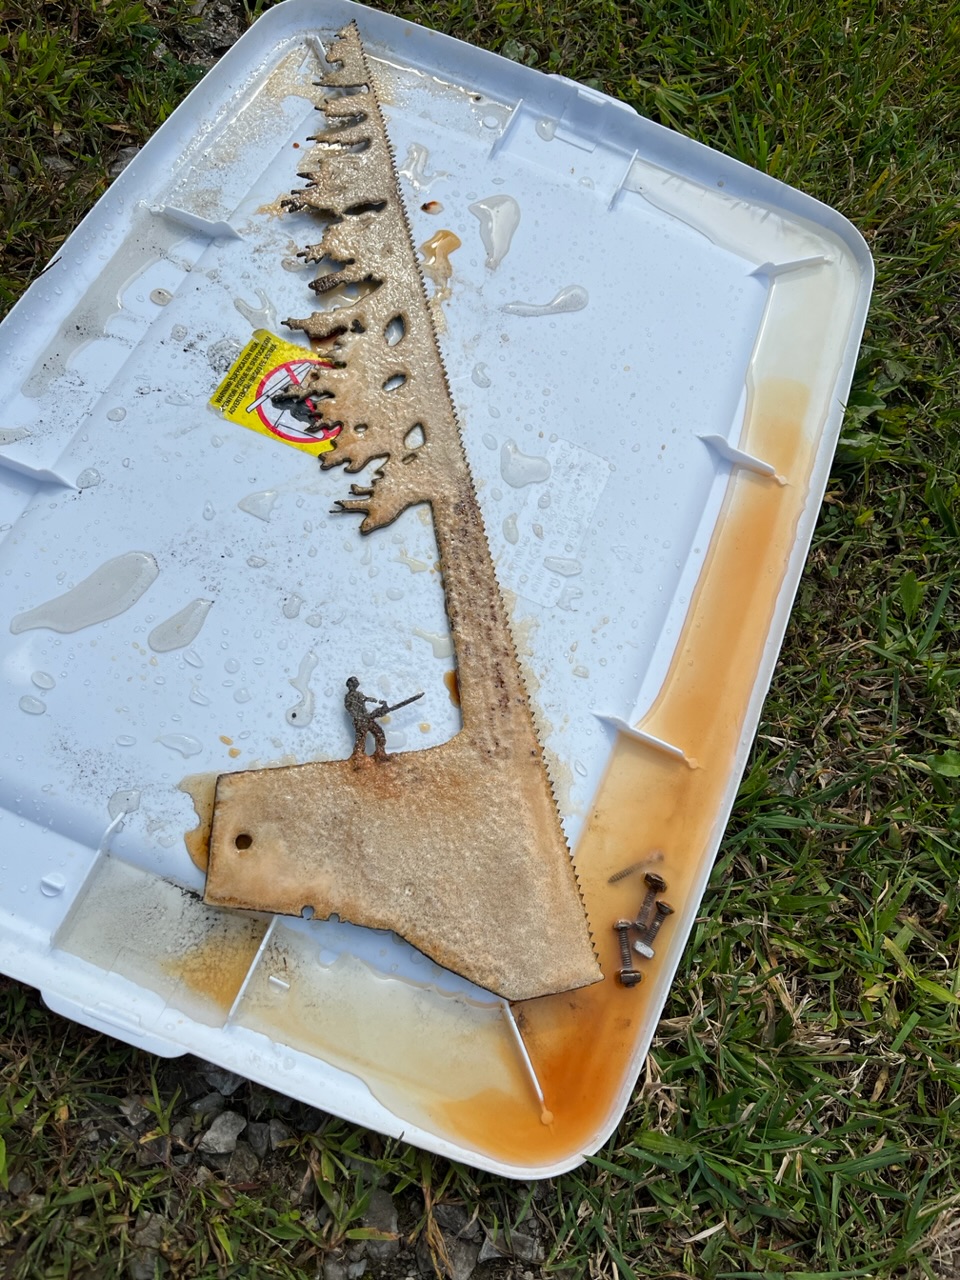
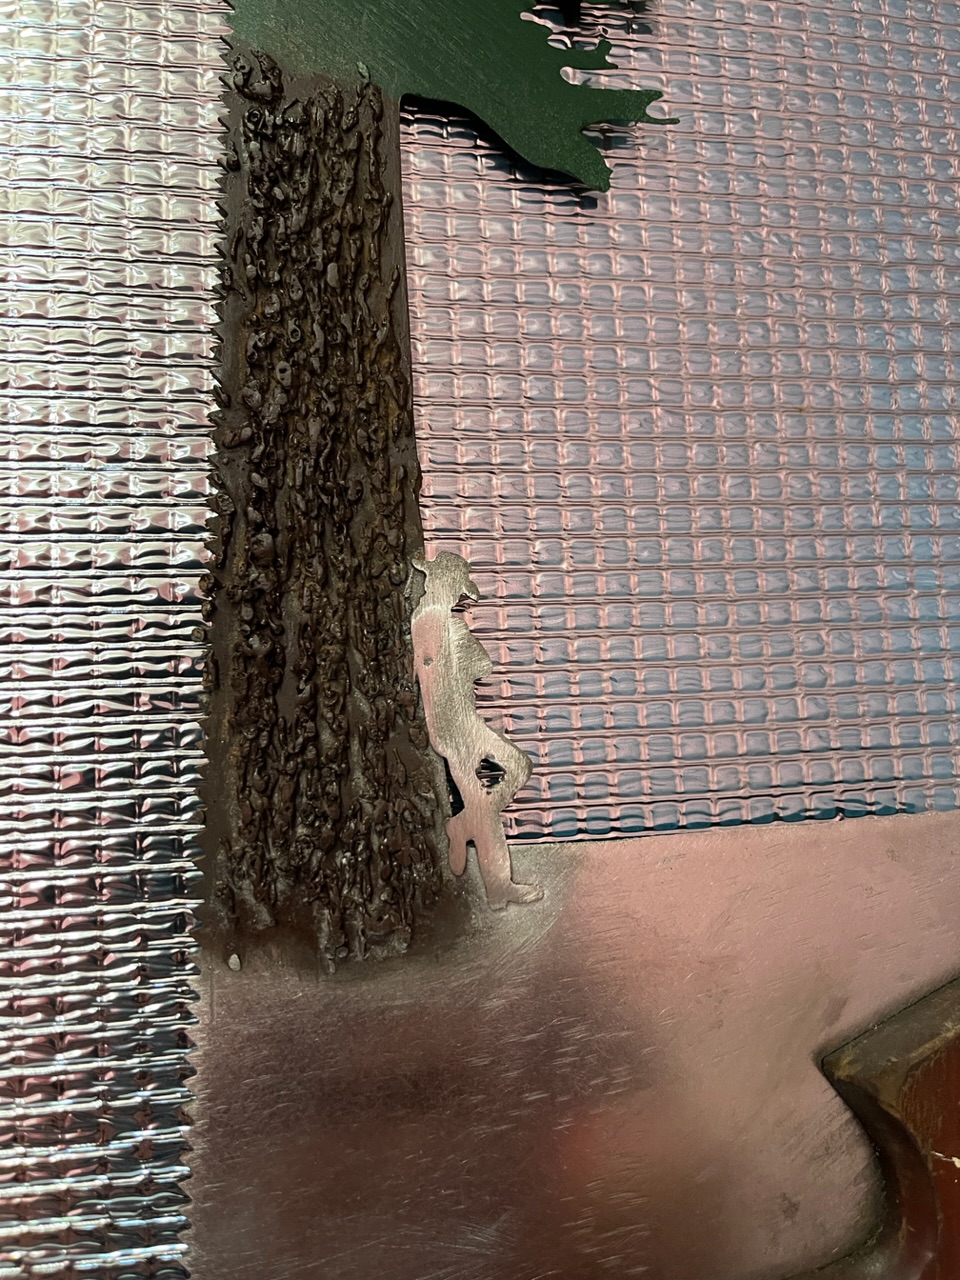
Finally took some time to make this one. I need to do a little more adjusting on the design but I have just the friend that will love it.
5 Likes
I really like the detail on the bark of the tree. Ya gotta tell me how you did that!!!
Edit: You don’t “gotta do anything”, it is just really cool look.
2 Likes
So next one of these I make I’ll do a guy or family taking picture under redwood tree. I know some won’t like the big saw.
The bark was created by welder if you turn up the wire speed. Same thing i do for sunflower middles. Then just grind it down until you like it. i did also use cutoff wheel to do straight lines to simulate tree bark.
2 Likes
Thank you to all who helped. The saws turned out well. My customer was really happy! Was definitely a learning opportunity
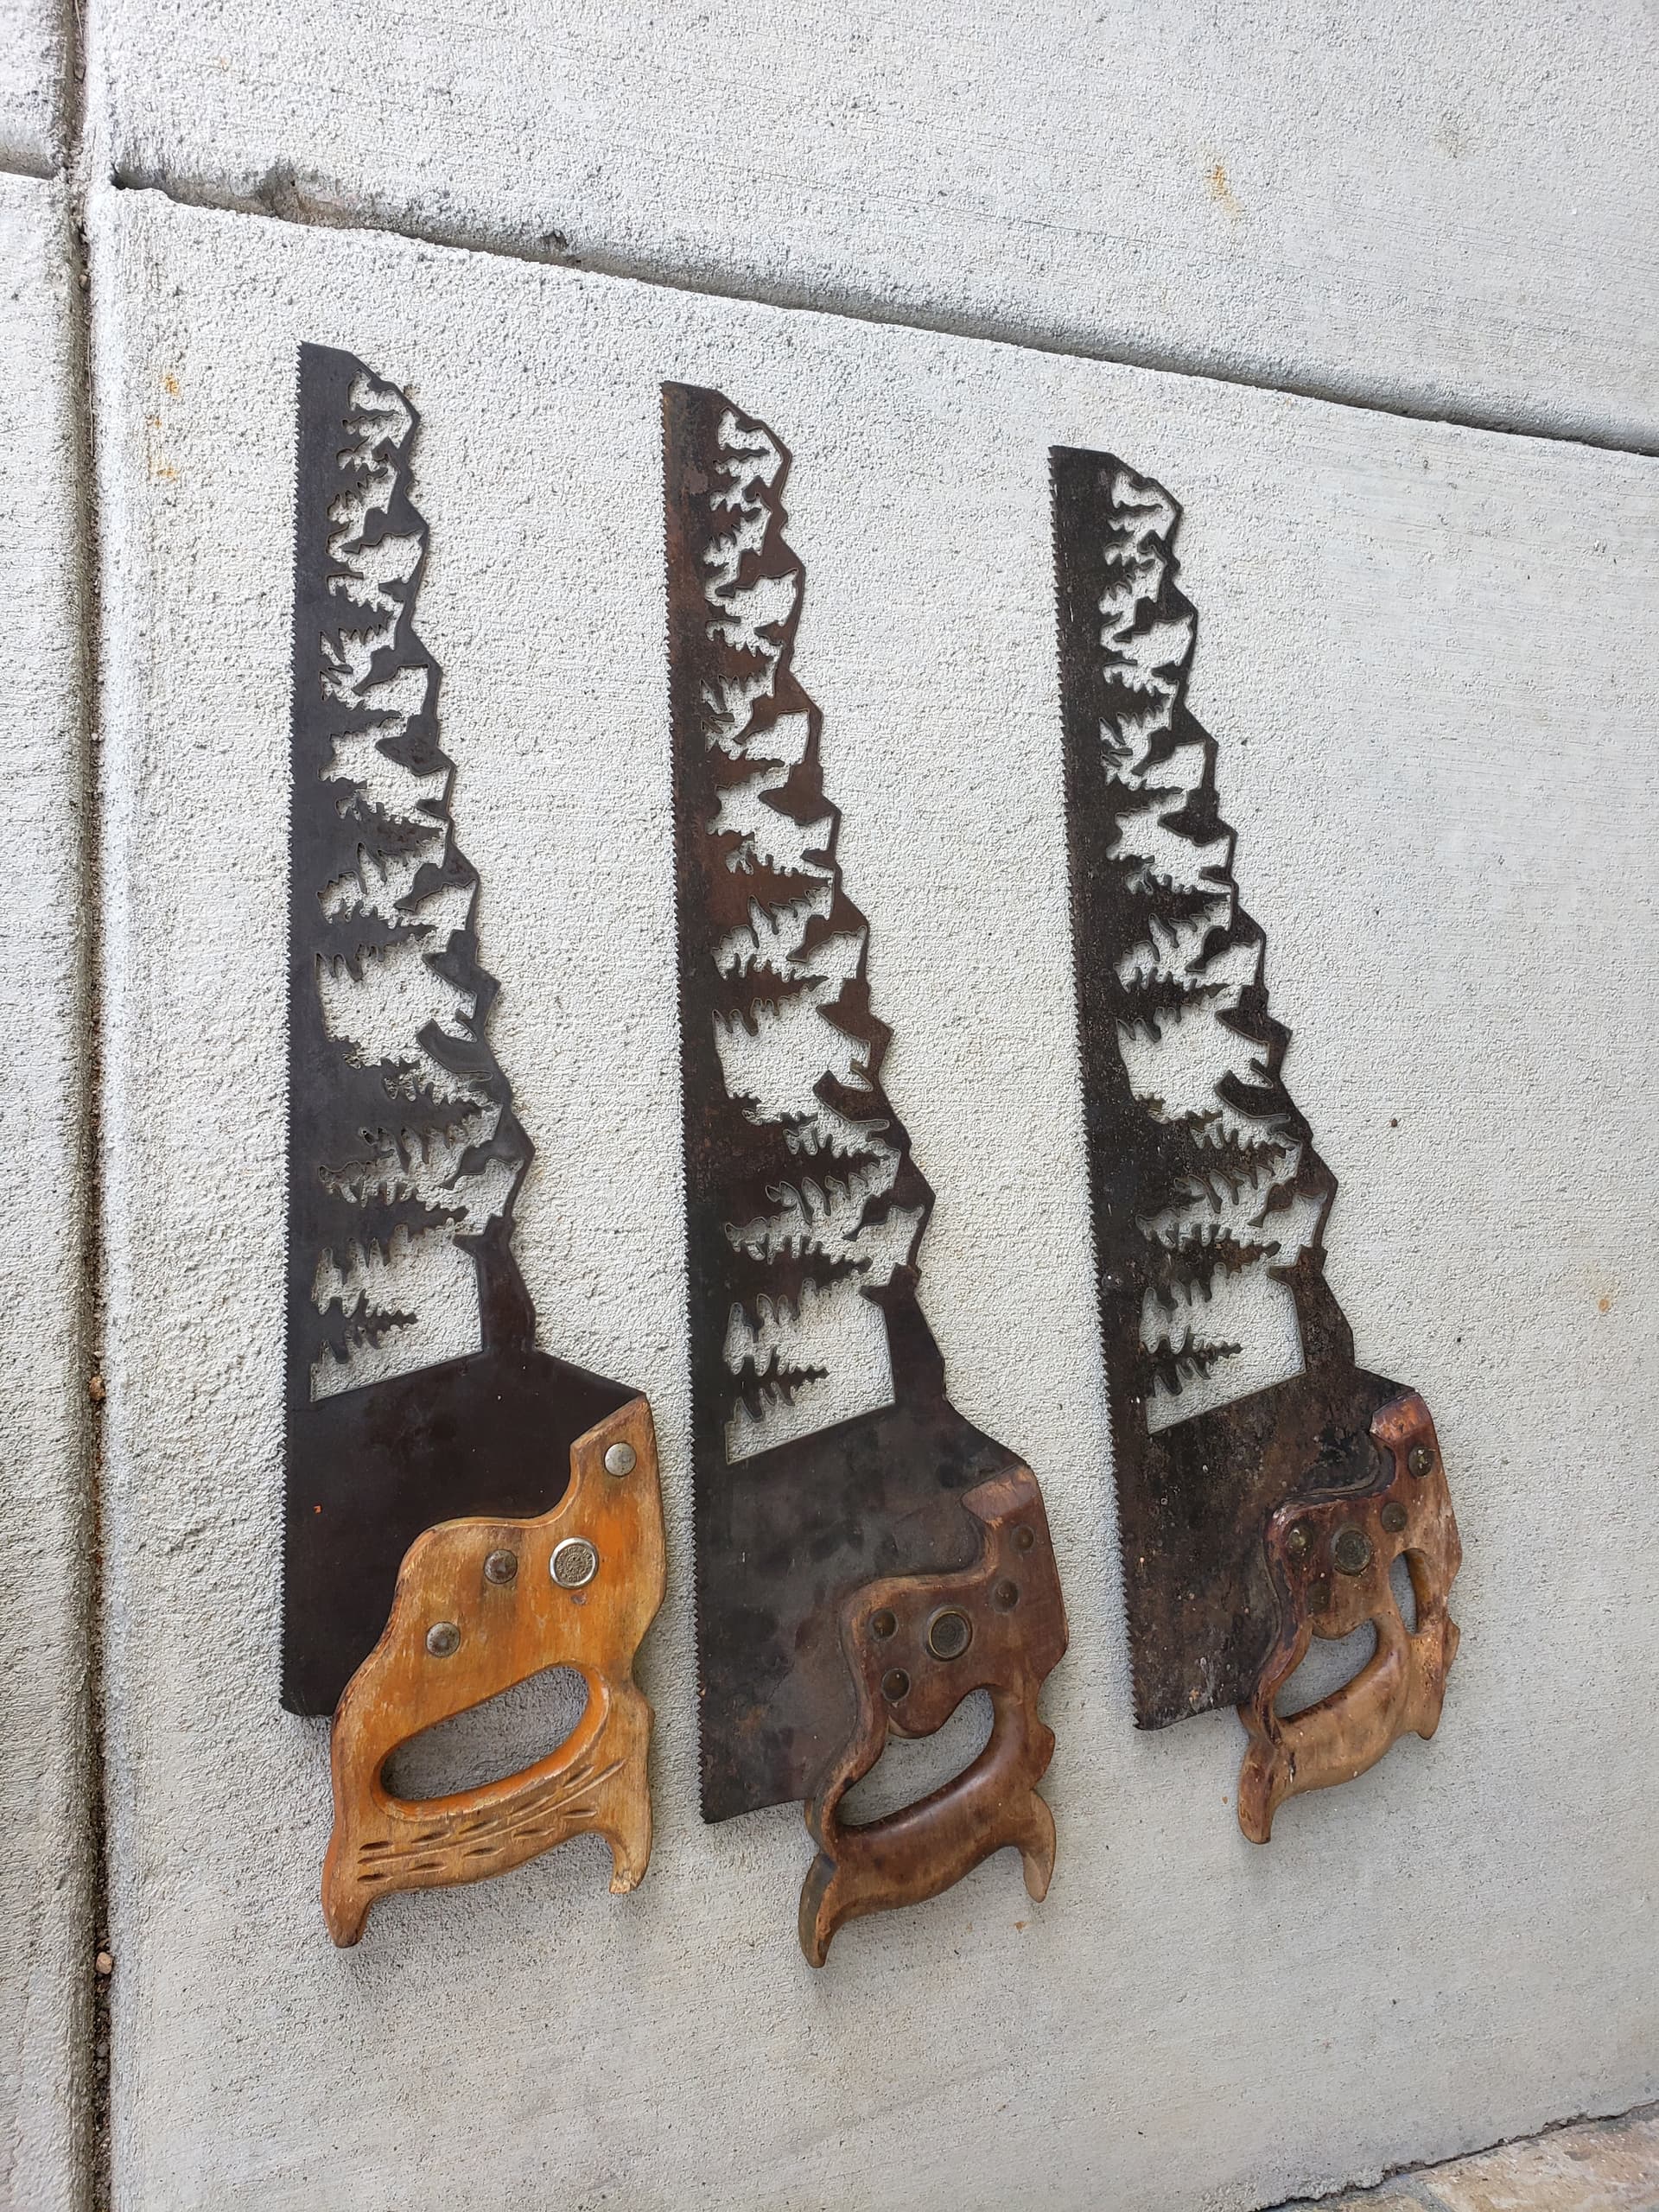
6 Likes
Might be a dumb question, but how are you guys lining this blades up on your machines? I’ve thought about trying to make custom slats that I could adjust in, but maybe thats just overthinking it.
I take the handle off and align the toothed edge with the y axis then jog around to make sure I have it right.
3 Likes
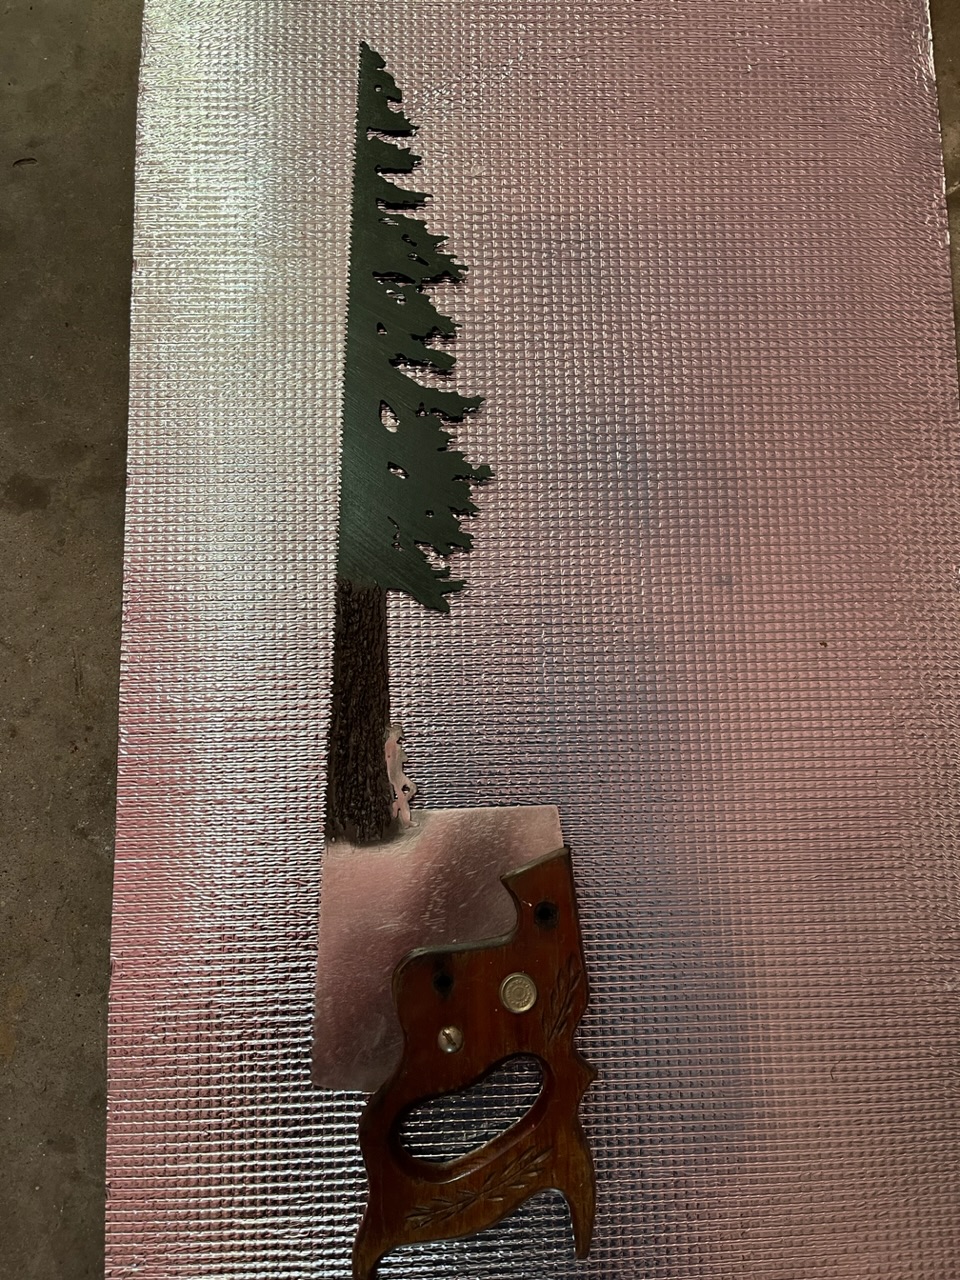
I do as @72Pony said…scroll around and position it how I want. I cut this one for a friend earlier. Not sure if I’m done with it yet. I normally rust them but he wanted it painted. I give them away so don’t get too fancy but like to try different stuff all the time on them.
3 Likes
Here is my latest find. I don’t think I will cut this one.
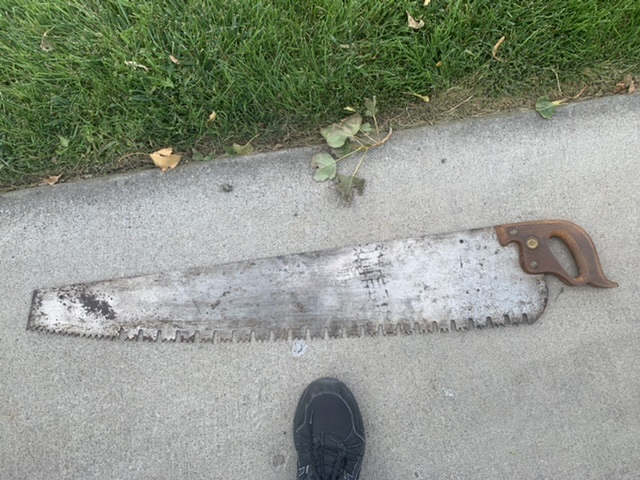
3 Likes
That’s a beautiful saw!
That’s the saw to do a monster redwood tree and enjoy for many years.
1 Like