Usually I’m a fan of gray equipment but I was concerned that with the black enclosure it would appear dark in the machine. I was also concerened the 1gallon kit wasn’t going to be enough (1 gallon turned out to be just about right) and ordered additional epoxy from amazon… so I would need more colorant.
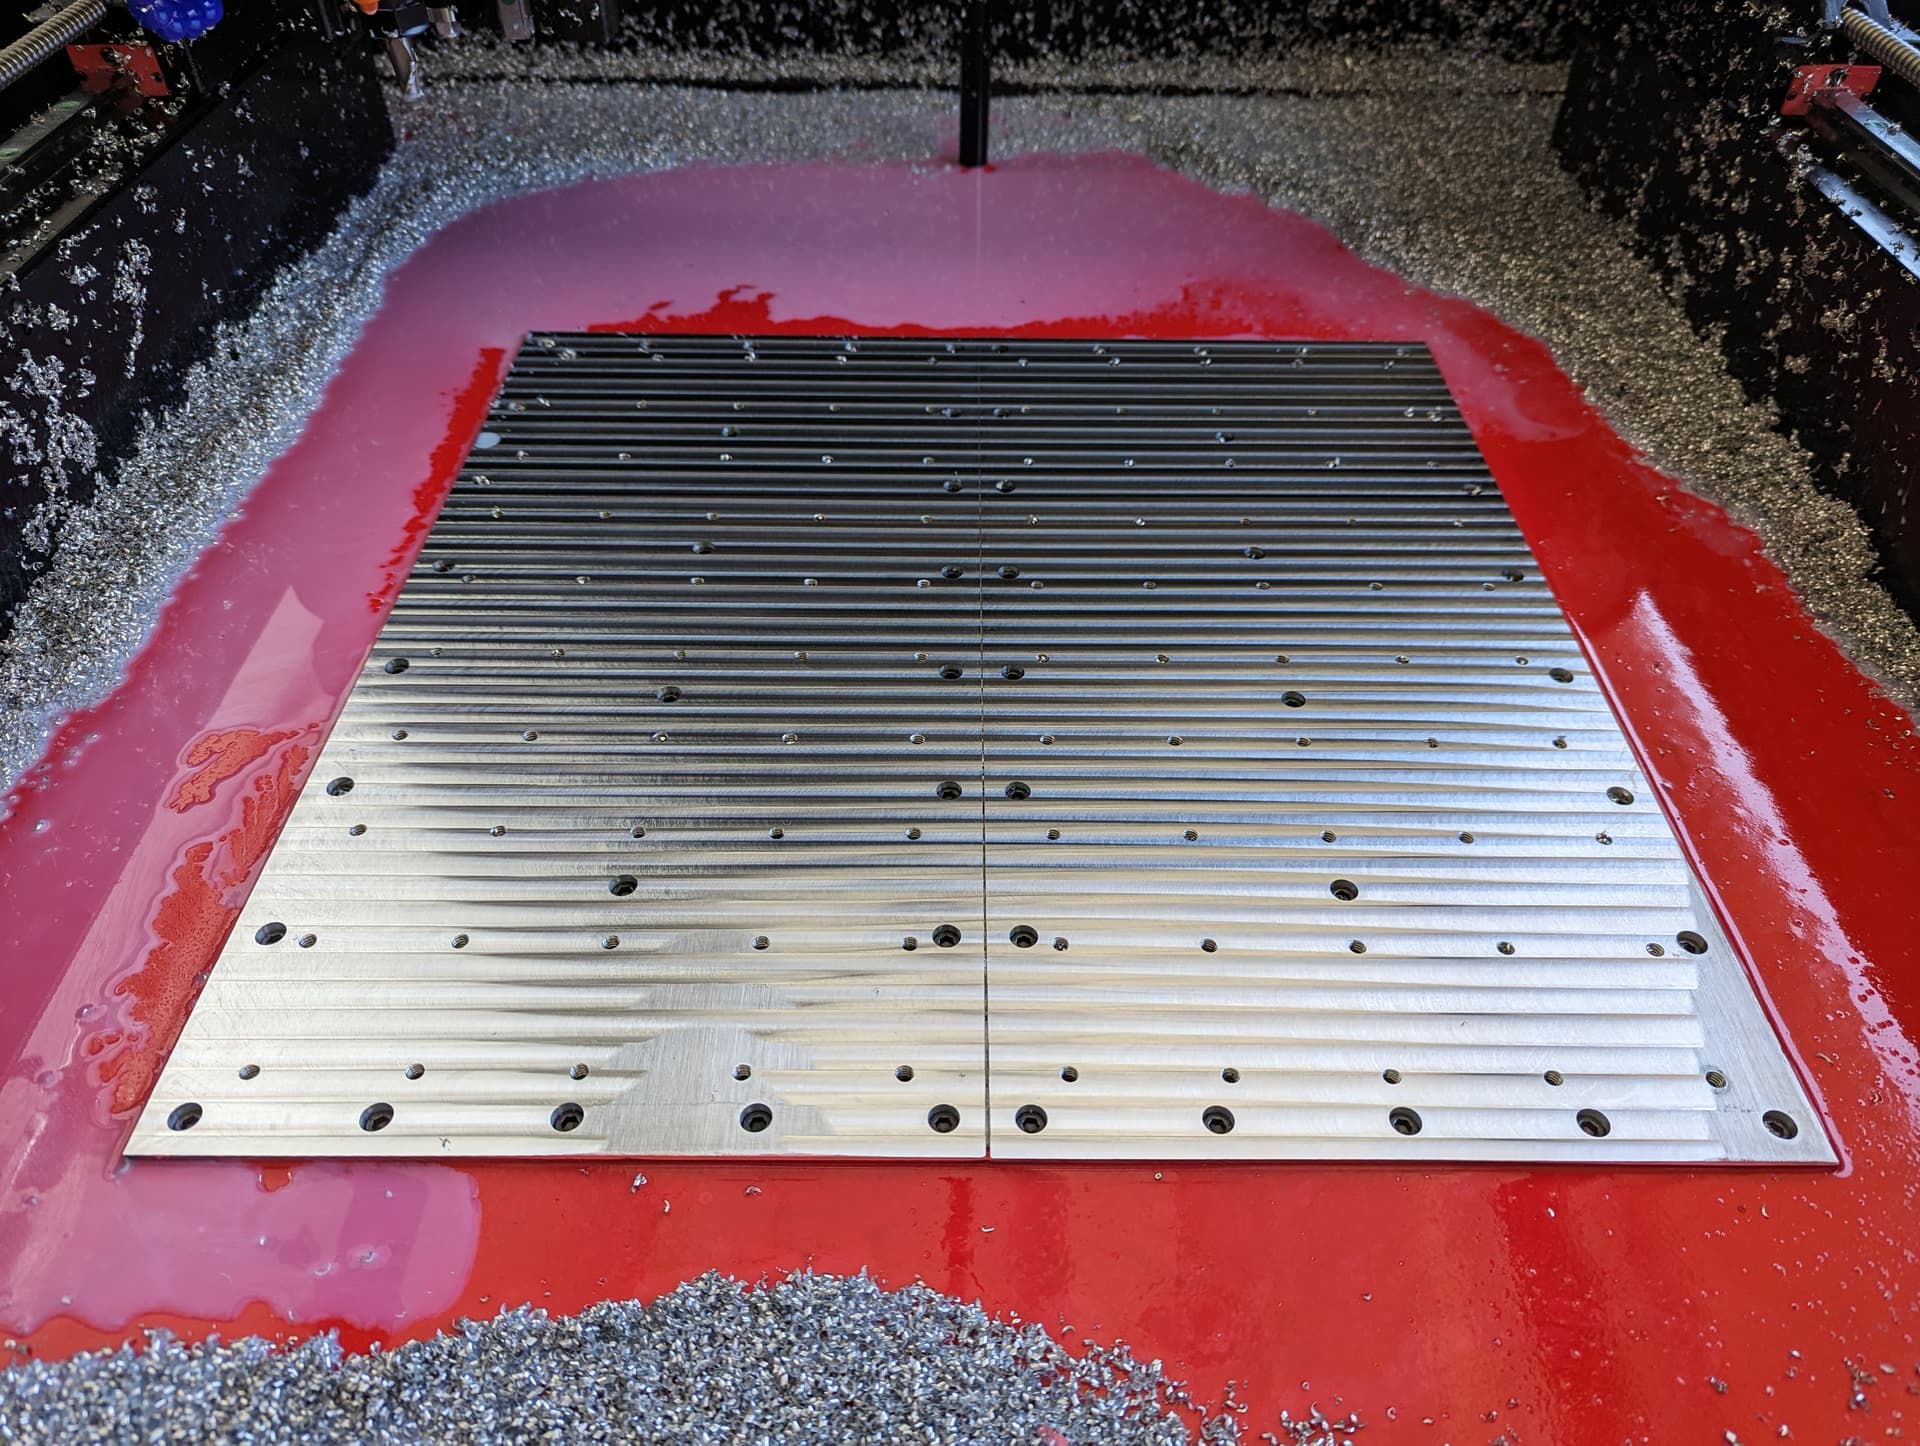
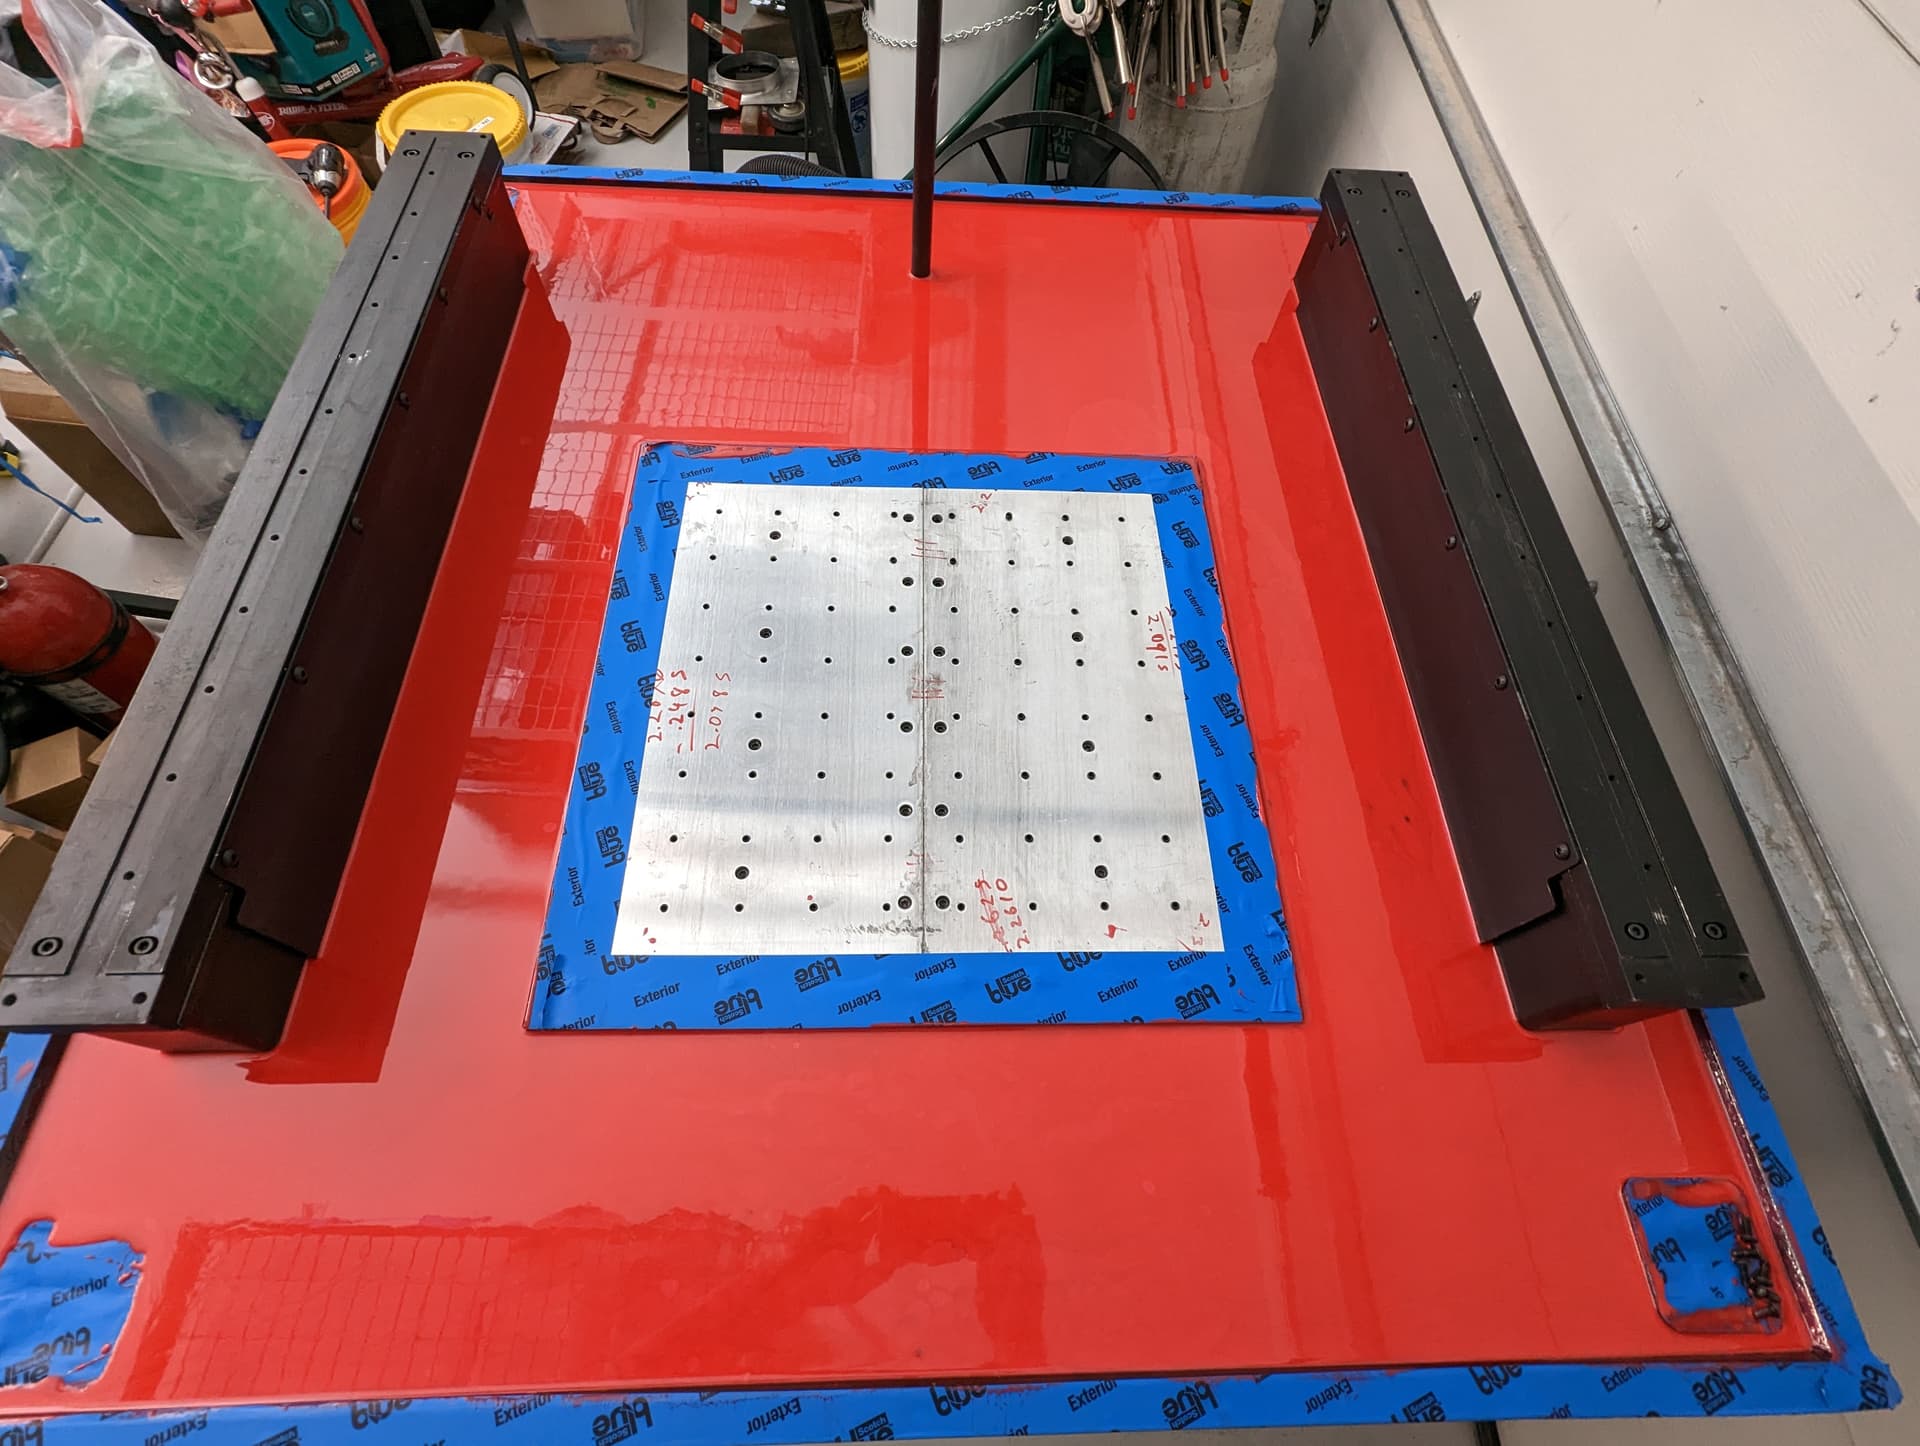
White epoxy is out in my opinion as it always yellows over time, so I decided to use red mica instead of the factory gray colorant. I ended up going with this red mica from amazon:
The entire 3.5oz container was mixed into 1 gallon. I used a small gram scale to measure out by weight the charge needed for the seal coat. I’m pleased with how it turned out.
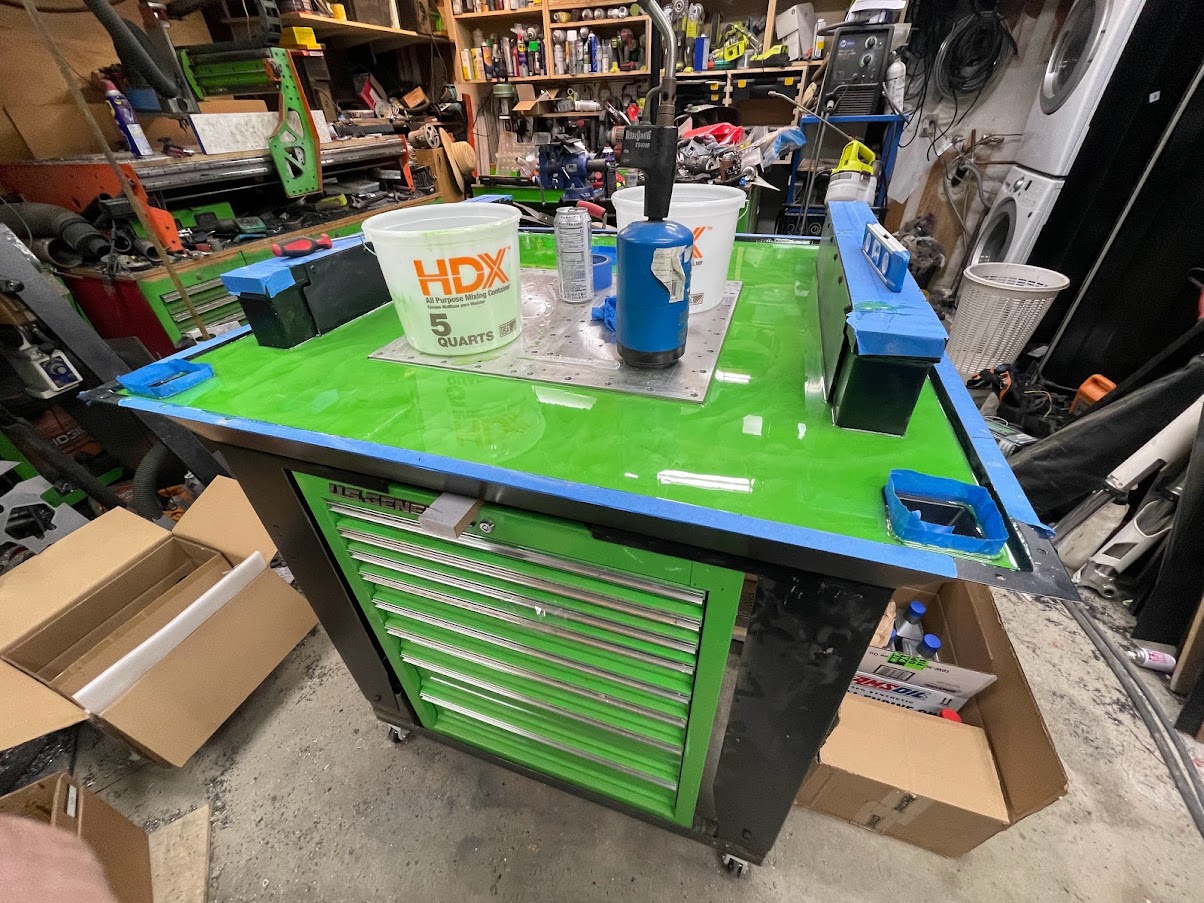
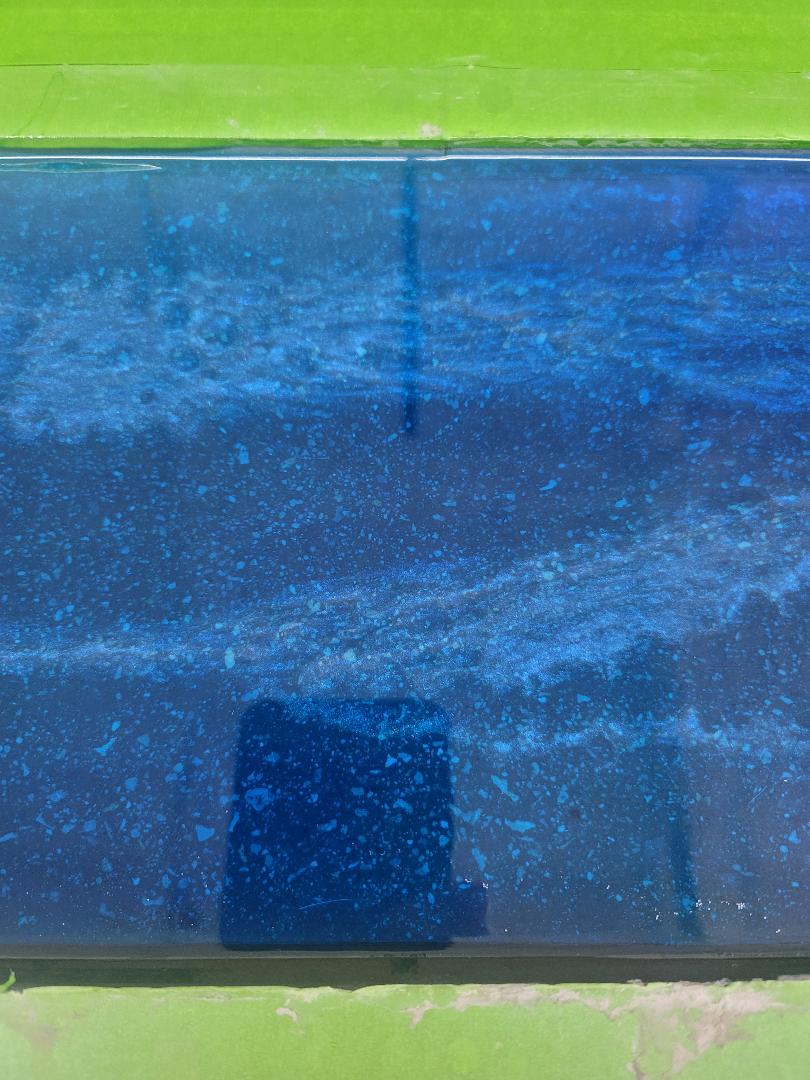
This is what happens when you accidently order two different shades of blue coloring. I ordered additional epoxy and thought I ordered the same blue dye color, oops.
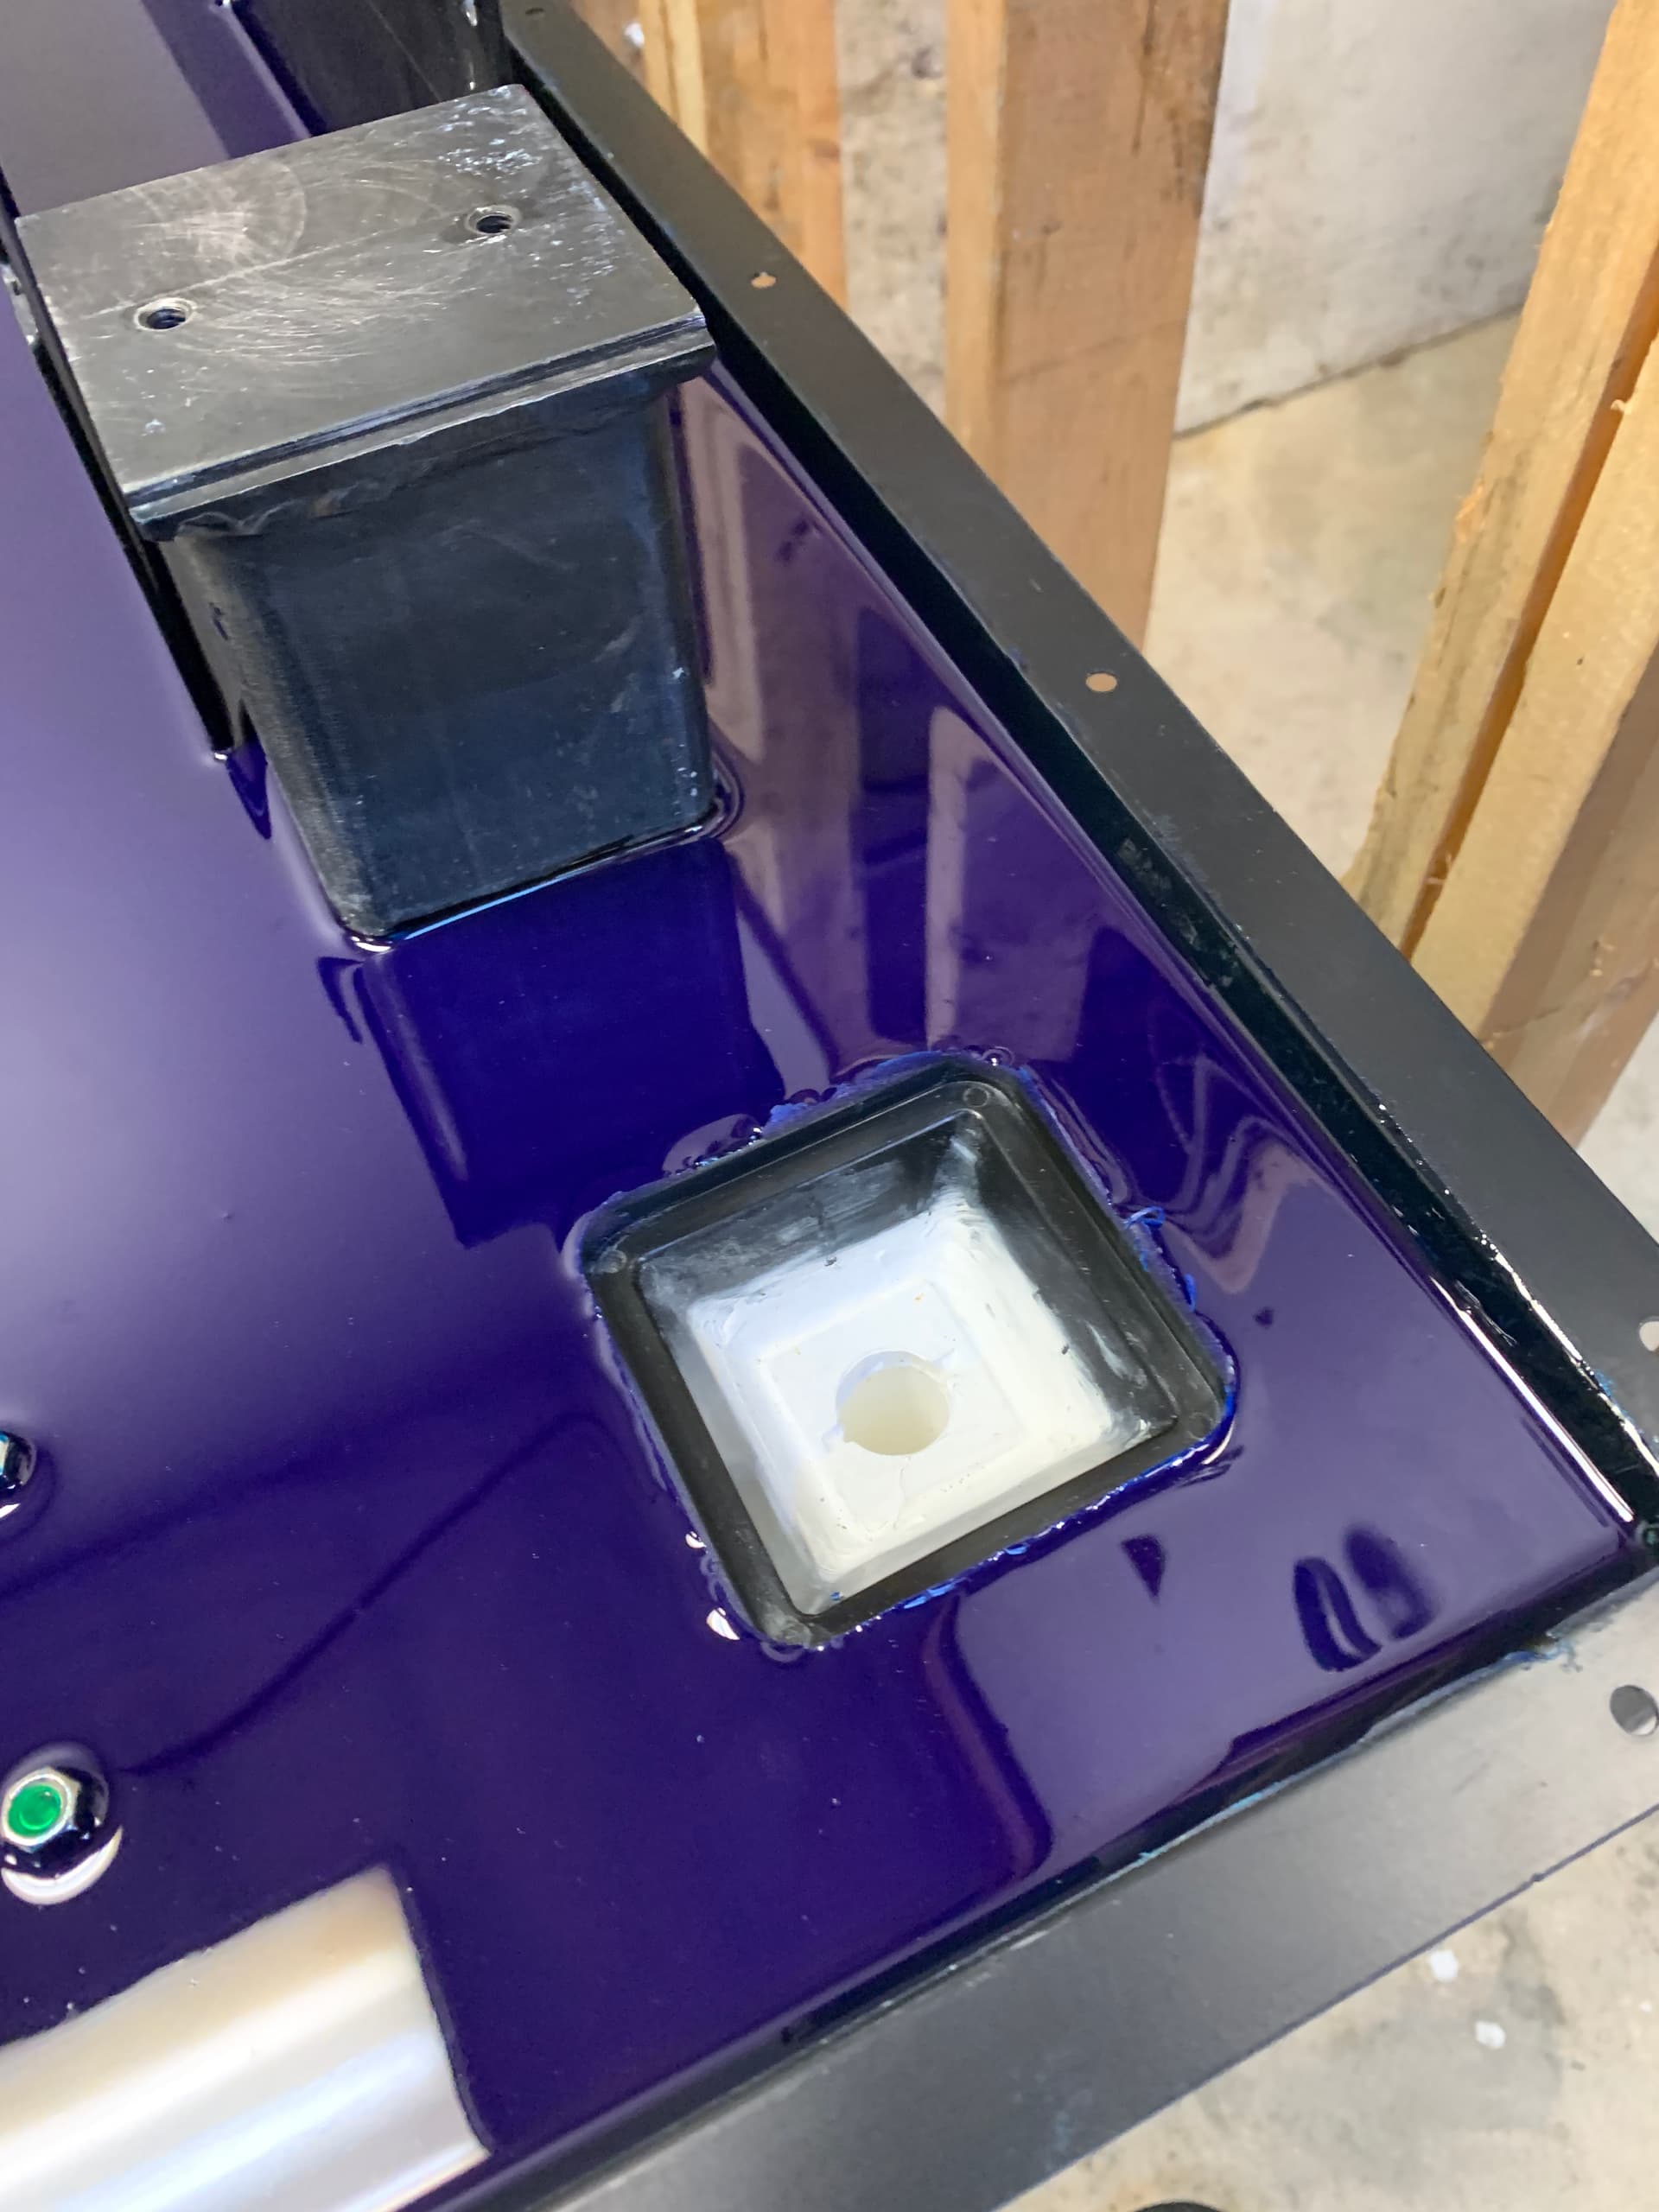
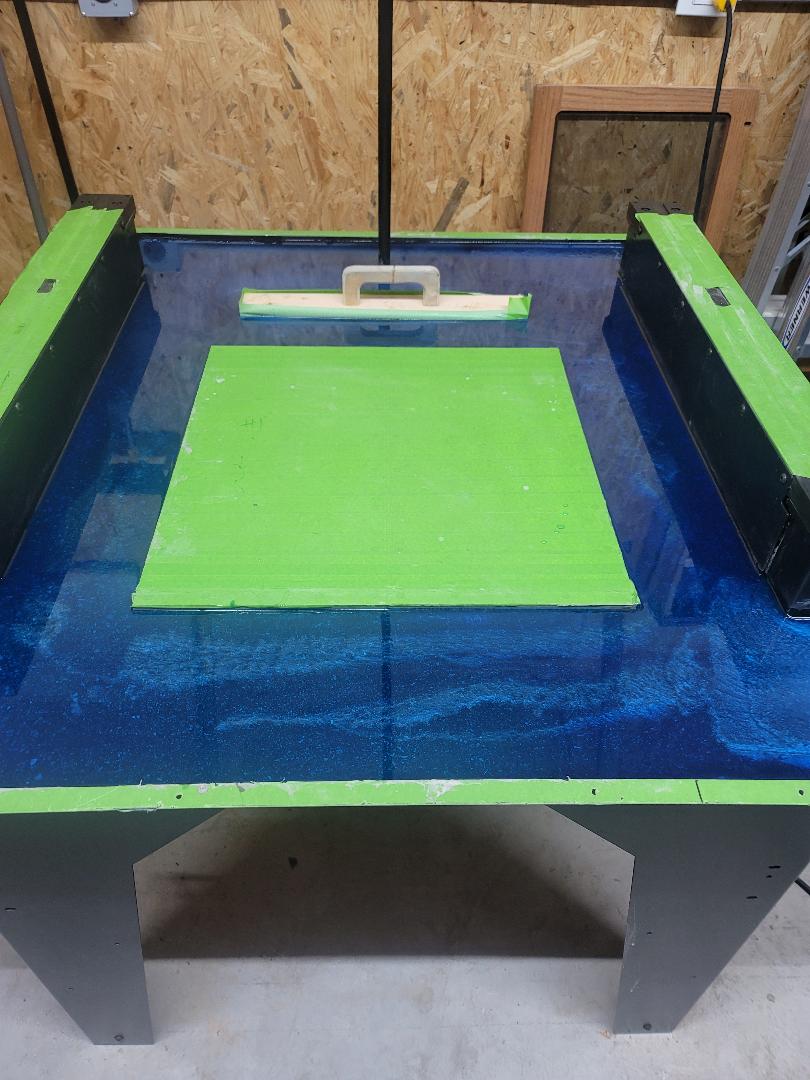
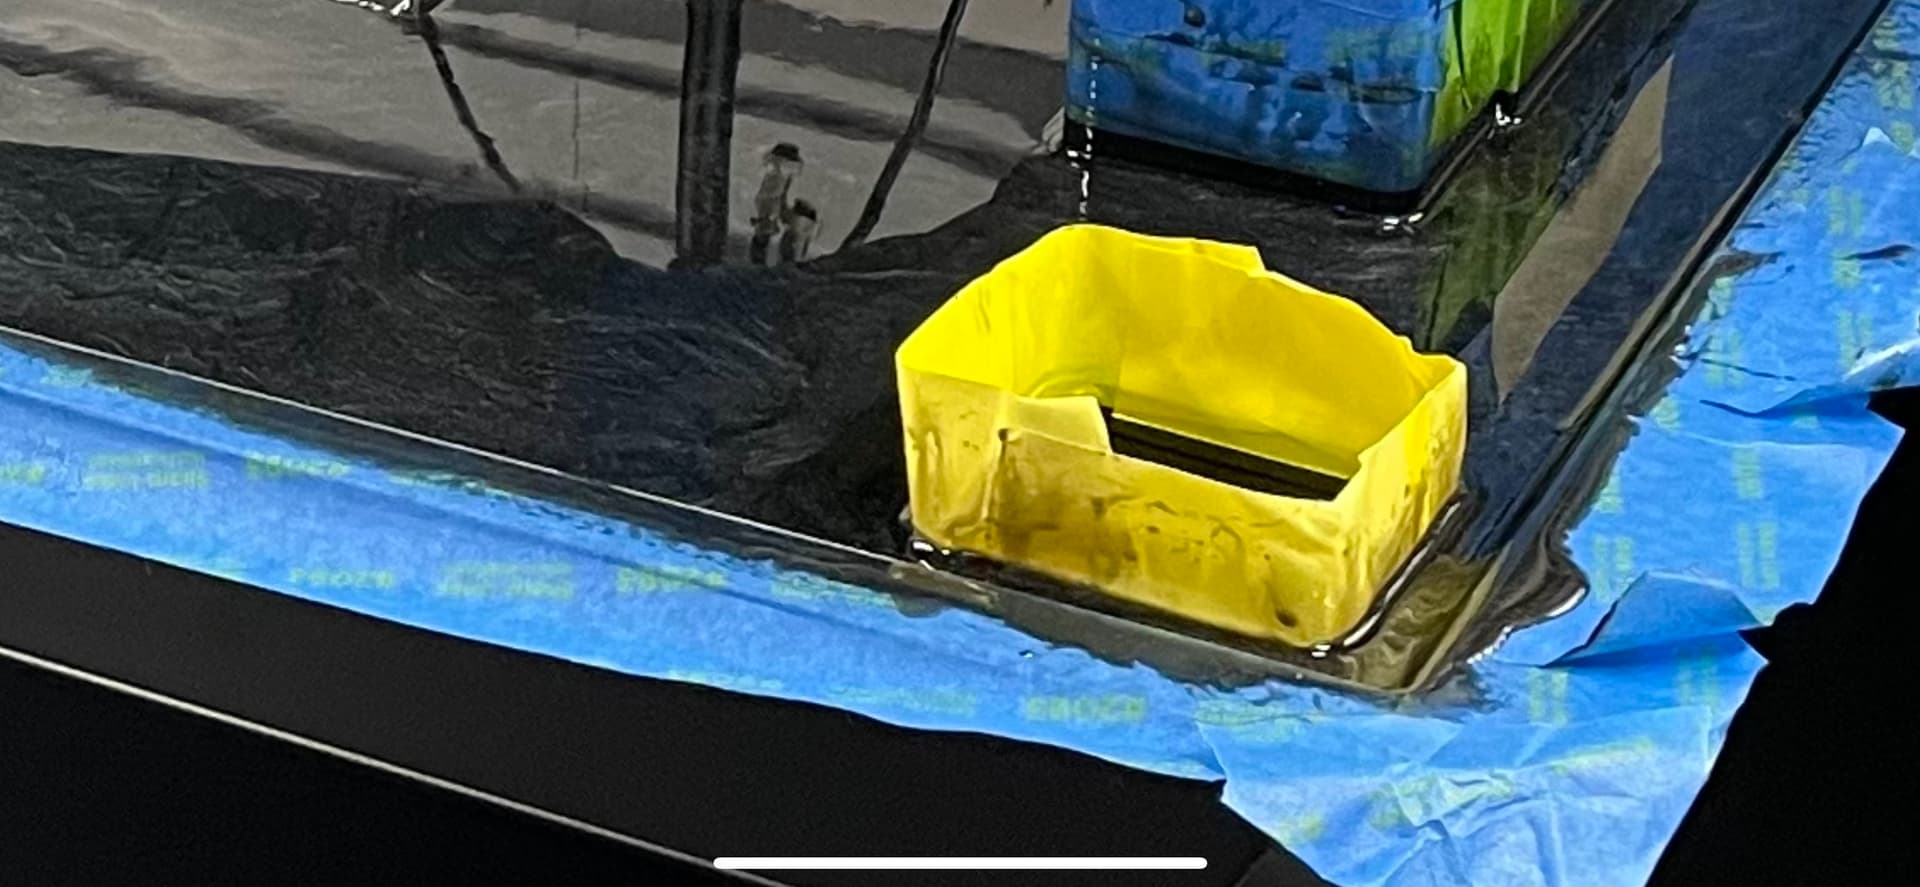
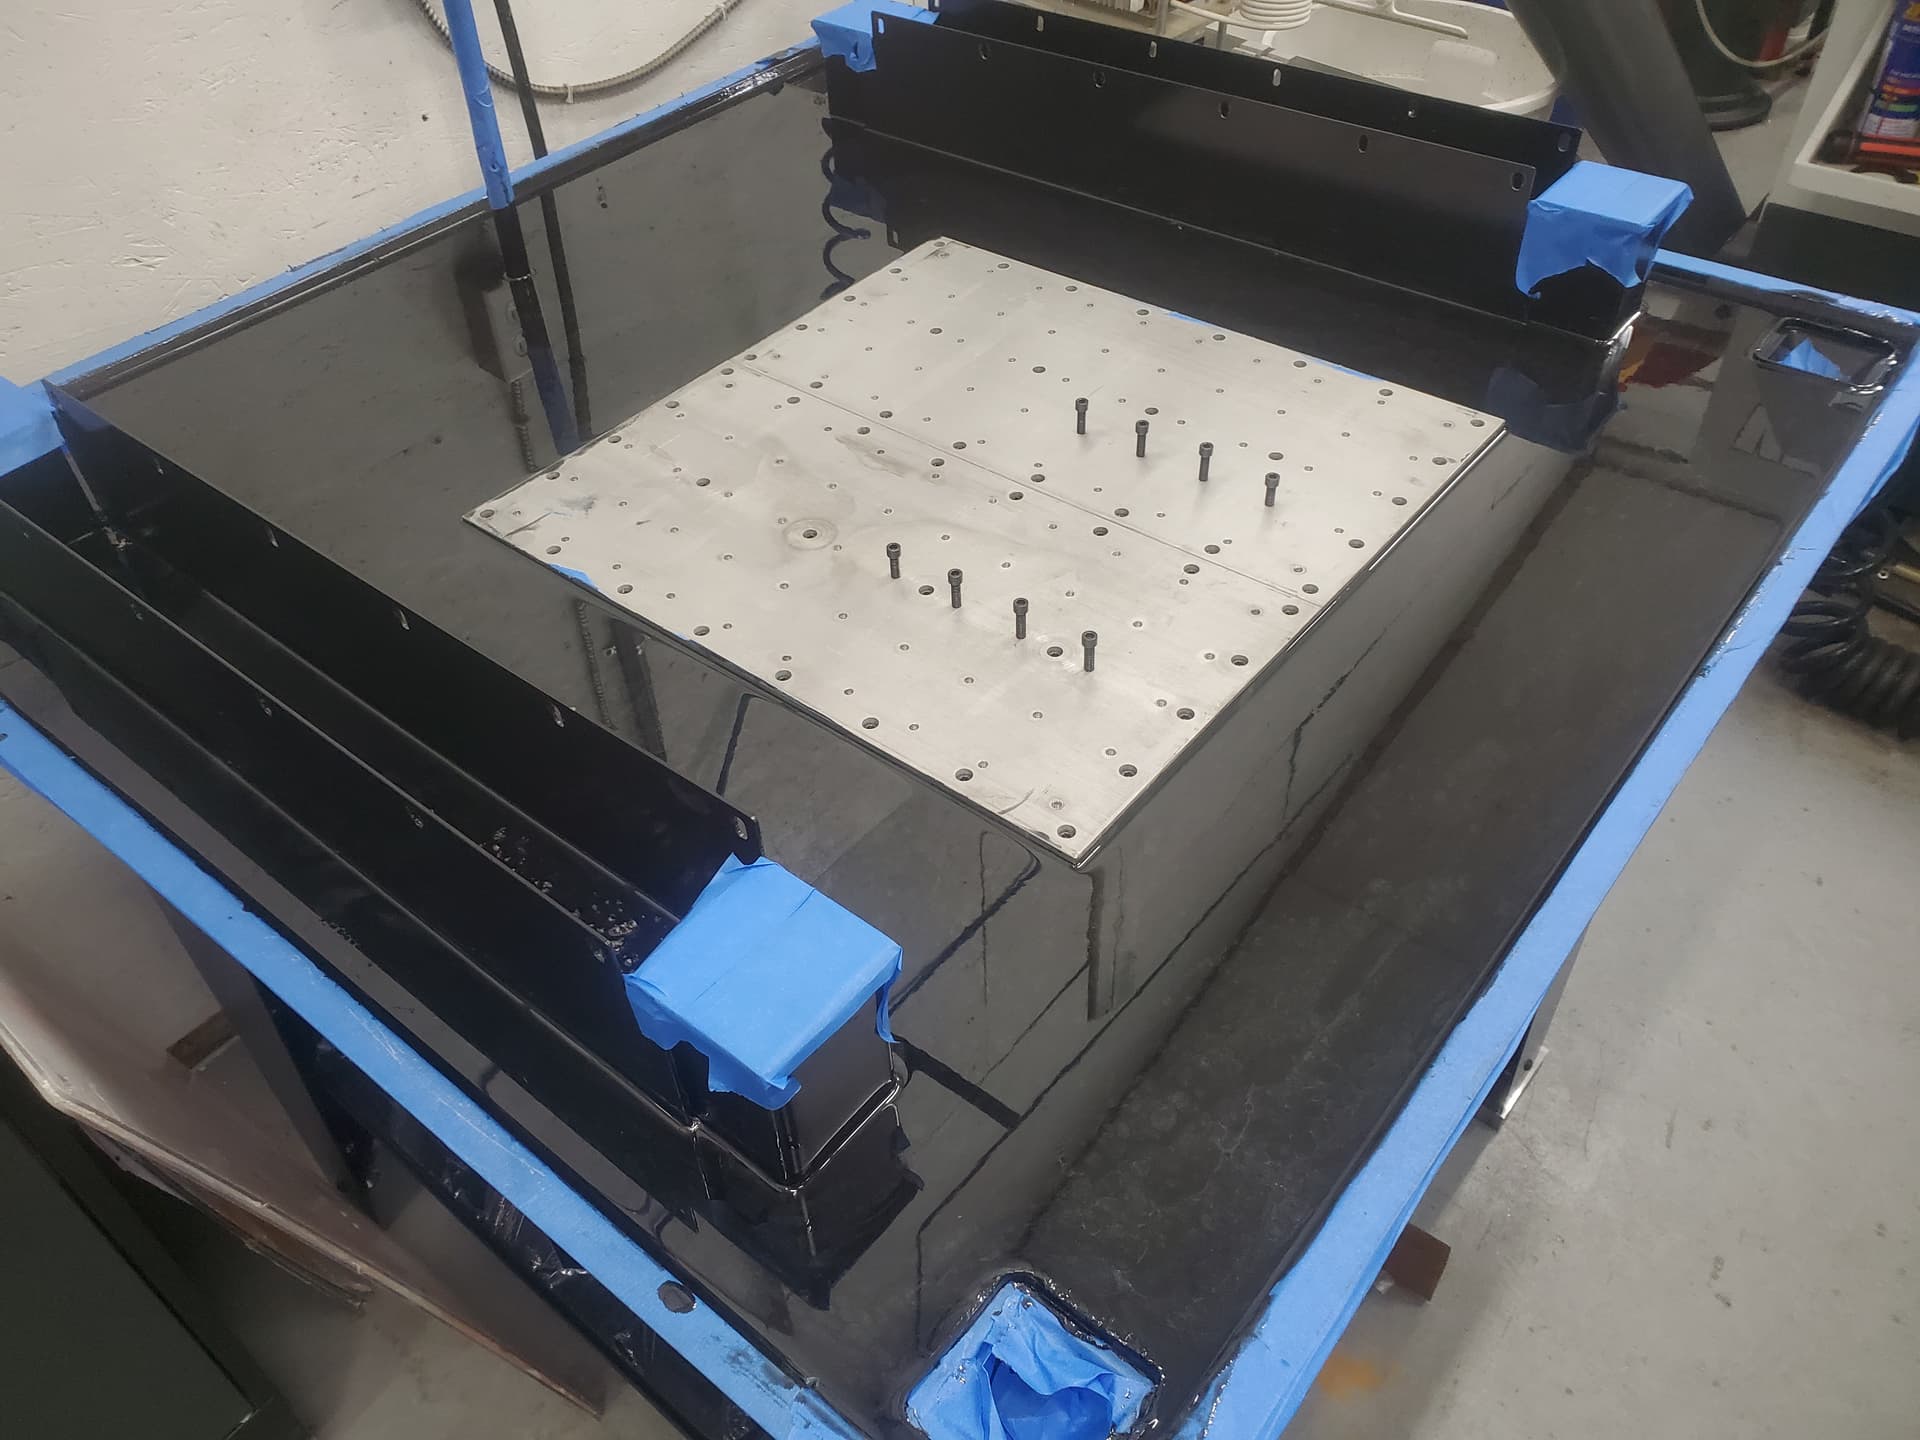
For the drains, I built a ‘dam’ out of tape so that the epoxy would create an upward fillet and provide extra material to work with once cured.
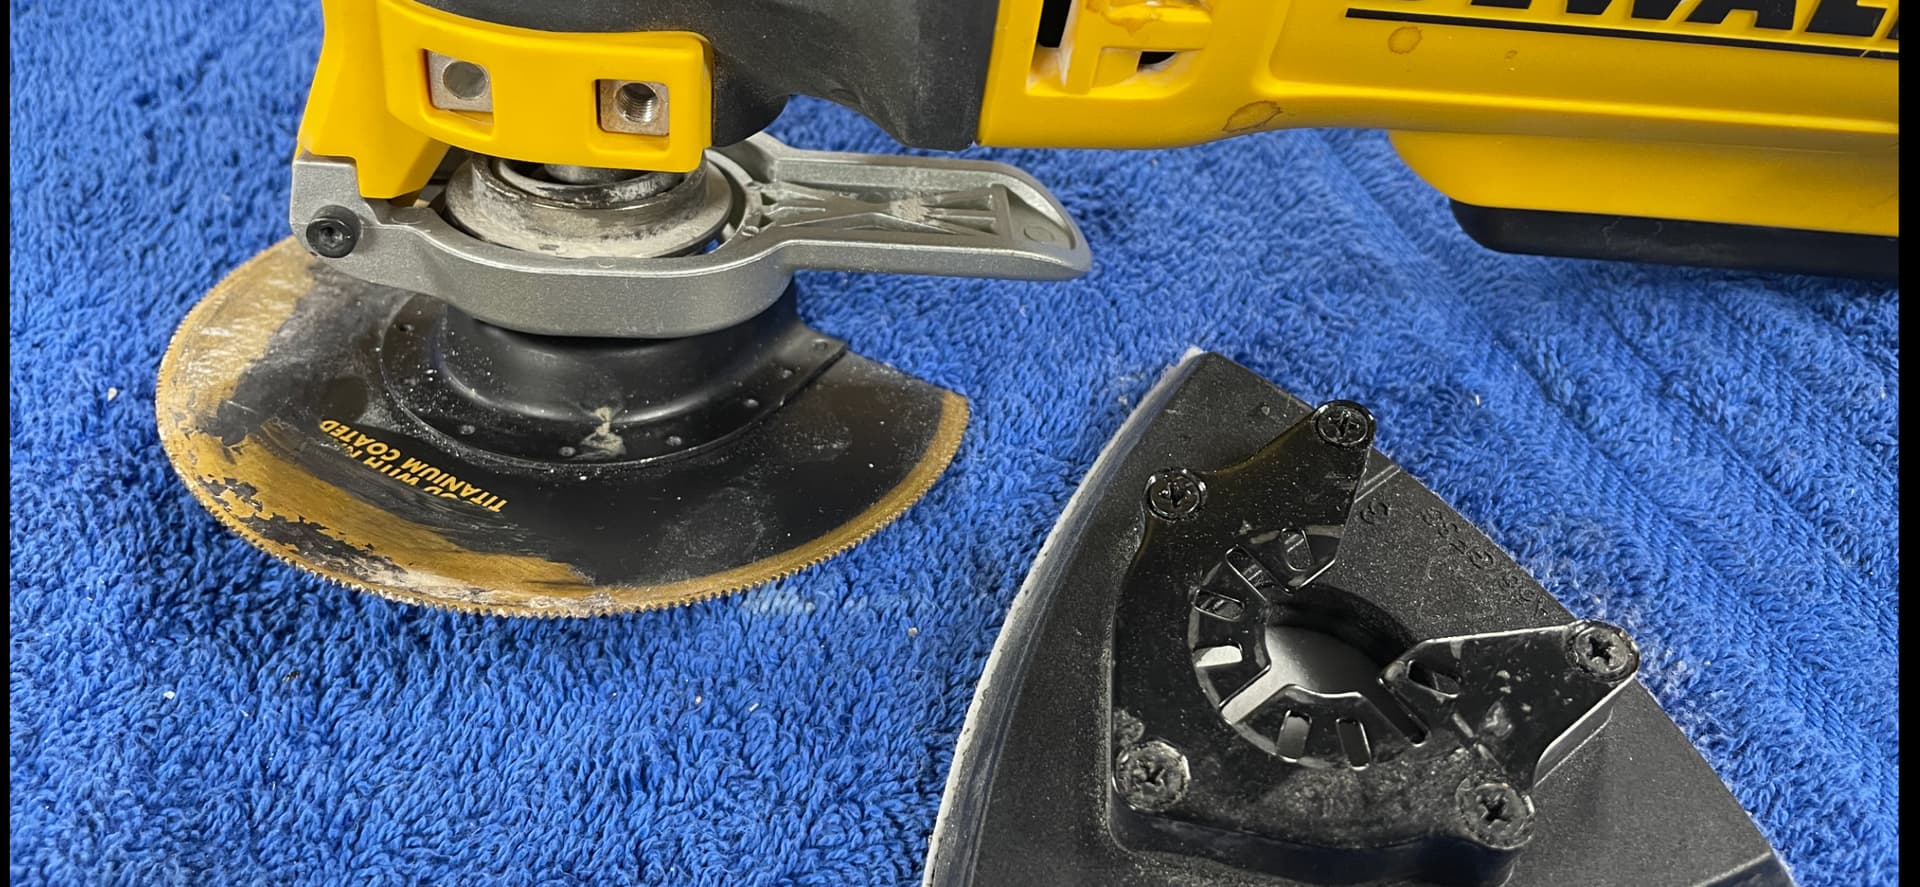
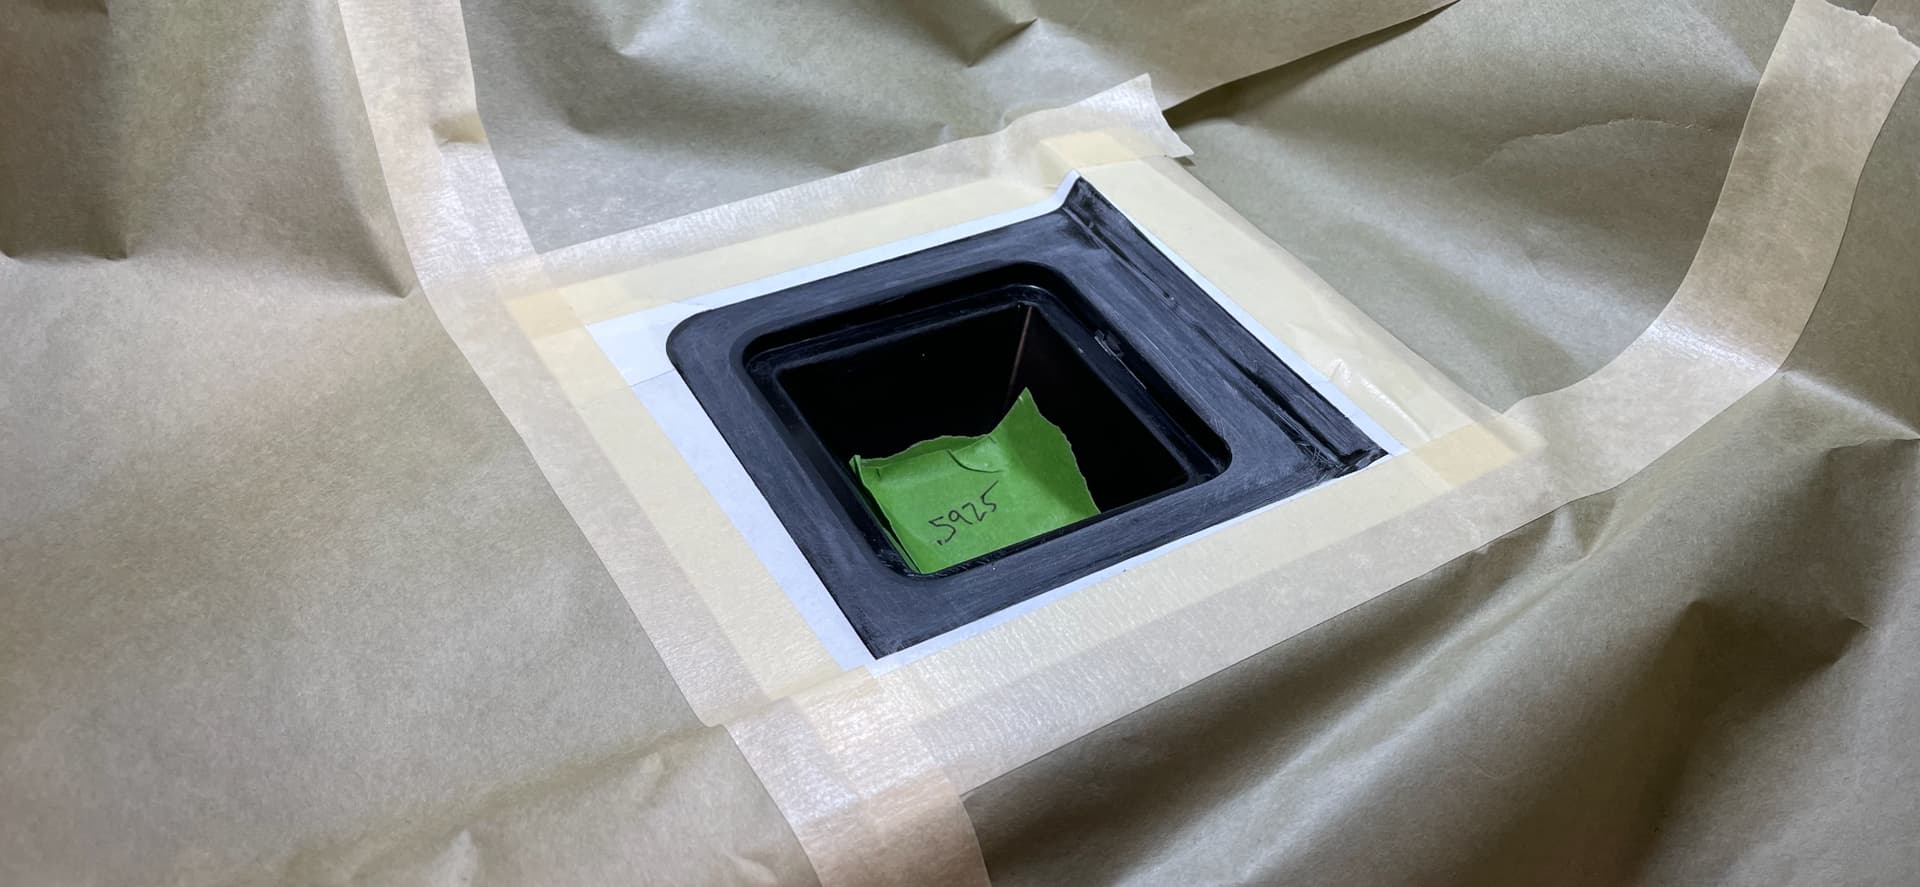
Once cured, I used a couple of layers of masking tape to protect the epoxy surrounding the drains, then used an oscillating tool to trim the extra material to almost flush, then switched to the sanding pad (in the picture) to carefully take it flush.
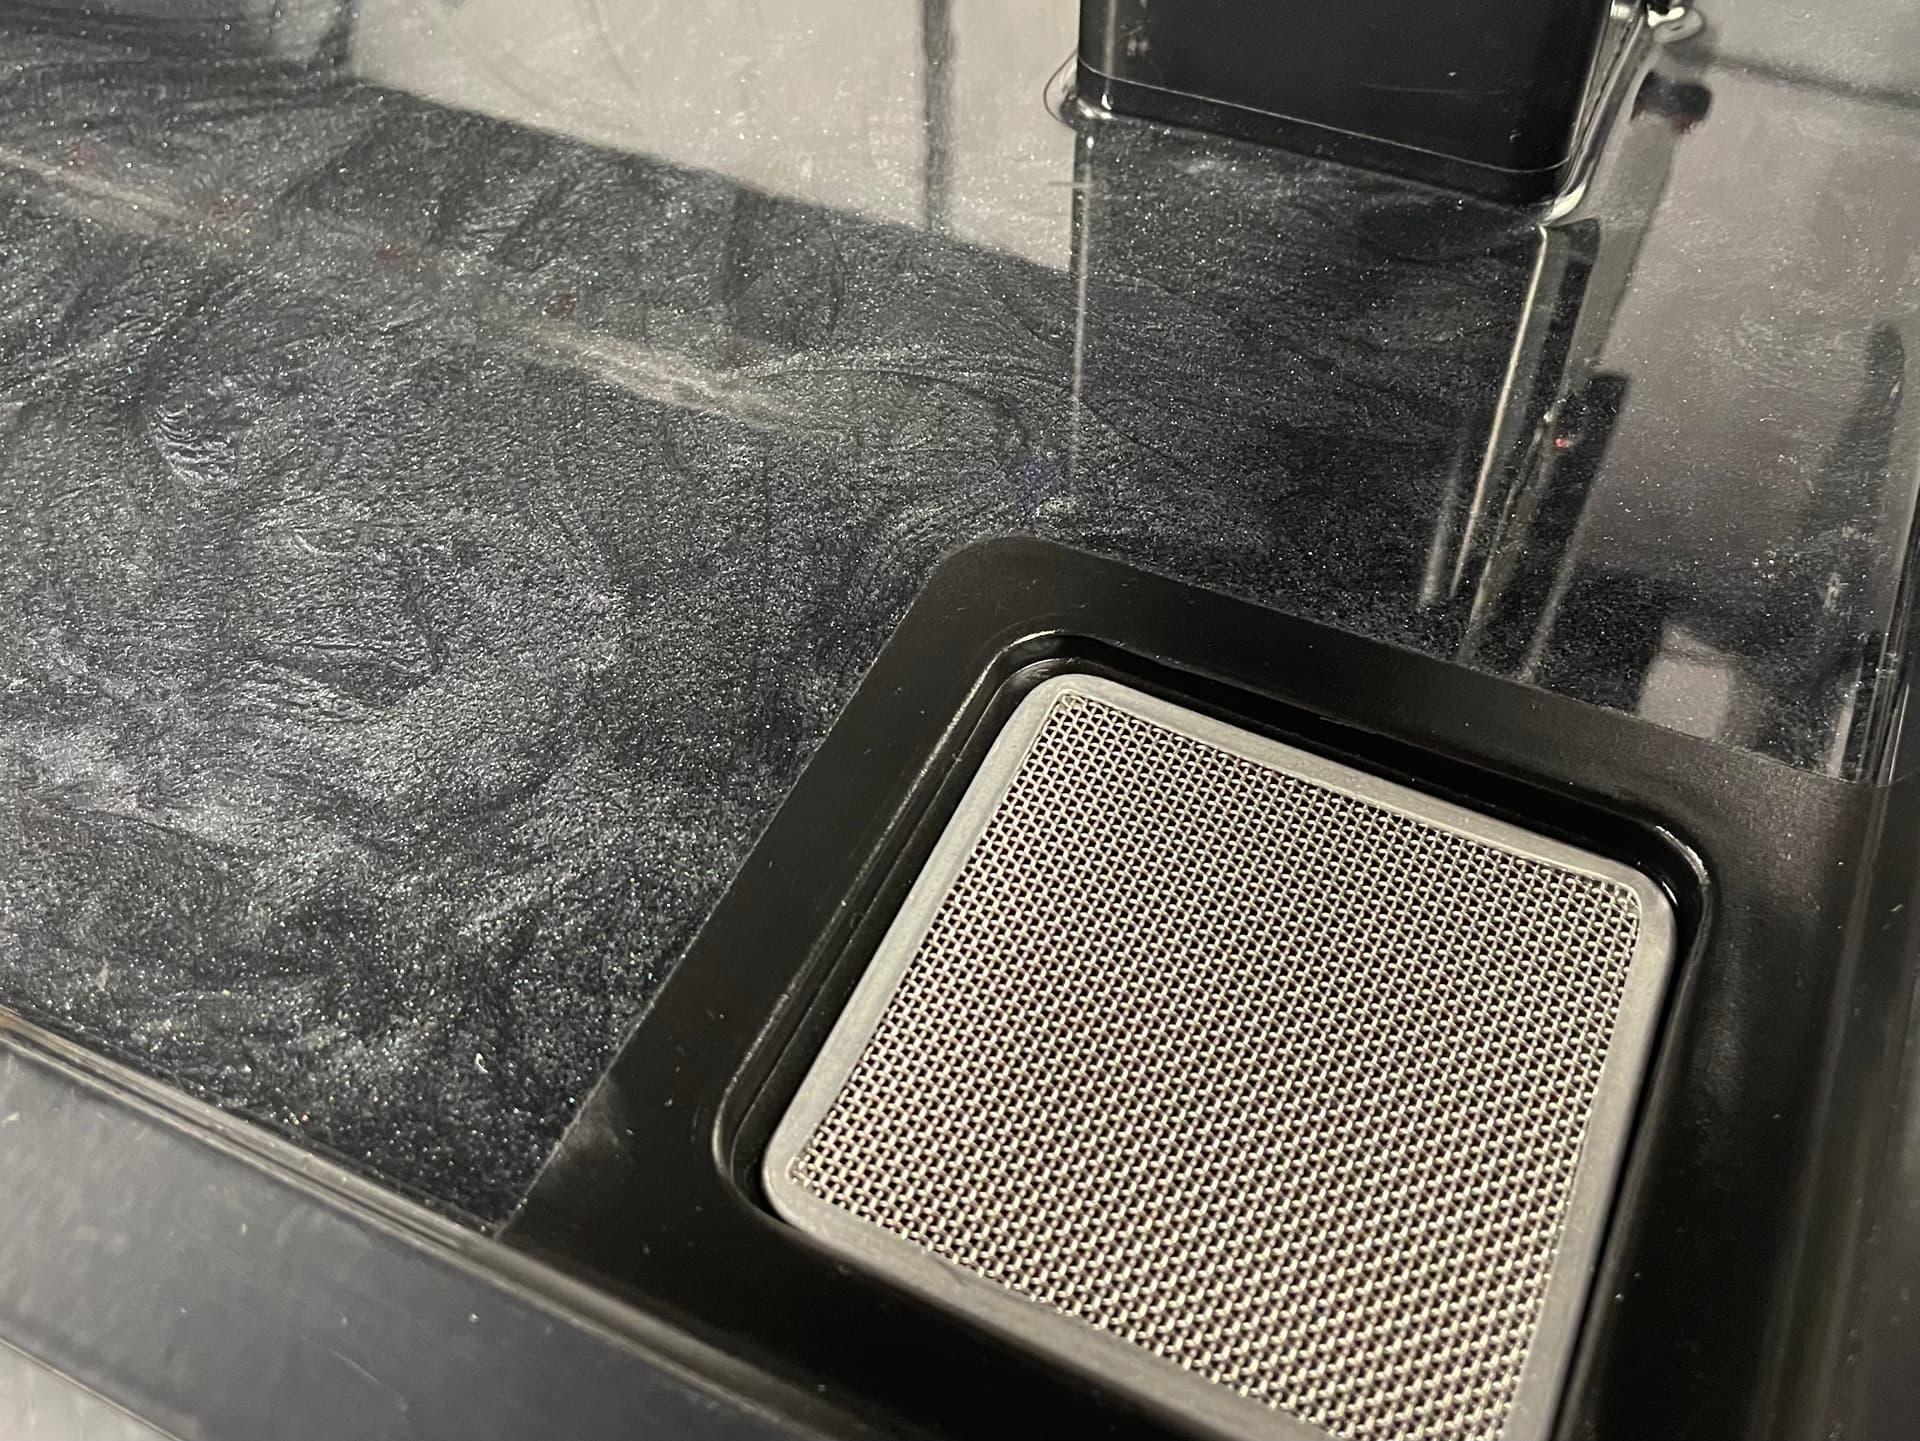
Once everything was ship shape, I masked off a slightly larger area, sanded, and painted the drains.
I have been thinking about trying to trim my drains down with an oscillating tool as well. Glad to hear that it worked out. If only I had done it before assembling the enclosure…