I am struggling with some moisture issues in my compressed air source. I have descant filters at the plasma and right at the hose reel inlet, but those are filling up quick. Anyone have a good affordable air dryer they recommend?
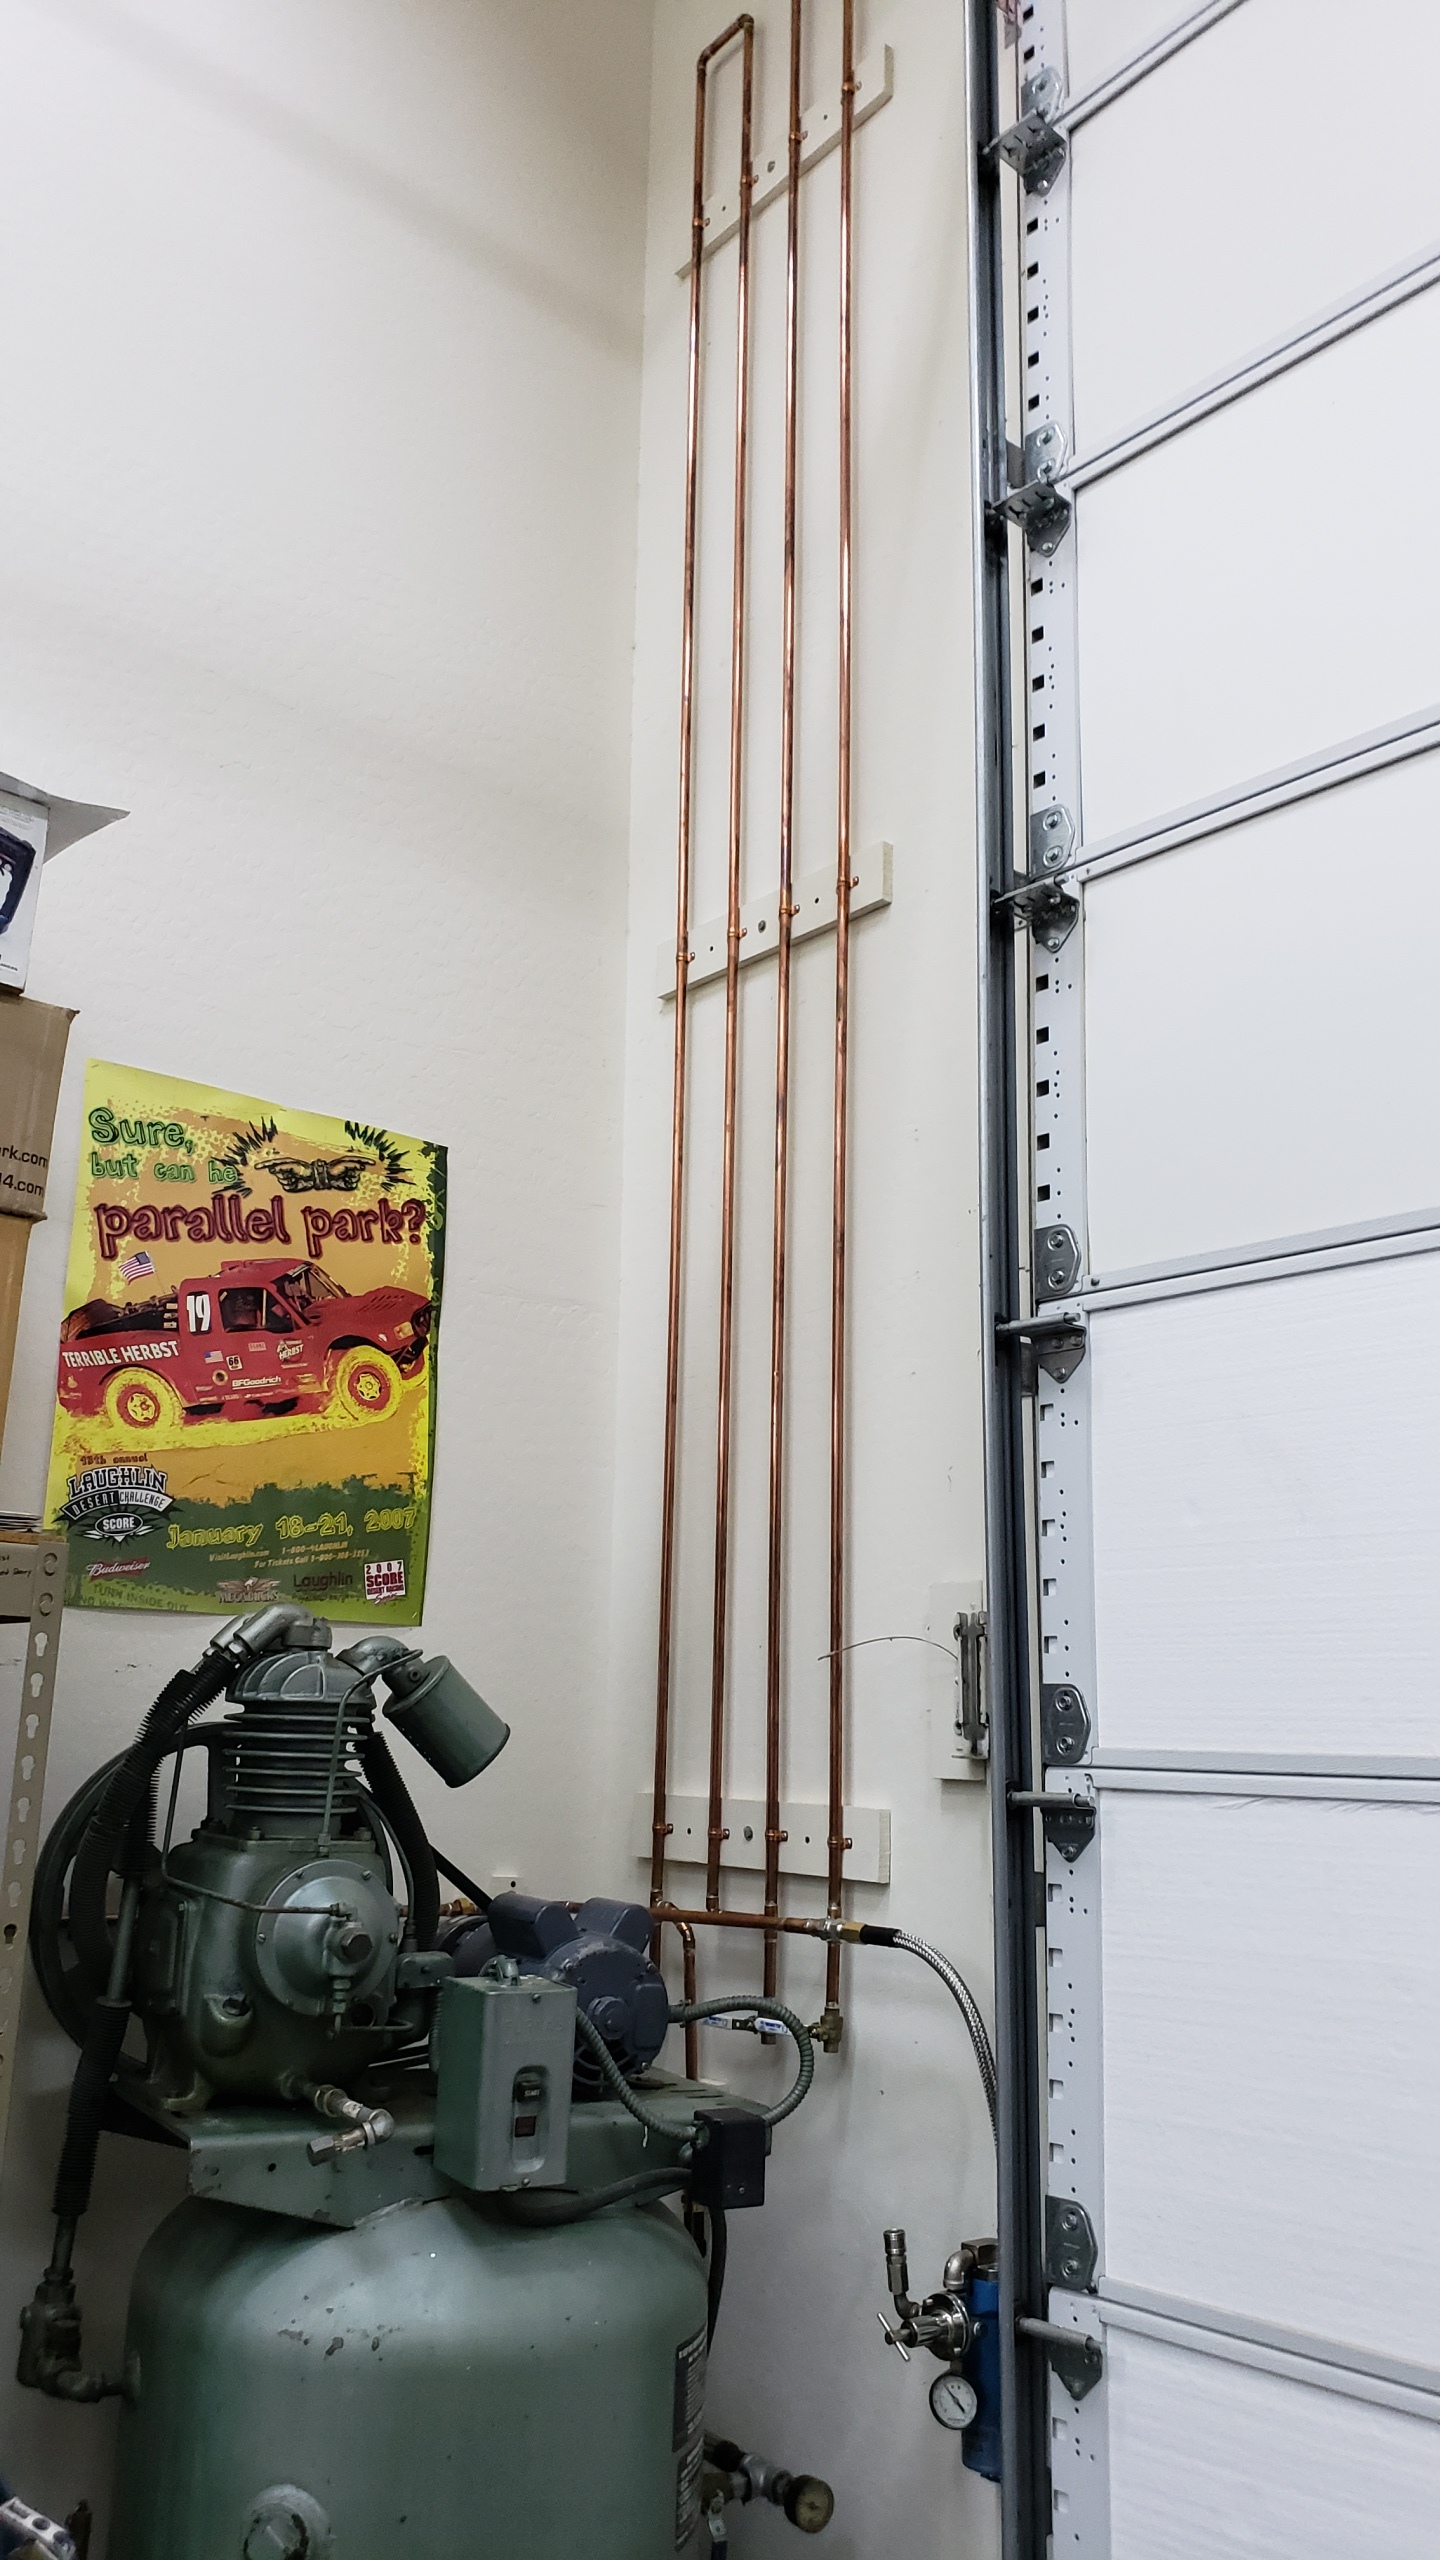
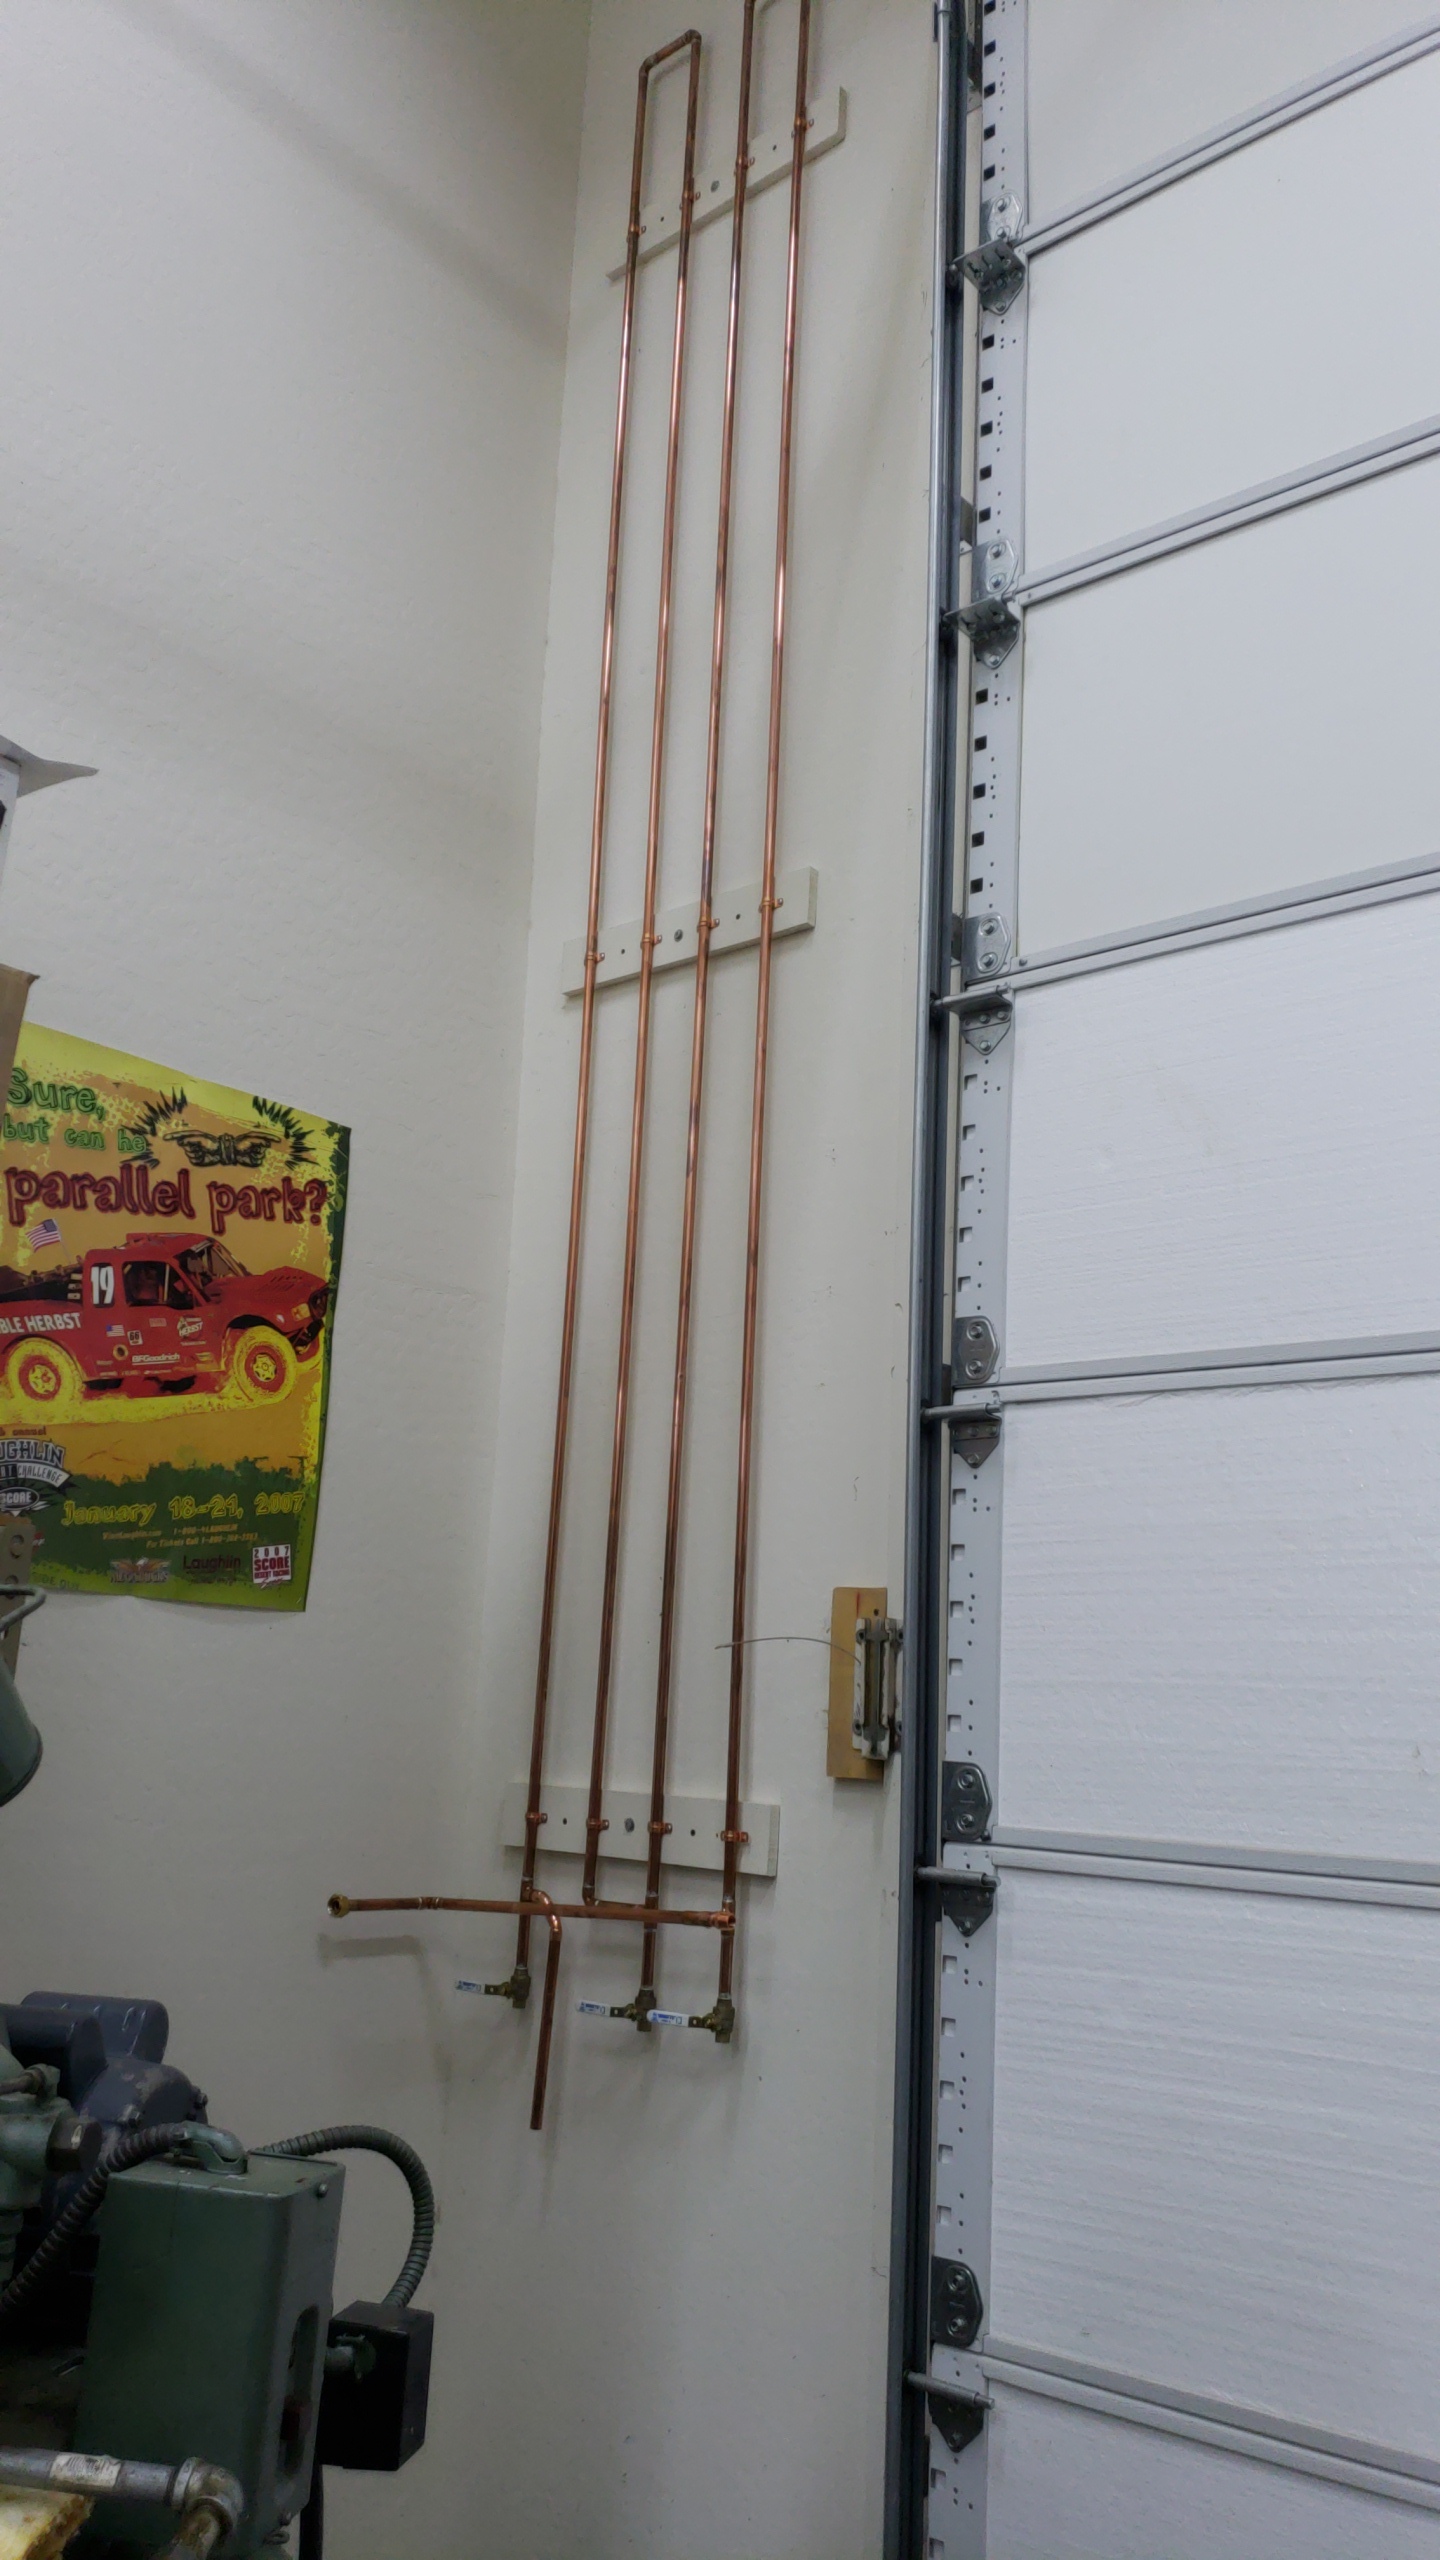
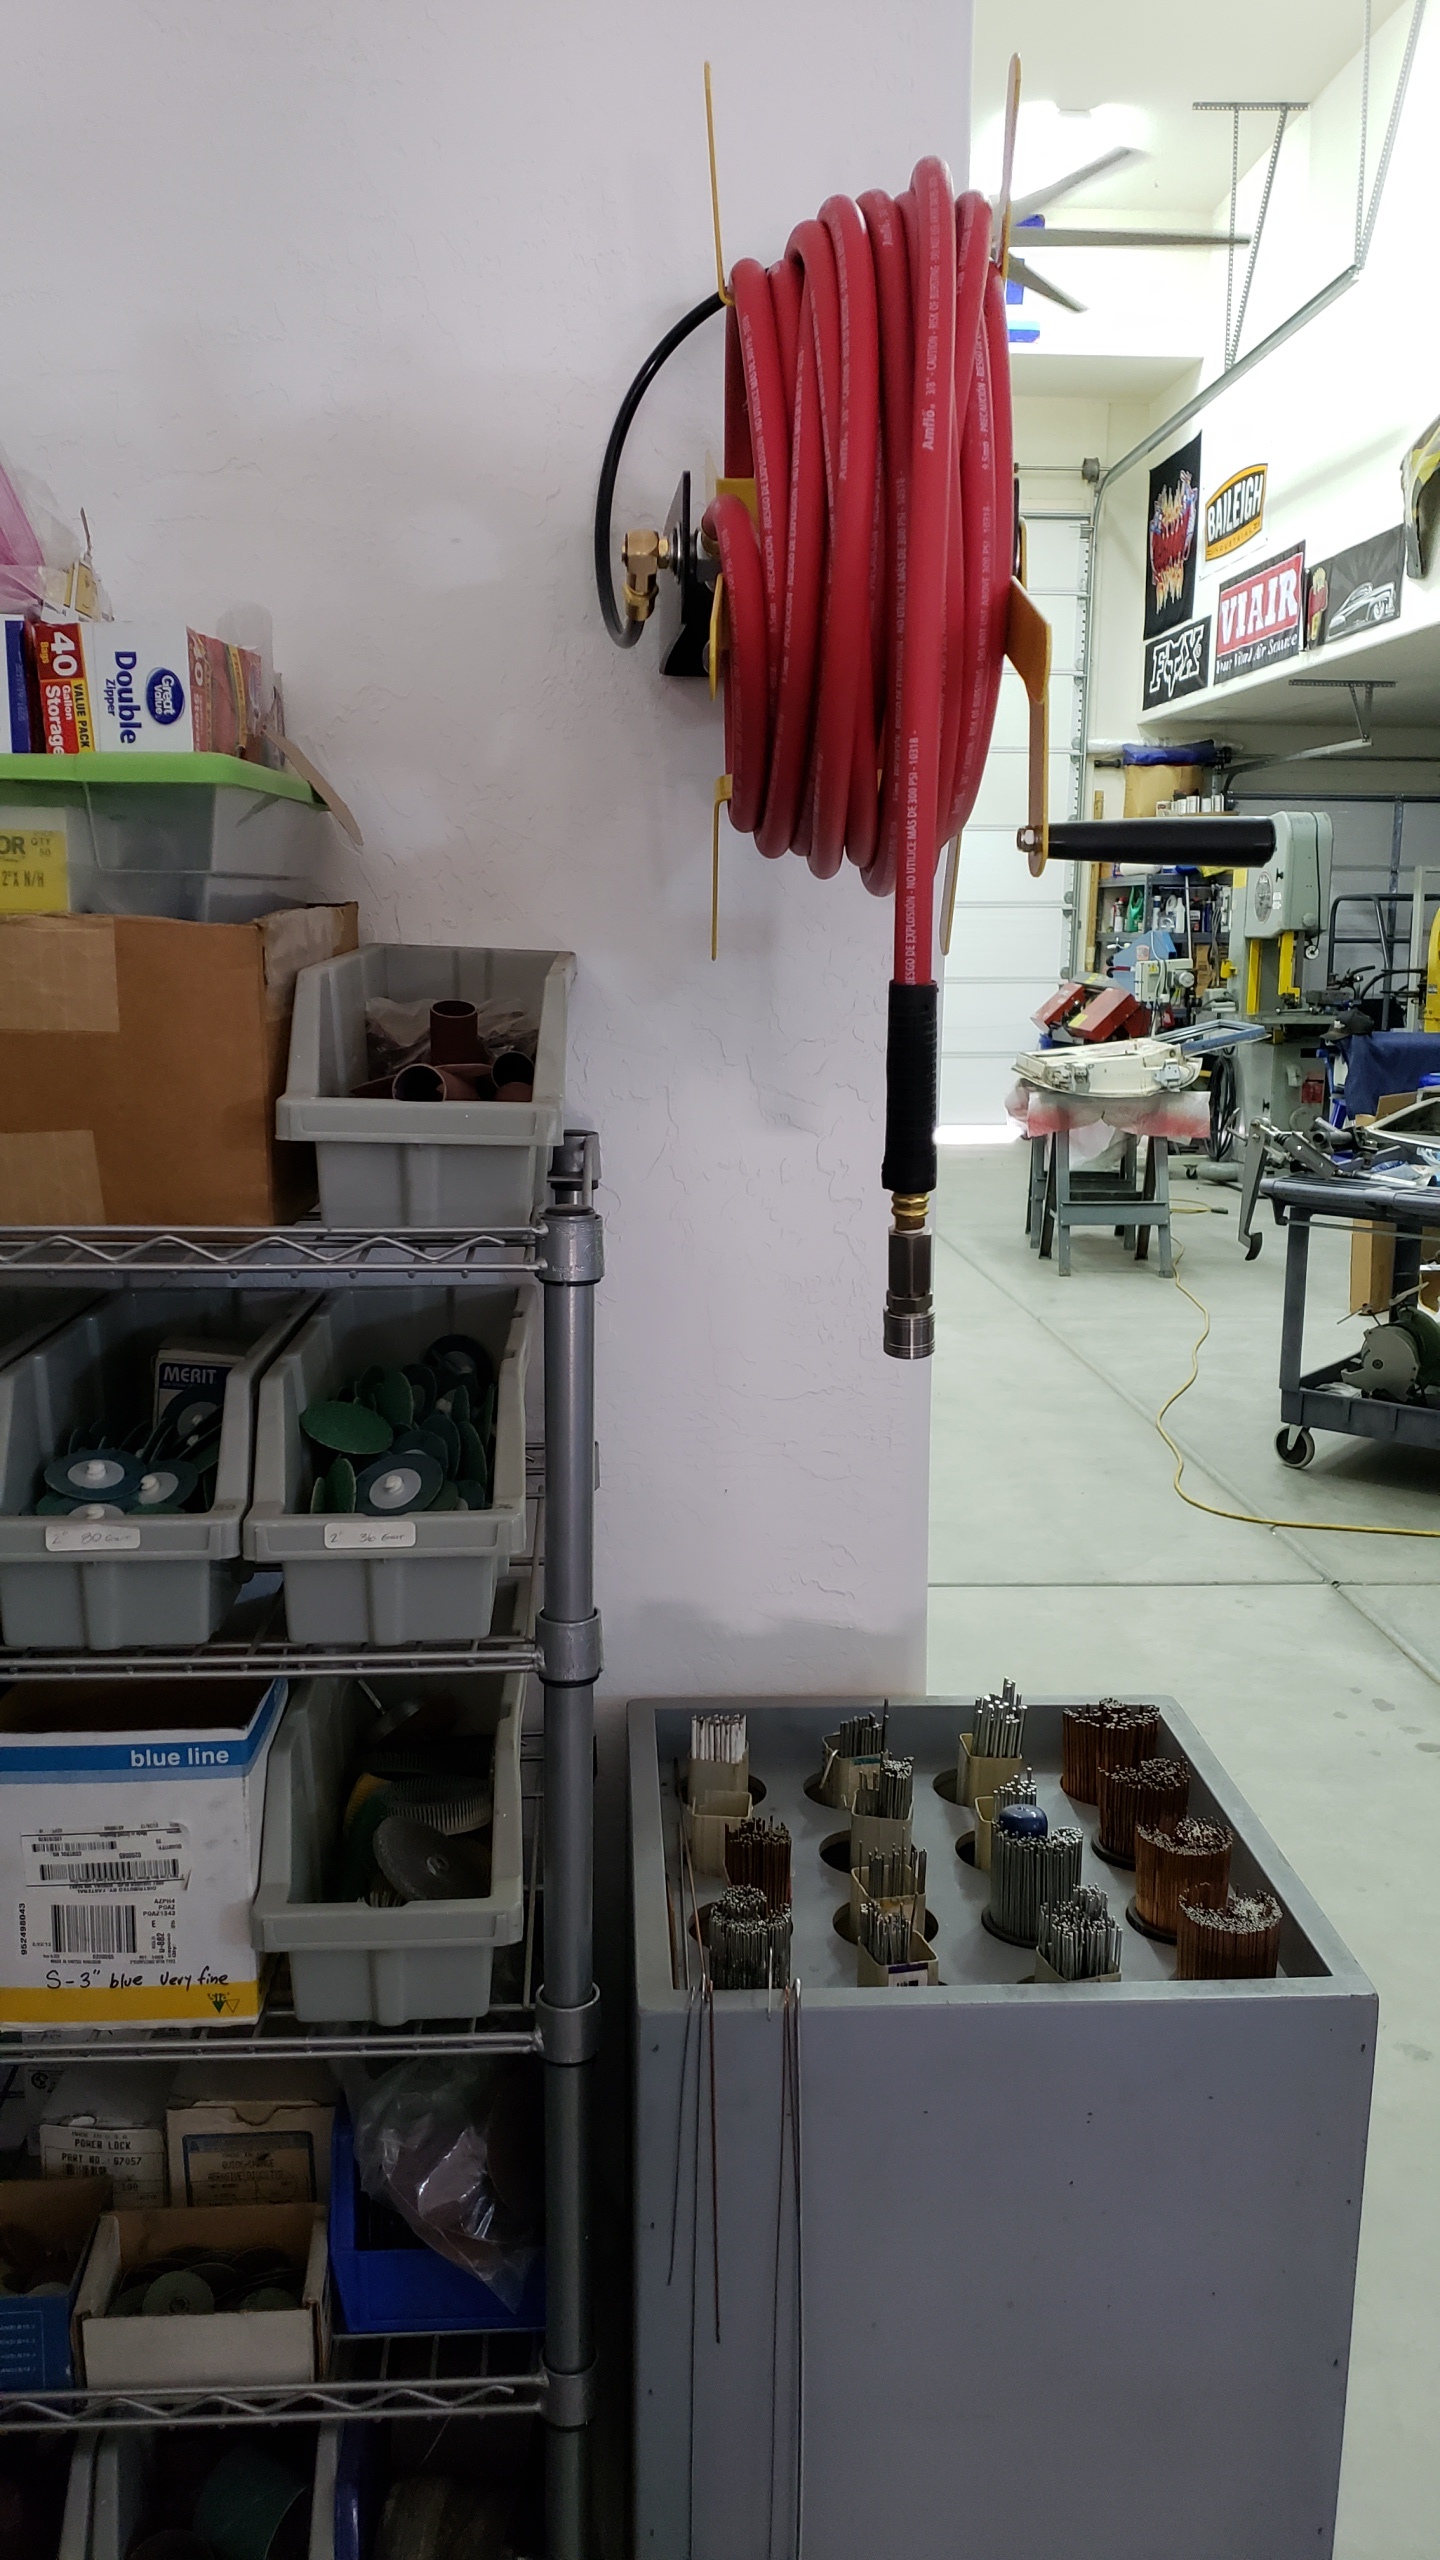
I’ve followed a few folks on social media who’ve used this design. I built and installed this last month and with this being our most humid months, it has cooled and trapped an impressive amount. 40’ on the wall of 1/2" @150 psi with 3 drops 75’ down the wall. All have a HF Reg/Separator and a I have a dedicated HF Desiccant/Filter right at the Hobart 625. Best thing I’ve done in the shop for clean dry air so far. I can post a more detailed pic of the set up if you’d like.
7 Likes
That would be awesome if you posted more about this.
1 Like
Although it costs more upfront, I went with a refrigerated air dryer over the desiccant models since they seem pretty low maintenance and I don’t have a lot of room for long copper air lines in my space. (That seems like a good option as well.) I’ve heard good things about Harbor Freight’s air dryer, but I managed to find another brand used.
On the desiccant side, I considered this kid’s design for holding a lot more desiccant in the dryer:
Not sure how well the PVC design holds up over time though. It seems like for high CFM applications, the smaller desiccant dryers tend to get saturated pretty quickly.
4 Likes
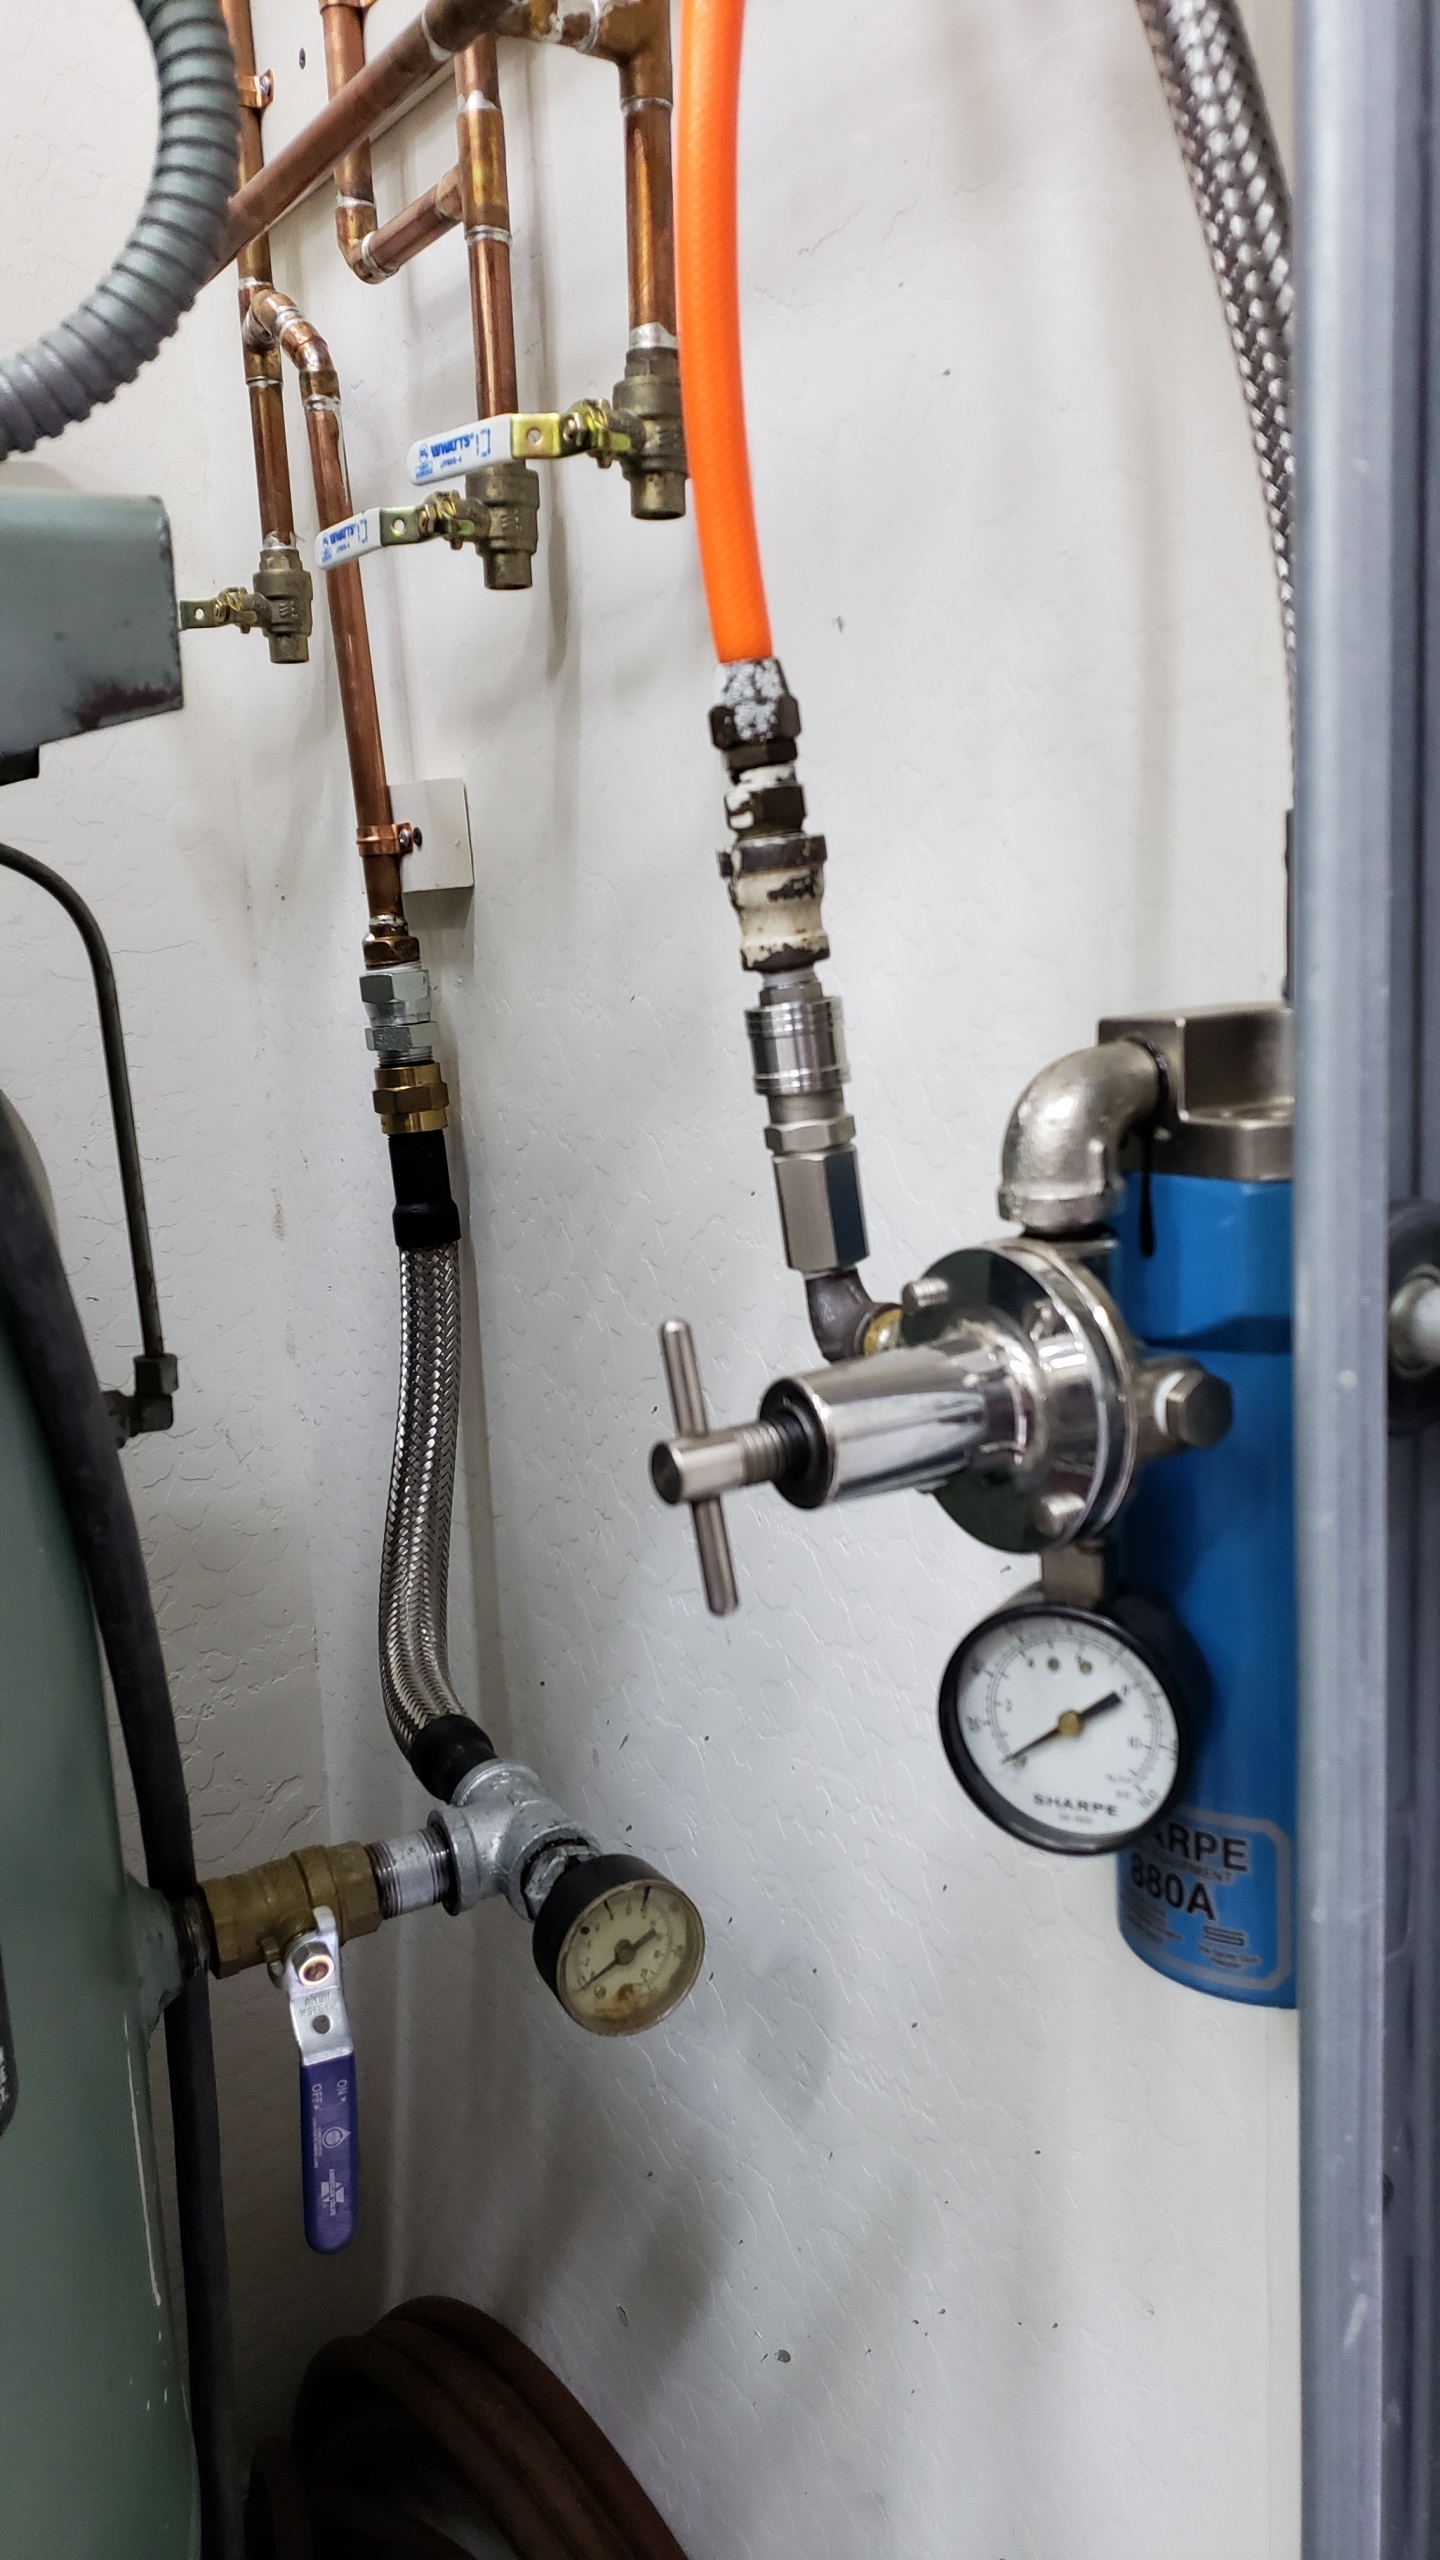
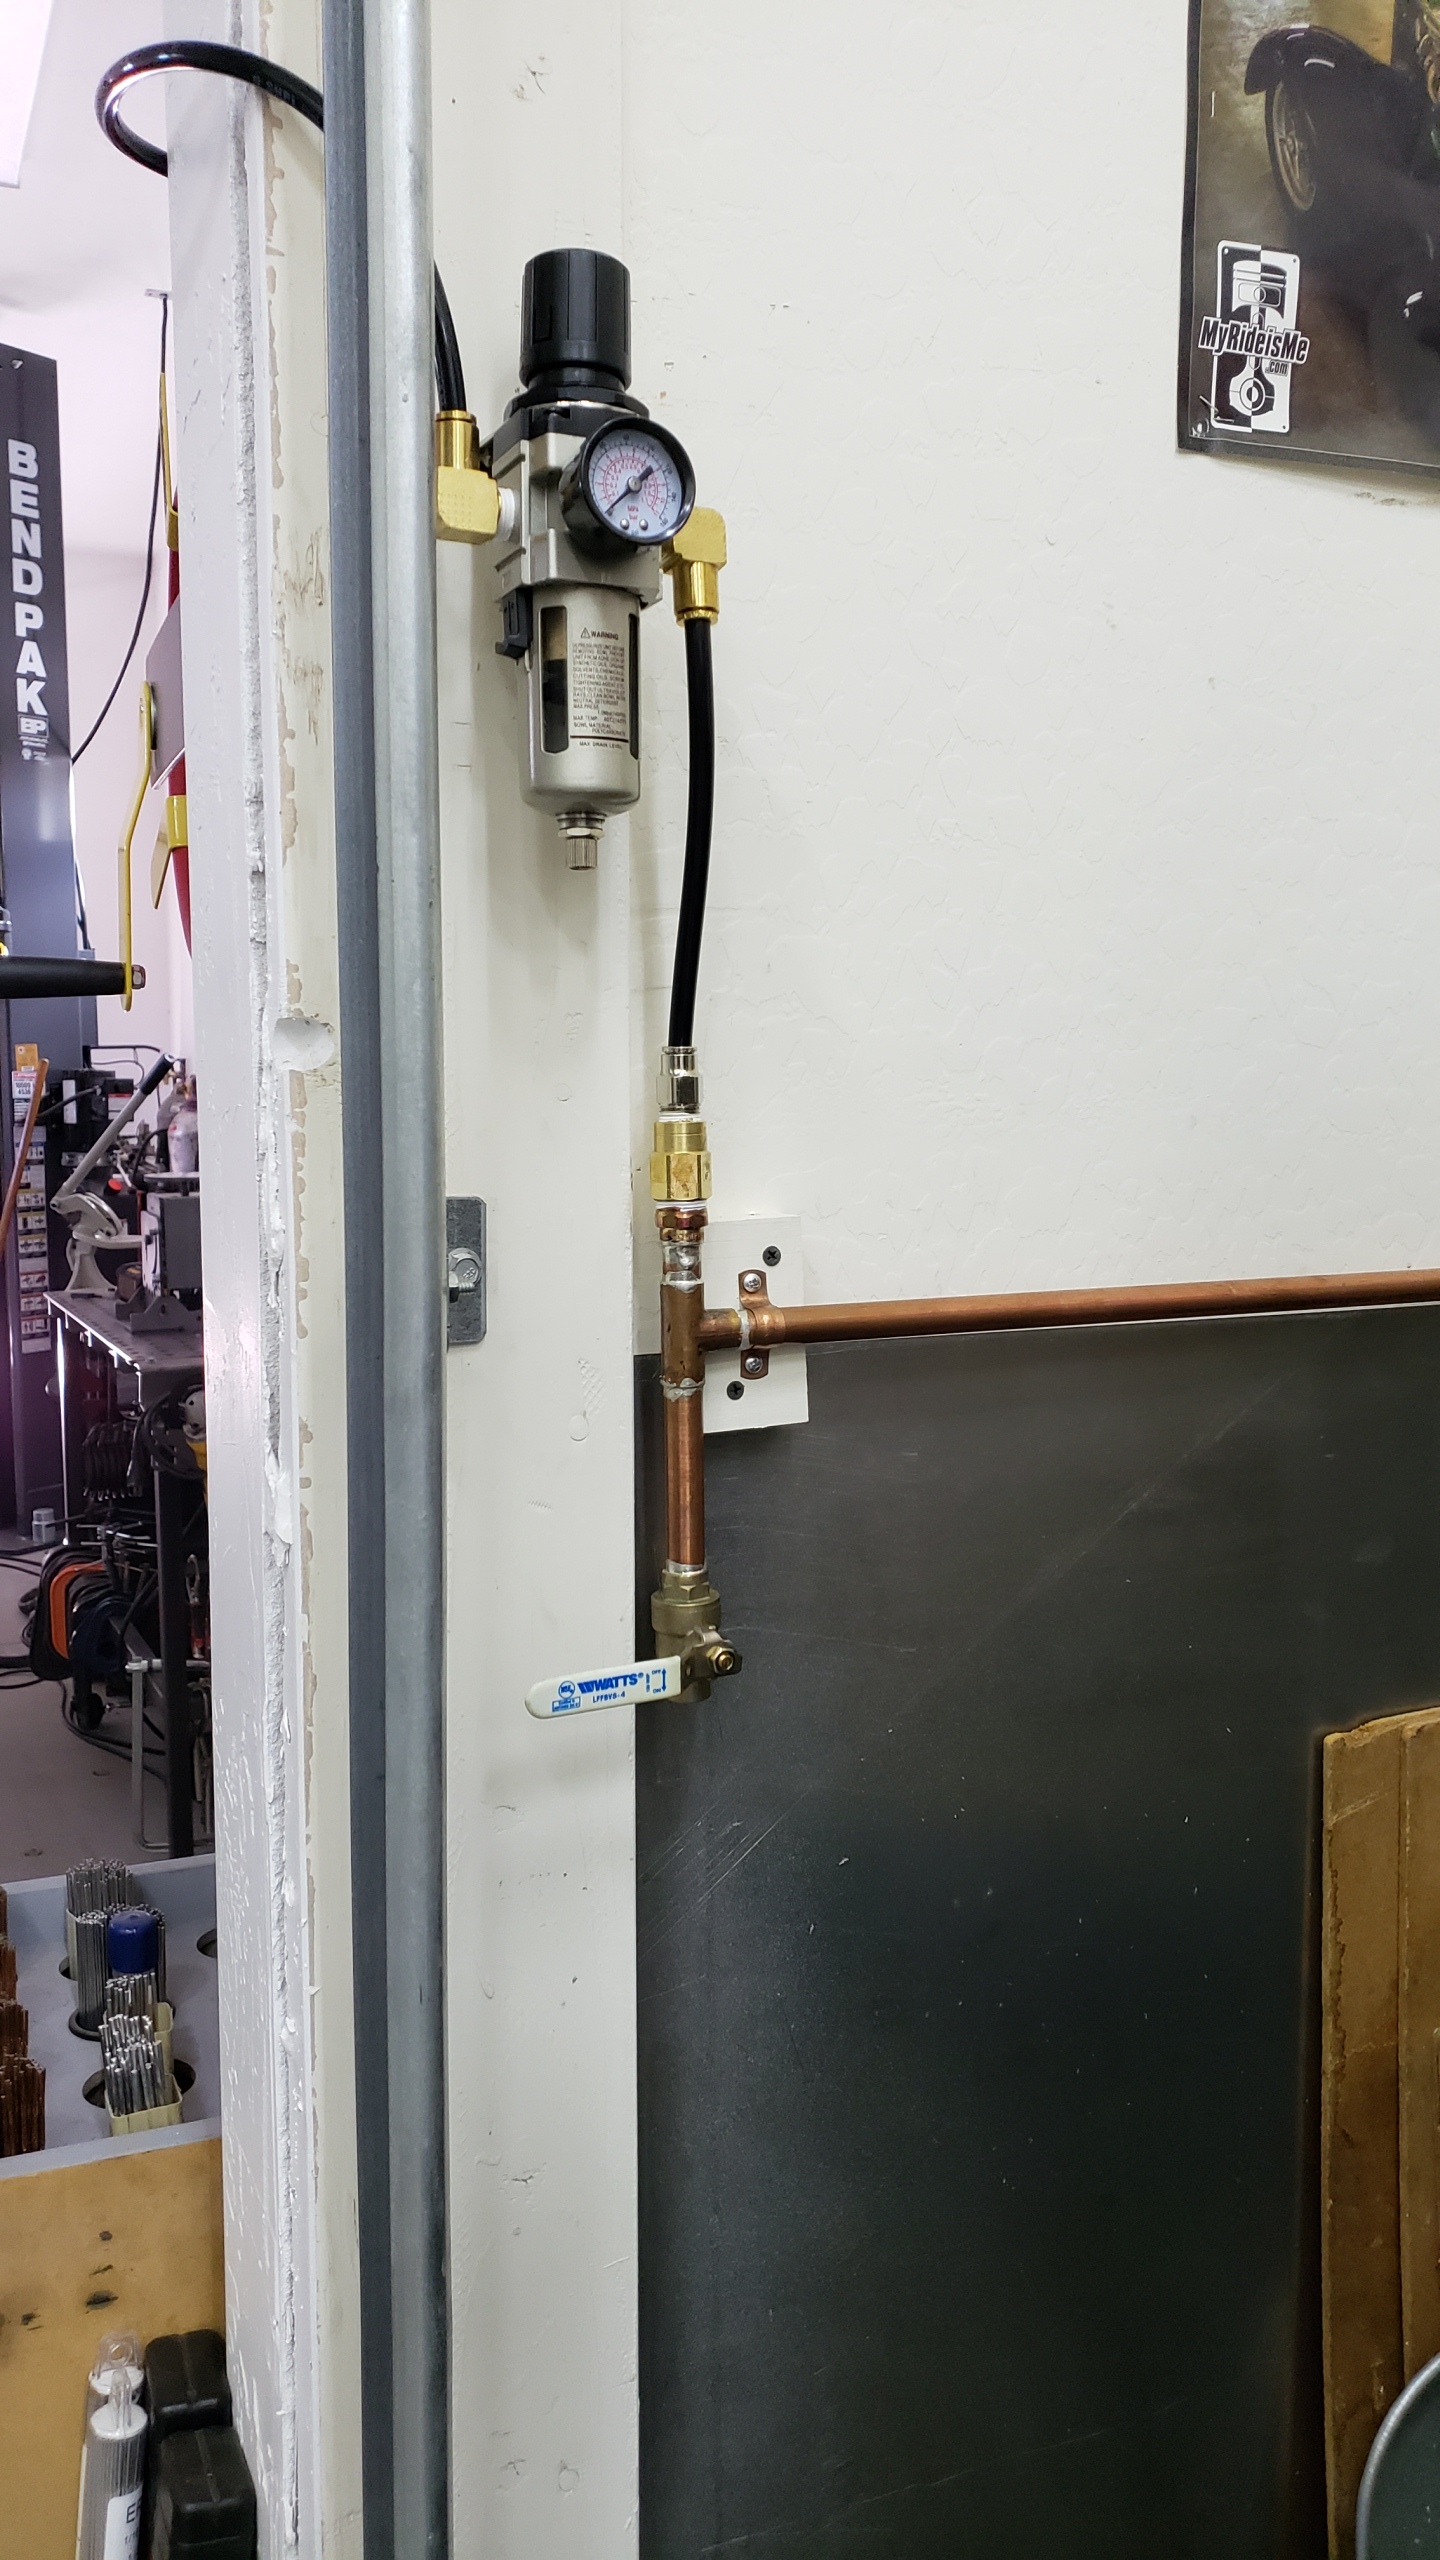
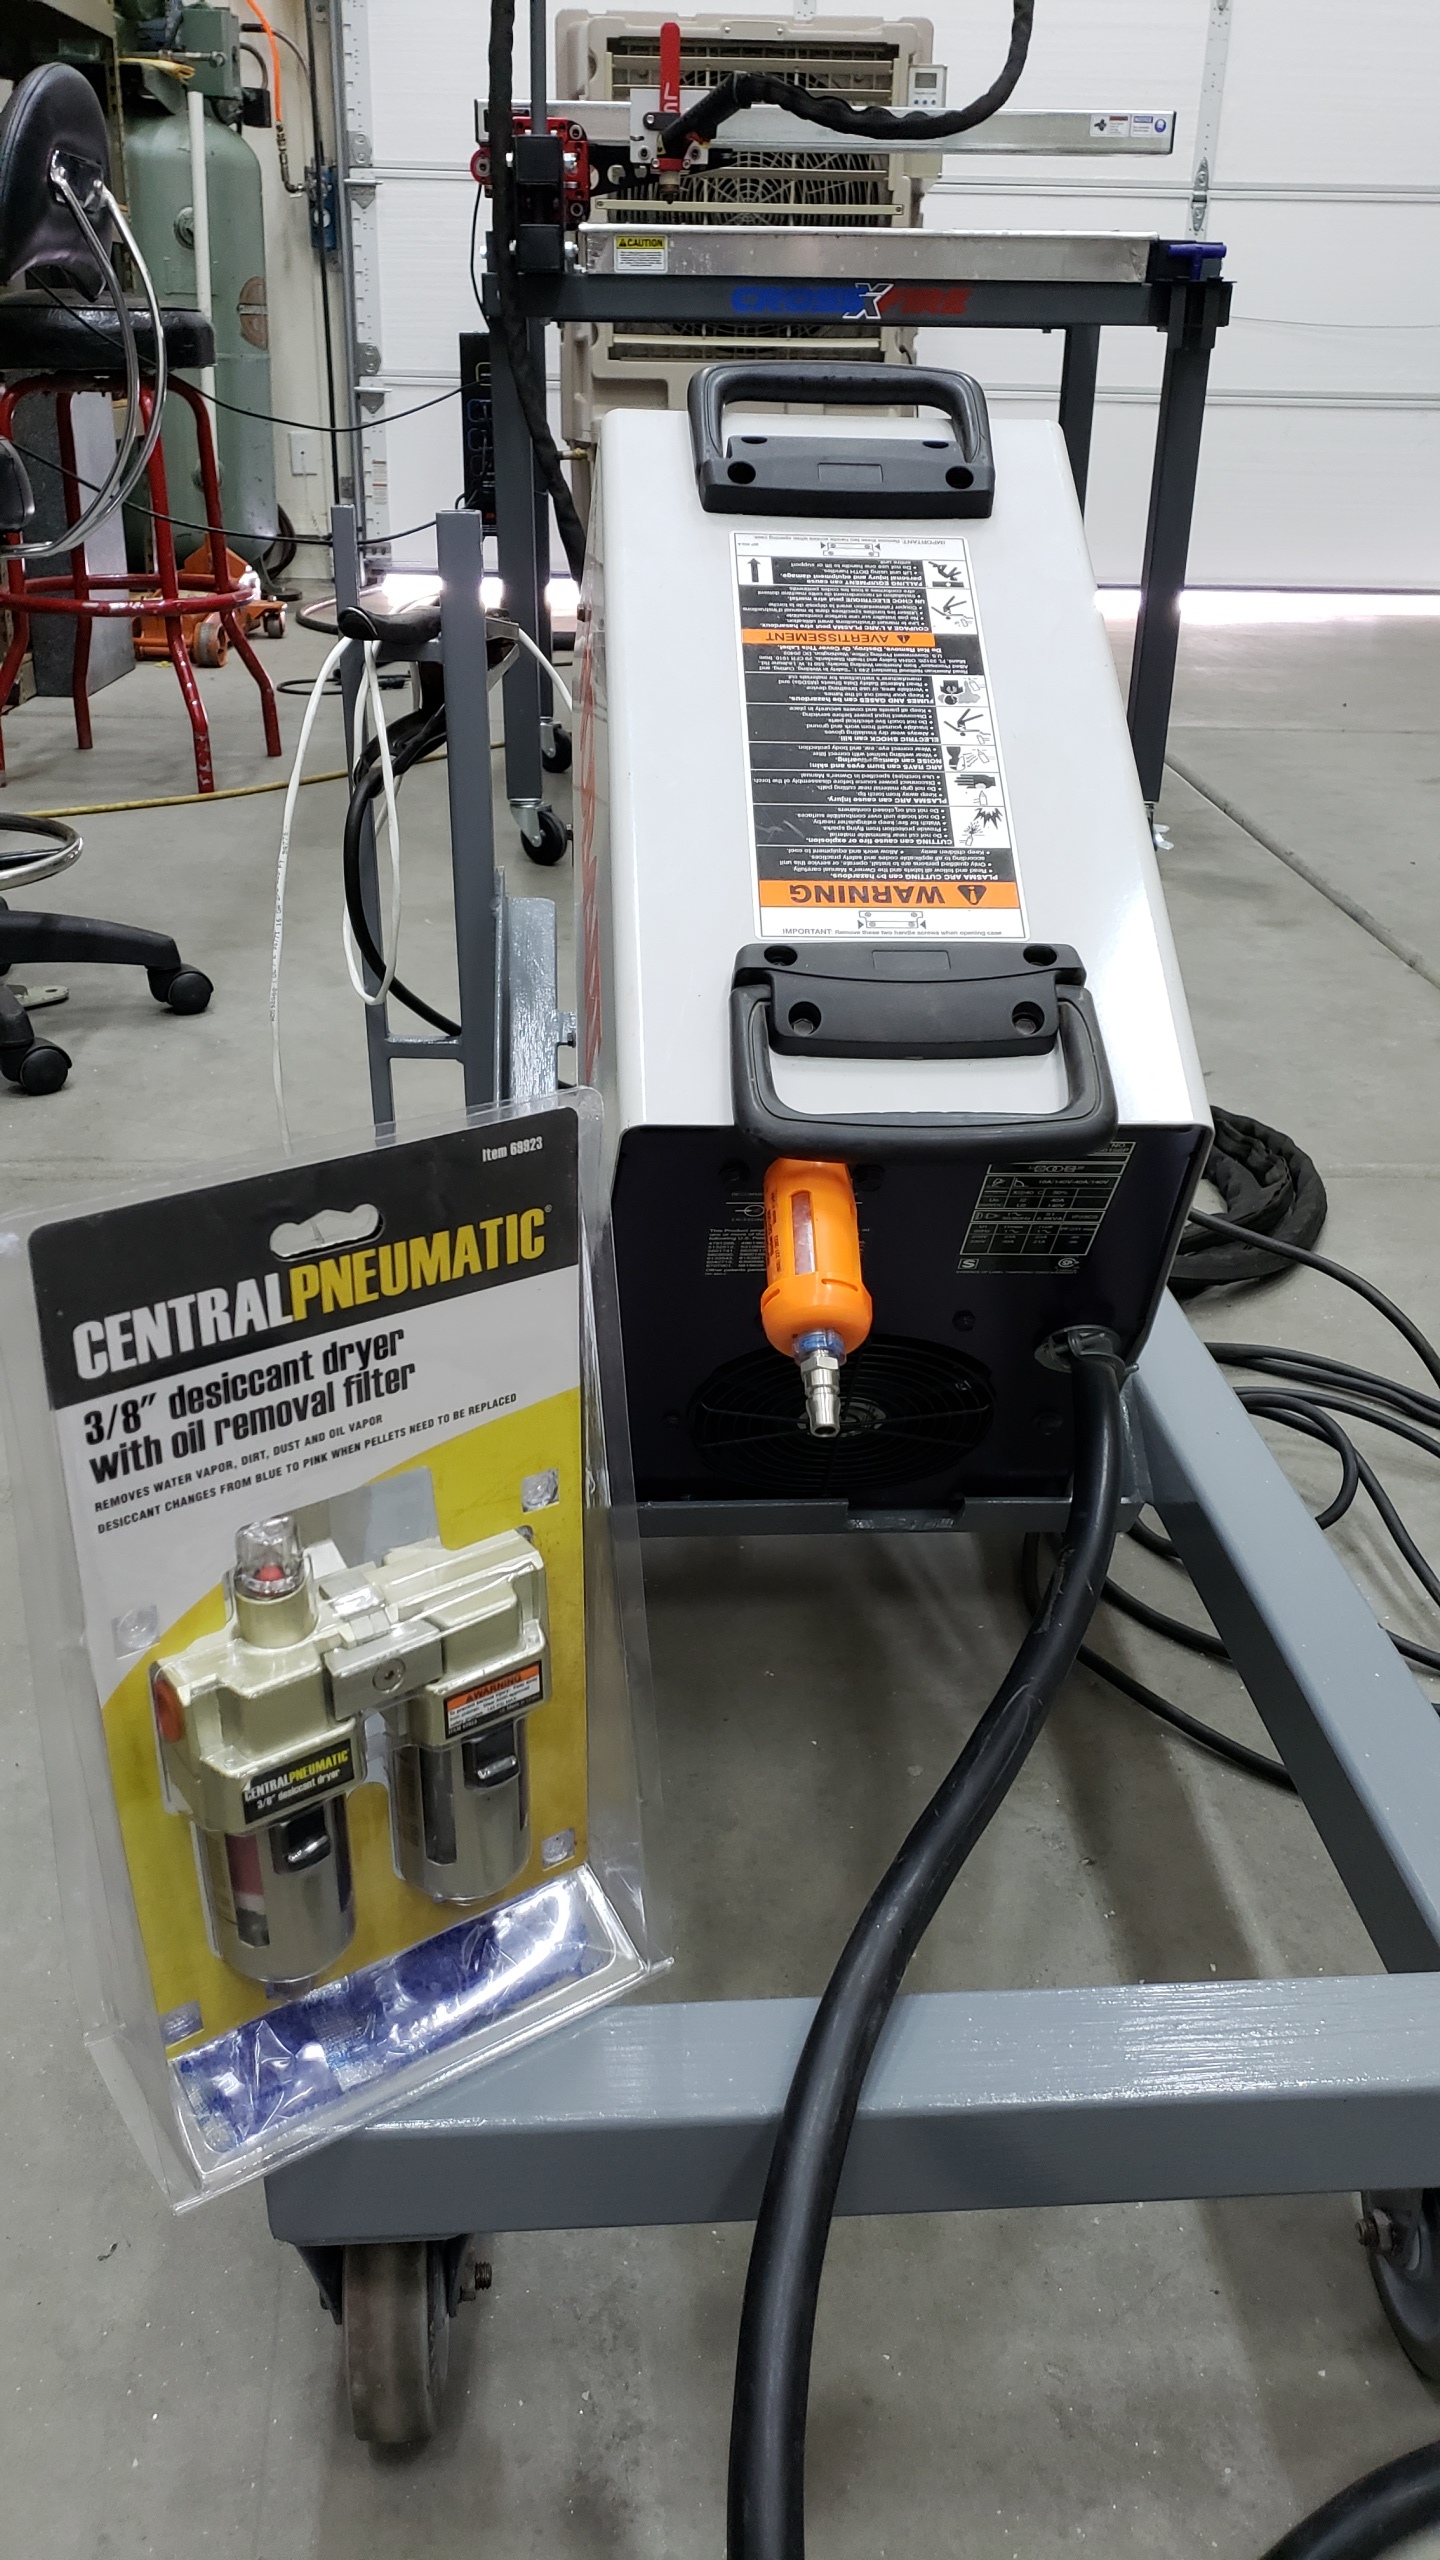
A few more. Don’t mind my connections to the regulators, I have lots of DOT line and fittings around here and they just simply worked well for my application. The little desiccant on the back there (orange) hasn’t loaded up yet but I’m cutting a bracket to mount this HF setup right off the cart. Last ditch effort to get the best air I can to the cutter. Consumables are not something i wish to waste, knowing I could’ve provided better air.
3 Likes
very nice set up I will be taking some tips from that. I have bought some stuff to make my own air dryer using a water filter and desiccant. It just came in the mail the other day. When I complete it ill post it up.
@Brent I have watched that video many times and also almost did that myself but didn’t.
2 Likes
All my distribution lines are at 150 psi. I wouldn’t trust anything of pvc or plastic at pressures above 90. It may say 300 psi but until you’ve seen the alternative videos of those types of builds exploding, I would go with something recommended specifically for air pressure. Btw, his description there would have you blowing beads down the line, air is leaving the container at the 40 micron filter, not entering. I had that same filter on my homes water inlet to trap turbidity and small particles before coming into the home. To each his own of course. 
1 Like
Yean I have read both sides on using PVC for stuff. I want to be all copper or black pipe eventually. This will not be permanent by any means. I am about to move so I don’t want to run all new lines to take them down in a month. This will be out away from people incase of failure and will serve its purpose for me to cut a little bit.
1 Like
what that cost you to run?
A hair more than just buying the HF compressed air dryer, plus it gave me the few drops down the wall into other parts of the shop. I like that it’s permanent and the only maintenance is opening the valves periodically. If you have a friend in the construction trades, they can typically get all the materials for a much better price than just going to Home Depot. This was done out of the mid grade copper tube and was quite a bit lighter than black pipe and mounted pretty easily to the wall studs. My only stumbling block was that I wanted each regulator to be removeable for service or replacement. The 3/8" DOT line and fittings just happen to fit that need perfectly.
Best, Steve.
1 Like
yes I really like the idea of being able to replace the vales on the spot.
1 Like
I’ve seen a number of variations of this style air dryer. You don’t necessarily need all 3 stages. There are a number of people that over-designed theirs erring on the side of caution and then later on explained that they’ve never actually gotten water out of their second or third stage. That means all the condensation is happening in the first stage anyway.
The larger the diameter copper pipe you can use, the slower the air flows through it, the better for cooling. If you need to increase the cooling capacity of the copper, try adding a cheap box fan blowing on it. So use the largest diameter copper pipe that you can buy for the vertical column. Put a drain at the bottom of it and take your air supply out of the top of it. Make it as long as you can comfortably fit on a wall.
The key concept to how any of these work is by cooling the air down as much as possible. By driving the air temperature down below the dew point of the air, the moisture in the air condenses and falls right out of it. The more surface air you have for cooling, the better. The more surface area you have for condensing the better… but if these other people who’ve made this type of system don’t get water out of their second stage, then the second stage isn’t really pulling any water out. My best guess would be that with 1/2" copper, the air will be moving fast enough to possibly get water into the second stage, but with 1" copper, you have 4x the volume of air. Volume = height times radius-squared. If you increase the volume 4 times, the air is spending 4 times longer in the column. If you can use 2" copper for the single vertical stage, then you are moving the air through there 16 times slower than the 1/2" pipe. That’s plenty of time for the cooling and condensation to take place. The only way you’ll get better cooling than that is with an actual condenser unit and a fan.
Keep in mind that if you use air tools, copper ions can make their way into your air tools over time, so I would recommend against using copper in that case. I am making my air dryer out of a couple of cheap aluminum universal condenser units with a box fan blowing across them. Another name for this type of system is an air compressor aftercooler.
The most clever design I have seen to date:
Pipe the output of the compressor pump straight into an aluminum high flow condenser unit (also known as cross flow).
Pipe the output of the condenser through an automatic opening air water separator. Pipe that through a check valve into your tank.
When the unloader valve opens up and bleeds the pressure off the pump head, the spring loaded valve in the bottom of the air water separator opens up also draining out the moisture automatically. The unloader “hiss” is going to last longer because of all the capacity of the condenser.
My box fan is going to be relay controlled so that when the compressor is running, the box fan will be turned on and blowing across the condenser units. There are a couple of relays I am considering. I think I’ll go with a delay off timer relay. When the input signal comes on, the relay turns on. When the input signal turns off, the relay stays running for a pre-set amount of time. (I’m thinking somewhere between 1 - 5 minutes.) I might be over thinking this a bit, but my fan is going to cool the condenser and the compressor head as well.
When I get mine assembled, I’ll share it with the forum.
2 Likes
Been installed for a bit now. Pulls quite a bit of water from the first of course as well as the other two, along with the drops at 30’ and 50’ down the wall. Excellent investment and design so far.
2 Likes
In 1/2" copper, yes, you’ll need multiple stages. If someone were to create a version of this in 1" copper or larger, then that would reduce the number of stages they’d need. I certainly wasn’t criticizing your setup as there are definitely tradeoffs in the cost of the materials / availability of different sizes. Here, I think the largest I could easily get my hands on would be about 2" and even then I might have trouble adapting it down to 1" unless I ordered fittings online.
The intent behind my explanation was that people looking to get as much moisture out of the air as possible should understand some of the tradeoffs that they can make in design terms.
Hey, completely agree and look forward to seeing your setup. Absolutely, there are multiple ways this can be accomplished, and each shop is different too of course. Didn’t see your post as a criticism and hopefully none from me either. I did have a few folks ask how it worked, now that it has been installed for a month or so.
Best, Steve.
Nah, I just reread my post and hoped you didn’t think it was saying anything negative about yours. If I had a bunch of 1/2" laying around or has access to it for cheap, I could see myself using it. My thoughts were meant more as evaluating some trade offs and I’m glad to see they didn’t come across in an unintended way.
1 Like
Has your machine arrived yet?
Yeah, but I haven’t finished my electrical work in the garage. I’ve bought about half of what I need and hope to tackle it over the next couple weekends.
My garage has 4 outlets if you count the one on the ceiling for the garage door opener and I need 3 240v outlets plus a few more 120V outlets.
Besides all that, I’m adding a couple ground rods to the service ground there. Fun fun.
2 Likes
Do you loose compression or have to increase CFM… when you increase the length of your run to the Plama Cutter?
Great question! Check this out.
TEC-15.pdf (32.4 KB)