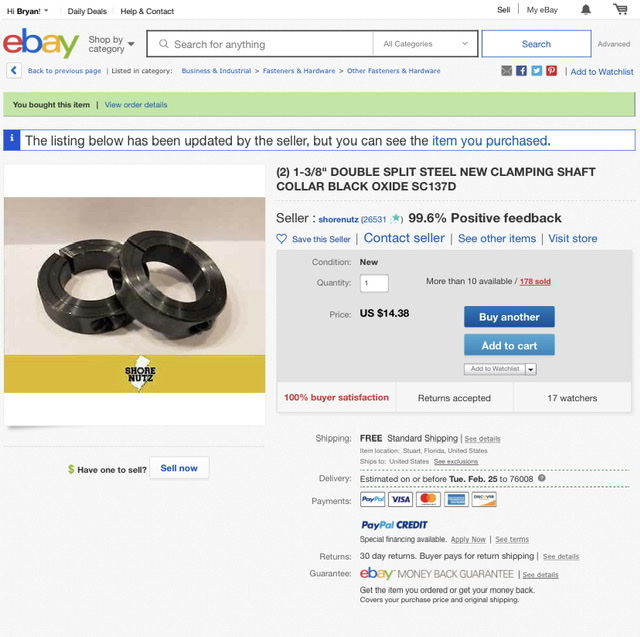
While waiting one my pro to arrive I’ve been doing some reading and decided I wanted to take advantage of having a machine torch mount but didn’t want to spend $75-$100 for something so simple. I bought these rings off ebay for $15 that fit the Hypertherm machine torch perfect. I plan to weld them to a piece of flat stock once I figure out exactly how wide it needs to be. For non welders, they could easily be tapped the bolted to a piece of flat stock.
Weld or bolt a piece of flat stock to the back of it like I said above…
I don’t have my table yet and Langmuir wouldn’t tell me the width of the flat bar when asked so I have to way till the 14th when it ships… oh wait maybe this week… well crap maybe next I don’t know anymore. I’ll Post a new picture when I finally get the rest of my table.
You’re time is worth money as well. The slide bar is not common stock material and getting those components all perfectly square … $100 shipped for a guaranteed fit sounds inexpensive.
Some people would rather buy your product and that’s cool but for people like me who like to tinker in the garage and save a buck this is a good option. A few minutes to cut/fit a piece of metal and a couple welds, doesn’t seem like a big deal. Even if you don’t know how to weld, drill & tap a couple holes in the rings and bolt them to the supplied Langmuir flat piece like your product does should work fine too.
We’re talking about a plasma table here not aerospace parts, the tolerance isn’t that critical
Good idea! I 3D printed my rings in ABS and cut a piece of 1/4" aluminum on the Crossfire for the slide bar. Everything turned out perfectly square but I feel like that was almost luck. With no adjustments, if the gantry isn’t perfectly square, there’s no way to adjust for a tilt in any direction.
The upright for the torch holder is 8 mm x 25 mm or in inches 0.318"x 0.987".
That’s from my standard crossfire table, but they look the same. Thanks for the clamp info.
Millar
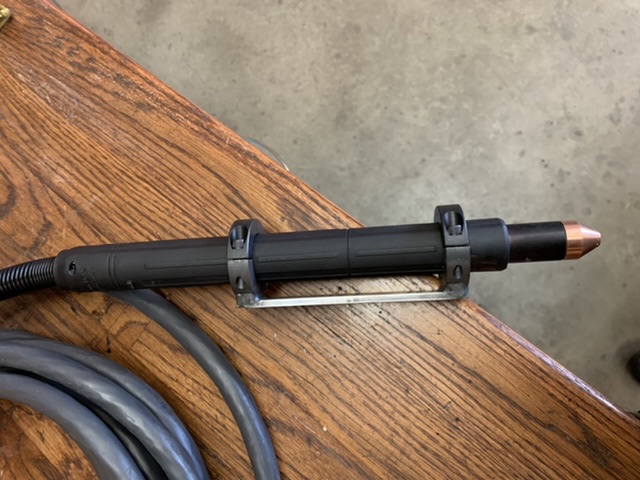
Sanded some 1” stock down to .986ish and spent a couple minutes with a speed square and ruler. Then clamped it down, tack it together and check to make sure the the bar is parallel to the torch body then weld it up. Pro should be here Monday, hope to try it out soon.
I still have a lot to learn so my question may have overlooked something obvious: Will I need to plan on making or buying a machine torch mount to mate with the Crossfire Pro table (April build)? Is the table not equipped to grab onto the torch as-is?
My Hypertherm 45xp arrived earlier today so it looks like I’ll be spending the weekend reading the manual.
The one supplied will work just fine but it attaches to the retainer cap, which you have to remove to change consumables. Kind of defeats the purpose of buying a machine torch to leave on the machine all the time when you have to take of off to change consumables. This one attached to the body so you can remove the retaining cap while the torch is attached to the machine.
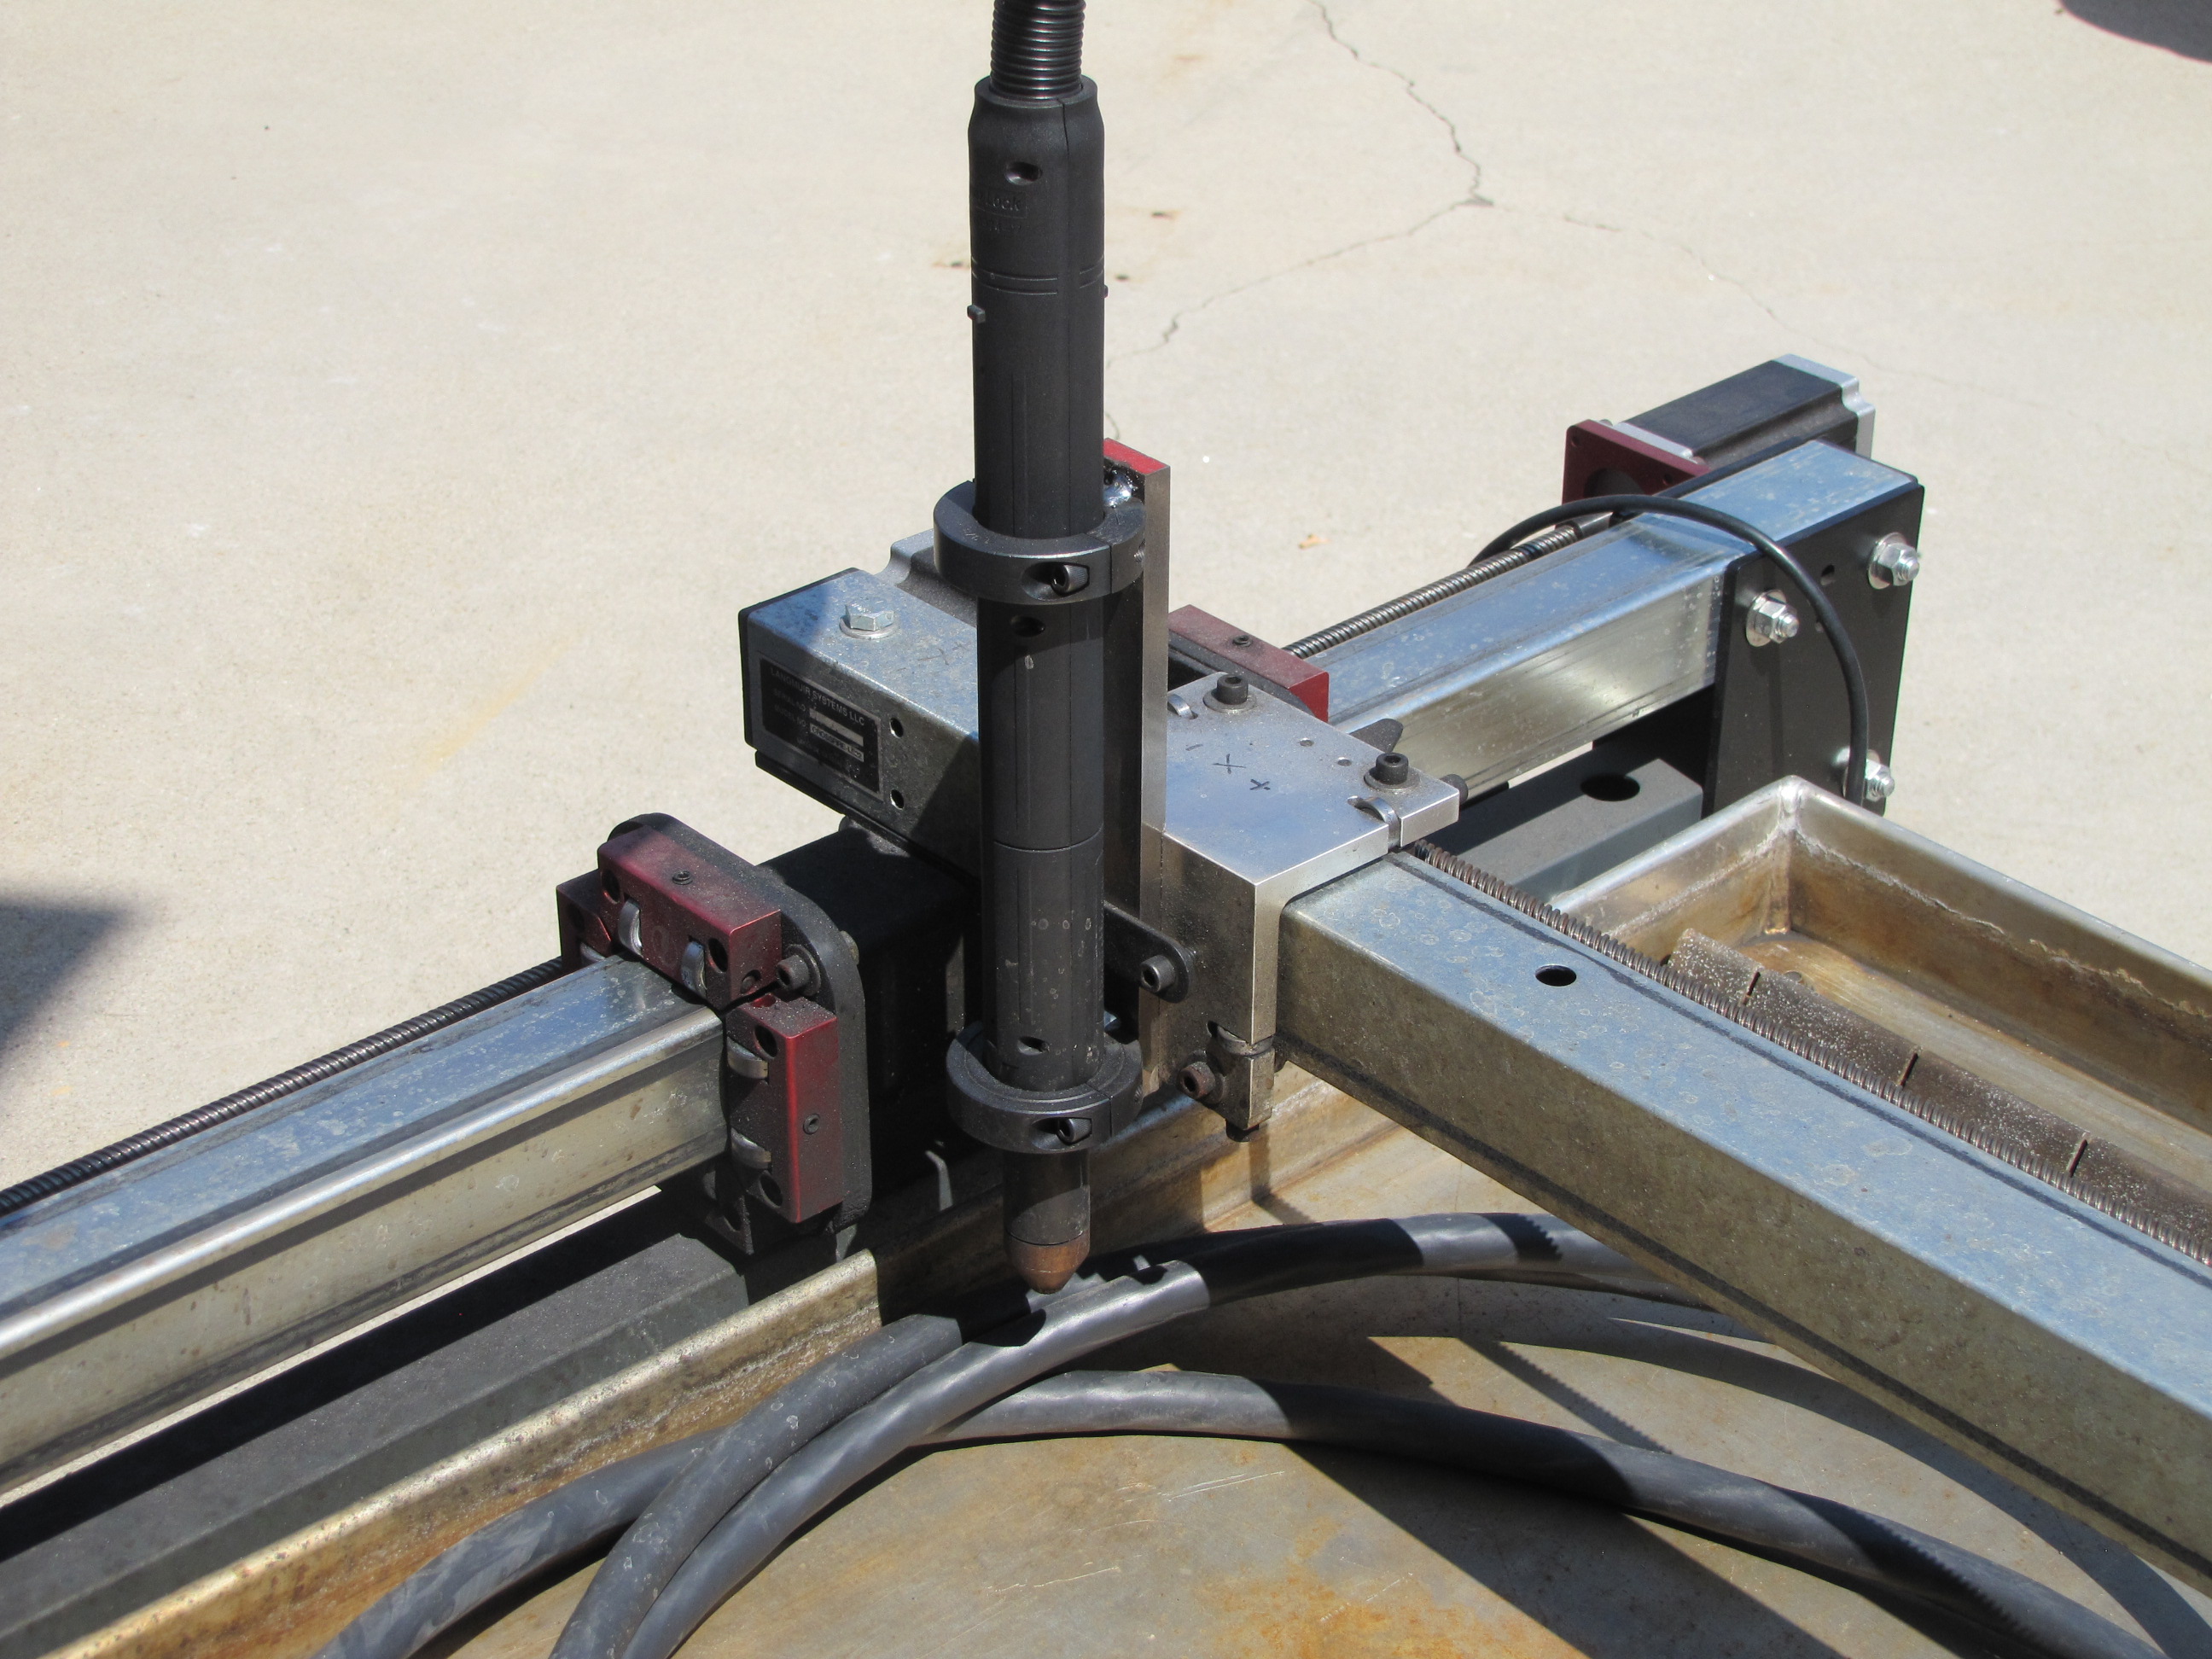
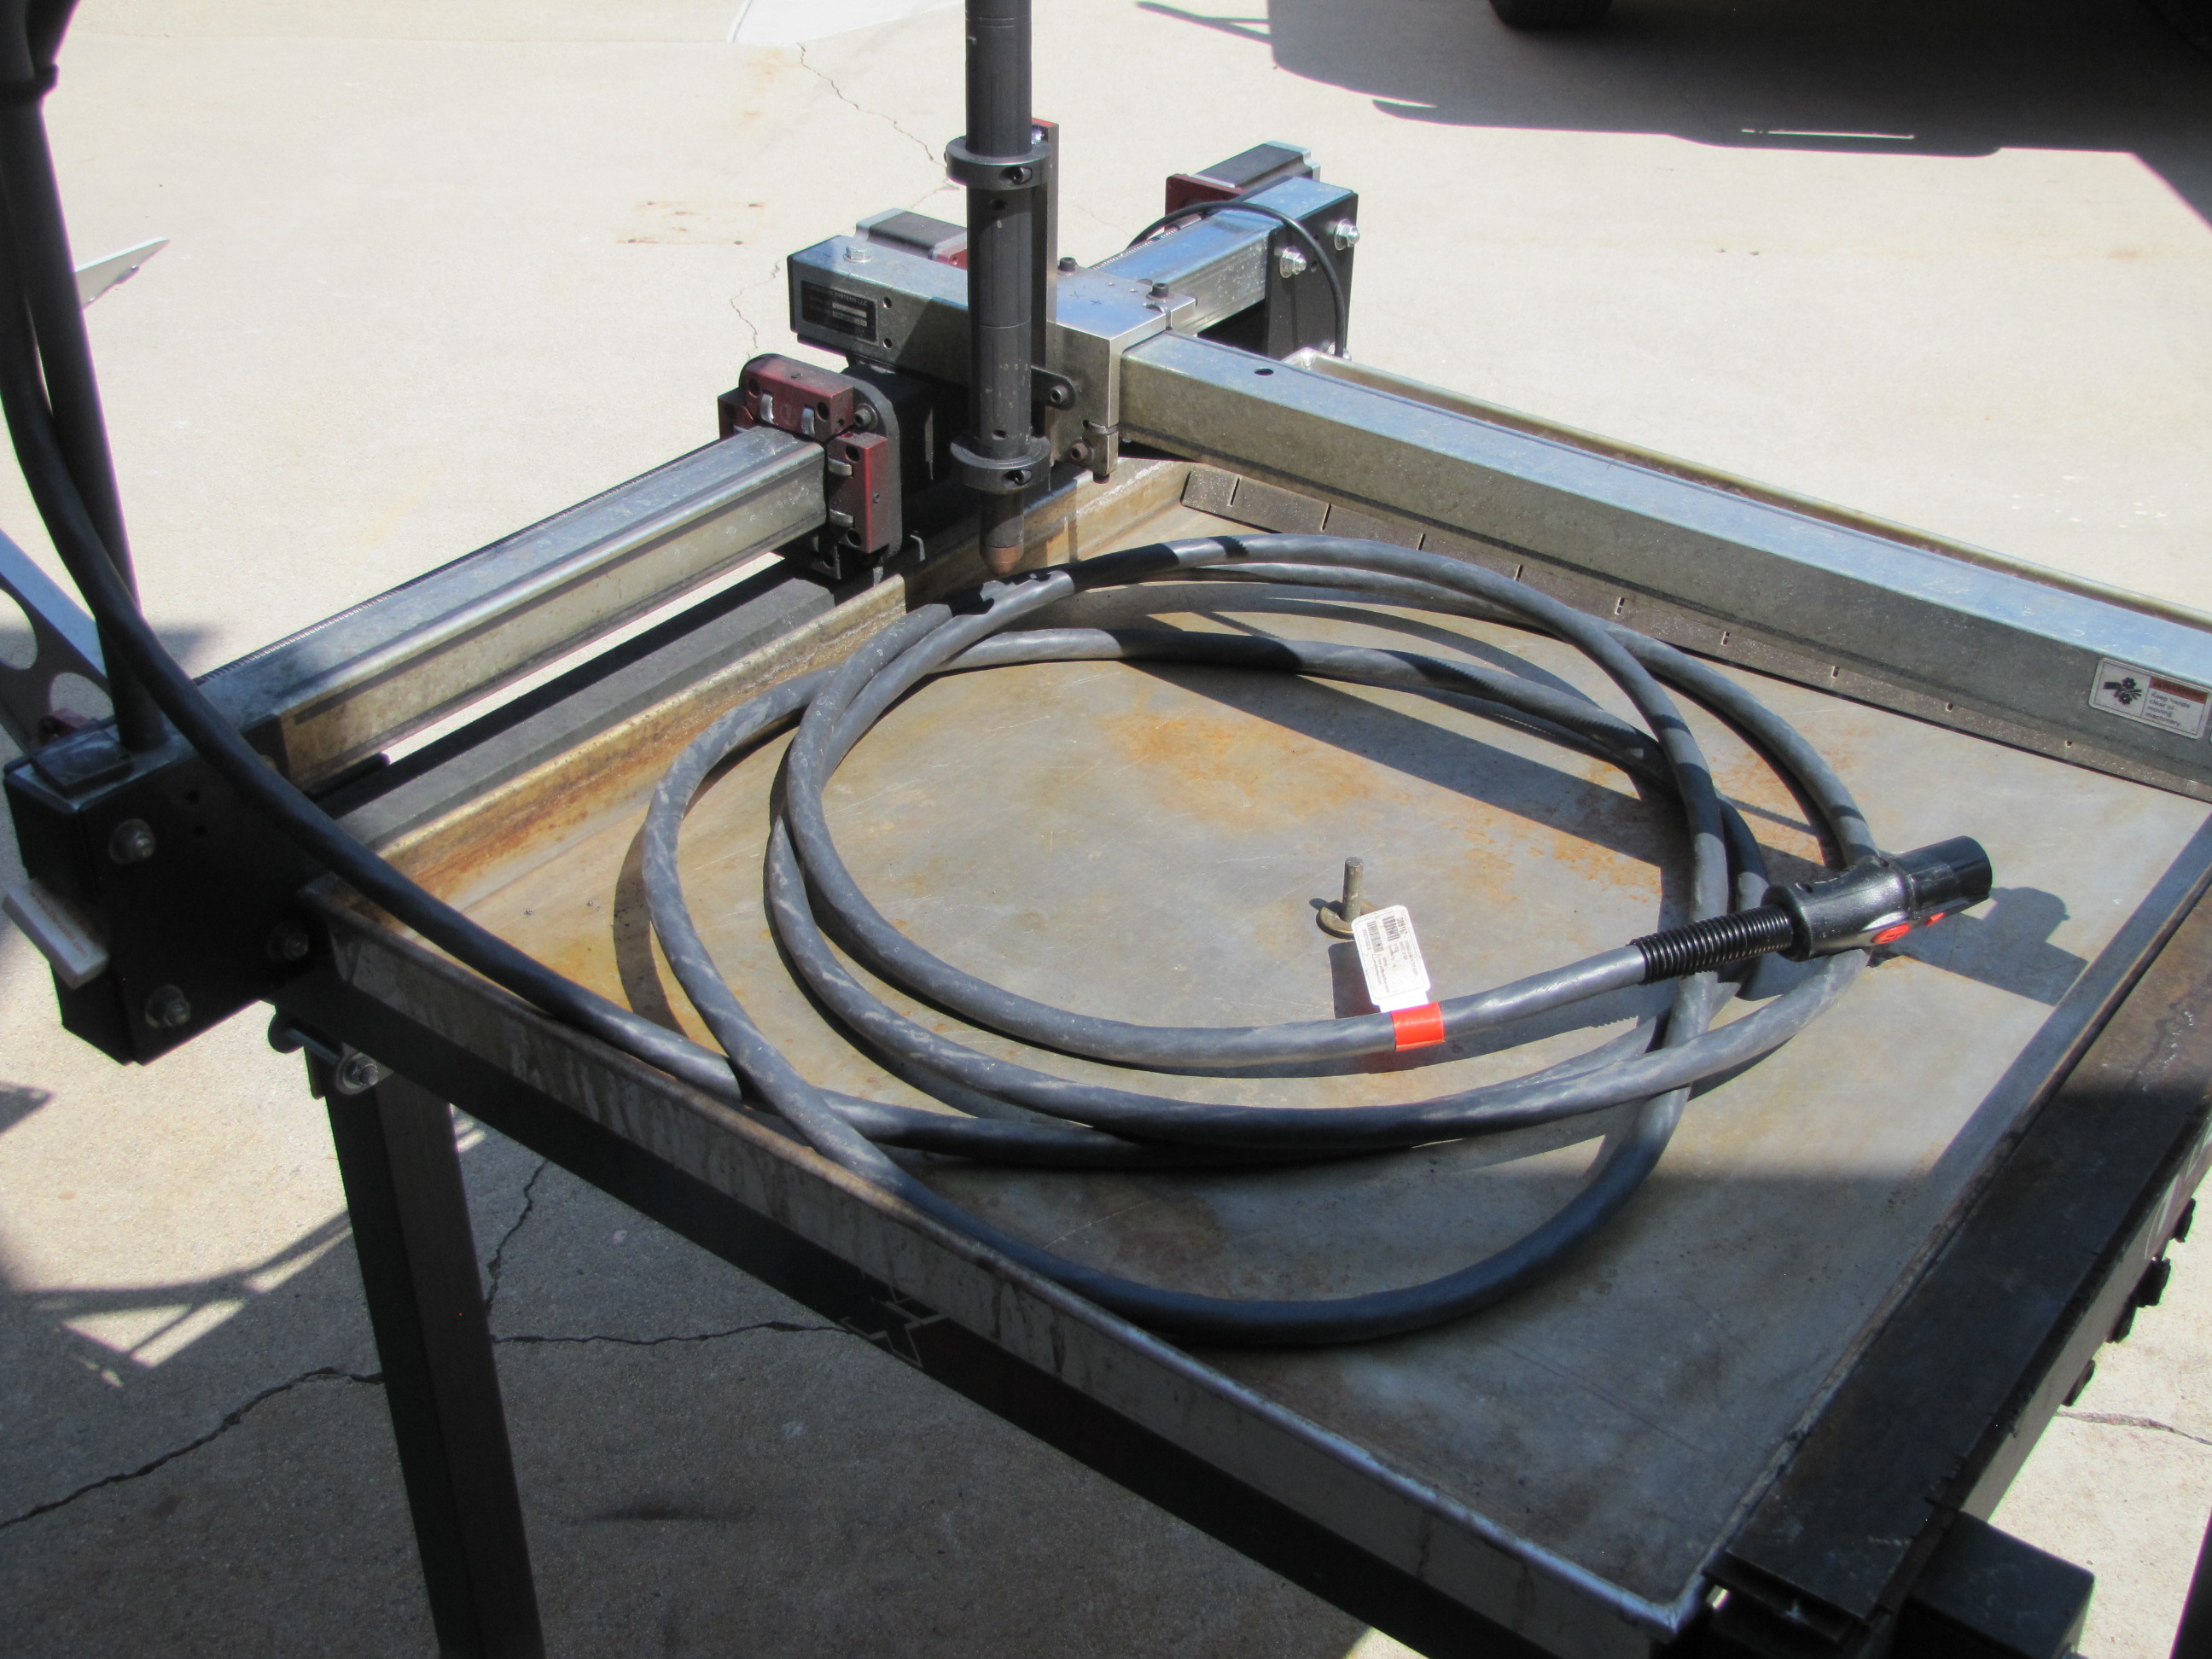
So I’ve been busy leading the new machine and having fun with it. The torch mount works correctly, the only thing I changed is the thumb screw Langmuir provides sticks out too far to use with these rings so I replaced it with a 1/4”-20 socket head cap screw to match the other side. It’s nice checking/changing consumables without removing the torch.
I completed my torch mount a few days ago and it seem to work really well. I do like being able to check the consumables without removing the torch. I put the two clamps in the milling machine and cut a flat on the back or the threaded part. the flat is the same width as the steel bar, just under 1" wide.
Originally I was going to connect the clamp rings to the bar with screws, but I broke a tap in one of the clamp rings, so I just welded them. I made a wooden spacer to keep the torch and bar parallel. Photos below.