Check our https://www.pbclinear.com they have a wide range.
1 Like
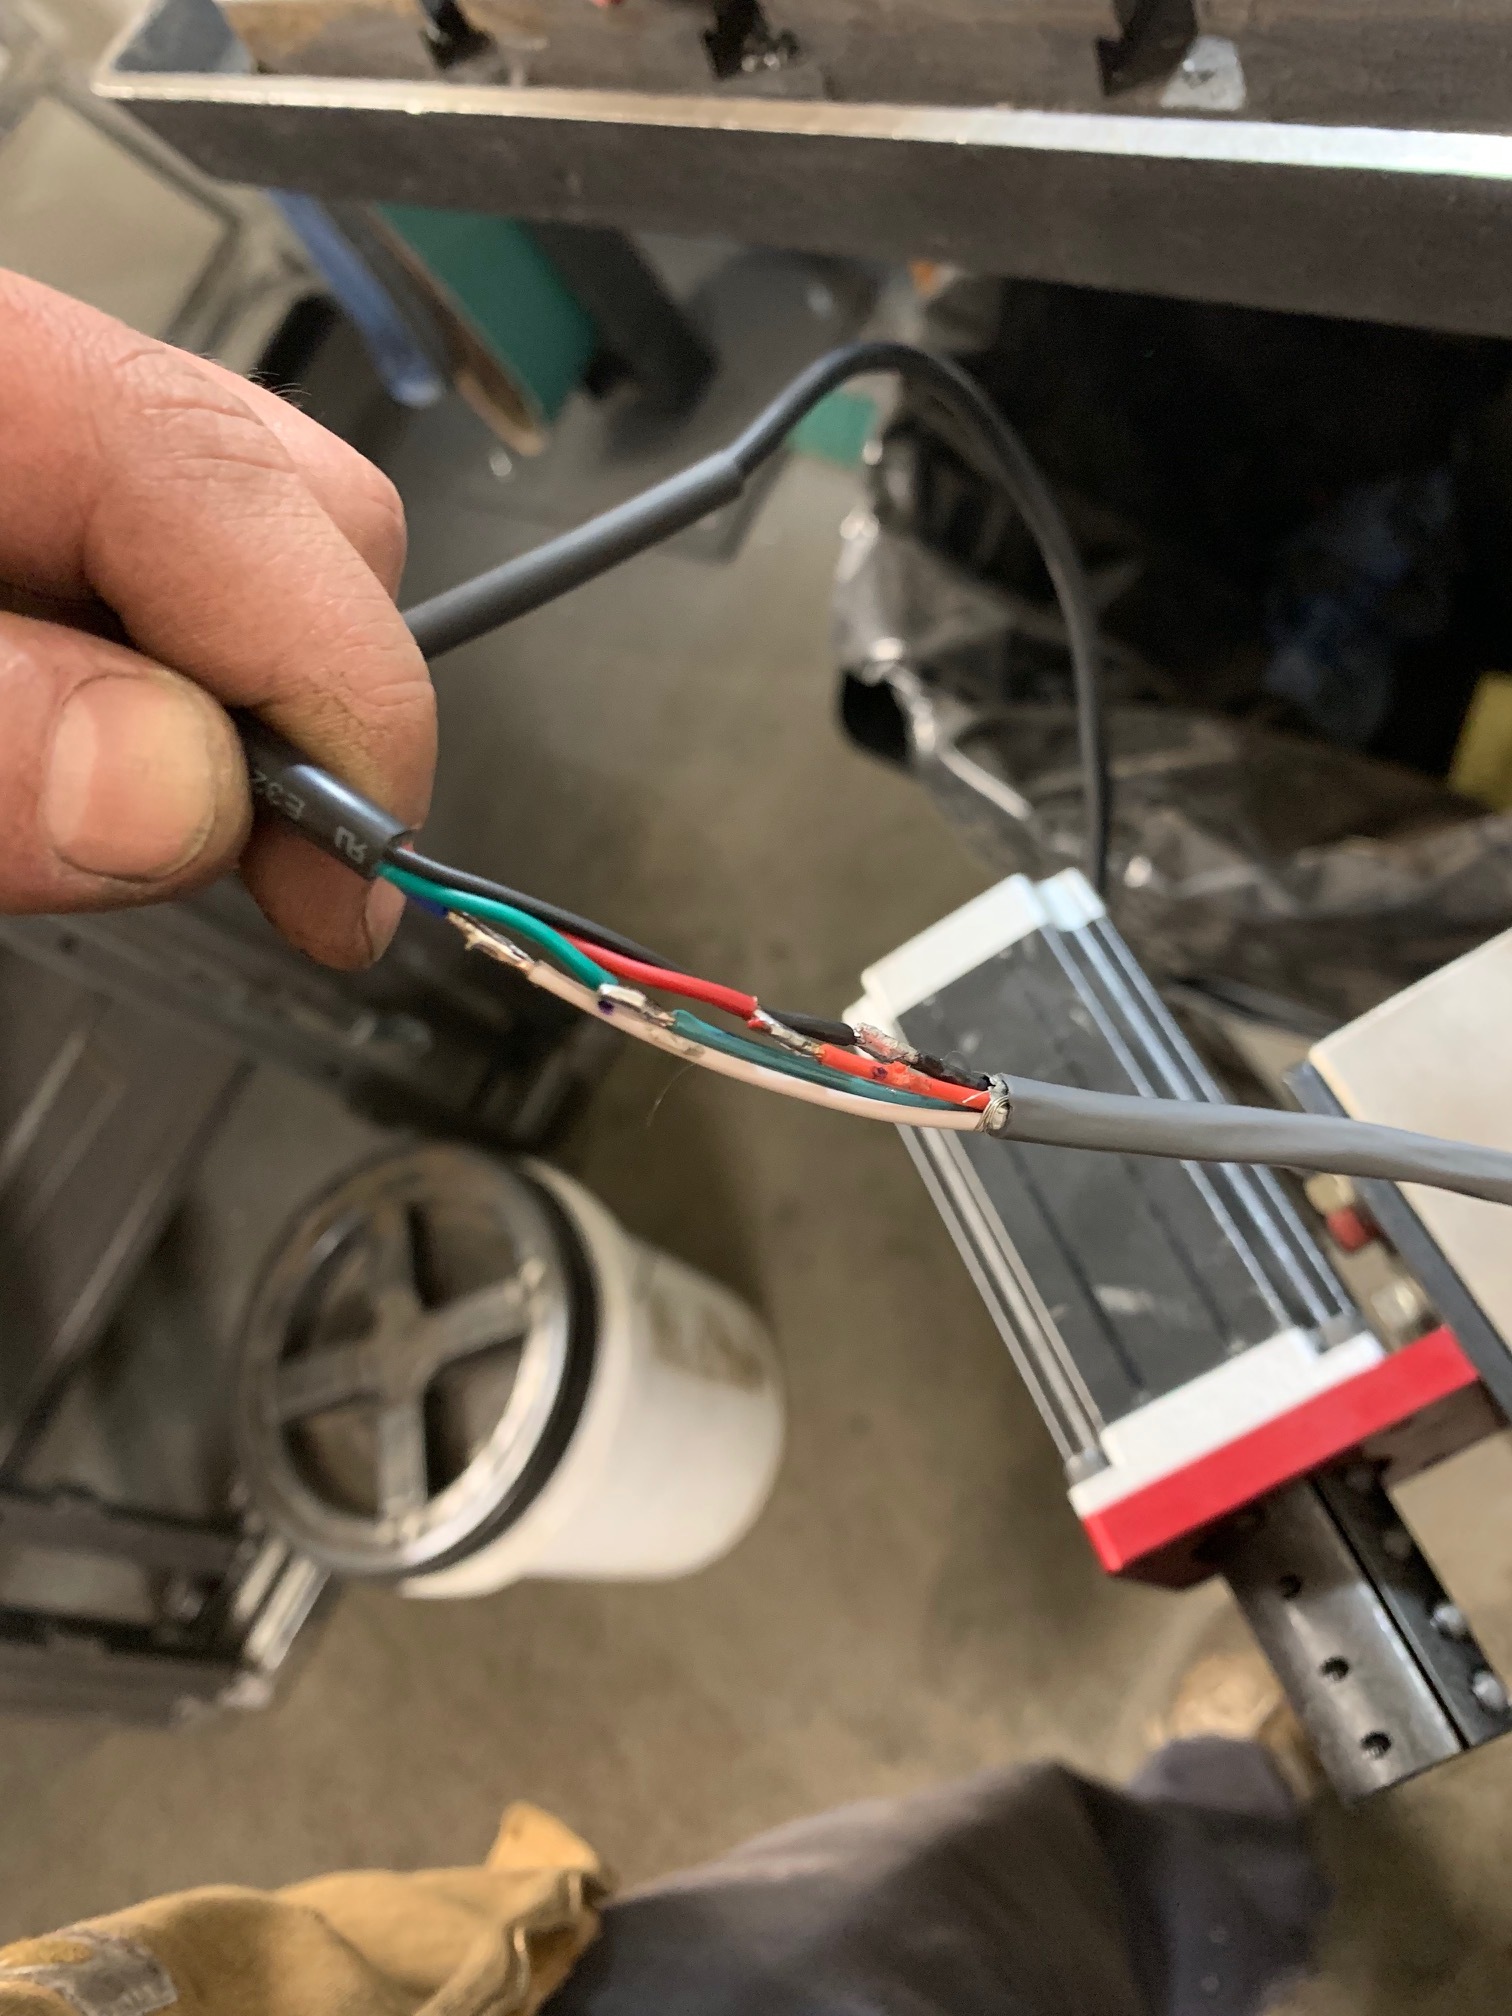
So I did manage to extend a cable by soldering/heatshrinking but I hate it… They only had 3” heatshrinks at Home Depot and that doesn’t give you much room to do a proper connection on 4 conductors.
It does work and i did get the motor spinning but i decided to order some molex connectors instead.
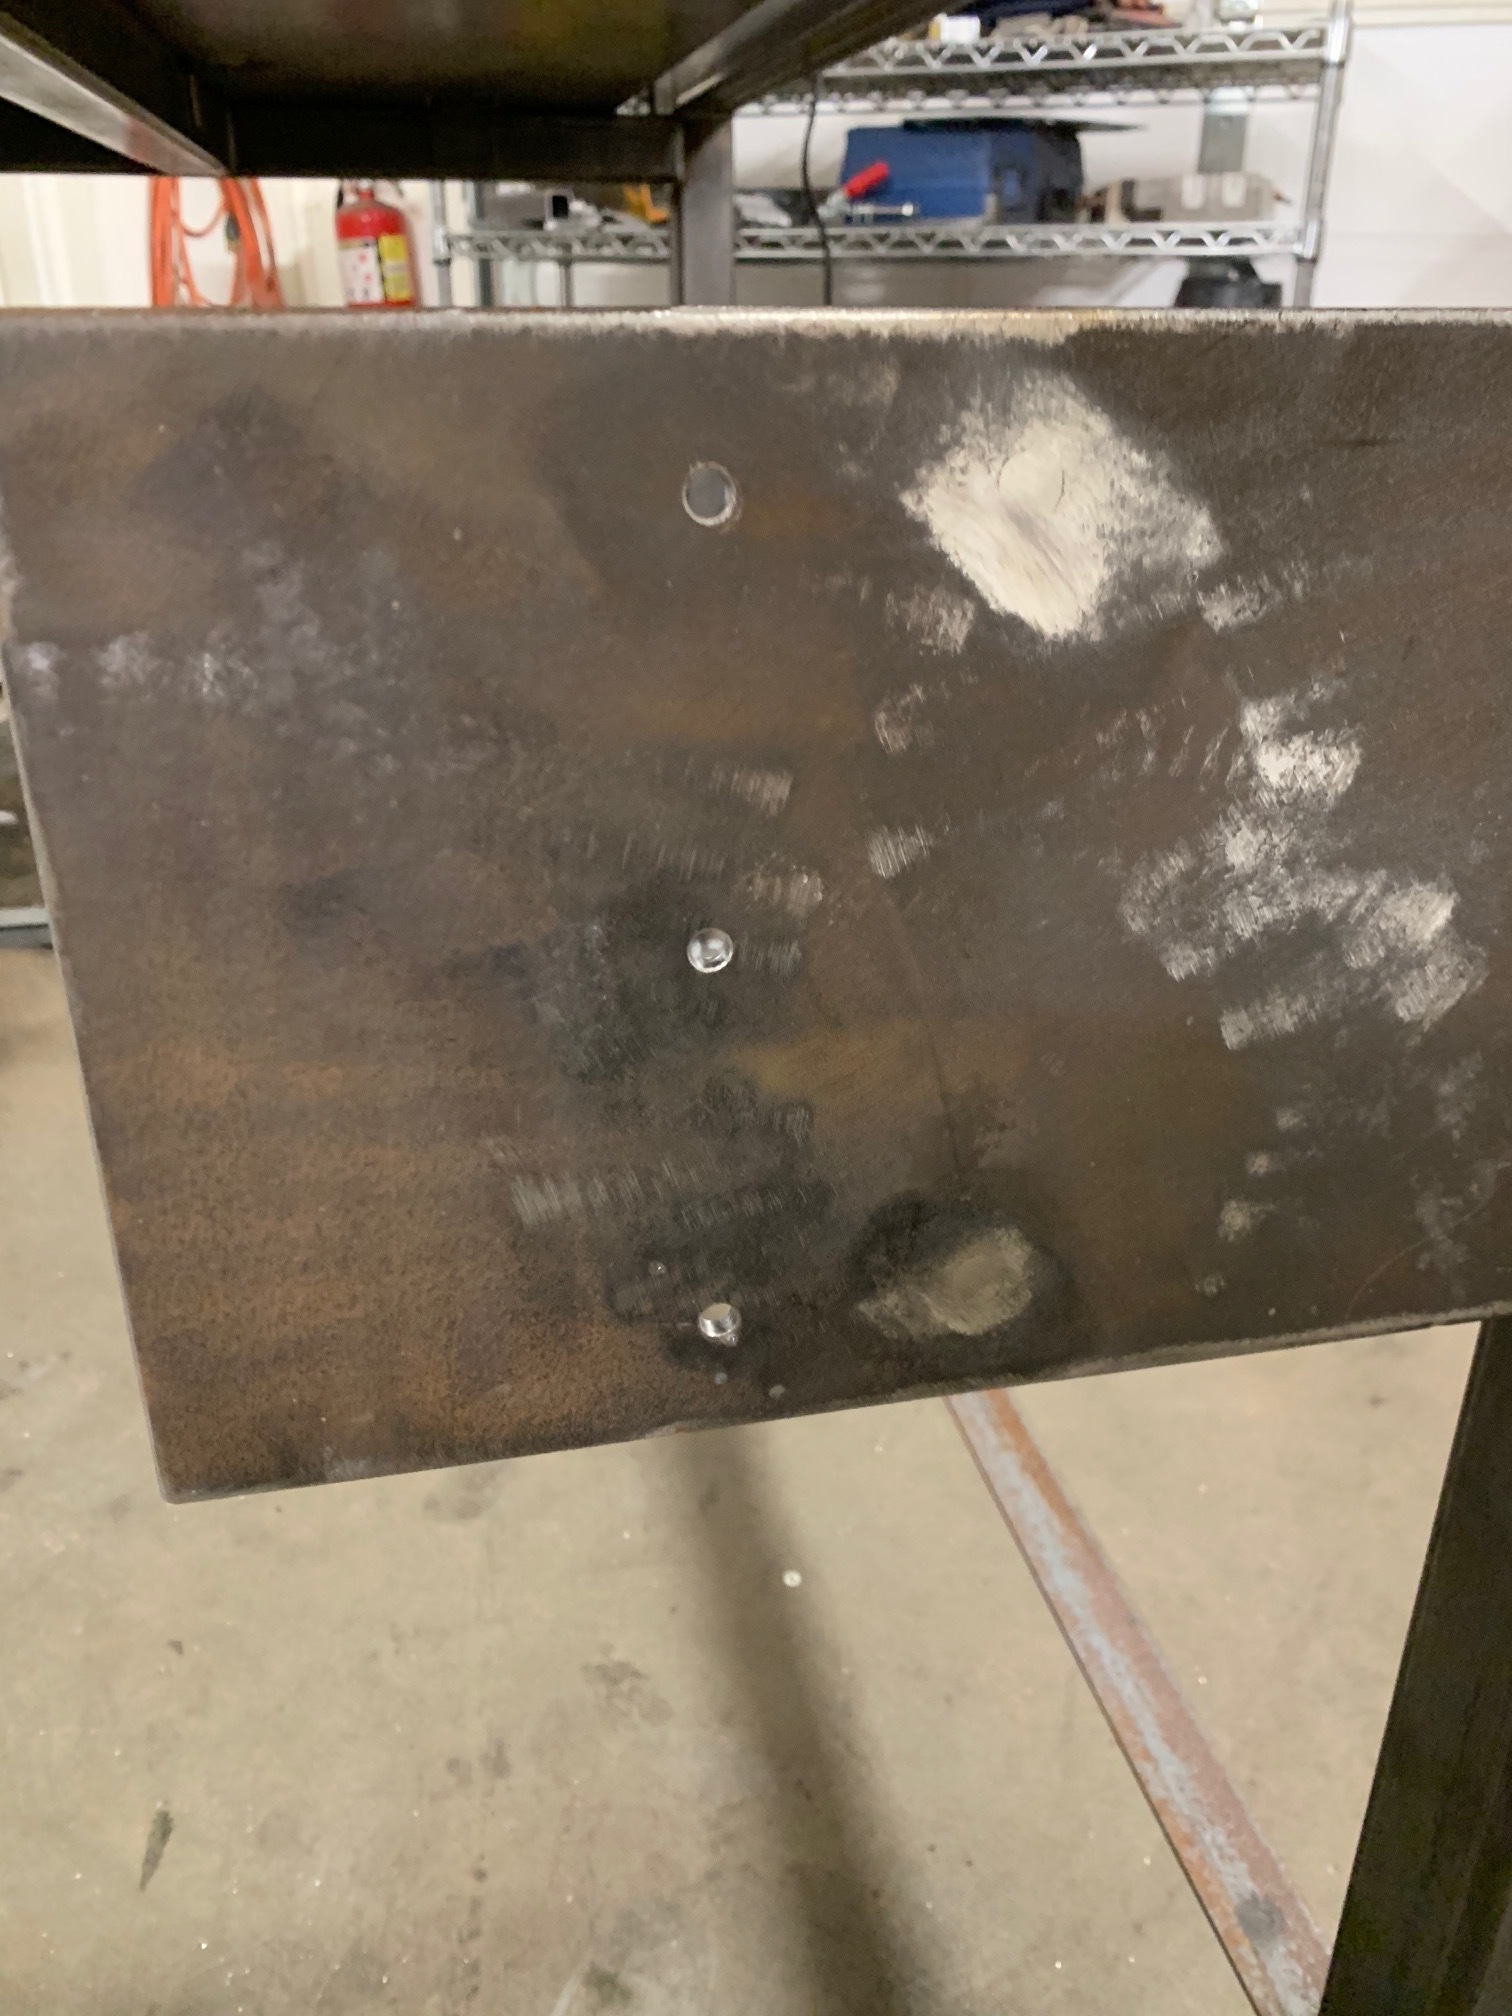
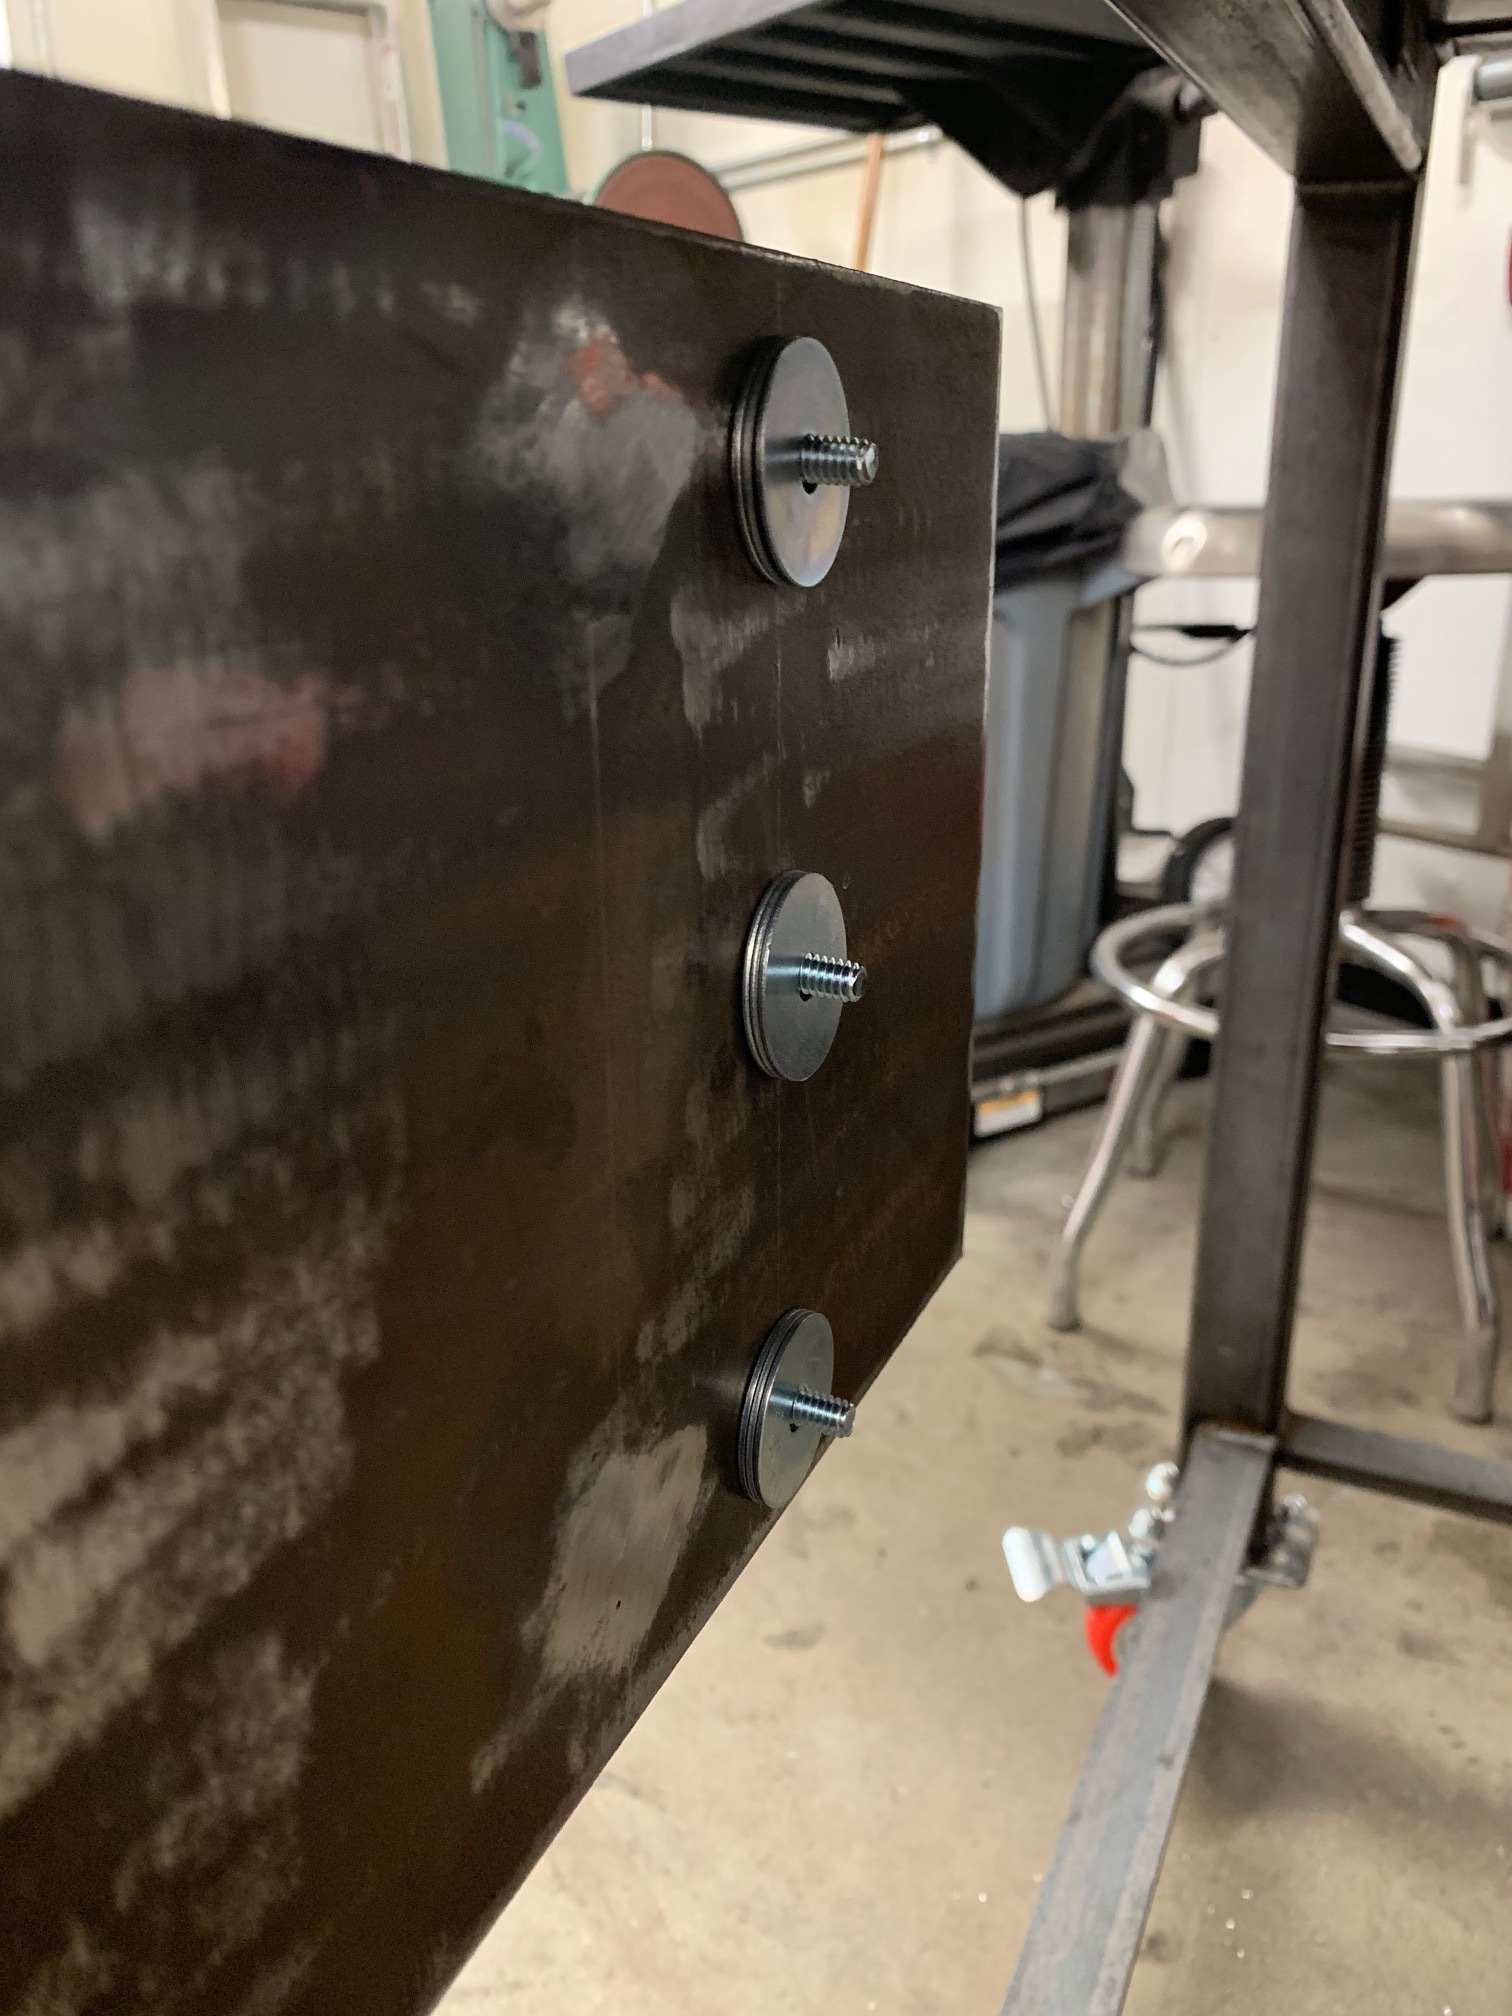
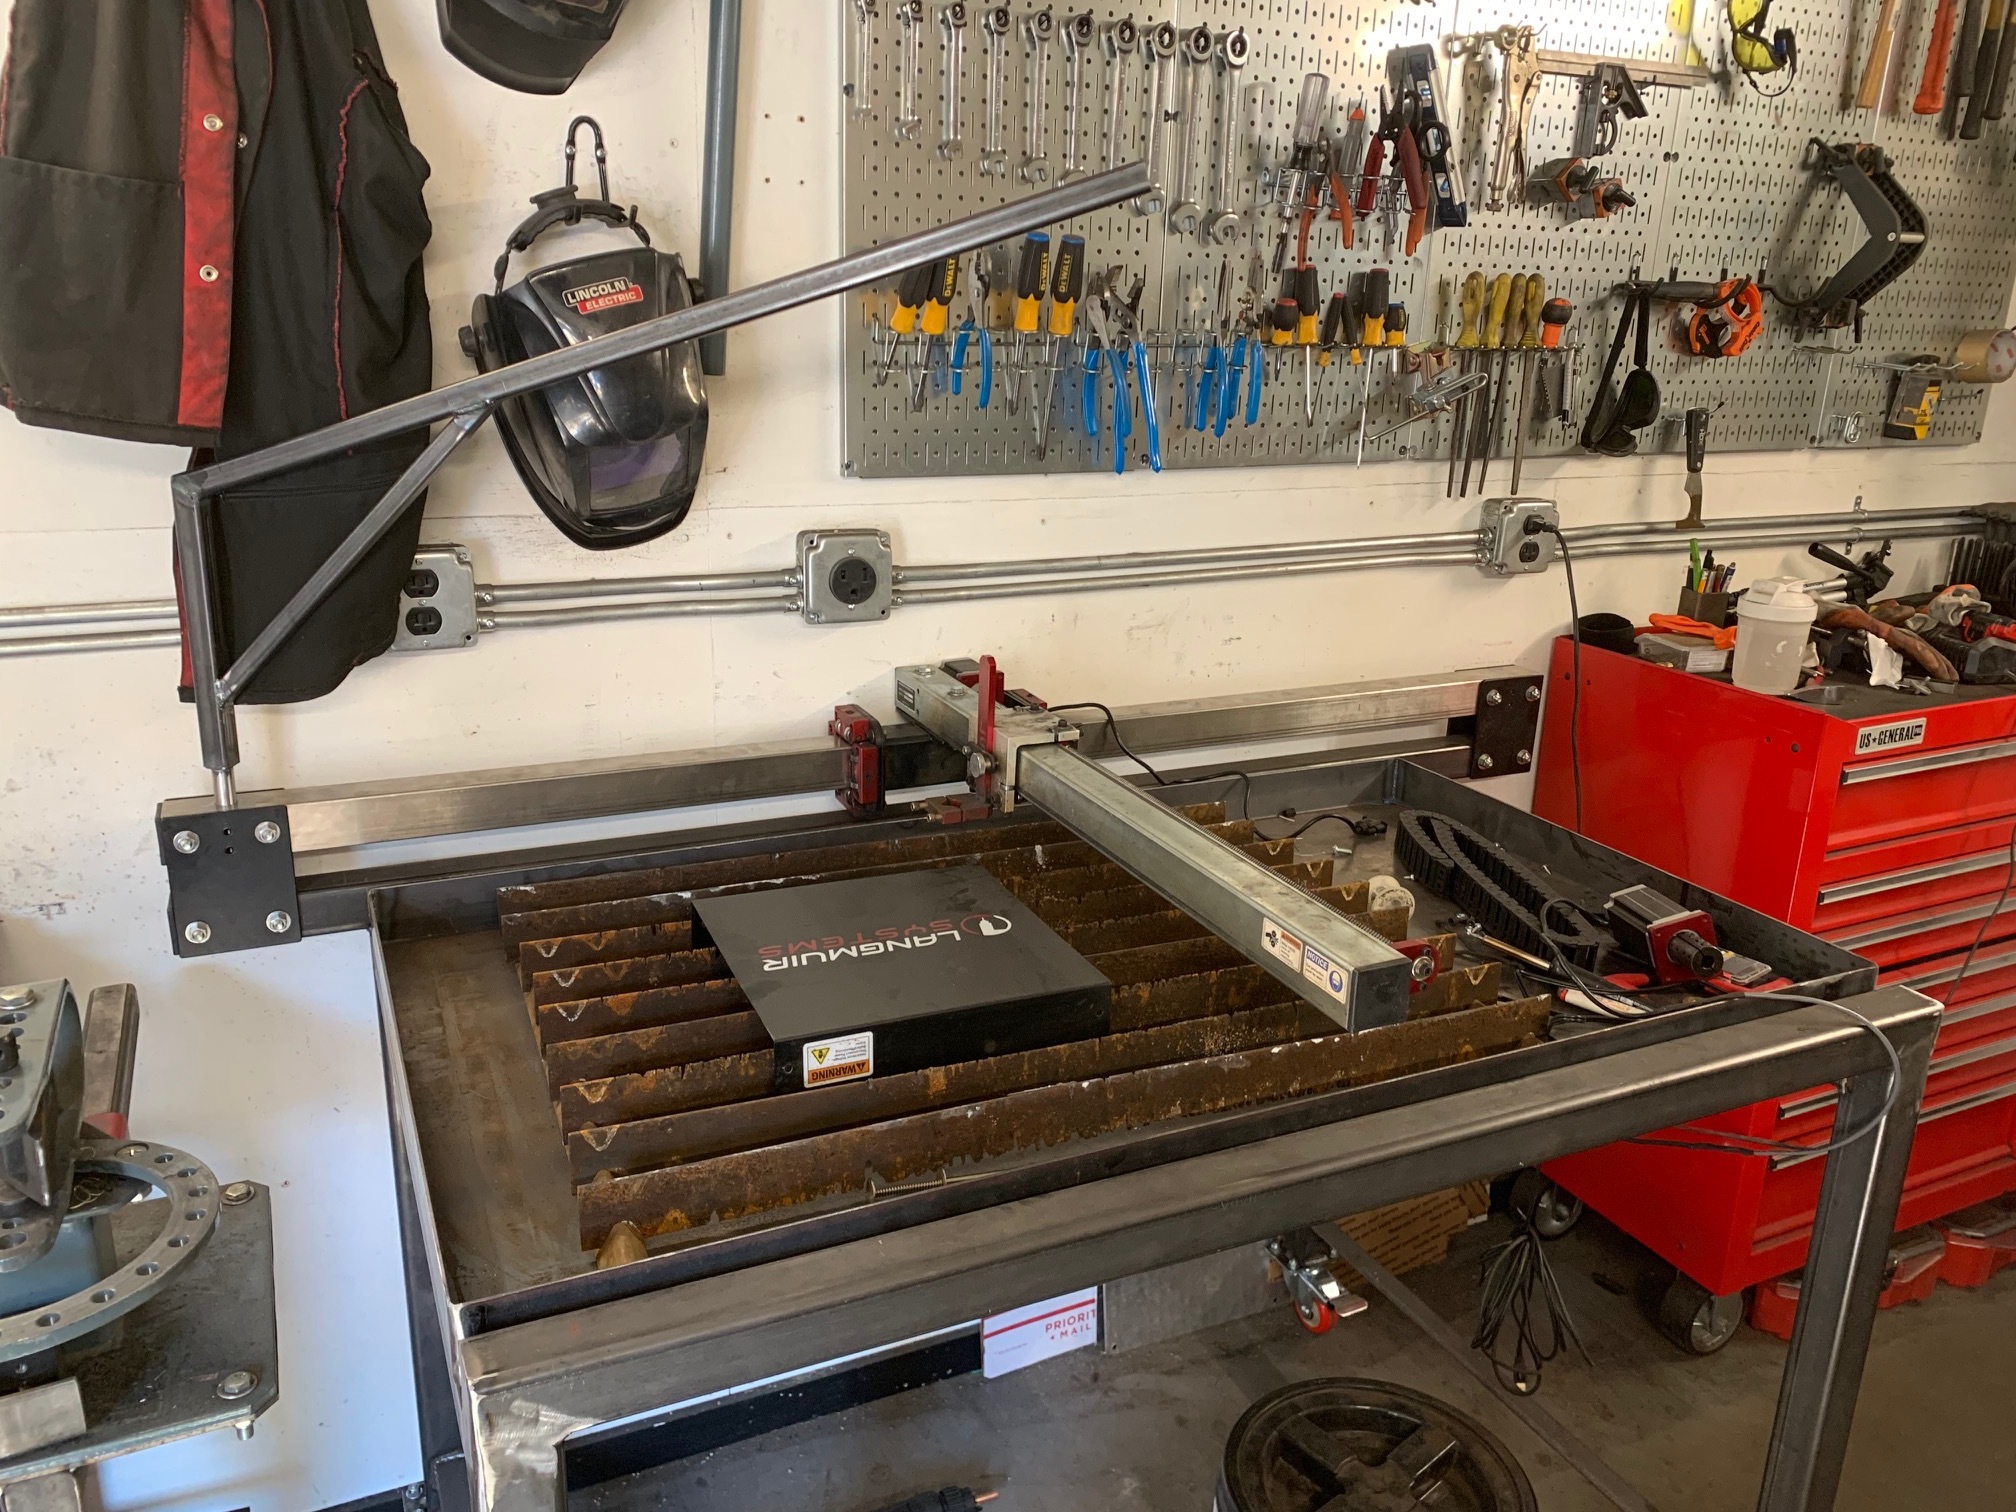
I also plugged the holes on the electronics mount. I didn’t account for the screws sticking out on the back of the enclosed however and had to pad it out with some washers. I am going to make a better spacer eventually.
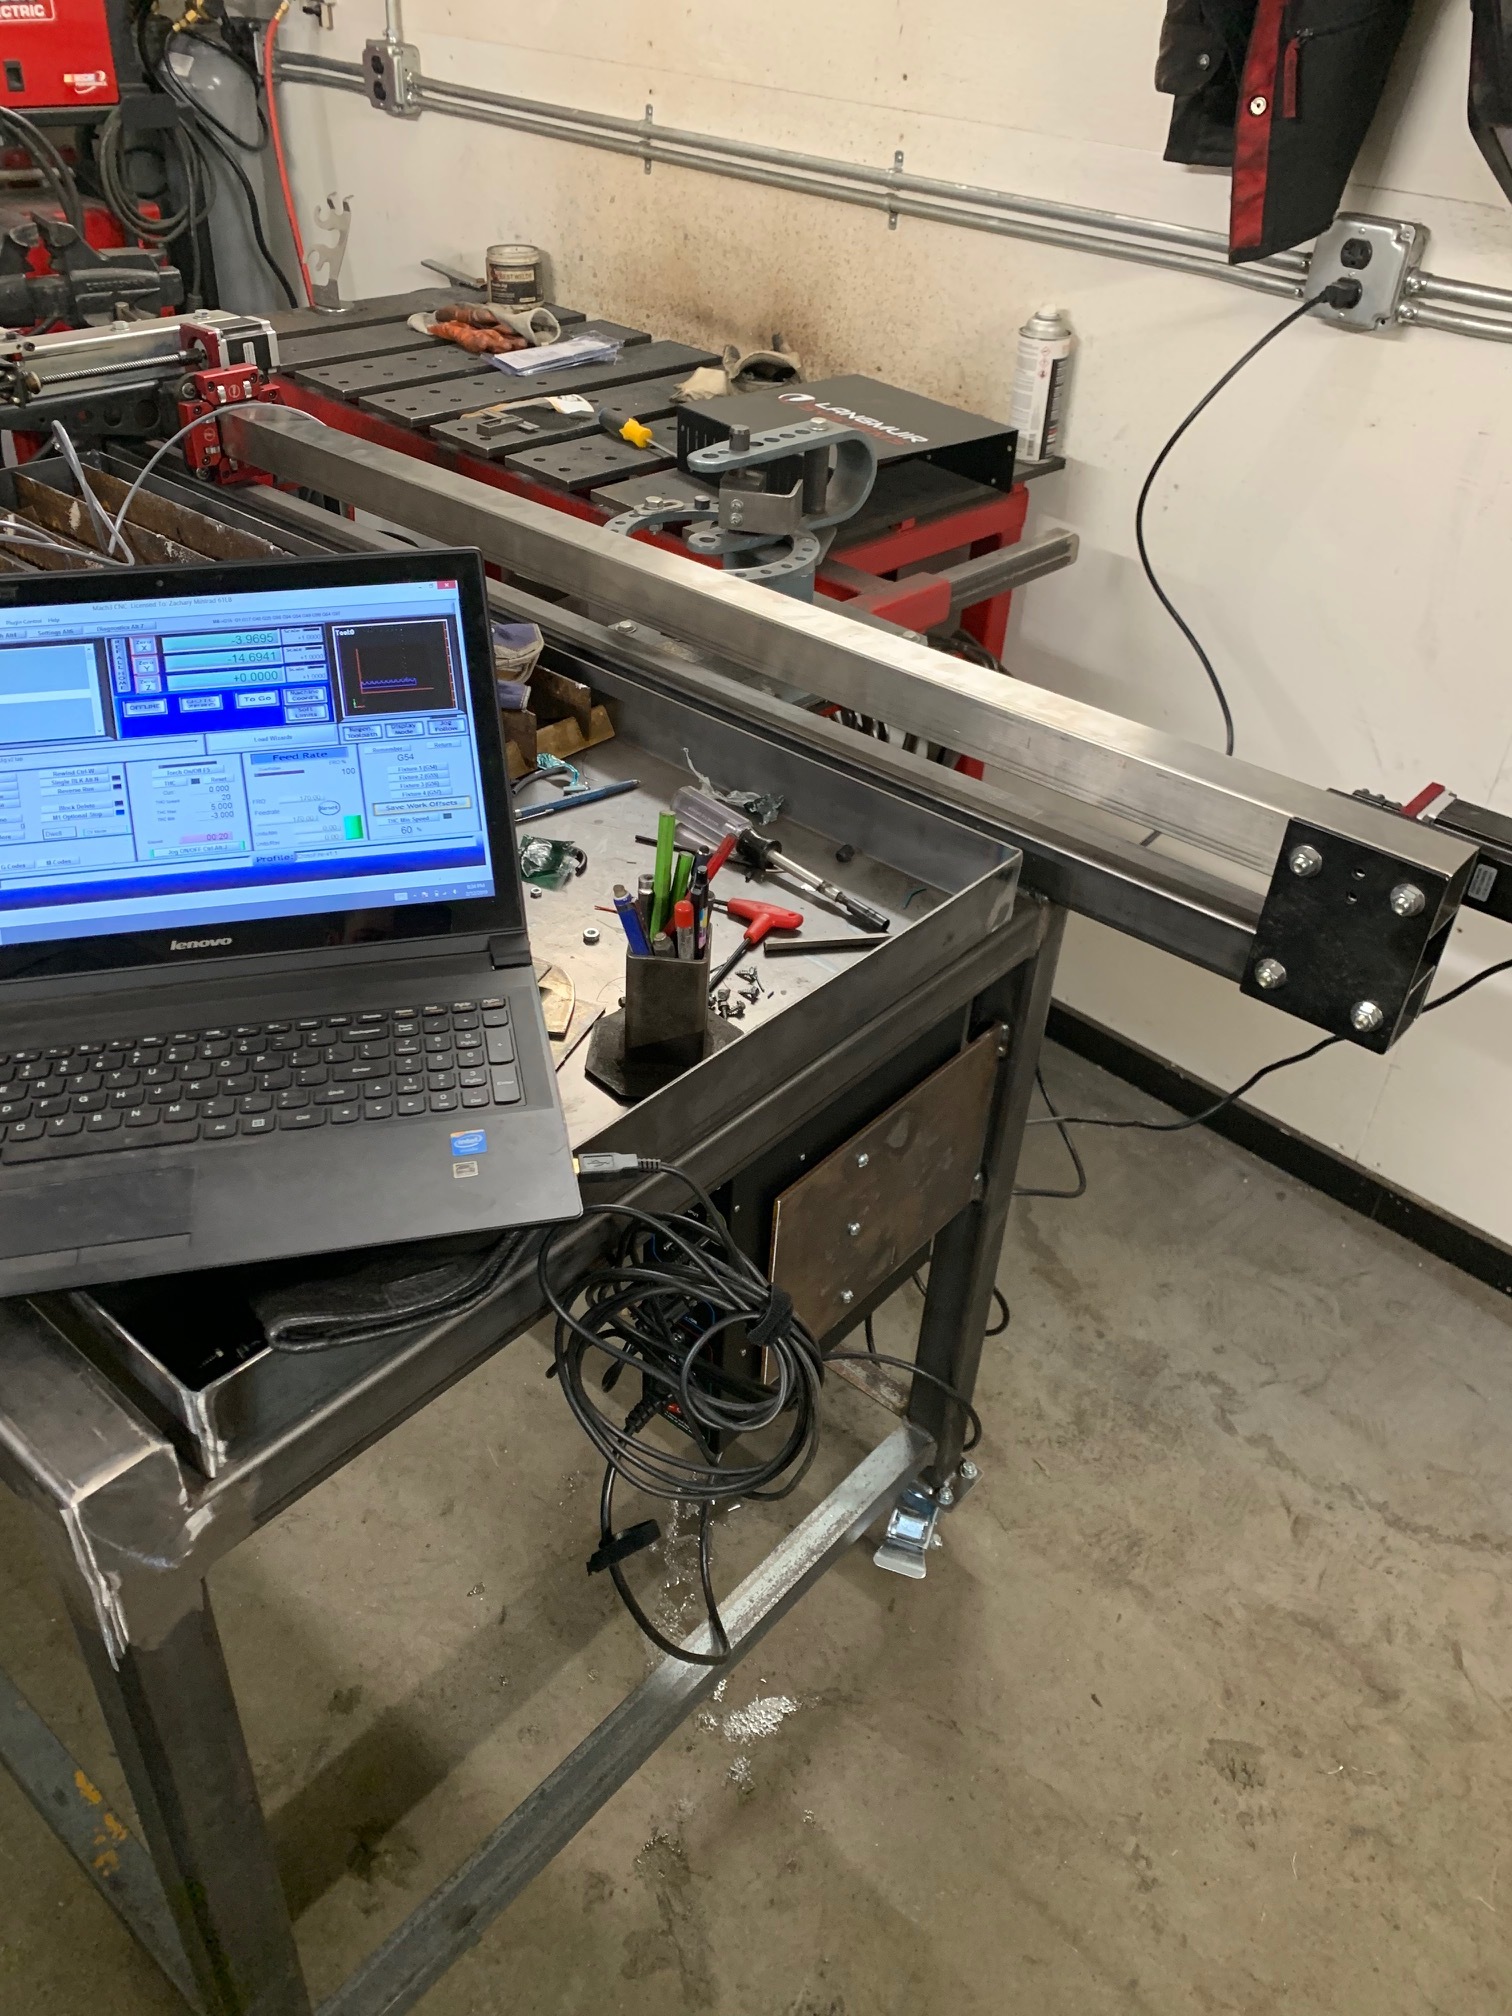
In addition, the former Y axis which was the gantry tube is now the X axis and the short span of the arm is the Y axis just because it makes more sense.
I ordered a cable carrier as well to see what I can come up with for X axis cable management and when i eventually try to add height control it will be needed for the additional wiring of the Z stepper.
Lastly i realized i can use the slat bed of the original crossfire temporarily inside the new water table to give me a place to cut the slat holders for the new table.
We’re getting closer to the finish line thankfully.
3 Likes
I’m going to gathering my materisls soon to expand/build mine similar to this. Starting with a 2/4 build. Is there a reason to go with stainless over any other metal for the gantry arms? Is it for the hardness, flatness or just non corrosive properties? Been pricing everything and was wondering if aluminum would be an option. Just wondering if I am missing something obvious?
This build is really turning out great!
Do not use aluminum. Over that span it will flex.
The stainless was just suggested by someone so i went with it. It isn’t much more expensive and the hardness makes it more resistant to scratches/it can be easily polished and cleaned.
Generally when aluminum is used it’s an extrusion that is designed to have a very strong shape. Extrusions of that nature probably won’t work for the crossfire design.
That’s what I was thinking, just wanted to verify my thoughts…
Thank you
So i spent more money than i ever intended to today and ordered a hypertherm 45 xp with hand and machine torches to replace my razor cut 45.
Keeping in mind I’m still a clueless idiot winging this entire thing, i hope to eventually add a height control with floating head. The downside is, this being an afterthought when i eventually try and add the Z axis it will probably offset my torch by 3” or so and I will not be able to cut a full 48” anymore. Chances are i will never need to exceed 45ish anyway though.
For now I ordered some machine torch holders from Lil_Abner_Kustoms here on the forum. He also made me an adapter for the larger 1/2” lead screw to fit into the stock bearing support.
Molex connectors to extend the db9 cables, a cable carrier and the adapter from Abner should all be arriving soon to continue with the build. Once the adapter comes i can at least get it cutting temporarily.
2 Likes
Think you will be happy with your purchase.When i was setting up mine i got frustrated because its kinda tight inside the case and i was worried about stretching the wires.While doing it though i was thinking why someone hadn’t come up with a simple adapter to connect it all instead of splicing.
You mean on the hypertherm 45?
I ordered it originally with the 75/15 torches and was going to make the 15 my dedicated table torch and modify it but I ended up just biting the bullet for the machine torch package. The machine torch will fire directly from mach 3 with no modifications other than wiring up the cable which it comes with as well.
https://www.weldersupply.com/P/1660/HyperthermPowermax45XP08
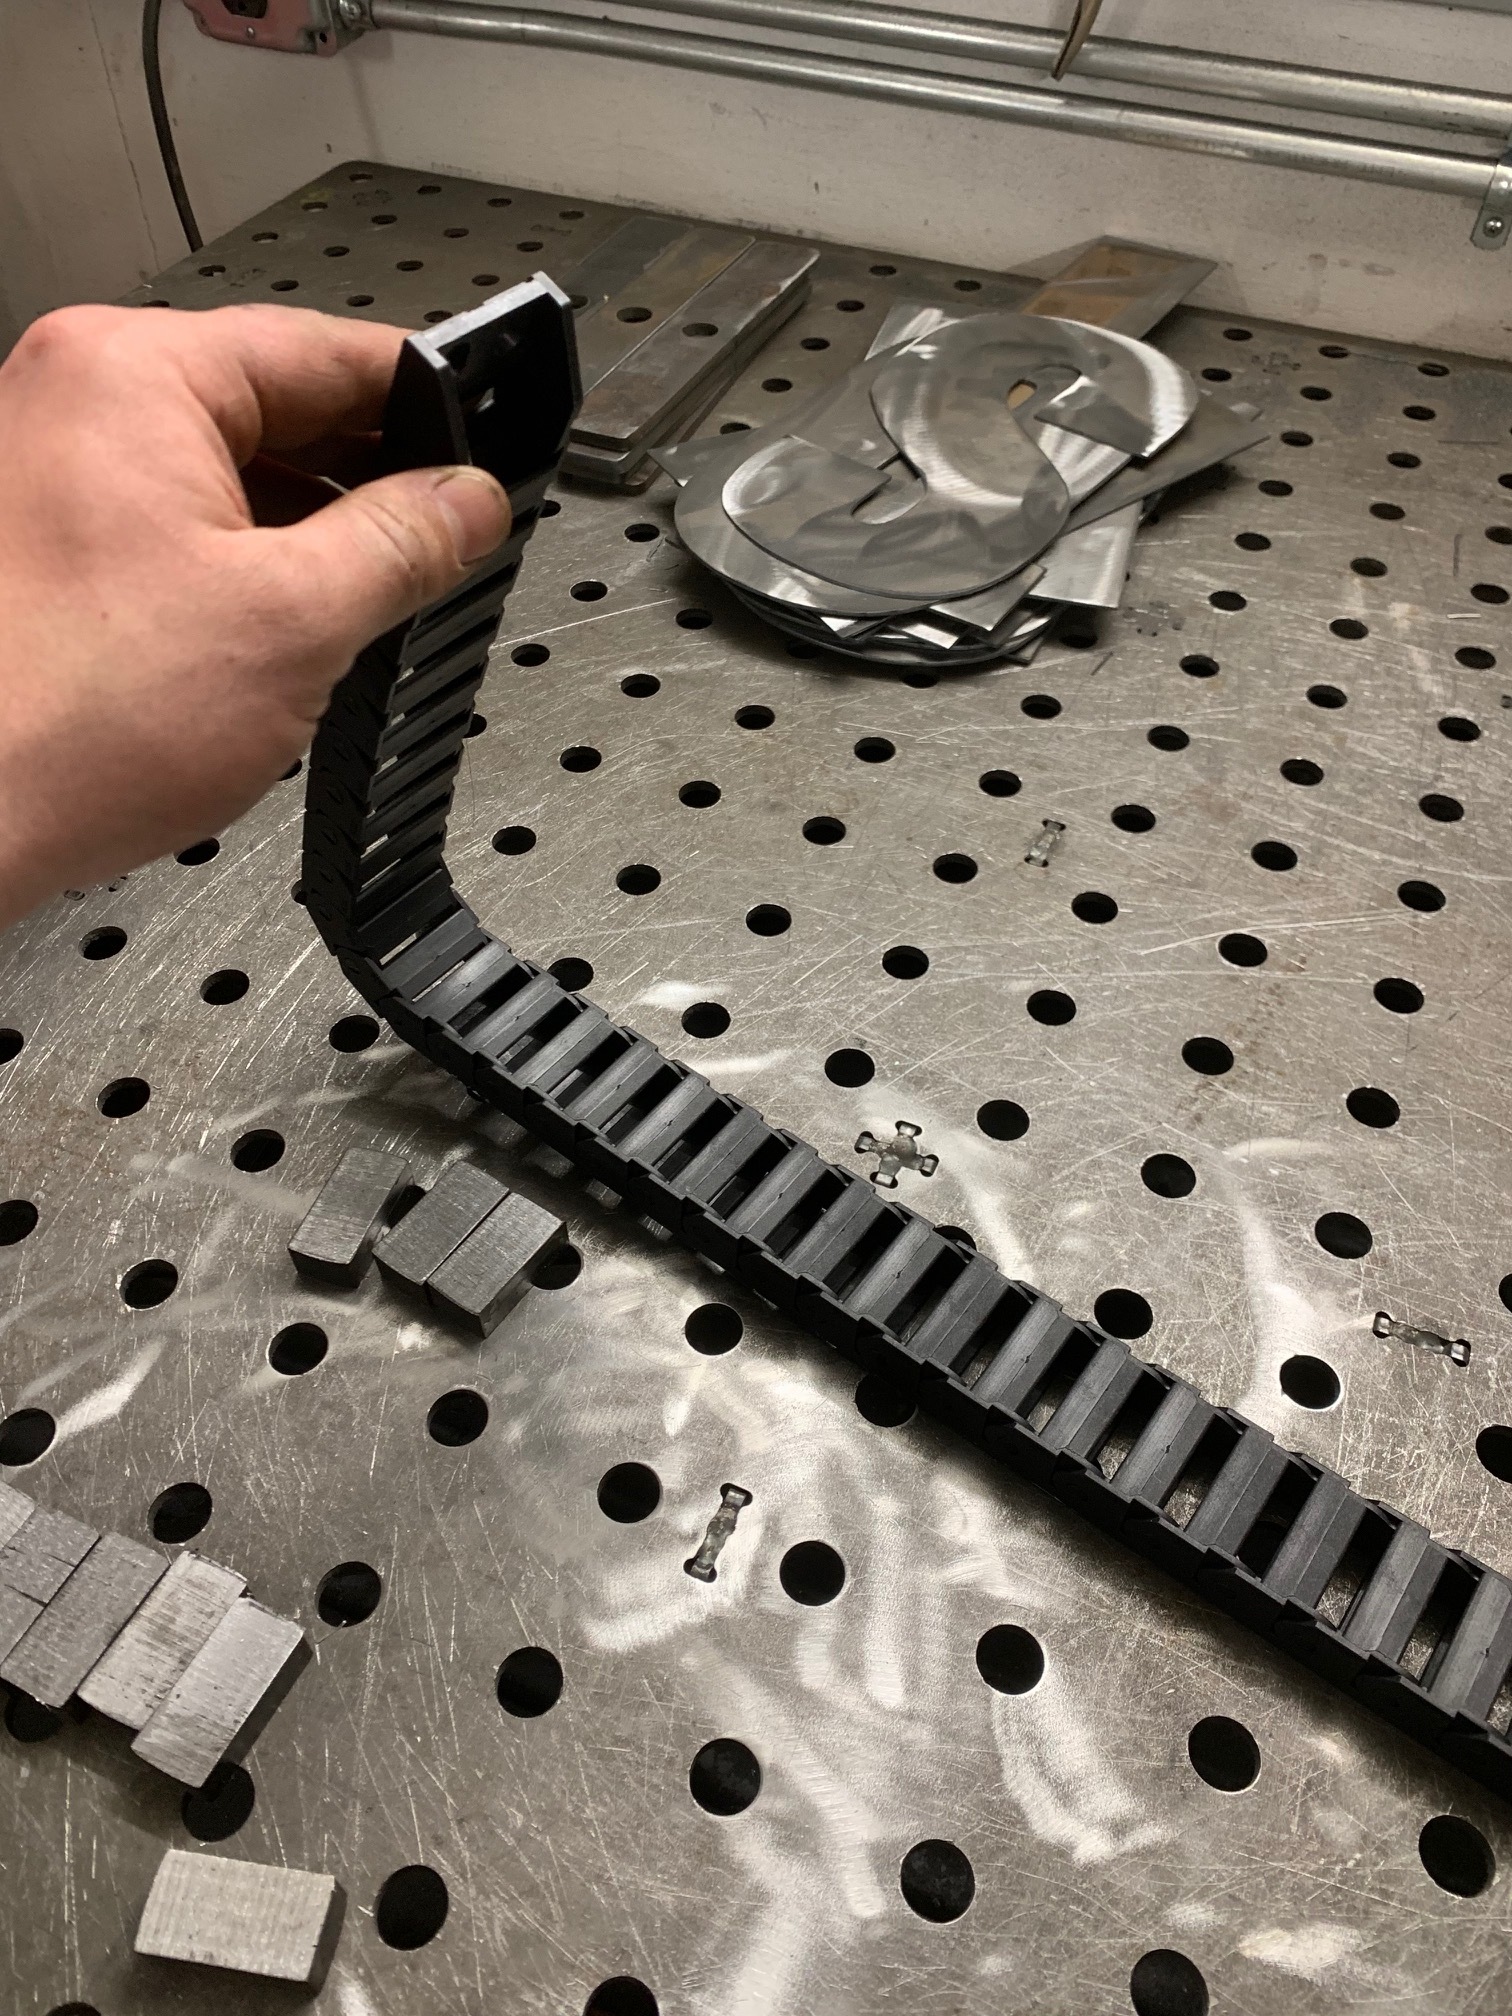
So I wasn’t sure what to do for the big length of free hanging wire that will basically touch the floor at its nearest point on the X axis. I didn’t want to leave it hanging like the crossfire originally does so I purchased a piece of cable carrier on amazon to mess with. I decided I really like it and the only challenge is to add a bracket to attack it to on the carriage which I think I will put on the opposite side of the anti backlash nut. (The bracket must hang below the lead screw)
I will need slightly more than I purchased so I will have to buy a second 3 meter length of it. The actual track is a very easy addition and by using a steel channel I can quickly tack it to the frame as well as have a rigid design for the large unsupported span in case something ever drops on it.
Cable carrier is $25 for the full amount needed and the steel channel will be another $20. The carrier is 1.5" and the track is 2" to the outsides so it should be a perfect fit with just enough room to breathe.
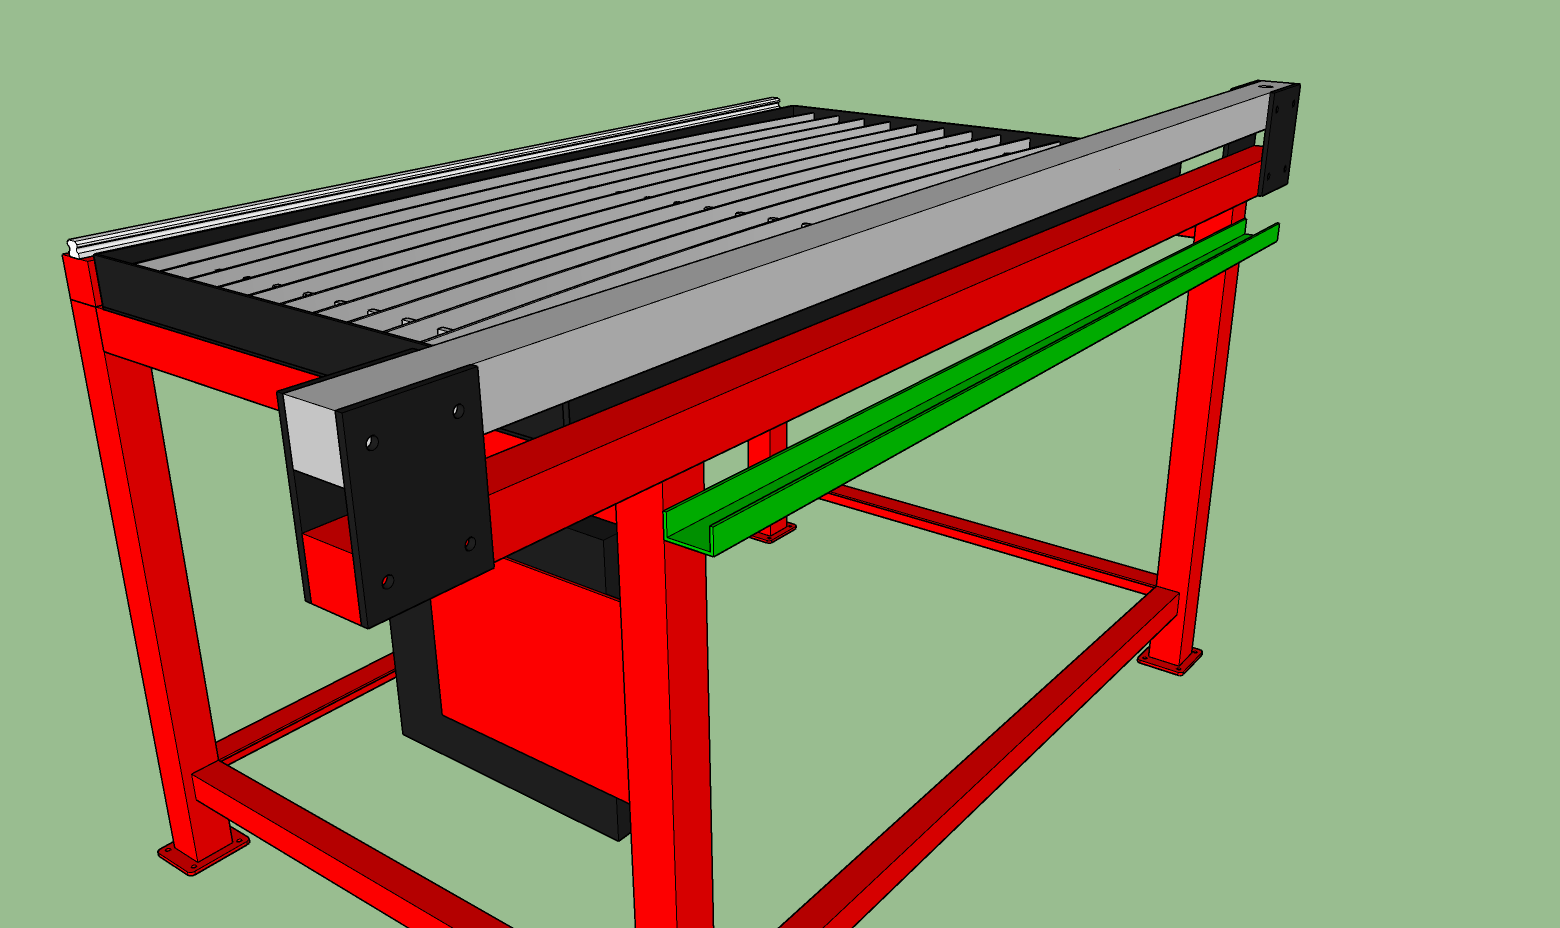
Still to be designed is the pole to support the torch hose.I have a design in mind but I can’t decide if it needs to be able to spin like the original on the crossfire or if it can be fixed, hanging over the center of the table.
2 Likes
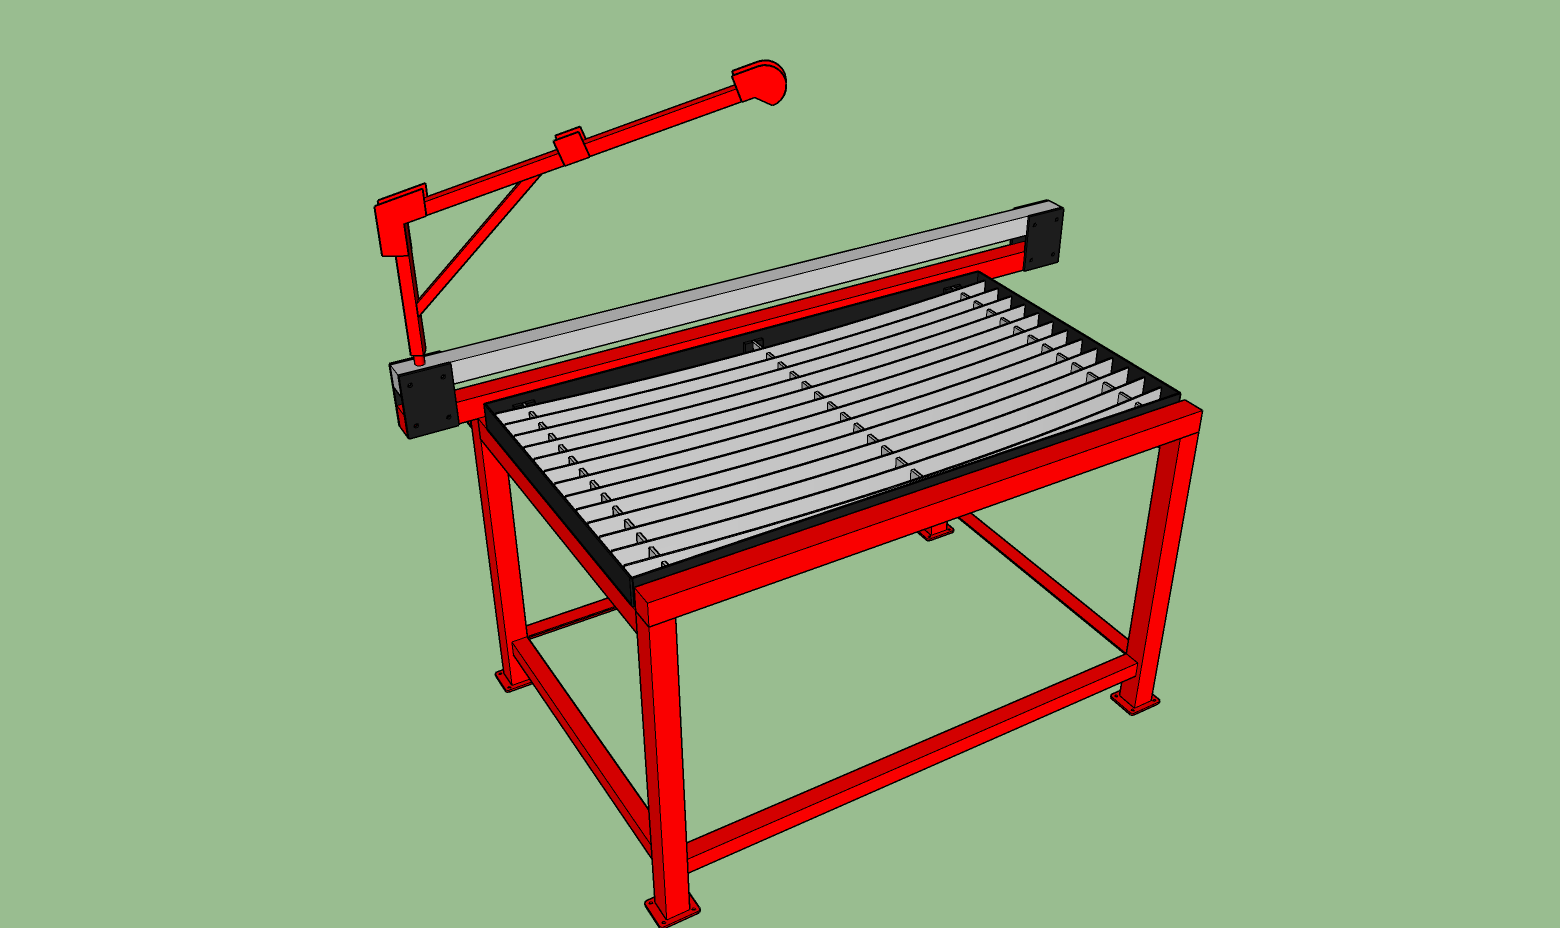
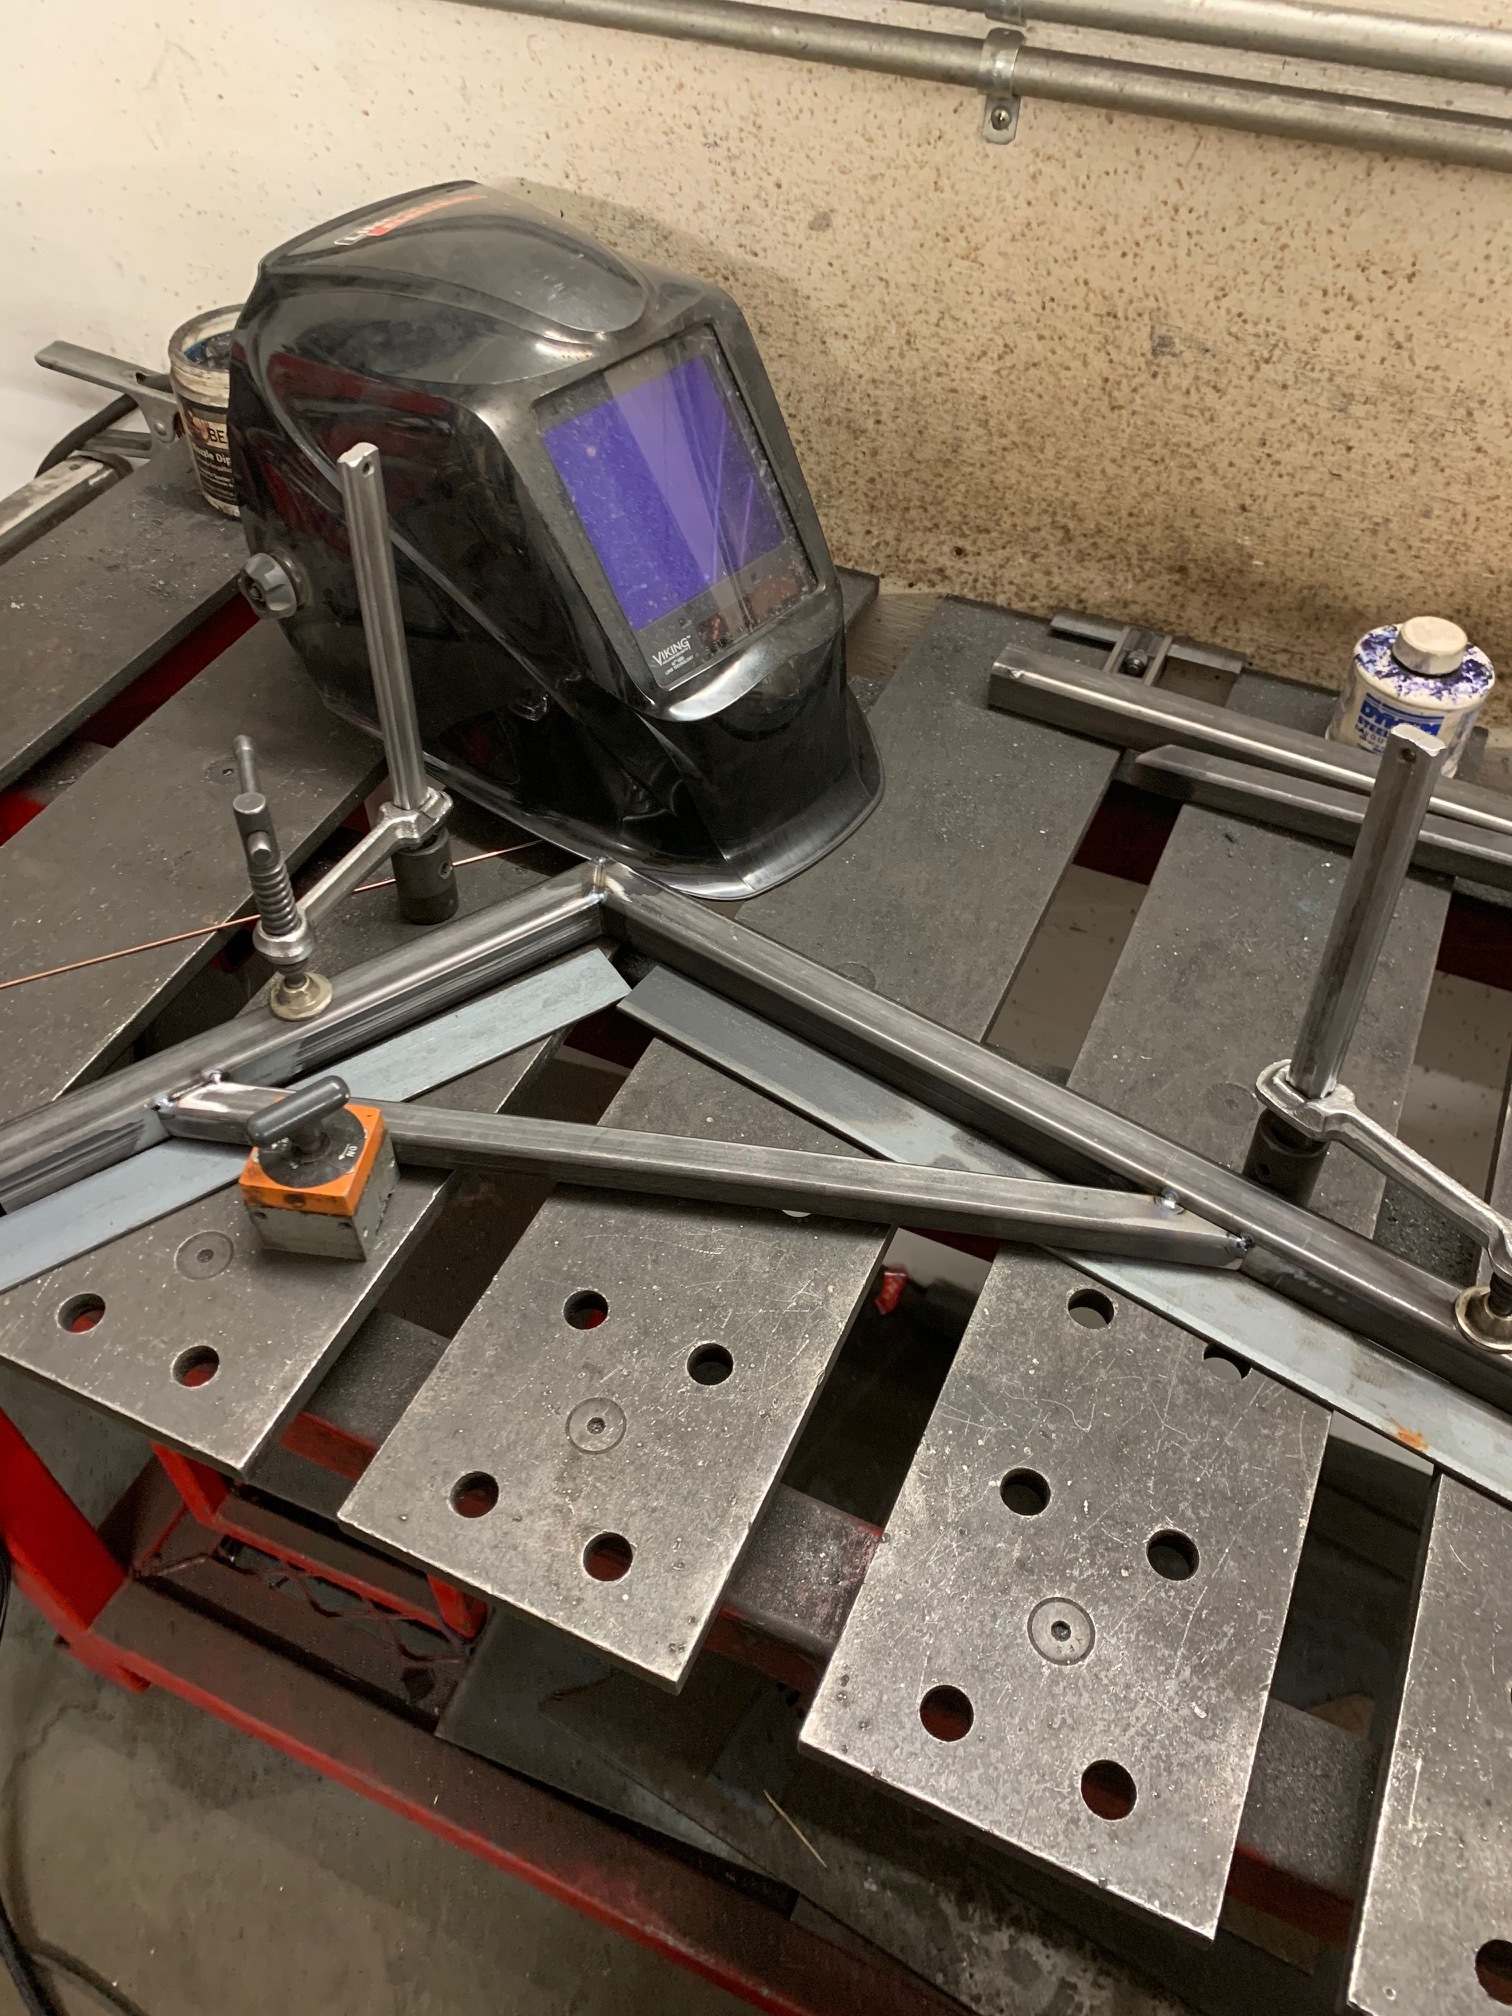
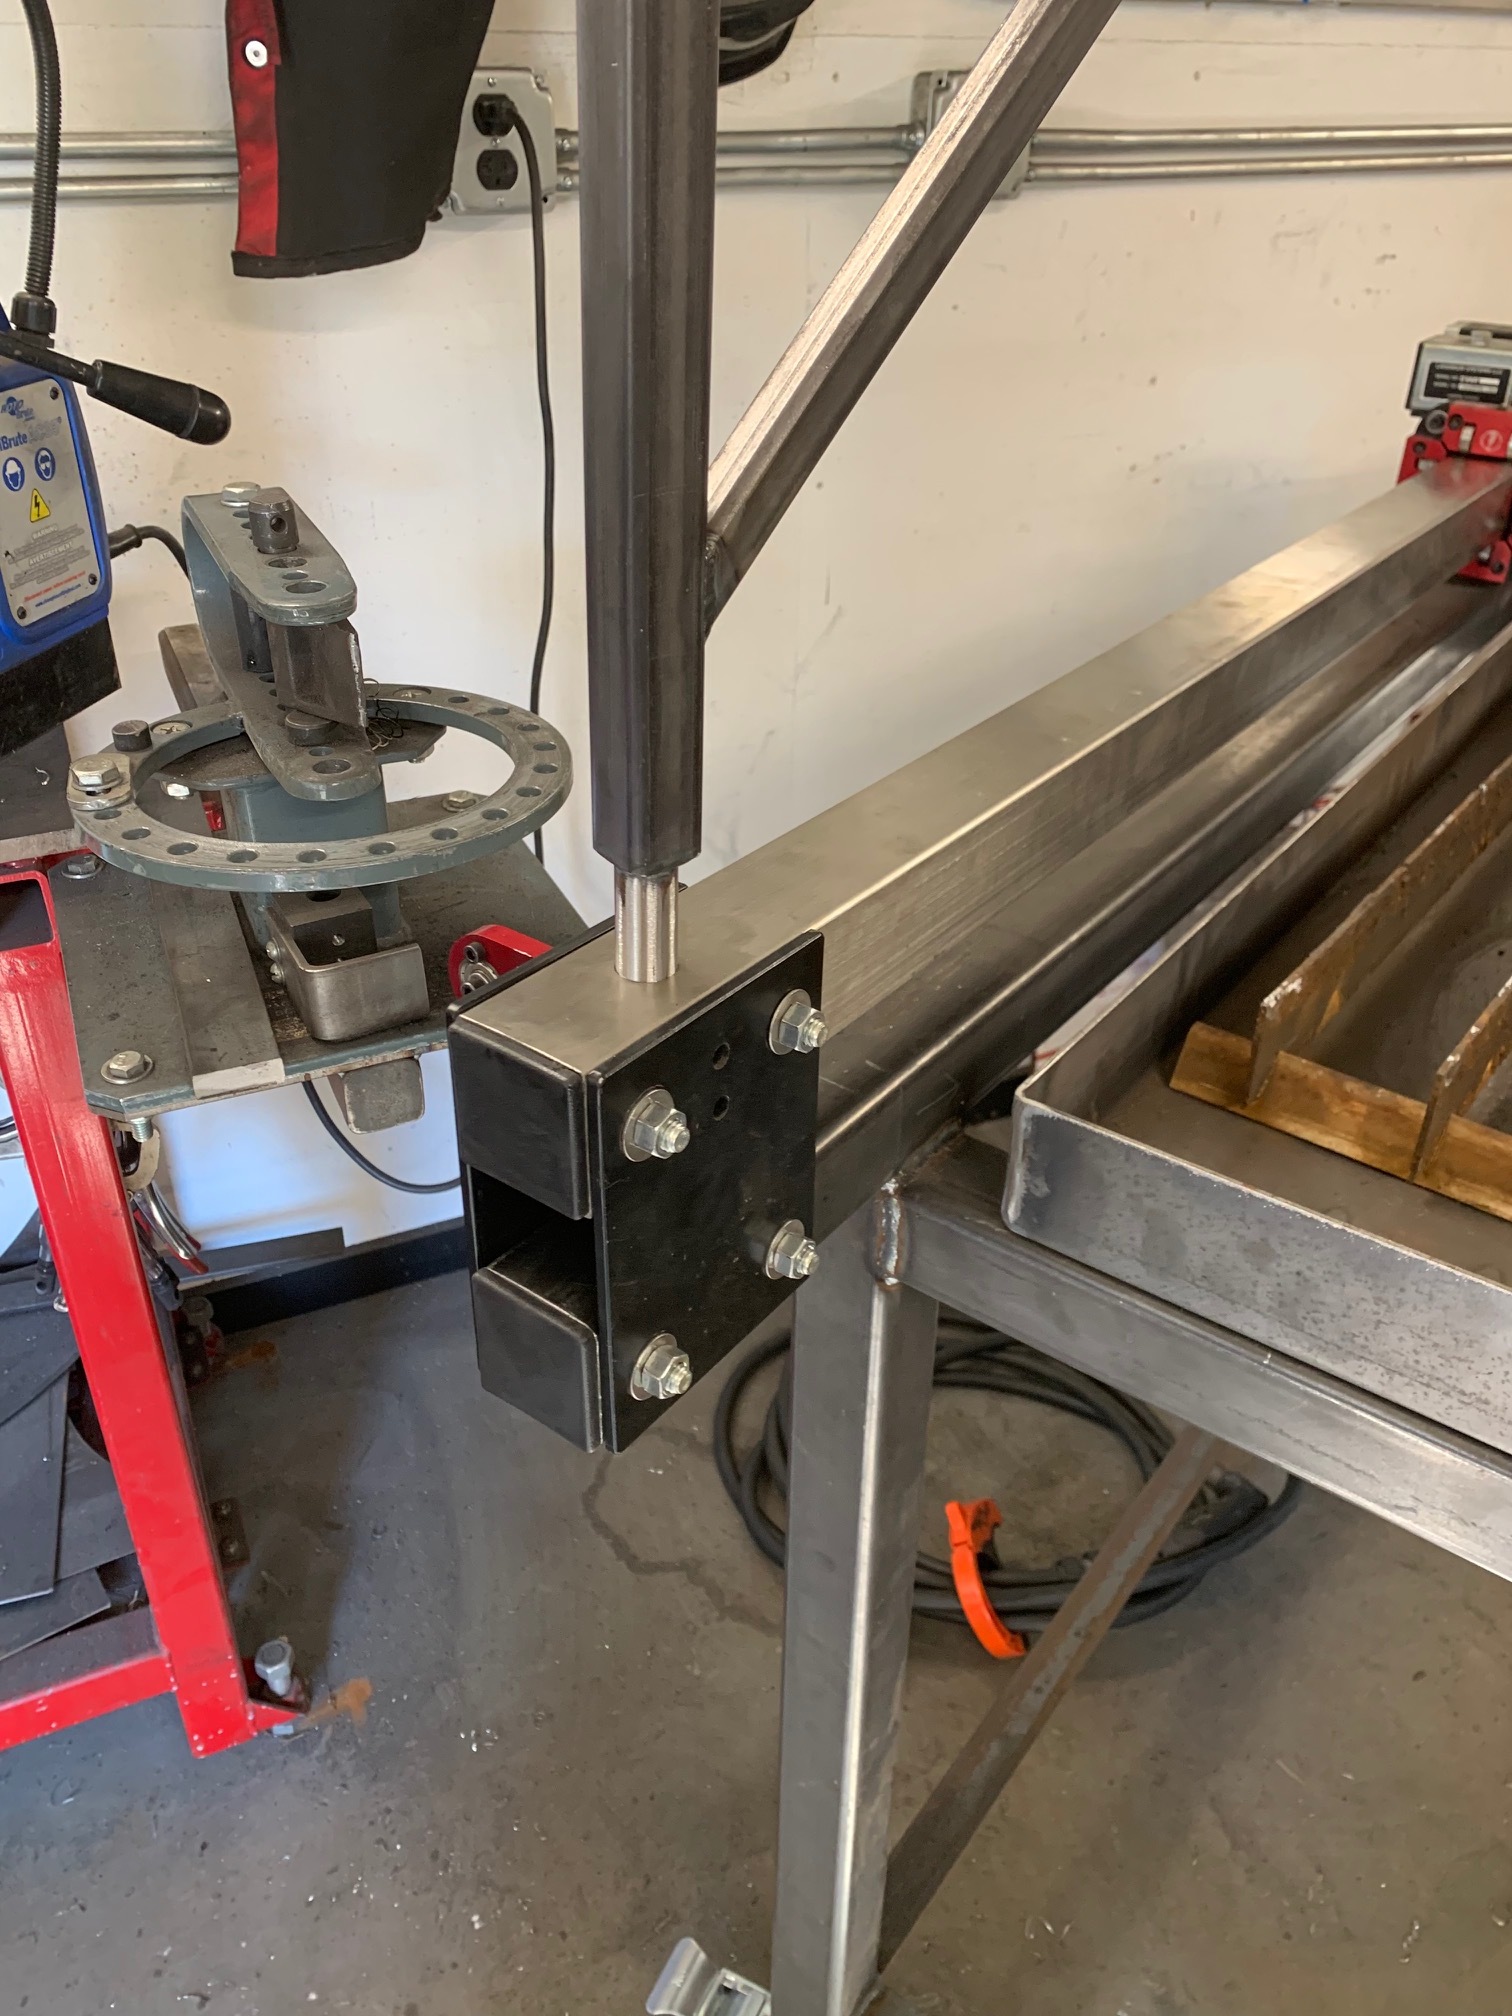
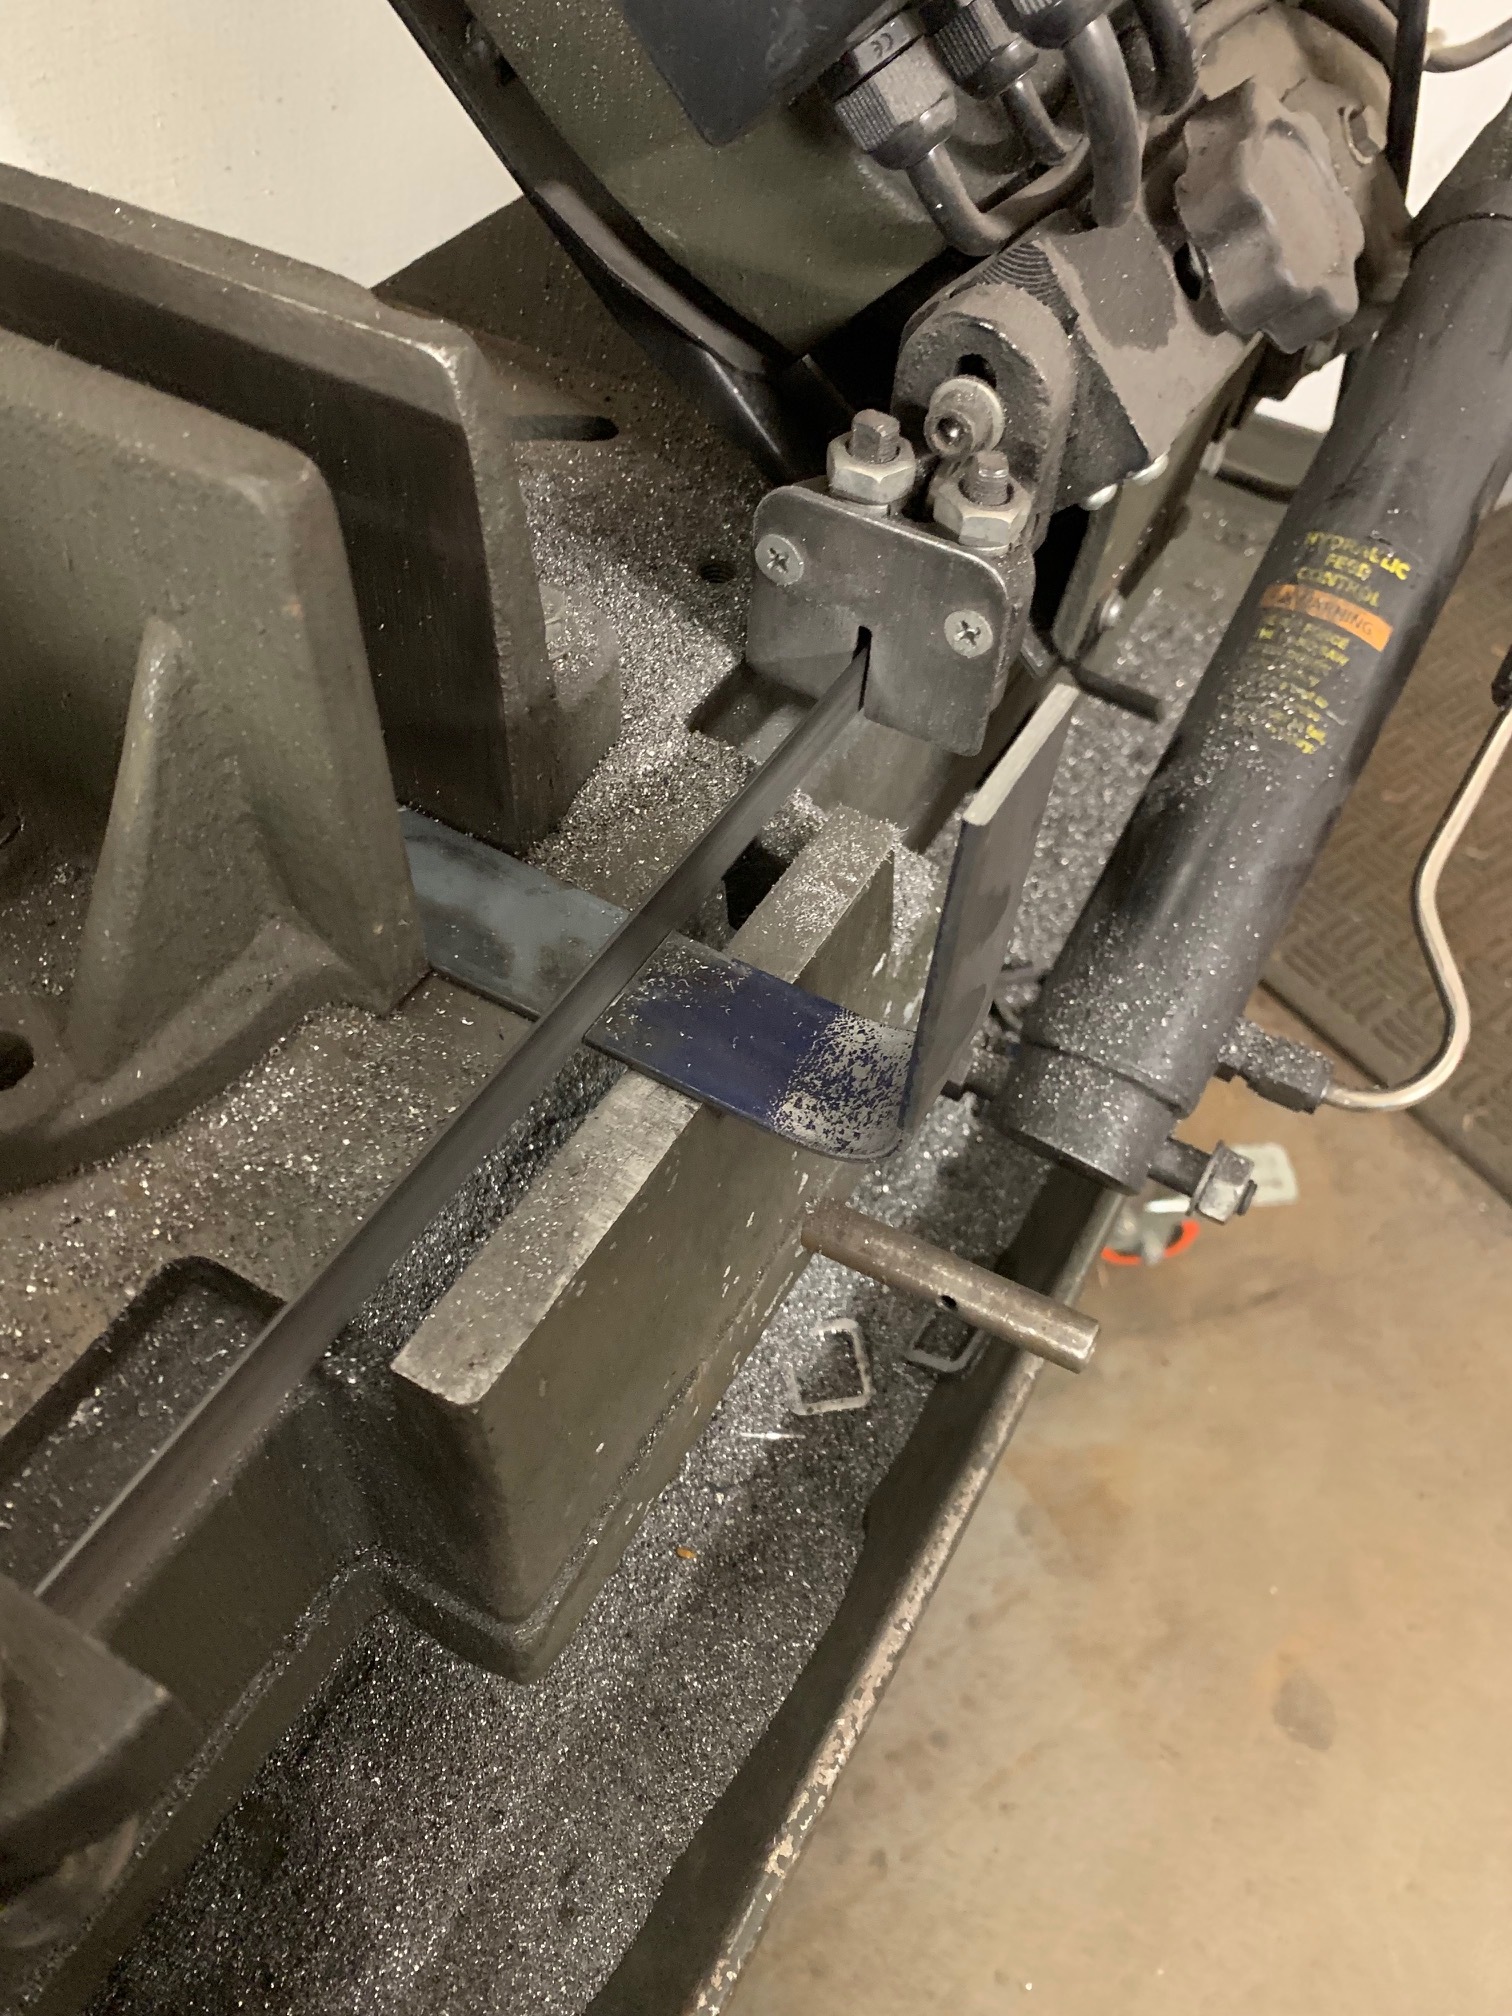
Tomorrows project, Torch cable arm.
No idea if this will produce too much leverage but I hope it will be ok.
2 Likes
Reading through yours sir and a couple of others, seeing all of the F.A.I.L. (First Attempt In Learning). It’s impressive and really has me appreciating the LS brothers and their dad, who started this journey in their garage too. Blown away with the intuition and strive of so many on this forum.
1 Like
My father used to own a hobby store. RC cars etc. This is really just a big adult today for me.
I was quickly able to use the machine to turn a profit on the table itself. The learning curve is there like all things but Langmuir certainly made it more enticing for a guy like me who’s really had no use for a giant $5000+ table. I’m self taught in just about everything I do regarding metal and fabwork (carpenter by trade).
You truly can learn just about anything these days online if you have the patience, commitment and resources available (Langmuir and the community in this case)
1 Like
Pretty much what I did.
My hypertherm arrives Wednesday, I’m very excited to finally own one. It is by far the most expensive too I have ever purchased.
Kinda funny when i think back that it was only 5 years ago i was nervous to blow money in a refurbished Hobart 130amp machine.
1 Like
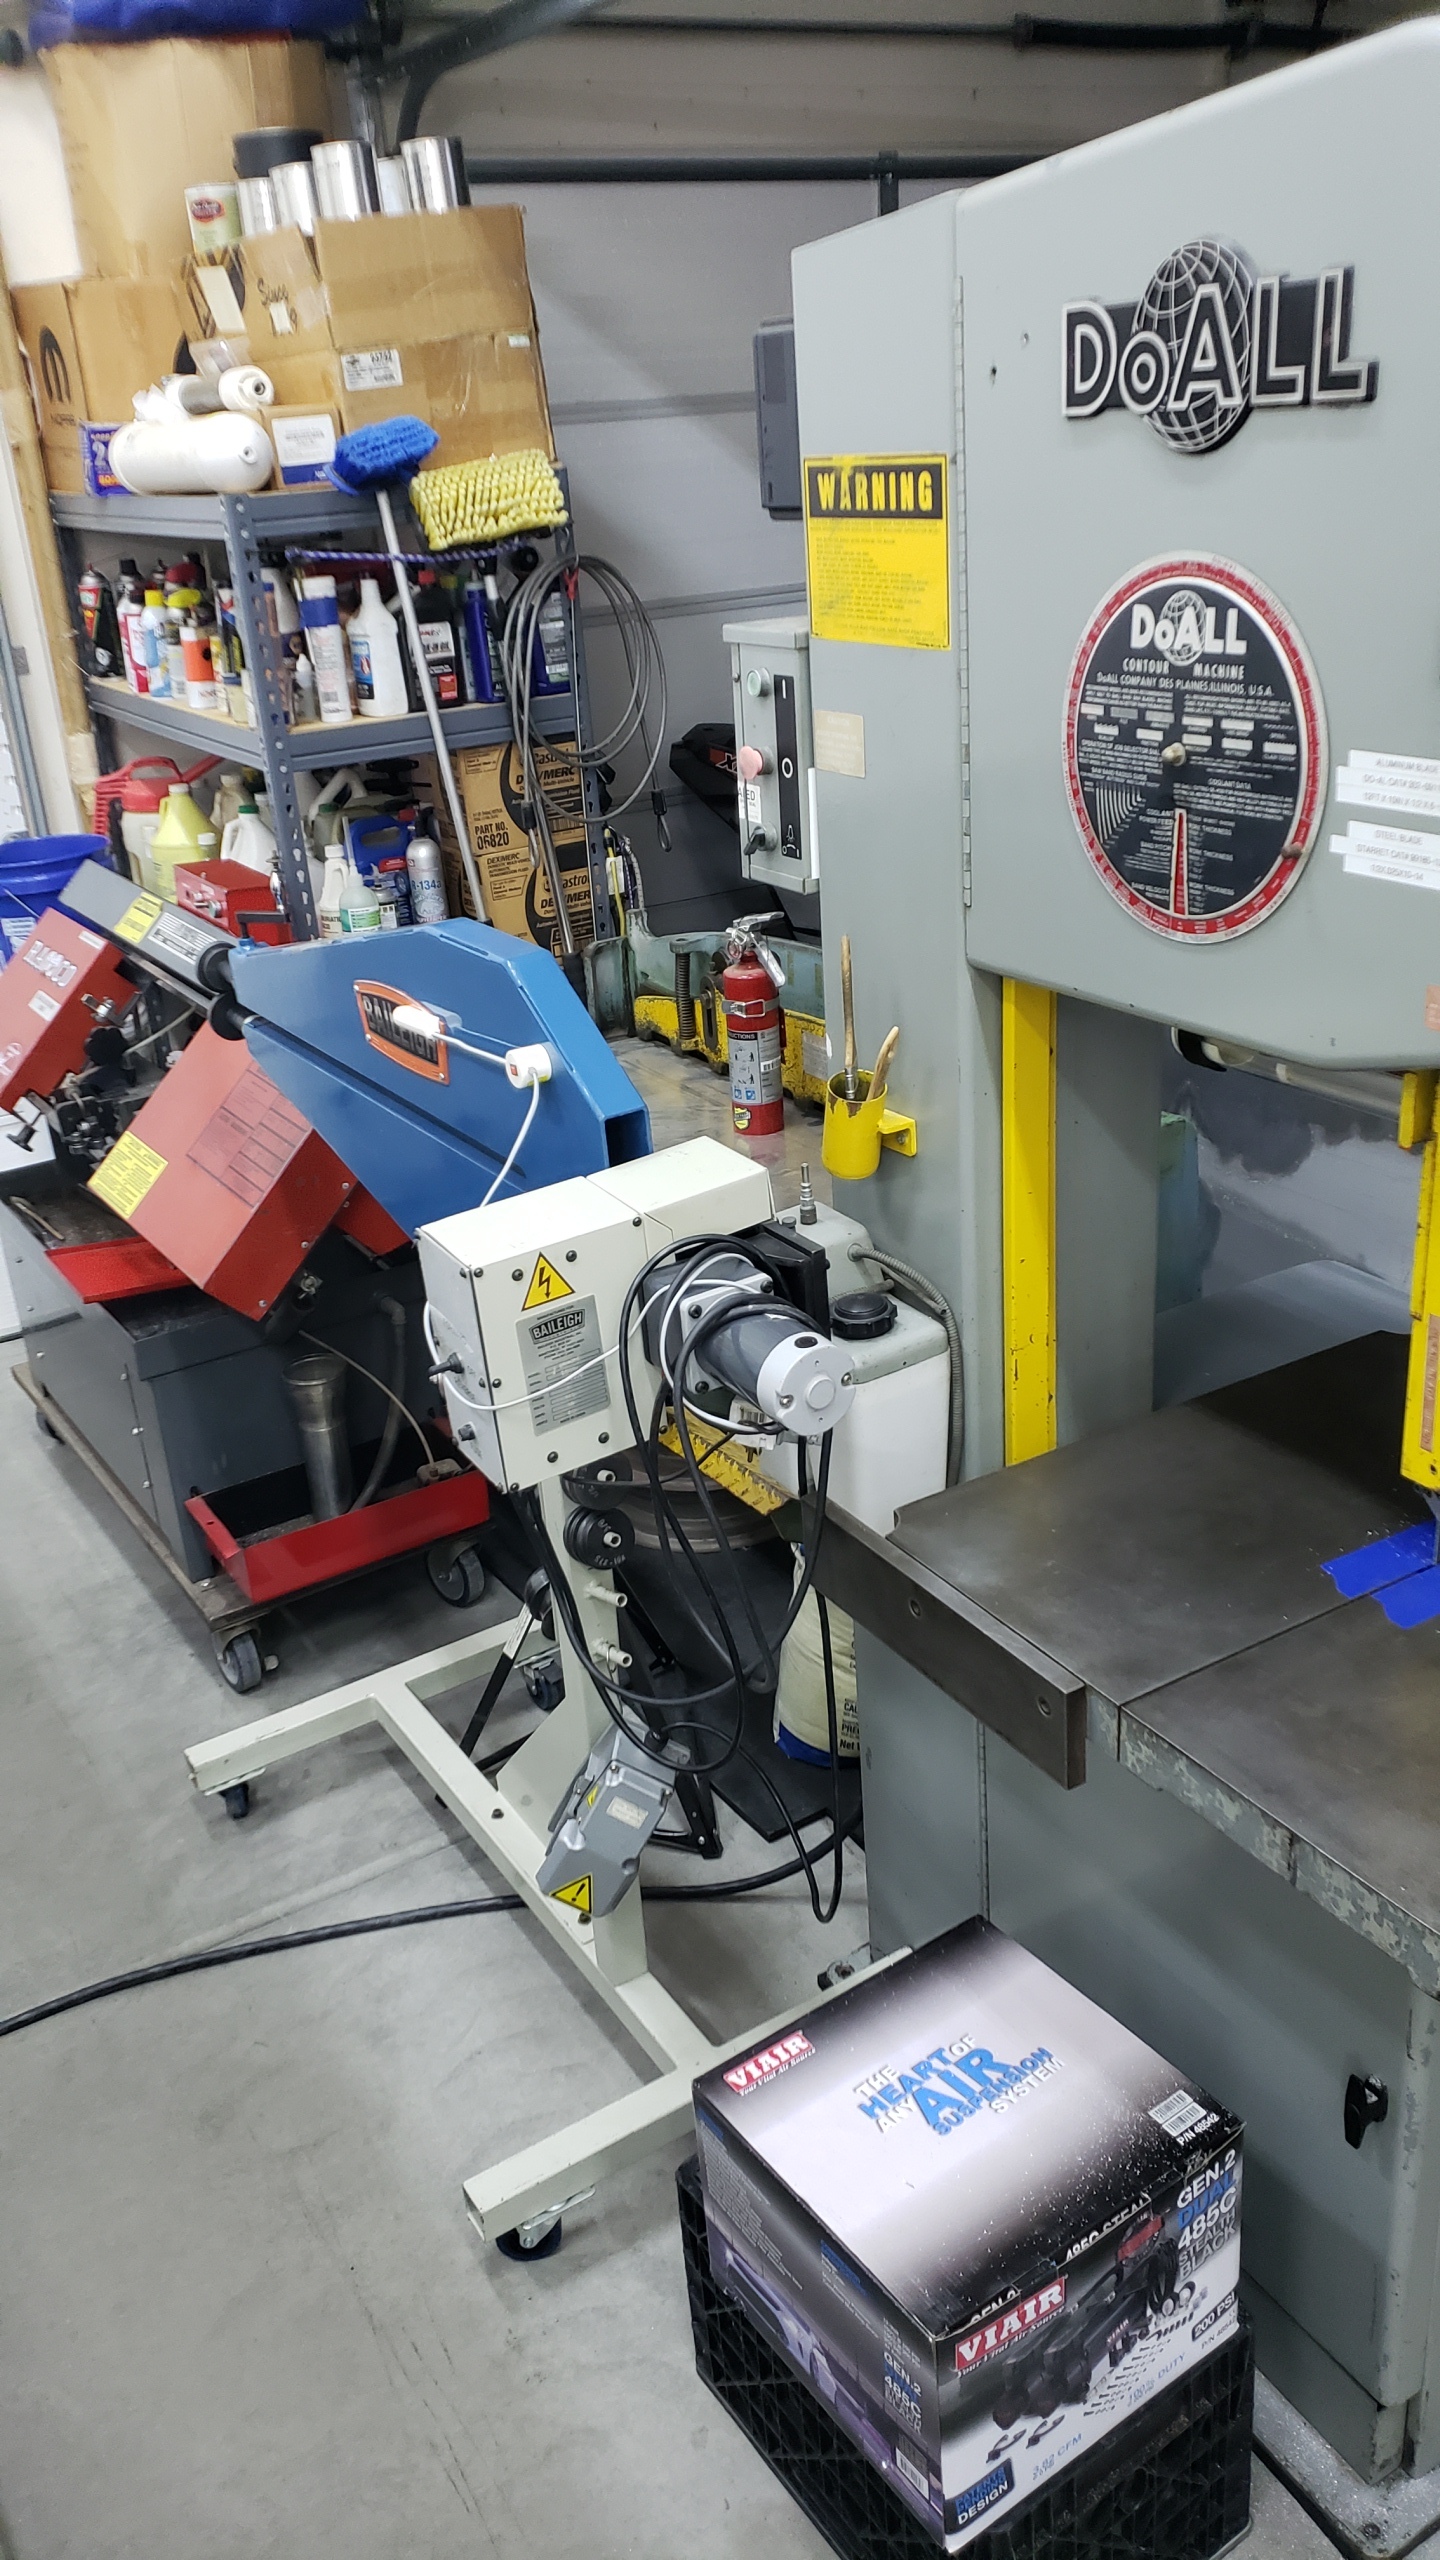
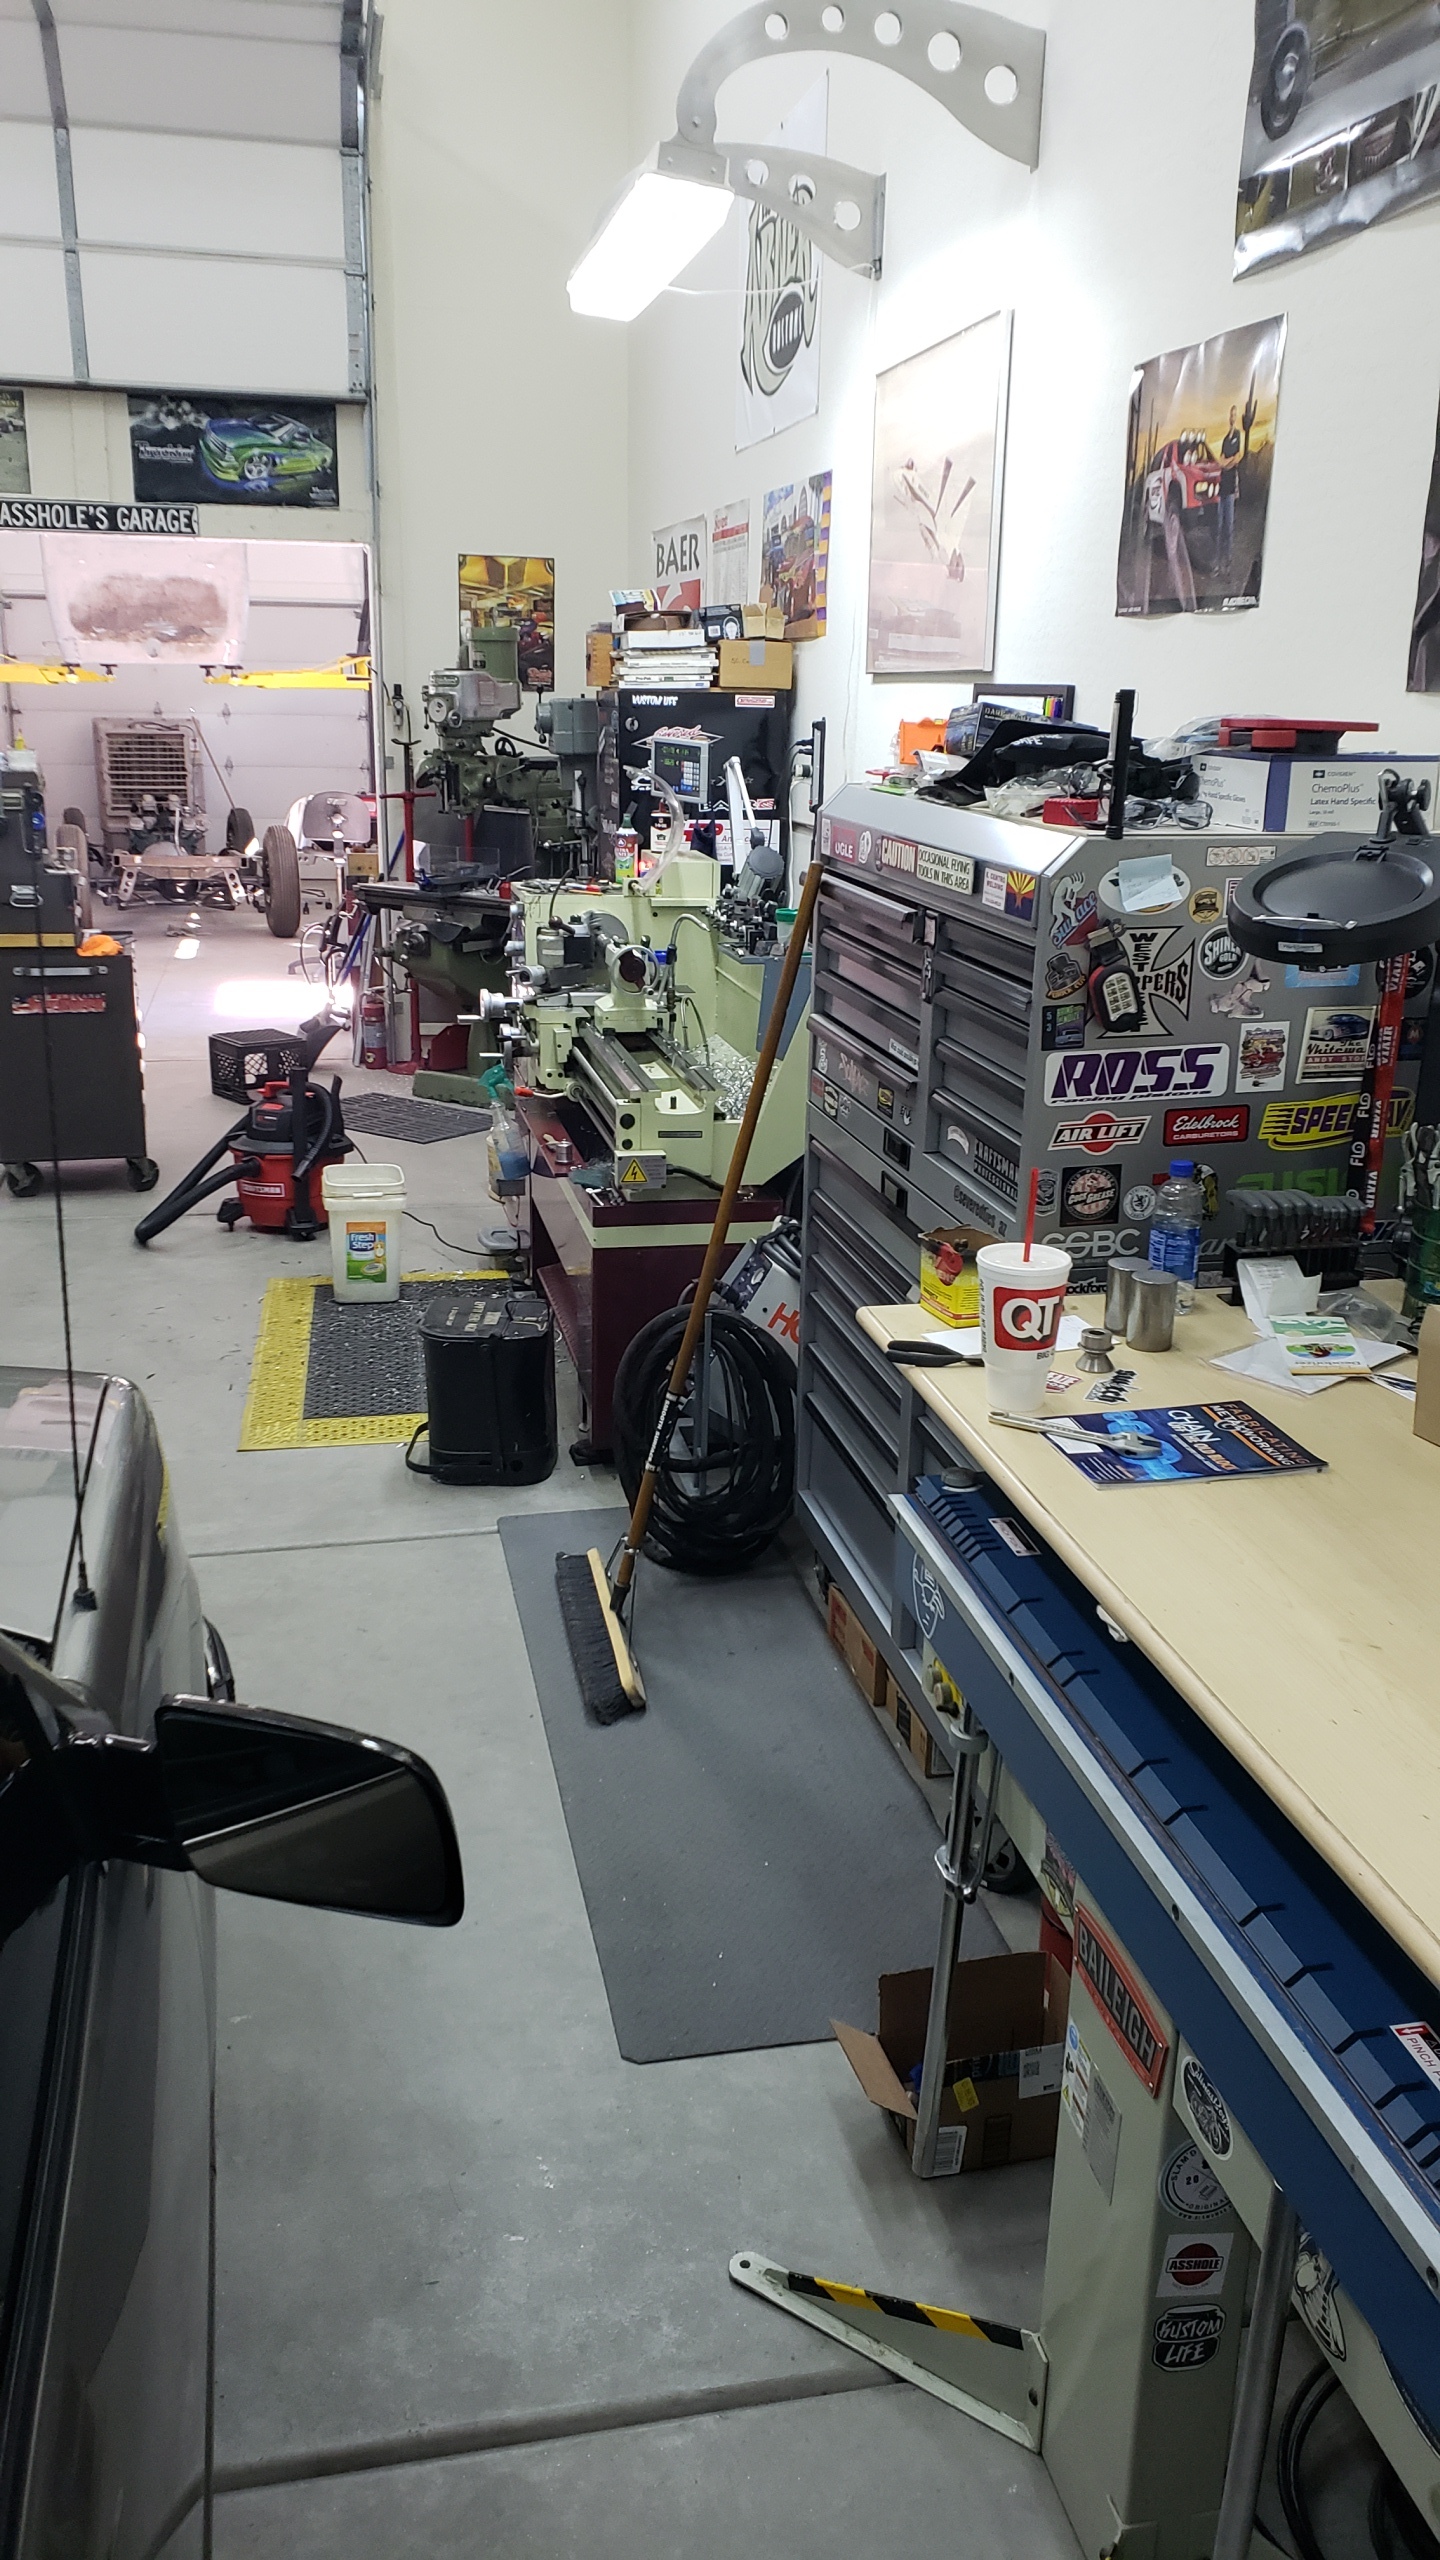
Thats some hobbyist shop lol. Whats the baleigh thing that looks like a 4x8 router or plasma?
1 Like
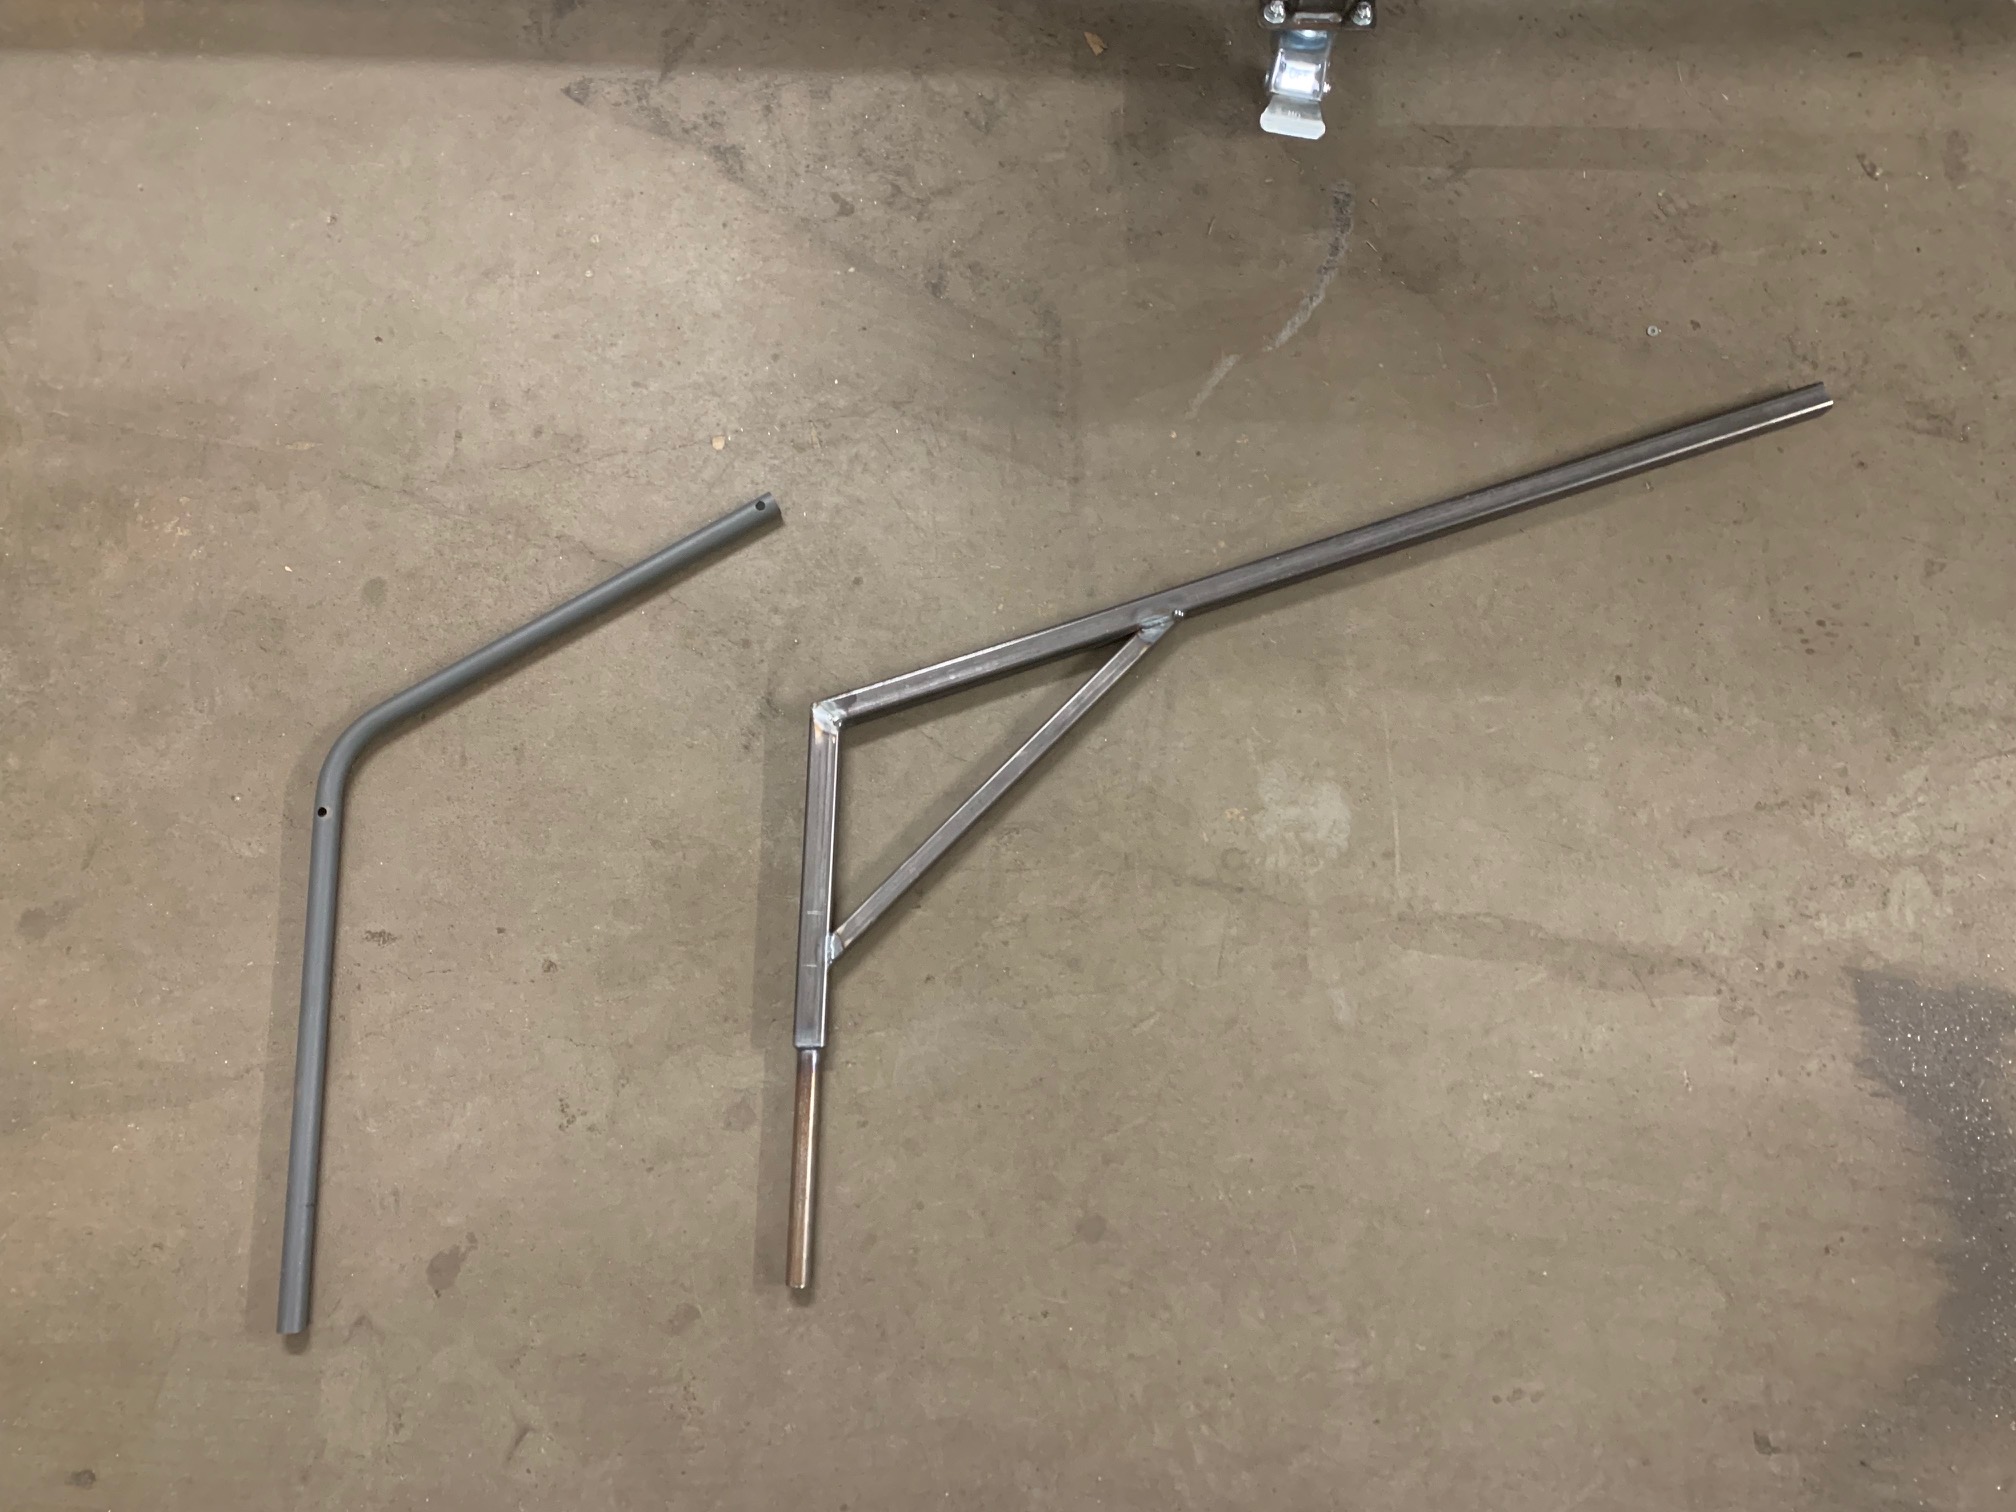
Some more updates today
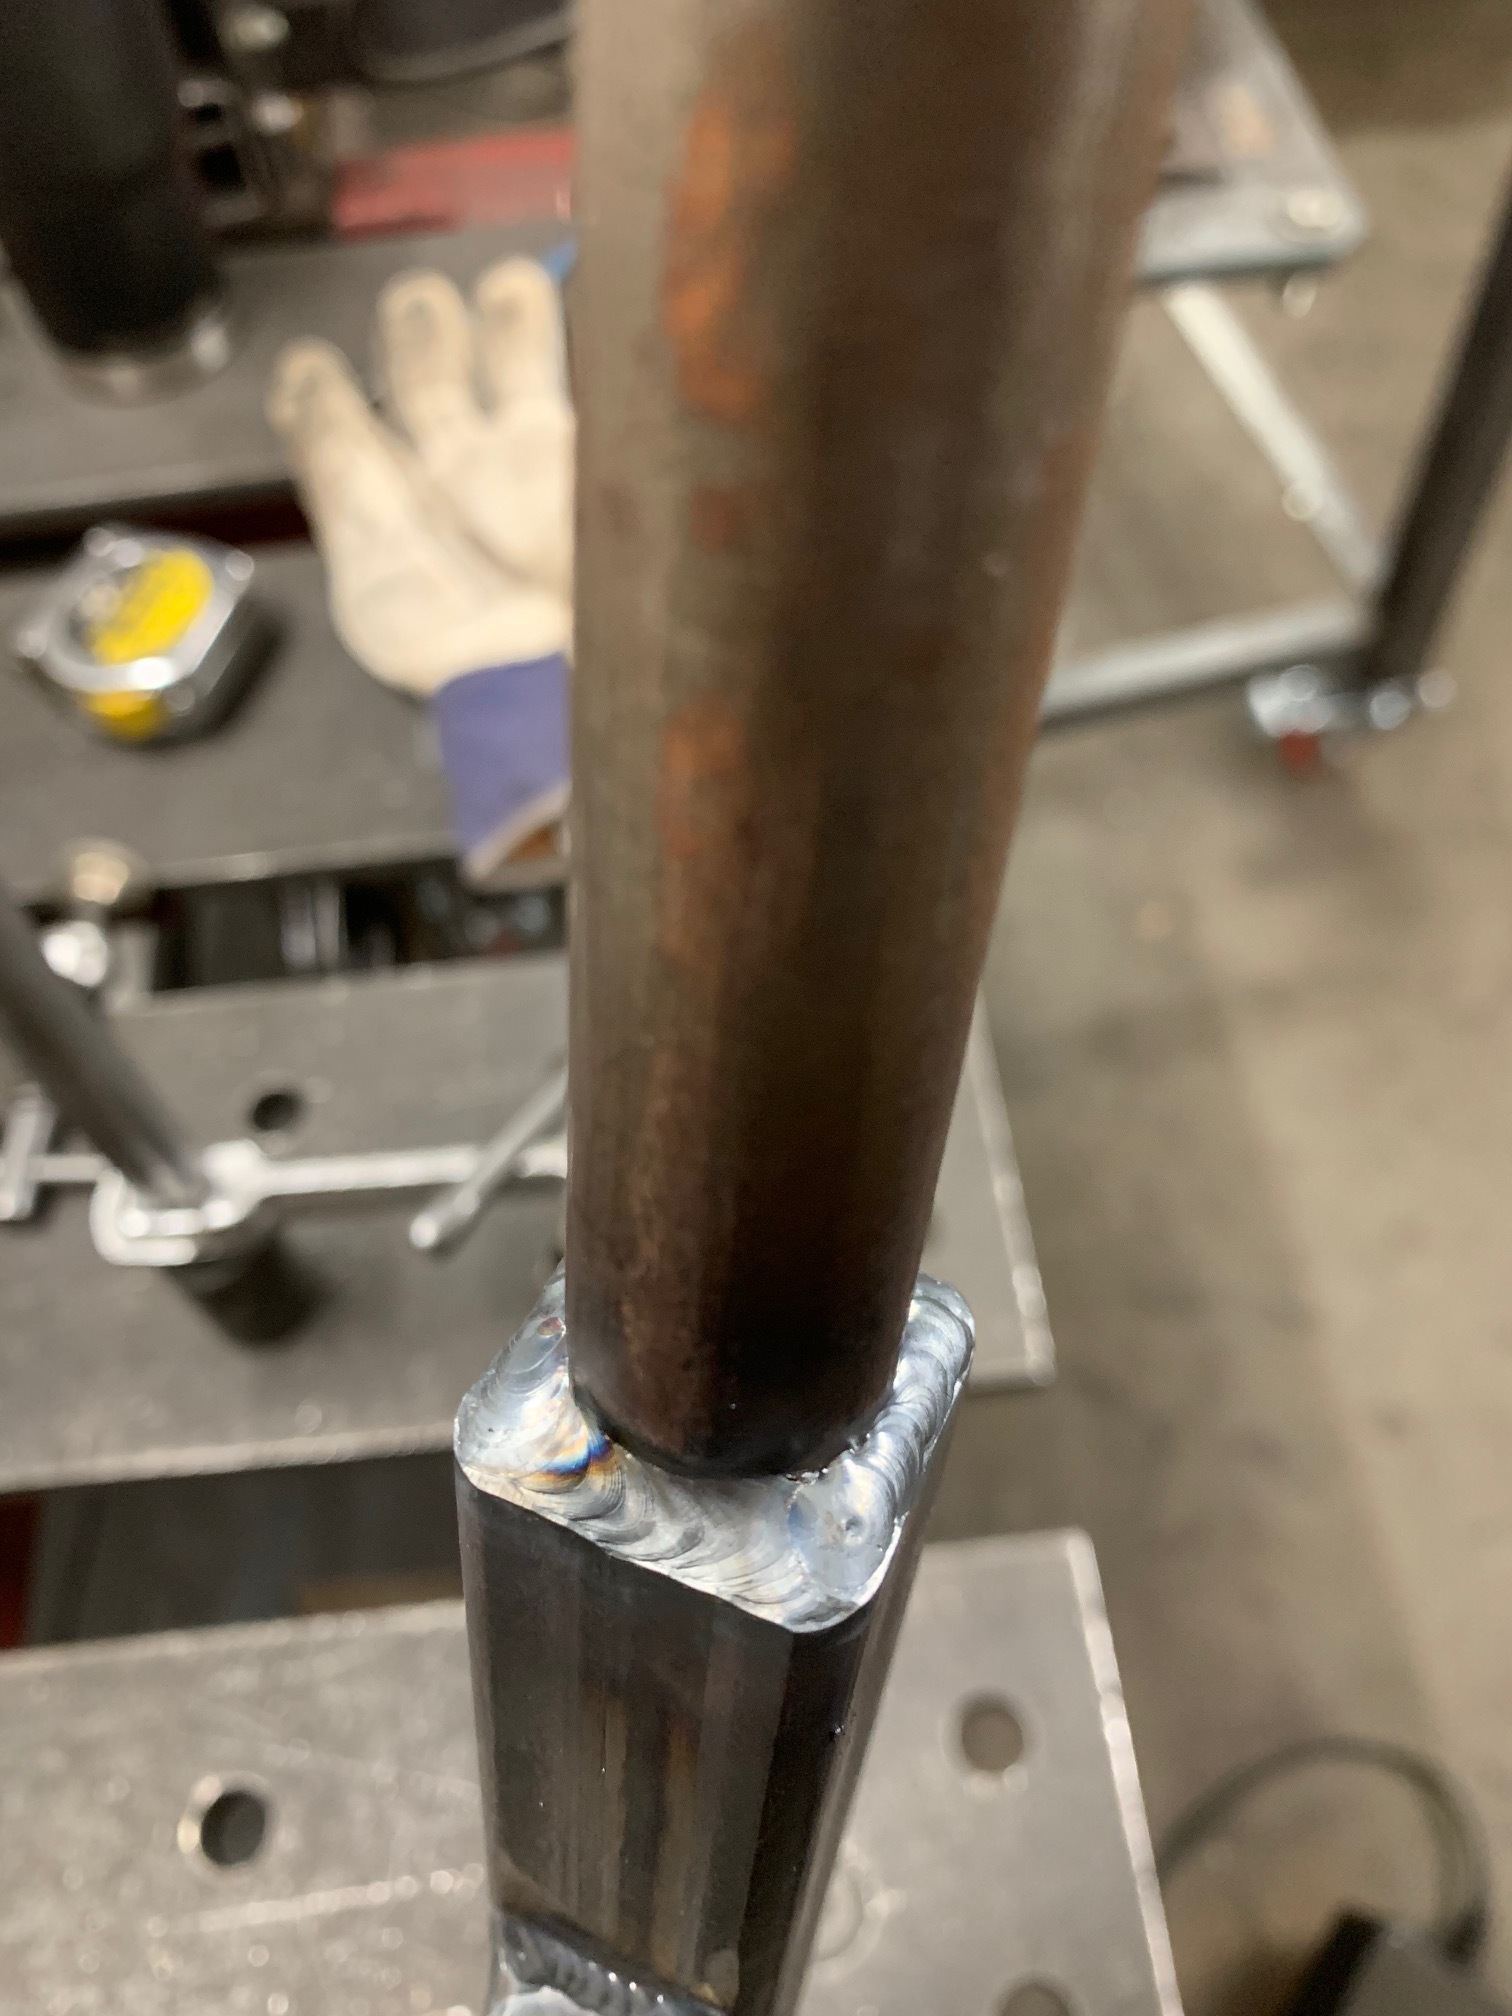
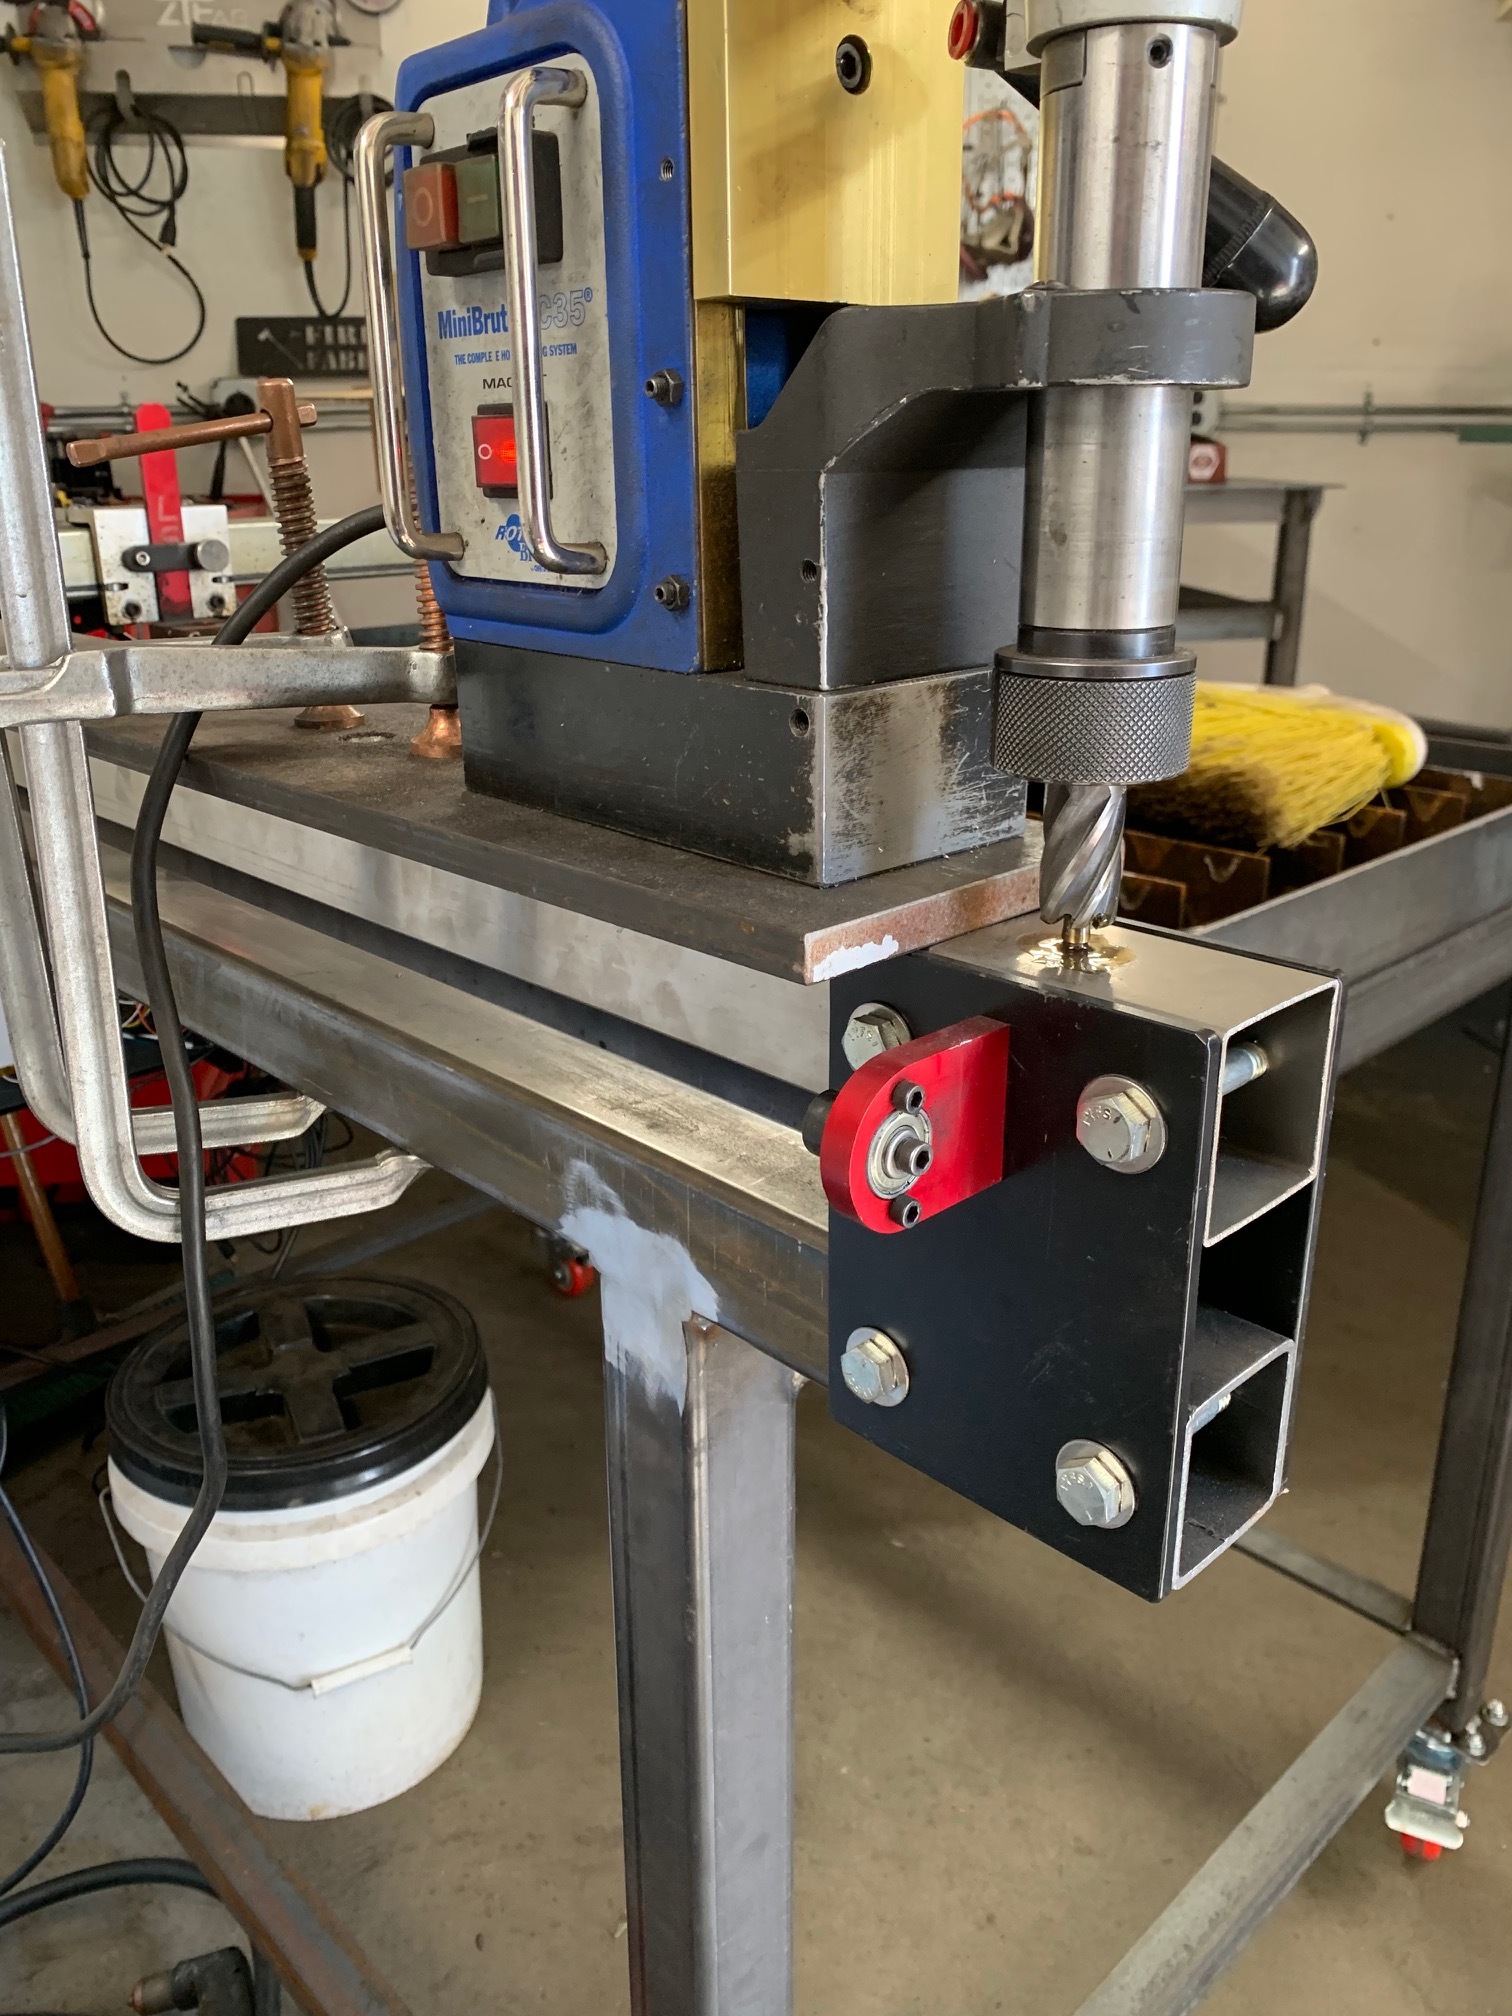
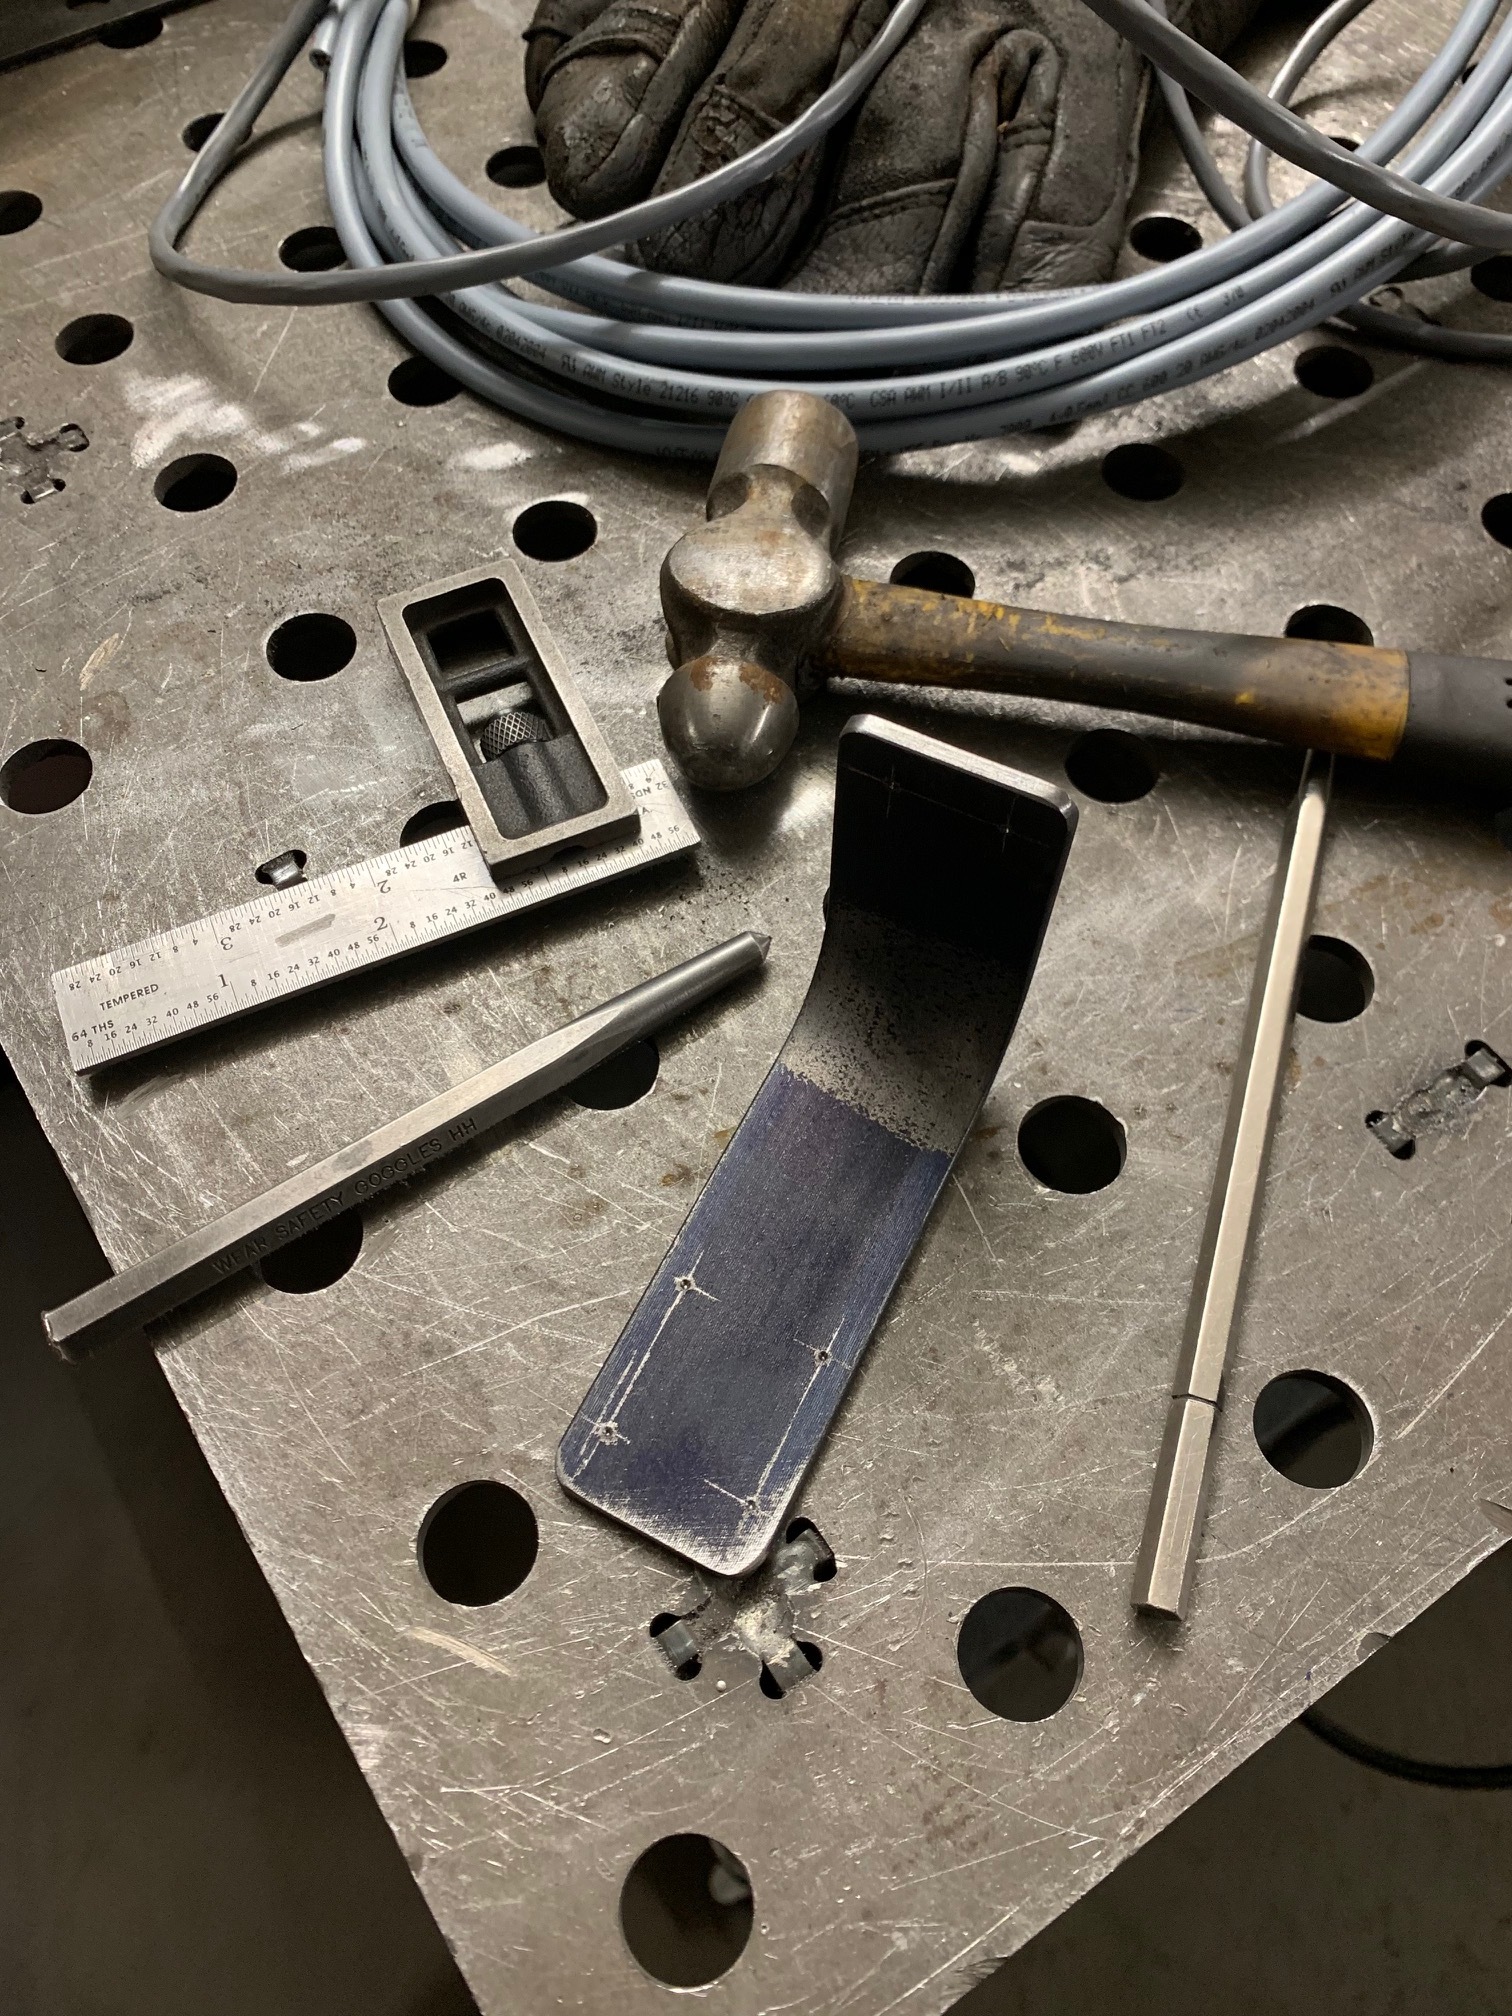
Made most of the arm that will support the torch cable.
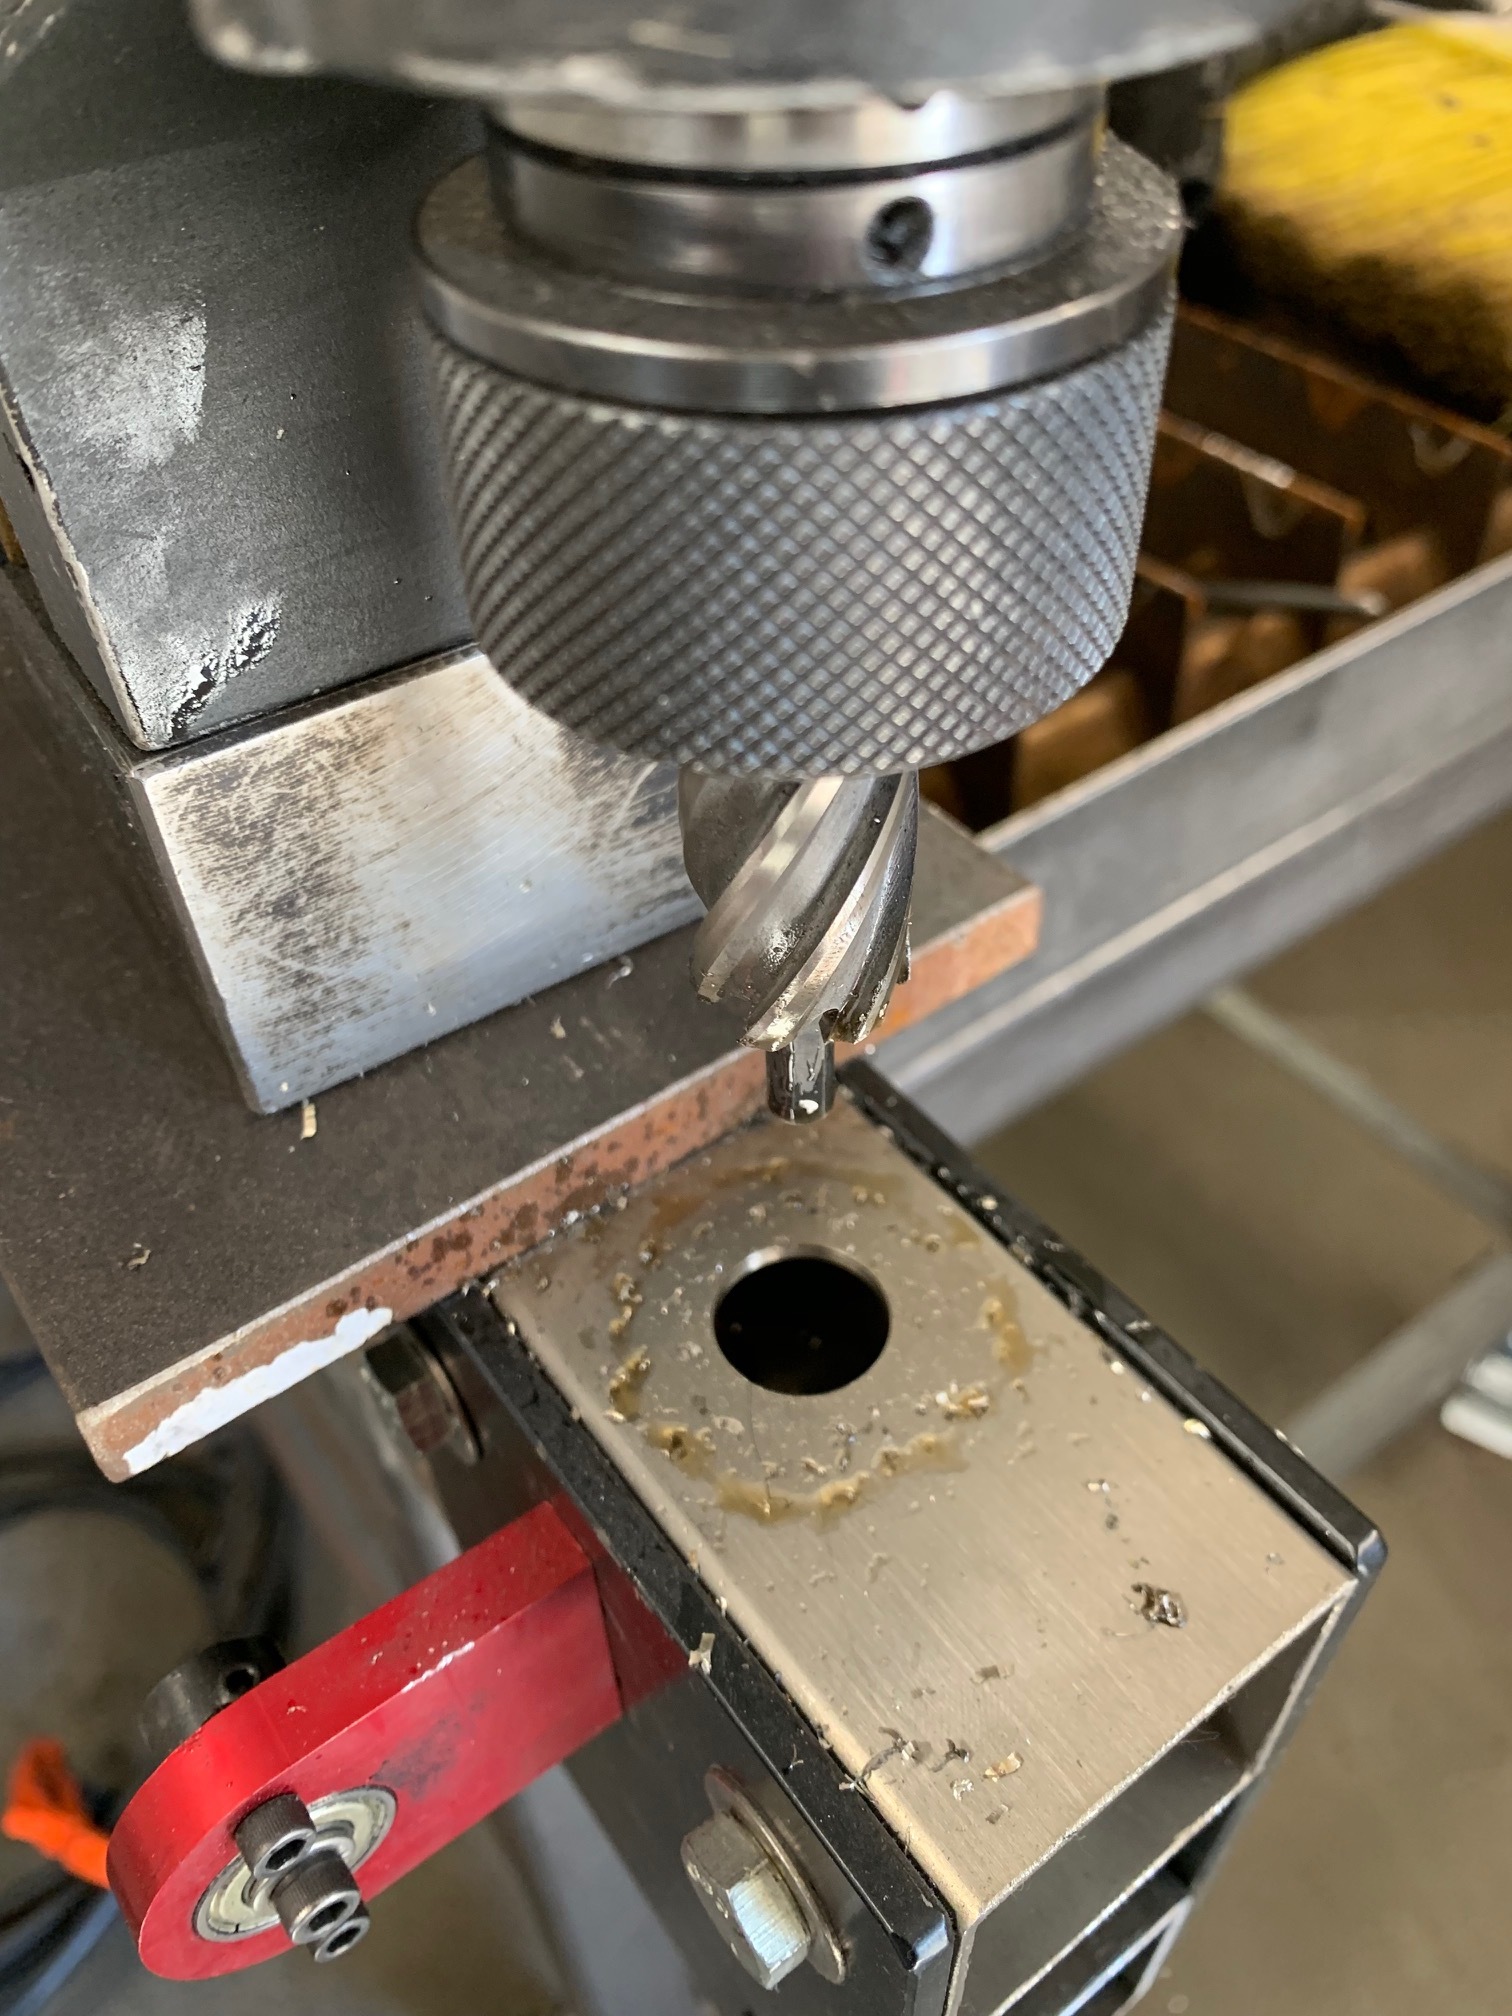
It was a giant pain in the ass drilling the stainless because I had to clamp steel to it for the mag drill. Unfortunately I either missed my mark or something because the hole in the bottom tube didn’t line up fully with the stainless. I had to drill the bottom rail out to 7/8" from 3/4" to get the rail to slide in. Doesn’t actually effect anything, if it ever needed I would just weld and redo it.
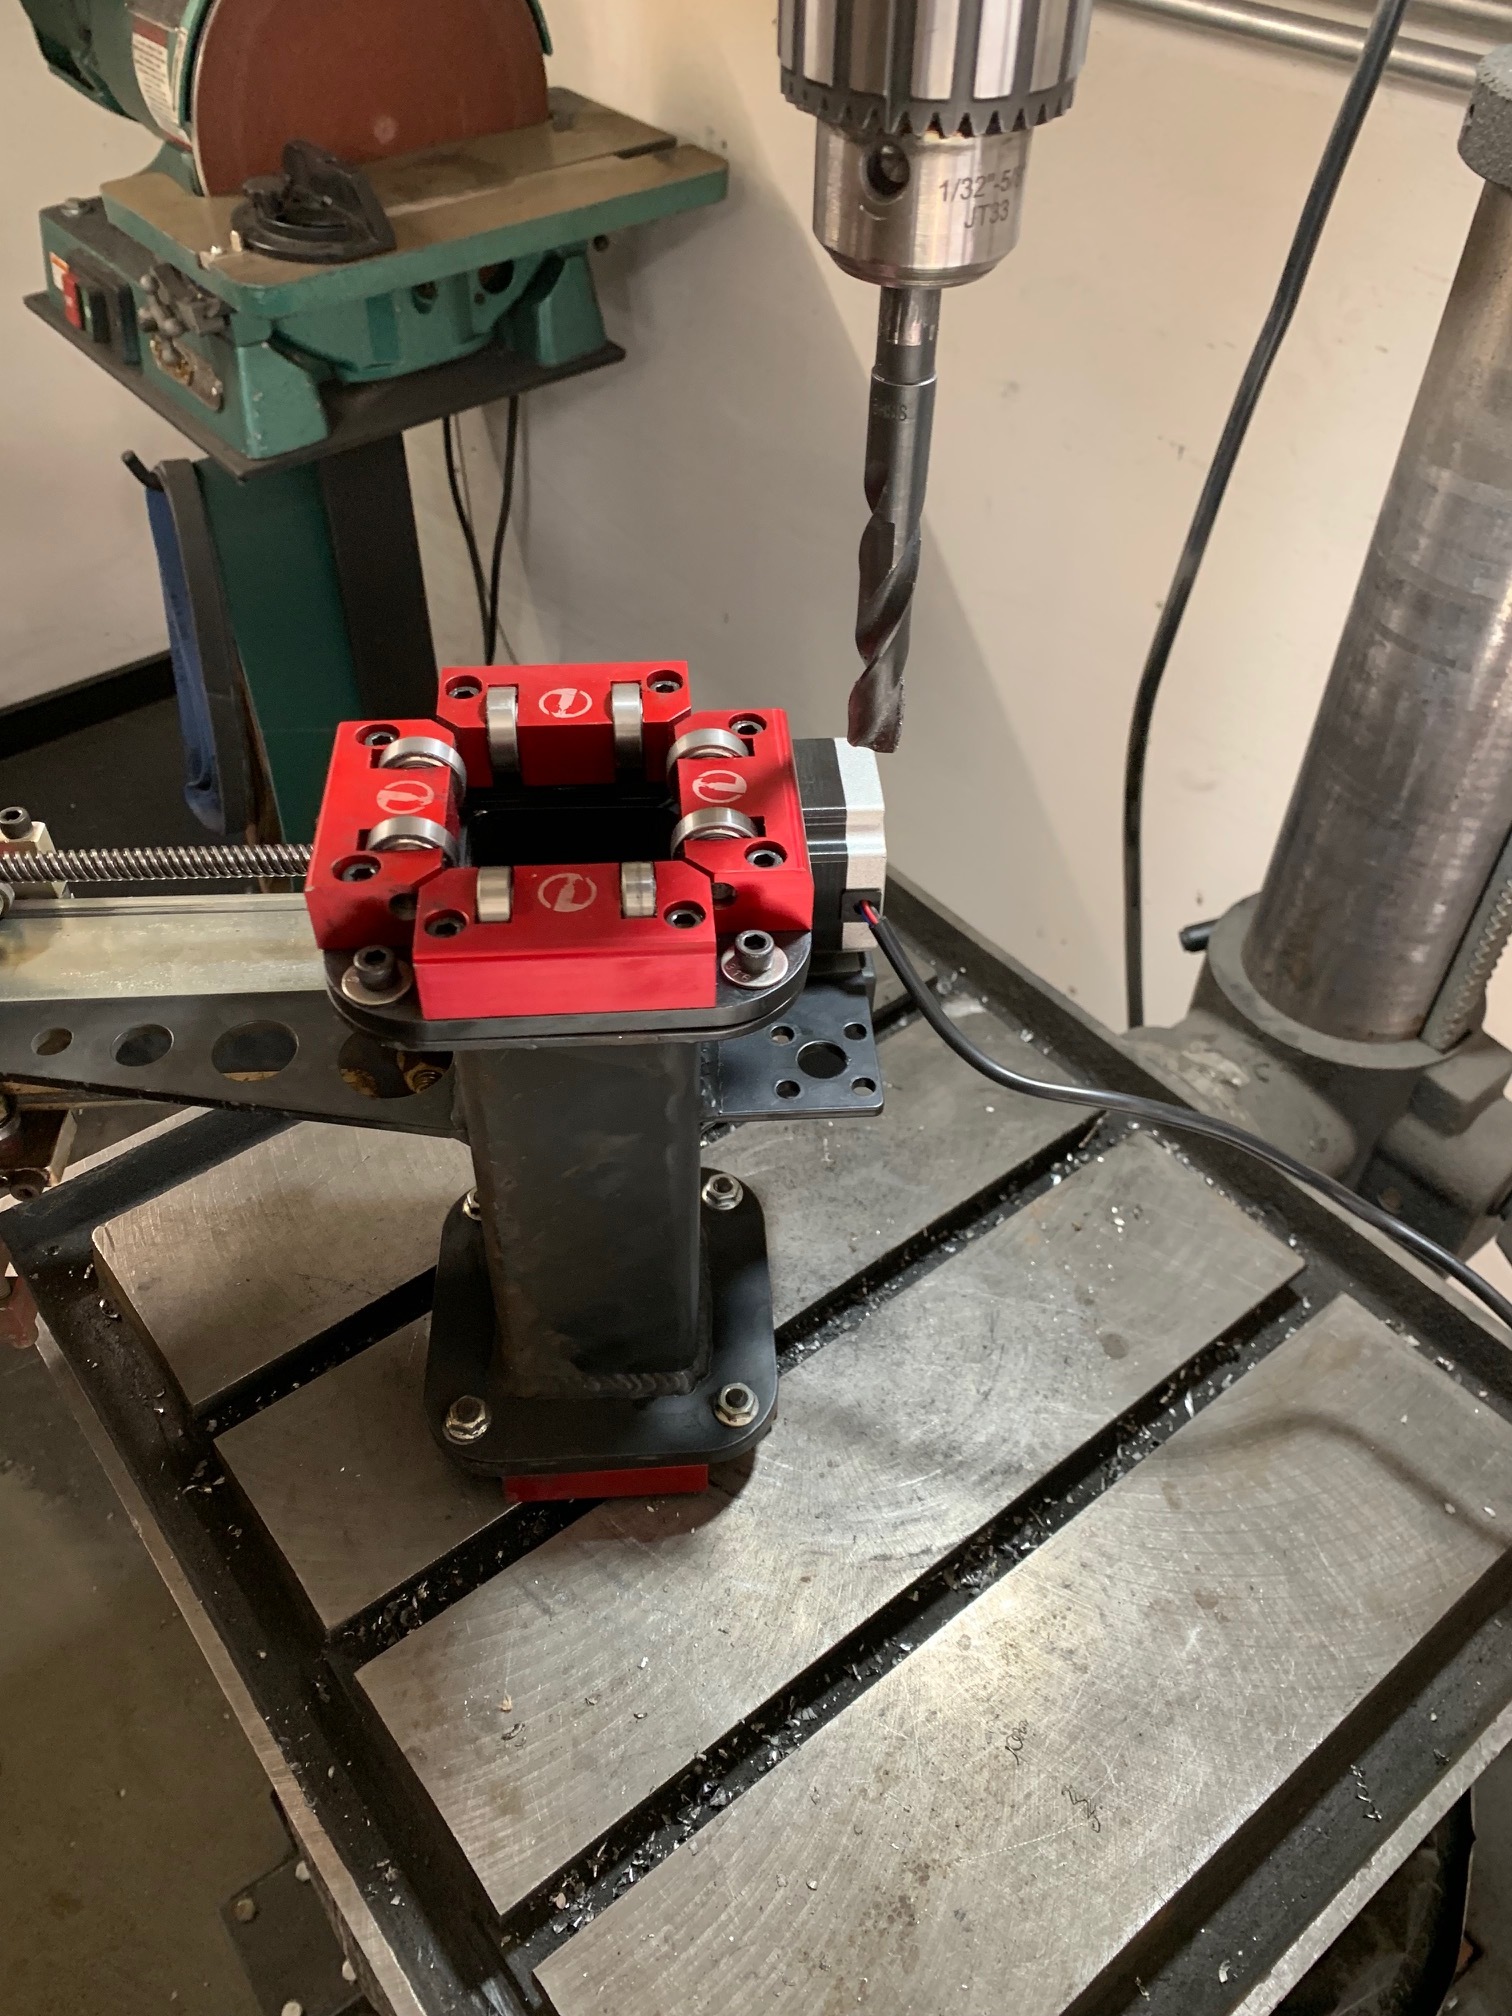
While everything was disassembled I also decided to drill the gantry tube lead screw hole out to 5/8" to allow clearance for the 1/2" lead screw. The screw already fit but it was just barely off the edges of the hole.
2 Likes
That’s a 48" Mag brake. My LS table behind my truck in that pick. I usually keep it near the front door and ventilate out that way.
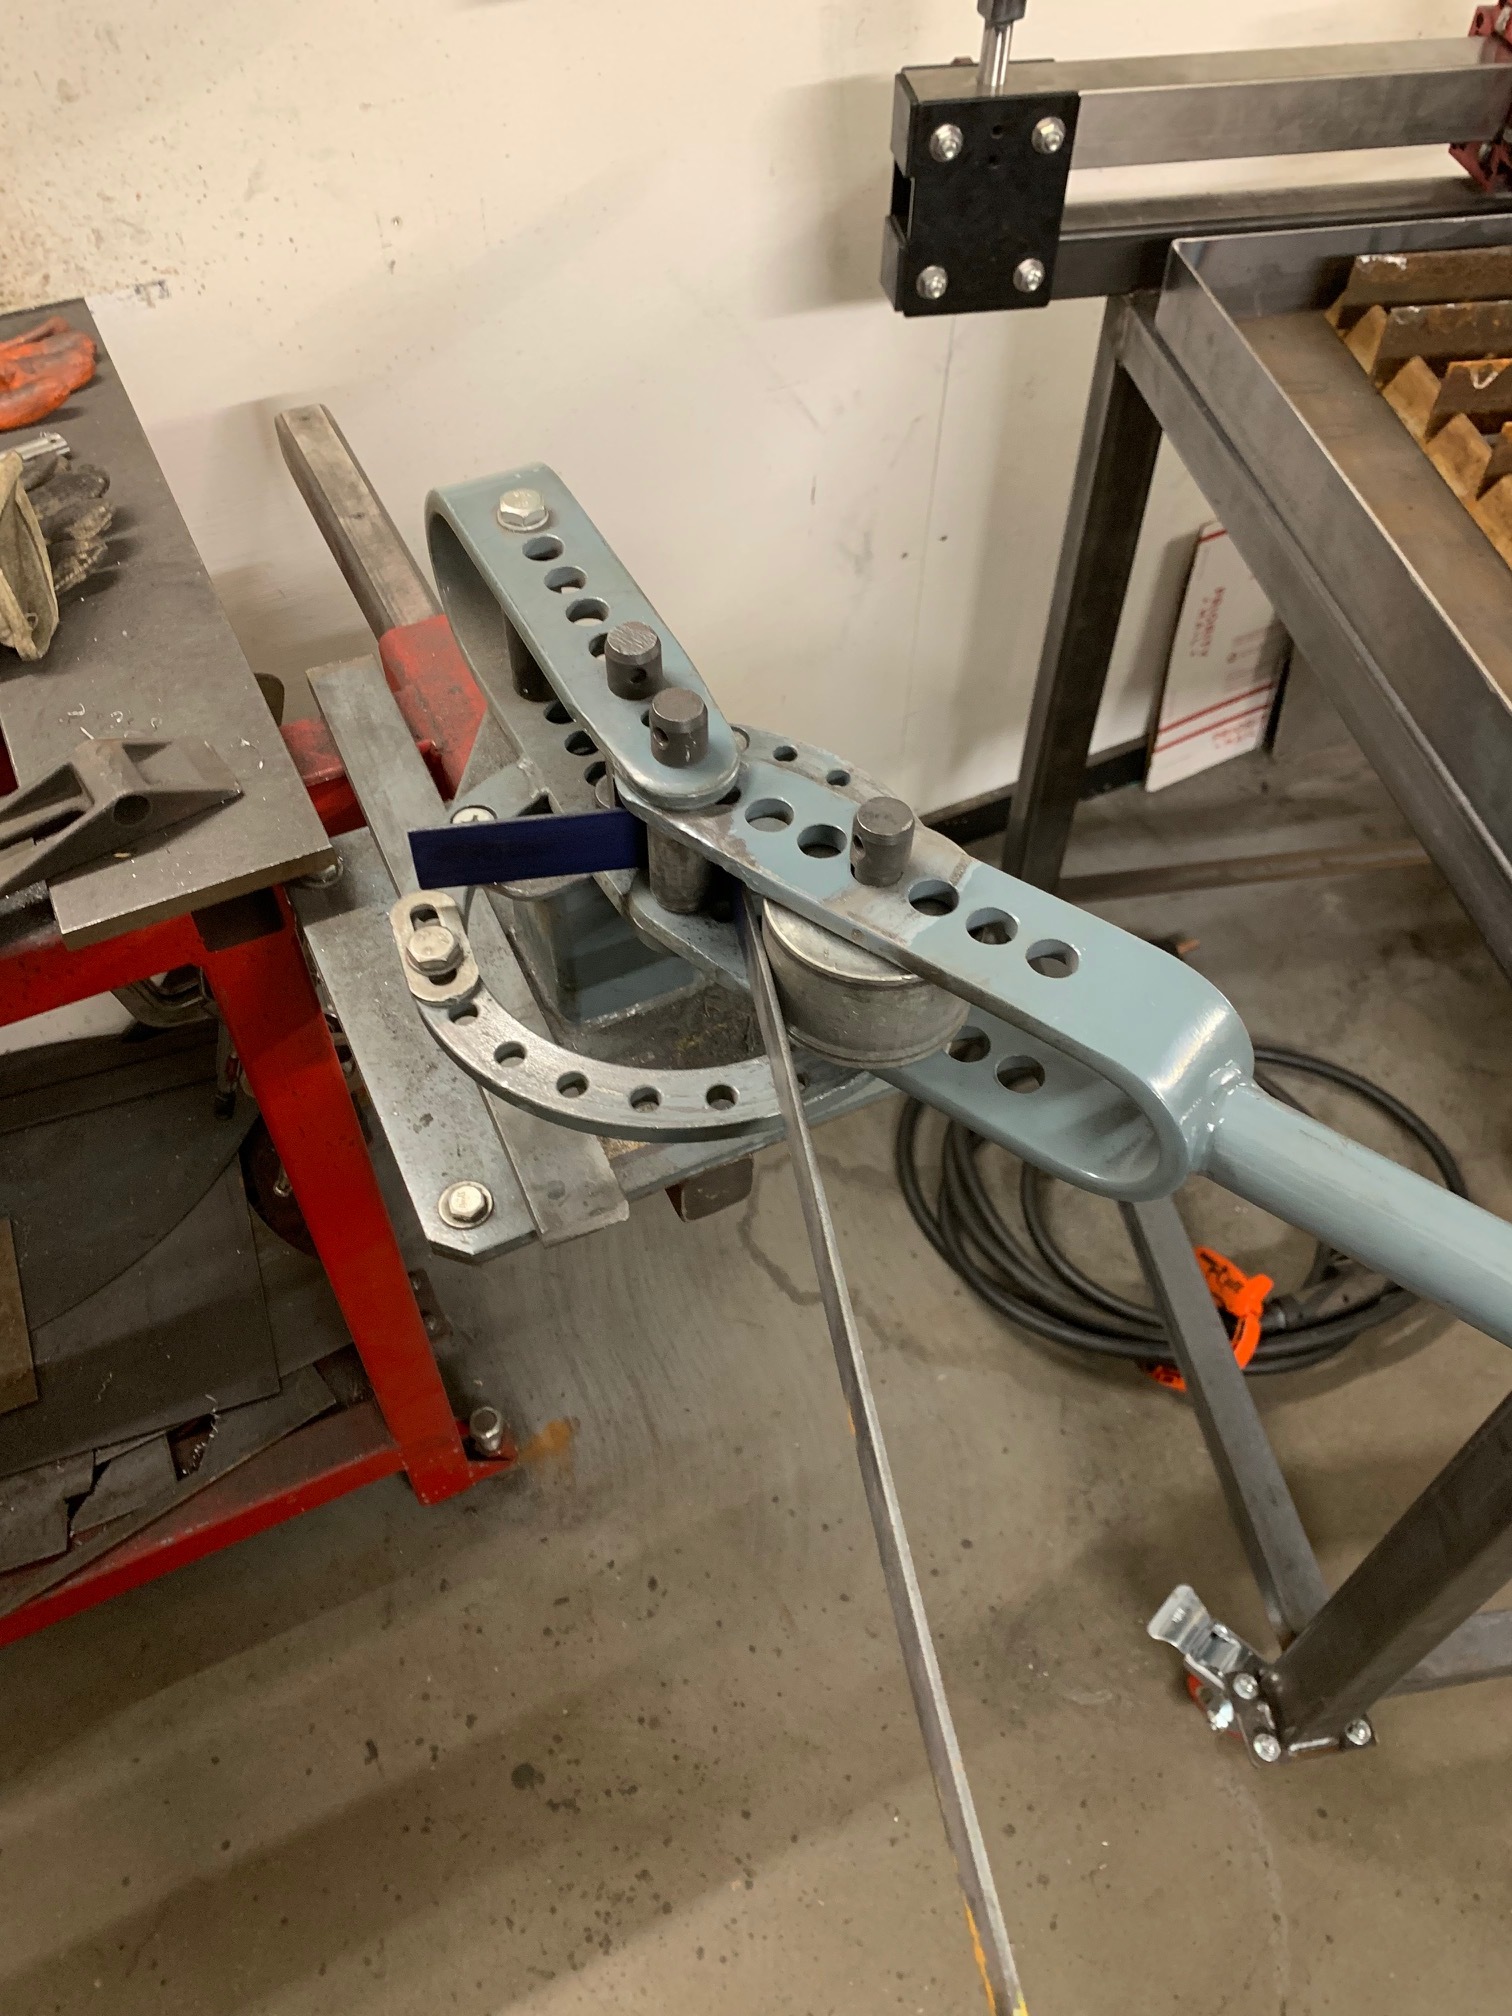
So I hoped to have the motors and lead screws installed and moving tonight but USPS let me down…
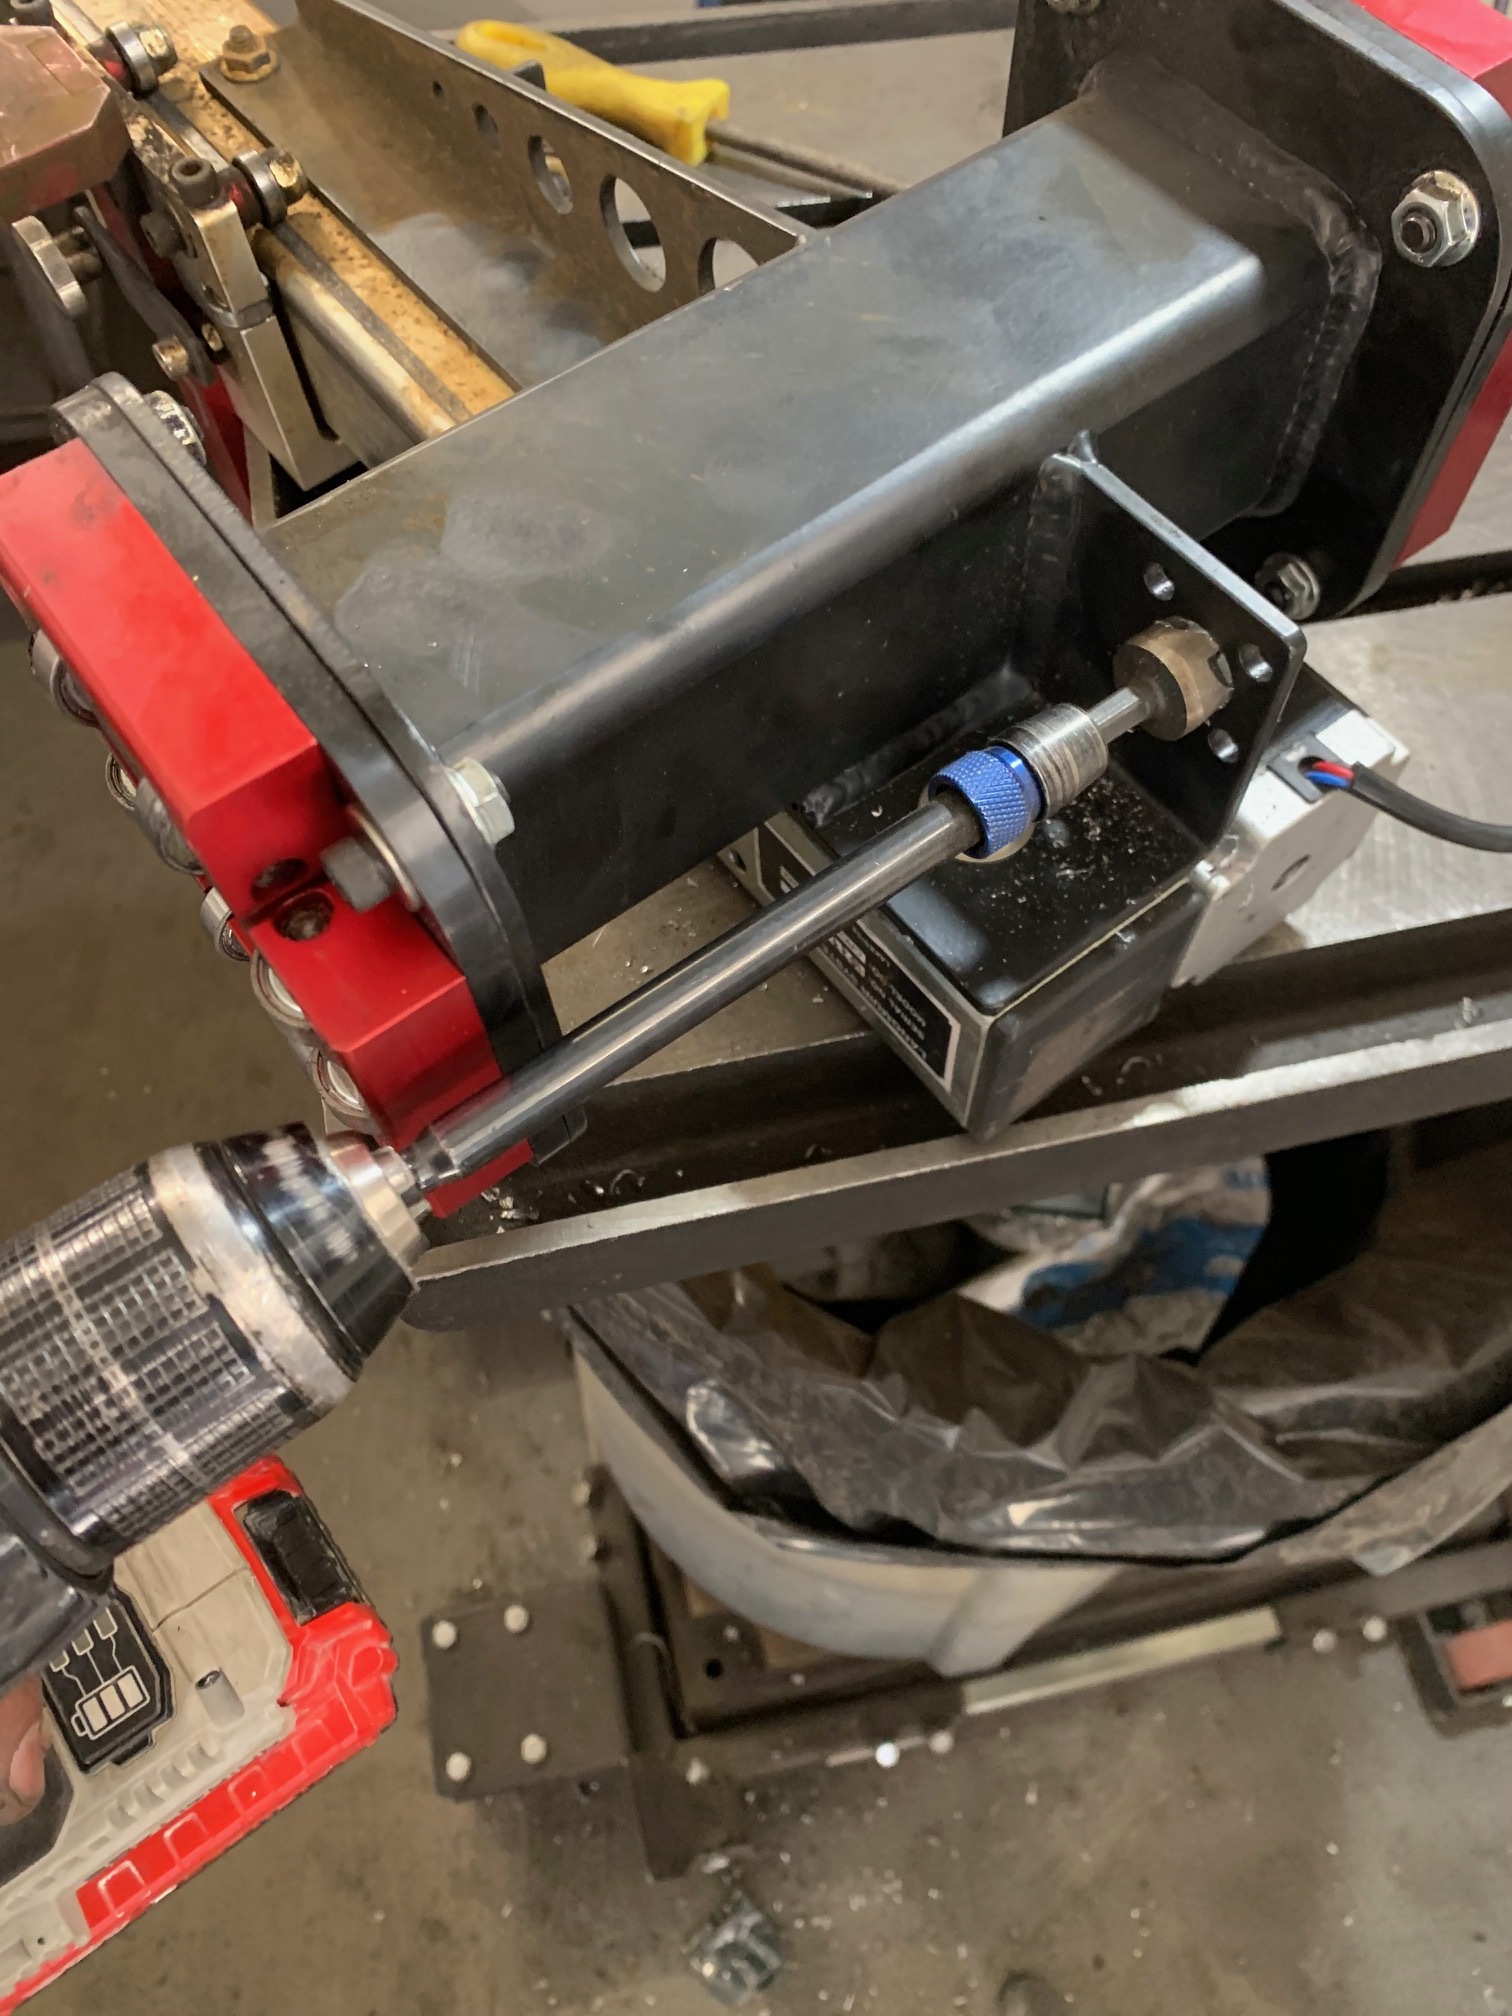
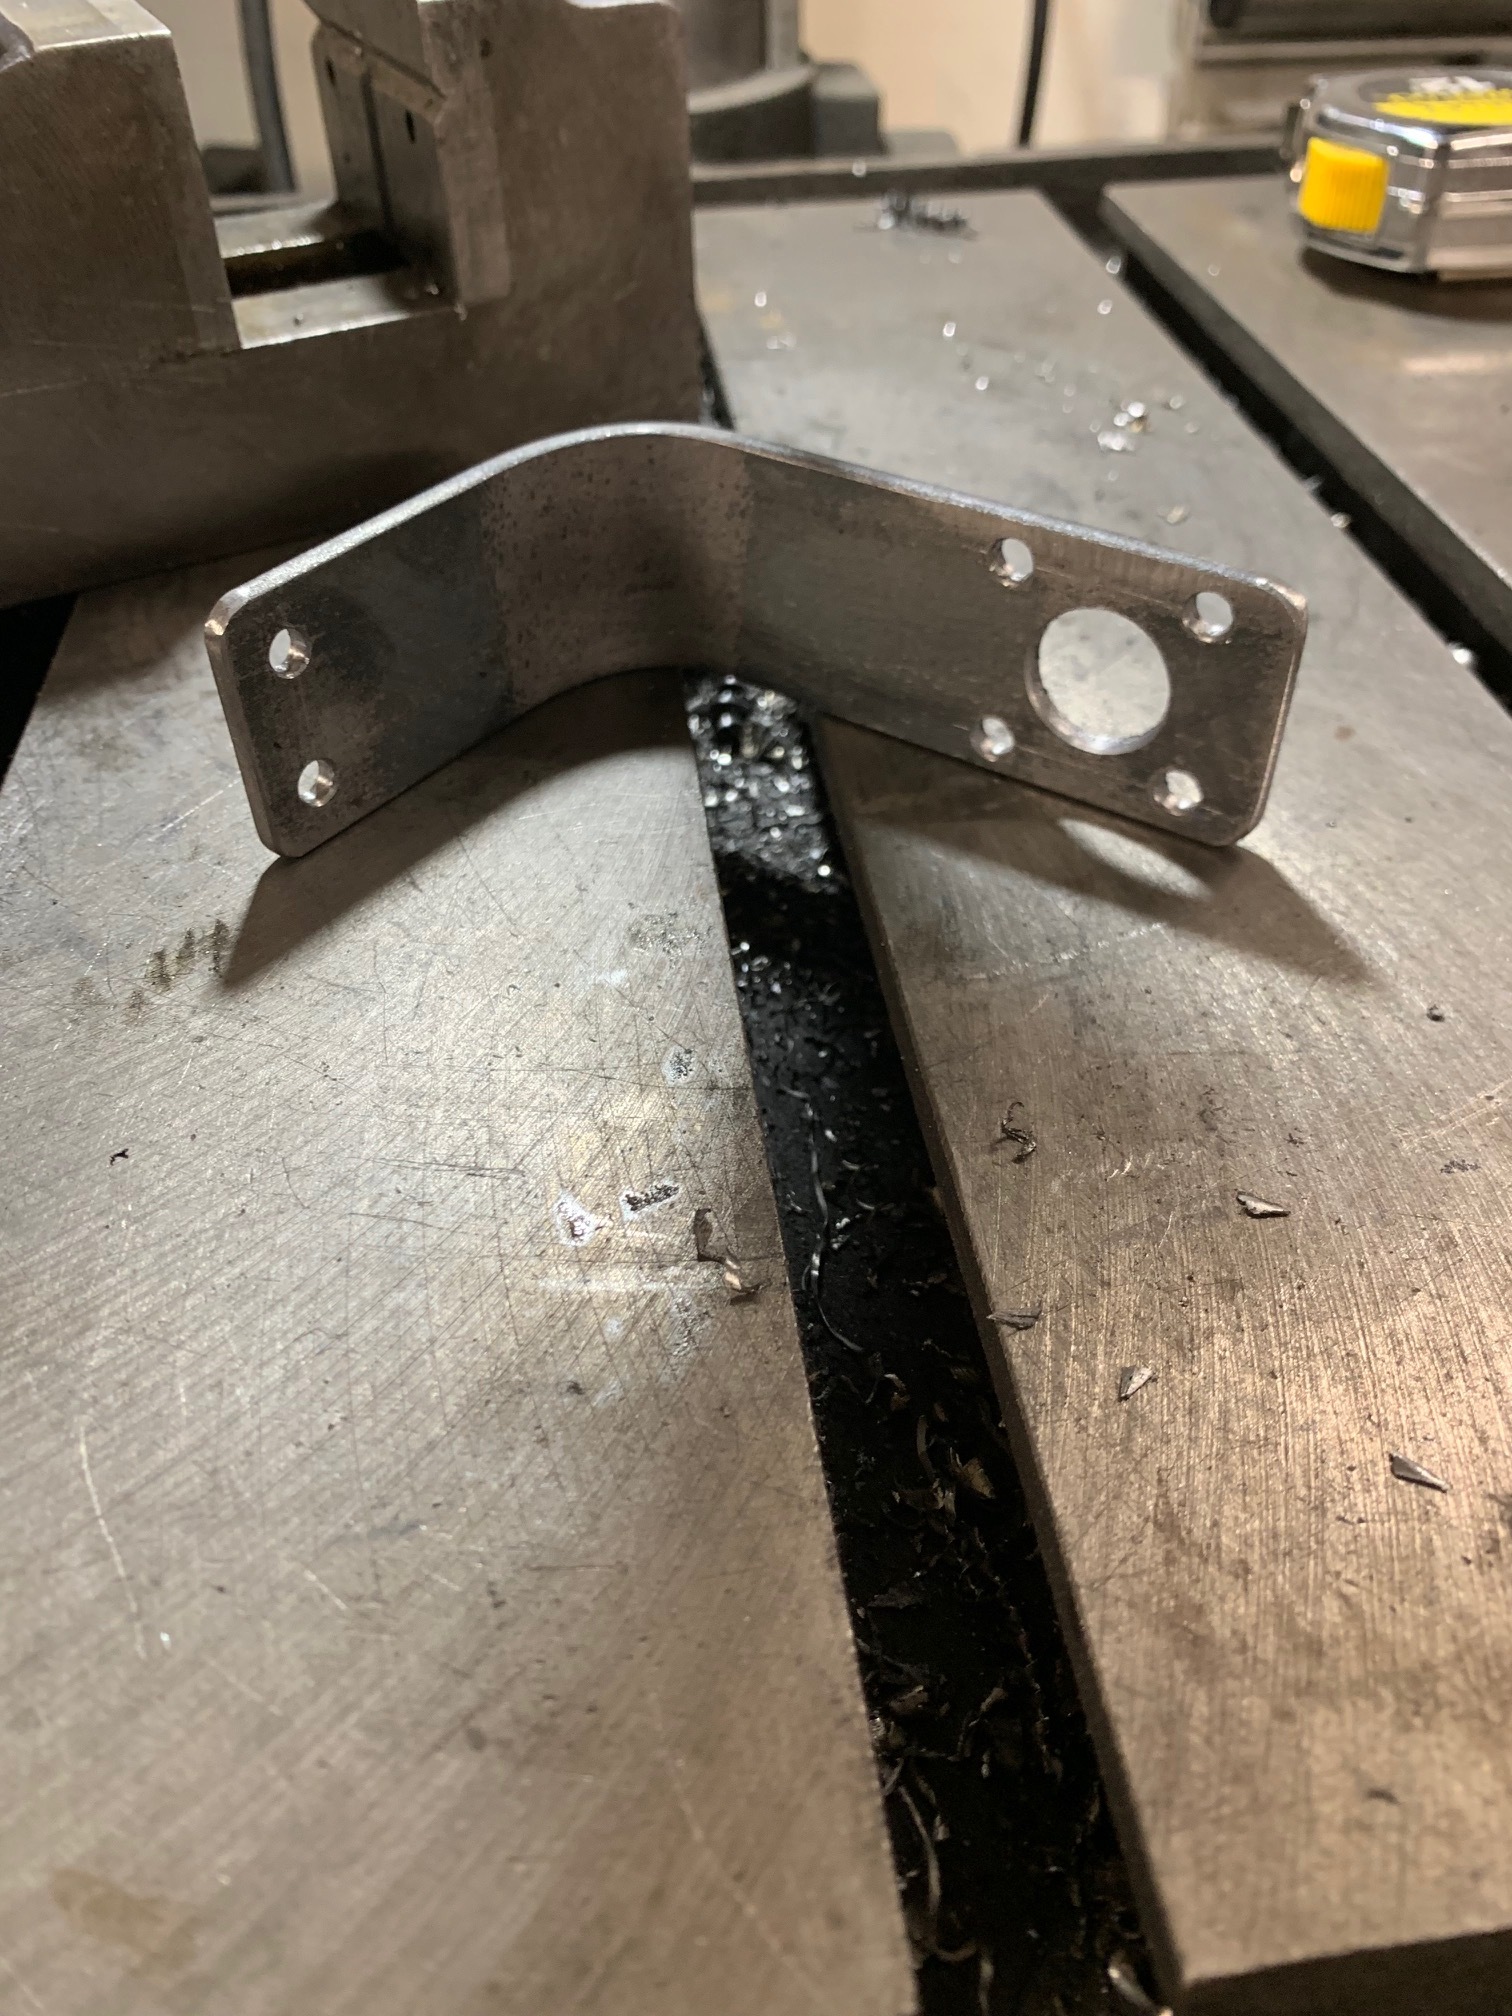
Instead I knocked out the bracket for the cable carrier. This took about an hour due to measuring and whatnot but it was fairly easy and can definitely done with a vise if you don’t have a bender.
I cut the piece after bending because I’m too stupid to figure out the measurements to bend it accurately after the fact.
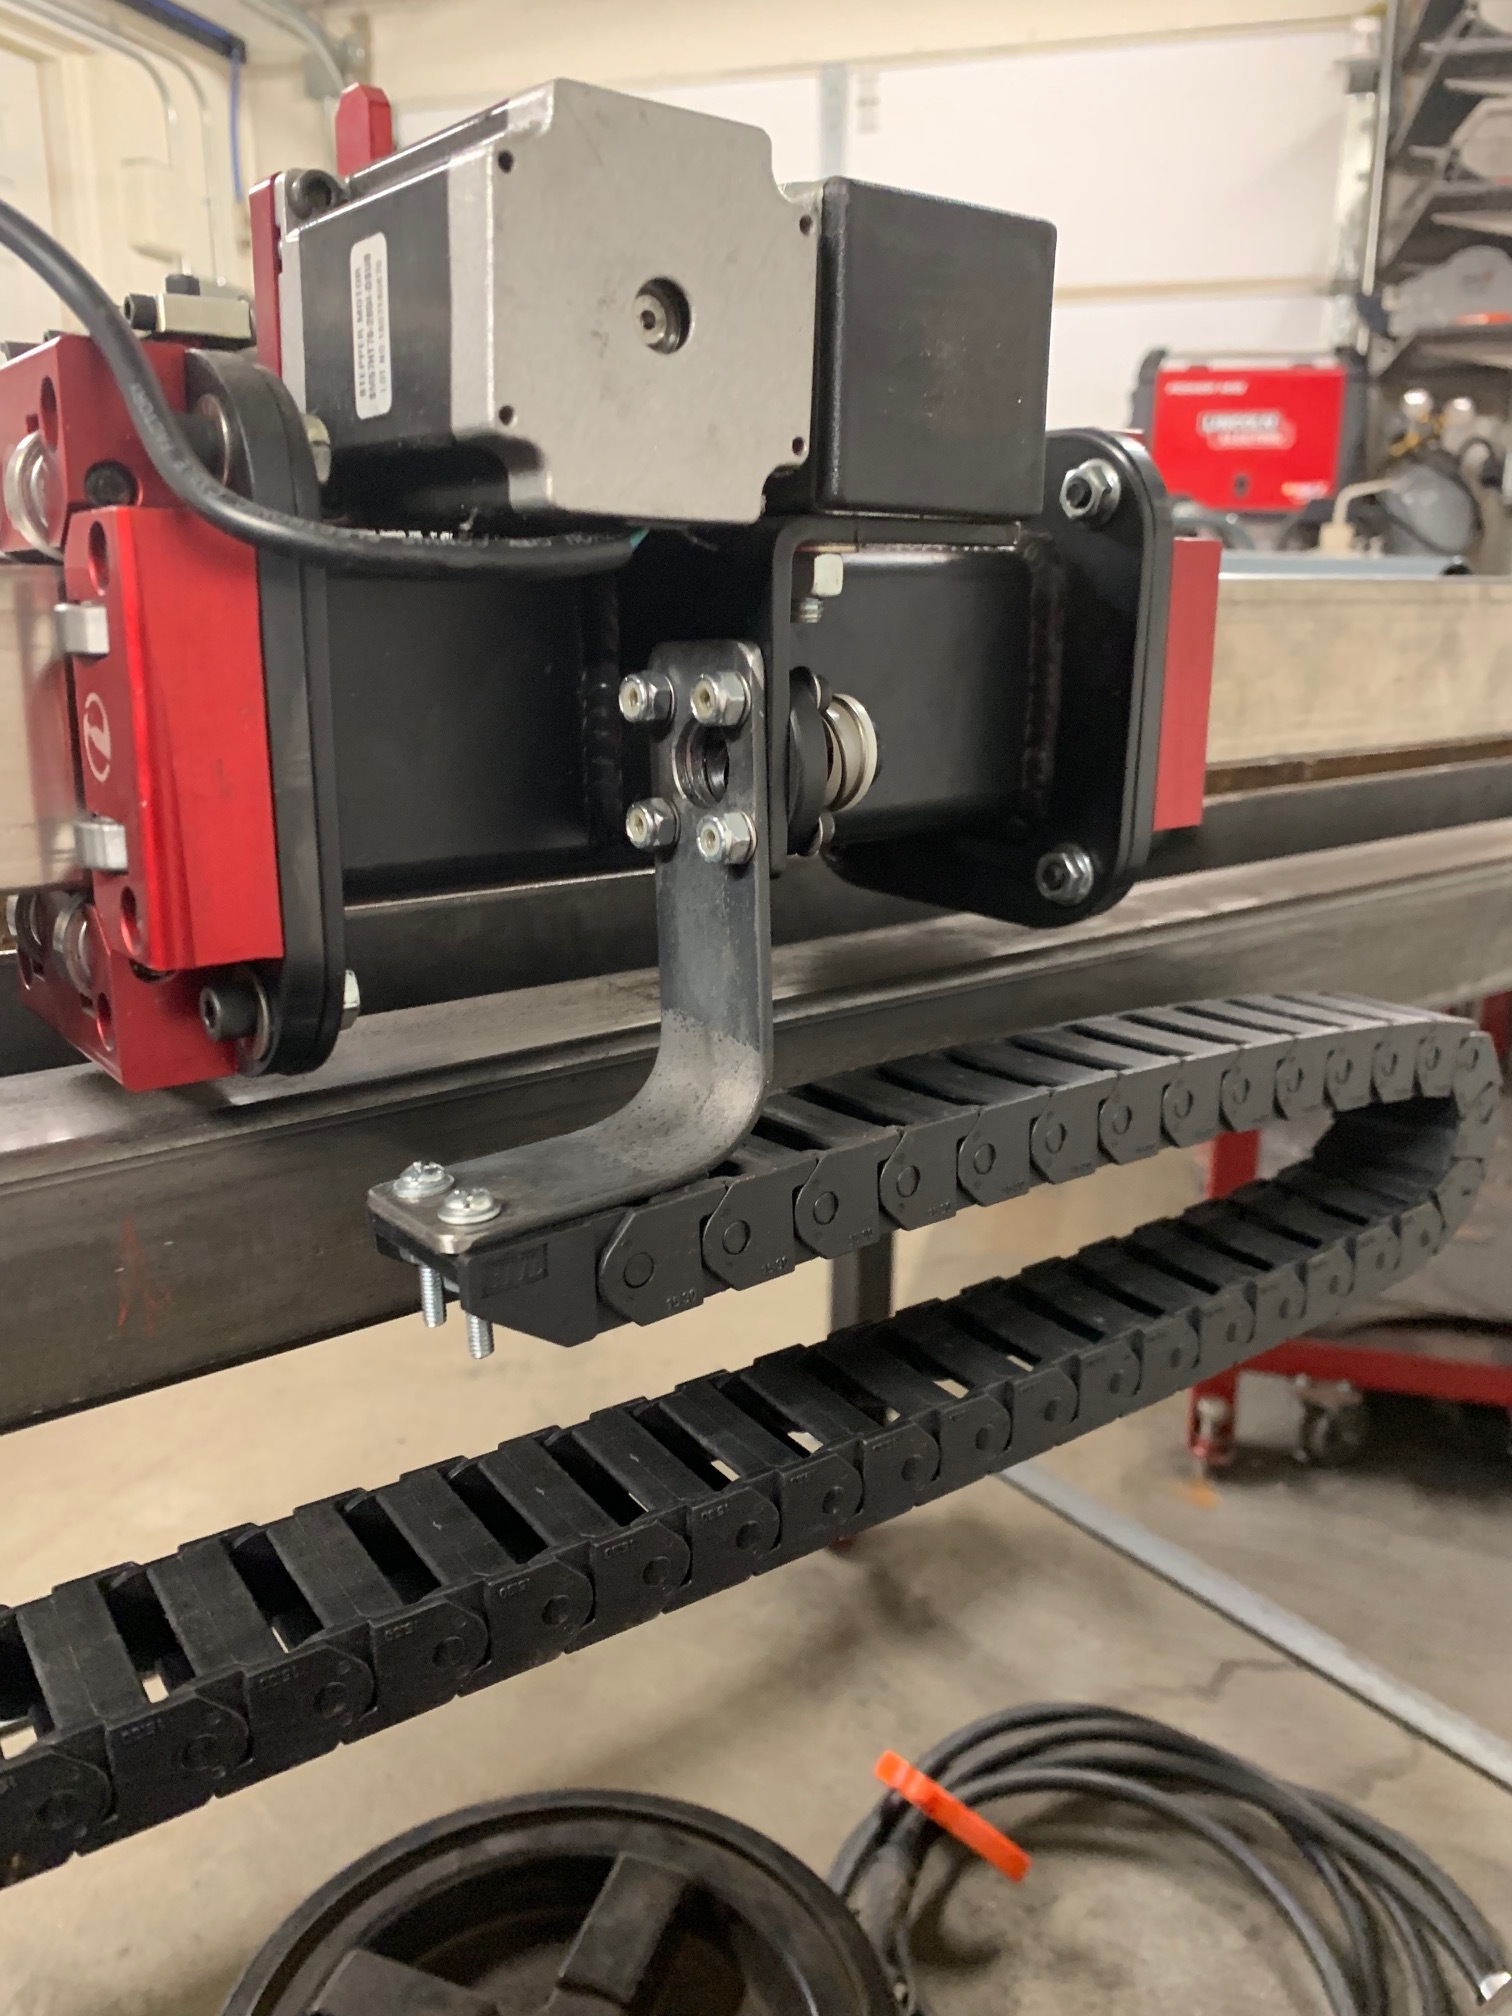
The stock screws are just shy of being long enough, the nylon portion of the nut doesn’t catch the thread but it was enough for a test fit. Thats the new 1/2" anti backlash nut by the way.
Anyway, pretty satisfied how it came out. It just needs a track now to ride in and the proper screws. I used whatever I had laying around. Im pretty sure the extended X-axis cable would drag on the floor without this but it definitely adds the coolness factor.
4 Likes
Yes it does ![]()
I was thinking of adding a drag chain on my stock unit to manage the wires - I’ve used them on lasers for years so it was kind of surprising there wasn’t one on this.
For the price of $13 shipped, even if it wasn’t functionally needed here how could you not.
The bracket was easy enough to make too.
On the stock unit I would just buy a piece of 2” aluminum angle and zip screw it to the frame and call it a day
1 Like