Thanks for the details. I am going to do this upgrade in a few weeks. I’ll let you know how it goes.
With the upsizing of the lead screw and different thread sizes, can the same machine profile still be used on Mach3?
Only if the two different leadscrews have the same distance traveled per revolution.
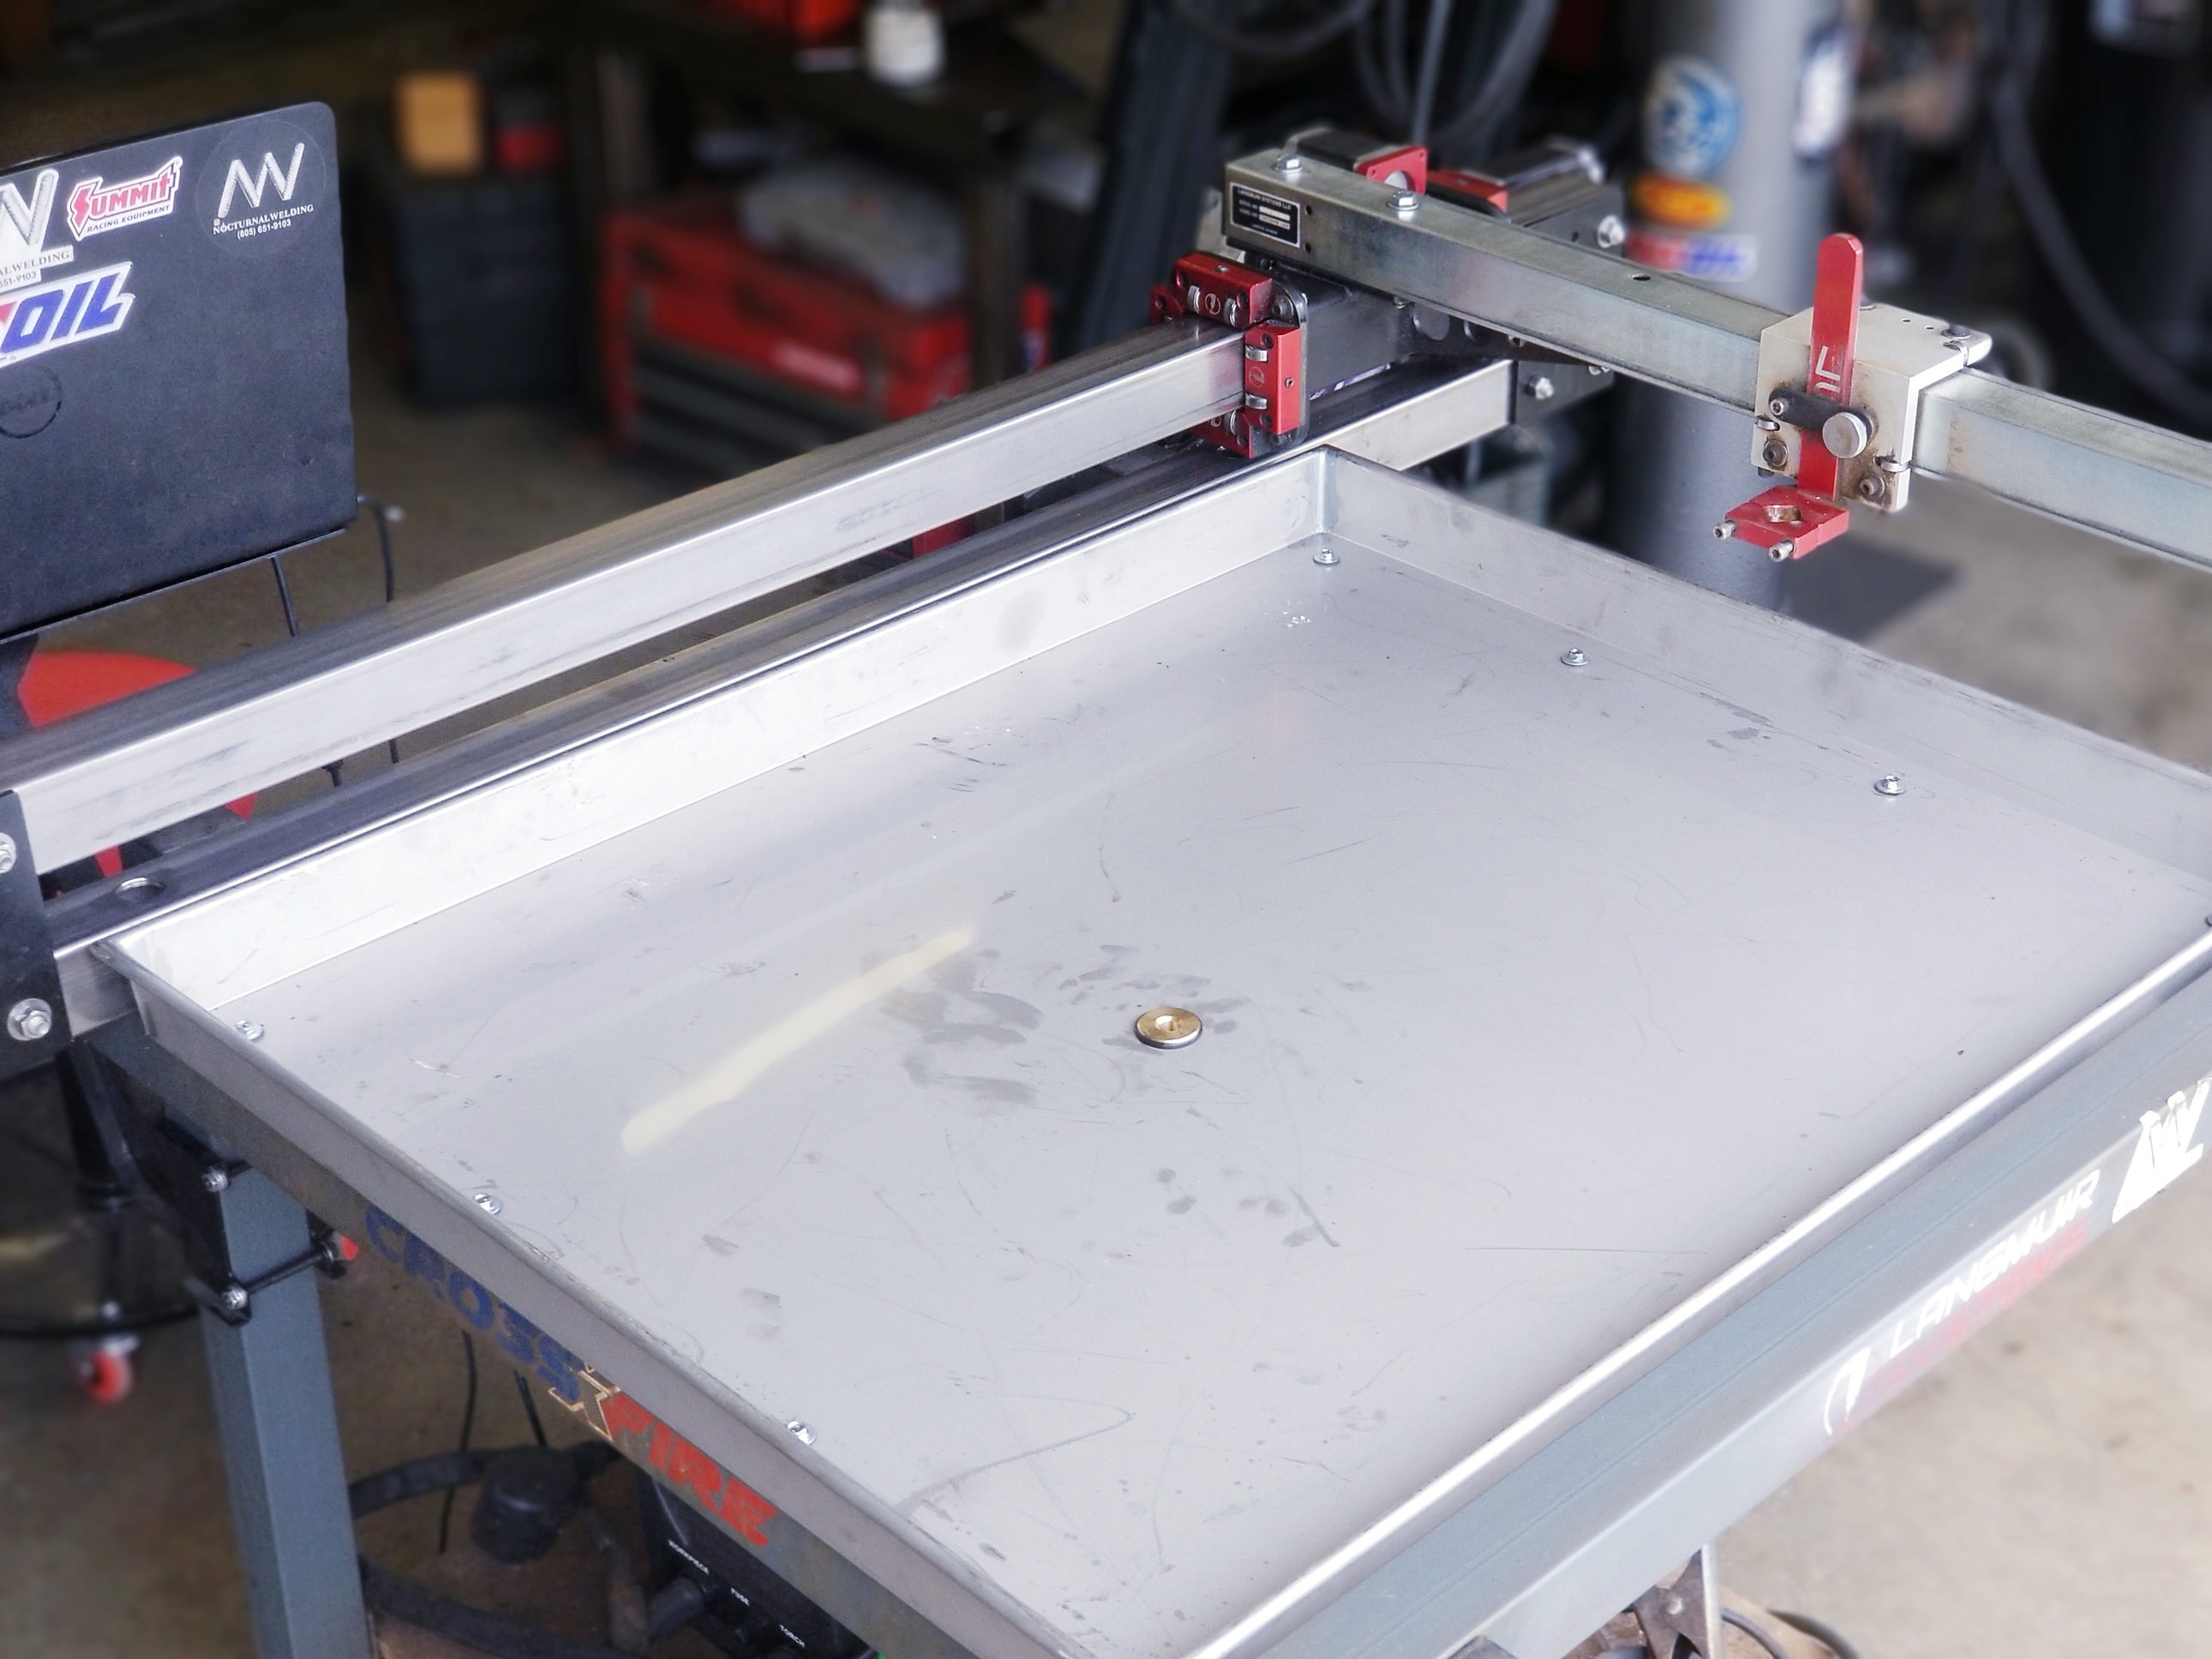
The leadscrew on the machine is a 3/8-8 4-start which is .500" per revolution.
One option for a bigger leadscrew would be a 1/2-10 5-start which also is .500" per revolution.
If you were to choose the above 1/2" leadscrew then you would not have to change any machine settings.
If you start changing the pitch and start of the leadscrew and consequently the distance traveled per revolution then you start affecting motor settings and performance.
For example. If you used a 1/2-10 2-start leadscrew which travels .200" per revolution the stepper motor now has to rotate 2.5 times faster to maintain the same ipm. Consensus for stepper motors is to run them well below 1000 rpm. The faster the rpm the less torque they have. Also the faster they spin the faster the electrical signals need to be and the better your electrical components need to be. The crossfire table is set to max out at 300 ipm. 300 ipm / .500" inches per rev = 600 rpm max. If you went to a .200" per revolution leadscrew then 300 ipm / .200" per rev = 1,500 rpm. I’m not saying it wouldn’t work but the setup would be more inclined to lose steps.
1 Like
How exactly is that calculated?
Like why is a 3/8 4 start equal to a 1/2 5 start
Start / pitch = travel per rev
3/8-8 4-start. 4/8=.5 in per rev.
1/2-10 5-start. 5/10=.5 in per rev.
1/2-10 2-start. 2/10=.2 in per rev.
And so on
Also can do (1 / pitch) x start = travel per revolution.
12-10 5 start would be
(1/10)x5
.1x5=.500 inch per rev
3/8-8 2 start would be
(1/8)x2
.125x2=.250 inch per travel
2 Likes
Thanks that makes a lot more sense
Hey Gtxracer,
Firstly, thank you for the comprehensive explanation of how you went about this upgrade. I followed your plan/setup to a Tee and finally got to test it tonight (took a while for the 1/2-10 5 start Delrin nut to arrive).
My question for you is, on your very first start up and Y axis jog with the newly extended setup, when you held + jog in Mach, did your stepper motor “abbreviate” or “stutter-stop” incrementally as it went beyond the standard Y axis distance? Mine did a few times and I noticed each sequential time I jogged toward that fully extended Y axis, it did less and less of the stutter-stop and would smoothly travel through to full extension.
I’m wondering if this is due to the Crossfire Profile we’ve loaded? Should I open that profile and change some settings?
Additionally, did you modify the Crossfire break-in file at all to work as a break-in with the new Y axis length?
I did do a dry run of a design I did which utilized nearly all of the full water table size and that ran great without issue.
You’re welcome! My new Y axis did not stutter. I think it may have been a bit tight initially upon breaking it in, but I didn’t run a full break in program. I ran it through the new axis a few times then did a few test pieces. I’ve cut quite a bit on the table since the extension. You may have had something in the grooves of the lead screw or the plastic nut may have had debris in it from manufacturing or shipping. Run it through a few more times, clean the lead screw as best you can, and see if it alleviates the problem.
The Crossfire Profile only defines the ratio between the motor and the lead screw system. It’s basically timing the motor to the travel shown in Mach3. It doesn’t slow it down based on inputs, it’s not really setup to do that. I did not change the Crossfire Profile in Mach3 at all. This is ONLY a hardware swap, no software changes required at all.
Hit me up with other questions if you need some help.
Trevin
1 Like
So I just purchased my system and should recieve it in a bout 3 weeks. I am looking to gather the materials and am wondering if the oil fi ish is important on the lead screw?
The oil finish is just oil residue in the shaft to keep it from rusting during shipment. If you can find a lead screw in stainless steel then that’s even better but otherwise not very important as long as it’s not corroded.
1 Like
Awesome thanks for the help!
Anyone find couplings for the 1/2 acme rod that work on both sides? I’ll make them if need be.
@langmuir-daniel any chance LS has been working on this since you are caught up on shipping units? I would like to get in line for an update kit!
1 Like
Ditto! ![]()
I’d volunteer to beta test it too ![]()
2 Likes
Oh fine, I’m in to! Don’t take a lot of arm twisting.
1 Like
YUP!! I’d be in for that too!
Don’t temp me with a good time! I’m down for some beta testing as well.
I am considering this upgrade, how was the test run and I know this post is old how is it running?