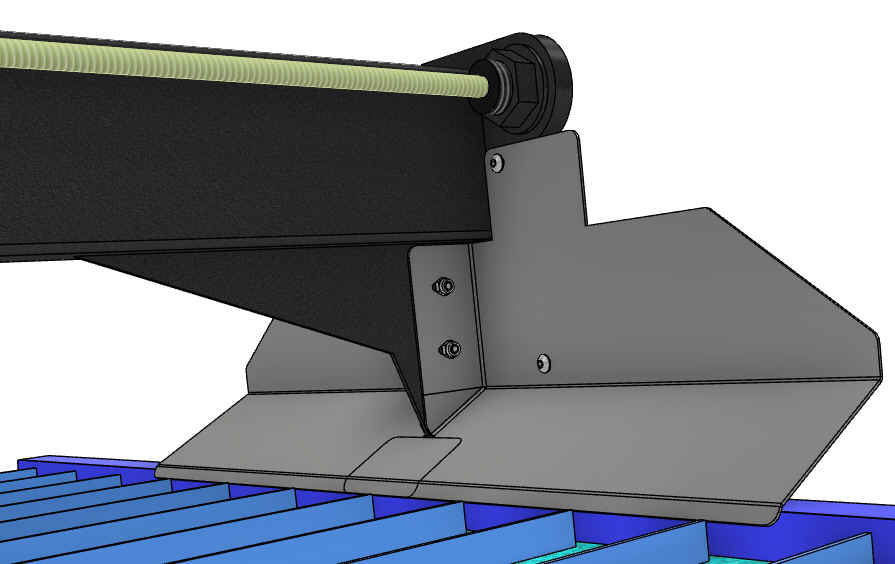
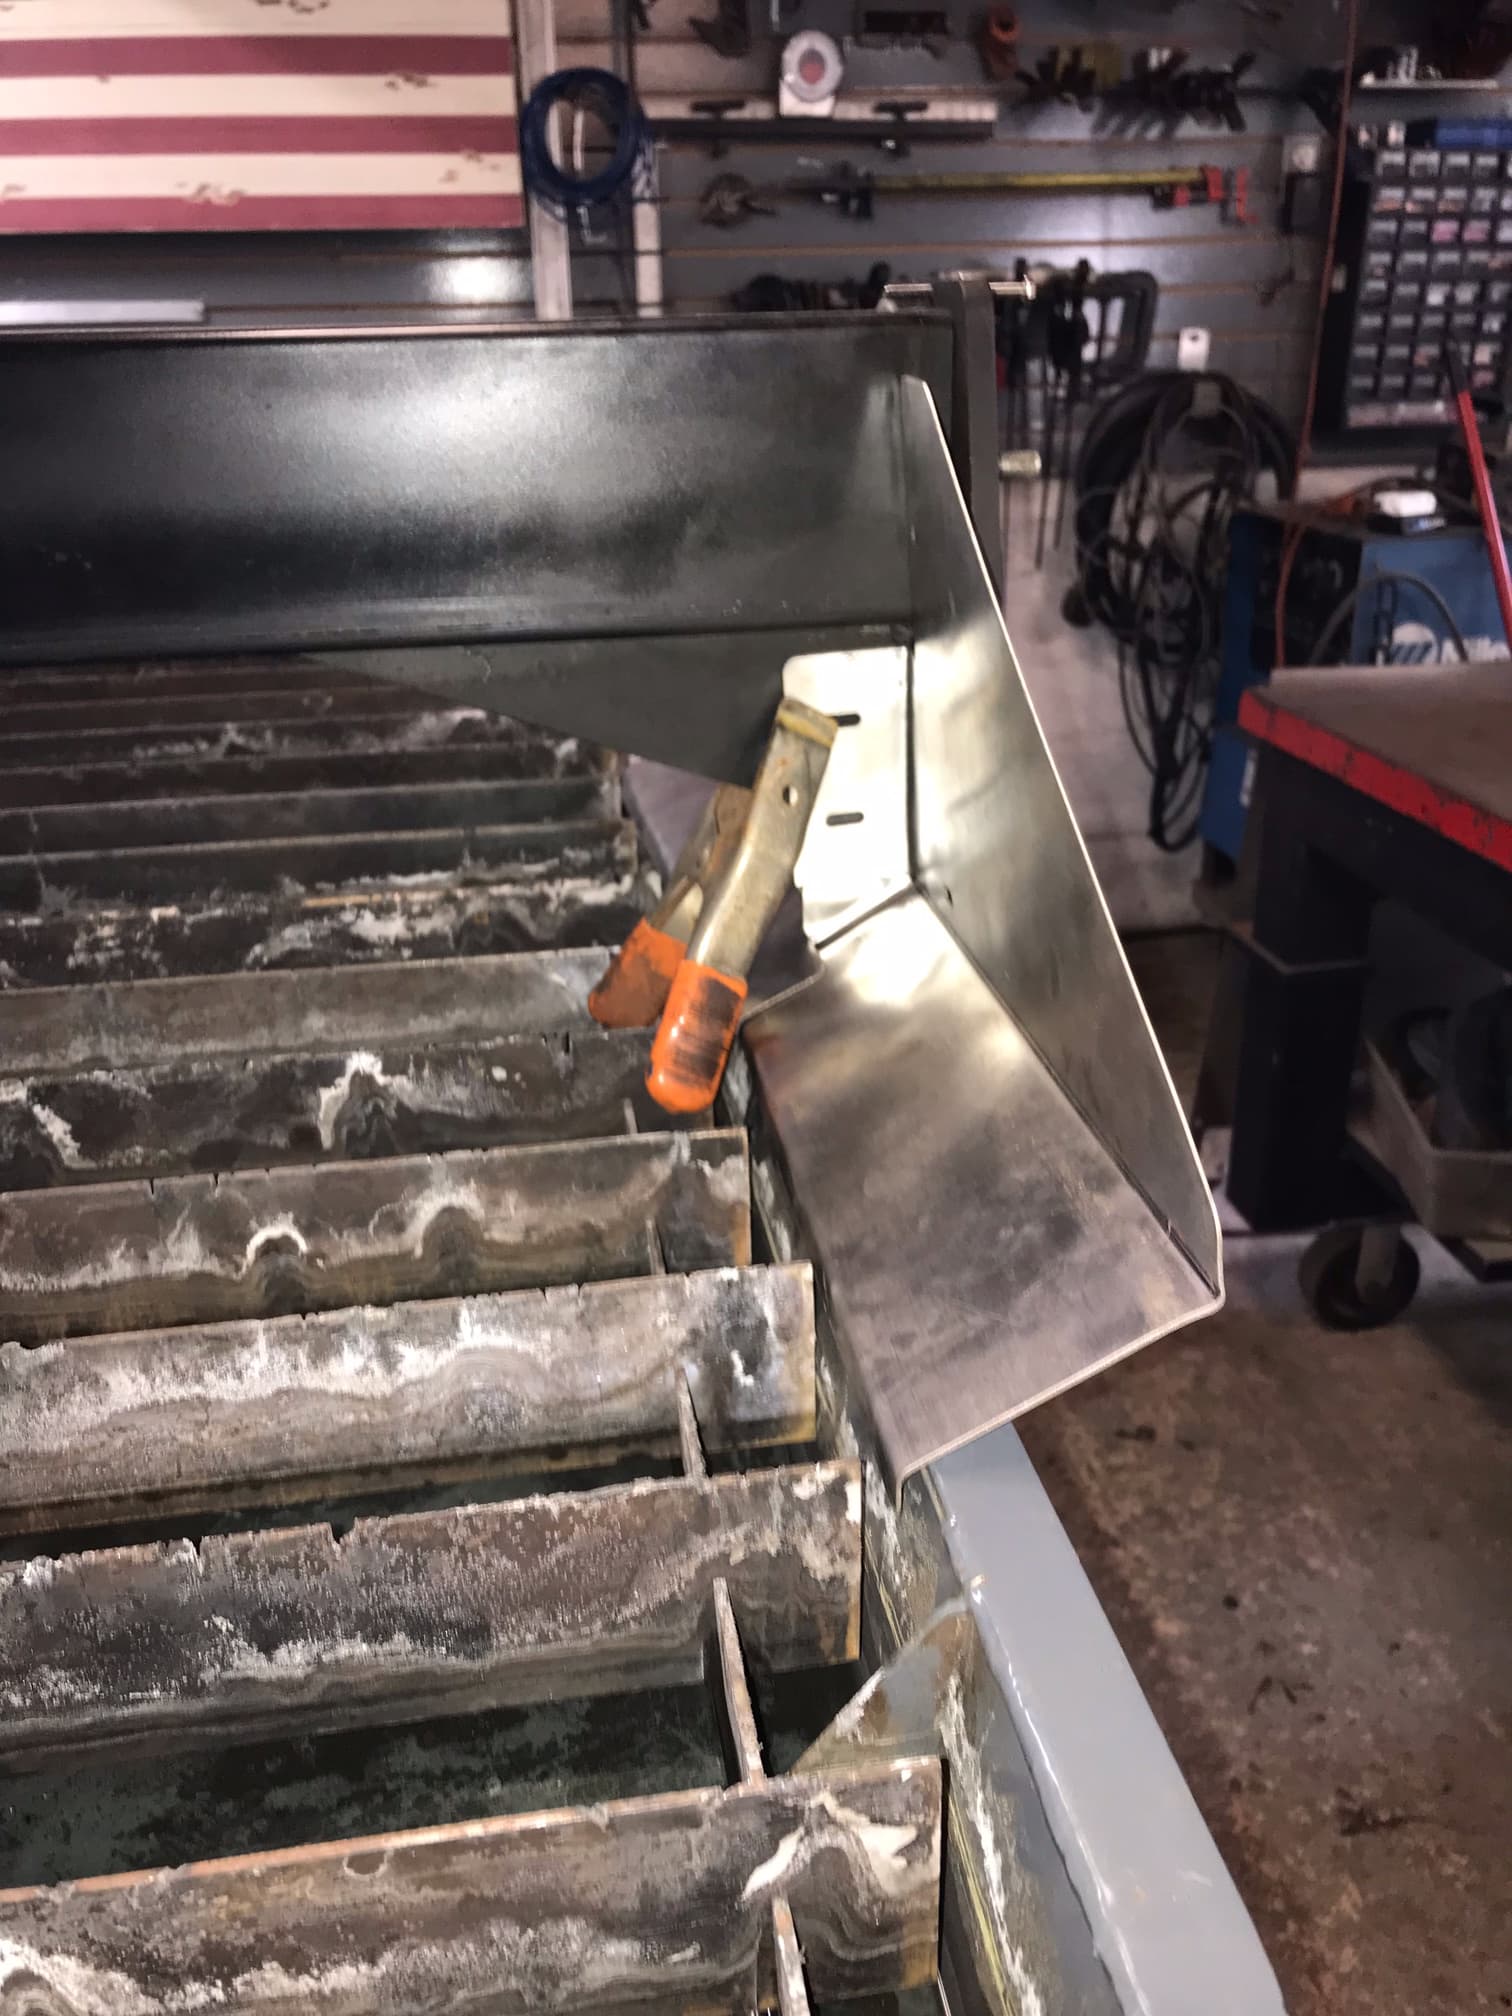
We have some fresh splash guards made up for full width cutting on the XR machine. The initial fit up looks okay some of the bend angles needed a bit of tweaking but I think we can get it fitted up okay. The main thing we will need to dial in is making sure the lower lip does not hit the slats or the water tray connection splice ribs.
This being 16 ga. SST with 4 fasteners, thinking get it mounted up and do a little hand bending to fine tune the clearances. The stiffener ribs under the X gantry are making it a little interesting as there are some bent flanges and a few button head screws making some of the splash guard fit up a little awkward. Working through that, either we shim the shield out or take out the button heads and transfer that mounting through the shield. Considered ditching that bent angle attaching to the support rib as it would make it a lot easier to make but figured put the pain into the 1st off version and it can be dumbed down if needed.
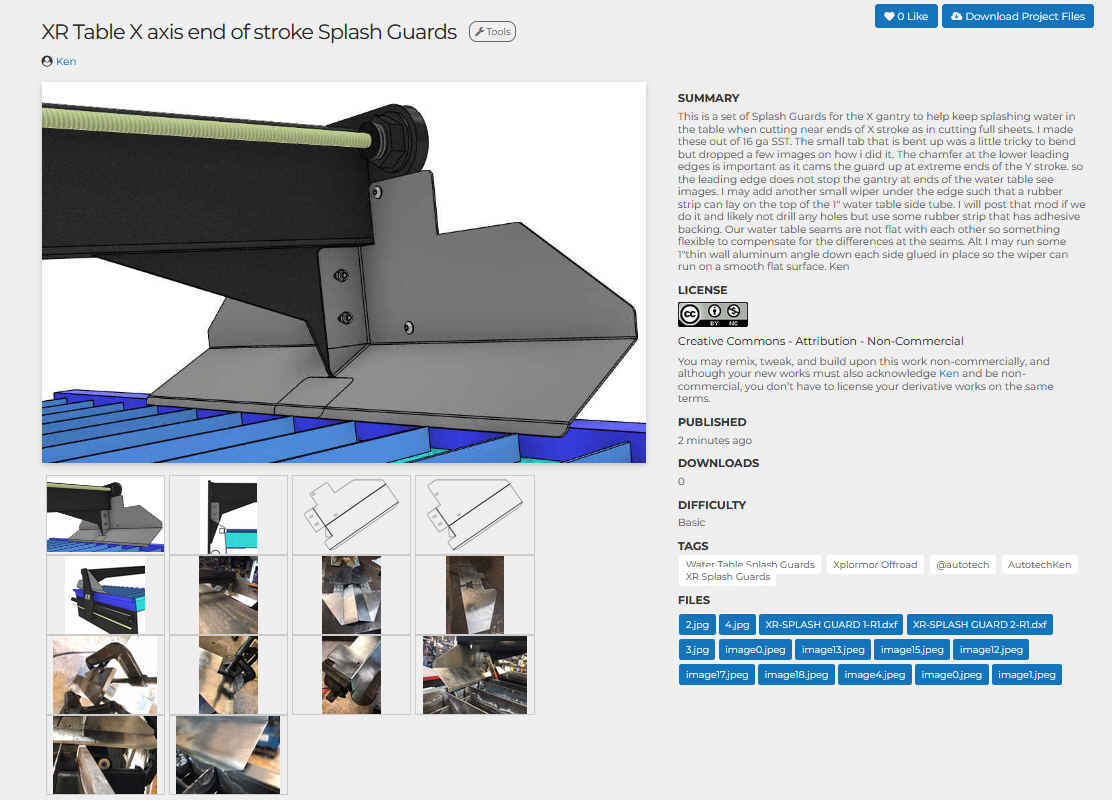
These took longer that expected to get the design dialed in and workout the bending and-fit ups. Not super excited about sharing .dfx cad files right now but might shift on that.
Nice job. I will definitely be interested in the files when you are ready. I have been trying to figure out a solution besides just throwing scraps between the side of the slat bed and water table
Yep first full sheets it was" Oh shit get the mop and bucket" it was also throwing water all over the Y axis main guide tubes motors etc. On the X Axis home and max. travel it will likely be some full length drop in shields that can be stored under the machine.
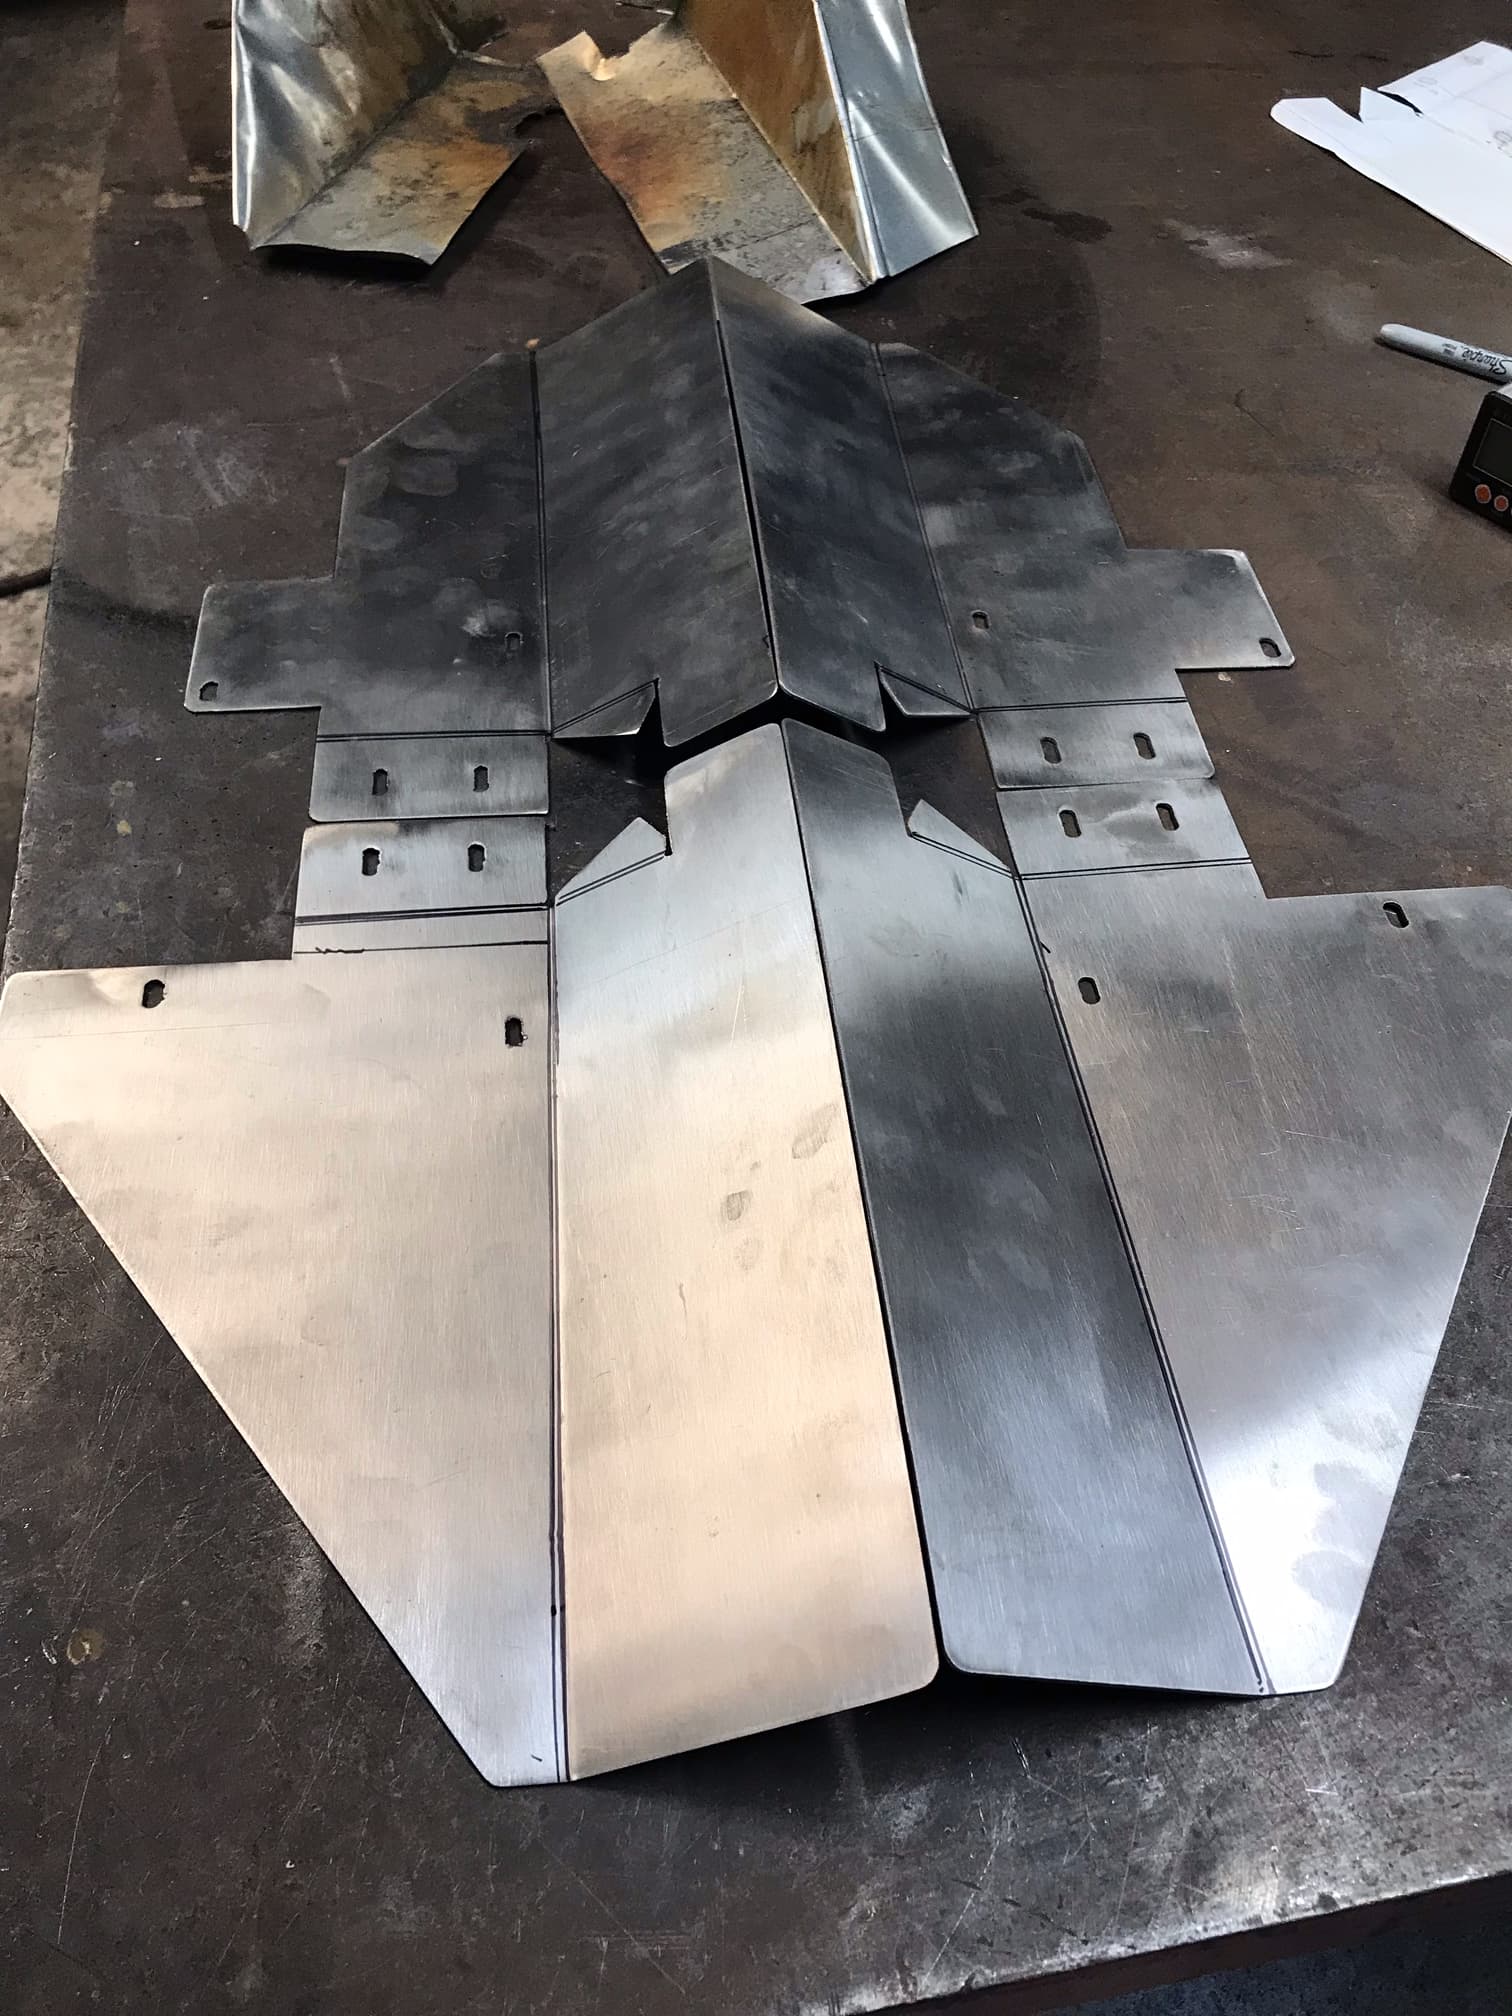
We may cut the cutting slats down to 48" not sure yet. If we adjust them they will all clear fine its just if a full sheet gets shifted it would need to be re-checked. We have a few screws into the stiffener gussets and it all looks good. With the other fasteners into the aluminum side plates it will lock down the sheet metal better. A balance with that lower lip being low to create a a labyrinth type path and not hitting the water pan seams we may cut them down some to just above the hex nut. Loose some of the powder coating. Also evaluating if we run a silicone cup the guard may interfere with it but it may be okay.
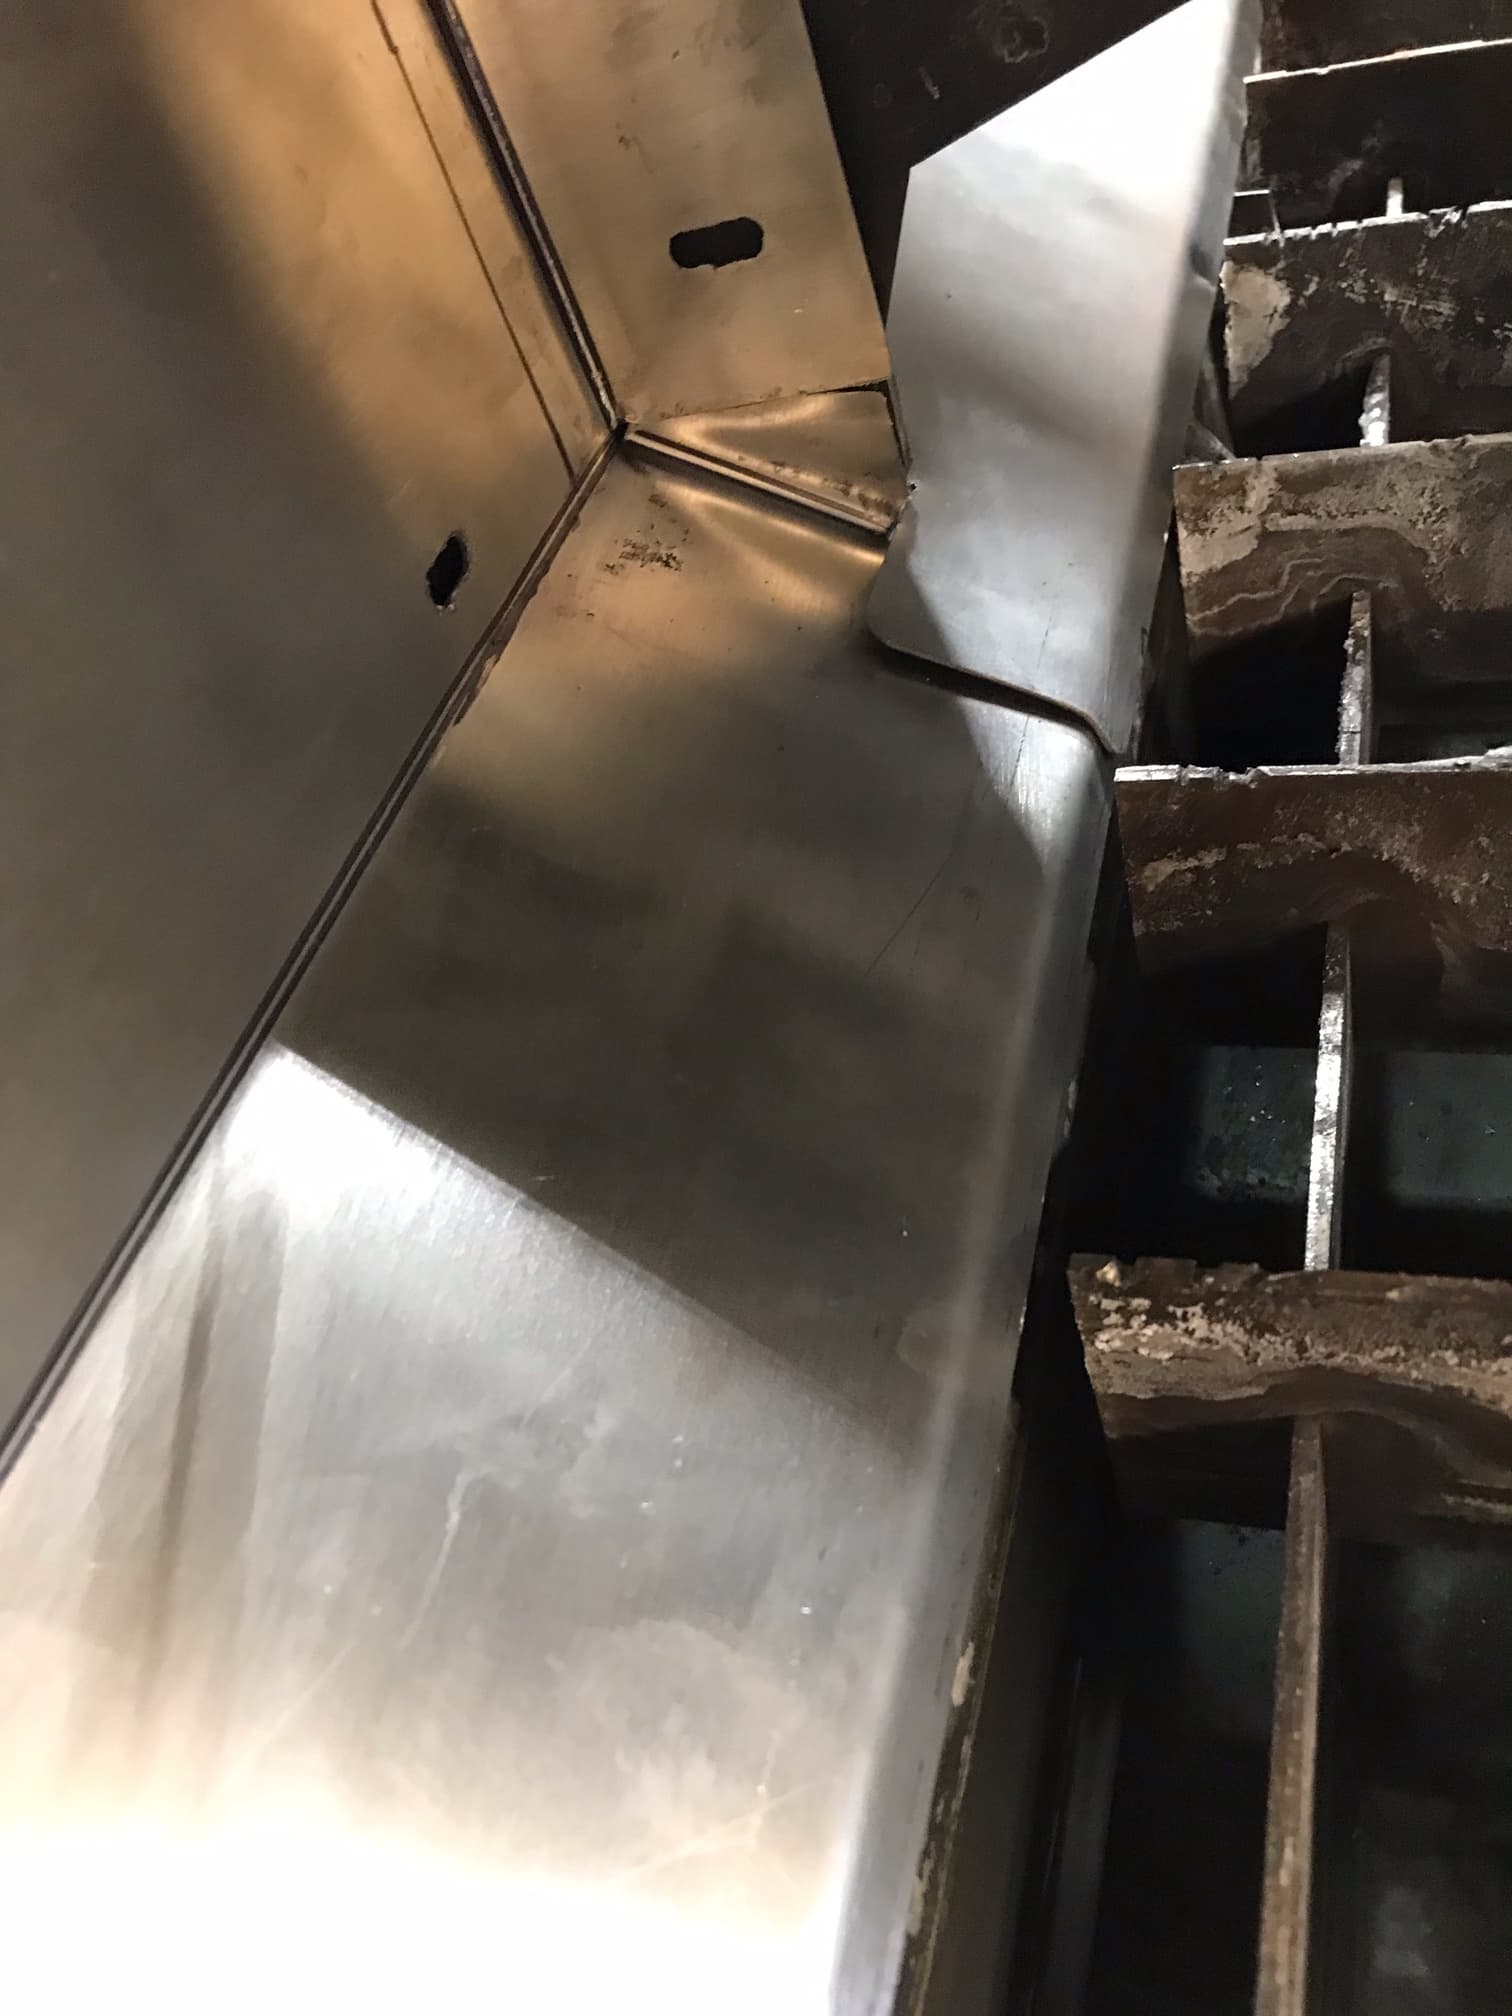
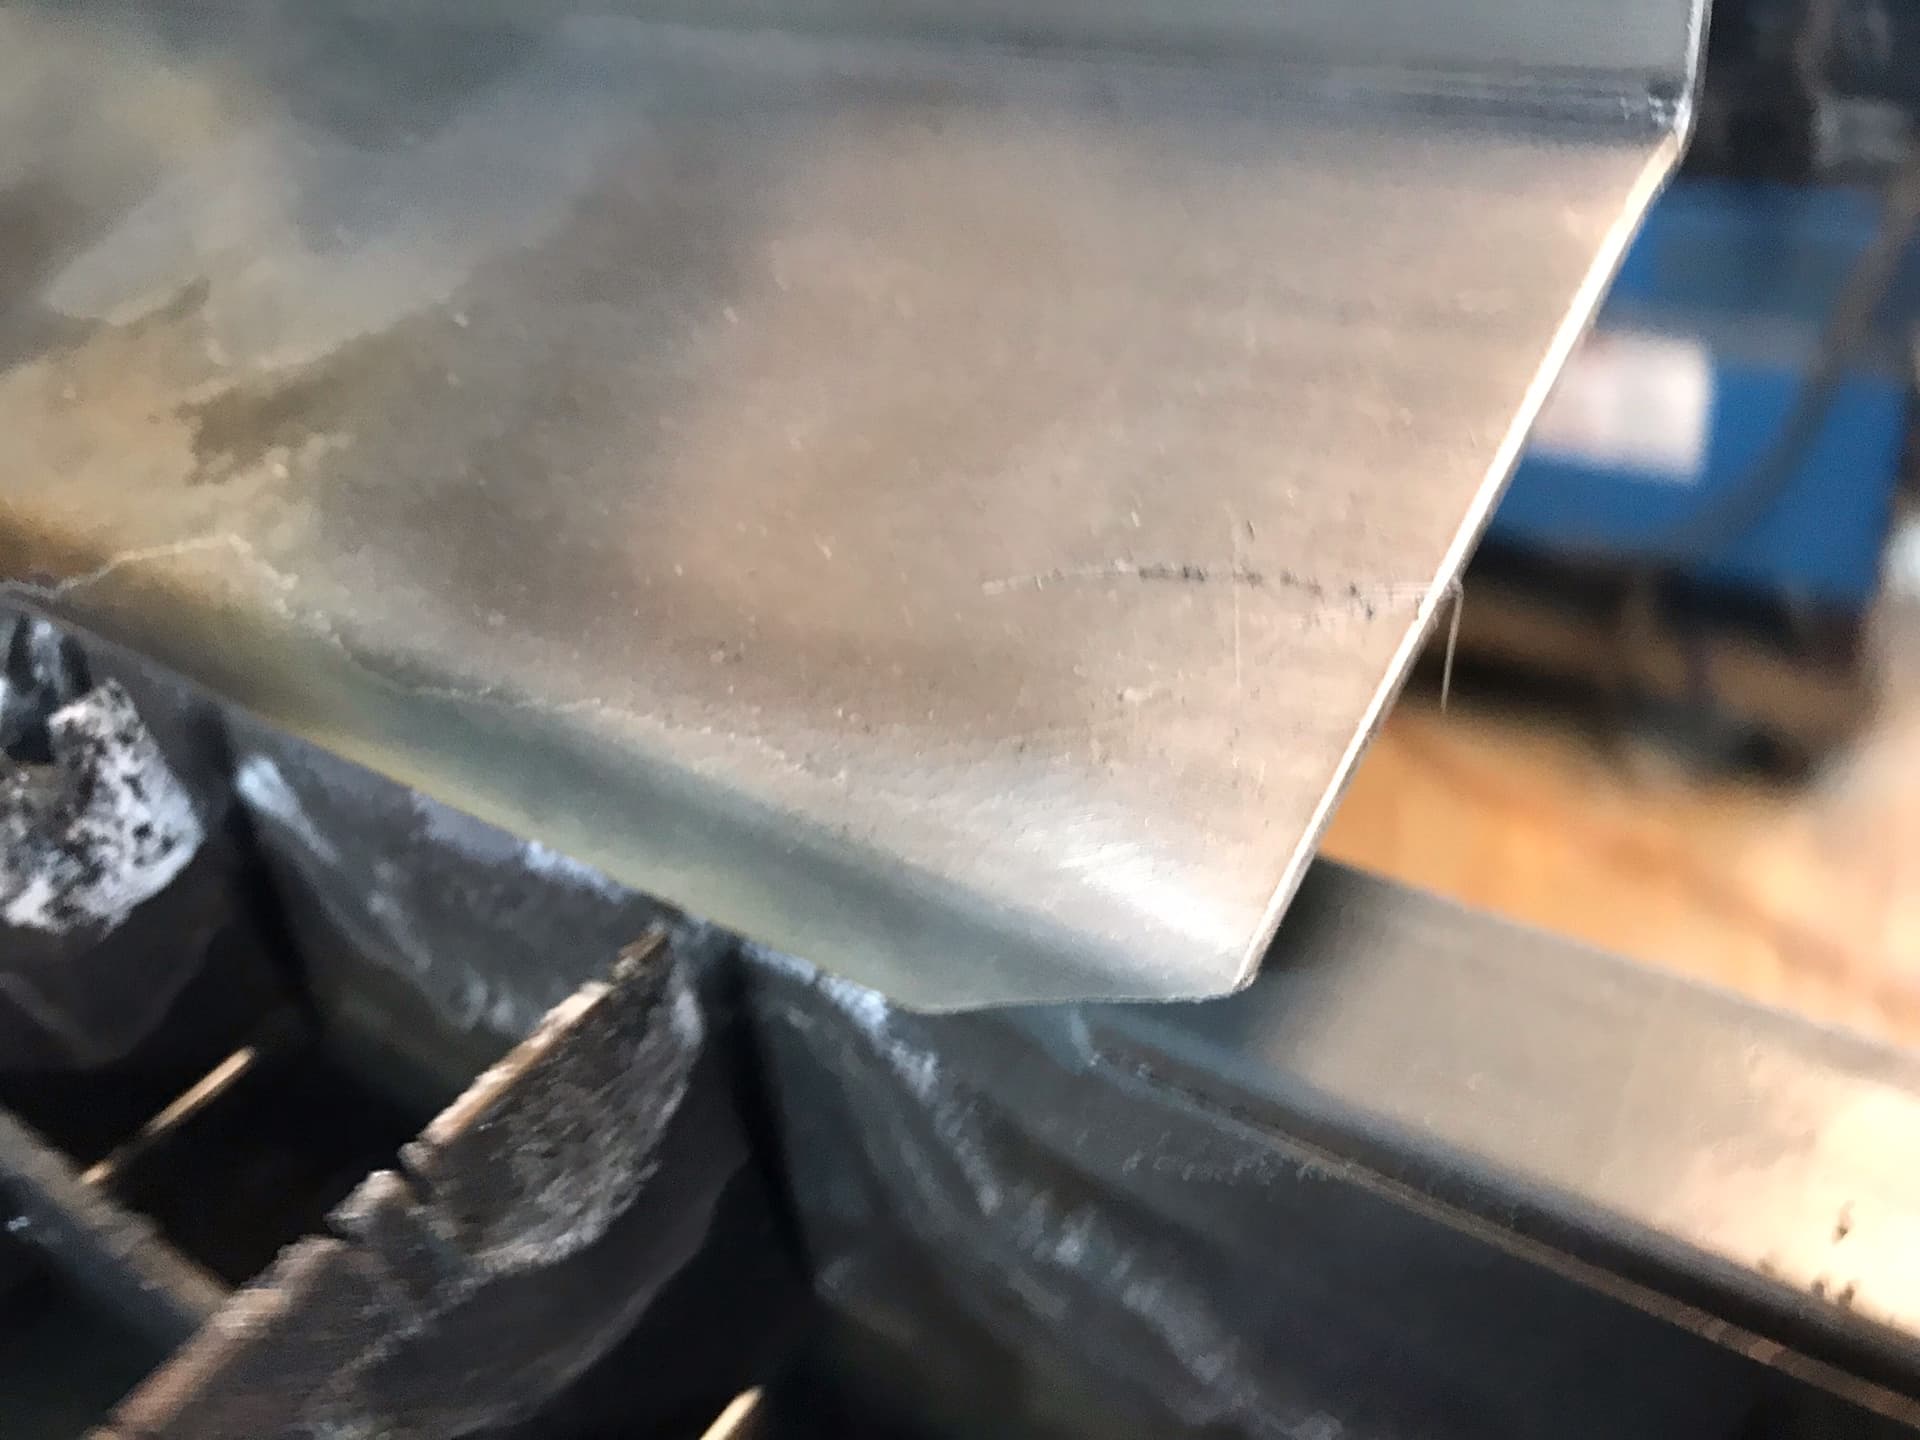
Also, trimmed the lower bent lips to a tapered edge so as the end of Y axis comes to end the shields cam up and above the water-pan lip. Its putting a scrape mark on the pan but seems okay .
I tried using a silicon shield around the cutting tip. I did not keep it on. Kept hitting tip ups. And I took the plastic cover off and added a crosshair laser for sheet alignment and part clearance on a used sheet. I may work on a a design like yours for a water shield over the next couple days as I am off work.
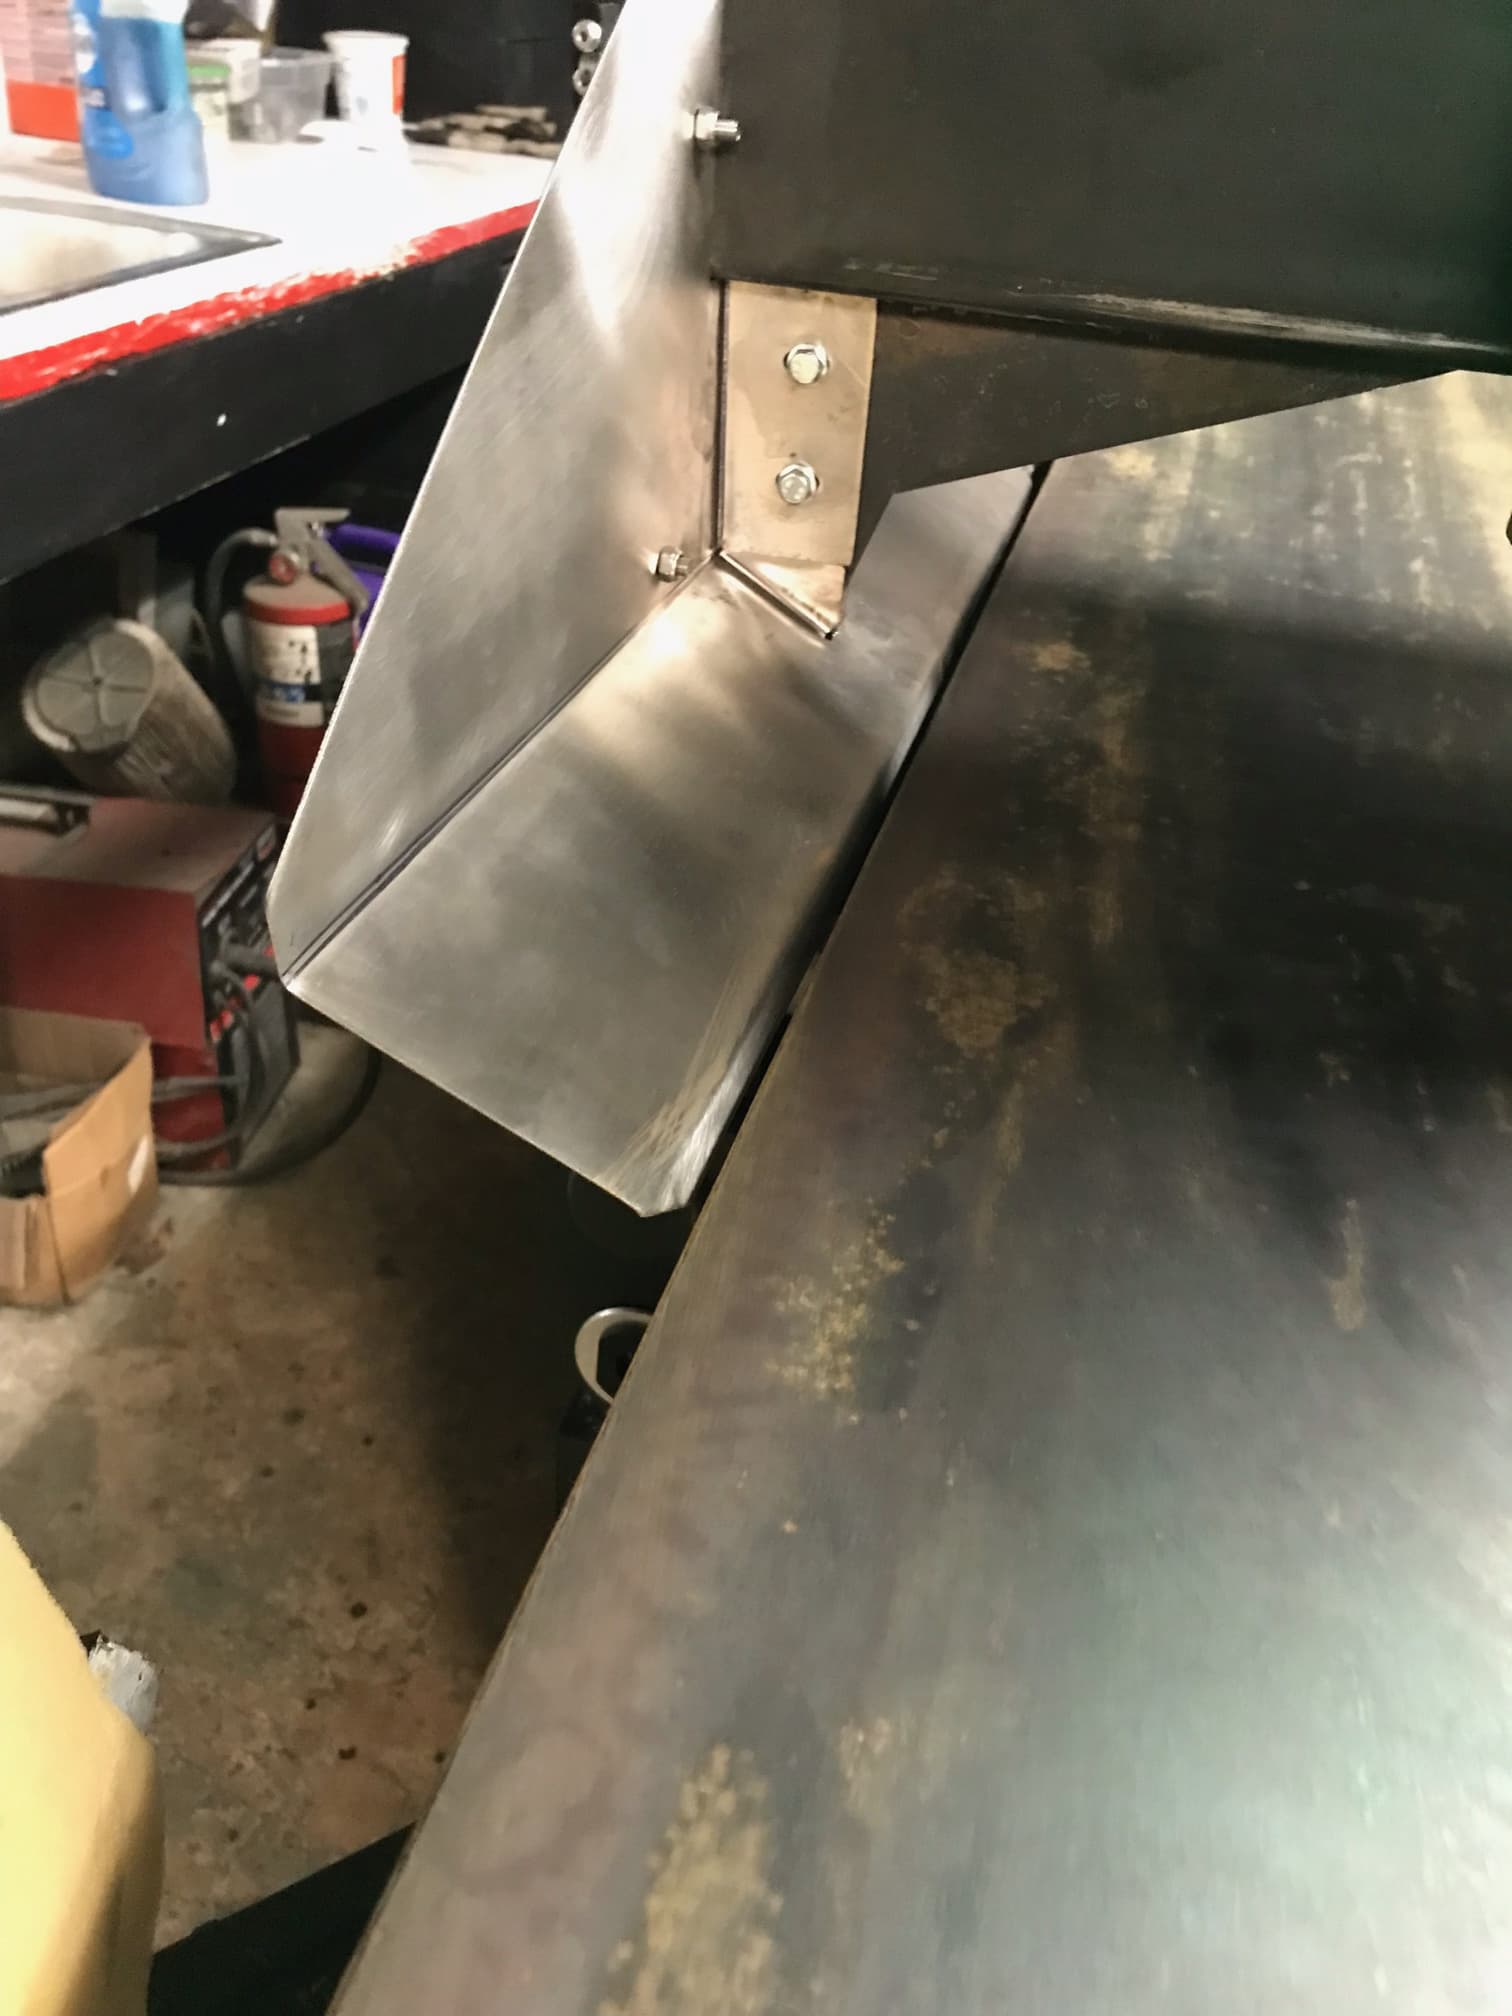
All bolted up and looks pretty good all I did was cut a lead in chamfer on each lower lip so it can cam out of the water pan . I will add the chamfers to the model.
FYI, these did great today burning that 1/4" sheet into a skeleton.
We did have one tip up ( not related to side splash shields) that interesting enough took out a 65 amp Sync. cartridge. Seems the tip up arched through the thin crimped sleeve on the cartridge. It would run about 2" then fault. We kept trying to repeat line cut path and realized was fault blowing air out the side through a 1/8 arc burn through hole. . Replaced the 65 and kept running. Maybe a tip up-guard insulated ring would be good for these HT sync cartridges?
We pulled the sleeve off the damaged cartridge and rotated it and reinstalled the outer sleeve and wrapped OD in Kapton tape and some electrical tape over that. Lets see if it still works on some test parts tomorrow.
At-least we took first step breaking these Sync Cartridges open. Some crimping is being done locking the center tip to the air swirl ring internally under the outer crimped cover. If this fails we dissect it further. We have a local with some nice Bridgeport CNC lathes that can likely make some internals if we can jail break these Sync Cartridges and load new internals. Not worried about the pierce counts being correct unless they really jacked us with pierce count lockout on these Sync Cartridges.
I suspect you would find a market to sell these once you get comfortable with clearances, etc, and can develop a repeatable manufacturing process. I have tried to avoid getting too close to the sheet edges for the same mop bucket reason - something like this would save me some effort cutting down used sheets to get closer to the edges of them.
I saw the video, but there was no cutting so could not see how they did with splashing?
They look like they would work great.
And what do you mean by this?
We didn’t film the 1/4 plate burning with the splash guards on. We will be loading a sheet of 1/8 soon and will film when we start cutting that.
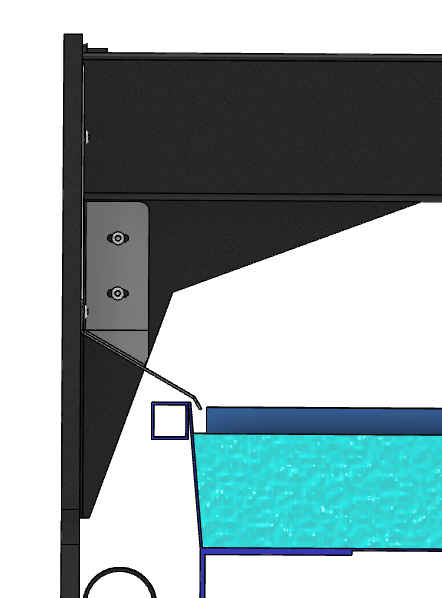
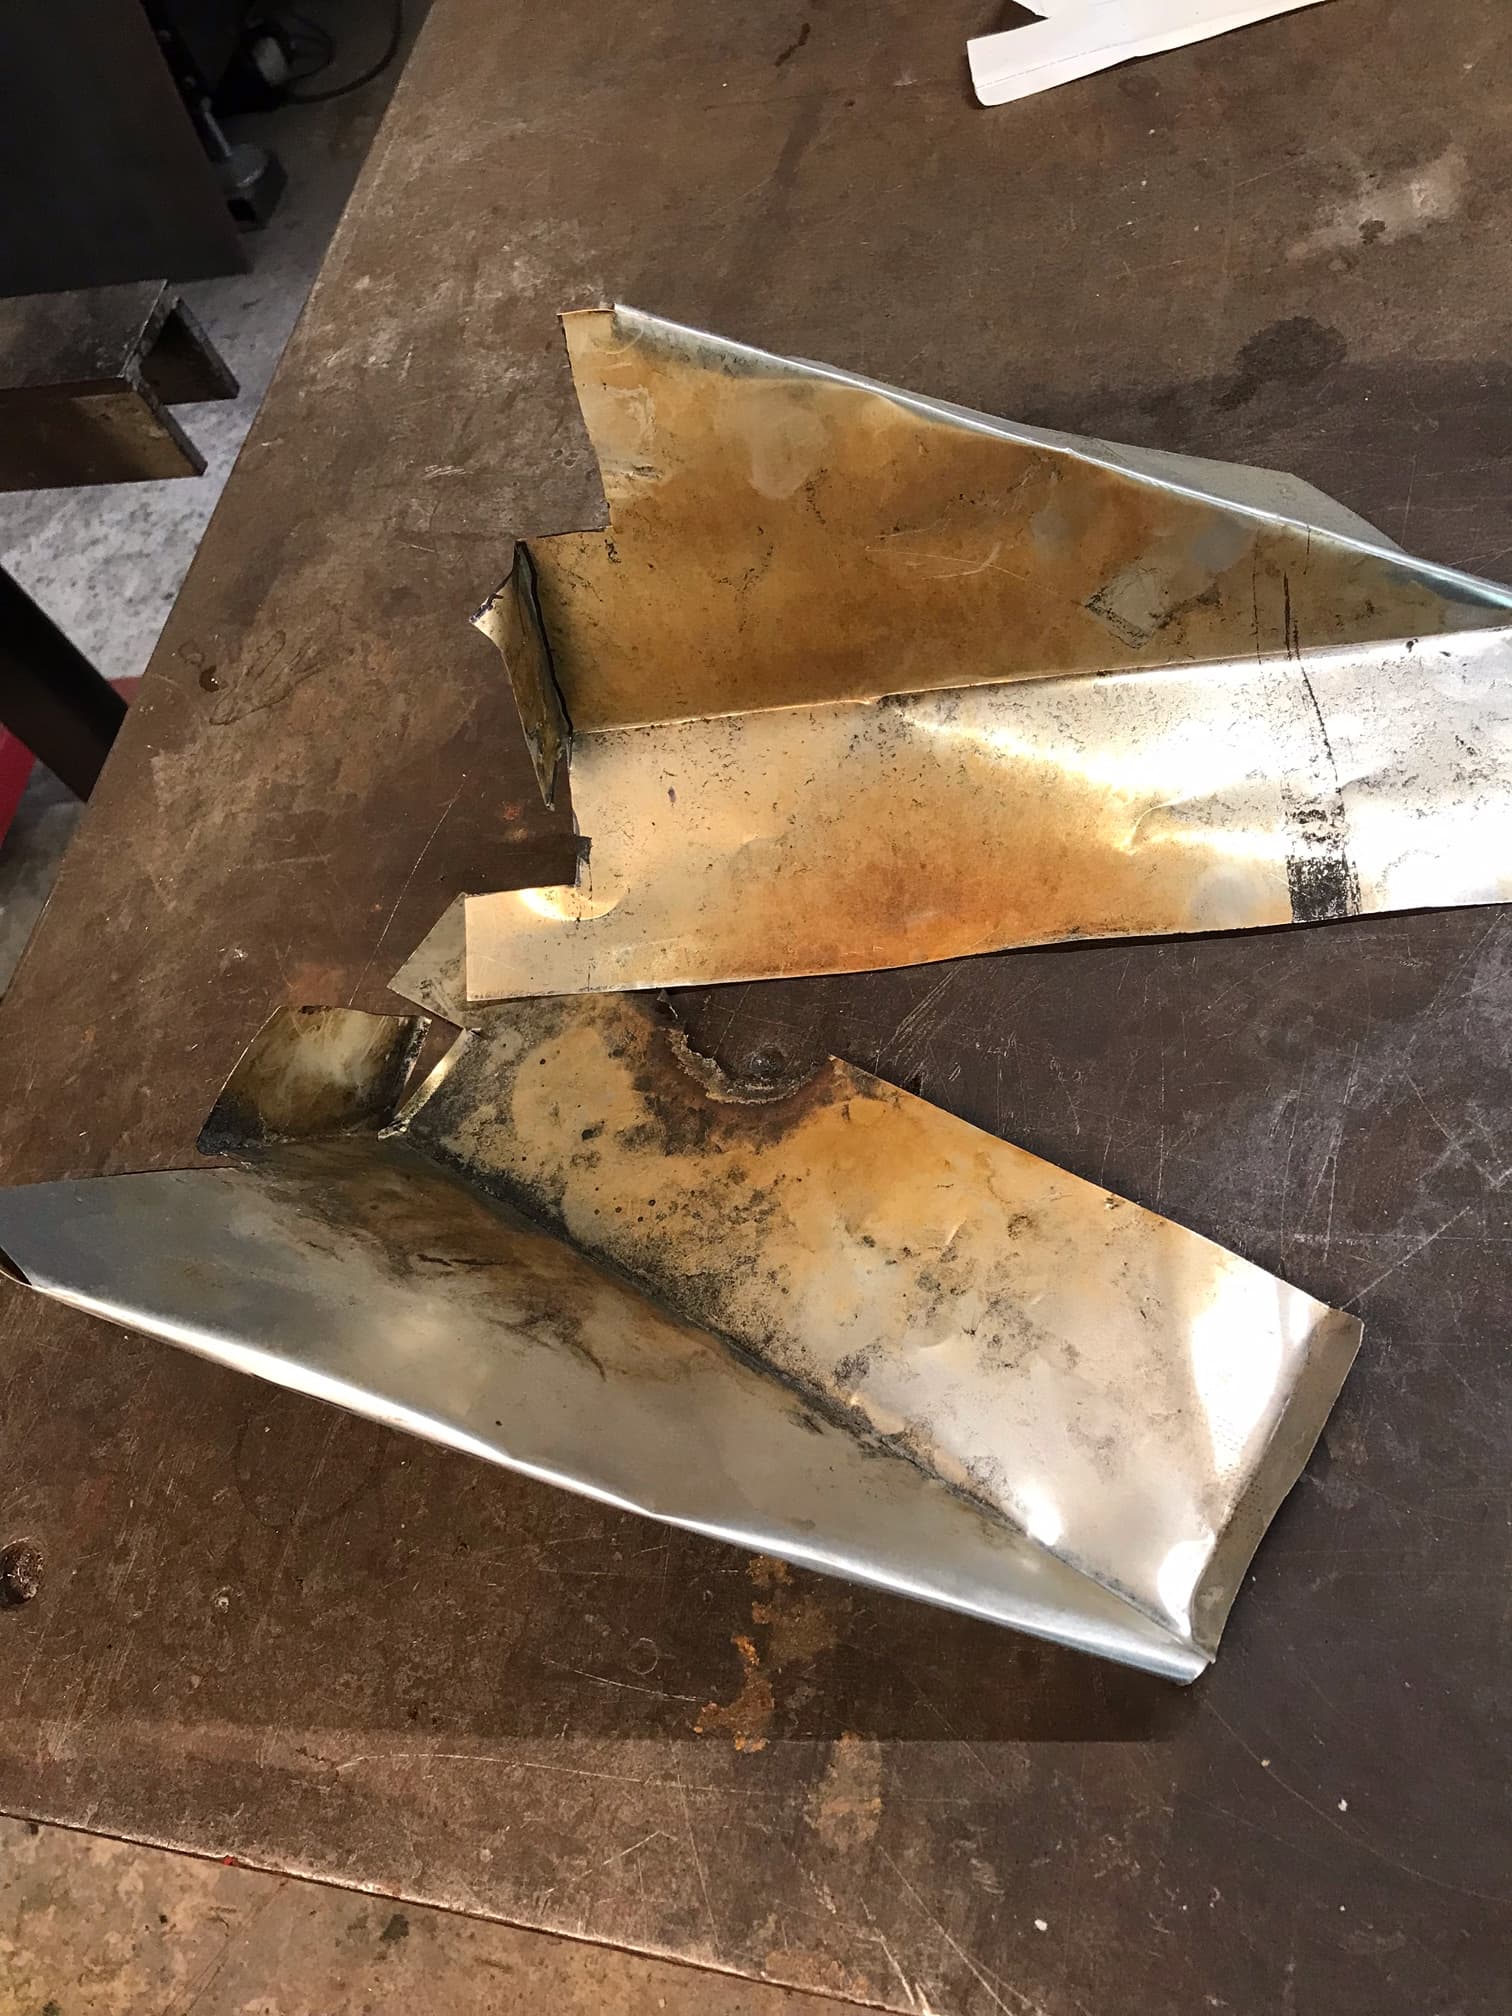
To help describe “cam out of the water tray” . Basically the lower lip of the splash guard is below the perimeter of the water pan so any splashing cannot get through a straight path under the splash guard. These stick FW and Rearward of the cuts such that at the ends of the sheet the splash guards lower front and rear edge rides up on the water tray Vs hitting the Y axis ends in the tray and . Basically there is a taper cut on lower front and rear edge so as the splash guard nears end of the sheet it rids the edge up VS hit the inside edge of the water tray at ends of sheet as the splash guards come off the table.
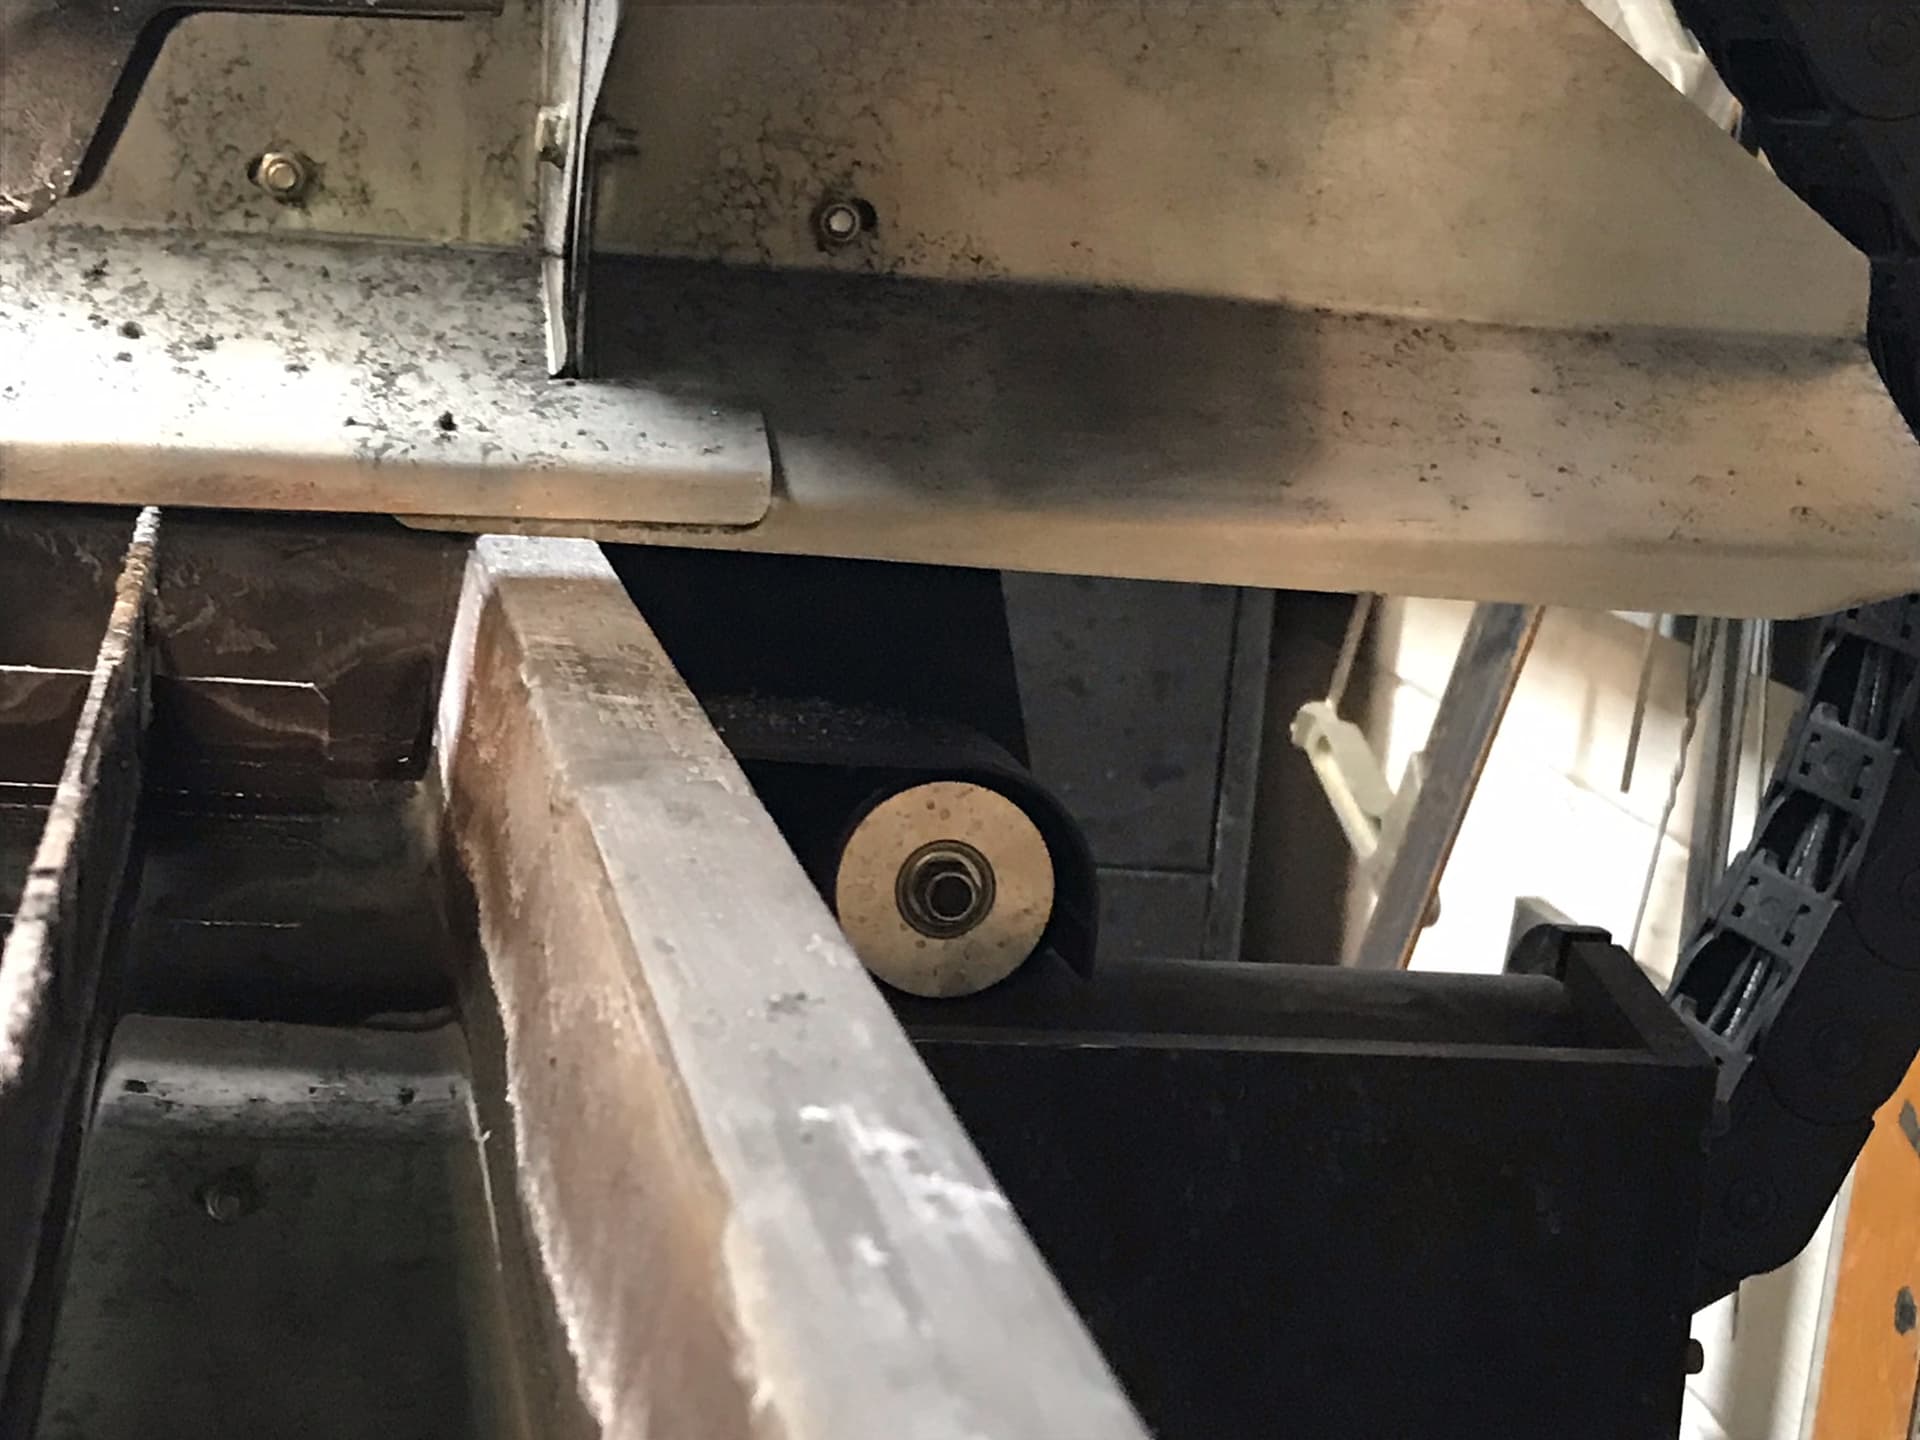
Below the lower edge shown cut with a lead in so Y won’t get stopped buy the splash guard and lose steps when guard over travels water tray end.
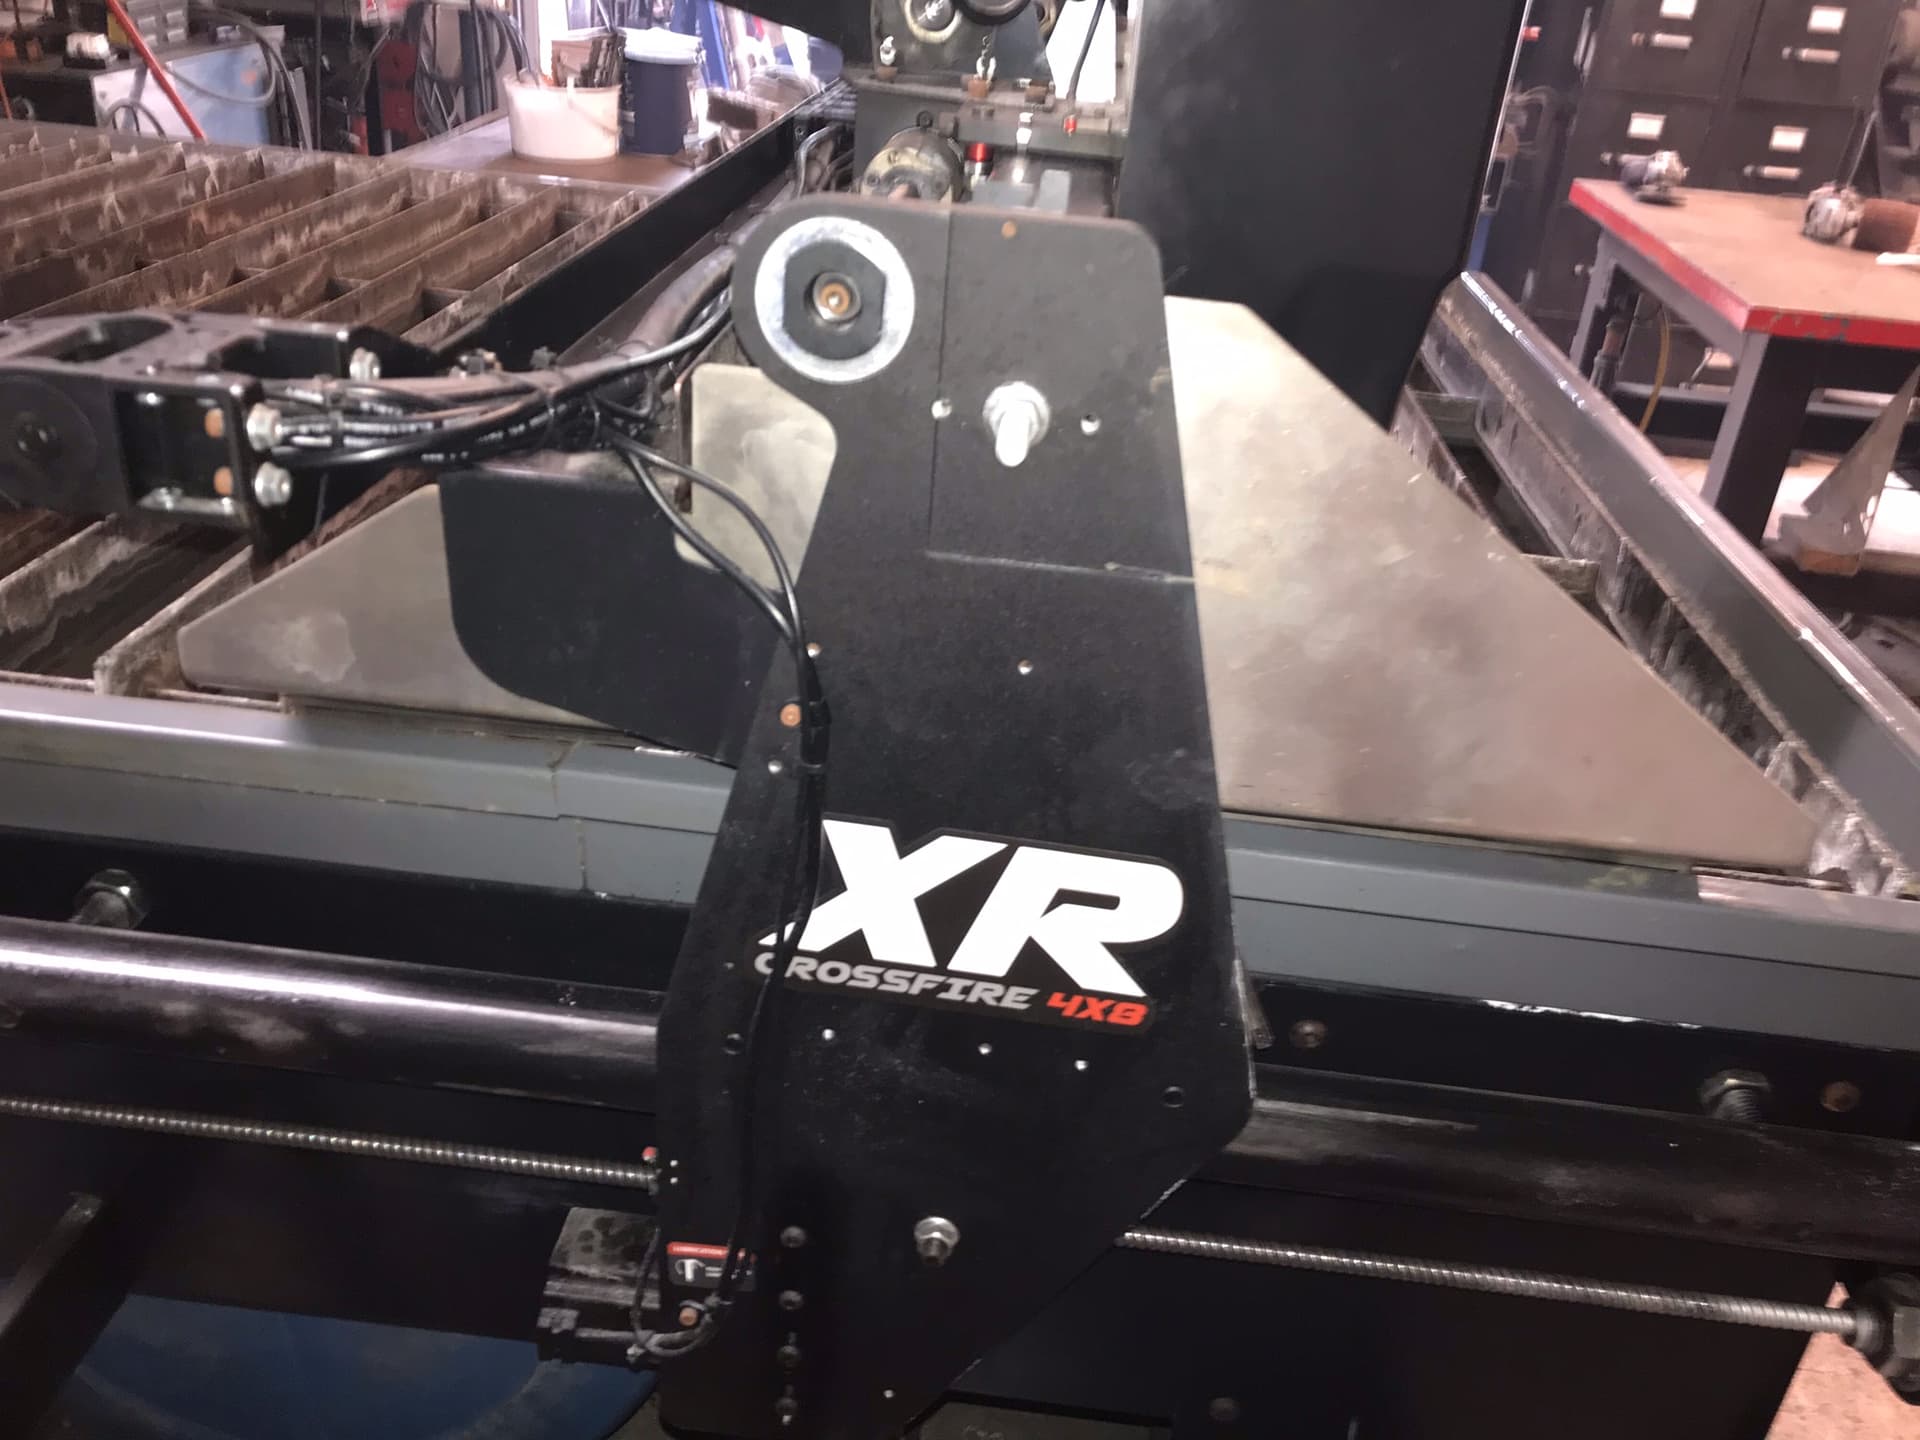
Here is the back side at home position, you can see the rear shield sitting on the water pan tube. Even though its on top its still blocking cutting spray. The shields are stiff enough to flex and spring back into position being 16ga stainless.
I am just getting started, but I have been using 4 ft pieces of flashing (bent into an L shape) along the Y axis on both sides. I can see I need to step it up a bit. haha
This is a great idea. Too bad it is not standard, but it should be.
We did prototype work with aluminum flashing clamped with pinch clamps until we burned it up near torch area and it really not stiff enough unless you make some fancy bend ribs etc. even then a kind of half ass solution with flashing . On this cad offering was hoping for individual reach out so I knew who had my initial work. As mentioned this was a design effort executed and it did take some time -pain with other priorities pushing . I see some enhancements that could be made. Some say 3rd time is a charm so 1st was flashing 2nd this … K