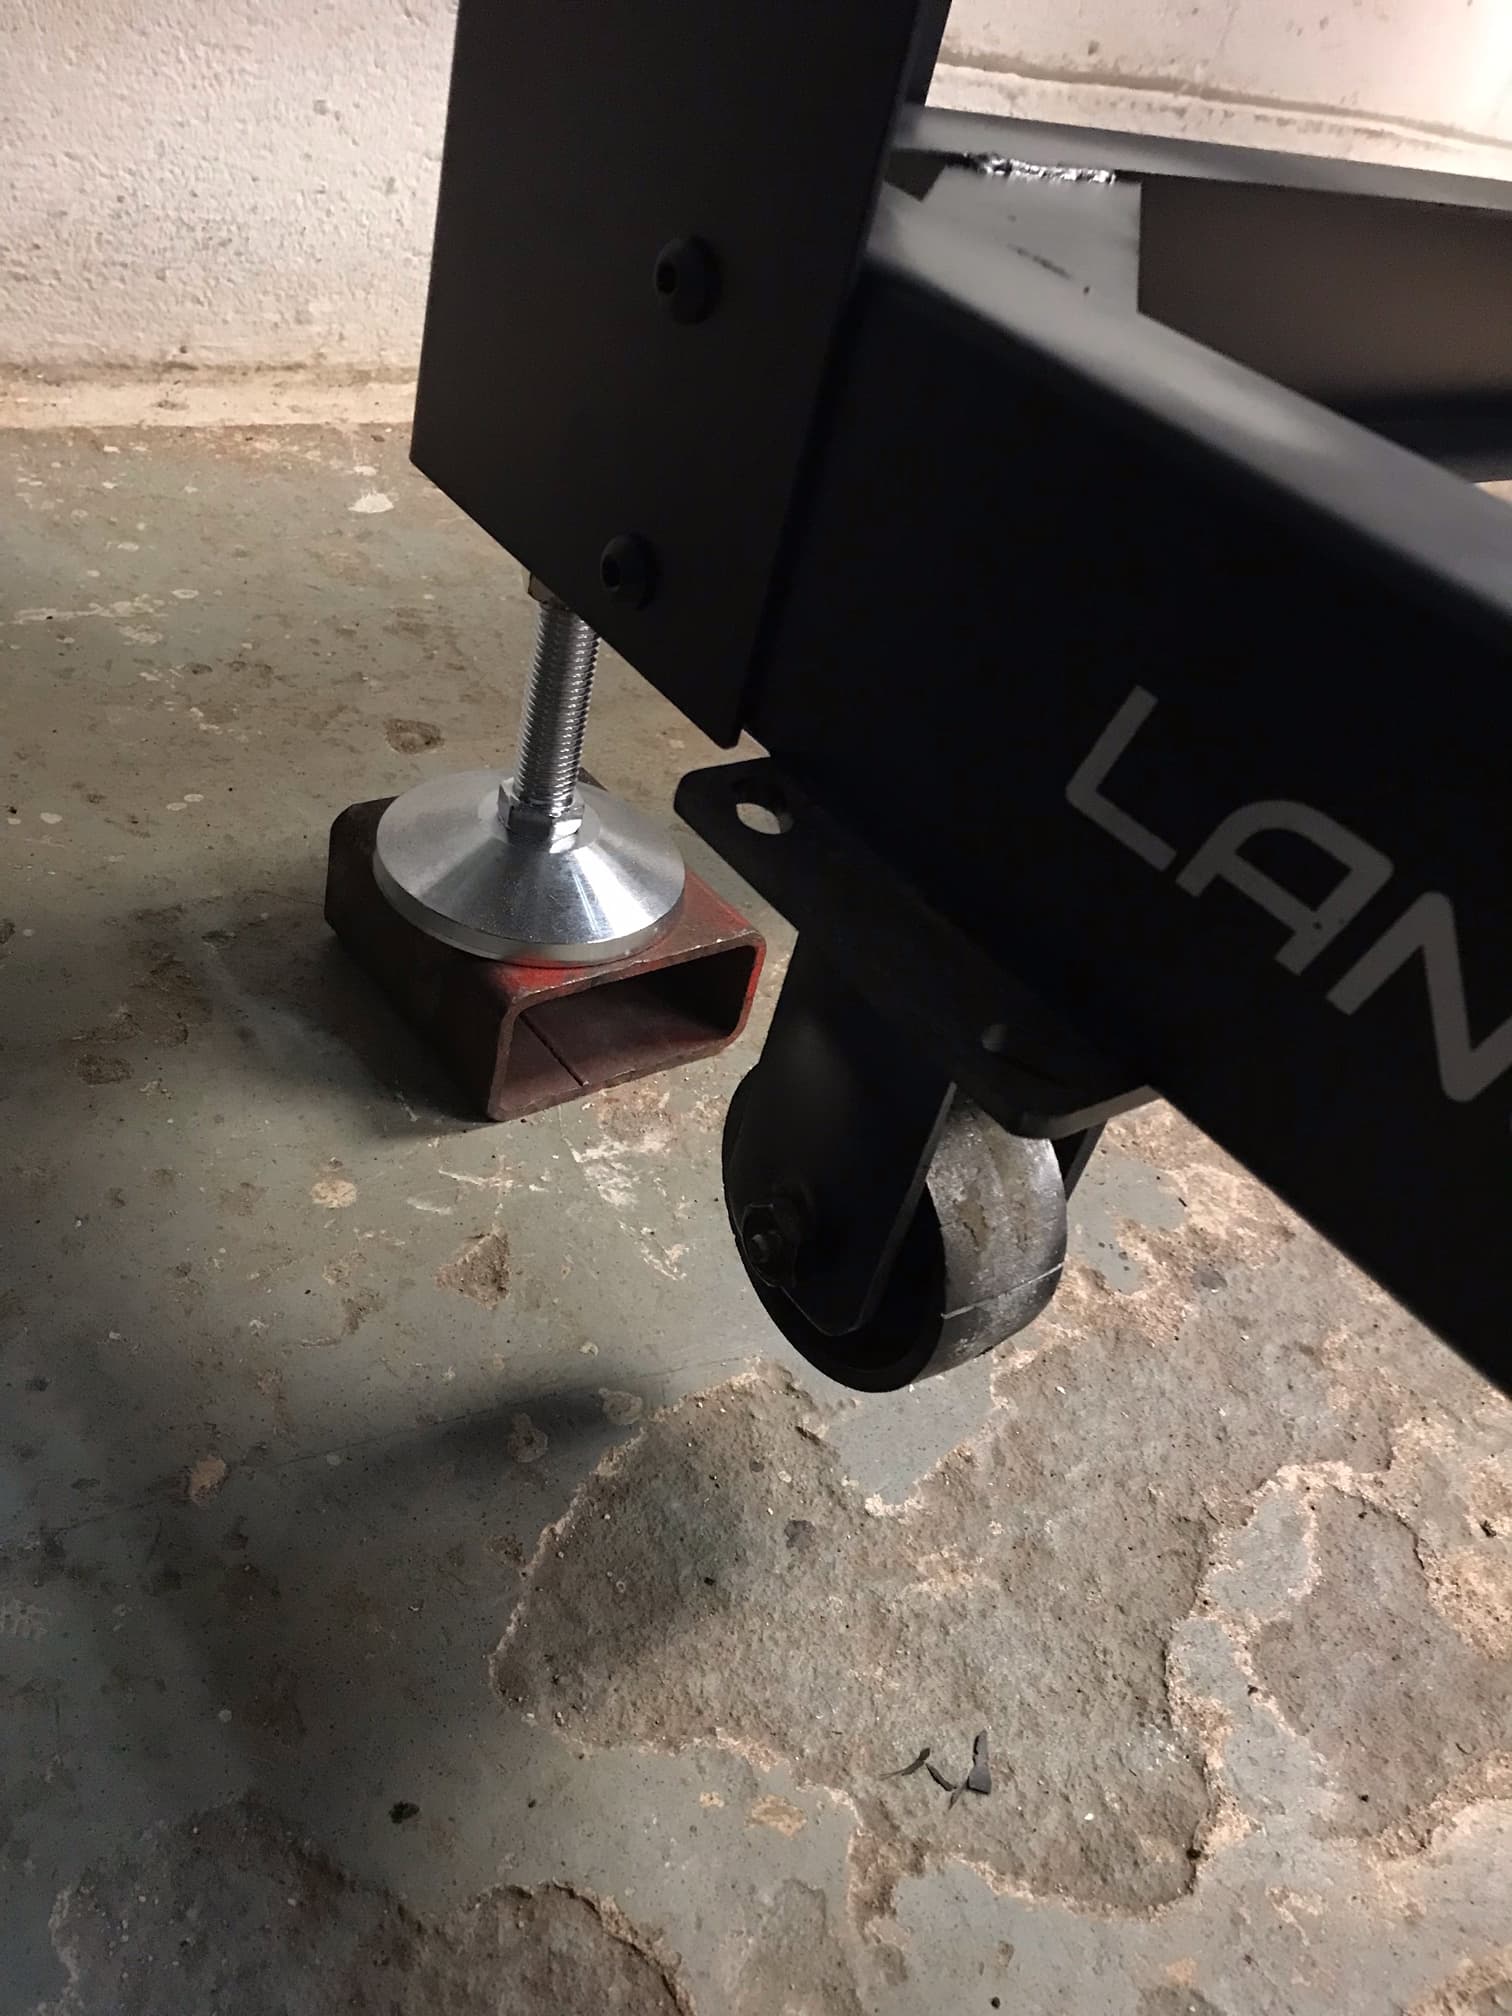
I built some leg extensions to give clearance for my Harbor Freight engine hoist. They are made of some scrap 4.5" OD 4" ID tubing and 1/4“ plate. They are 6" total length, but the plates are countsunk 1/2“. This gives 8.75" of clearance. You can unscrew the leveling legs out another 1.5" They are very stable, but when I get the table up and running I’ll cut some wider circles plates and tack them to the bottom just to take out any doubt.
Overall height of the frame to the ground is now 37.5"
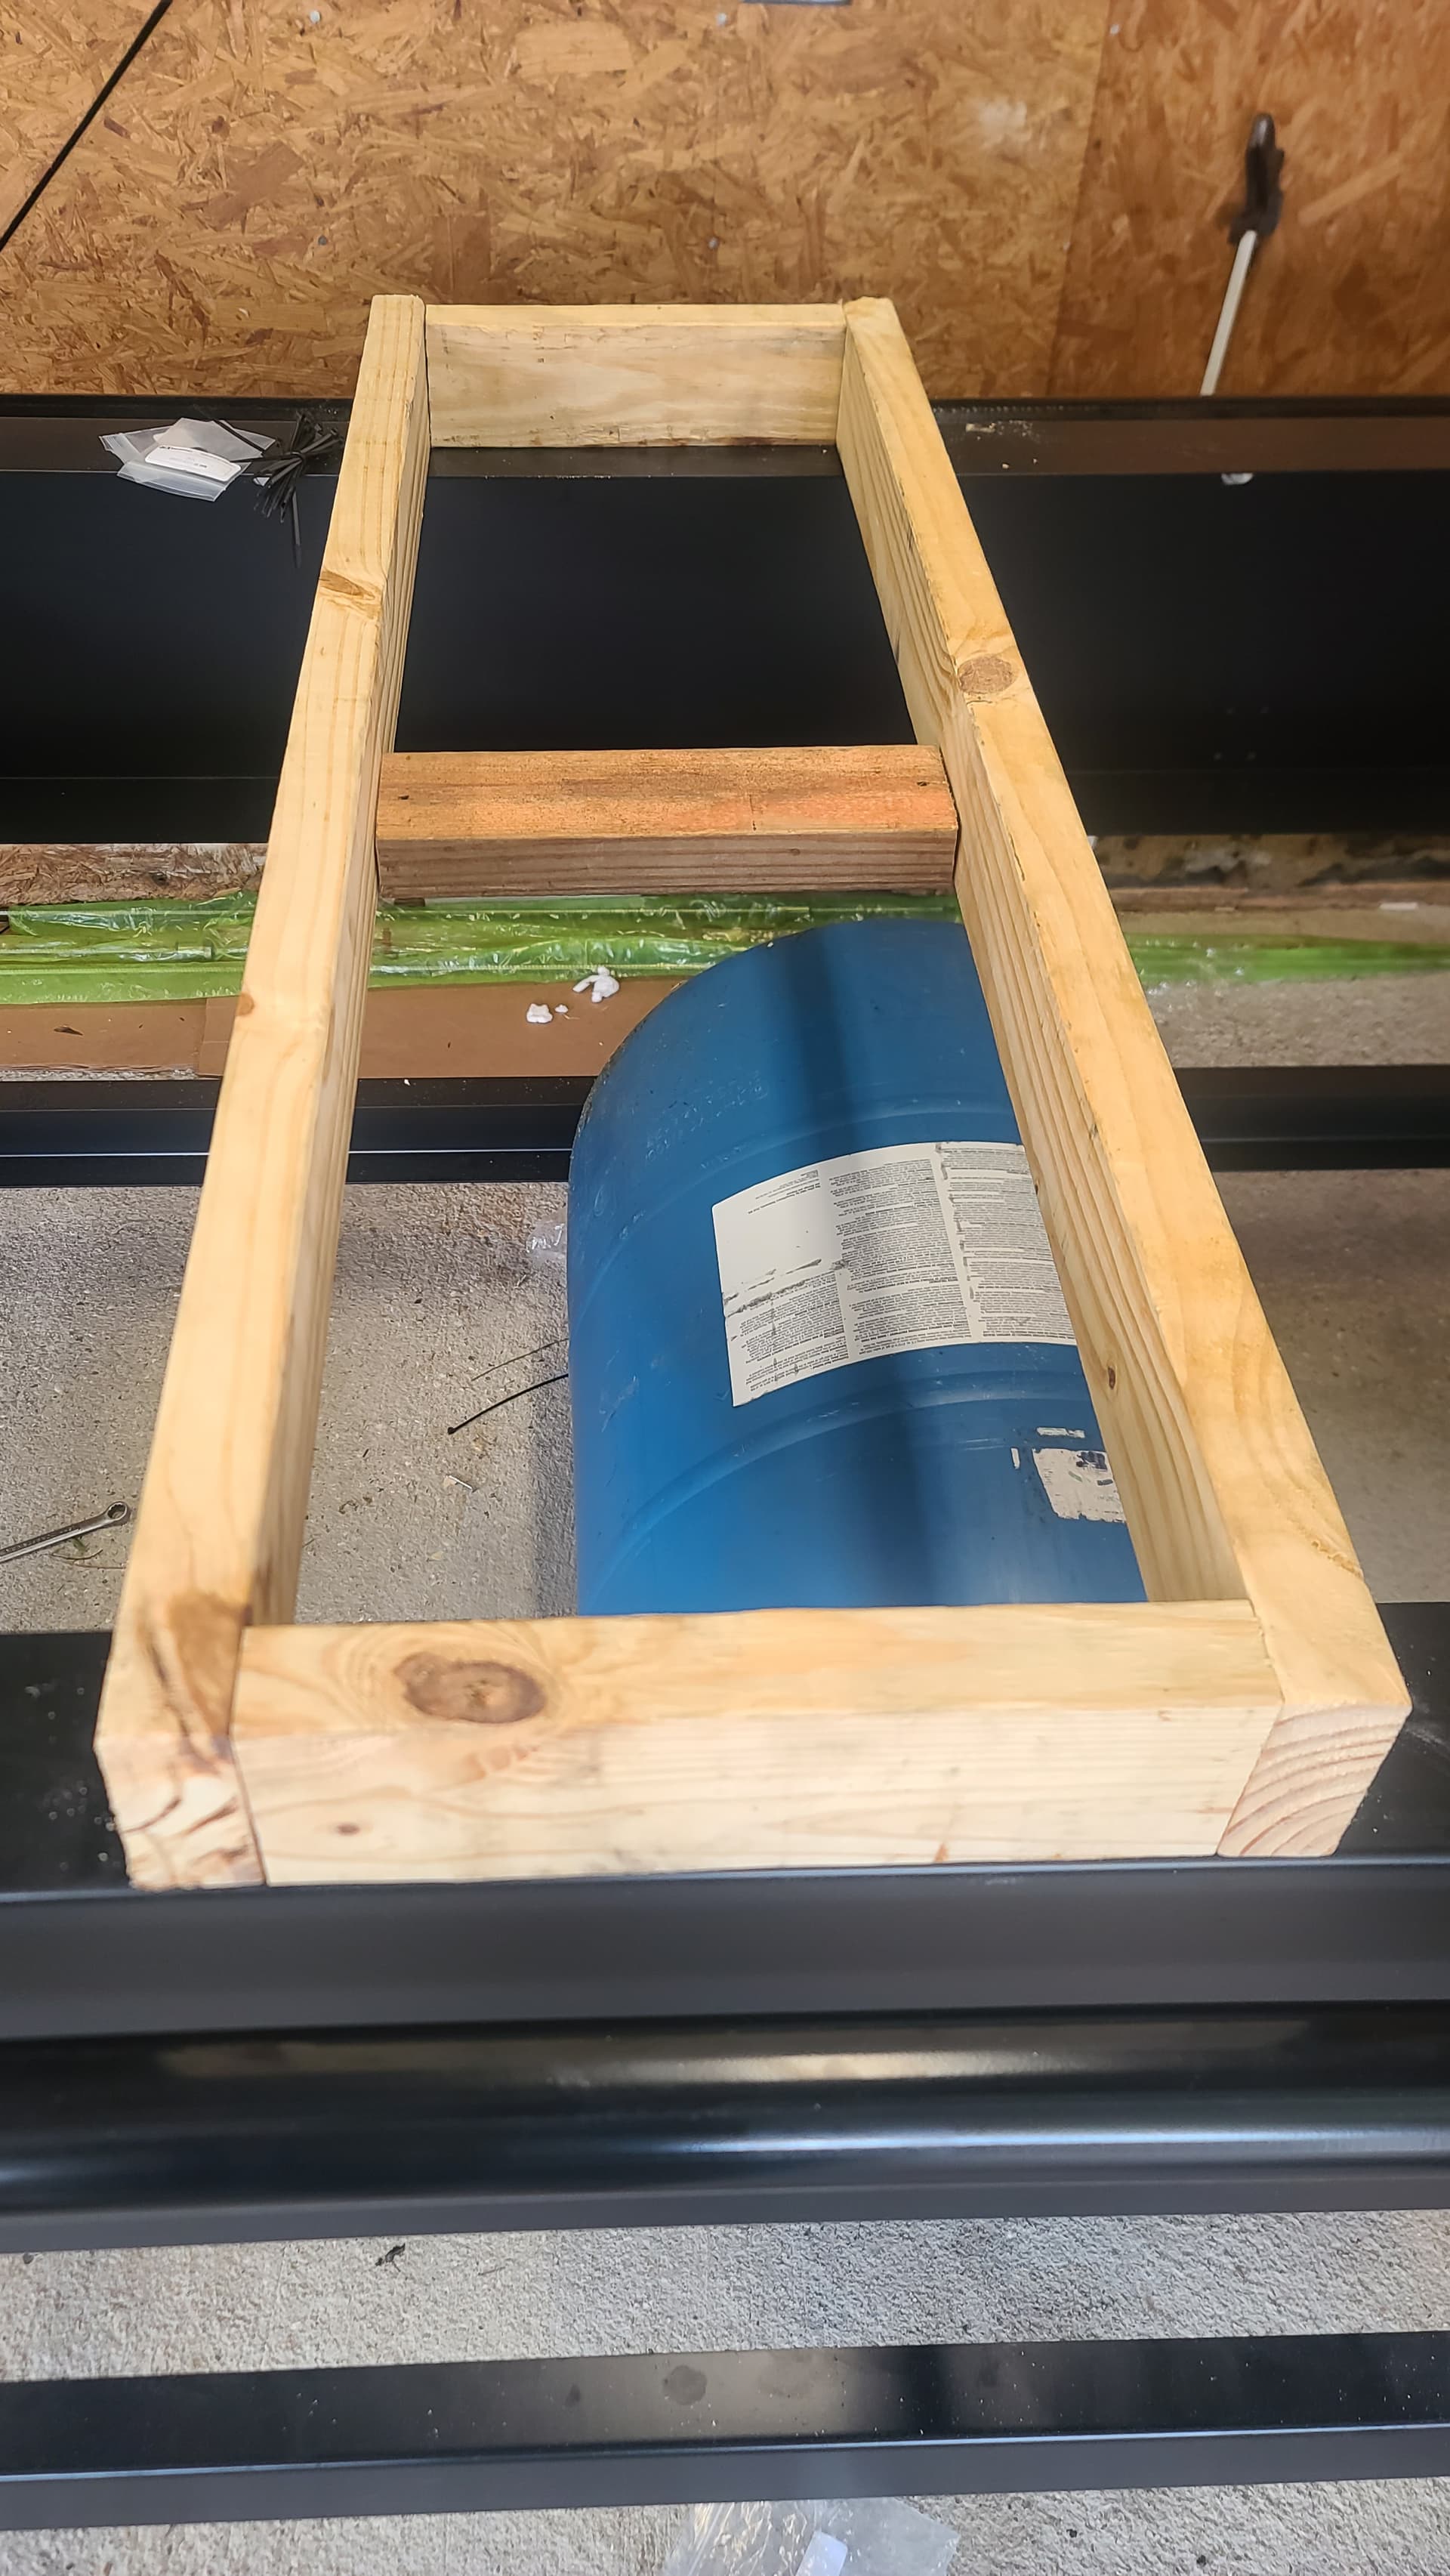
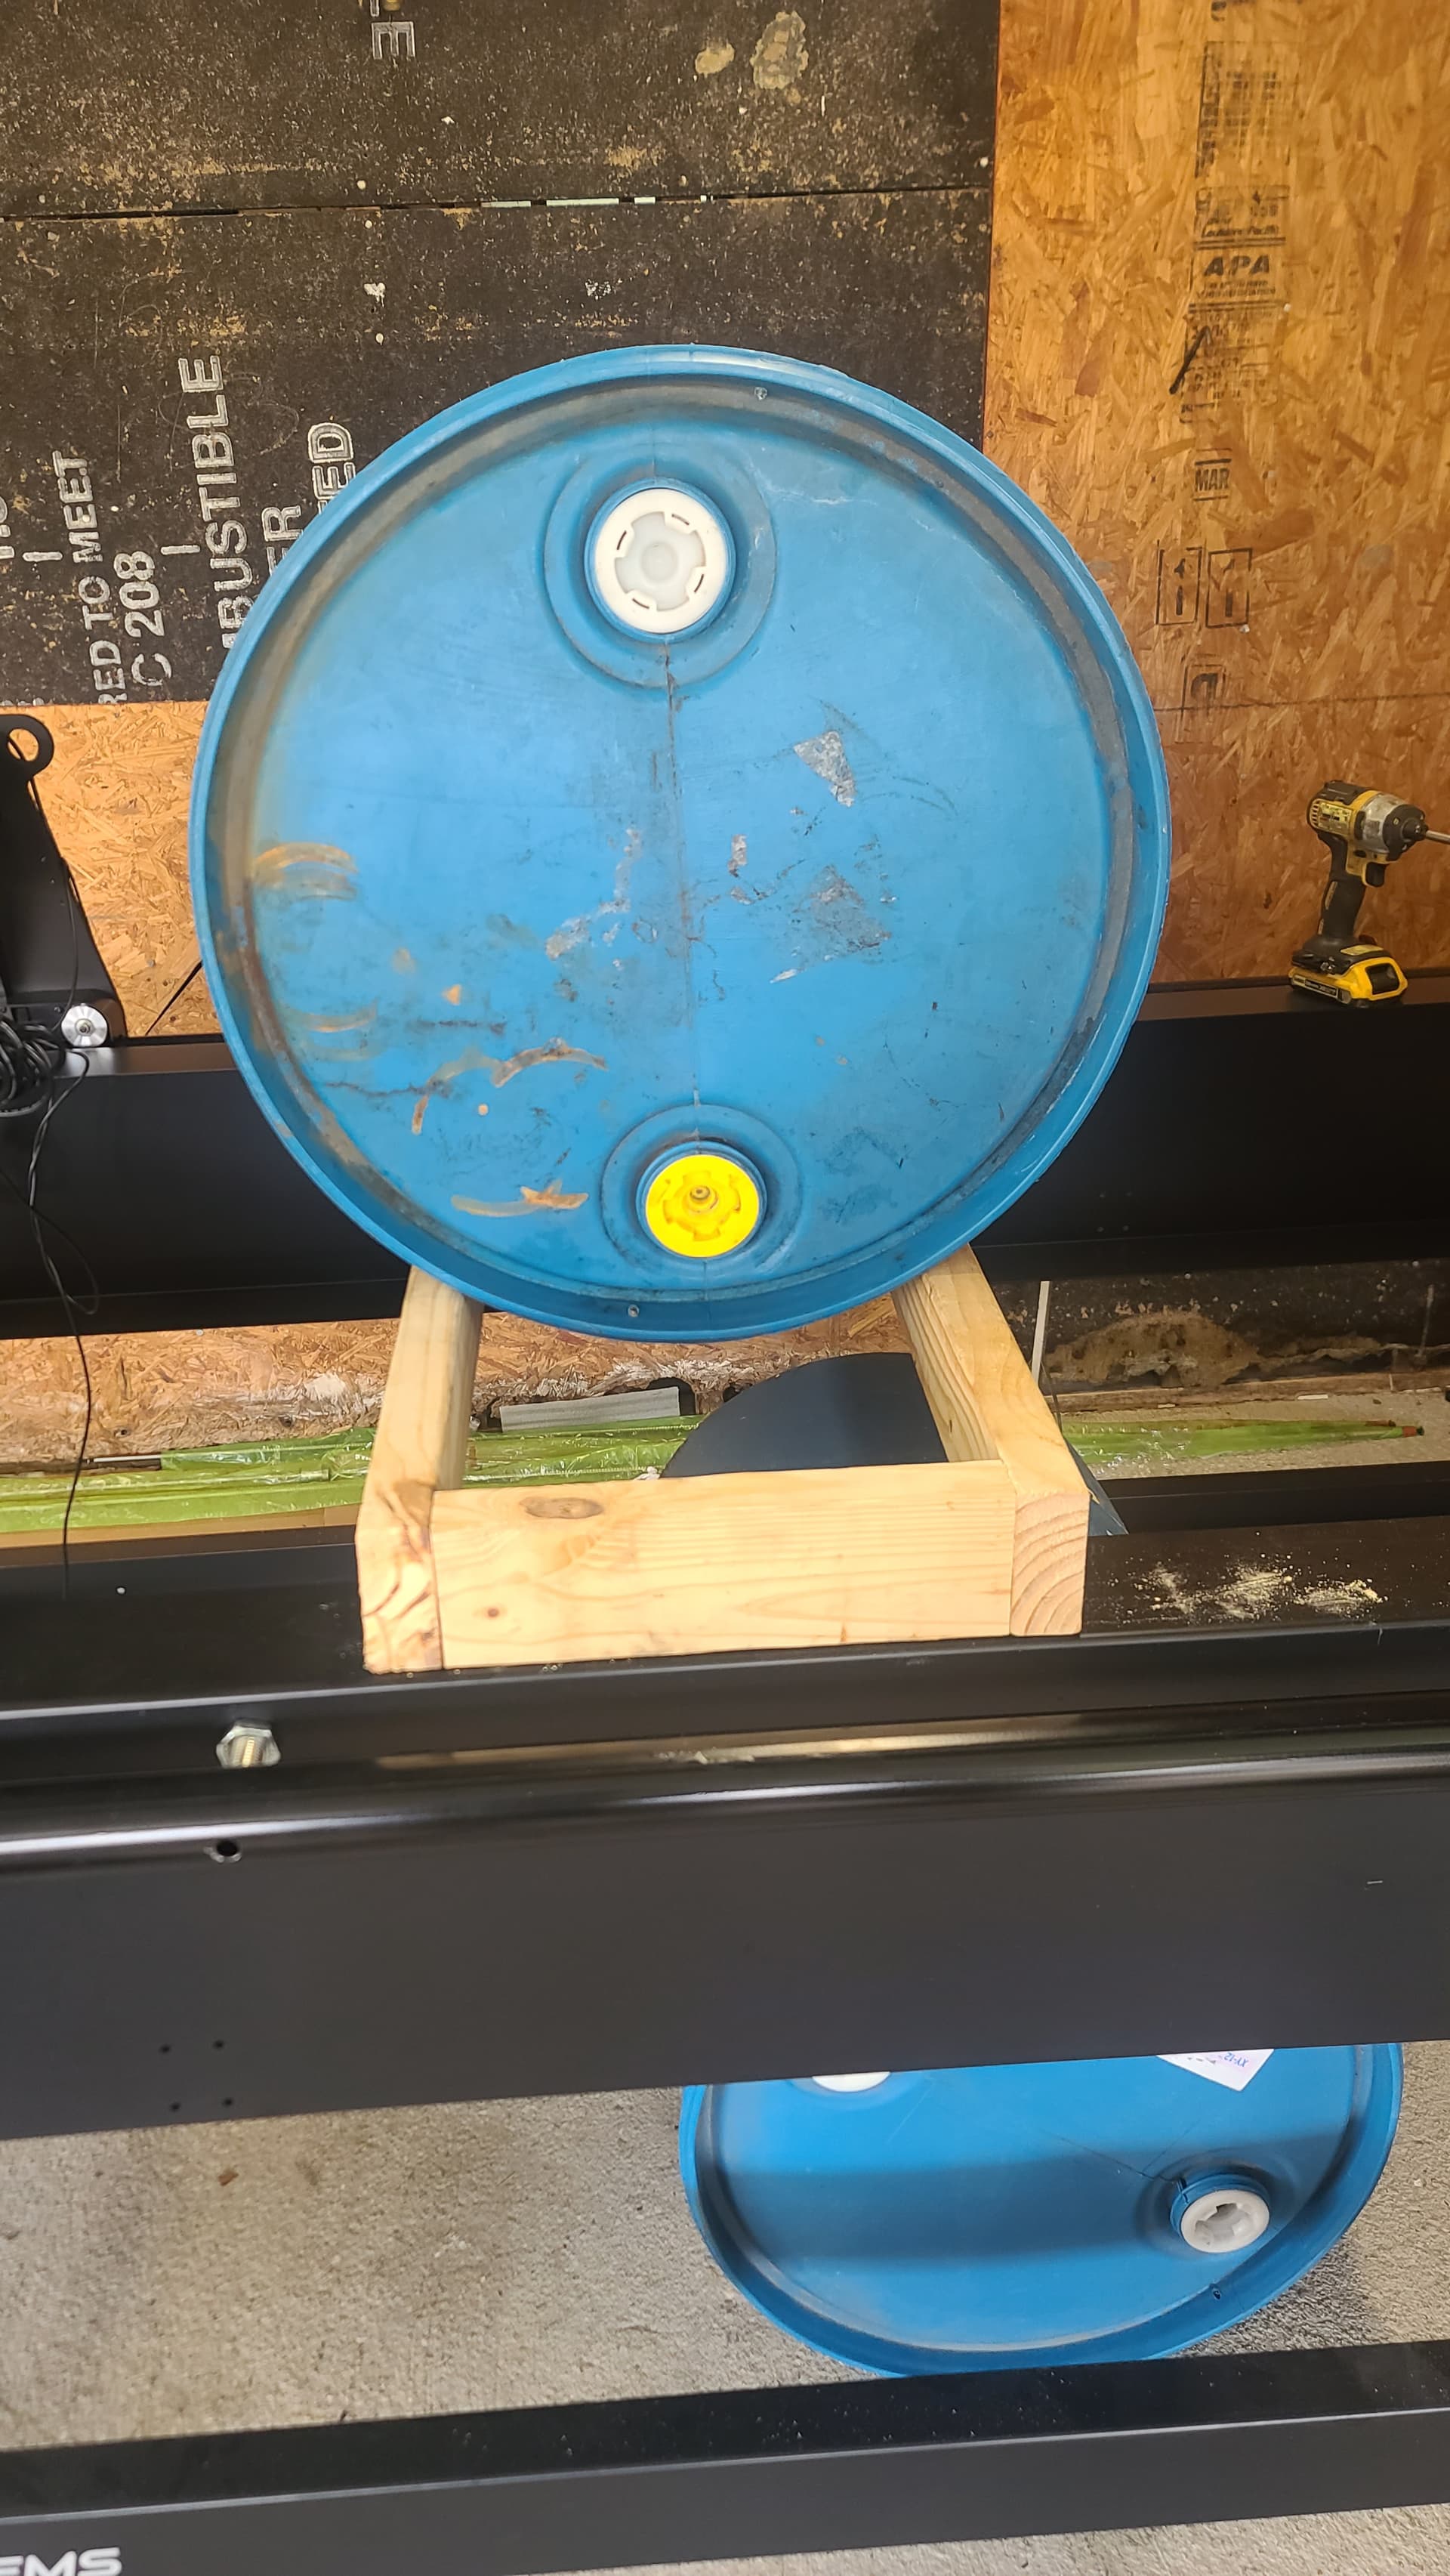
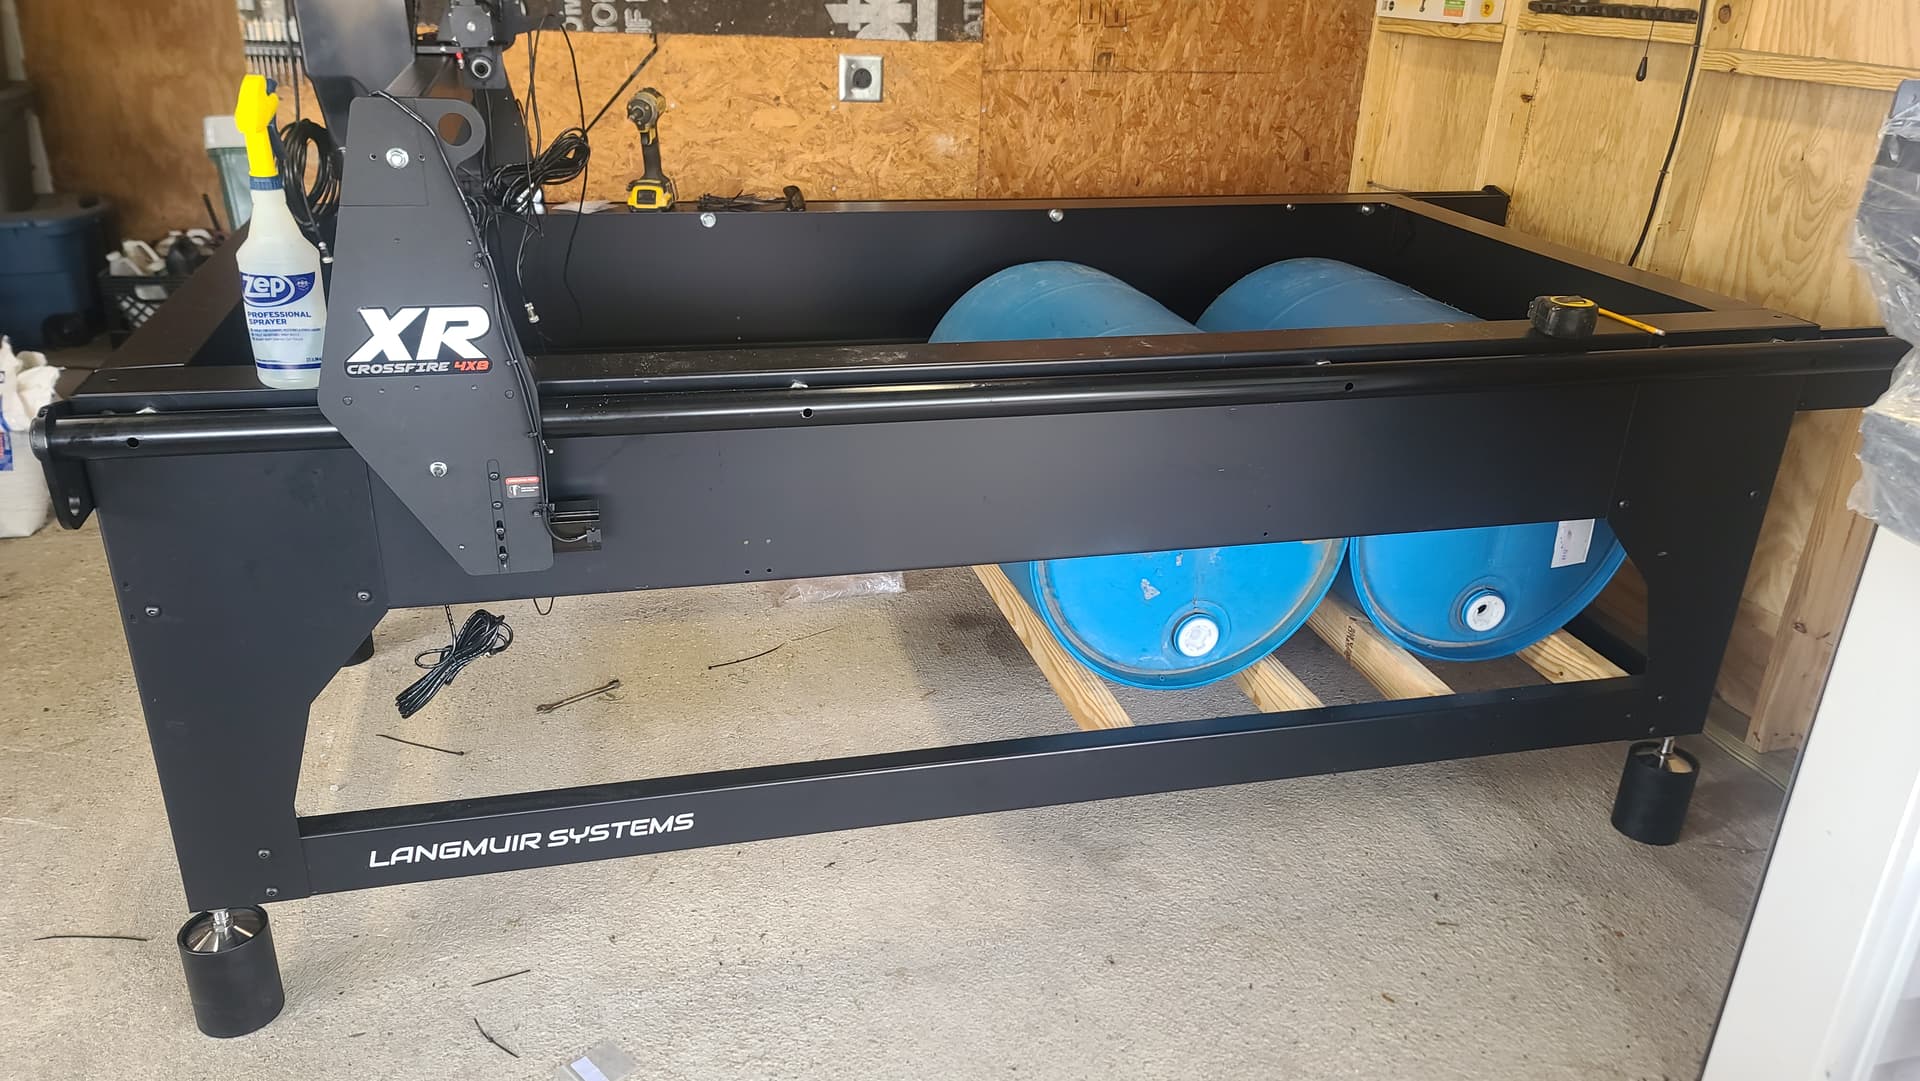
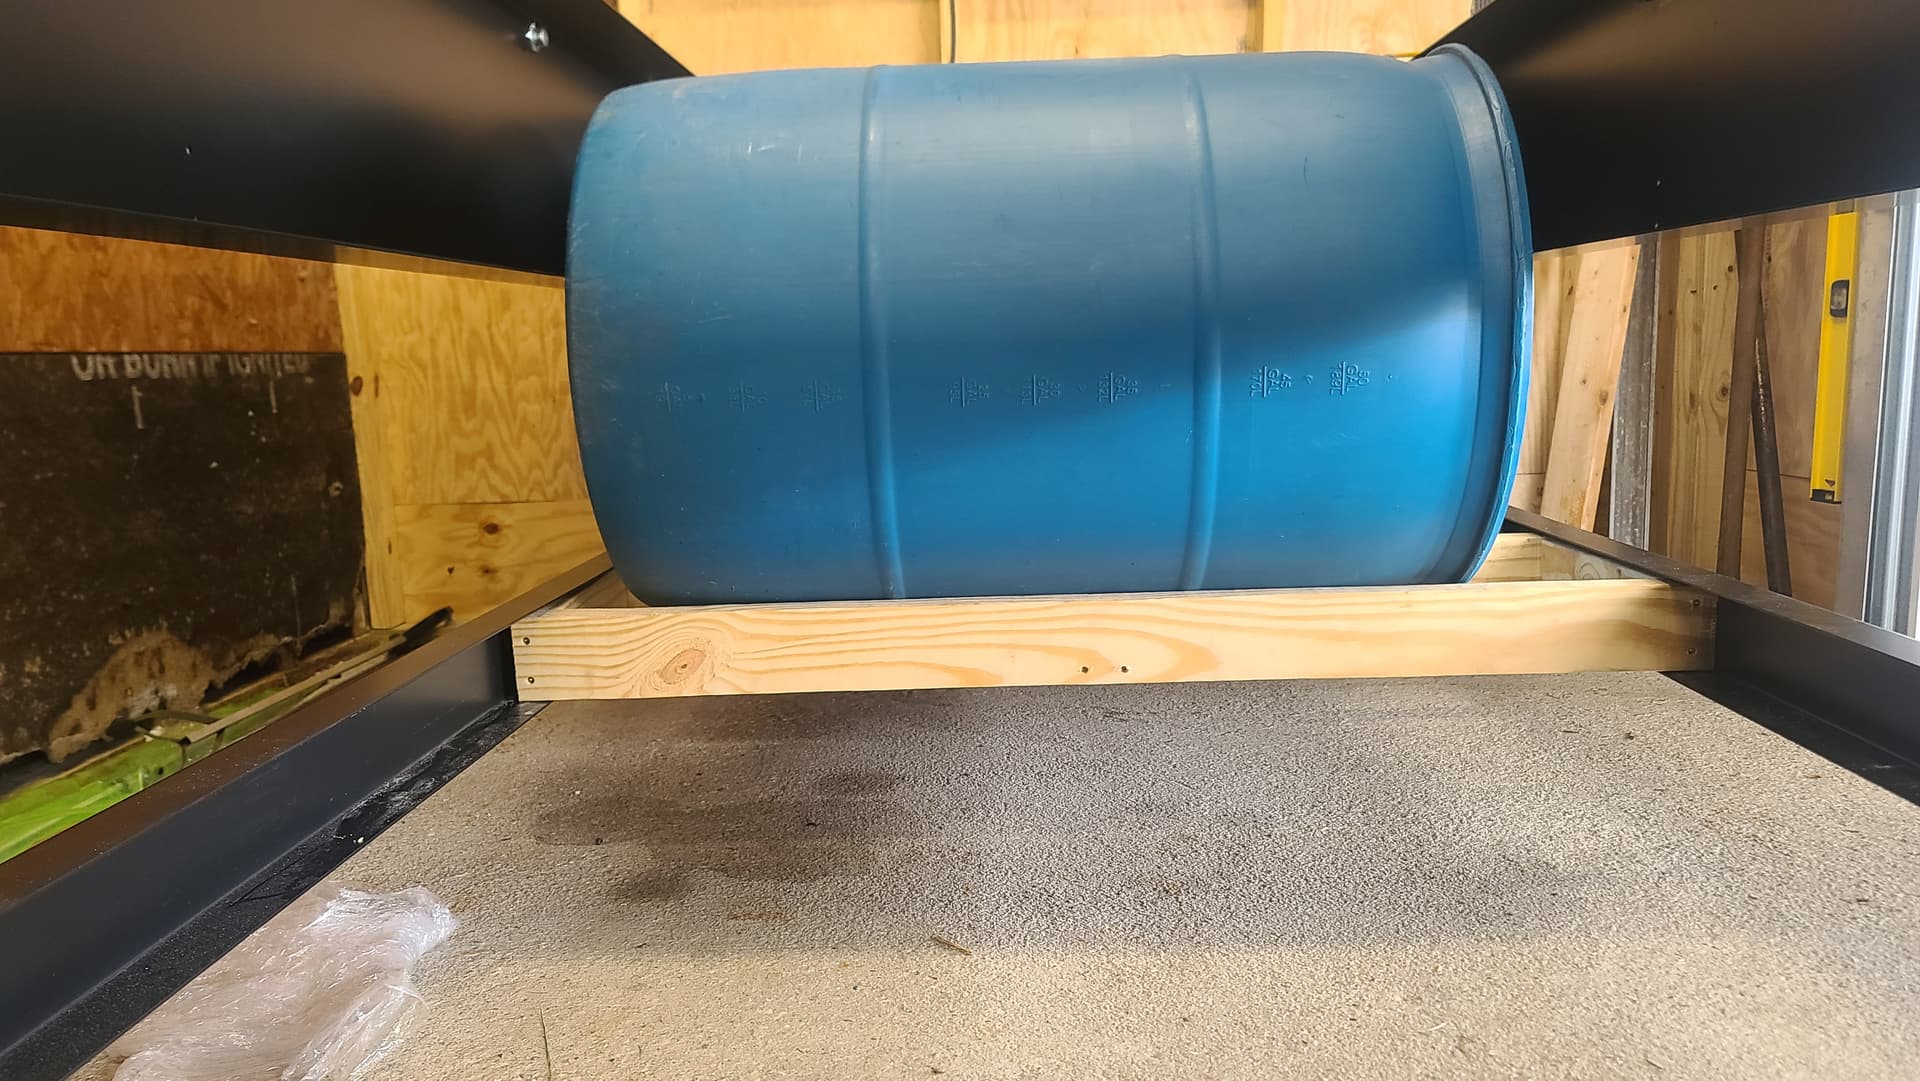
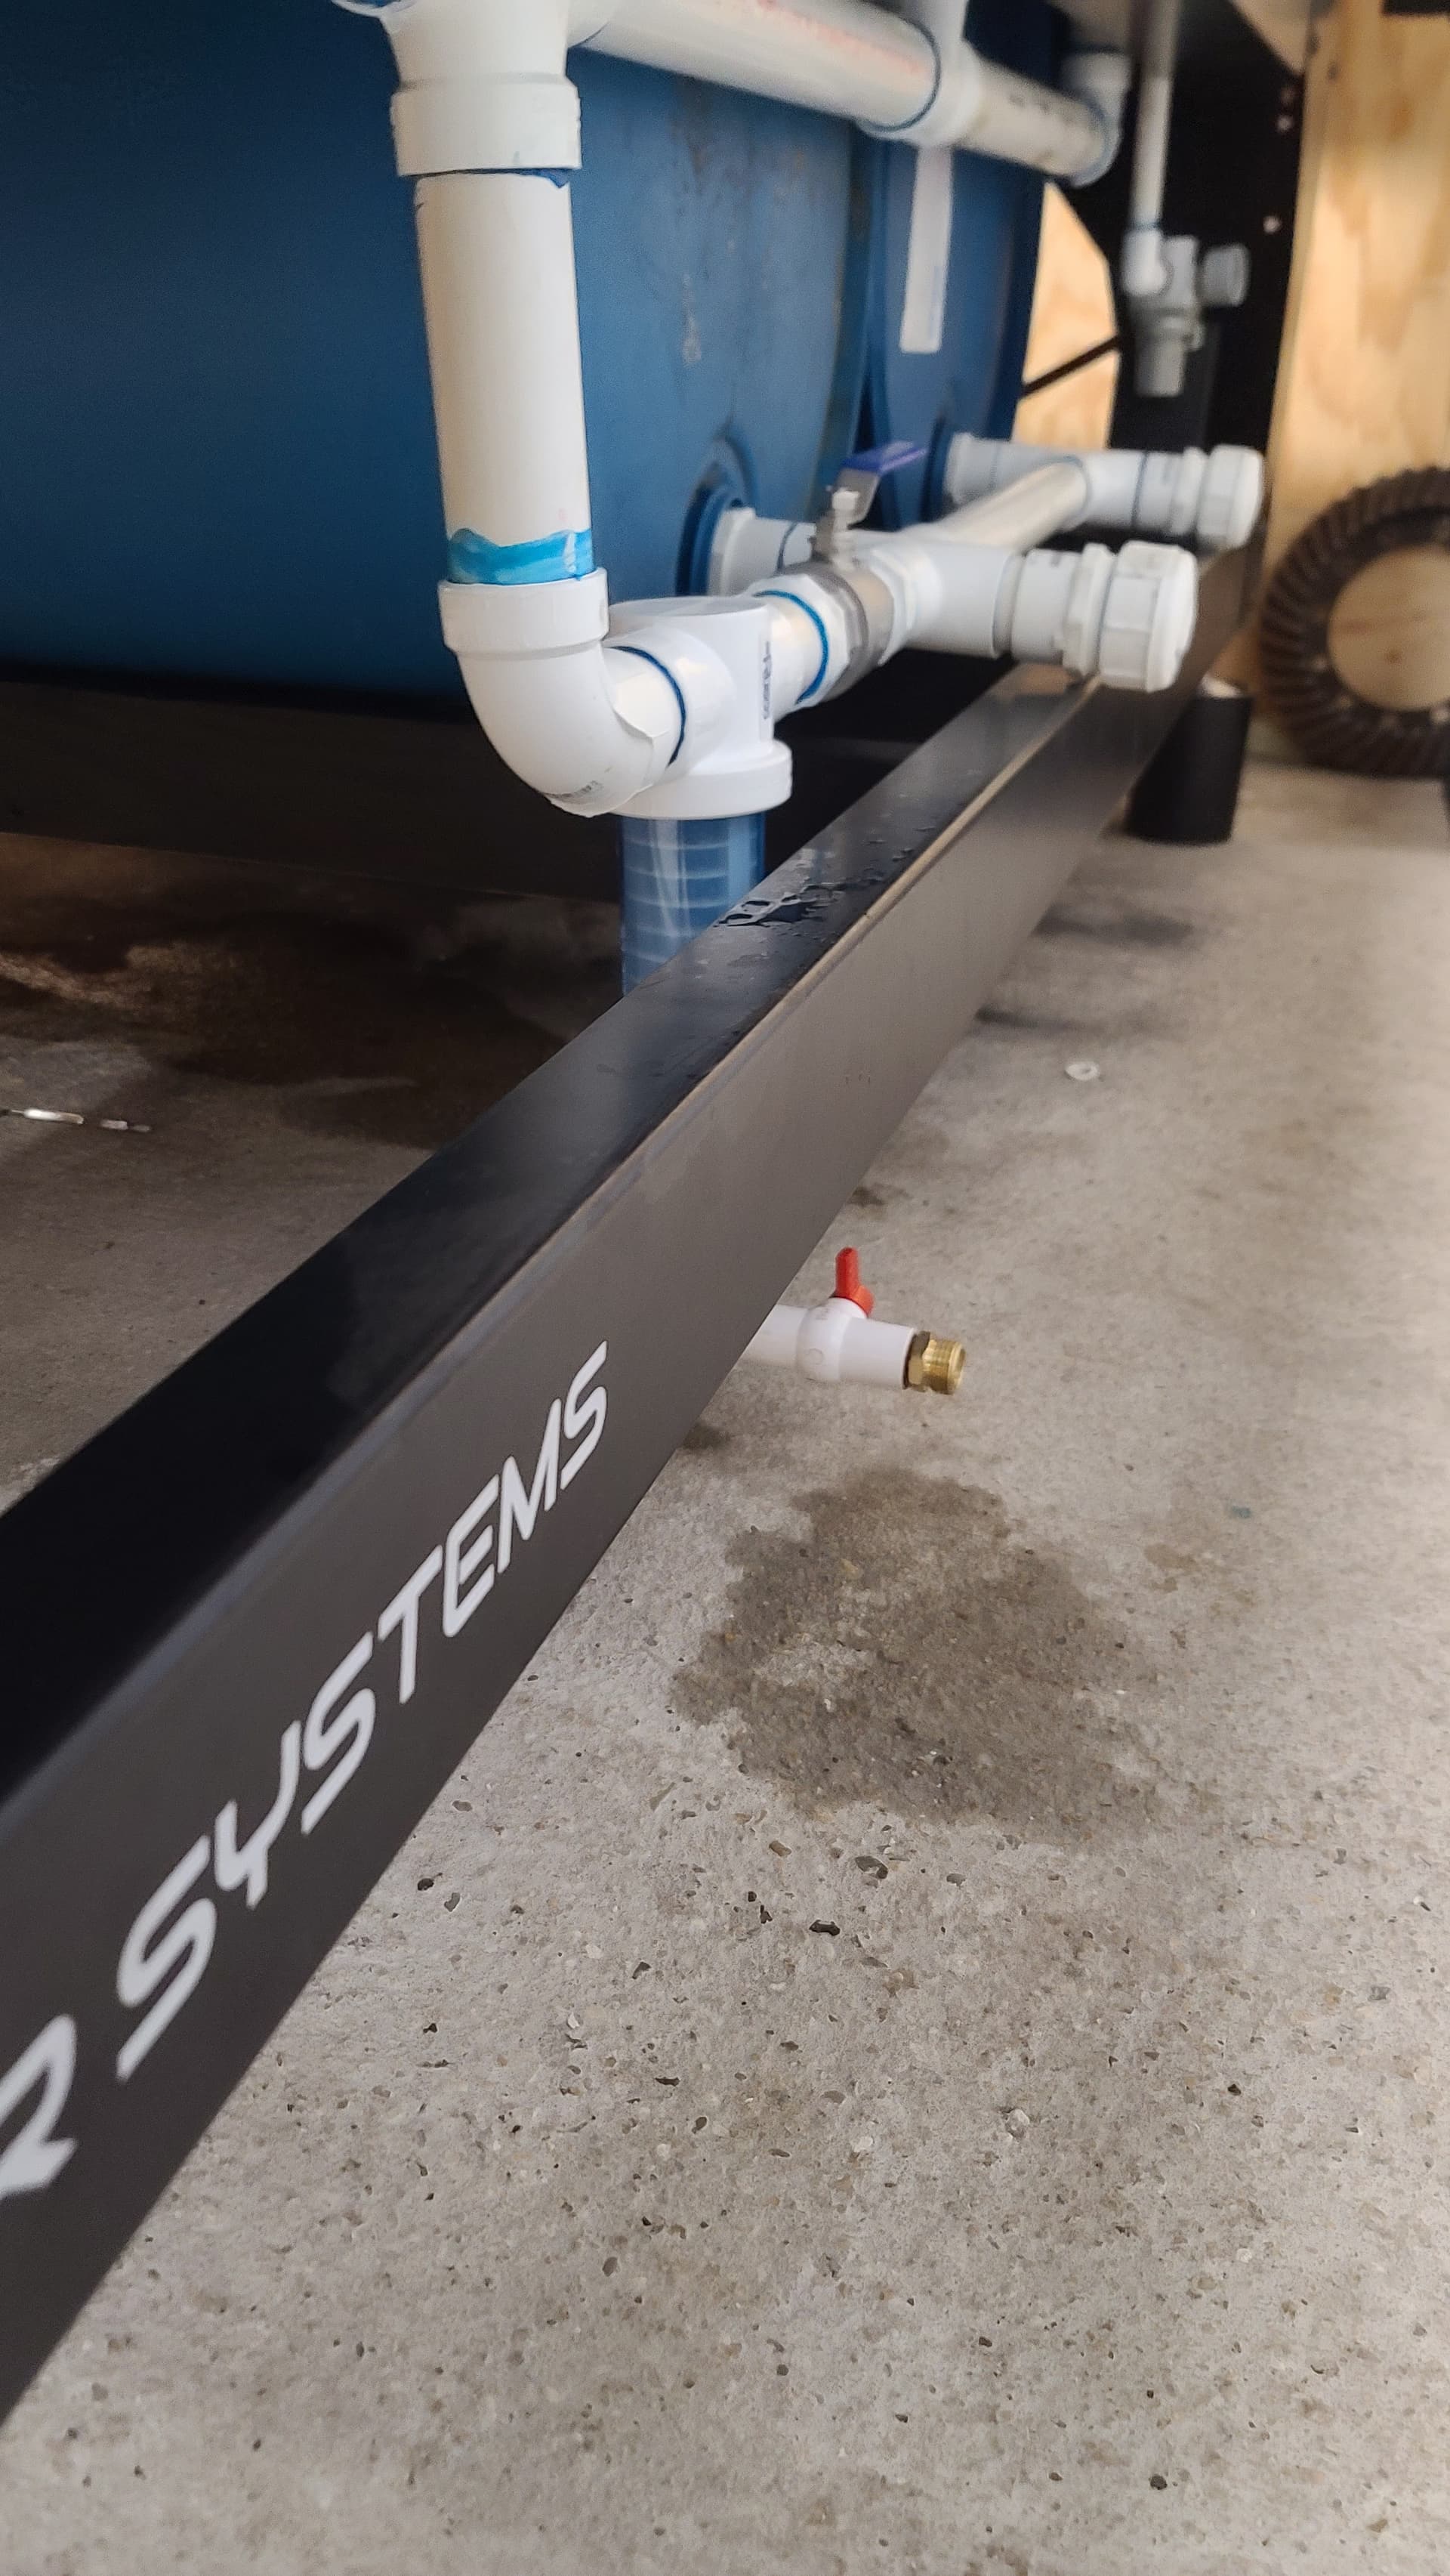
I also made some real simple 55 gal drum holders that fit in the lower frame. I used 3 2x4x8’s cut to 4ft and 1ft. You have to assemble them in the frame. This way I don’t have to worry about any clearance issues with any kind of engine hoist I use.
Thanks for sharing We have an XR due to ship this week. If you put a small fixed orifice or flow control valve you can have a little more pressure on the fill regulator and adjust the fill rate that way . The regulator is simple though, good job!. What plasma machine and G-code generator are you using? Ken in NC.
Ox, Thank you for the post. If we don’t clinch the tray holes to flush seems only marginal water left seems if some sealant under the flange and then put the drain gasket on bottom side we can get almost flush, what are your thoughts ? We can take this offline or just keep it running it seems any inputs can help folks that spent $ on this XR machine. I have been designing and building automation equipment 35+ years so interesting to see what they shipped us… 1st though down the line ( after tray drainage) is is to tweak the Y axis to try and get 49" out of it, not sure why they limited Y to 48" Ideally 49" can clean sever an oversize sheet without shifting the plate or getting a cut off wheel out to start with a shortened sheet to get 1/2 sheet of scrap off the machine, additionally have a set of reference stops on XY to position new sheets into a datum position. Ken - Xplormor Offroad , Southern Pines, NC. https://www.facebook.com/xplormoroffroad/
No problem Mr Ken I know numerous of people have helped me out so I’m just returning the favor to the community. I hate when people withhold information, because they’re scared that somebody else is going to make money on their idea.
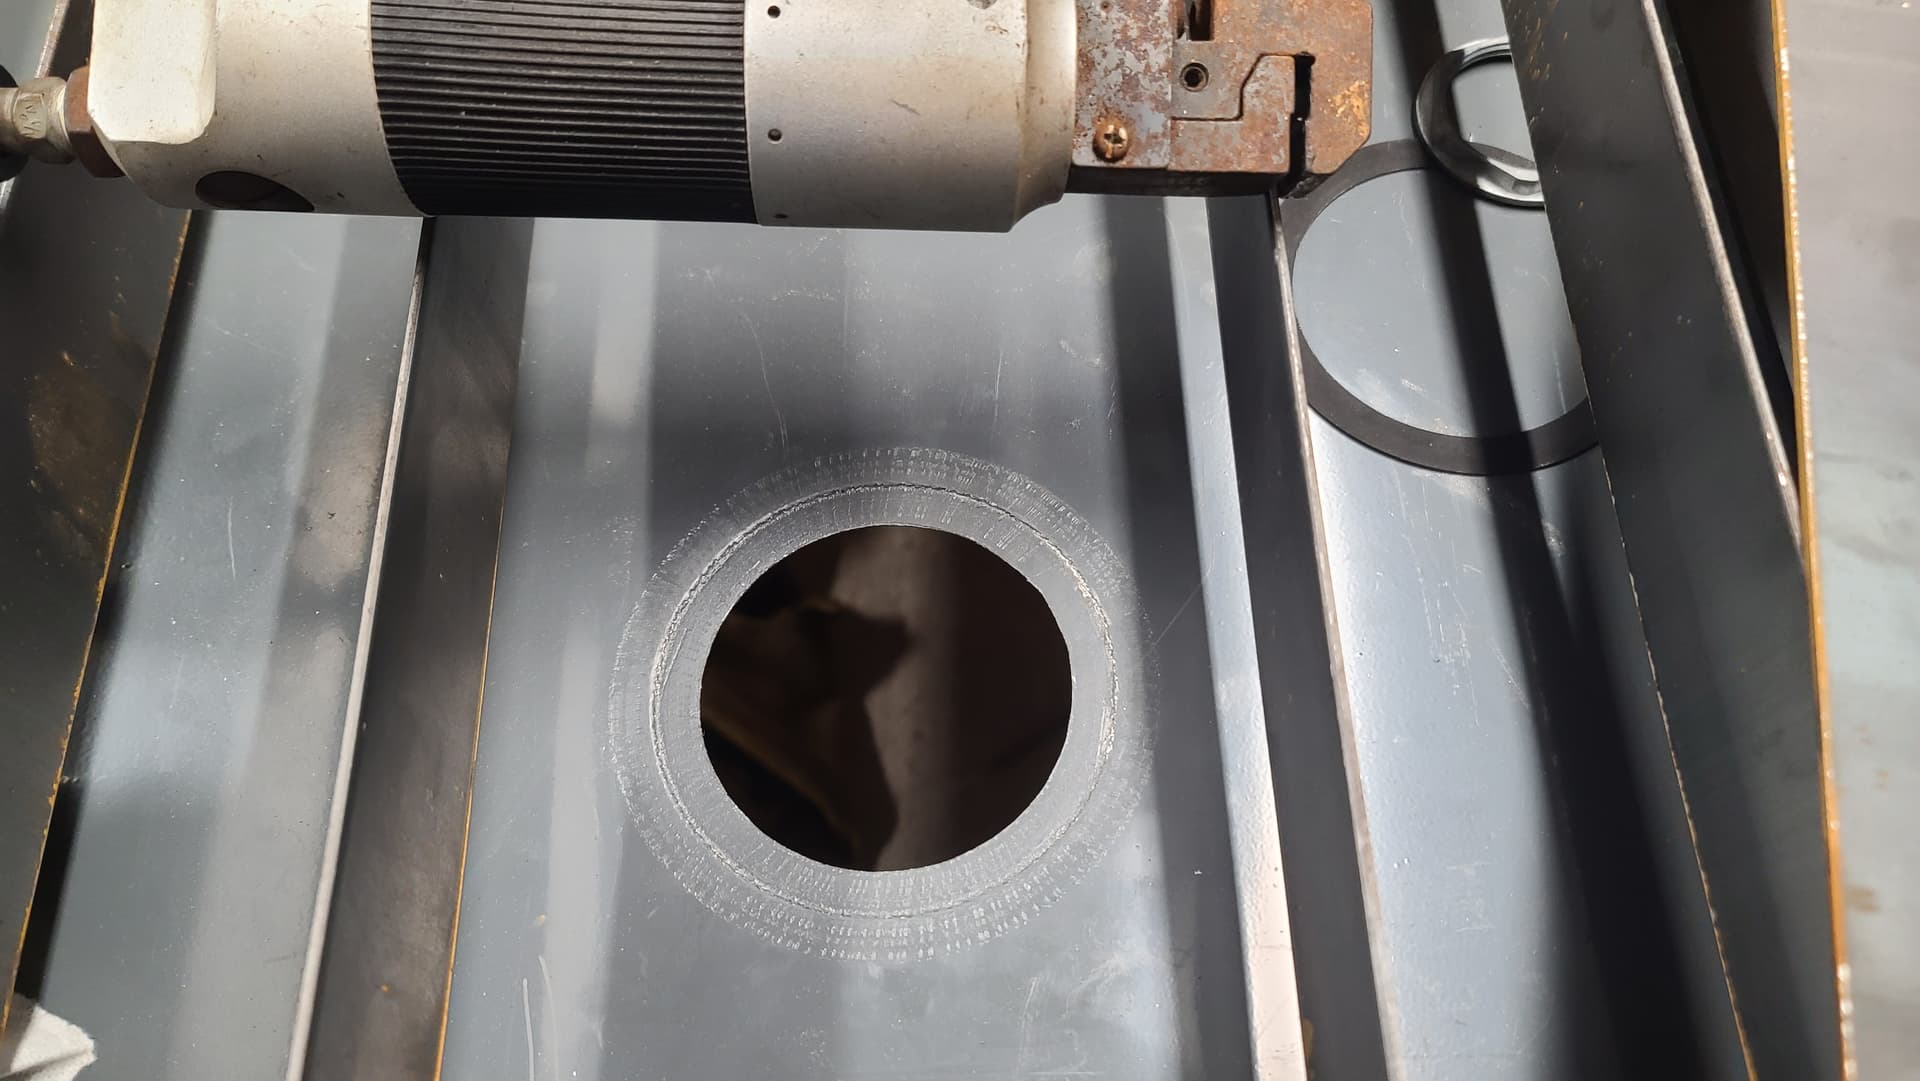
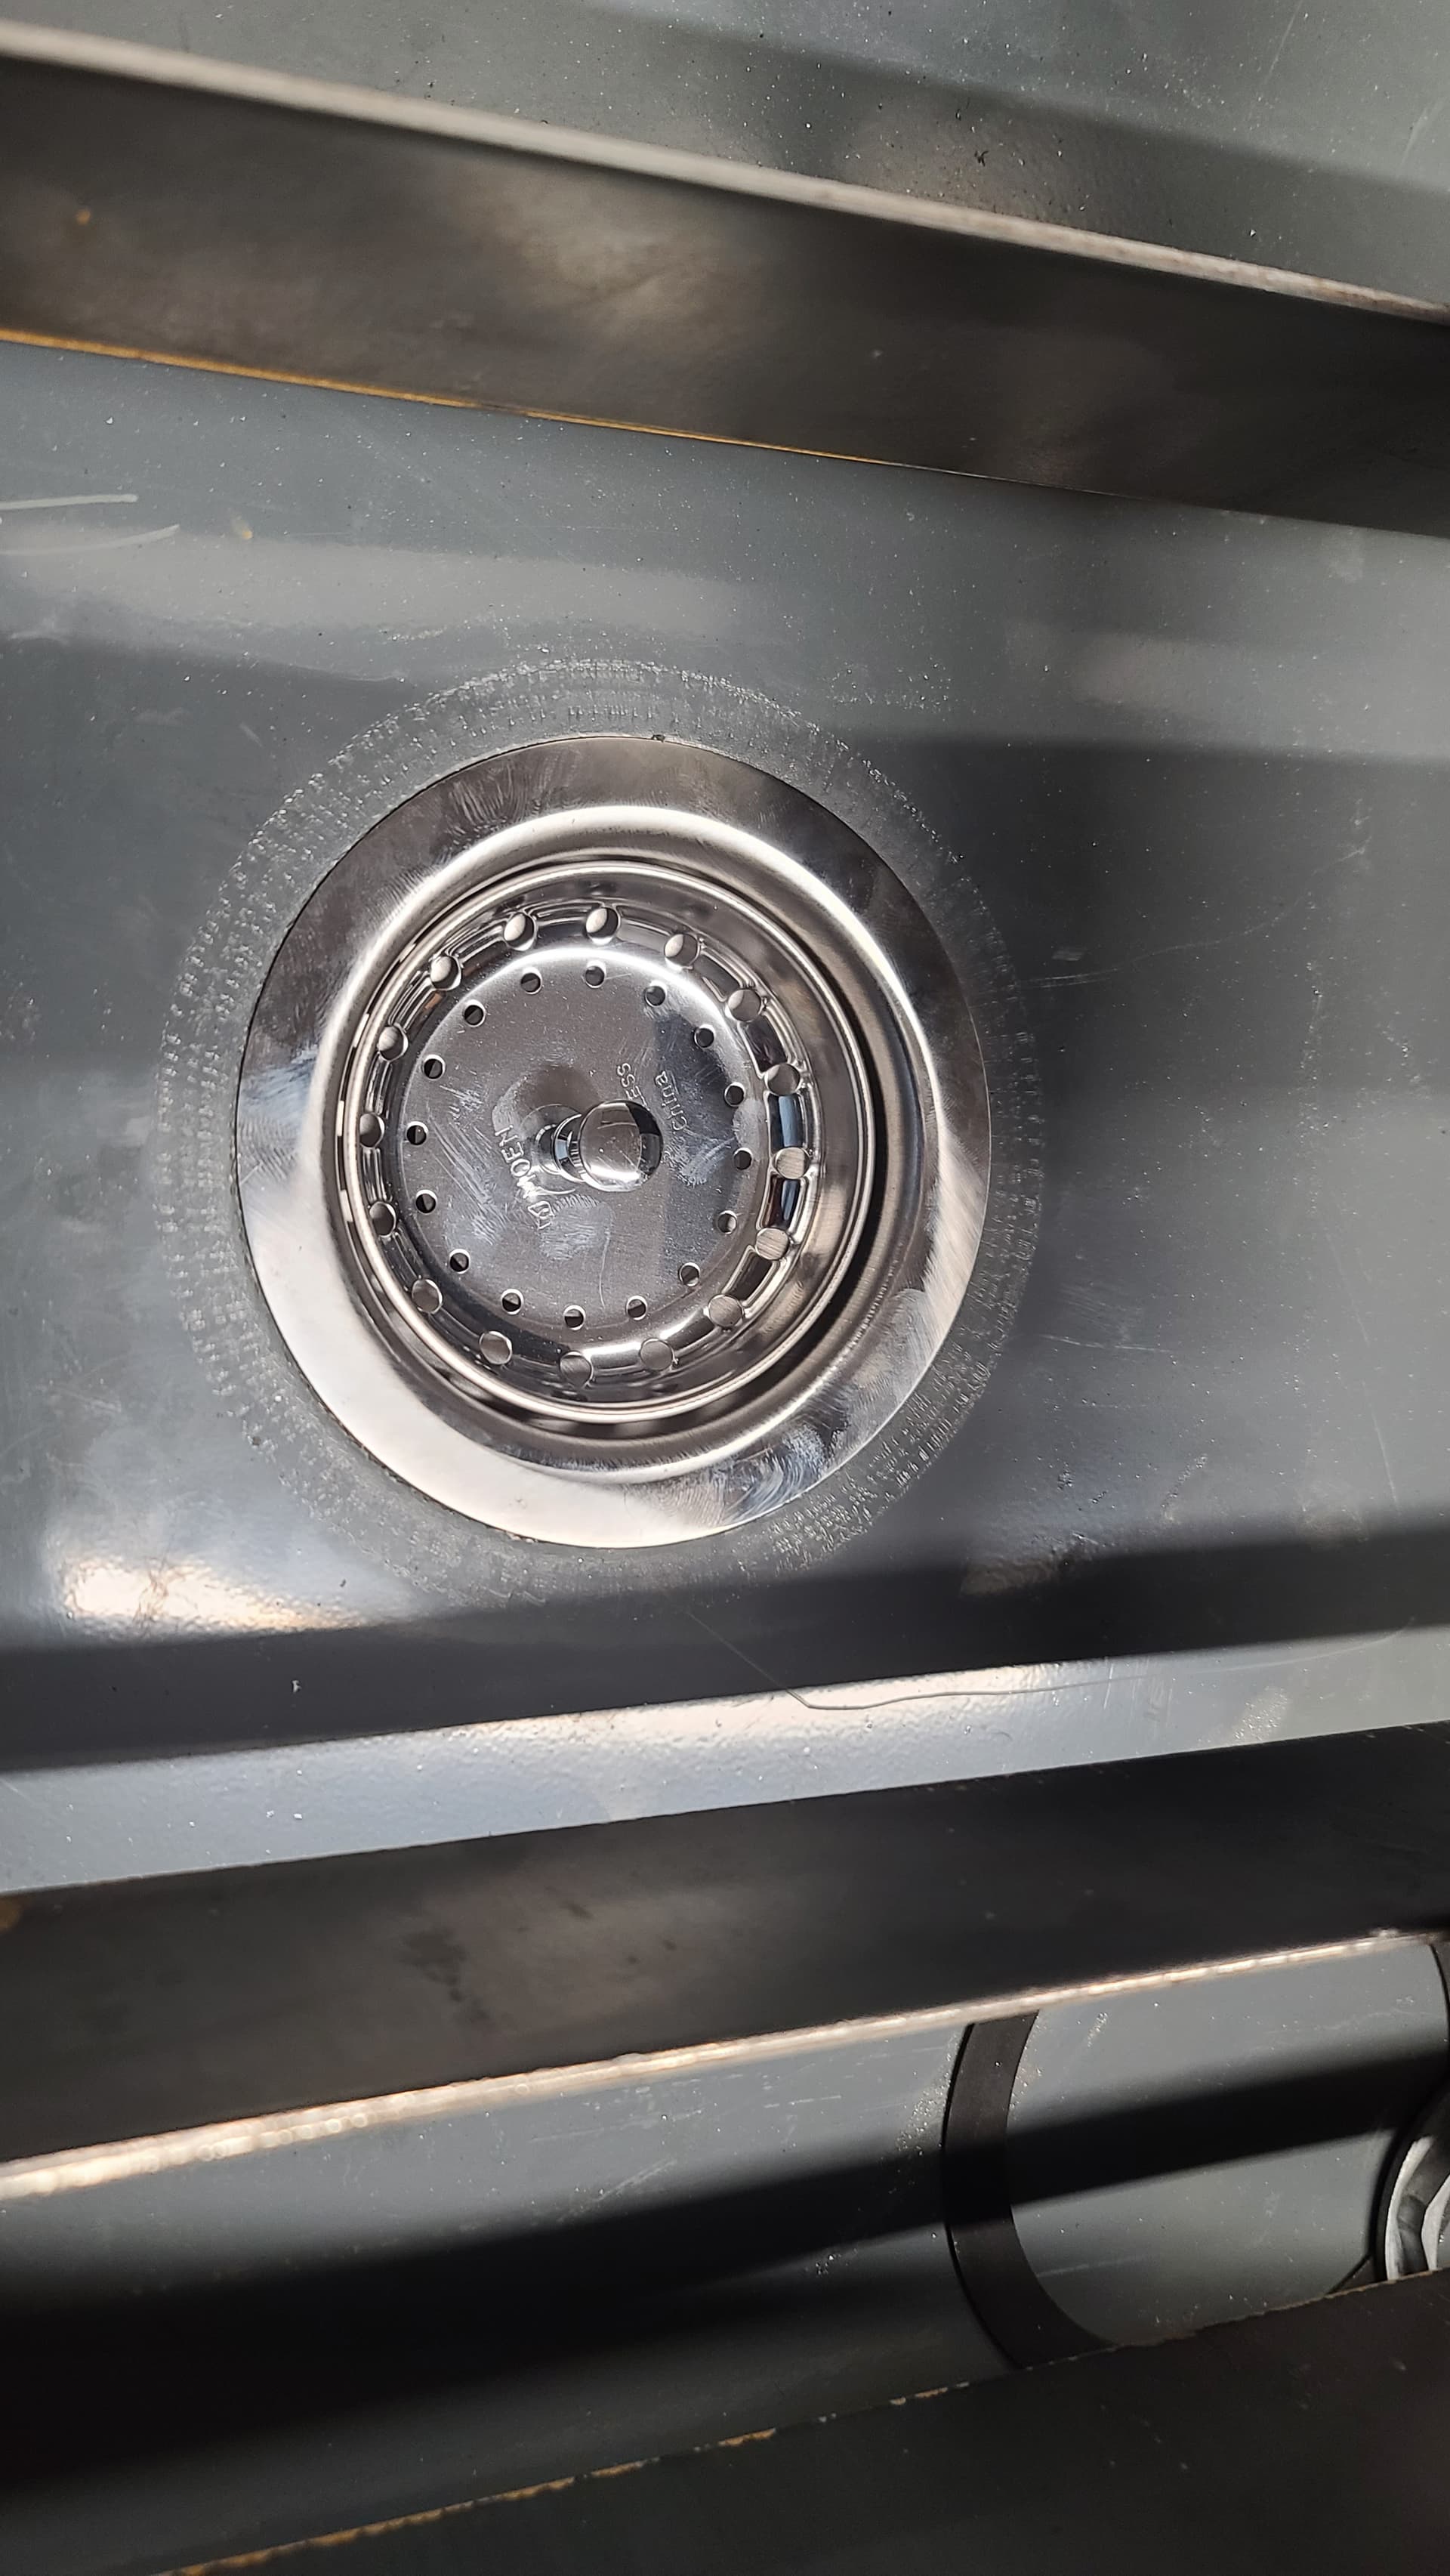
You can put the drains in without dog legging it, I guess is the proper terminology, but you will have some water left in each tray for not nearly as much as if you didn’t have a drain in each tray. The little harbor freight tool is very cheap and it worked pretty good. I did have to go around at least twice moving it only about a 1/32 at a time. There is a file to make your own dies out of 3D printing floating somewhere around on this forum. There was also a mailing list at one point with some metal dies that were getting mailed around. I didn’t want to have to wait for that or rely on somebody else so I copied what somebody else had success doing. If you’re not comfortable cutting the hole and trying to dogleg it on the pan maybe get some metal the same thickness and do a practice hole. One thing the harbor freight dogleg tool does that I notice is actually makes the metal concave down more towards the drain. If I had to do it over again the only thing different I would do is maybe make the hole a 1/6 or 1/8“ bigger. On mine the hole was just a tad bit too small and my drains don’t actually sit perfectly flat, but flat enough that it drains the whole table if that makes sense. On the subject of the width of the table I’ll have to wait till I get home,but I’m pretty sure I have set the virtual limits over 48 in.
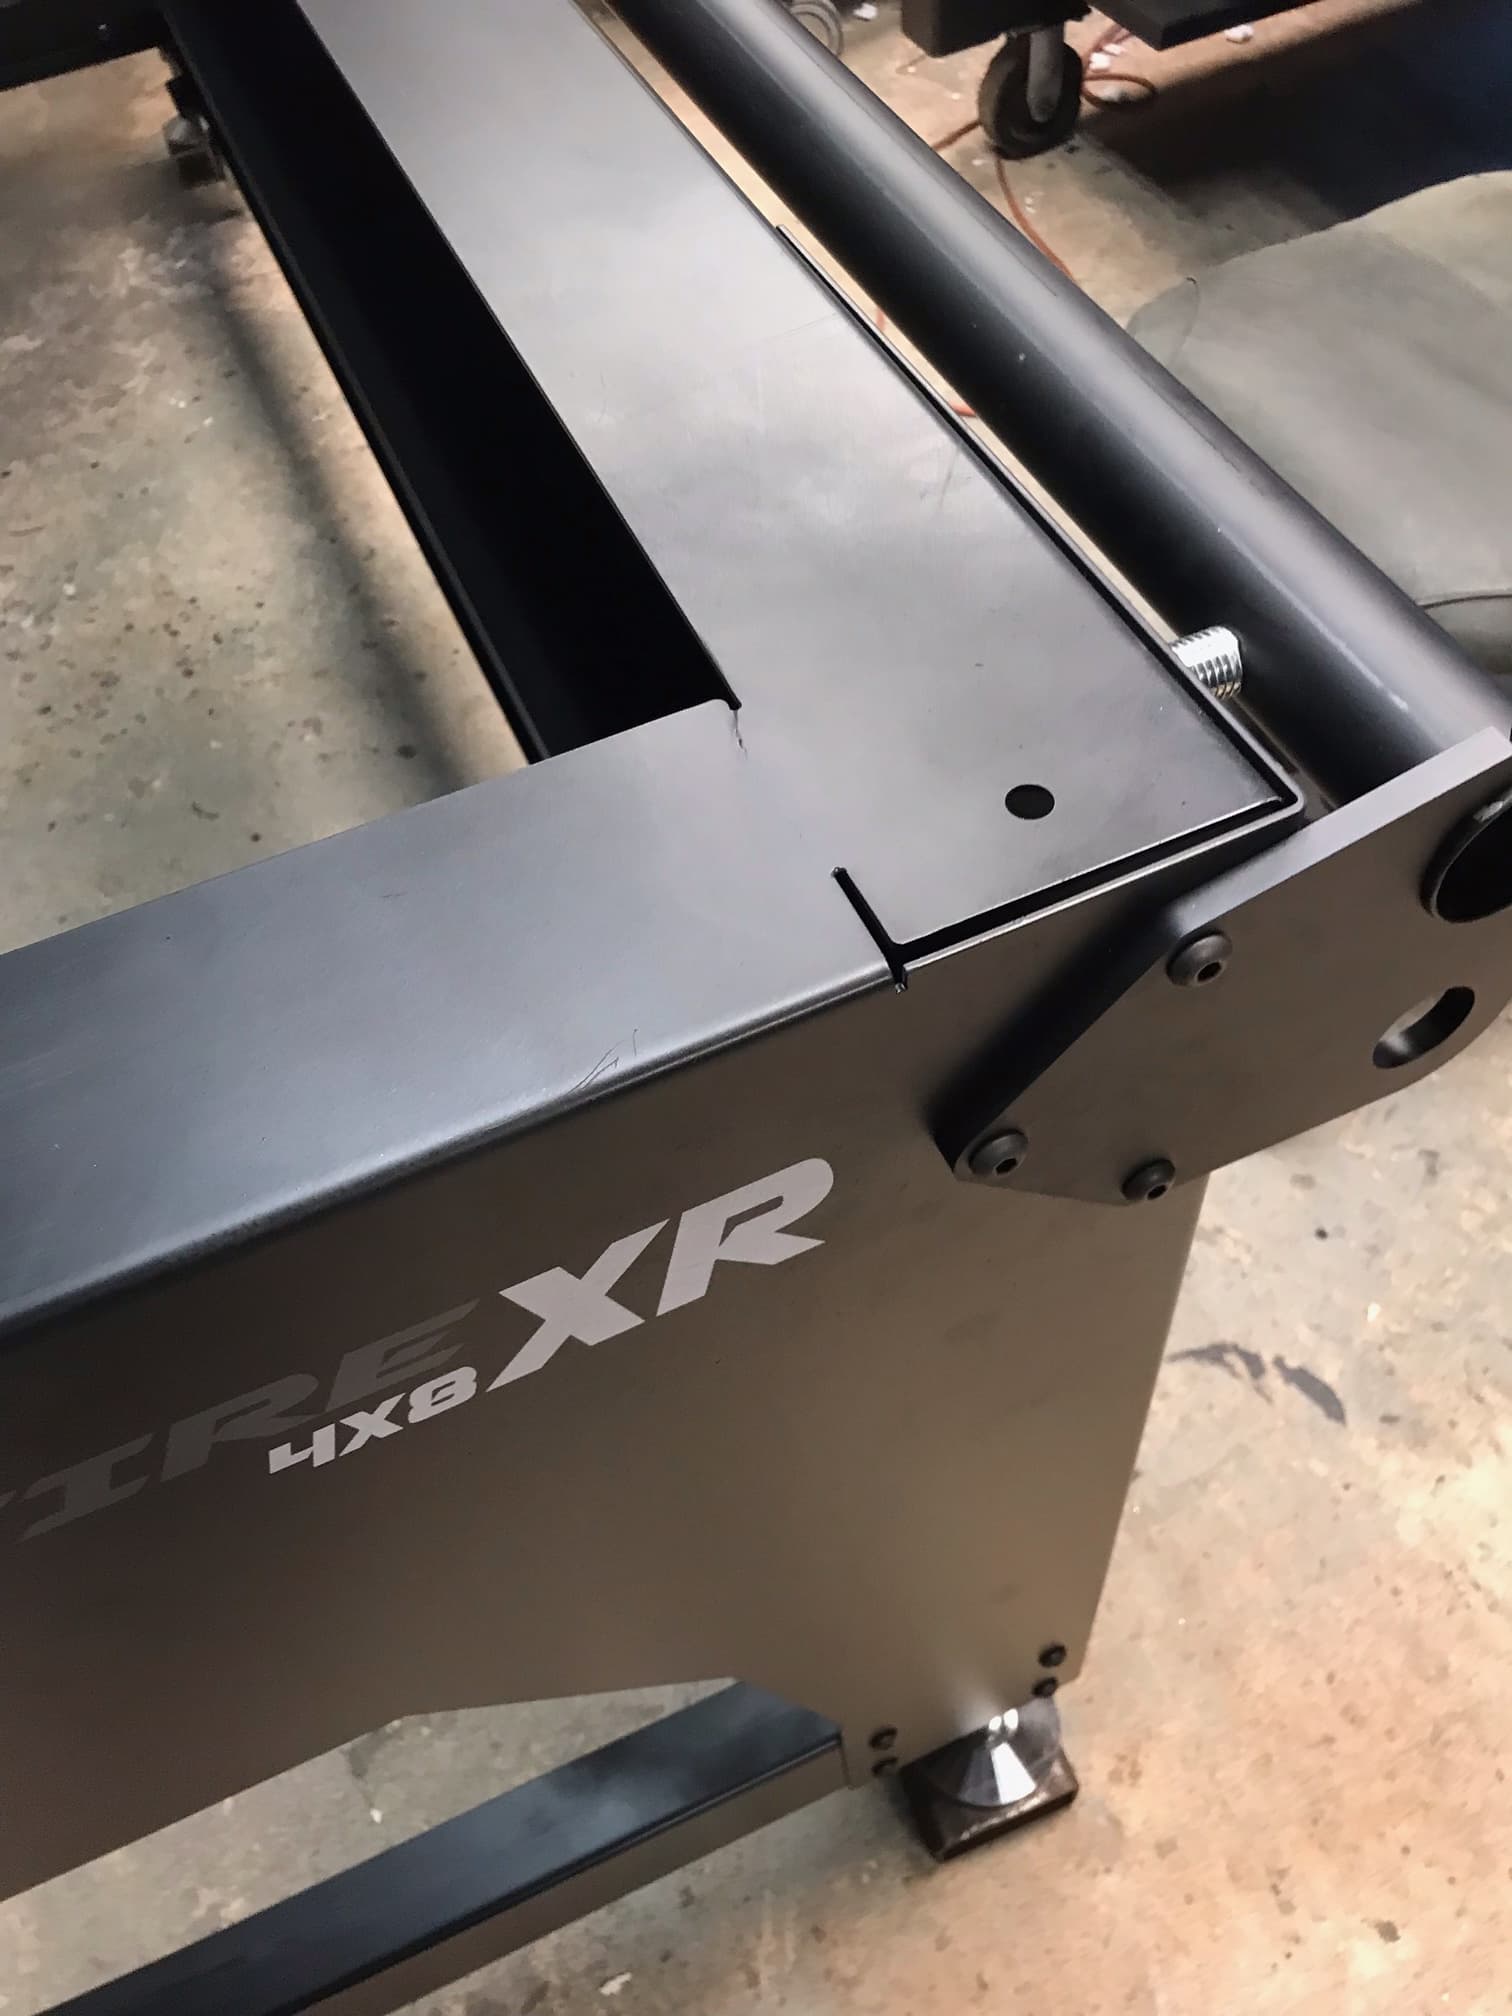
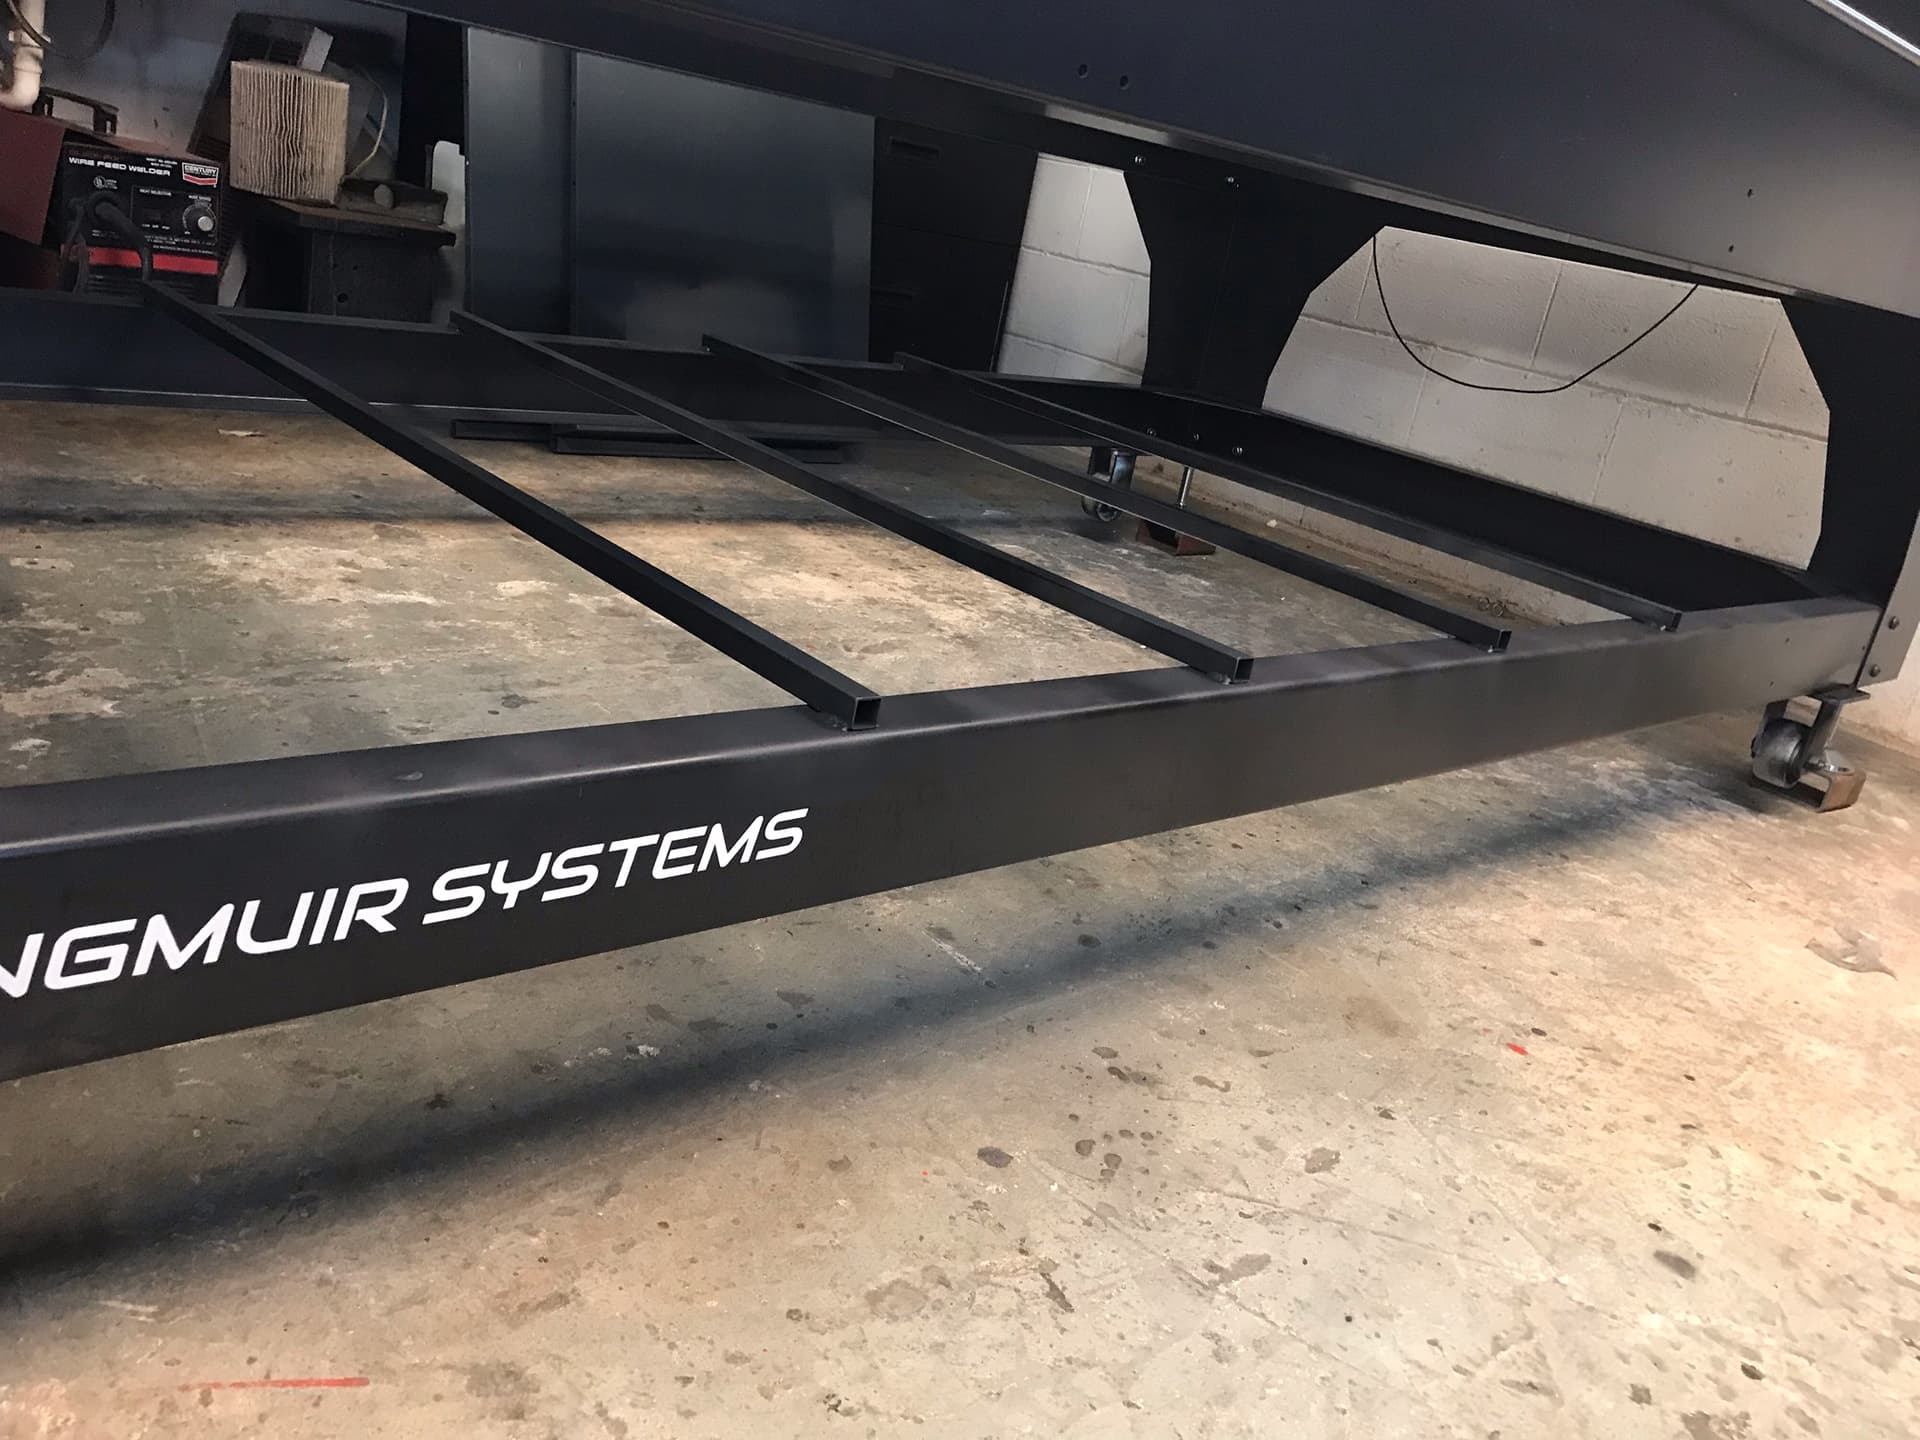
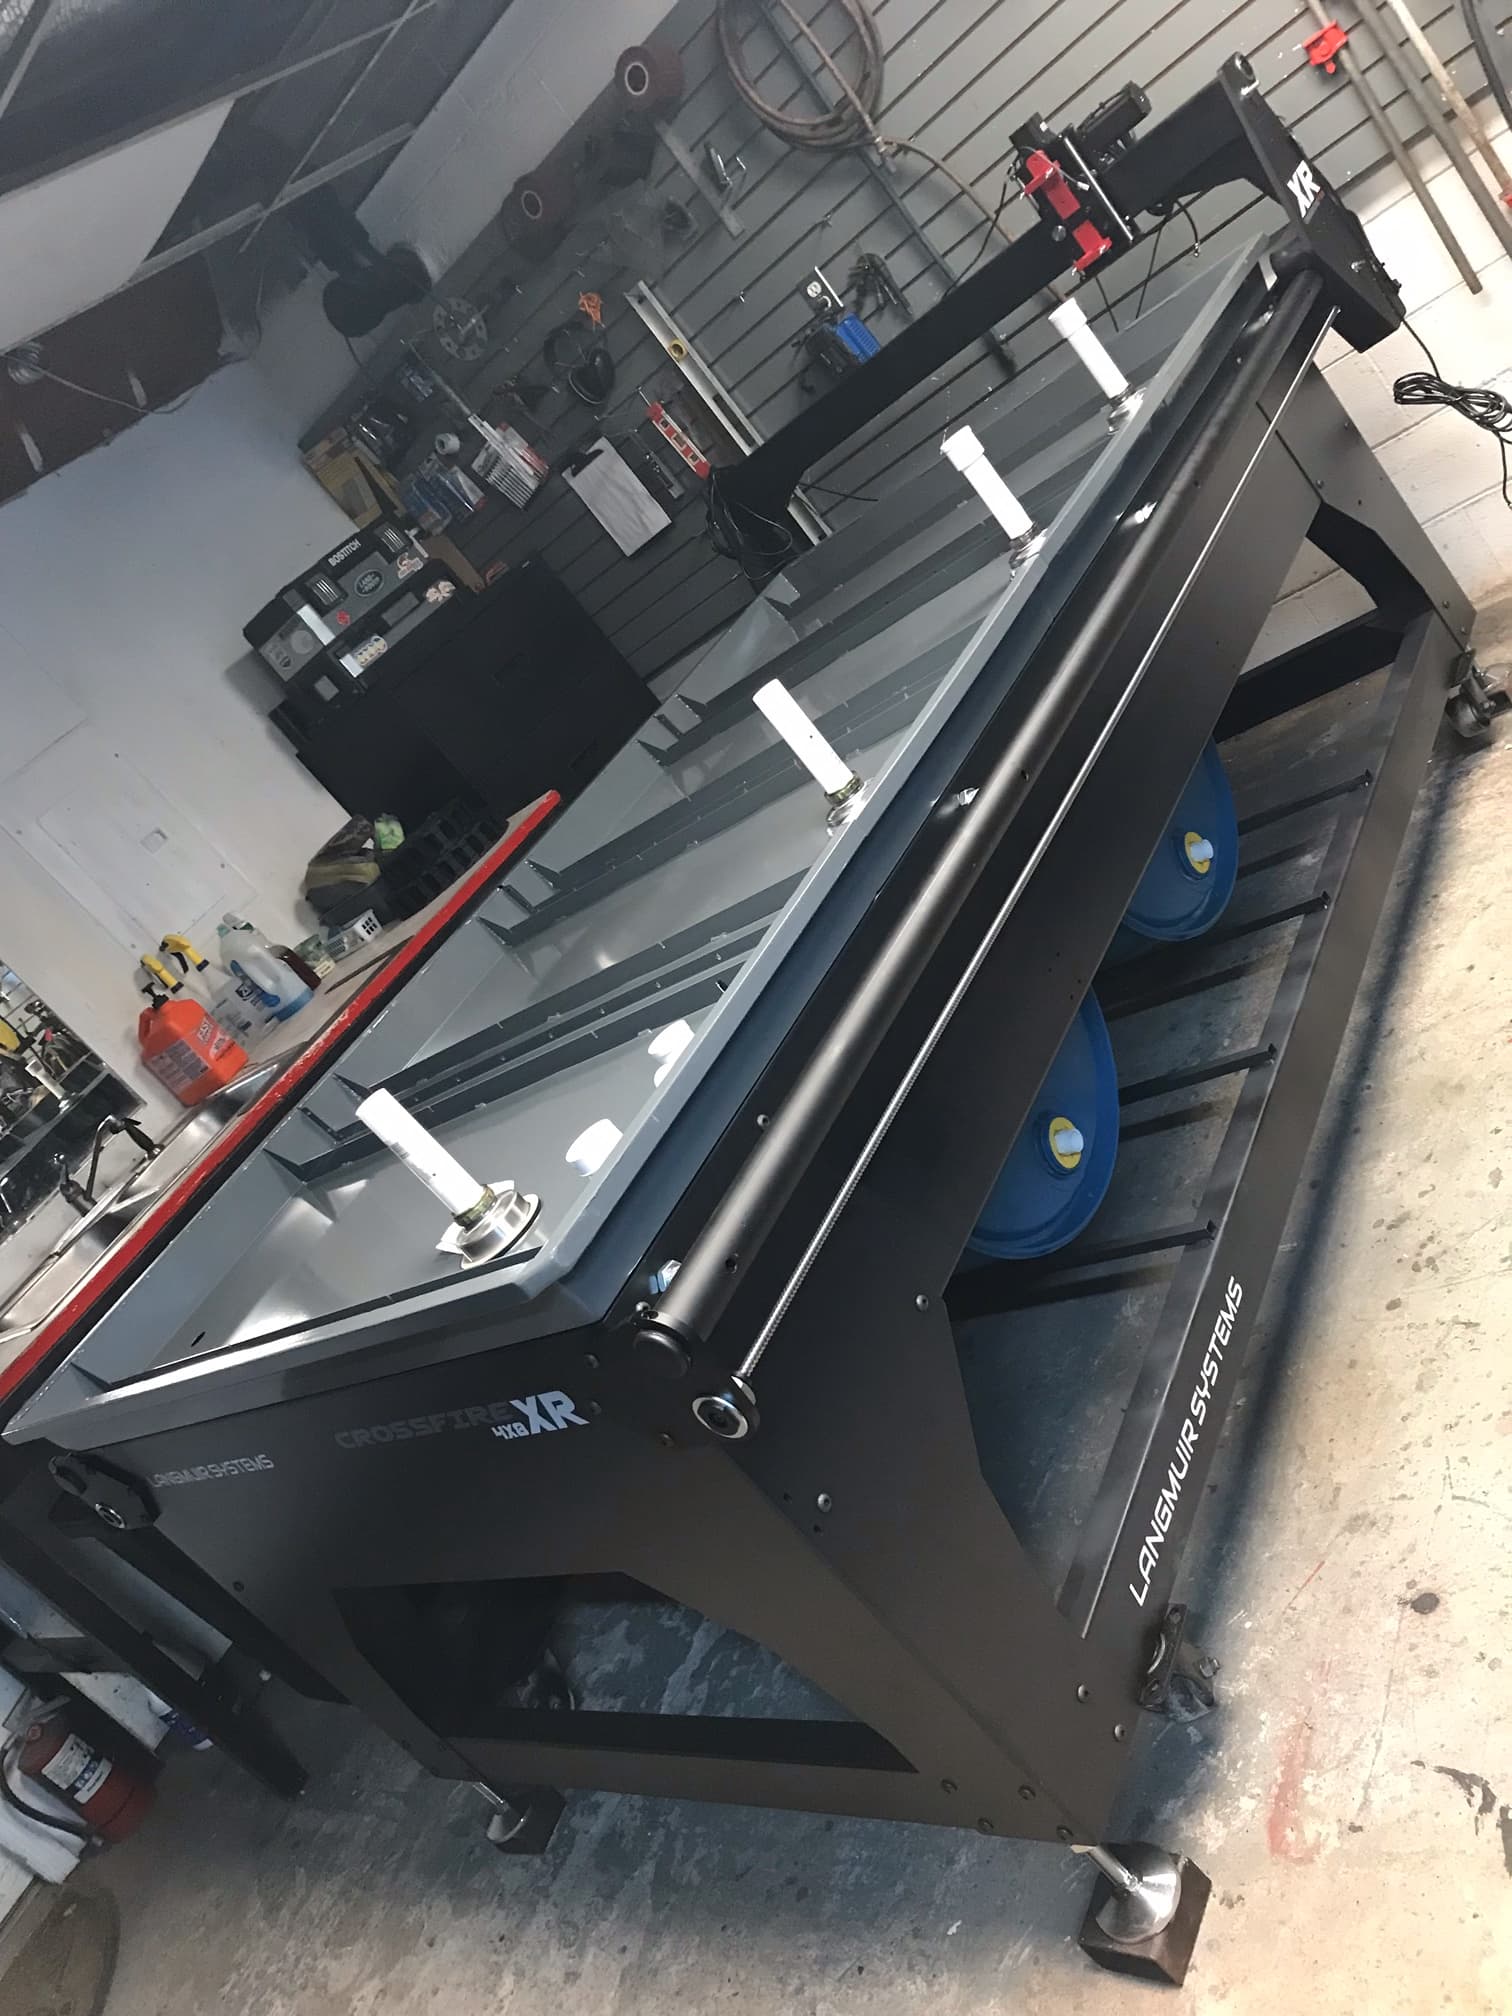
Current status on building XR delivered 3 days ago. A lot of work + extra to add the water storage but figured do it before the water tables were installed. Hats off to OxMadeFab for all inputs !.
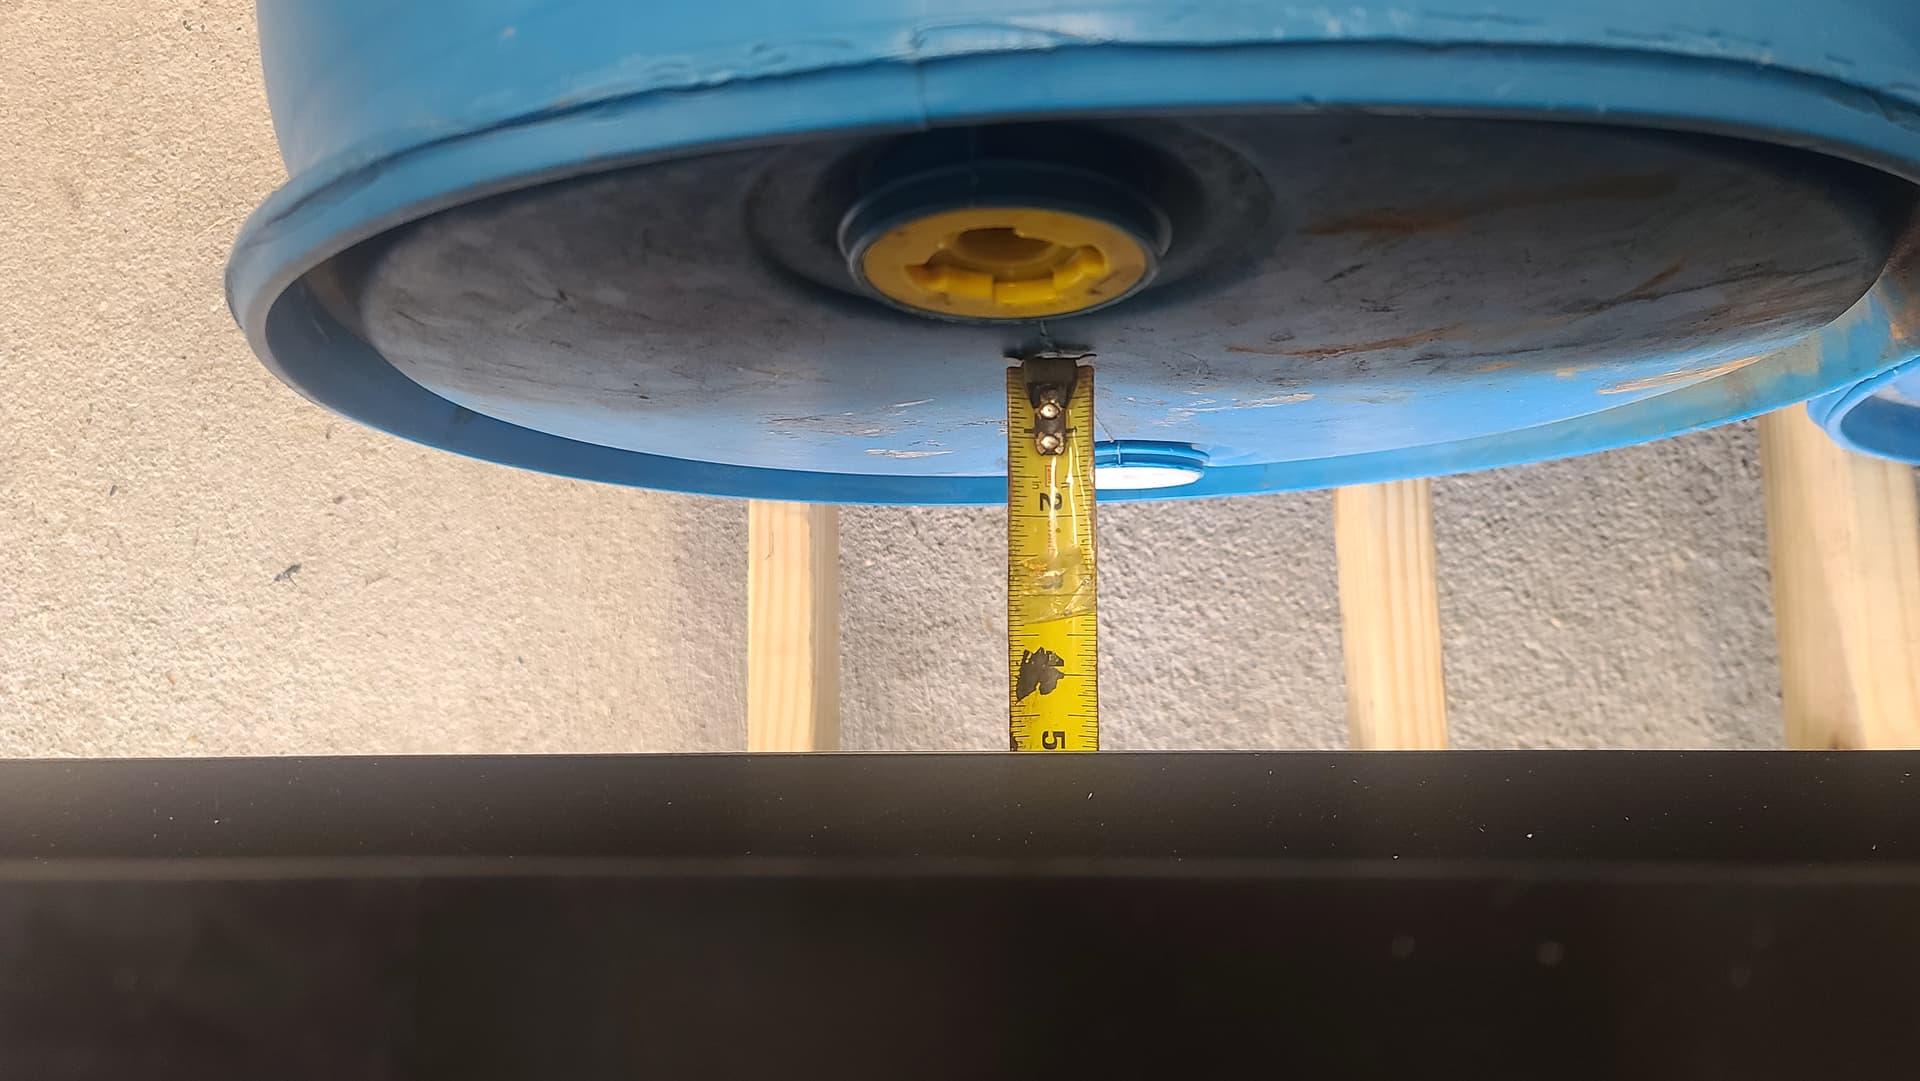
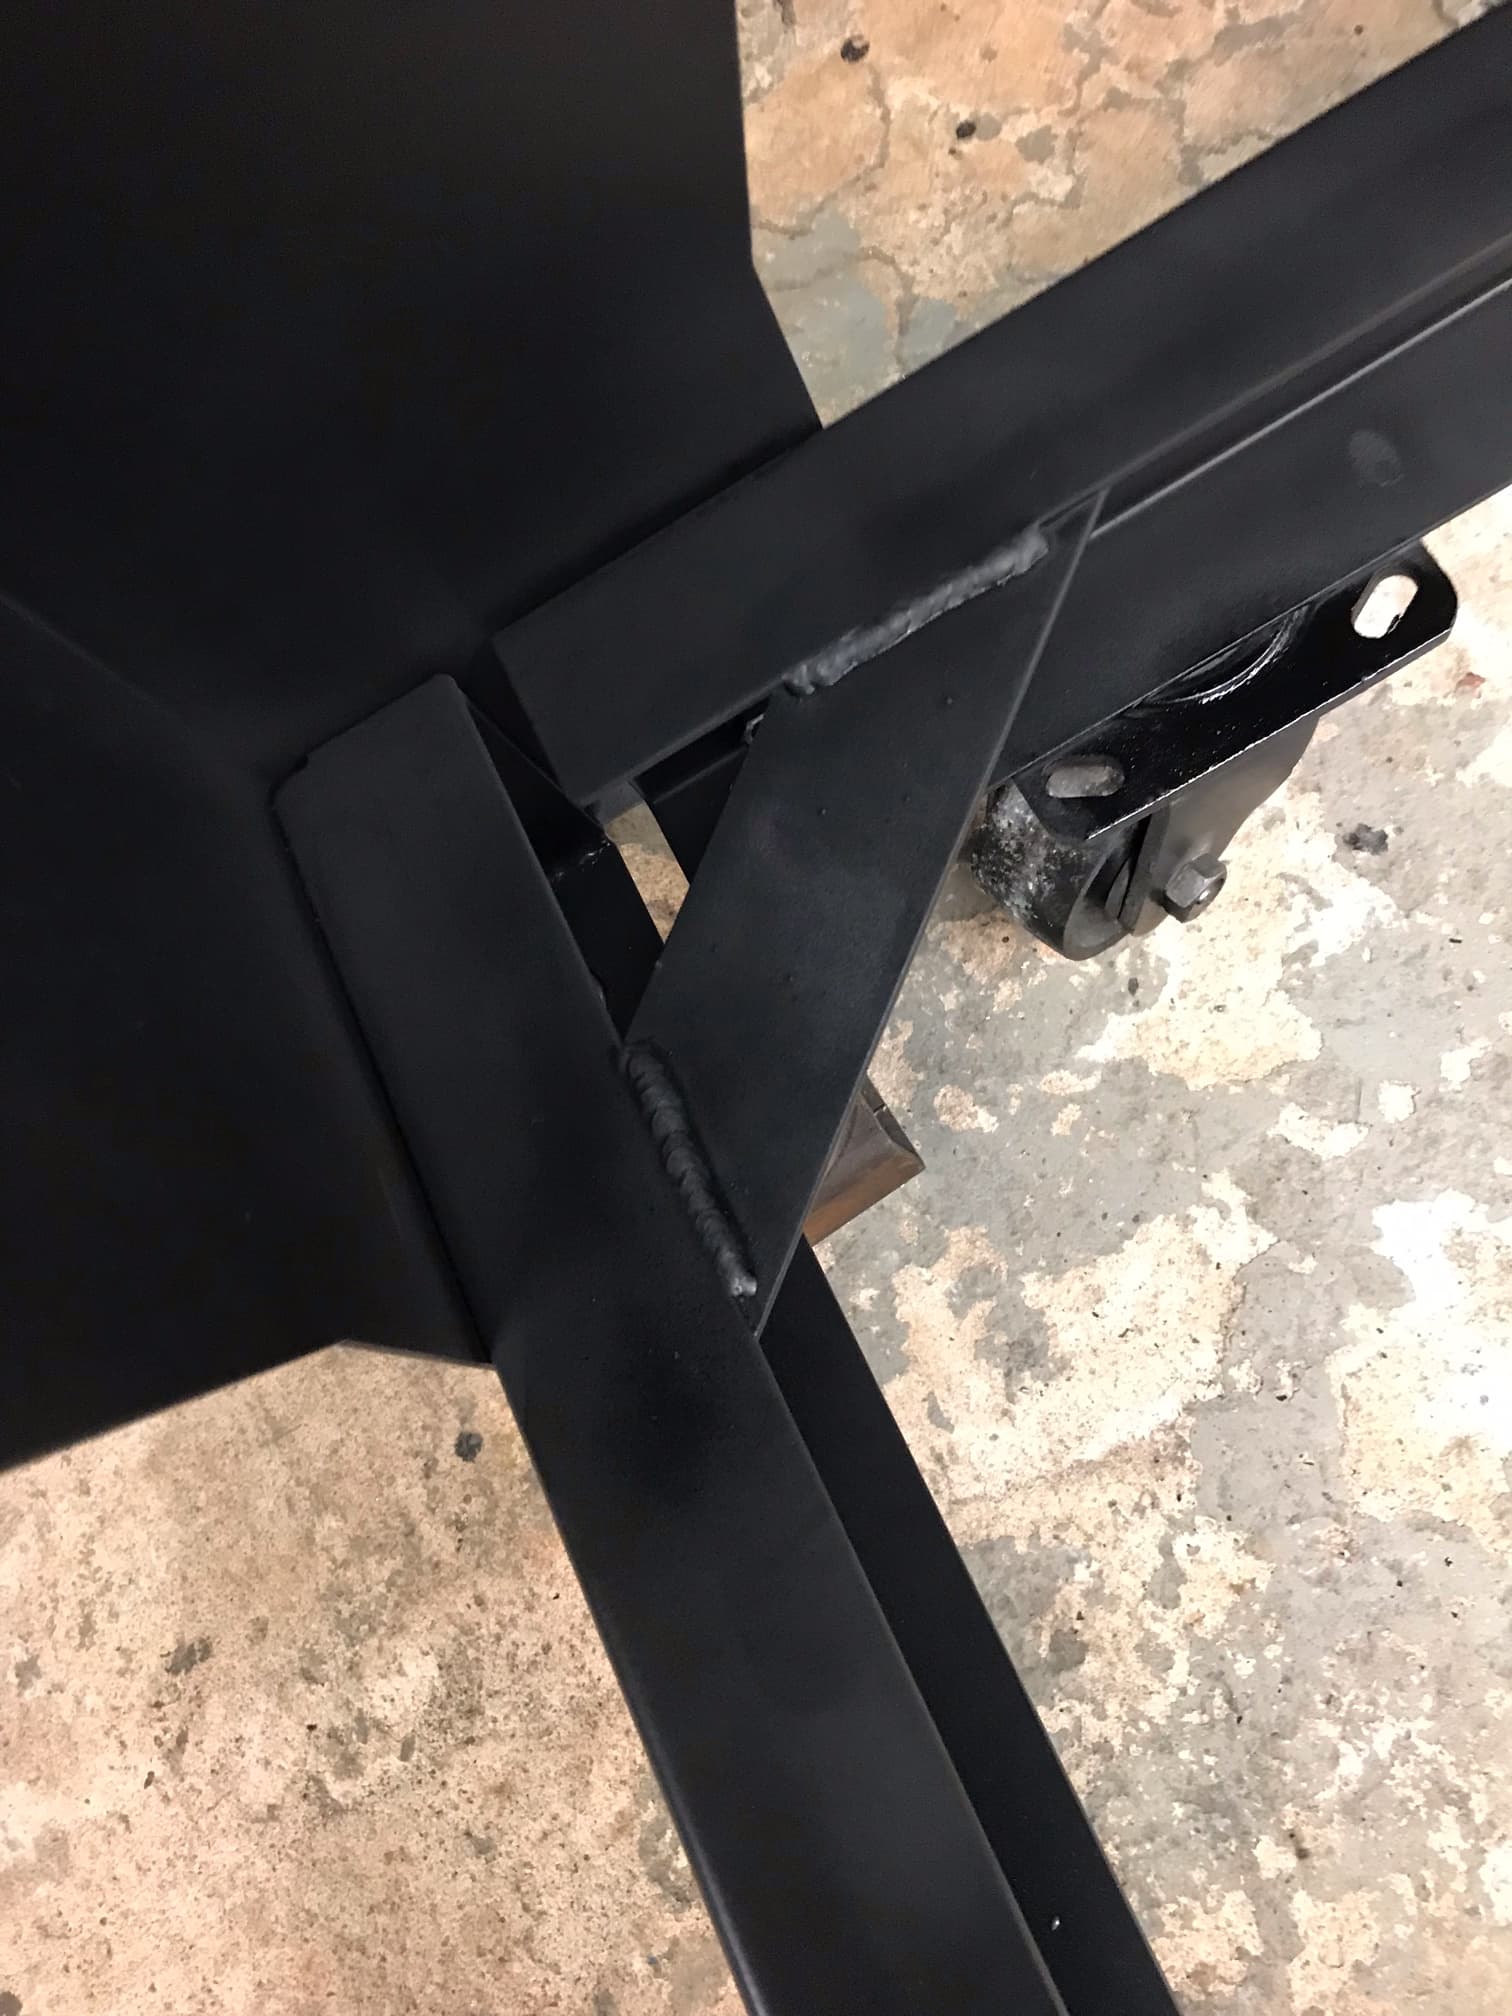
We also added steel casters welded to lower channel and just raised the leveling pads so they are flush with top of the welded in nuts on end plates. They just sit on spacers to get the engine hoist under ( 7" min). When we want to move it, Just elevate with a floor jack and kick the spacers out. roll it back to marks on the floor and back level.
After elevating the frame on spacers we went into leveling, easy part. the potential skew on the table was a little concerning as it seems the water table was designed to keep it all square and maybe how its just designed to sit in one spot. We squared the table on diagonal measurements then welded the seams some on the top end plate and large formed C channels to ensure no movement, followed by some simple flat gussets on lower members in corners.
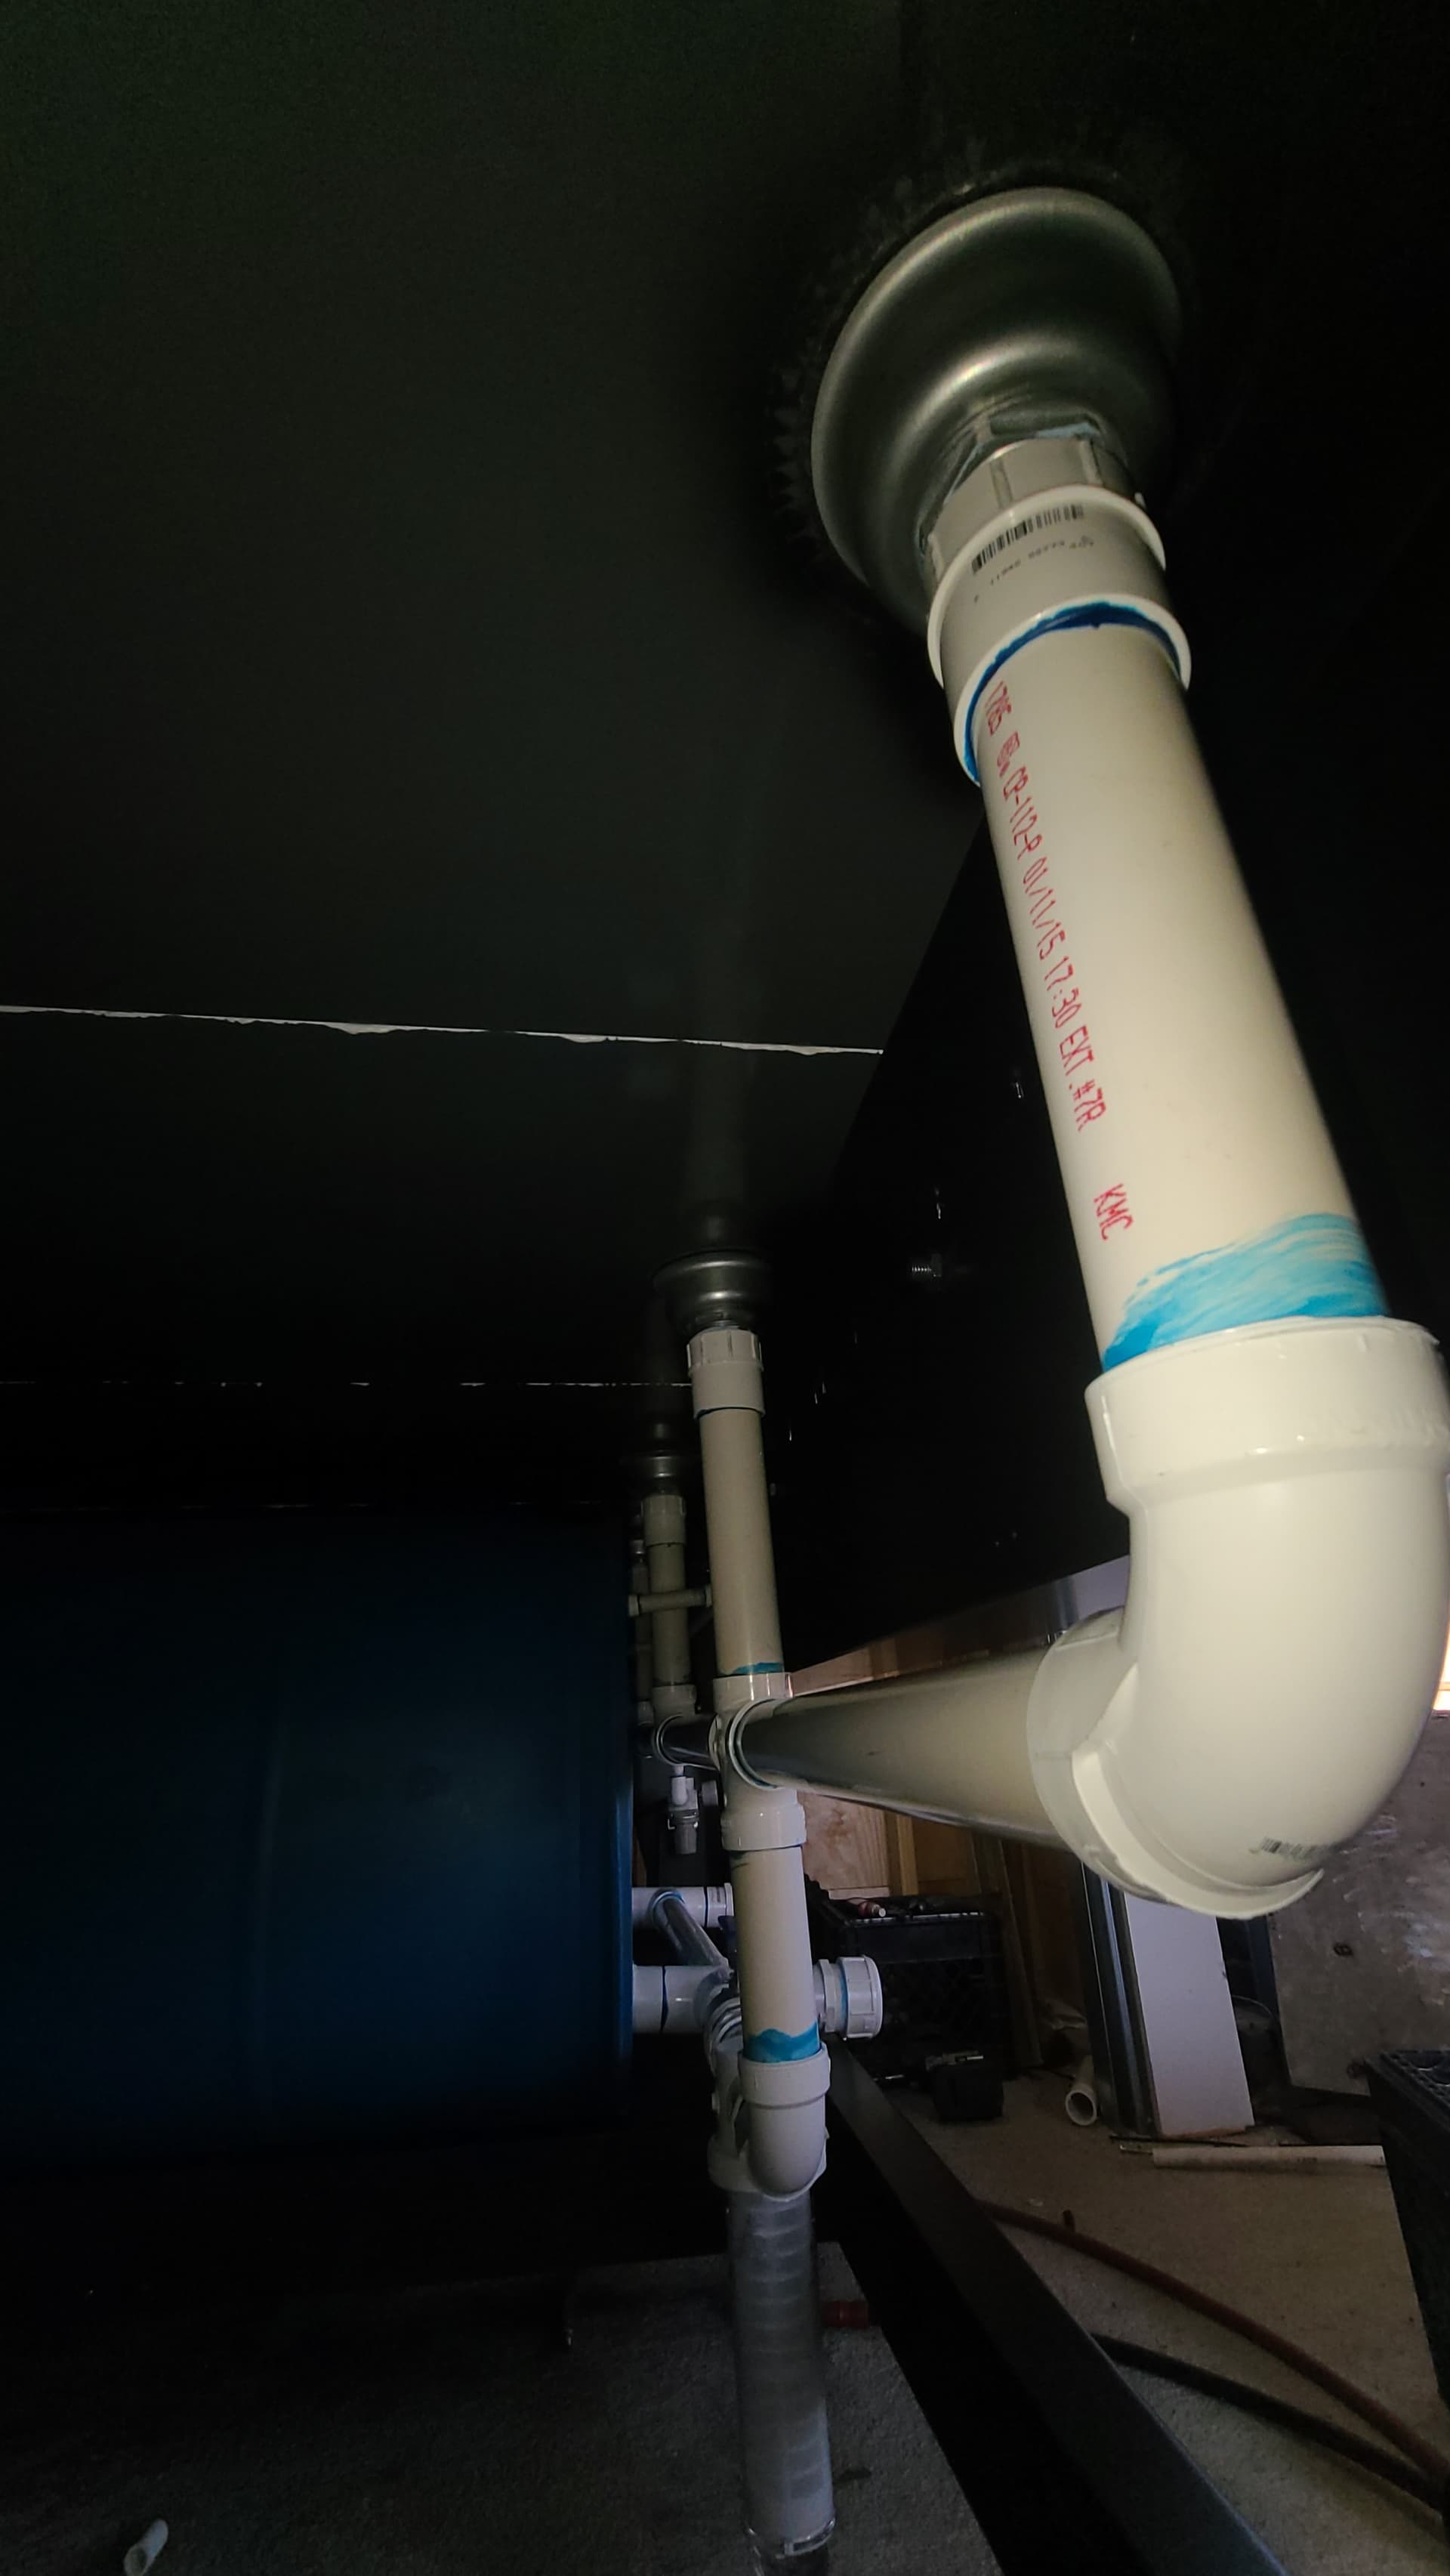
It is a sealed style lid the lower bung has 3/4 NPT female port not punched out, so drill out under the NPT tap drill size . The upper plug is thin so planning on tapping 1/4 NPT get it snug then a backer 1/4" coupling with o-ring so we have some compression. on the thin wall.
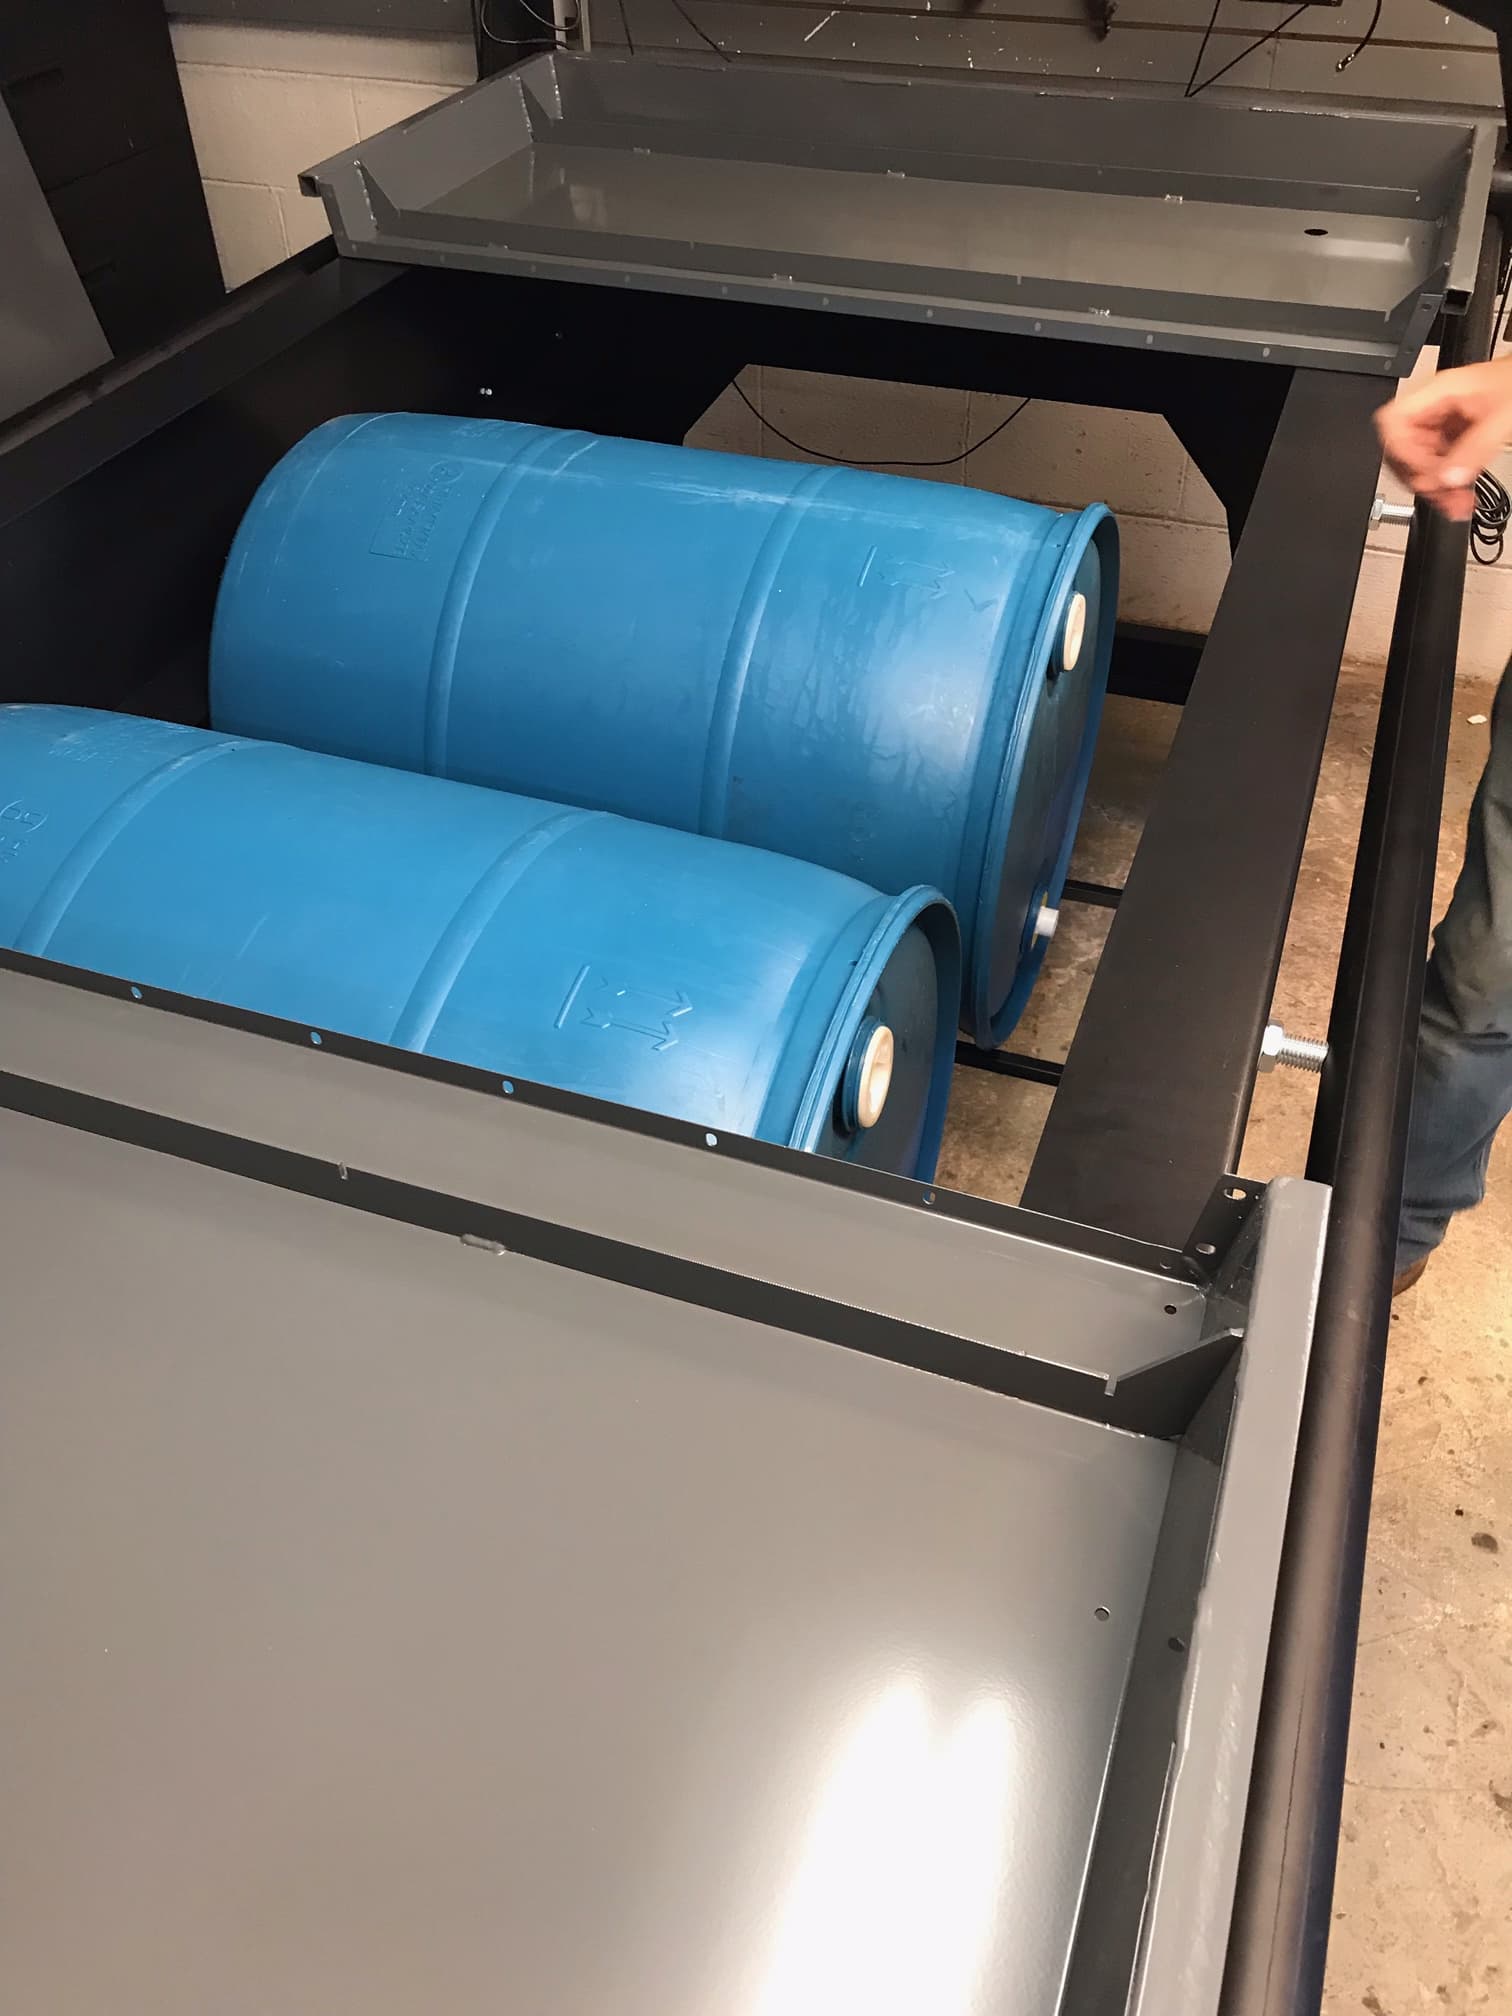
A lot more this afternoon on the tank fitment welding in the support bars for barrels etc .( OX made it seem easy but we didn’t want wood ) It will take a little time and doing it before the WT is in place is way easier delays production ~ No pain- no gain we hope , Keep it + K
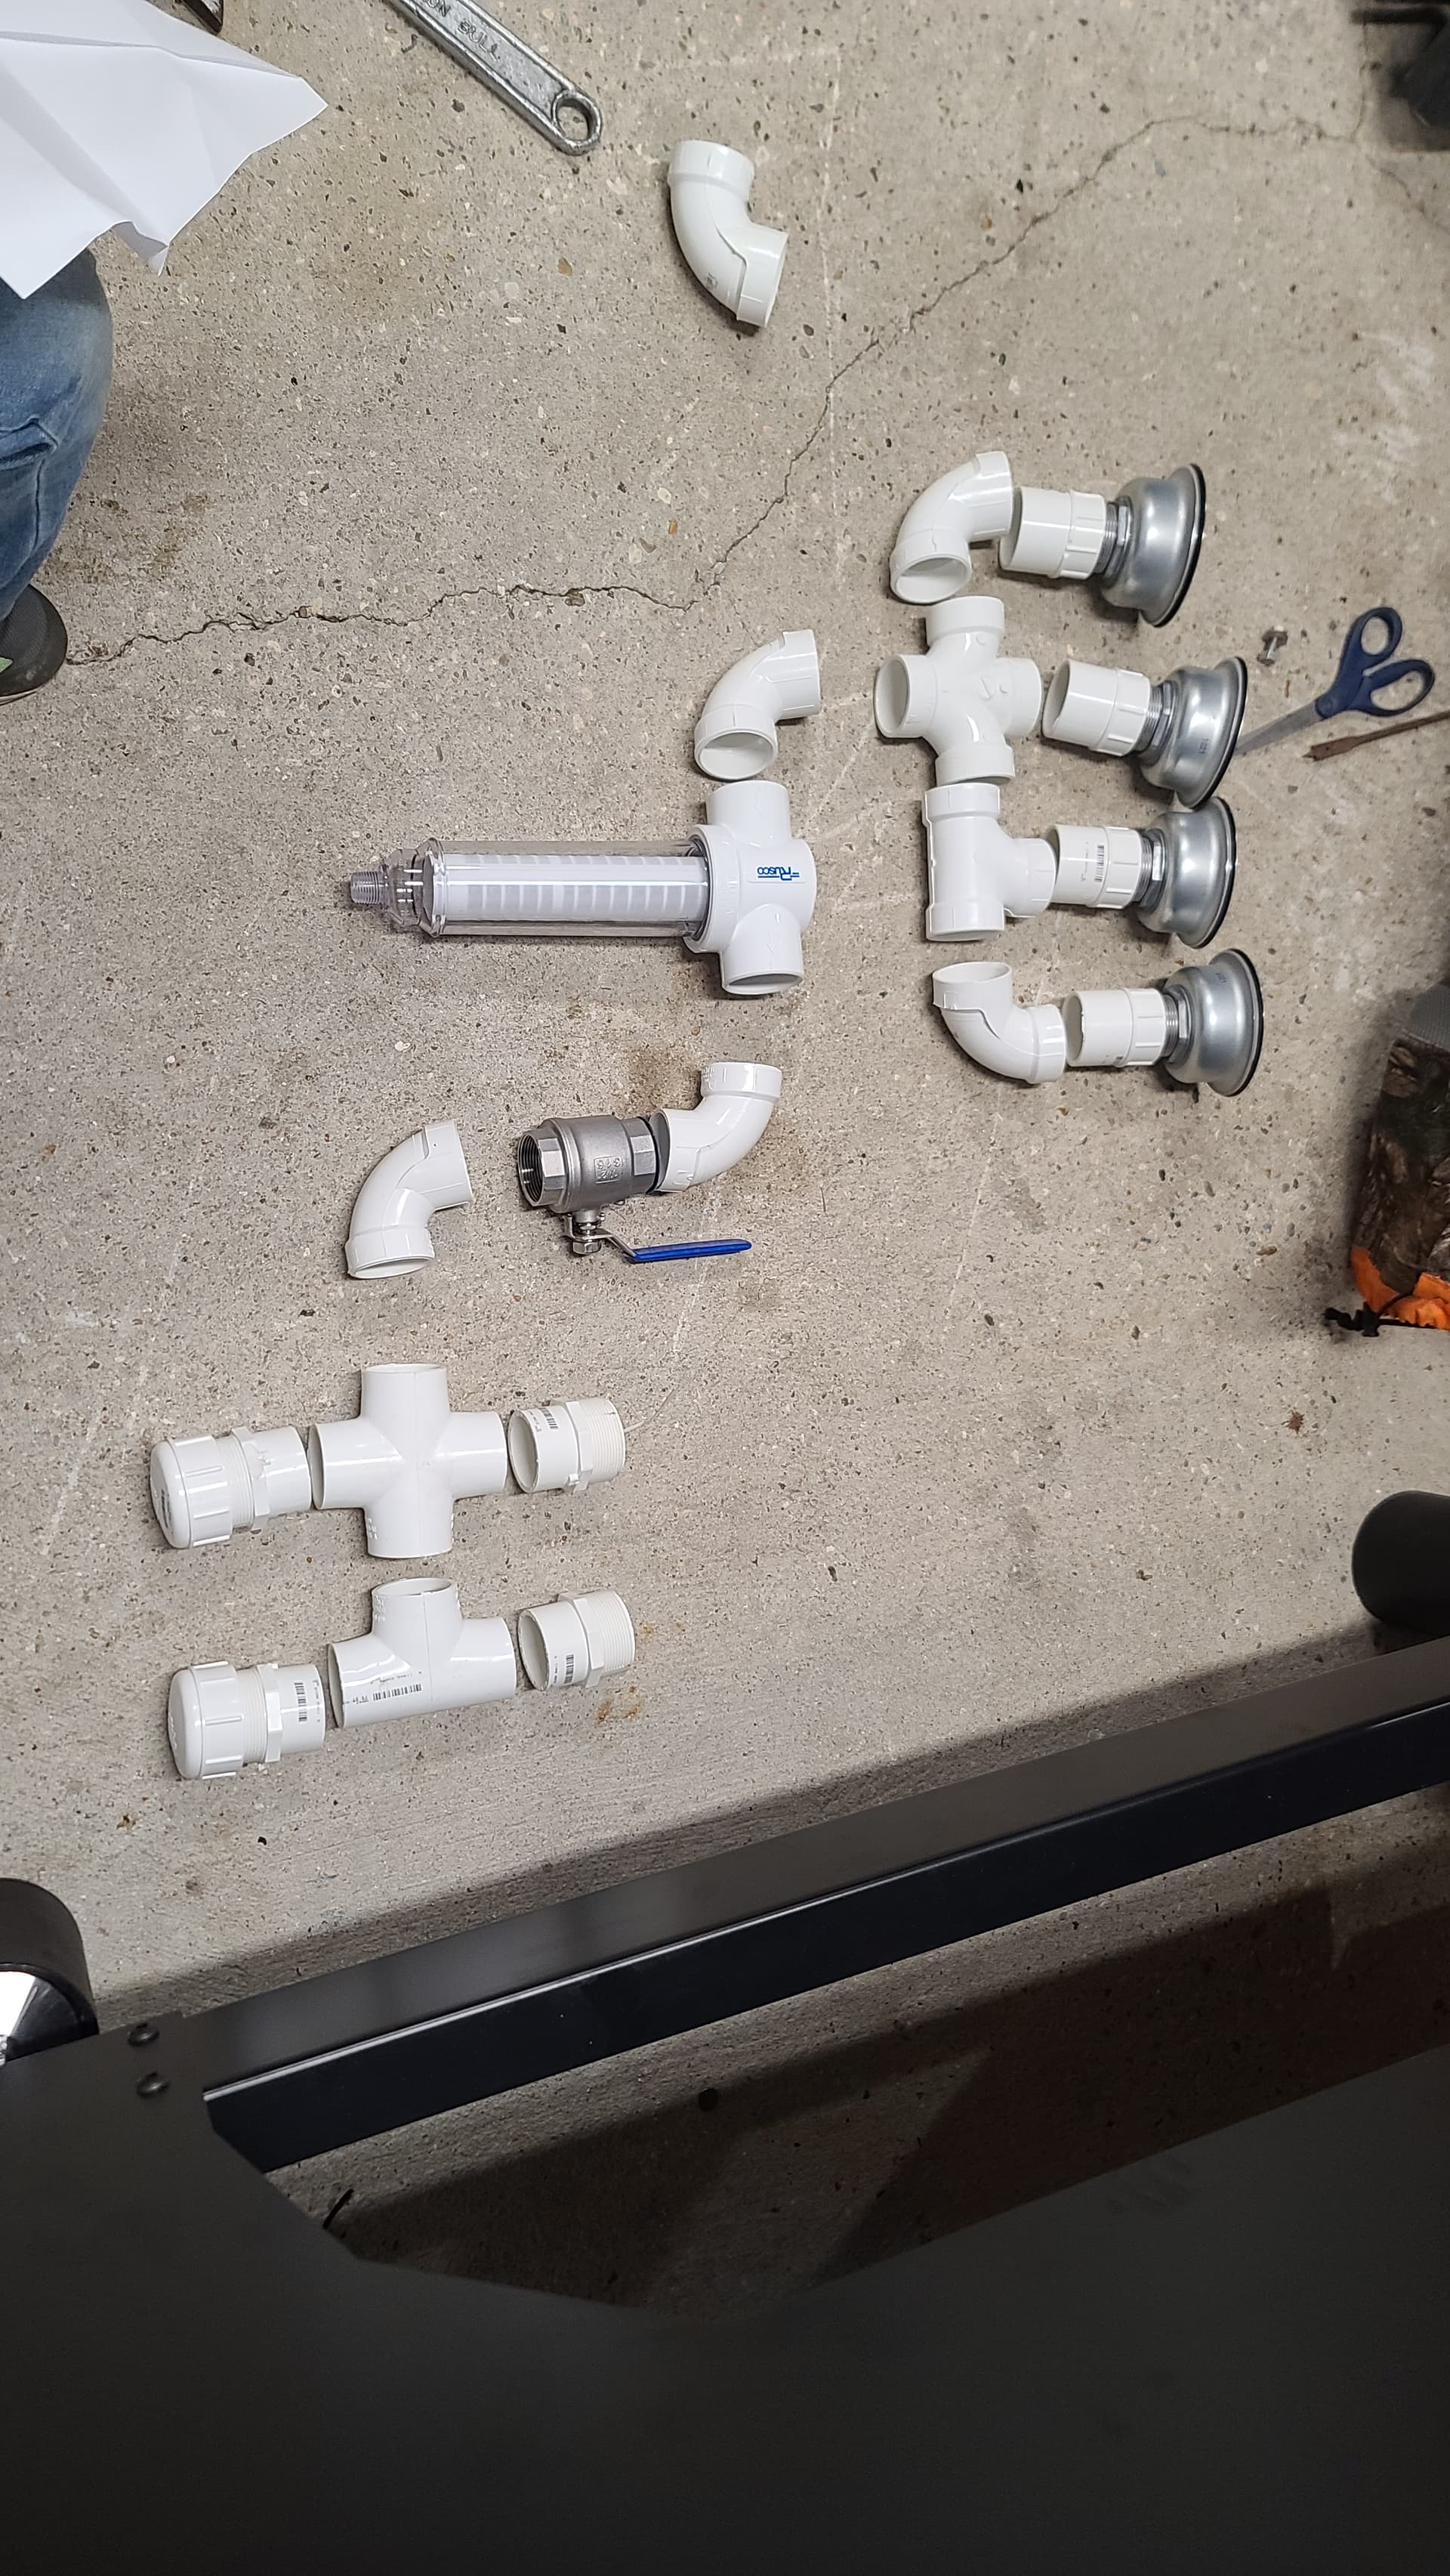
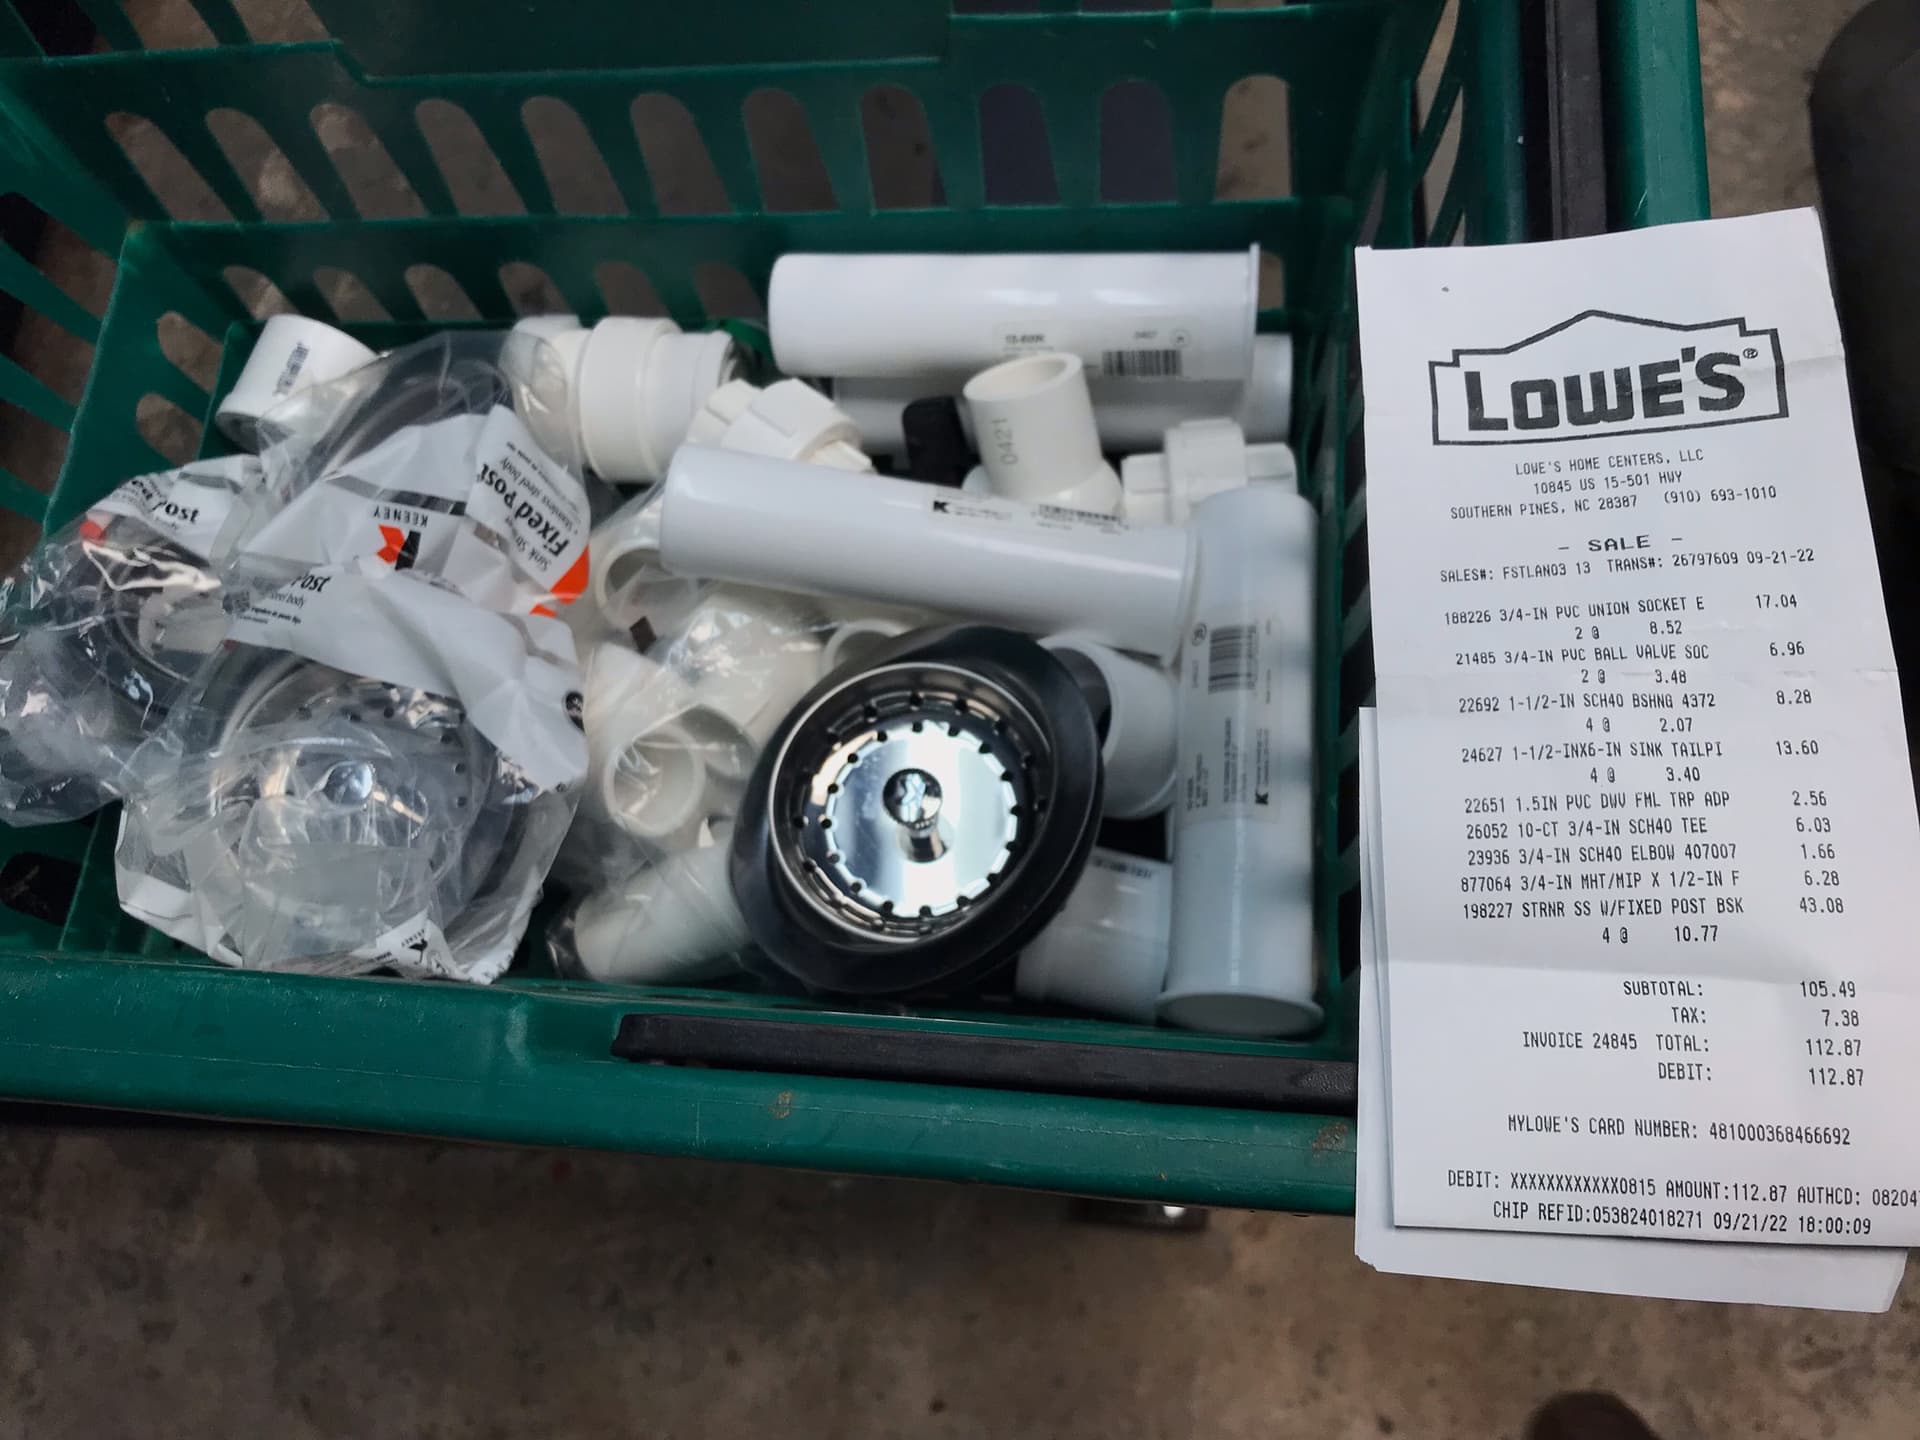
There is also a large 3/4’ NPT sediment filter not in that Lowes receipt $ 30+
In that PVC mix we also have two 3/4" PVC coupling disconnects. We will have to update if we use them thoughts were if we think the tanks are getting debris we could drain down . Floor jack one side high to get barrels out clean and flush and re install.So tempted to paint over the branding … Lets see how it fires up and runs…
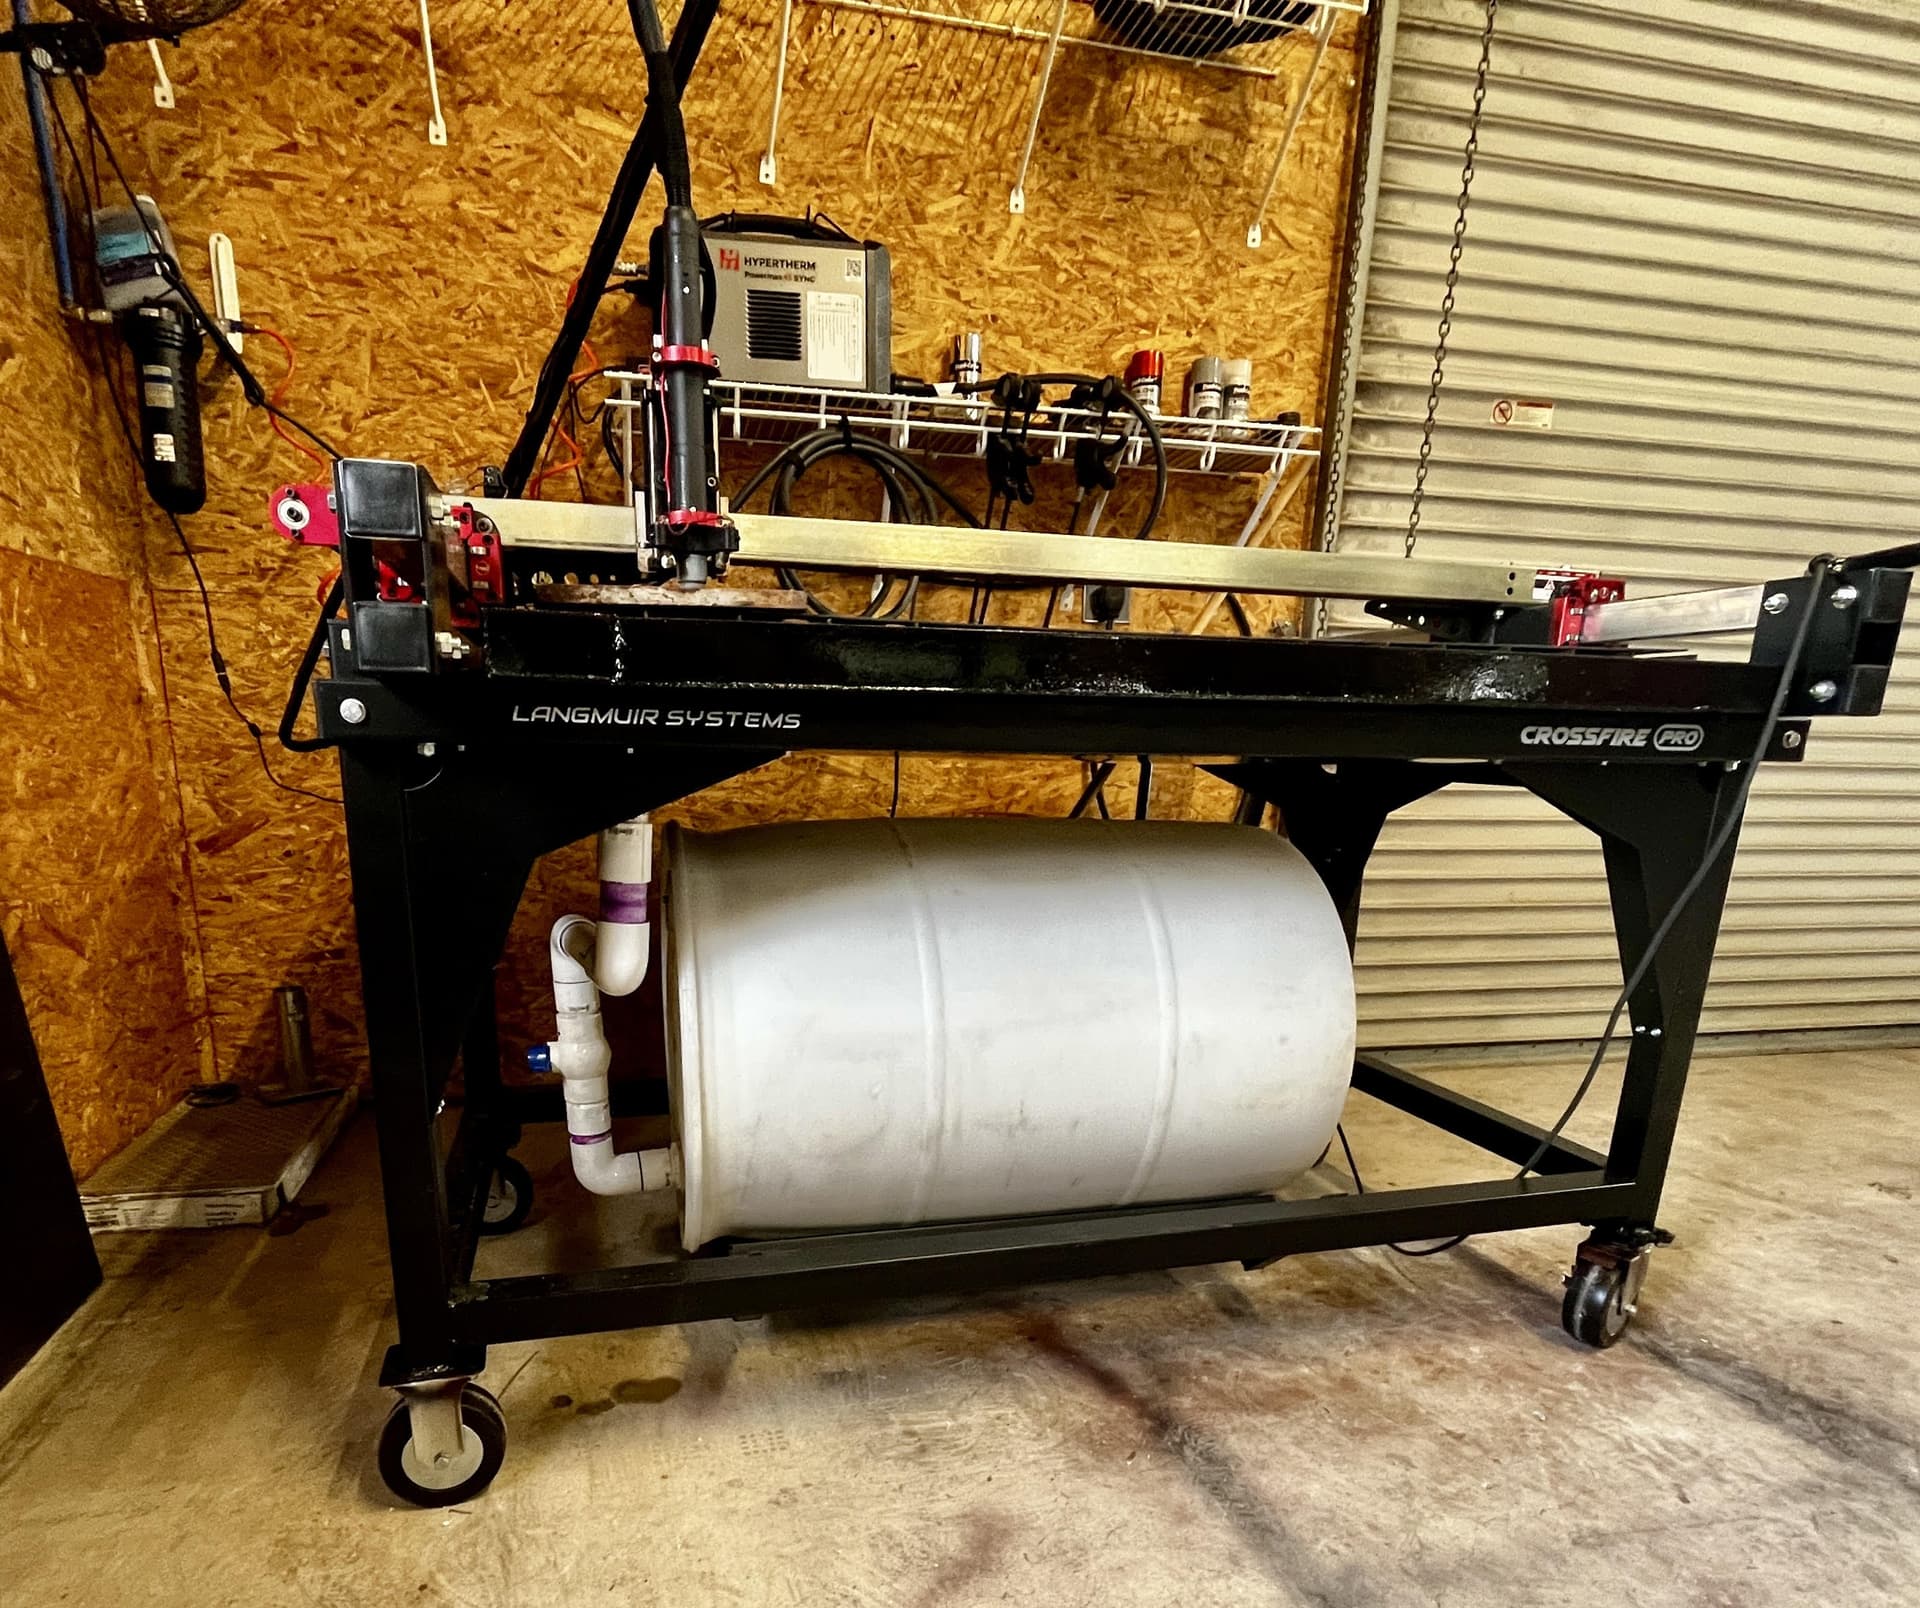
Looks great!! I built a similar setup for my Crossfire Pro. One barrel setup with a male air fitting at the top barrel bung connected to compressed air utilizing 3psi to push the water up to the water table via 1.5" pvc piping and locked in place by shutting the pvc ball valve in between the table and the bottom barrel bung. A 3.5" commercial kitchen drain at the front left corner of my one-piece welded table drains the water after use back into the barrel by opening the 1.5" pvc ball valve. Gravity drain with the restricted air movement via the small male air fitting at the top of the barrel. It cost me less than $50 to build this. The barrel was supported by a metal cradle welded to the four 2" support beams I welded to the table legs. I added four toolbox wheels as well.
What fittings did you use on the barrel? I am having a hard time finding the 2” NPS male to 1 1/2 or 2” NPT. I tried a 2” NPT and it only threads on like 3 threads