In looking to purchaser the Langhmuir Crossfire Pro, I am looking for info on what I am getting into.
Main question is what is the one part/step (besides parting with hard earned cash) that has proven to be the most difficult to understand or setup, the one that had you pulling your hair out, throwing tools, etc…
I like to find the most difficult part of a project first and tackle it, like painting the back of the house first, because if you paint the front, the part everyone sees, you tend to leave the back to paint at a later date and sometimes never gets done, lol.
And thank you to all that have answered previous questions, try much appreciated!!
Learn all the software for designing what you want to make, processing the tap files (lead ins and lead outs, cut speed controls for holes etc). Putting together the table and getting it to run is easy part. I do notice some who buy the table think it is plug and play but it’s not. A correct design and post processing for plasma cuts makes or breaks the success factor.
design and process.
Take a couple simple designs (lines, Circle Square,etc) and test speeds and feeds (amps) sometimes ±2A or ±5ipm can make a big difference in the amount of cleanup needed after the cuts are complete.
That is true, but I call those items a one-and-done. Once those are set, you’re fine on the mechanical side. But software will always be an ongoing learning process as designs of parts or signs or whatever someone is making get more complicated along with software itself evolving. We don’t buy these tables to make only caster plates (which Sheetcam can layout now insanely simple in v7.0). There will always be a learning curve on the design and post processing side. I’ve used Photoshop and Illustrator for more than 25 years and still learn new aspects of those software.
I have $300-400 in multiple desiccant units (Camair) and water and oil traps and I find no cut quality differences or issues of any kind from that and only using a Motorguard unit (with the paper roll filter).
Good points. Especially since the software is always a moving target as vendors add feechurs.
However, looking at this from OP’s perspective, a guy who is just starting out, and then looking at the most oft applied fix to startup issues, it is predominantly Air issues.
As you say, once you’re tuned in, then the ongoing problem is software.
You can’t imagine how many people have problems putting it together because they don’t read every instruction and do what it says. Read forward a couple of steps so you know you’ve got the right rail or correct lead screw bearing mount or whatever. If it’s not clear, read it again. It will save you time with trying to get it running correctly if you’ve got it put together correctly.
The same thing goes to all the other things you need to do - lots of folks having plasma problems because they’ve got the 4T switch set vs the 2T that’s needed. Or they choose a HF-start plasma instead of the blowback type that’s needed and specified. Or they don’t download the correct (or any) of the software (Firecontrol, post-processor, etc) that’s needed. Then they don’t read the installation instructions and install it correctly.
All the other stuff - air, software, post-processing, etc. are all going to suffer if you haven’t read the instructions for each step of the process from putting your Crossfire together to setting up the software to creating the GCode files to ultimately cutting things.
Having very recently jumped into this world here’s my take. I found I had to take small bites which was hard for me because I usually jump in with both feet
And it definitely isn’t plug and play. Expect issues but work through them and realize there’s a huge amount of good info here on the forum.
Putting the table together and ready to go was pretty straight forward but as a hardcore manual/directions non-follower I really found it important to RTFM and watch the build videos ahead of time.
Lots of prework before I even got the table with software. SImple design stuff first. No full size signs or complex cuts. Work through the process of design, then post processing and then do it again and again and again. Build up your skillset.
Realize you’re going to ruin some stuff by screwing up setups or forgetting to have your compressor plugged in or something else stupid but after a while the work flow comes. I started by cutting a bunch of squares and circles out of scrap and played with feeds and pierce delays and lead ins and all sorts of things on stuff that didn’t matter.
I come from and IT background and have been playing around in the shop for quite a few years so there was nothing super difficult about it for me but even so there was a lot to learn.
Sorry for running off at the mouth…errr… keyboard but just thought I’d put that out there for you.
Thanks all for the info. This is a great forum. I’ve read quit a few post already. Slowly building the 1000 foot view off the process. I got till the end of June till the table gets here so lots of time to play with the various software mentioned. Be interesting to look back in 1 year at my newbie questions and what I’ve learned in the year.
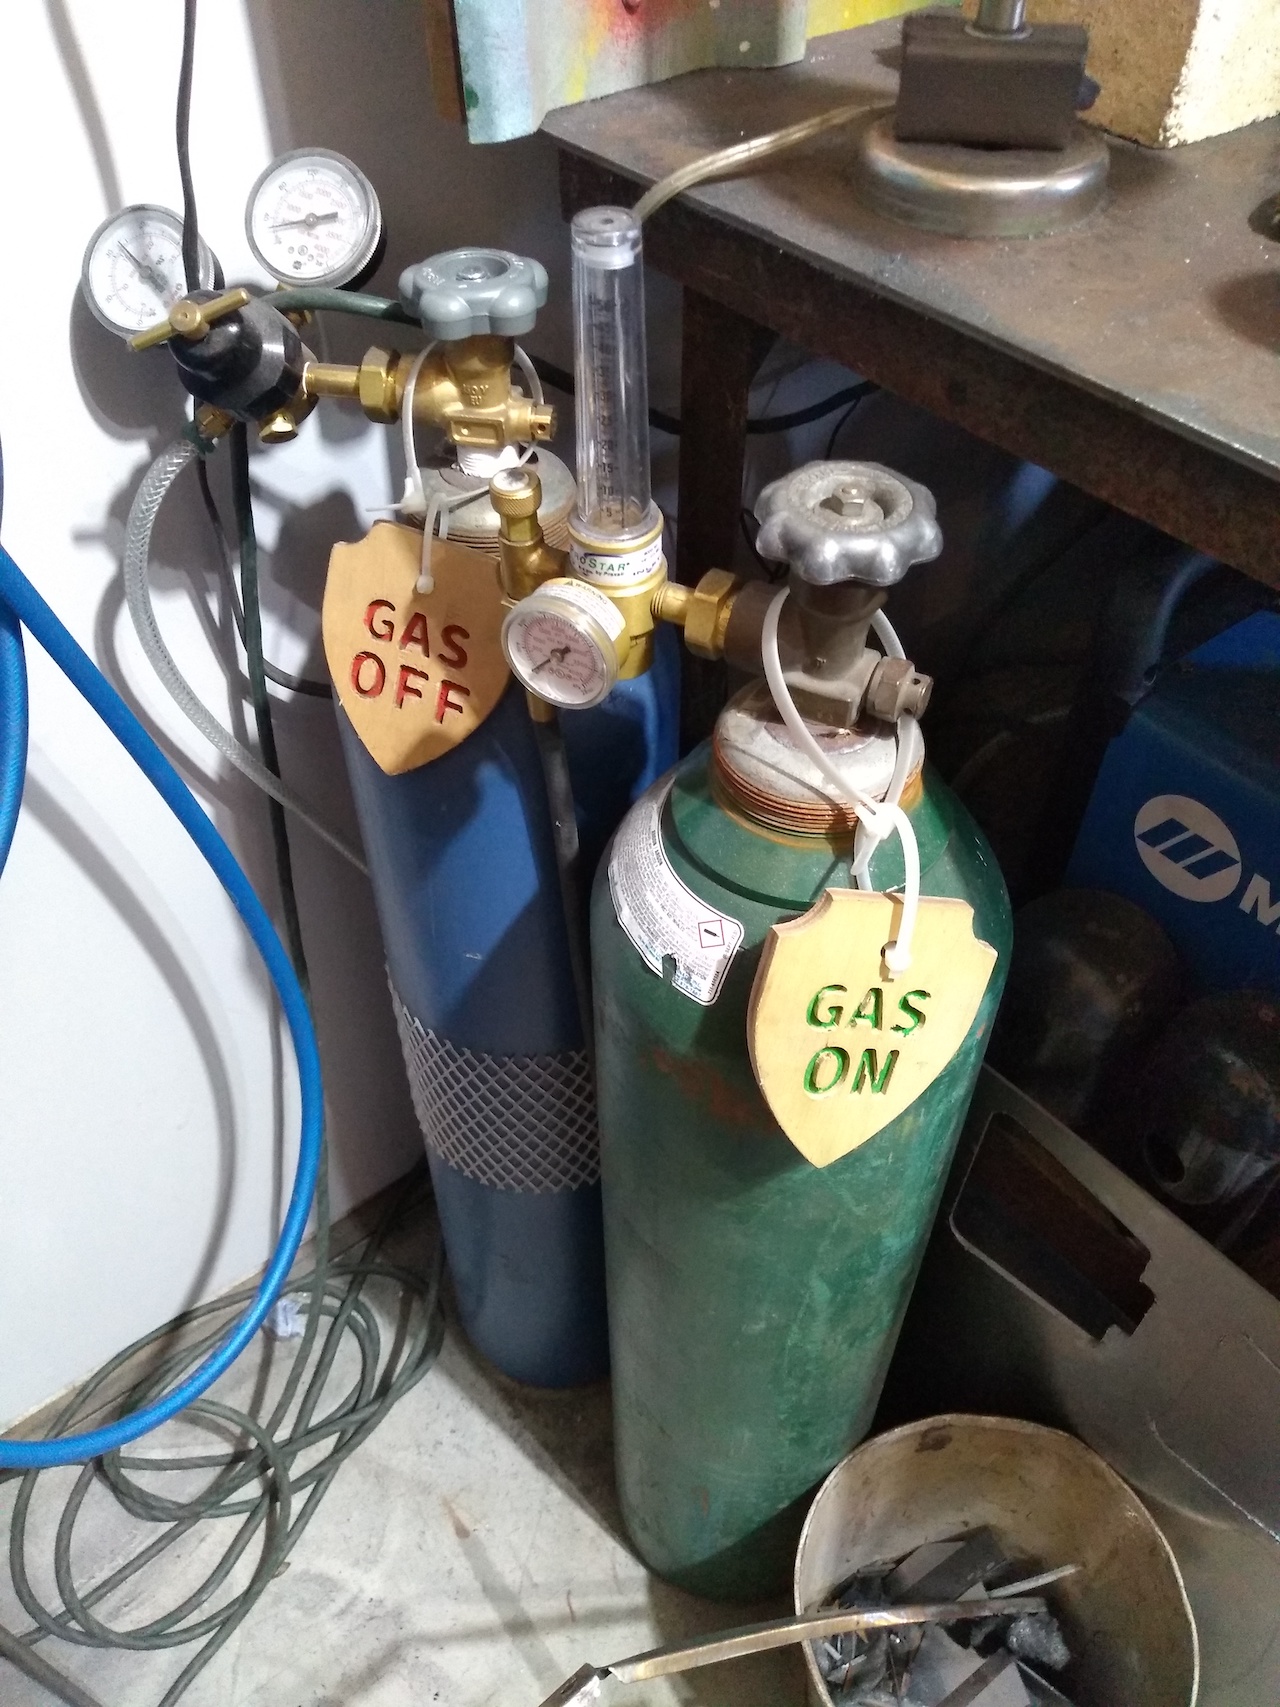
Lol. I’ve burned a couple tungsten up on my Tig forgetting to change it from cut to Tig so no Argon flow. I find the older I get the longer my “remember to do this” list gets.
Something to remember, is your air supply. You need to have a decent size air compressor. This might cost 300 to 500 (likely more for a Decent one) and you will also need air cleaners and dryers. This is the most important part as it will make consumables last much longer.
And then the cams process. Getting the right torch height, torch delay. Ipm.
I am almost ancient…but those silly little gauges…dials…floating balls…steel caps…
I agree if it ain’t broken don’t fix it…but dam I like these new tanks…hold more easier to handle…