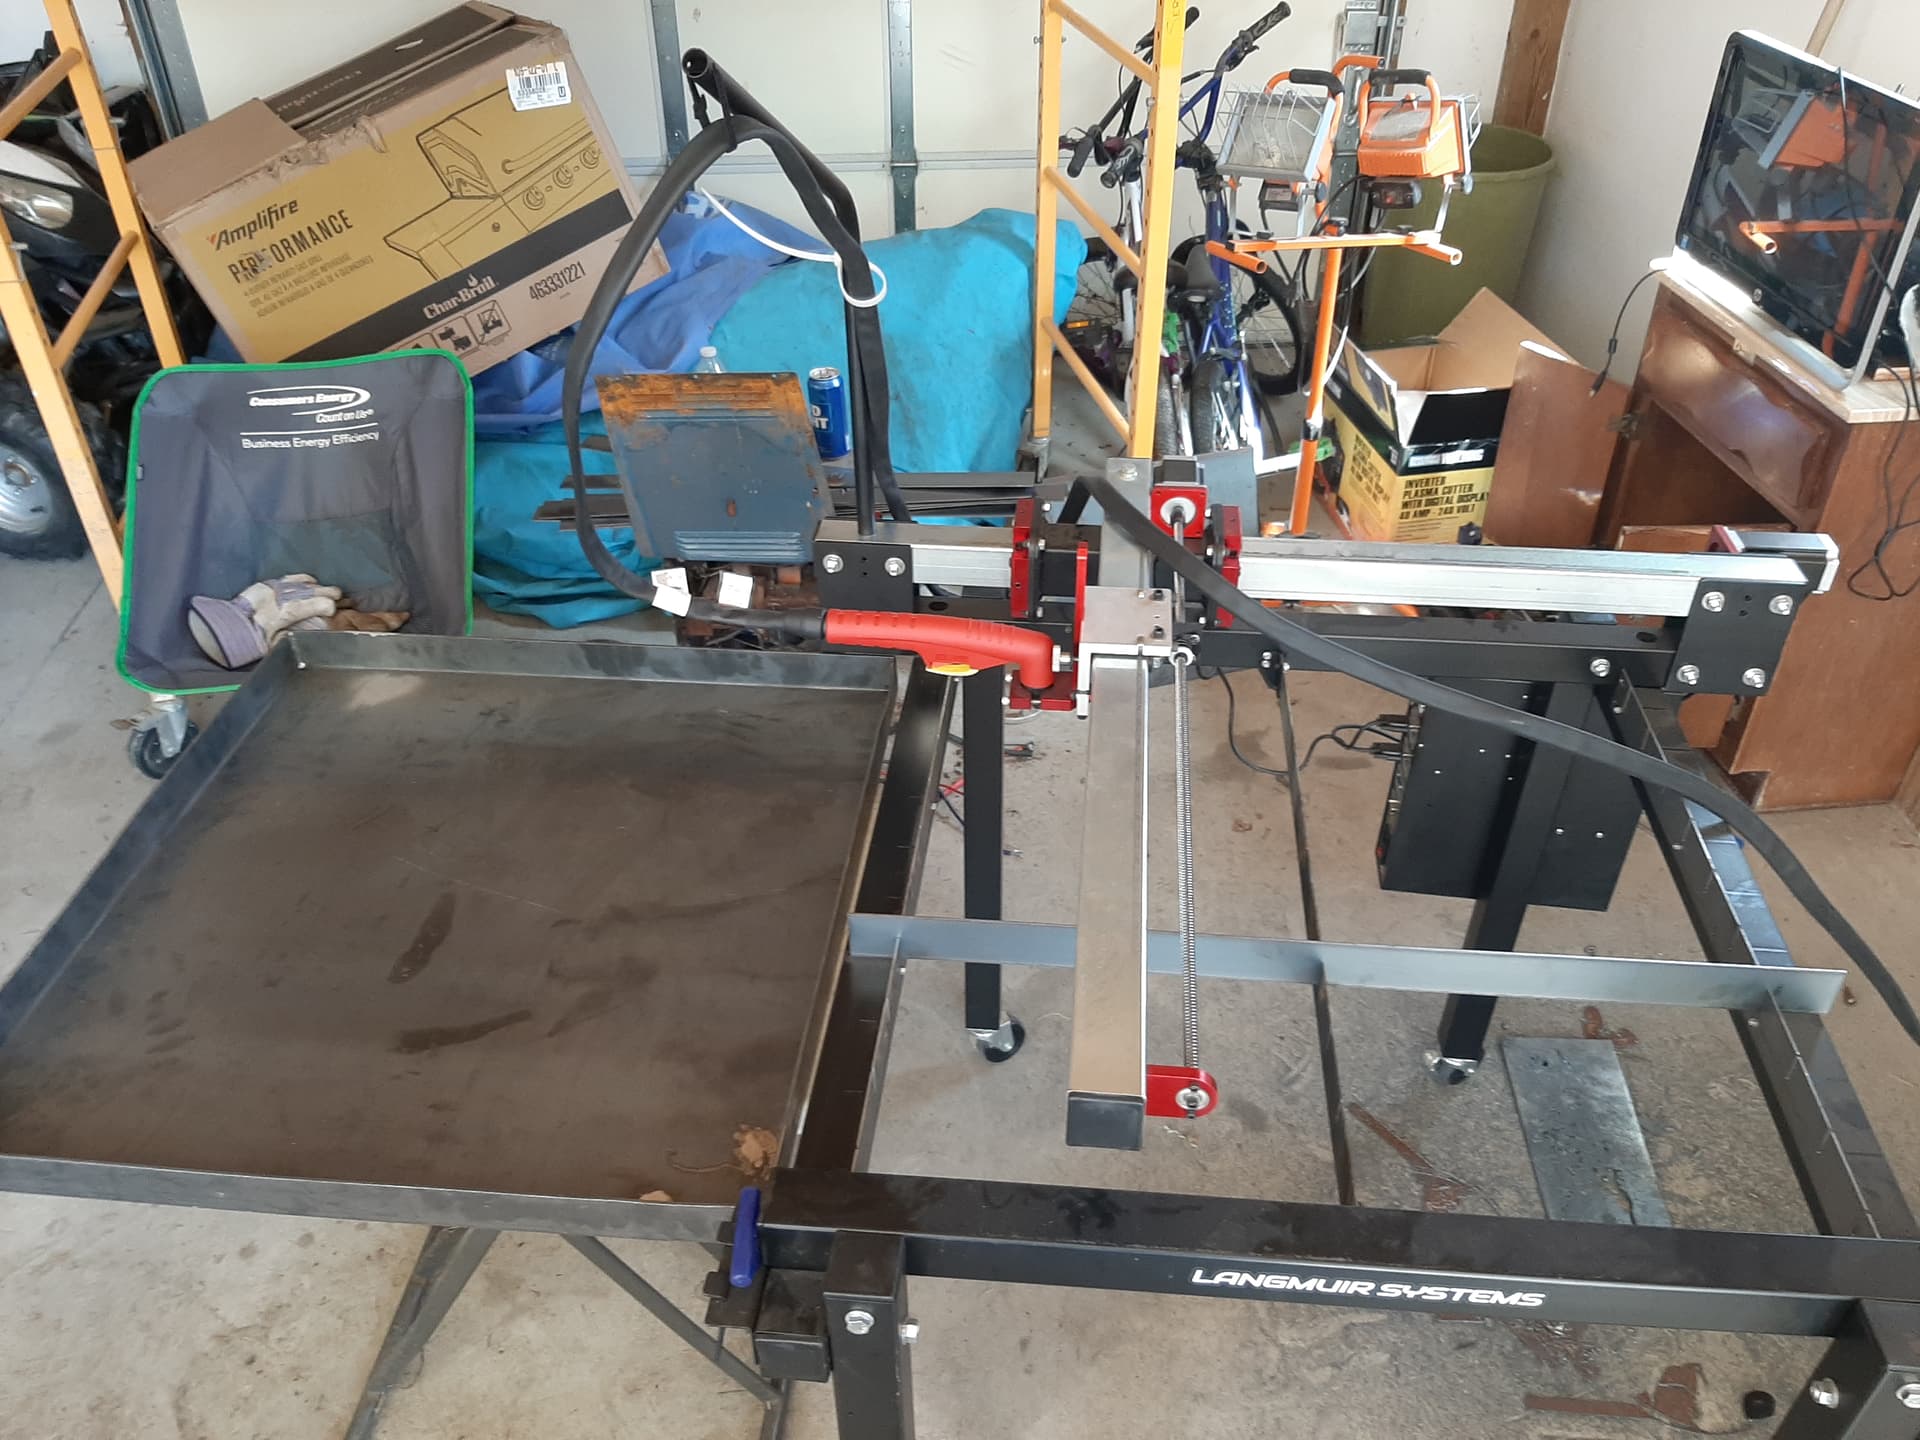


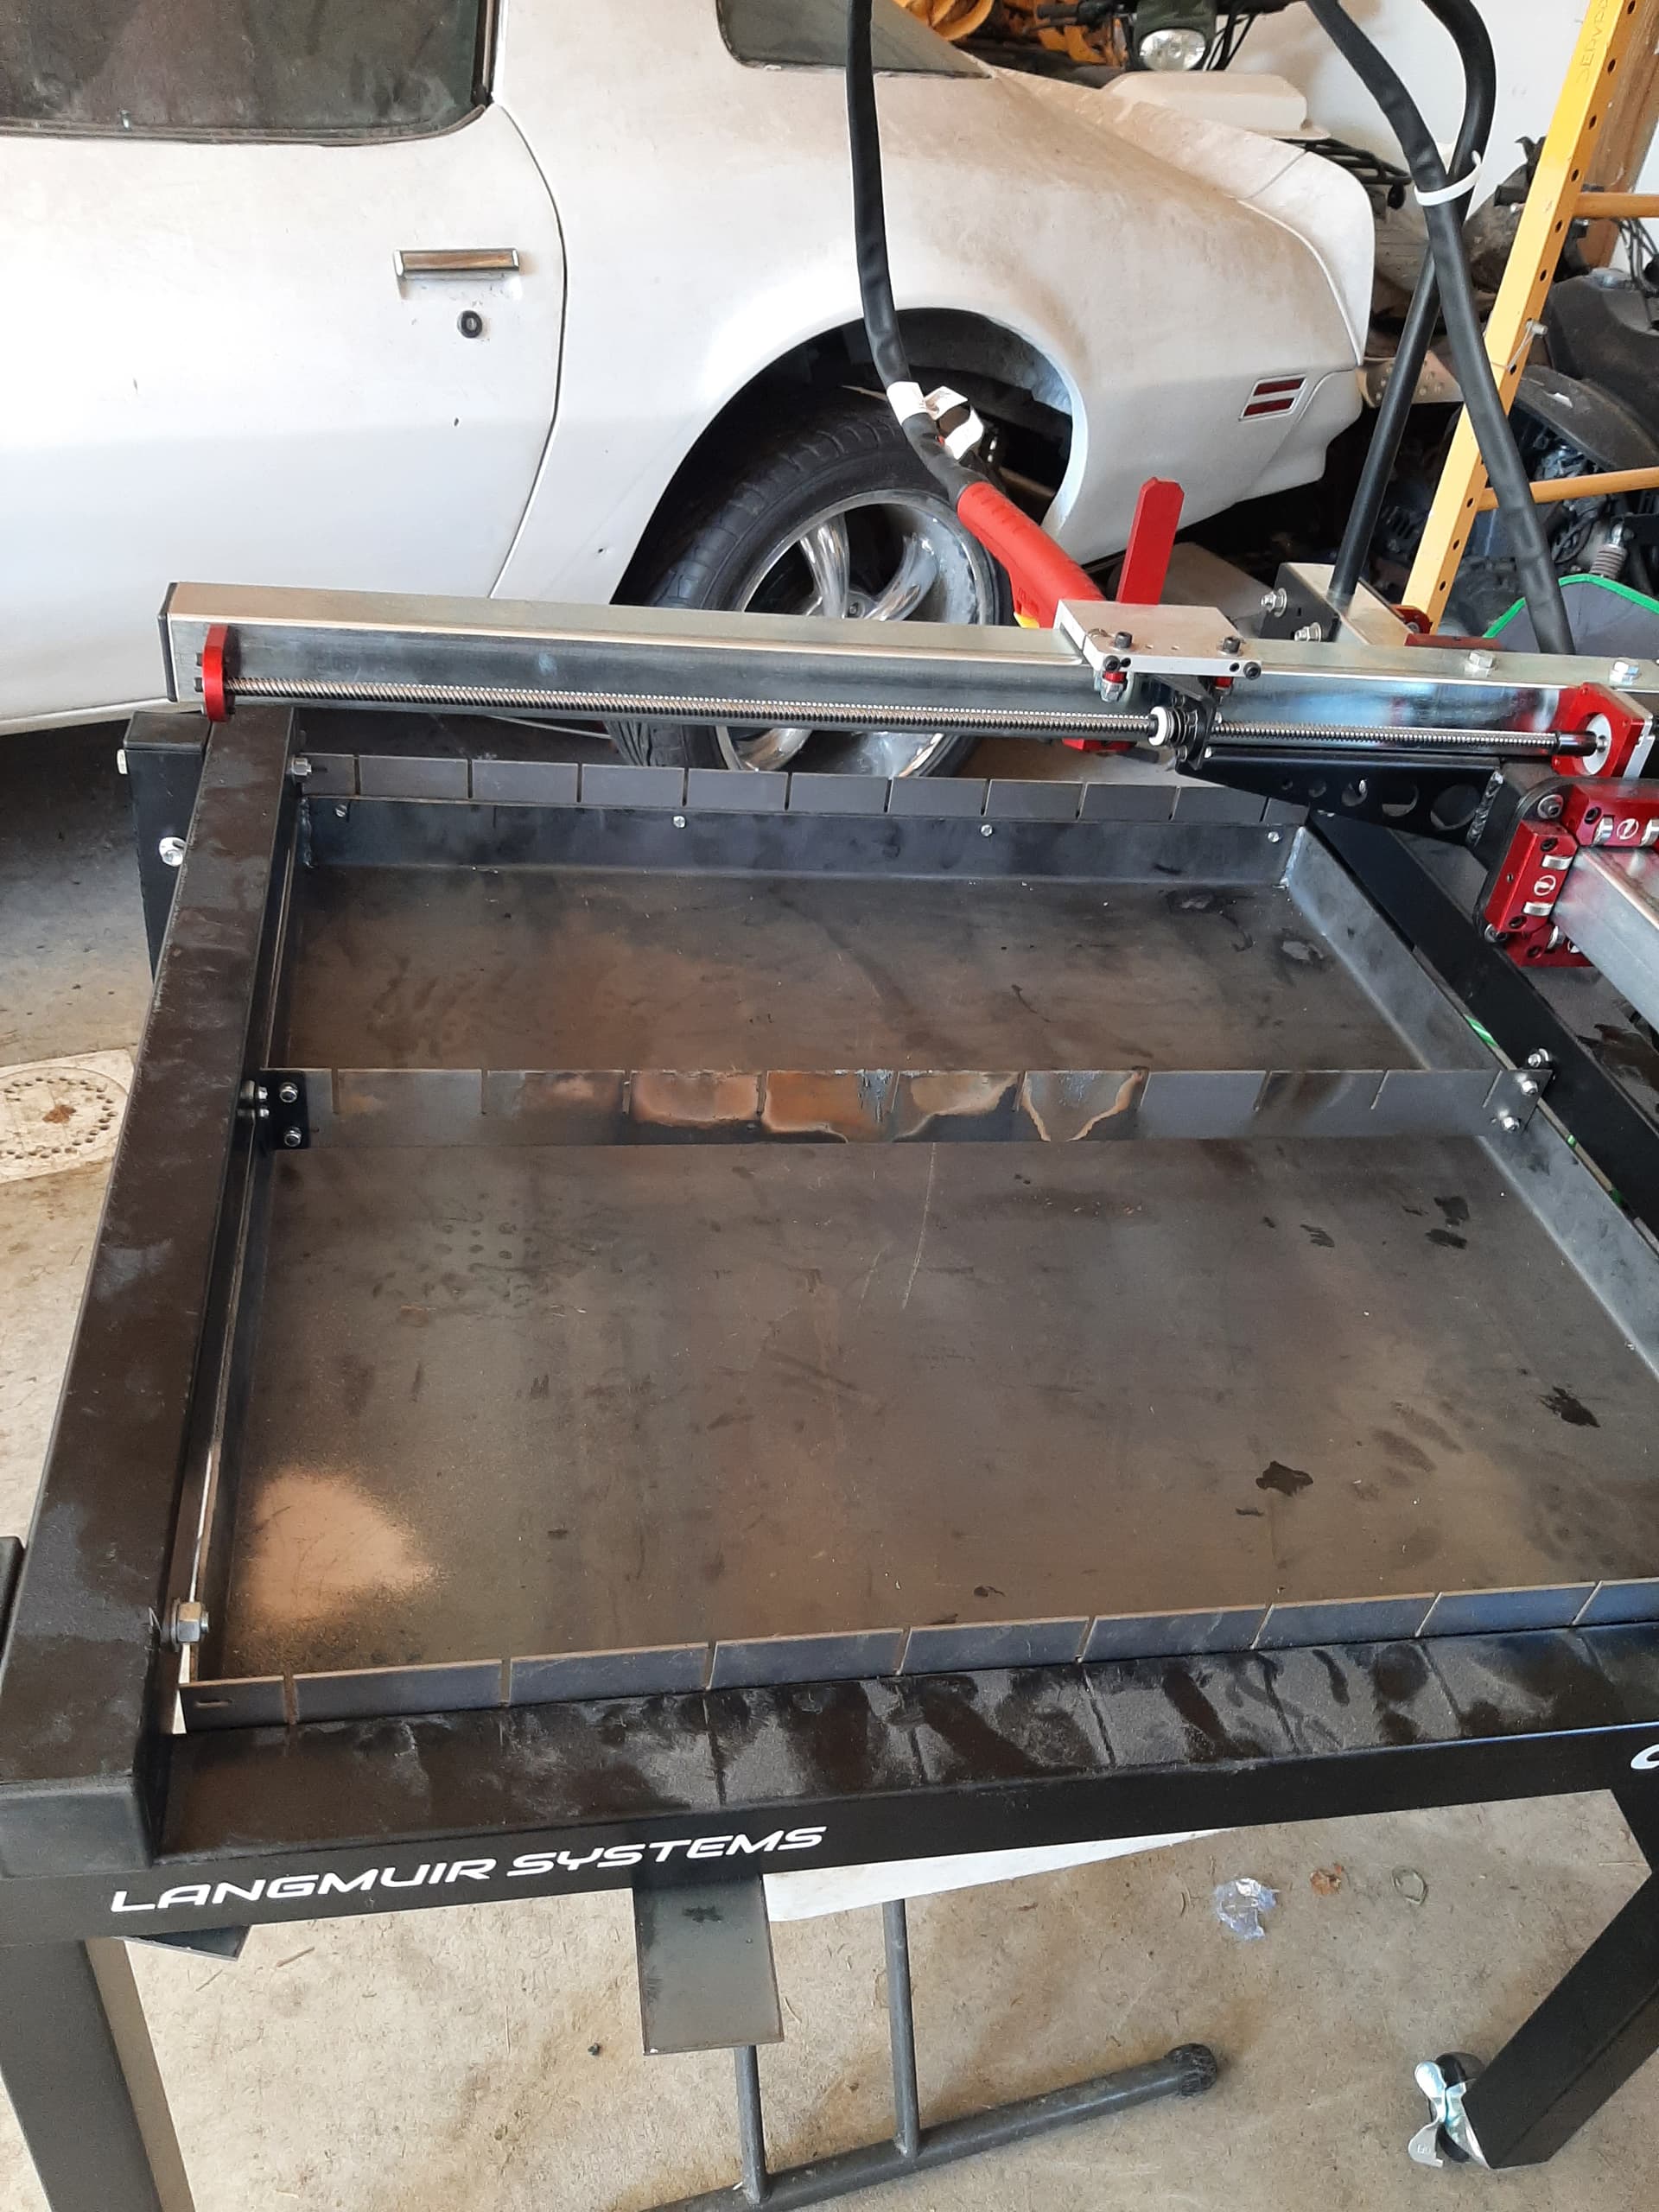
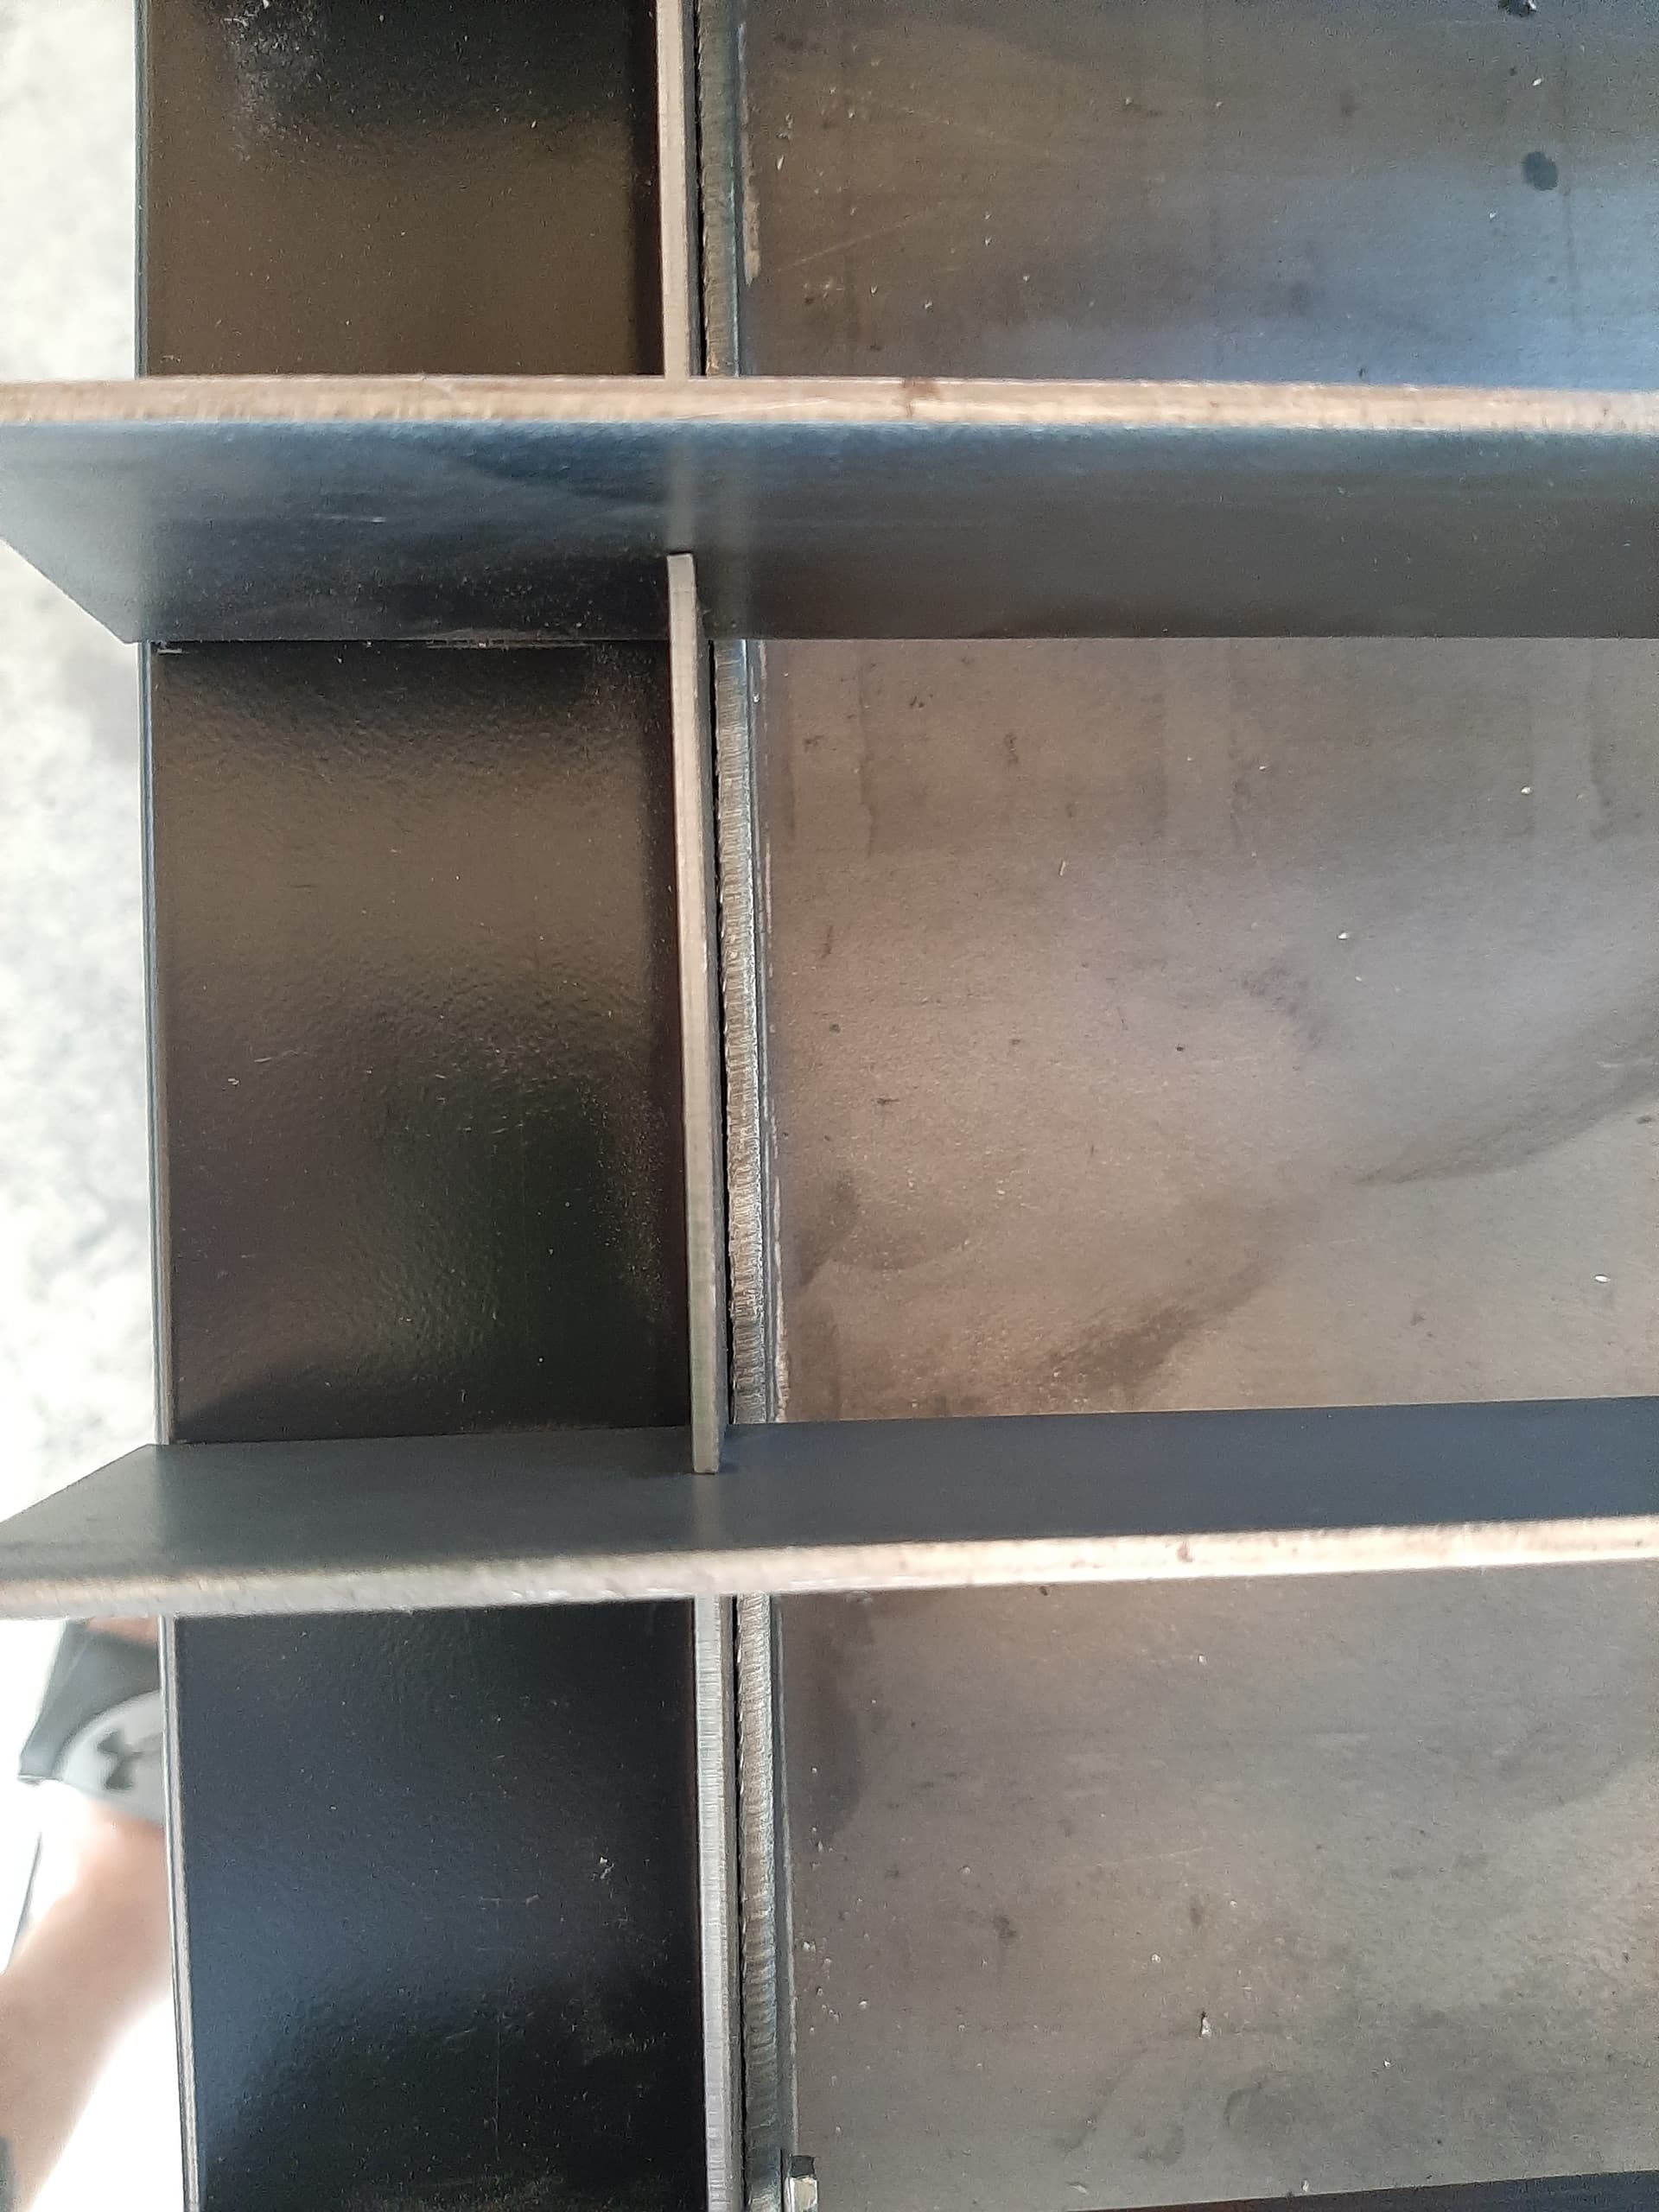
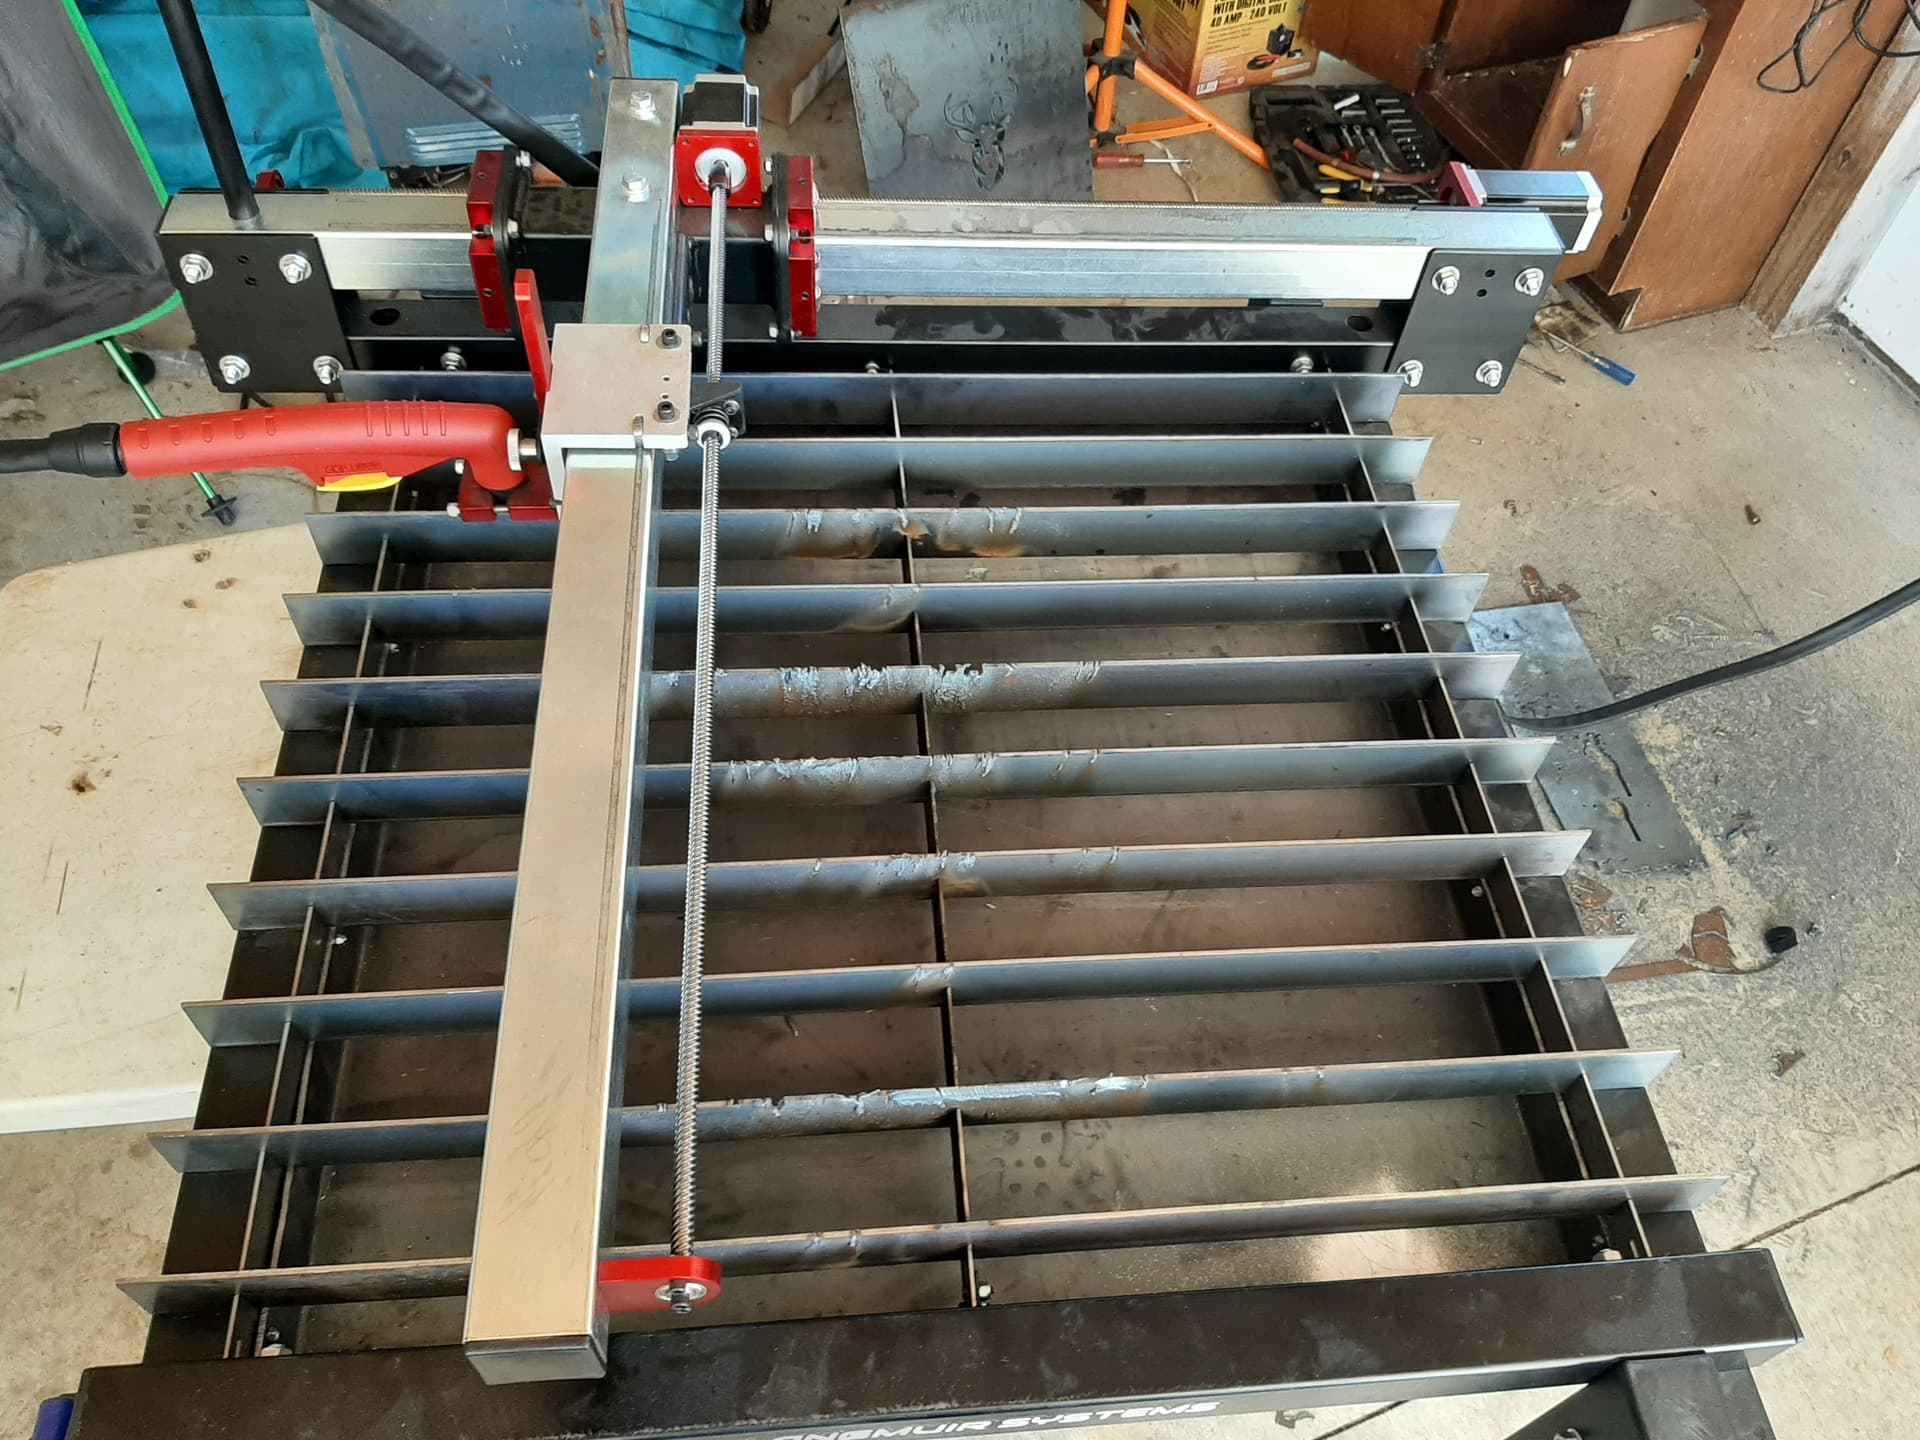
I plan to plug weld my holes for the screws and add 4 weld on tabs and run the factory frame bolts through the 4 tabs. Used slightly thicker material for the water table only because it was extra laying around. Planning to put in a drain port with a lower shut off valve and a secondary valve for a coolant tank hose. for now I am happy with how it turned out. I used the inner diameter measurements for the dimensions of the water table. looking at the under side you have plenty of clearance if you extended the sides out further. in this case I didn’t want to just so i can have extra coolant and not worry about any leaking. when I remove the water table to weld on the tabs I will be coating the whole water table with rhino liner to prevent any future rusting or corrosion.
5 Likes
Nice! 2 questions. Whats it made of and how does it attach?
Thanks
I built a similar one out of 11ga 316 SS. I welded on 4 tabs on the bottom to attach to cross members. This way there are no holes on the inside of pan. Fitted it with a single drain in the center. I had burned a multiple holes in the original pan cutting 3/4 " steel at 80 amps. Didn’t have the pan filled to the top and with the slow cut speed the air pressure blew the water out from under plate. Won’t do that again. Self inflected…
I will keep that in mind. More liquid when cutting slower speeds. ![]()
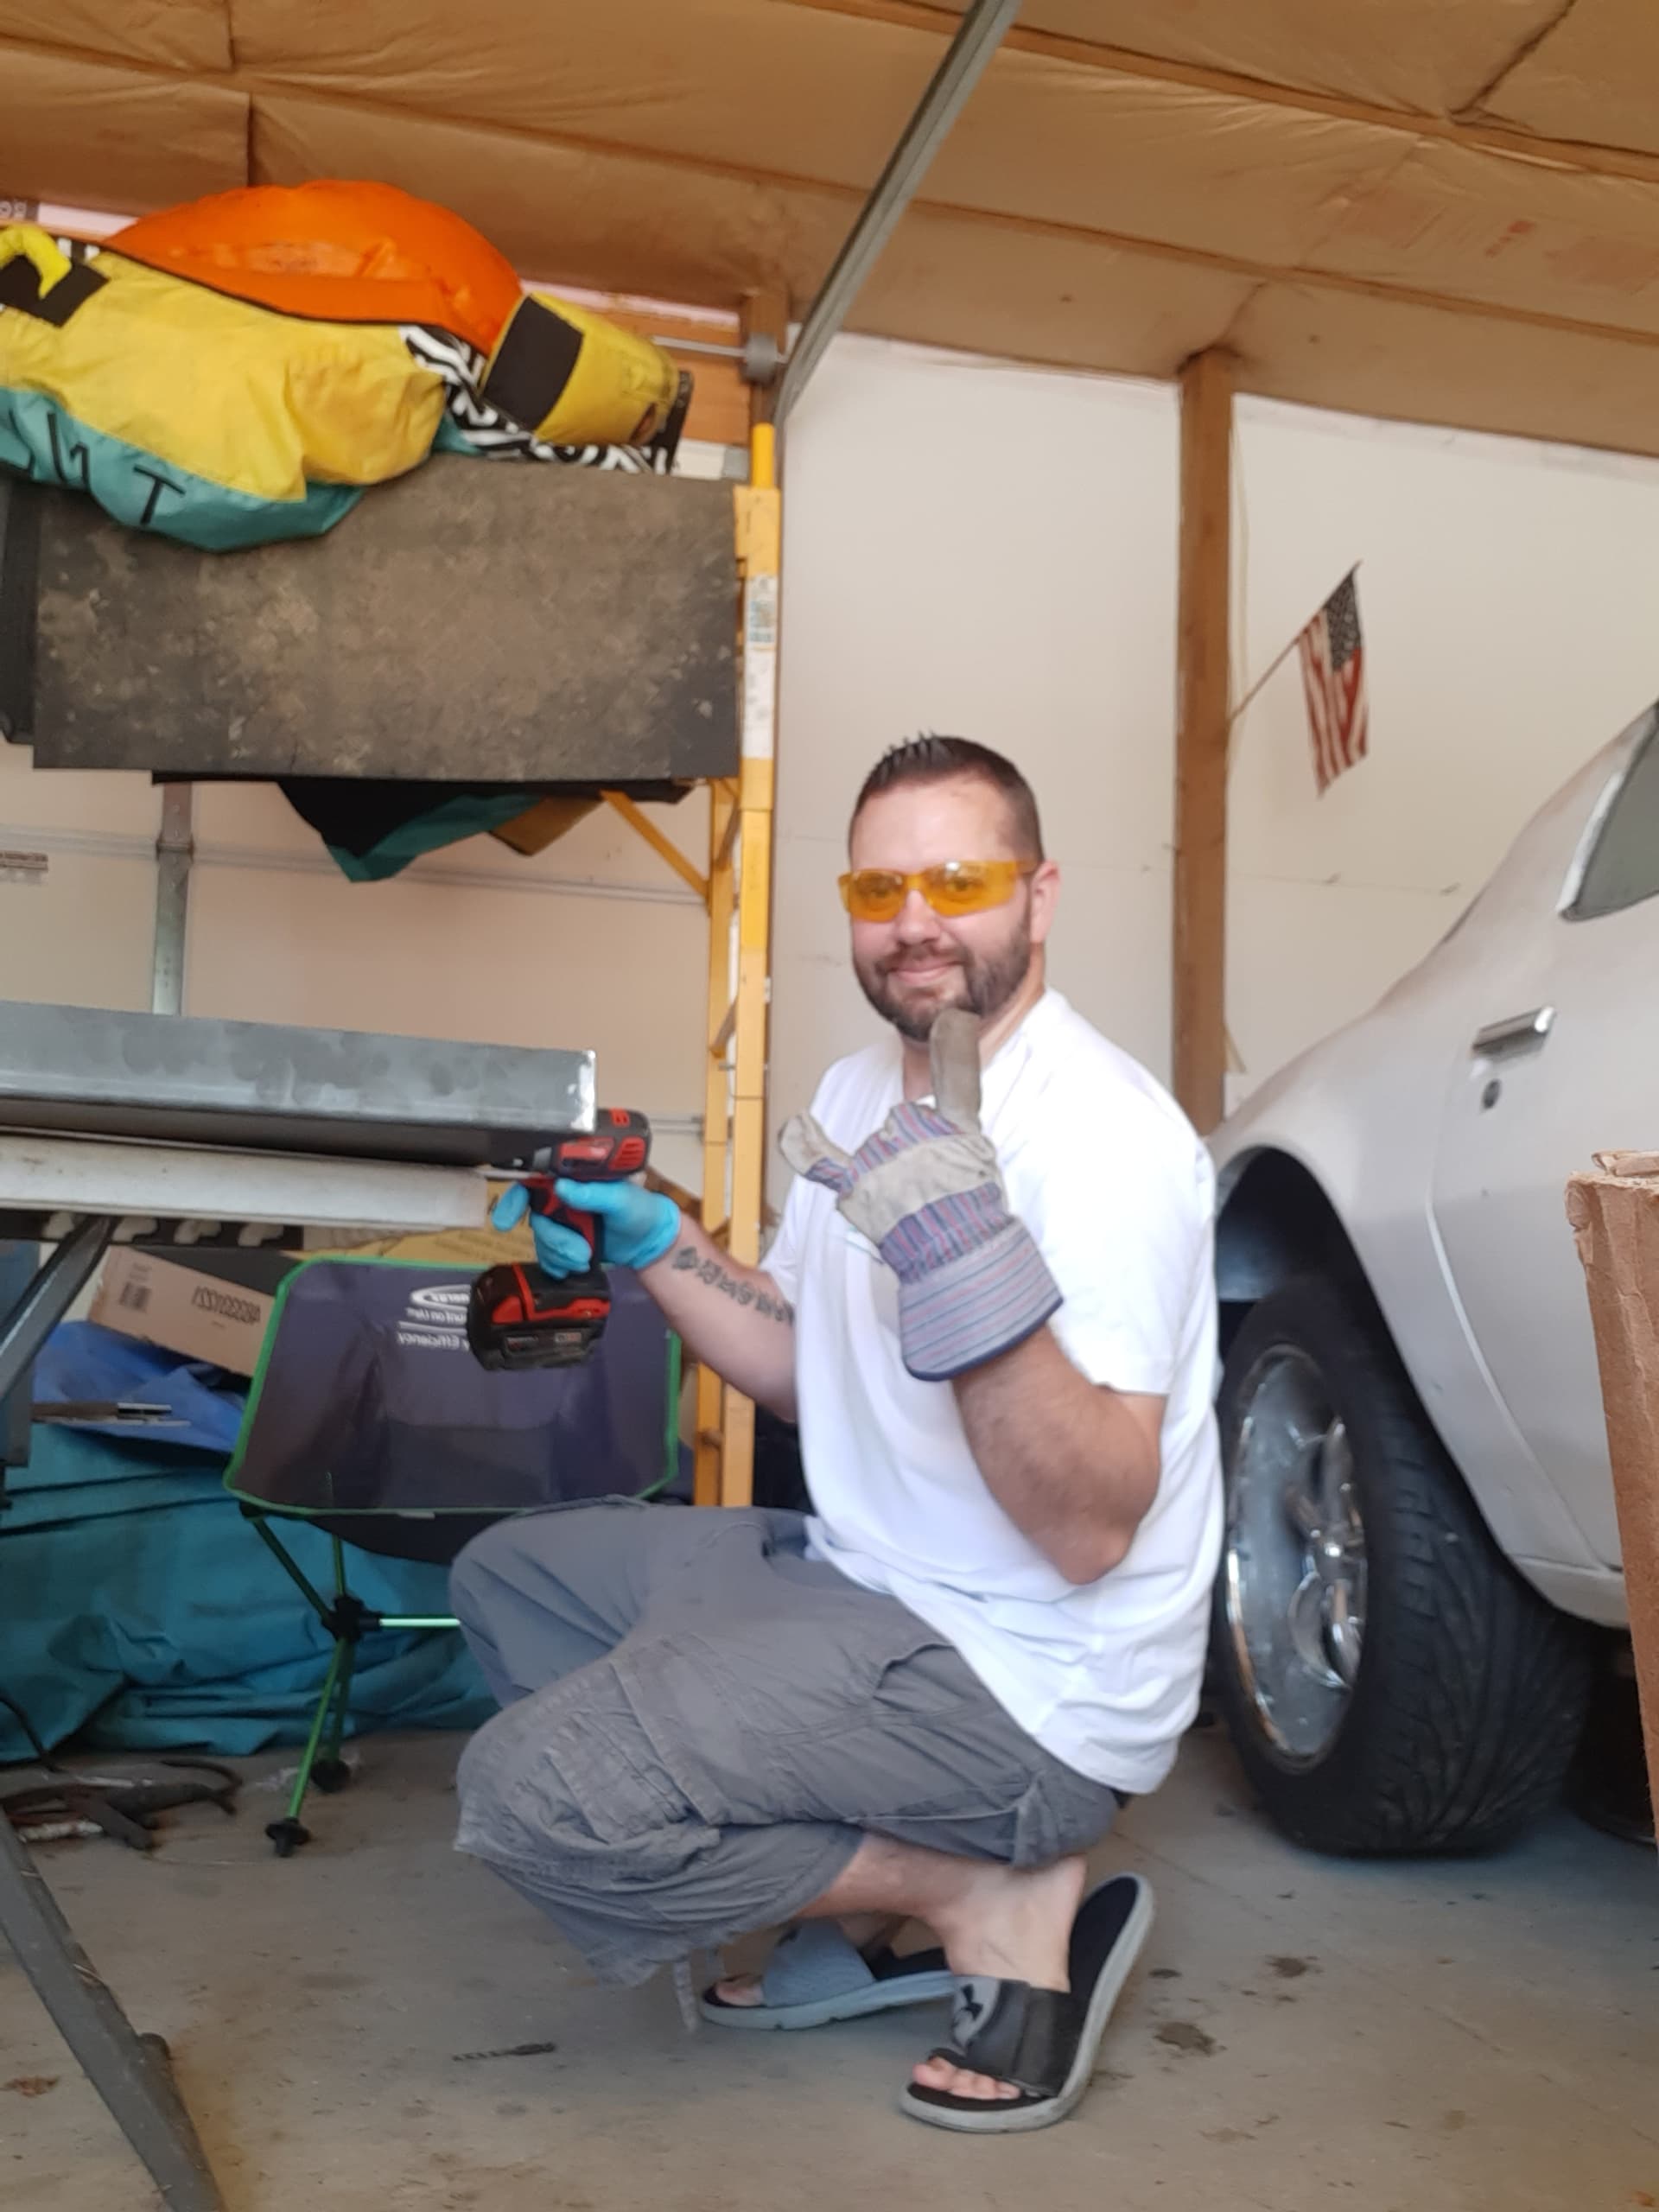
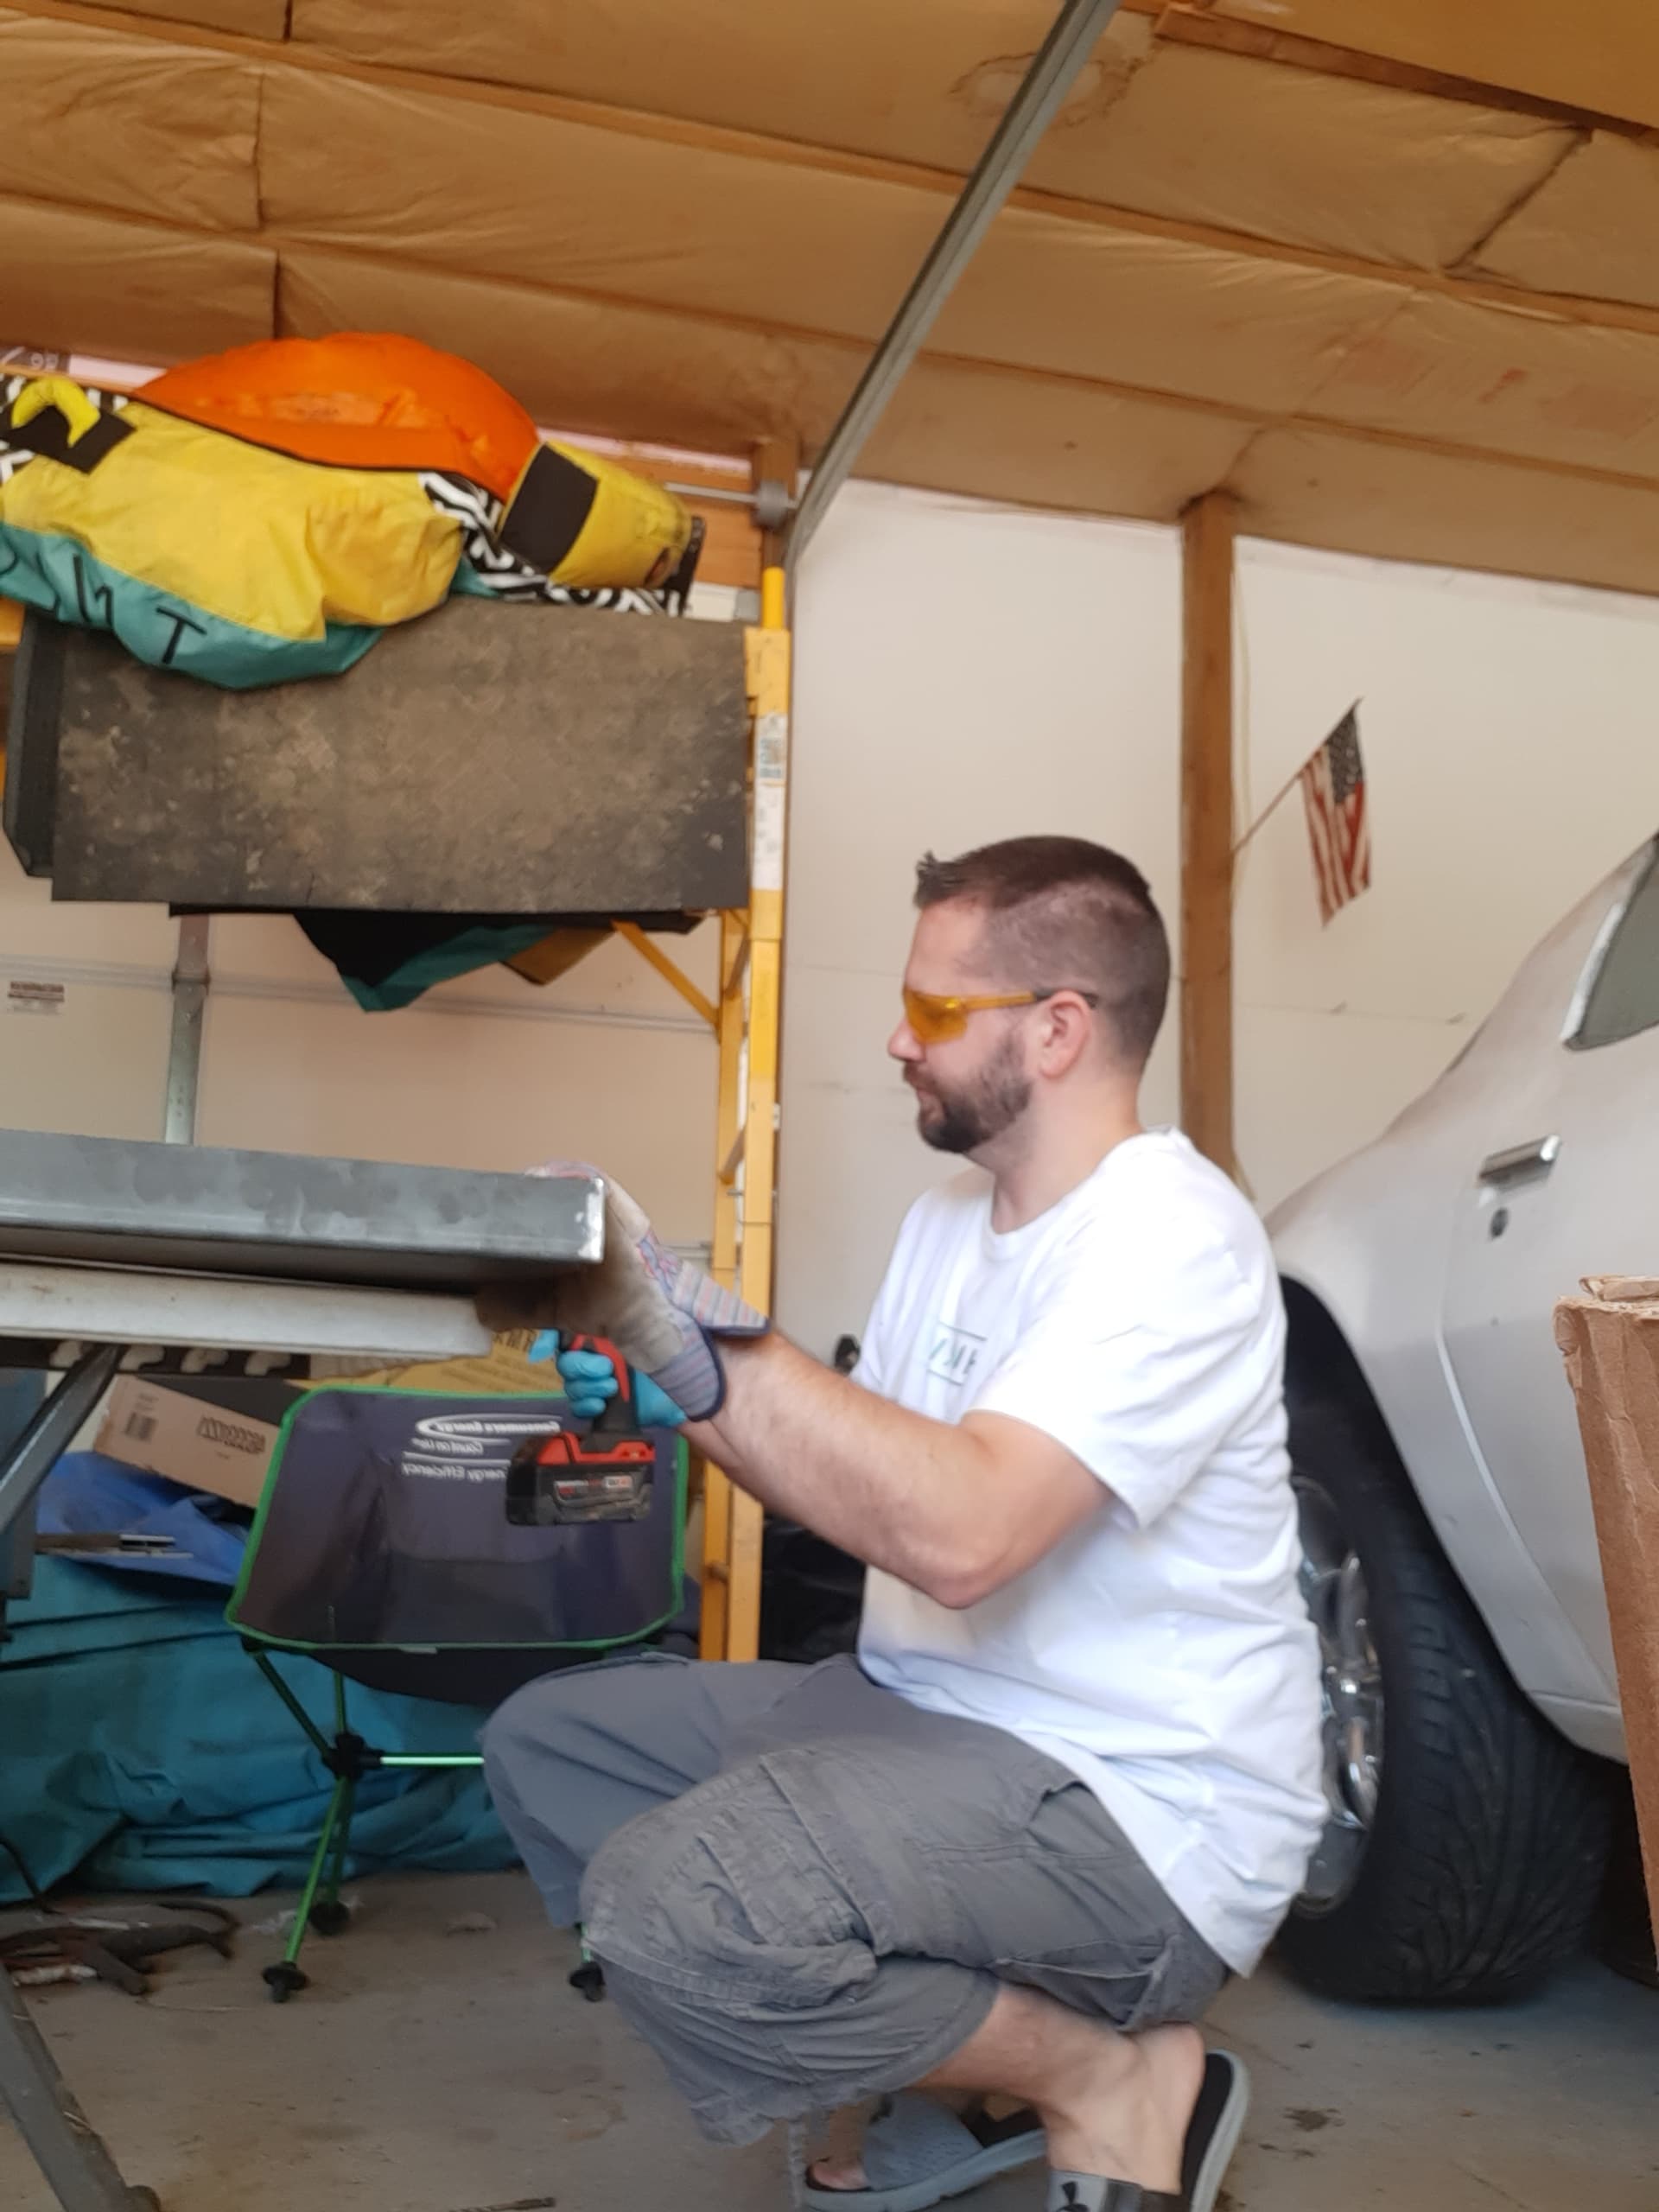
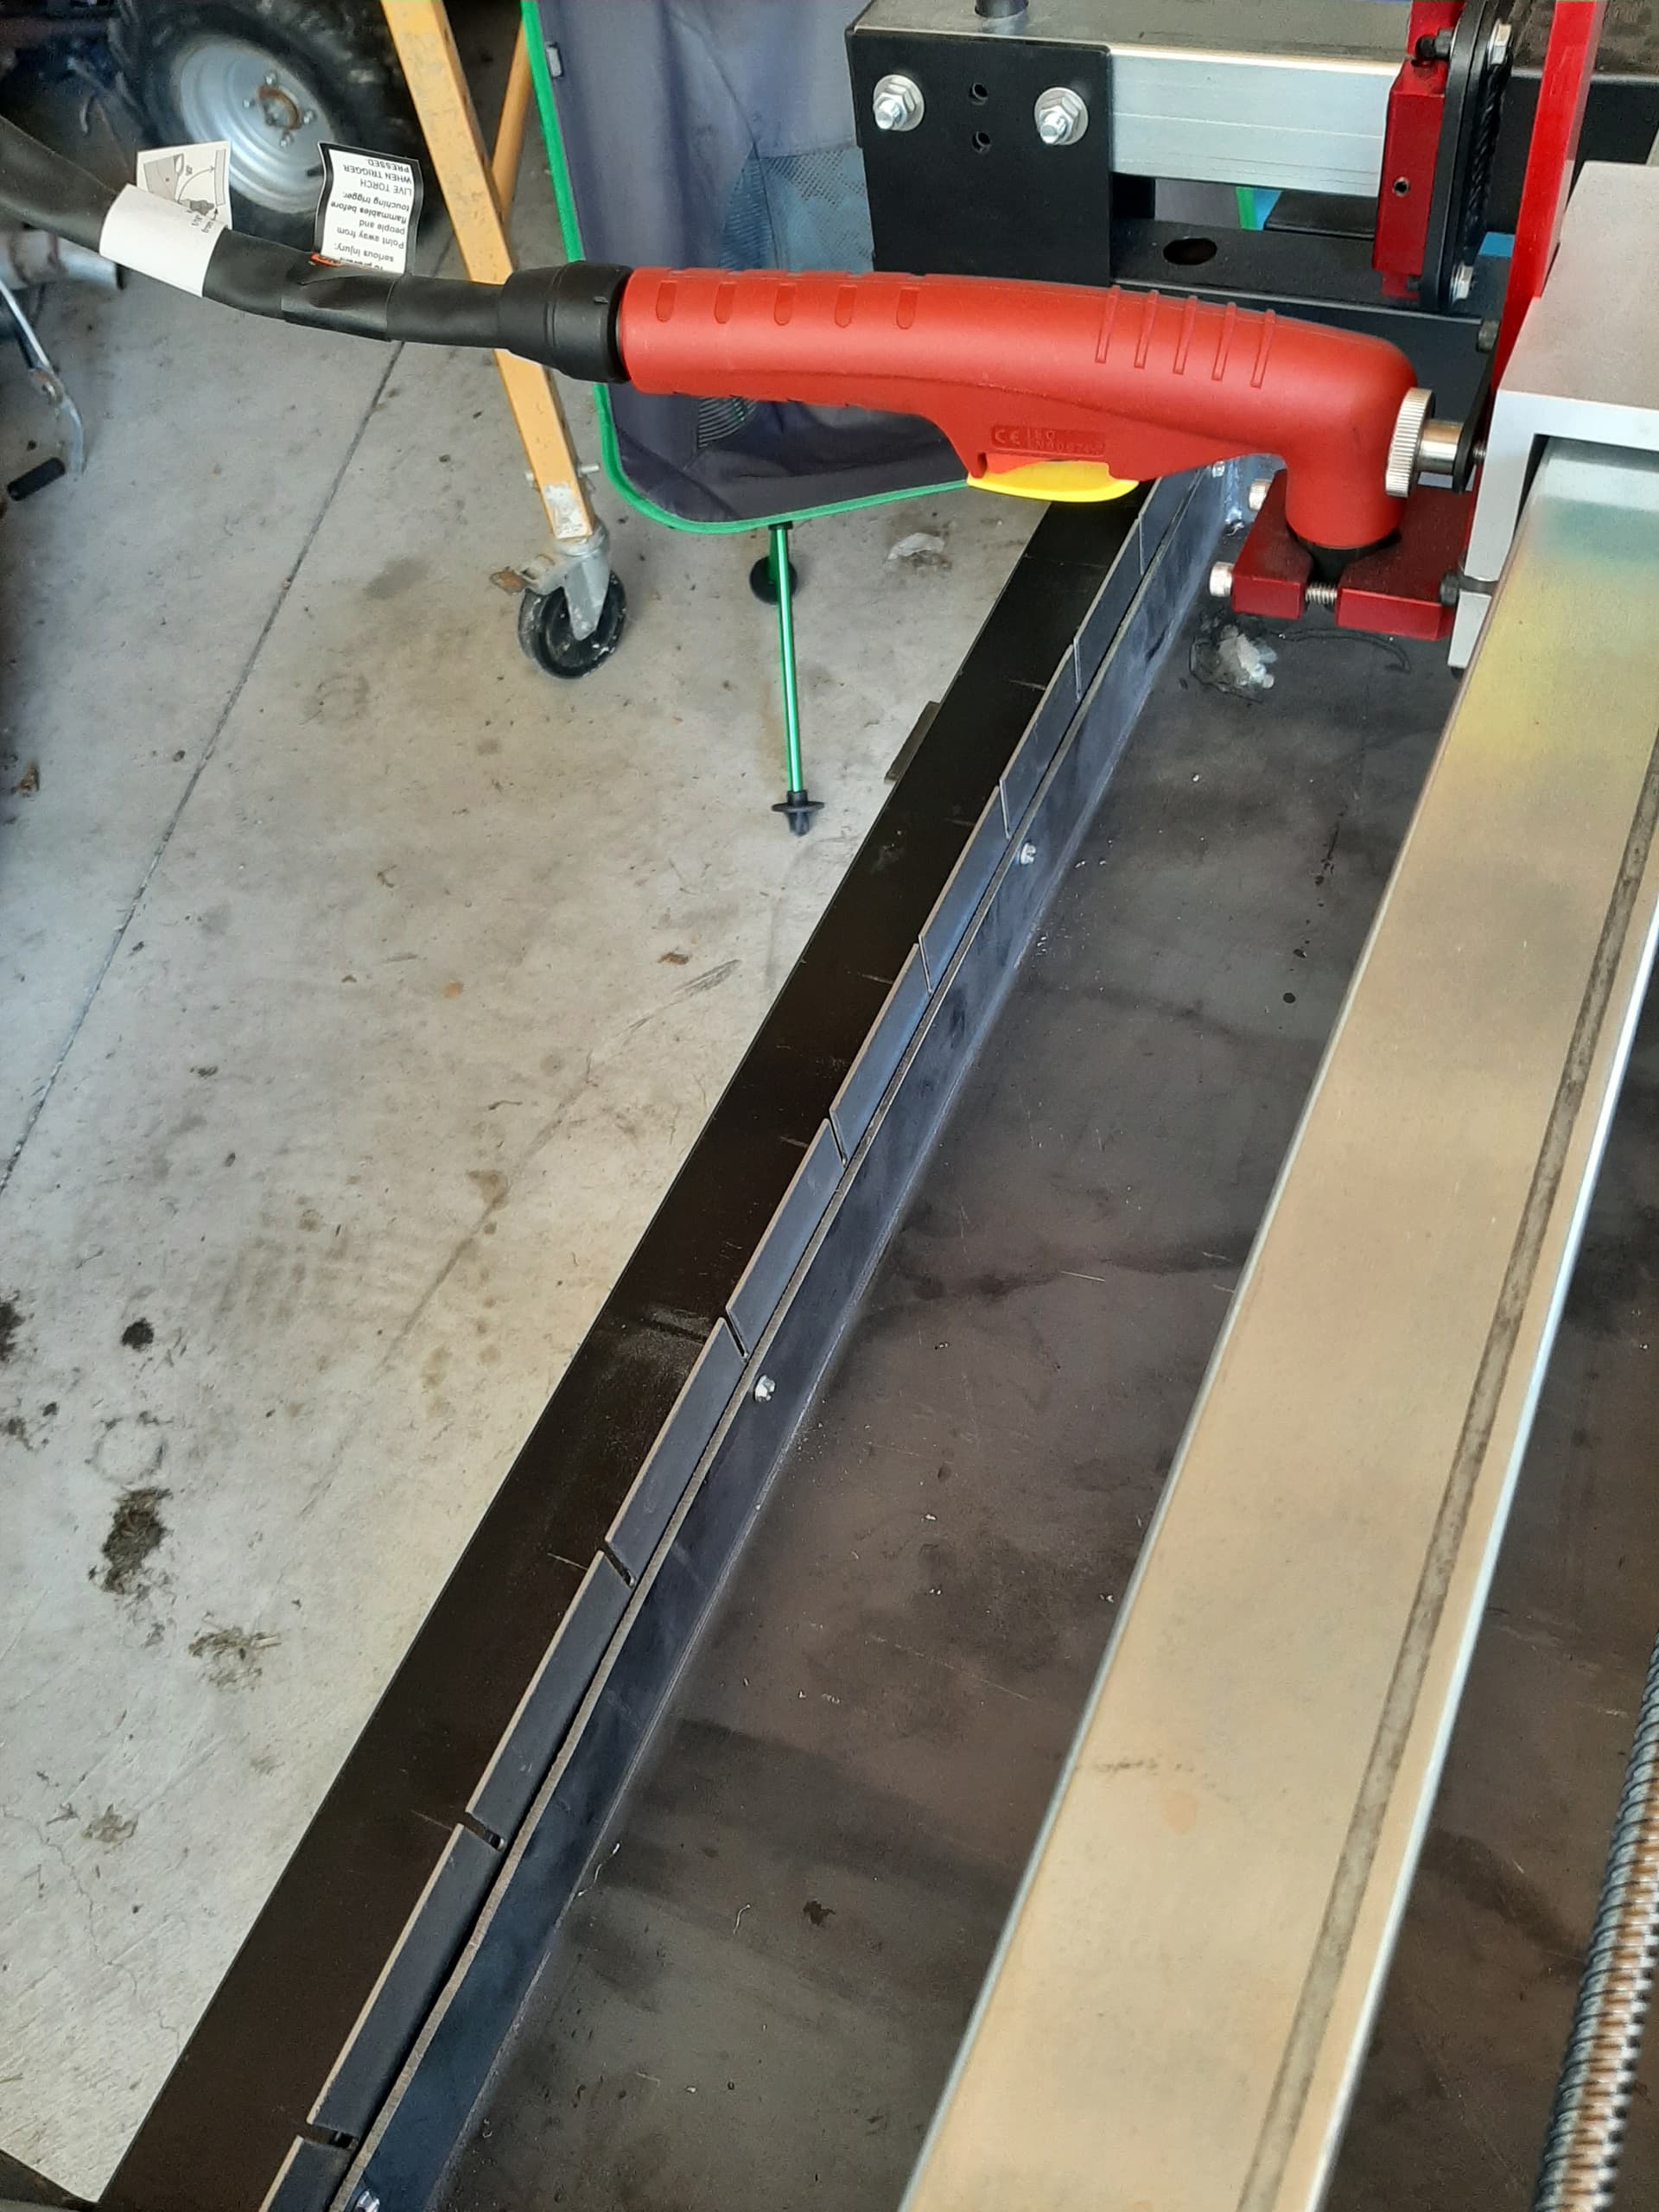
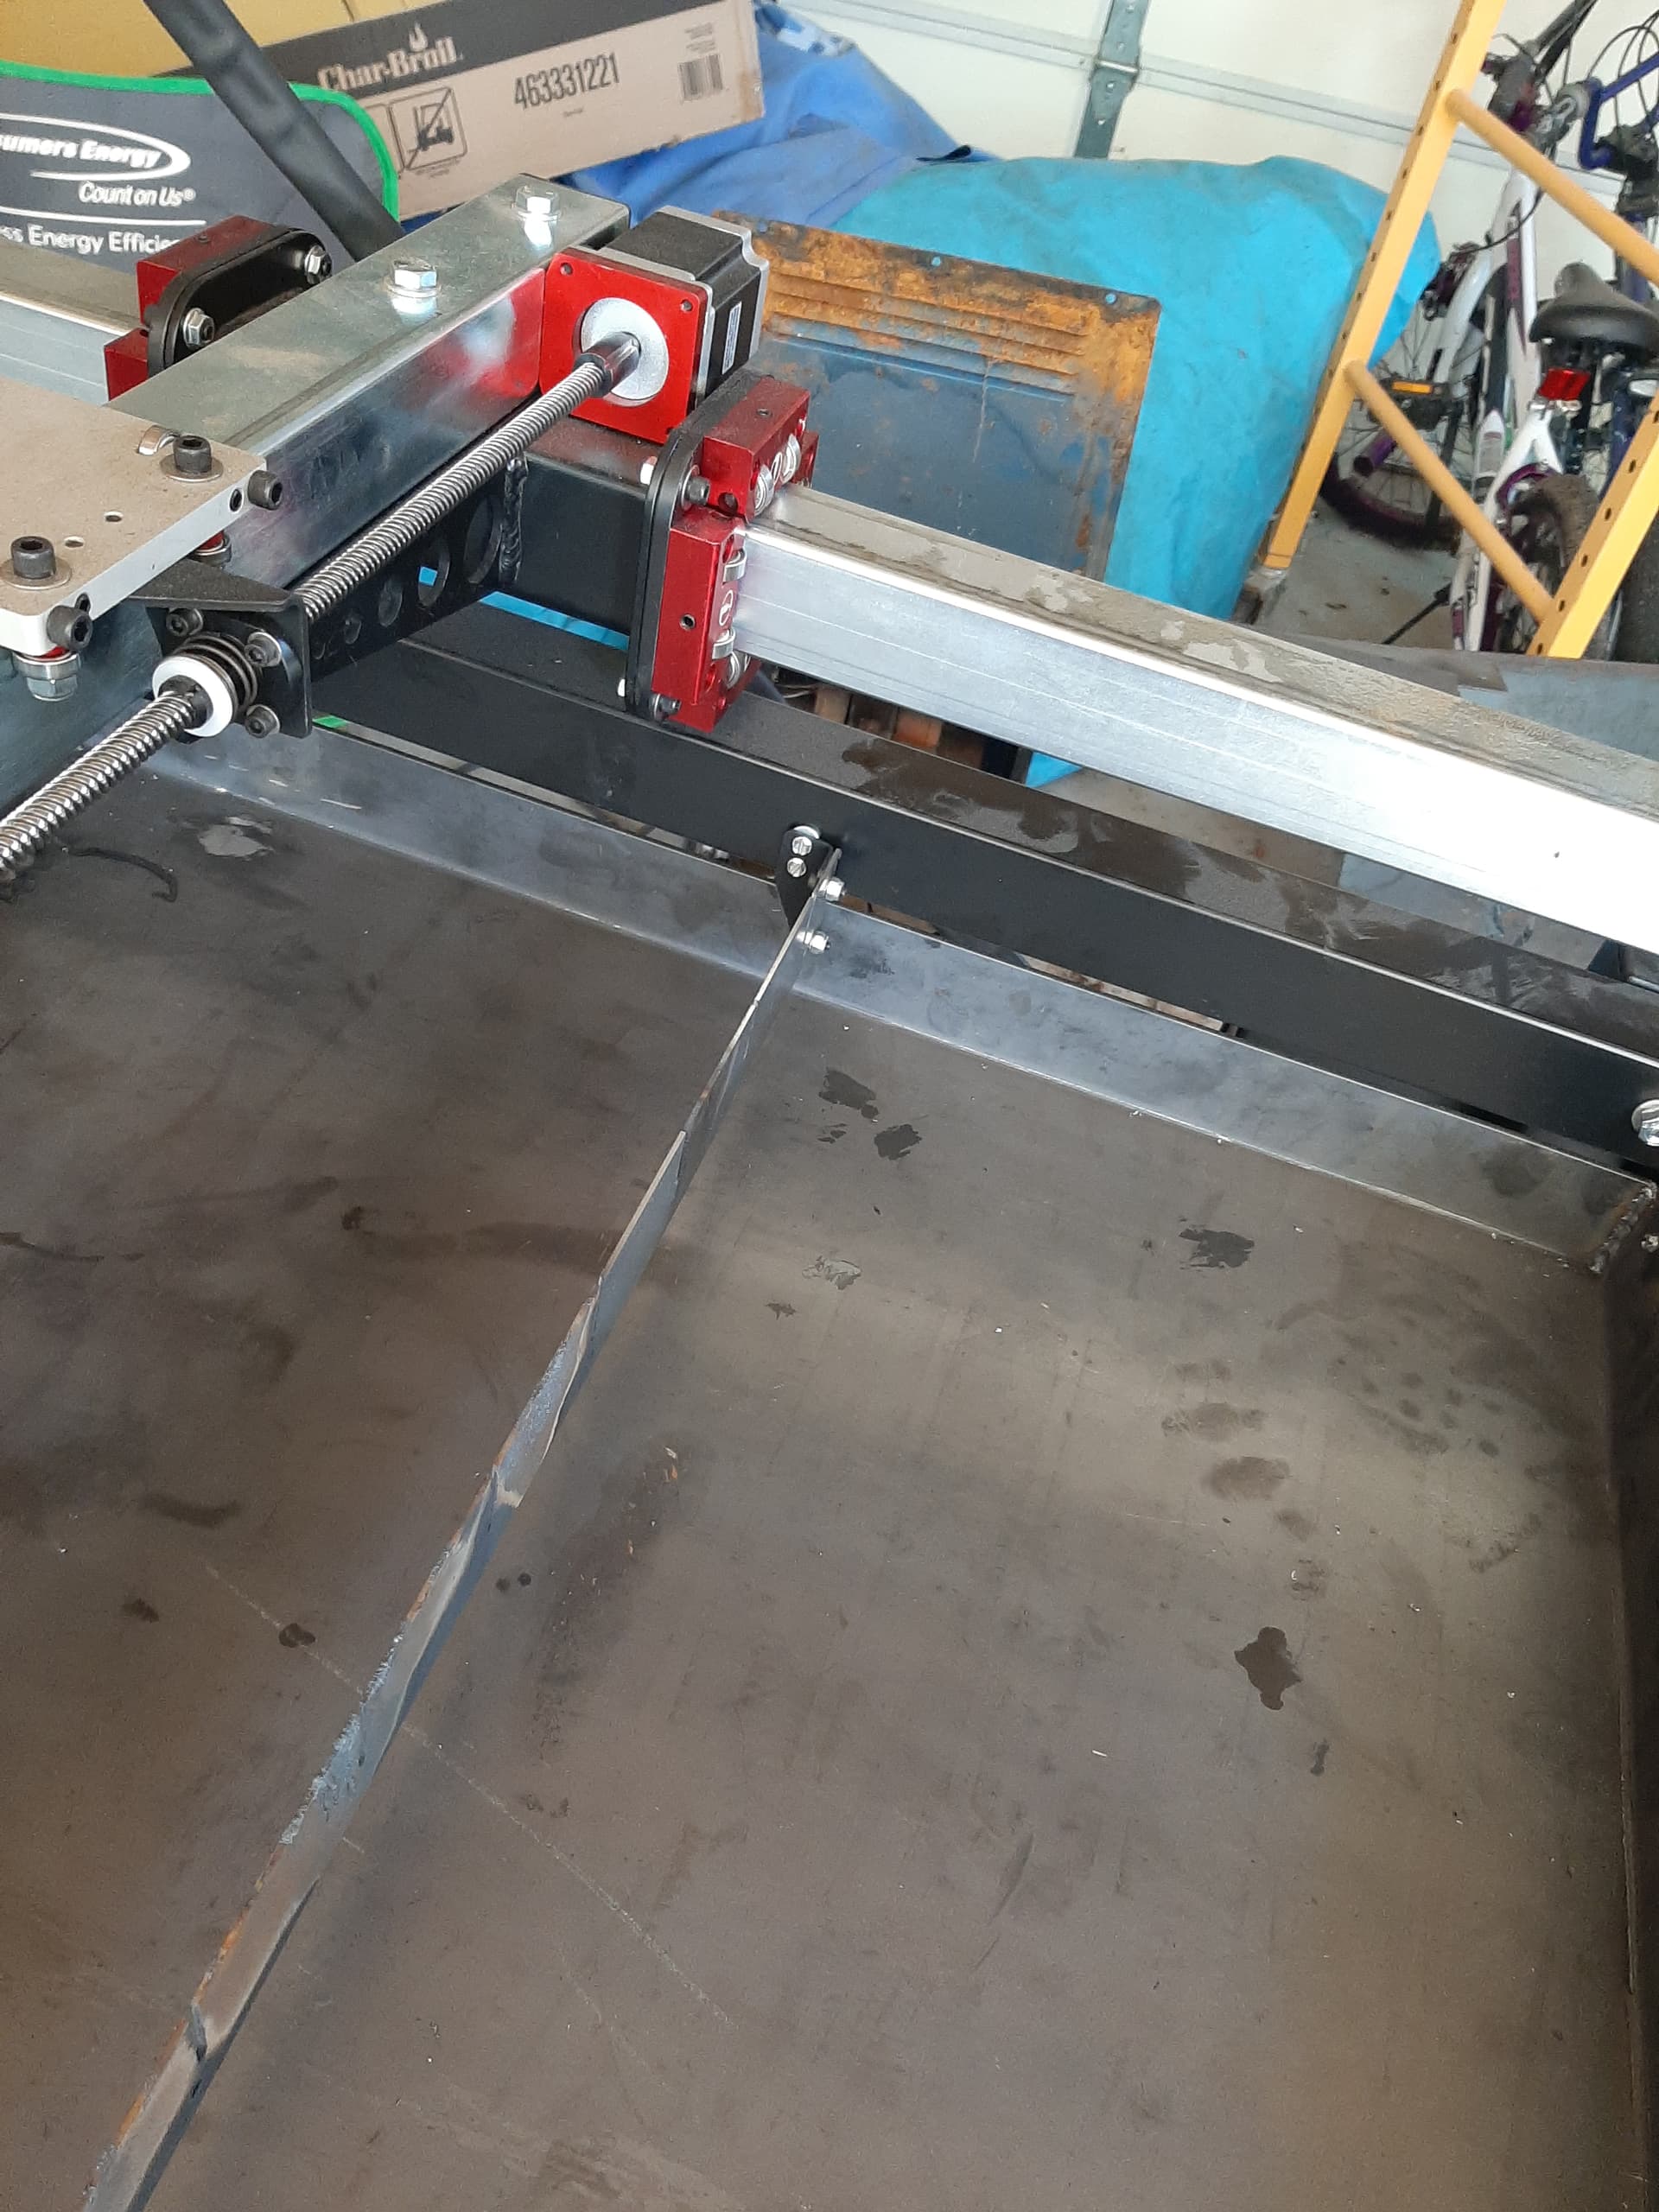
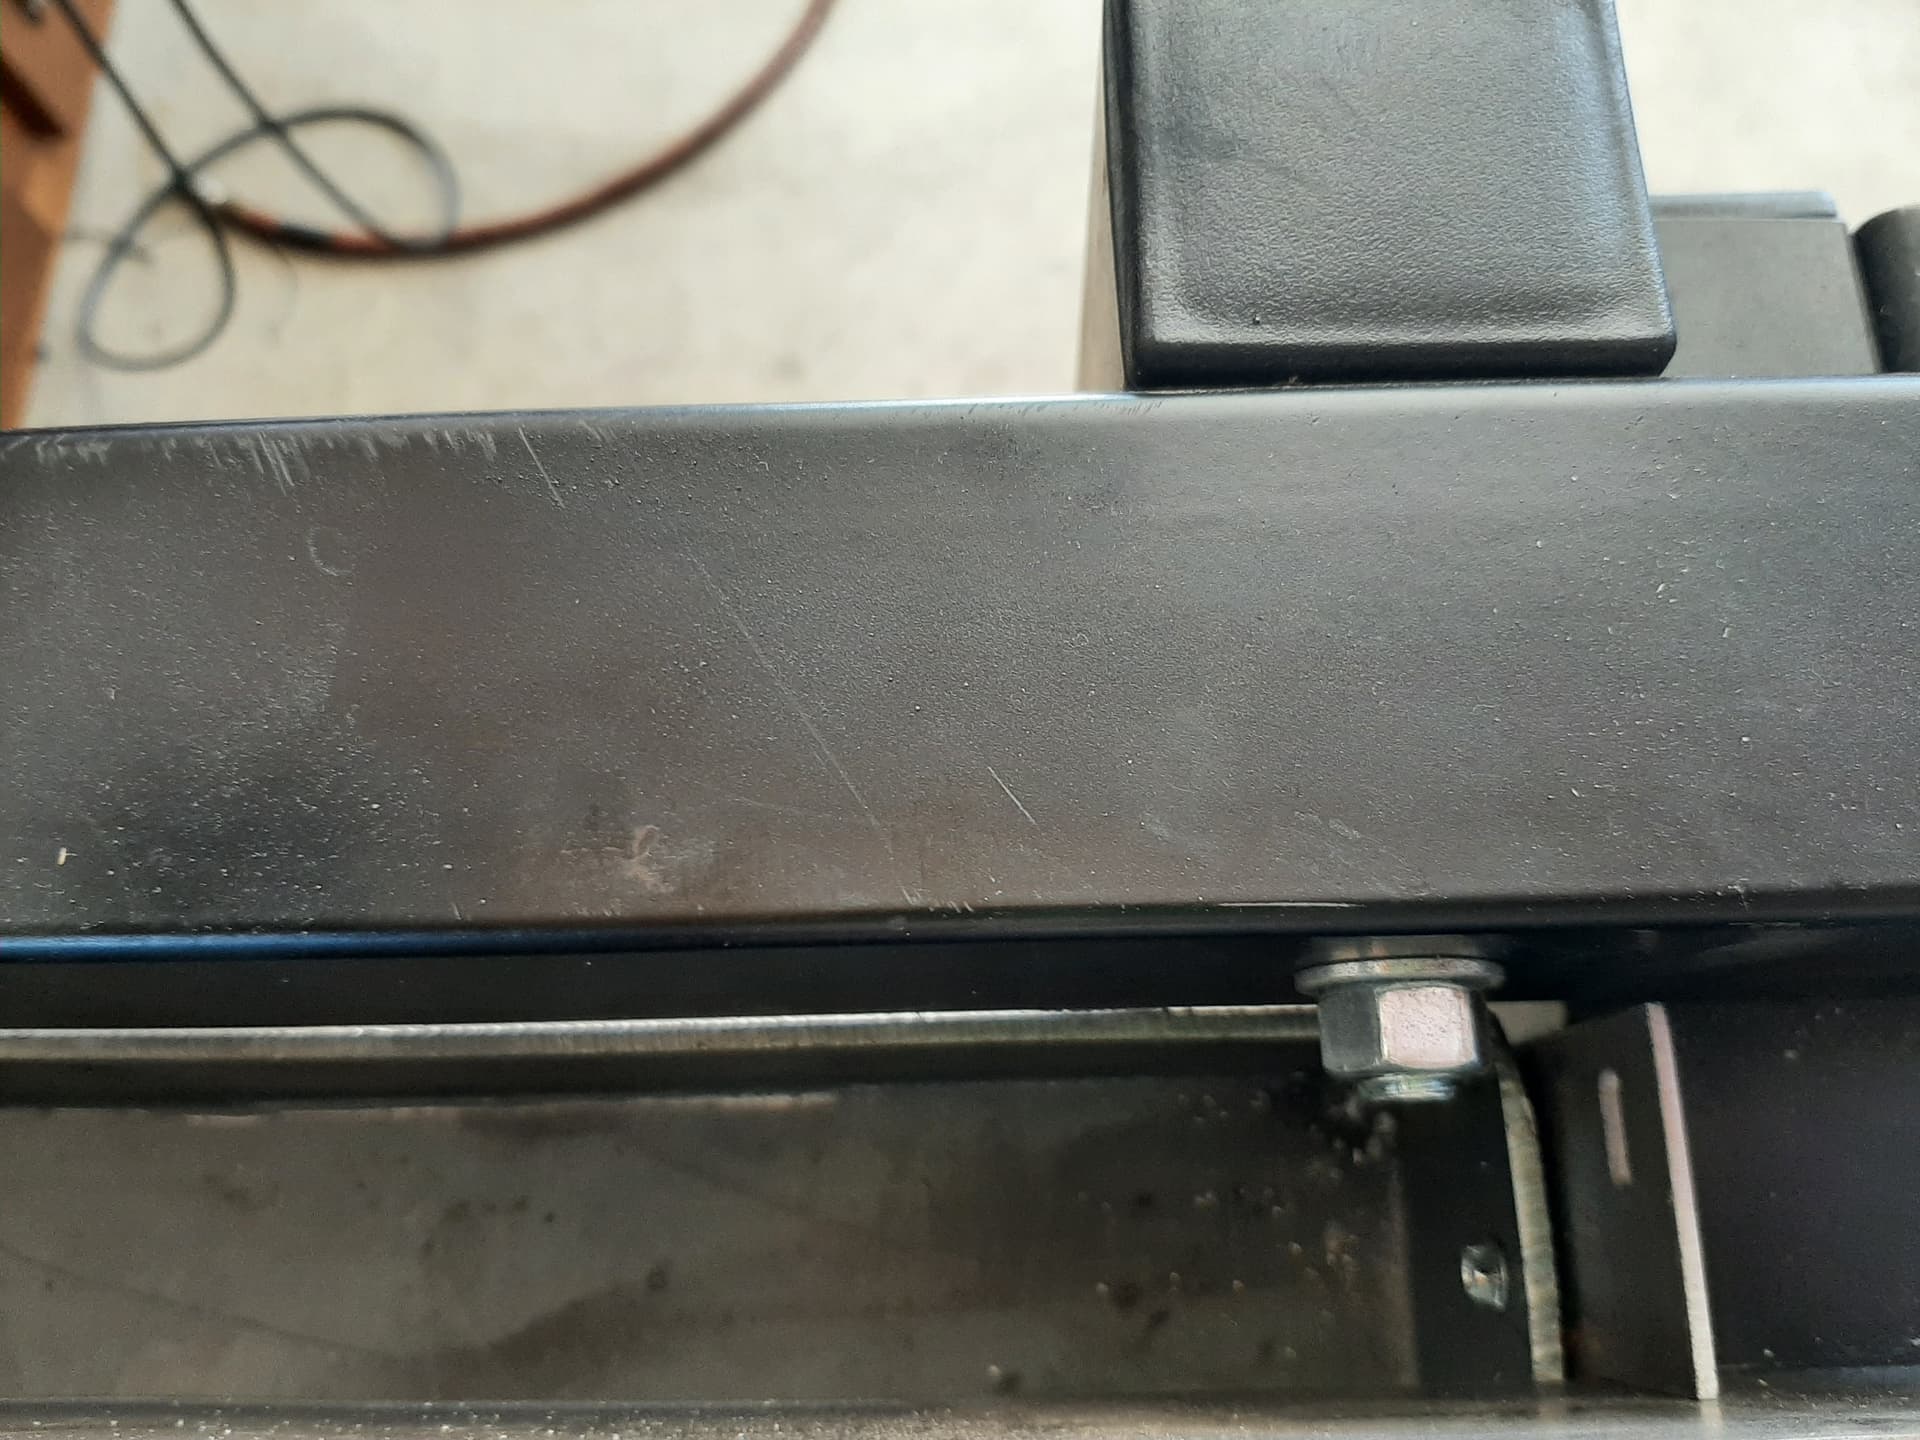
Midnight, i have it currently screwed to frame with the same factory screws. Bigdaddy has hit with the 4 tabs and drilled out for the factory frame bolts holding the water table in place, i plan to make the same modification. I have the current setup in the photo’s
1 Like