Hi All,
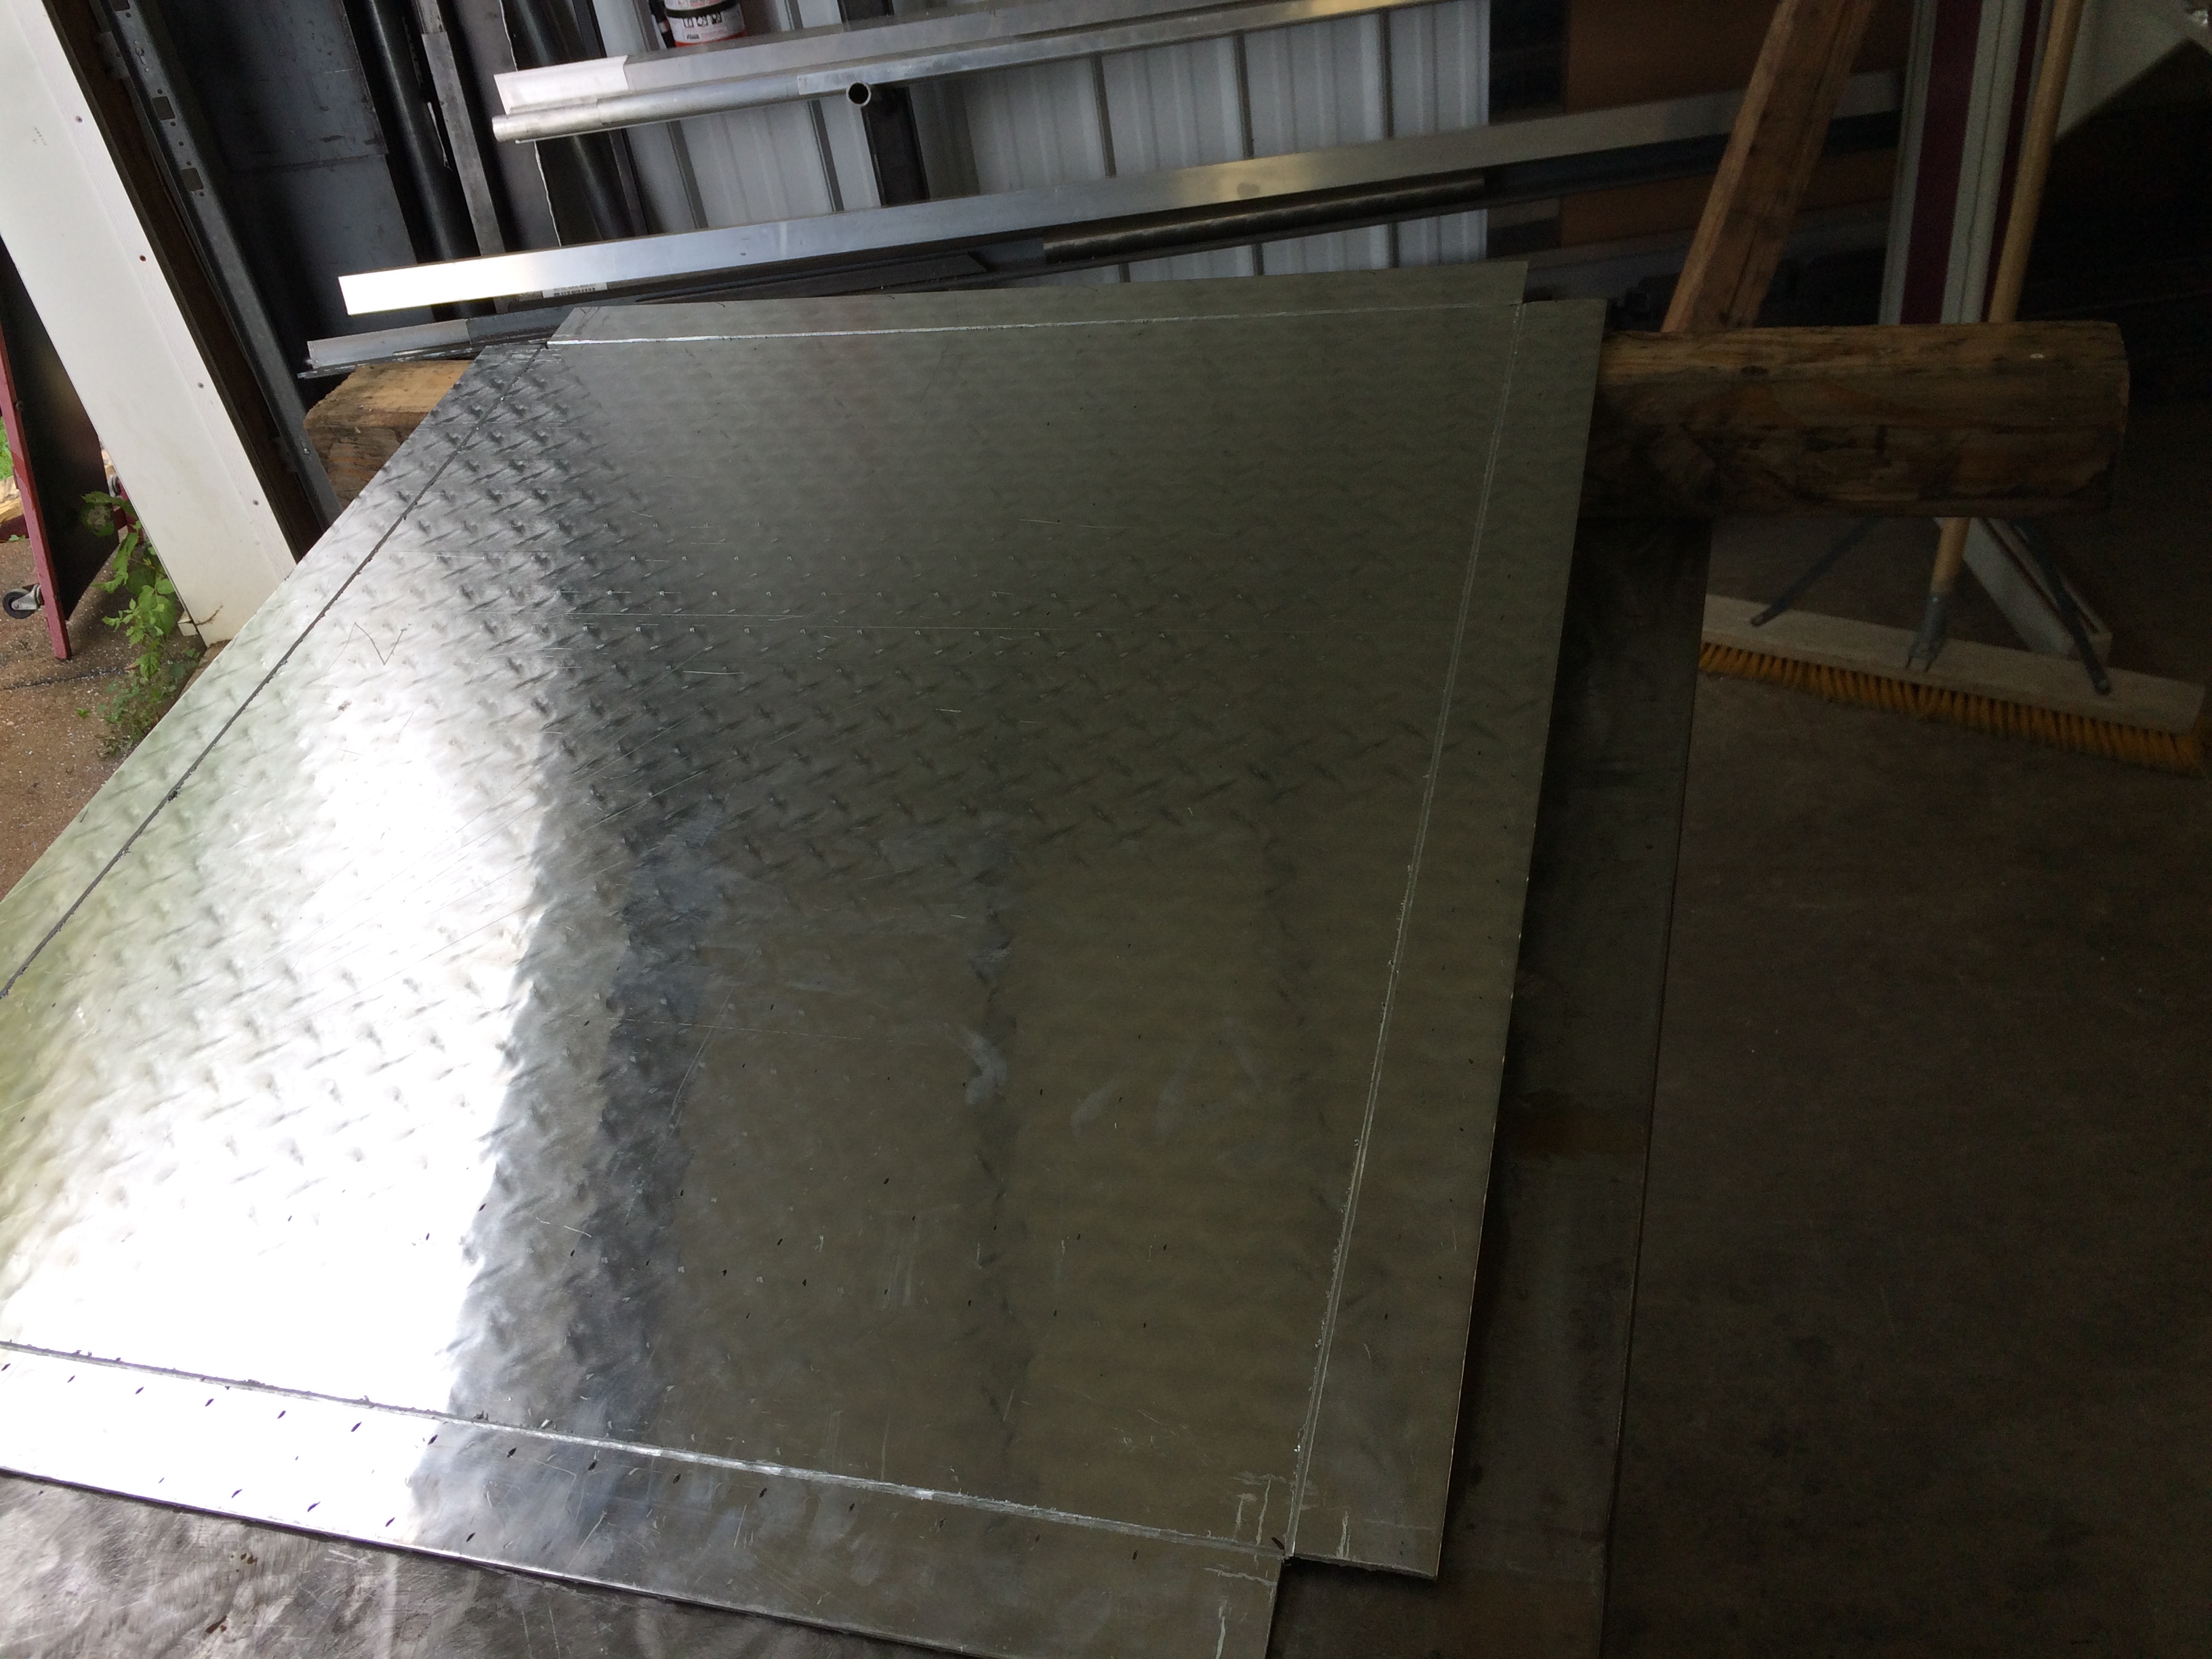
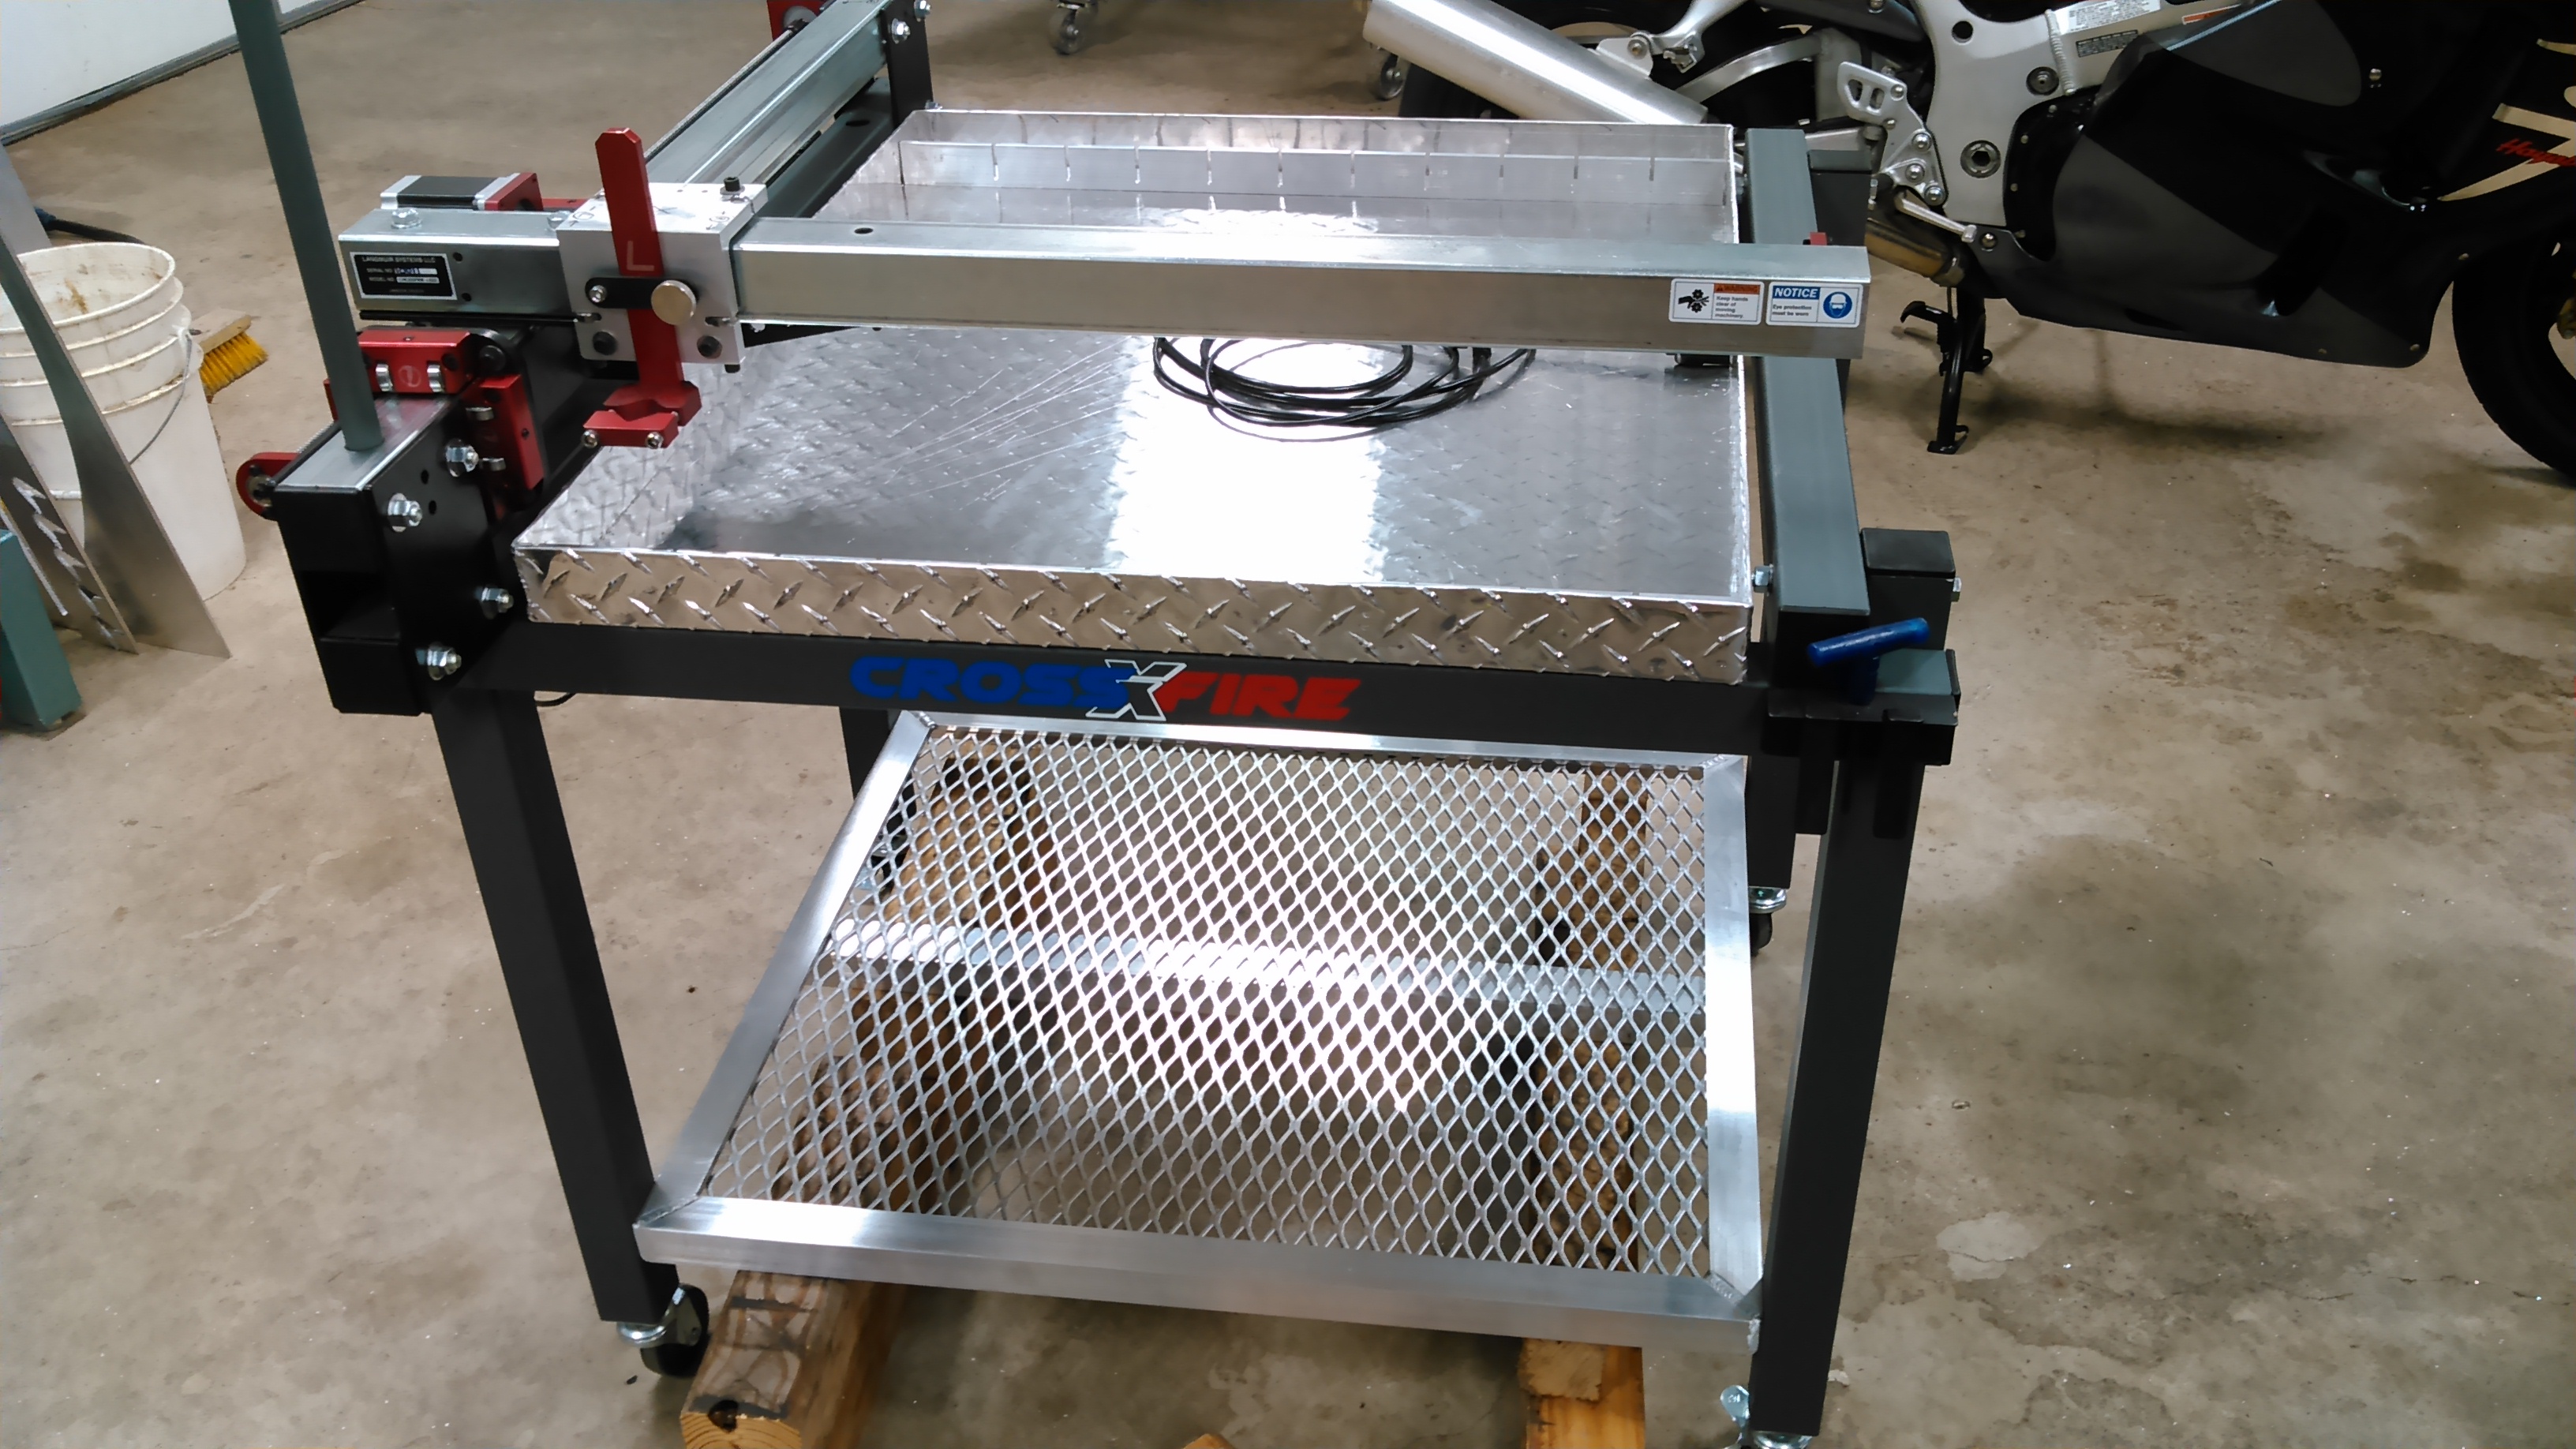
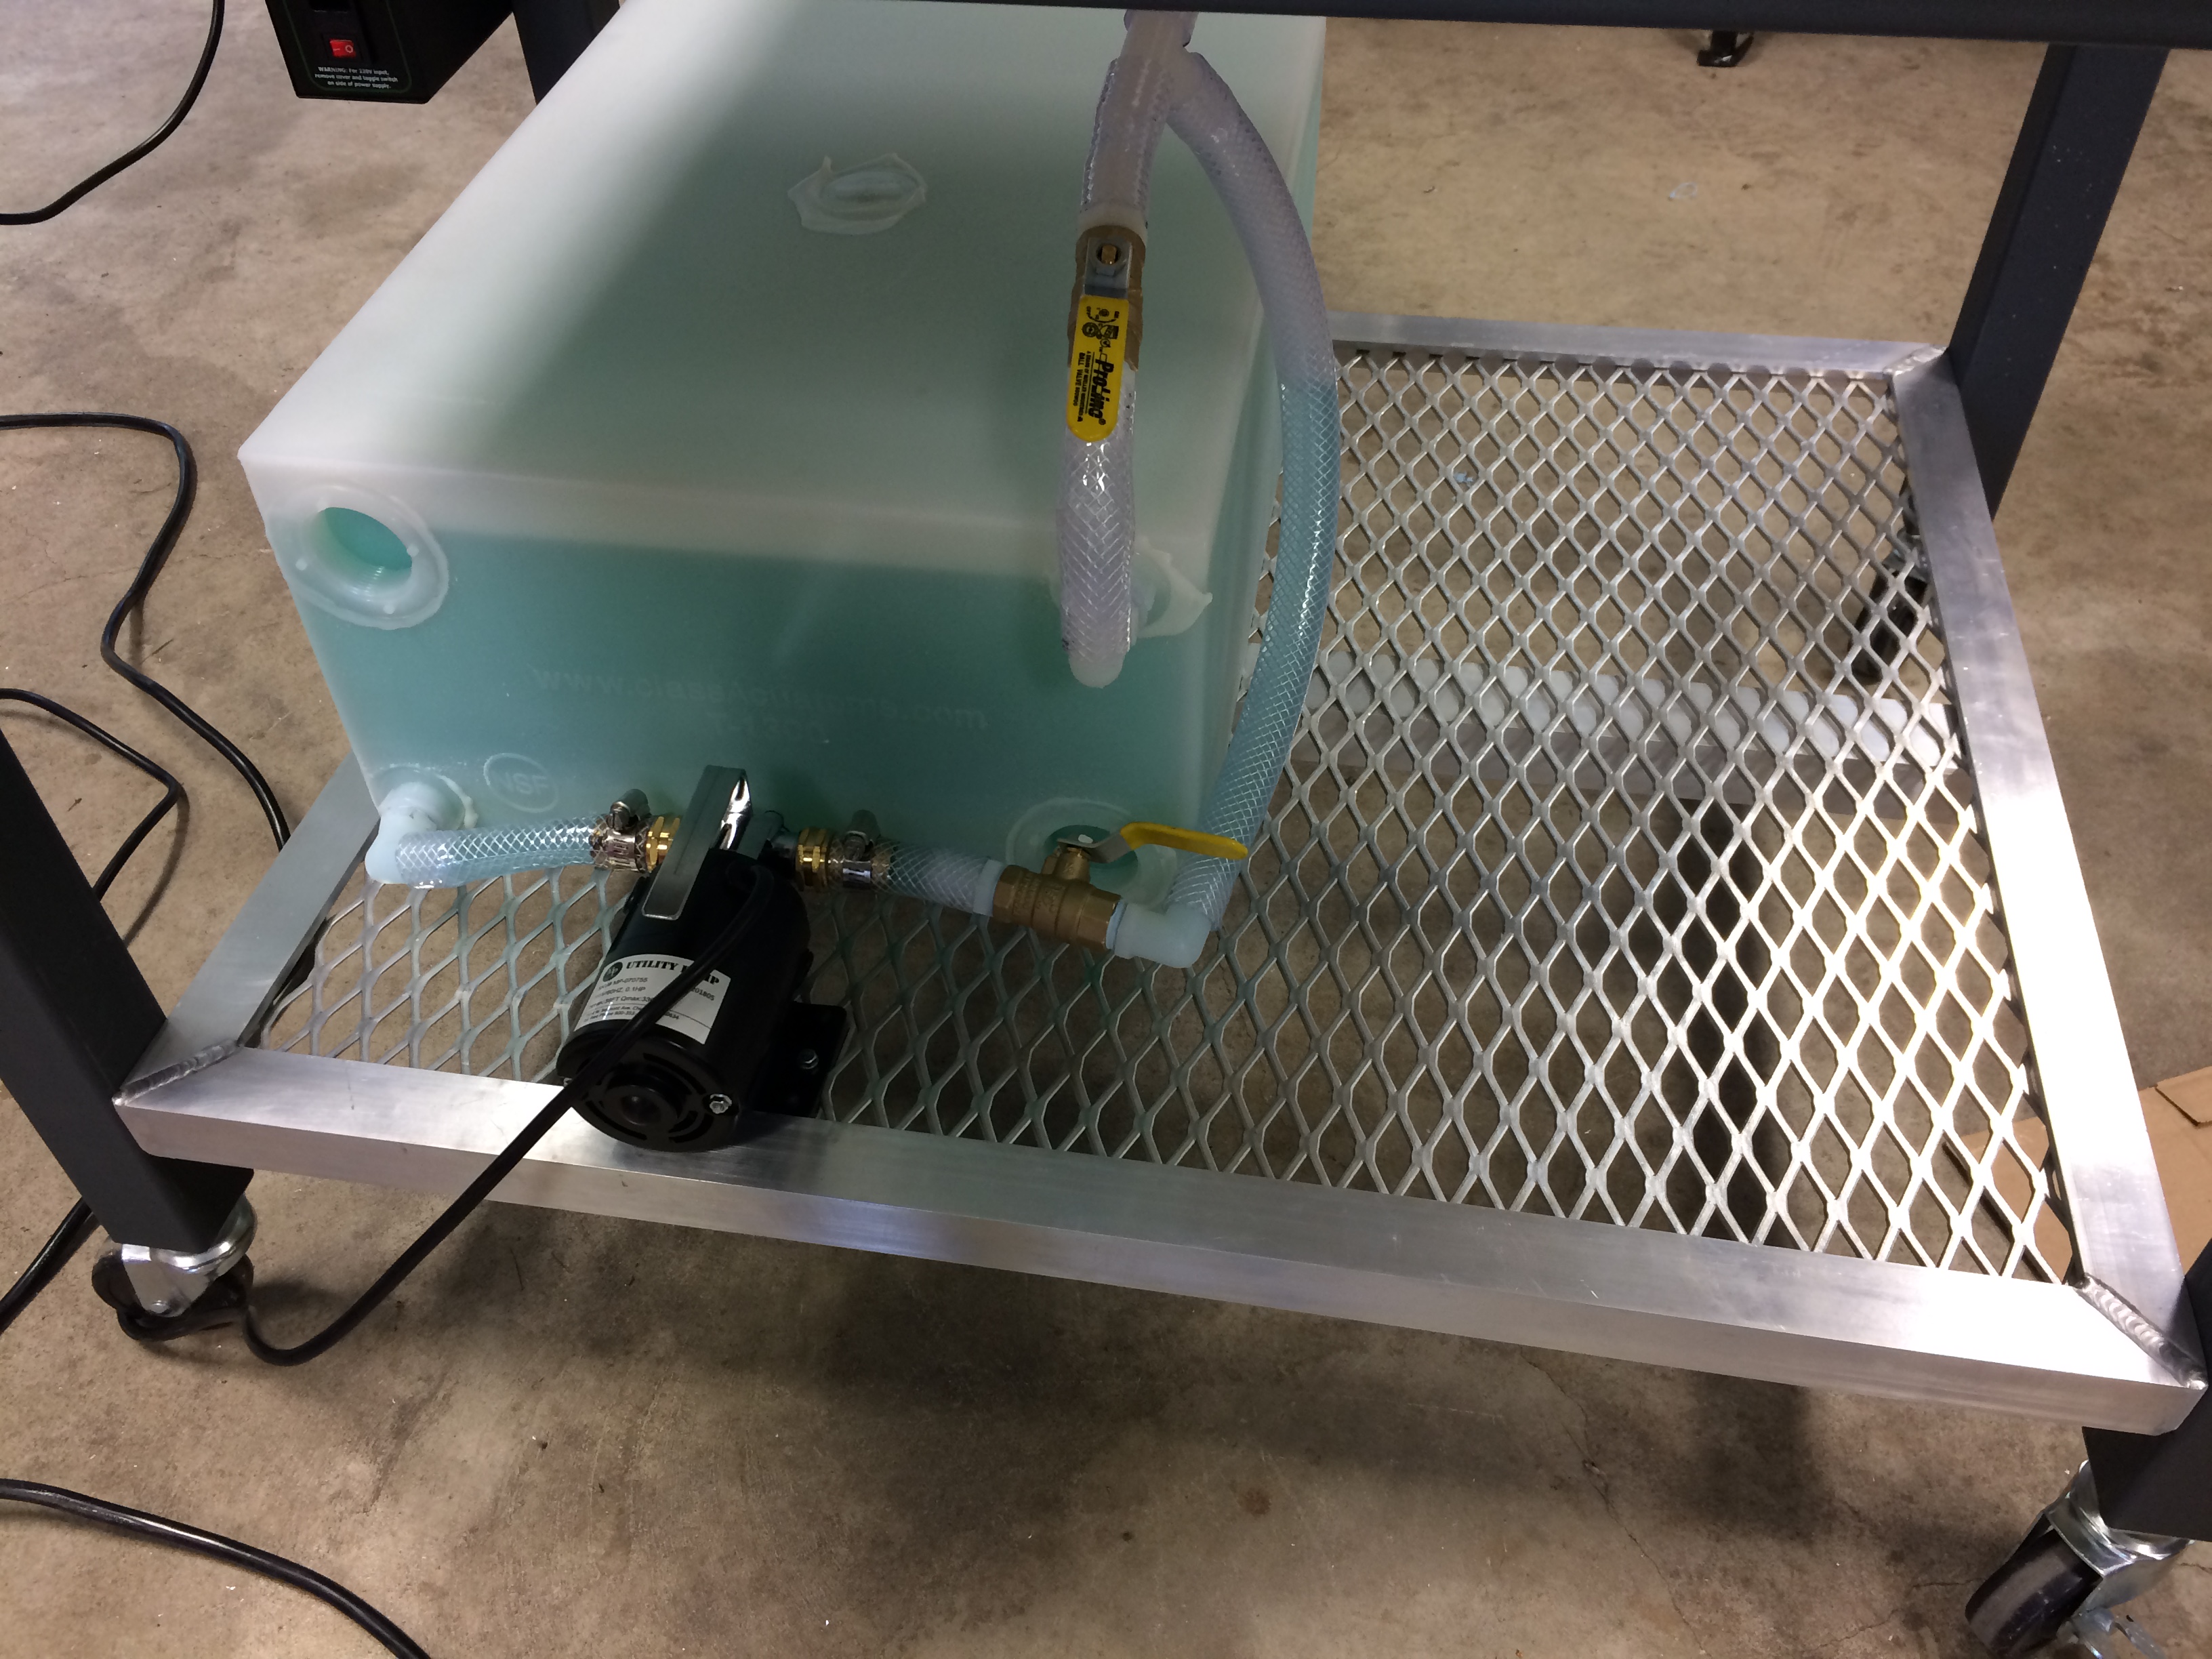
I made myself a water table and transfer pump system. I want the least amount of warping as I/we do not have a powered Z (yet My rationale for not buying one was that I had the materials around that I could make a water table so it was slightly cheaper (time not factored). For me, I needed a transfer pump solution as my table gets moved all the time around the shop. If you have the water table, even partially full, and you move the crossfire an inch or two, you create a mini tsunami that cascades over the edges… So I wanted a solution to drain and fill the table quickly.
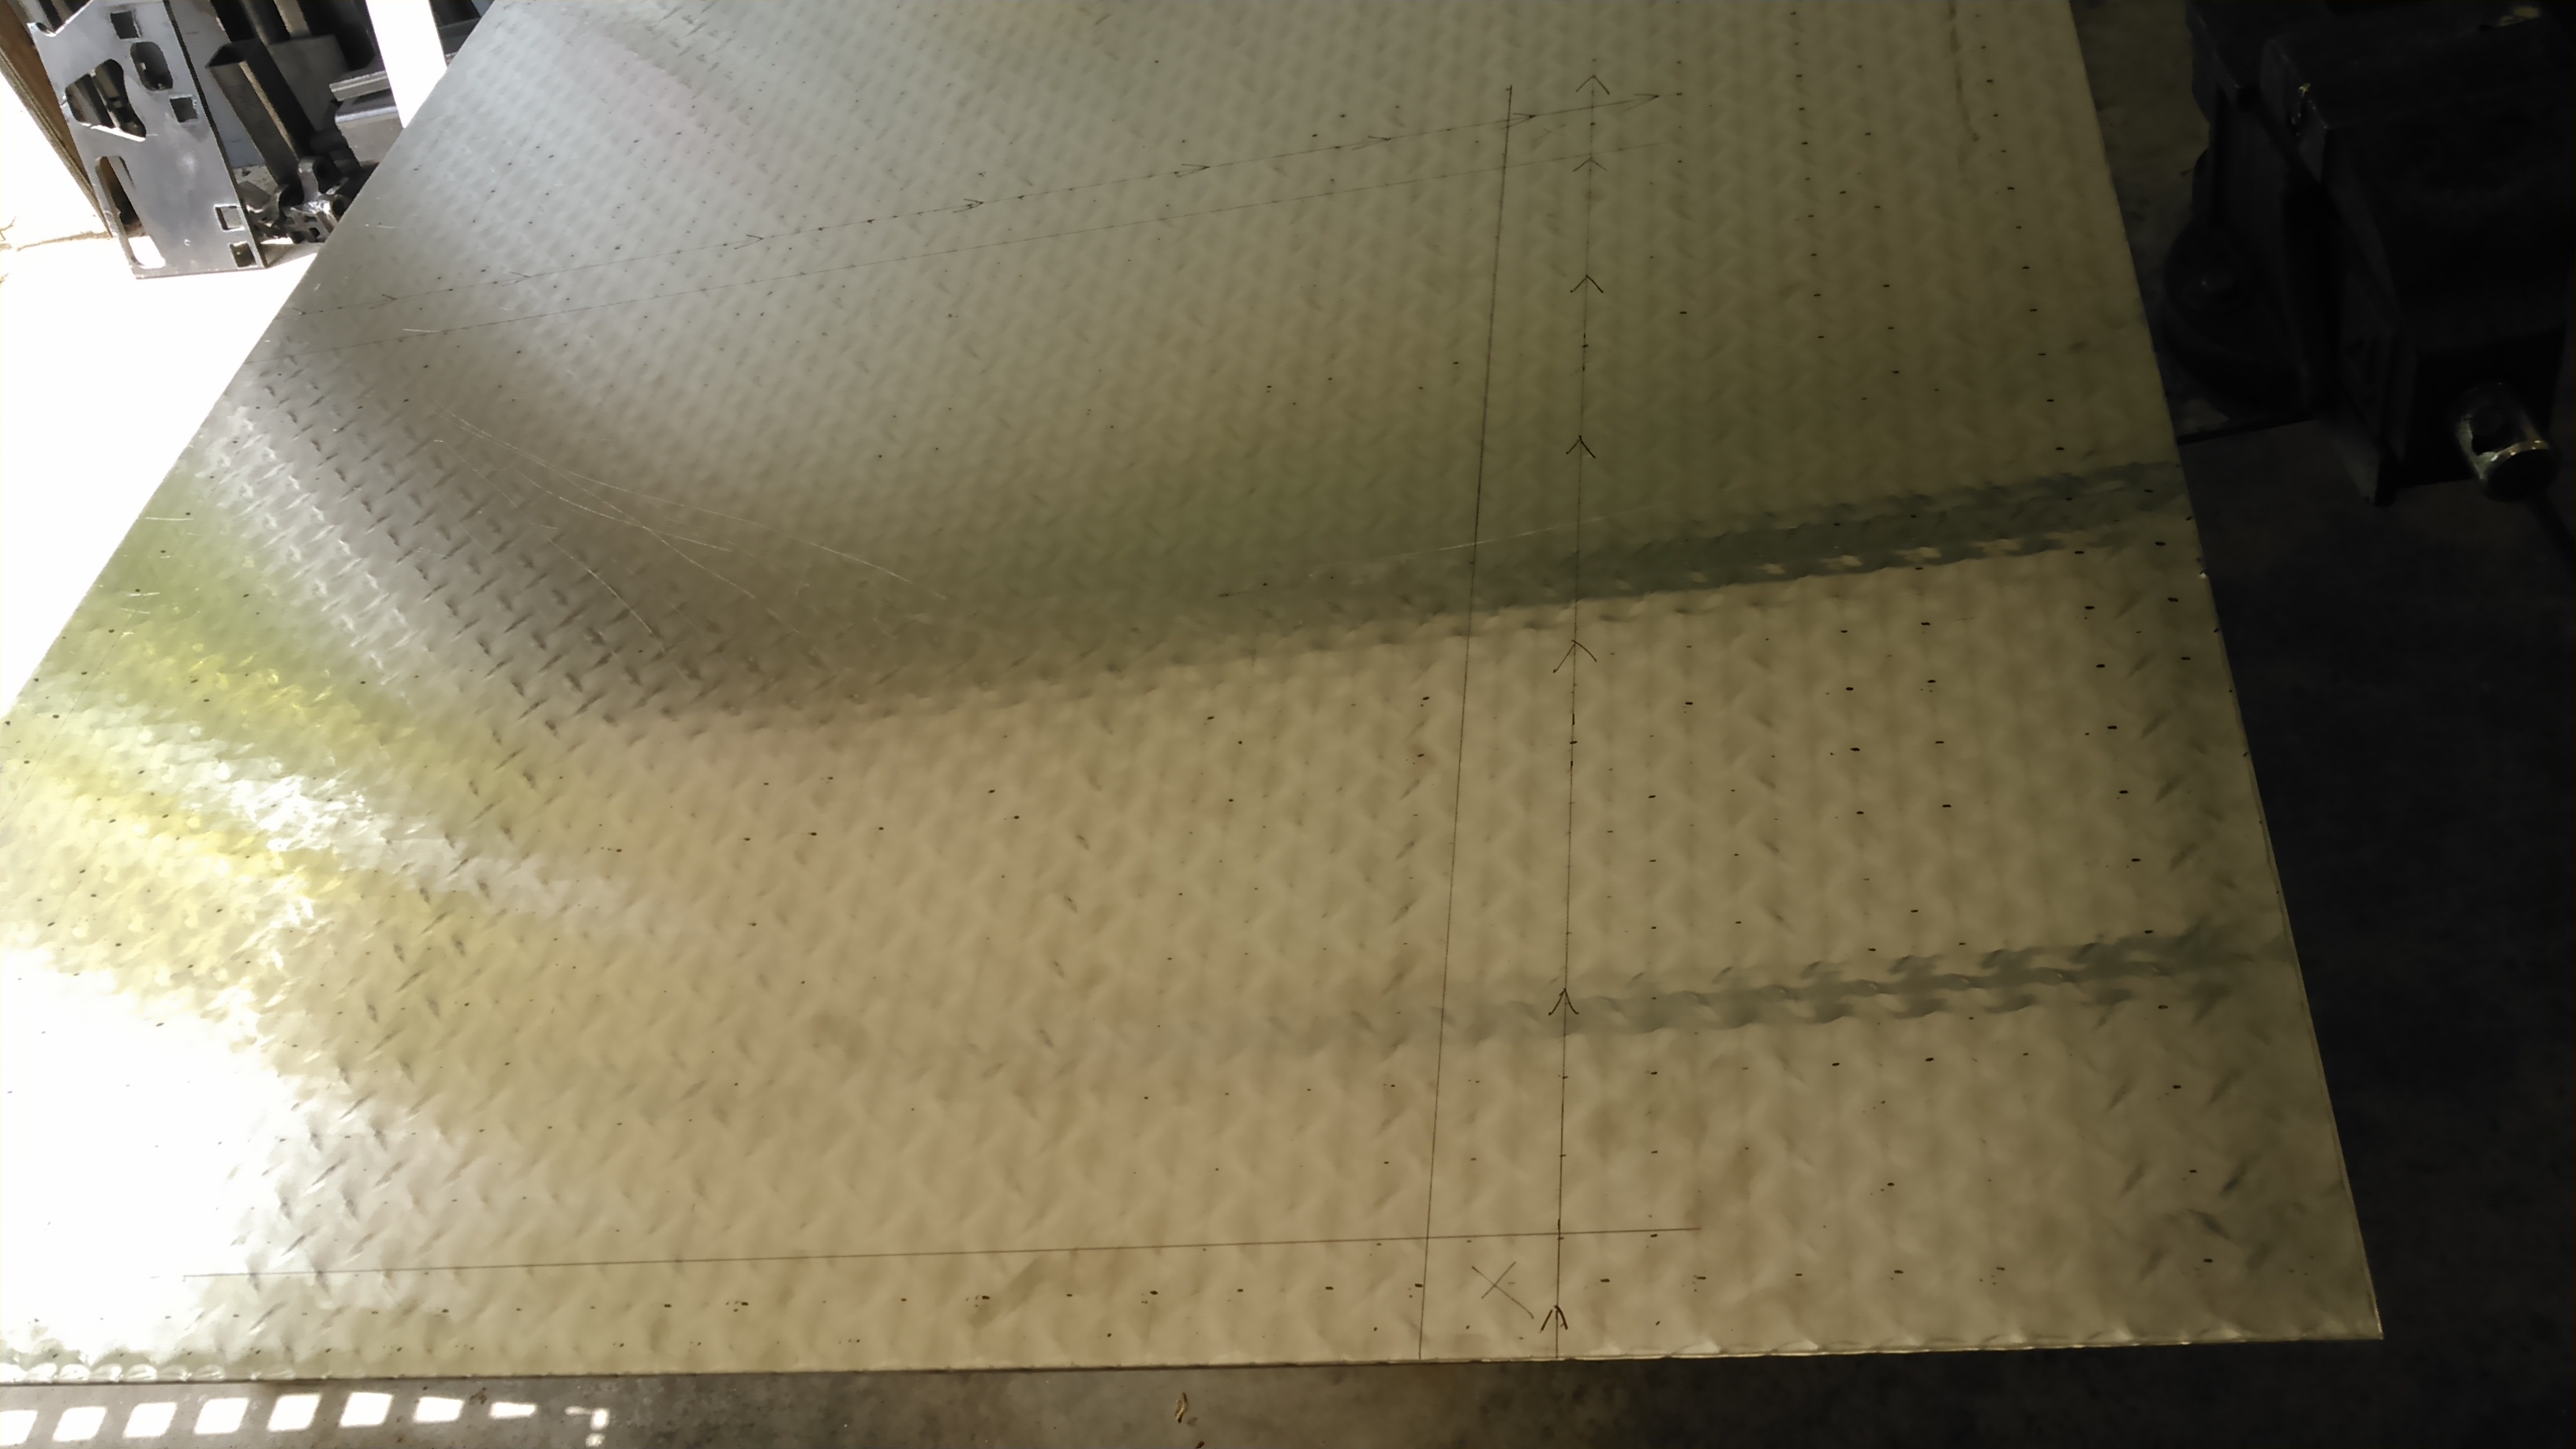
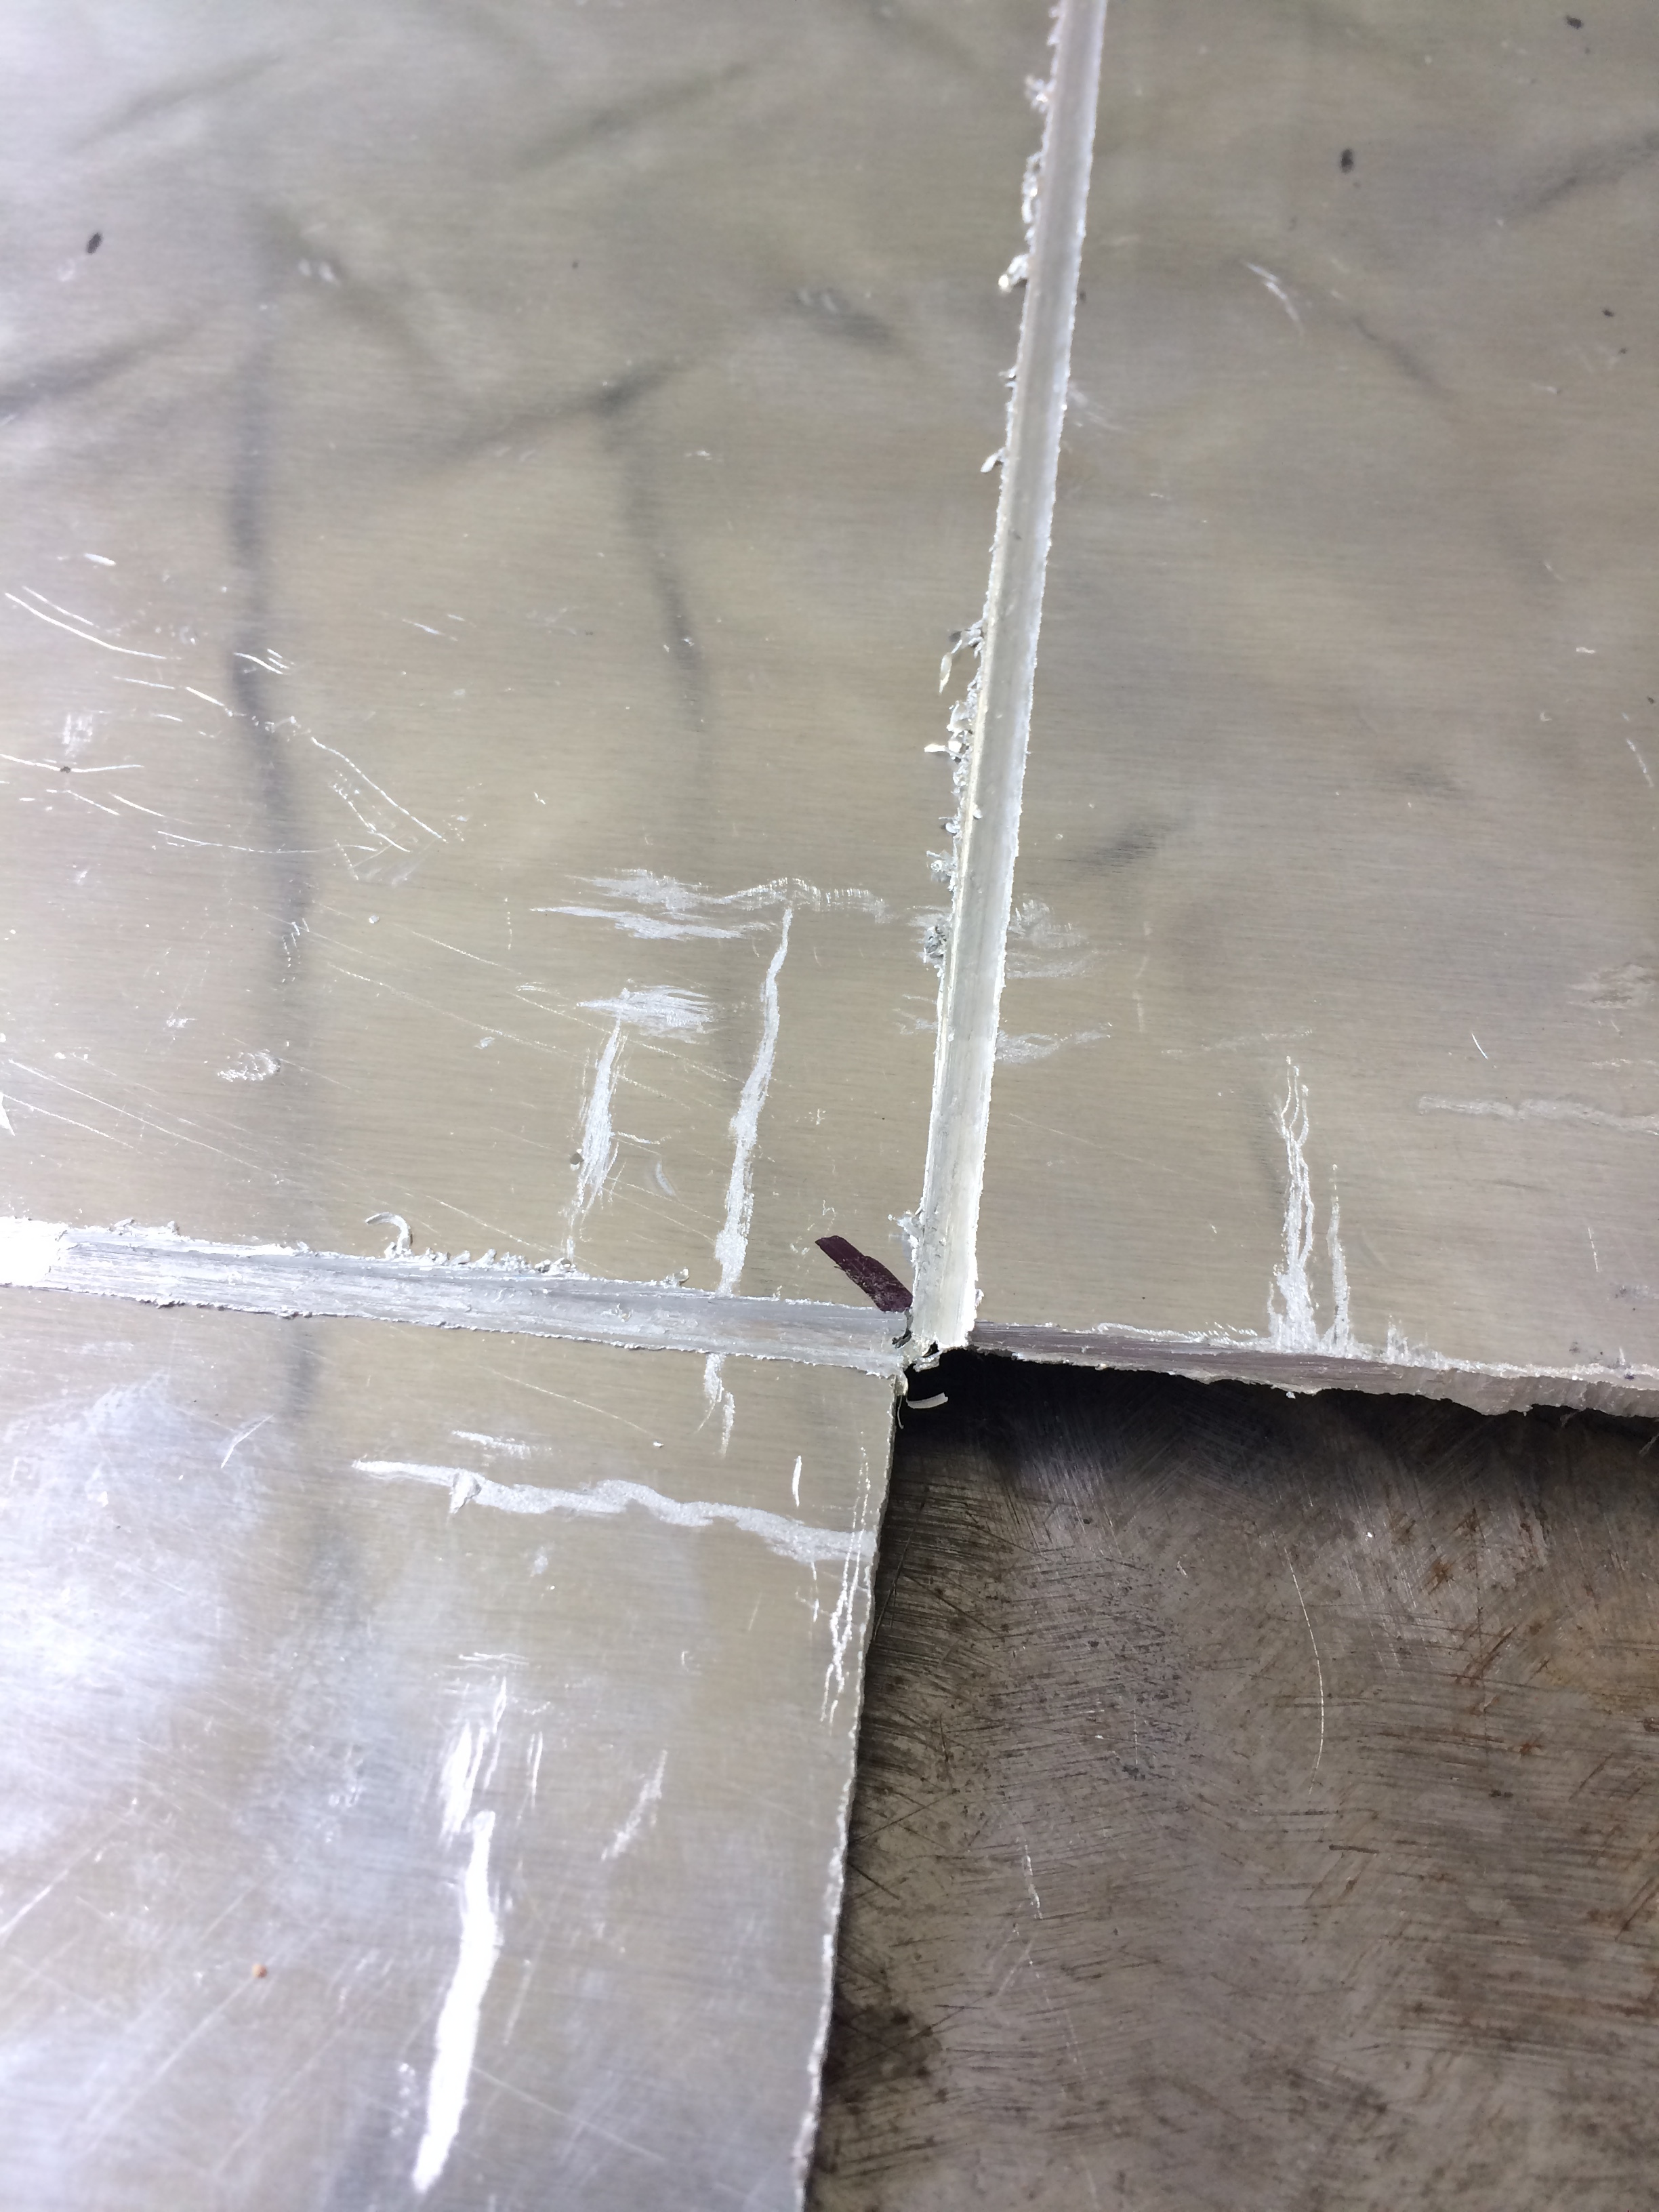
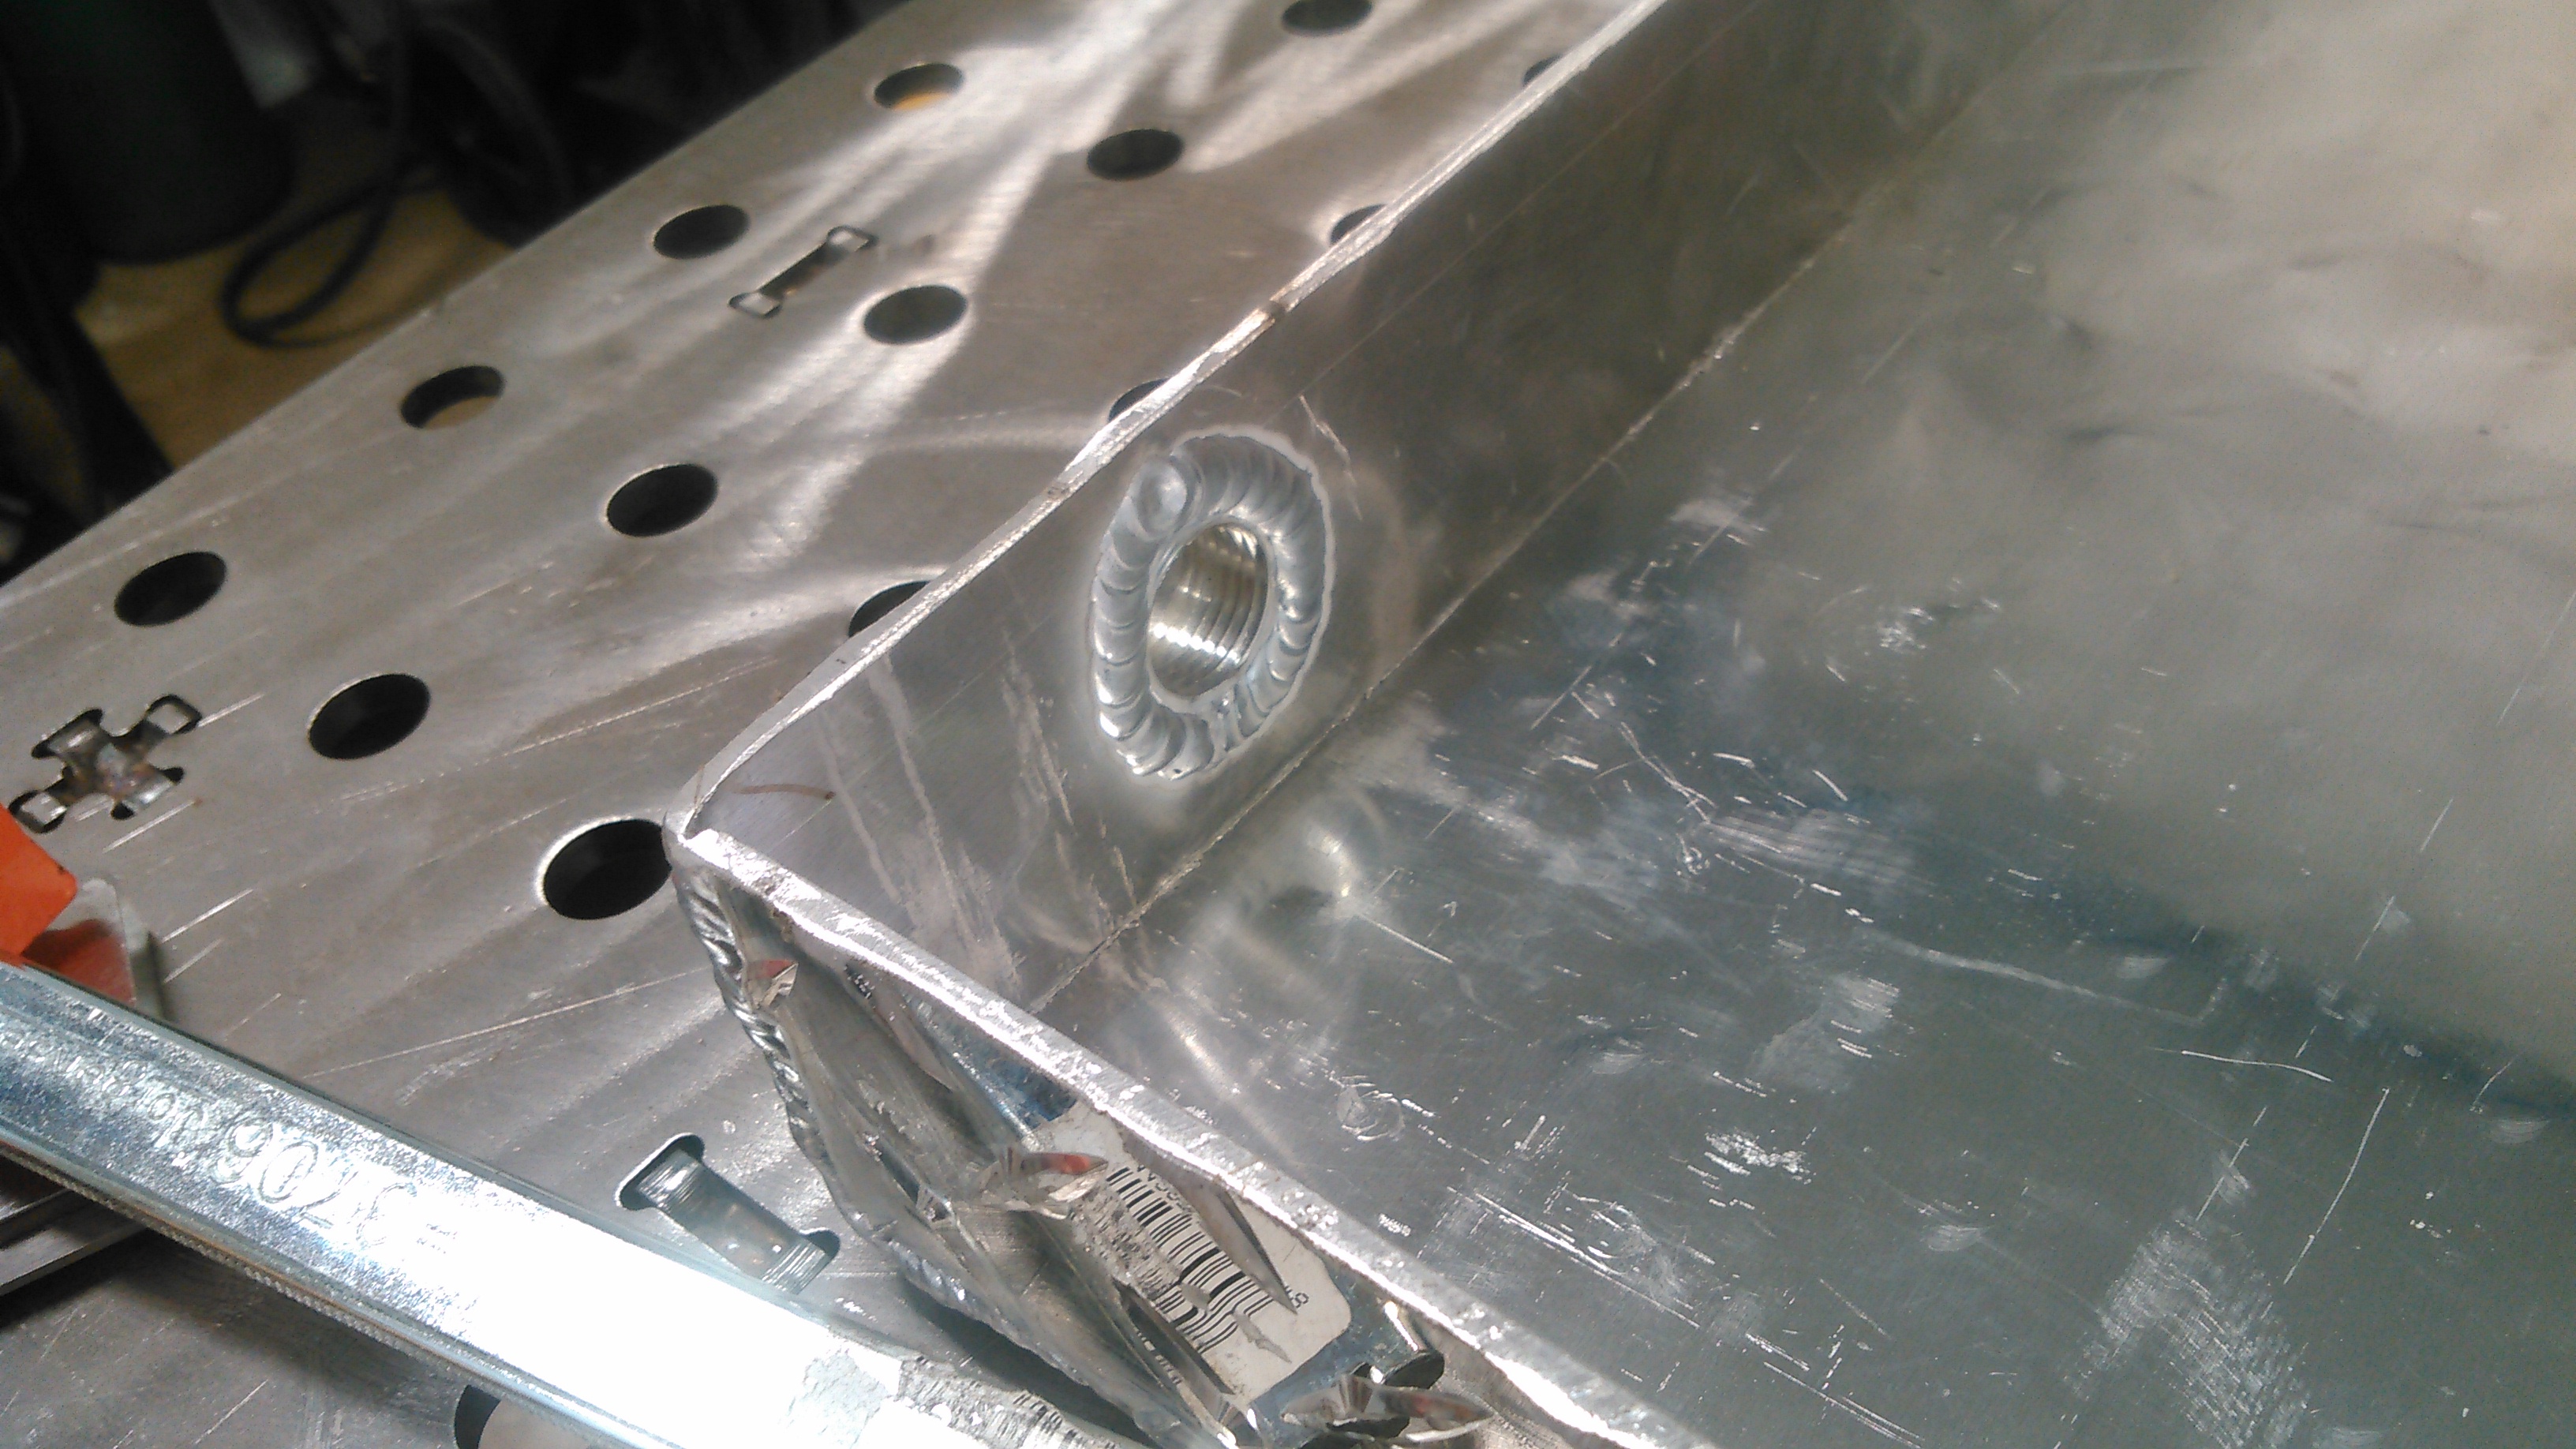
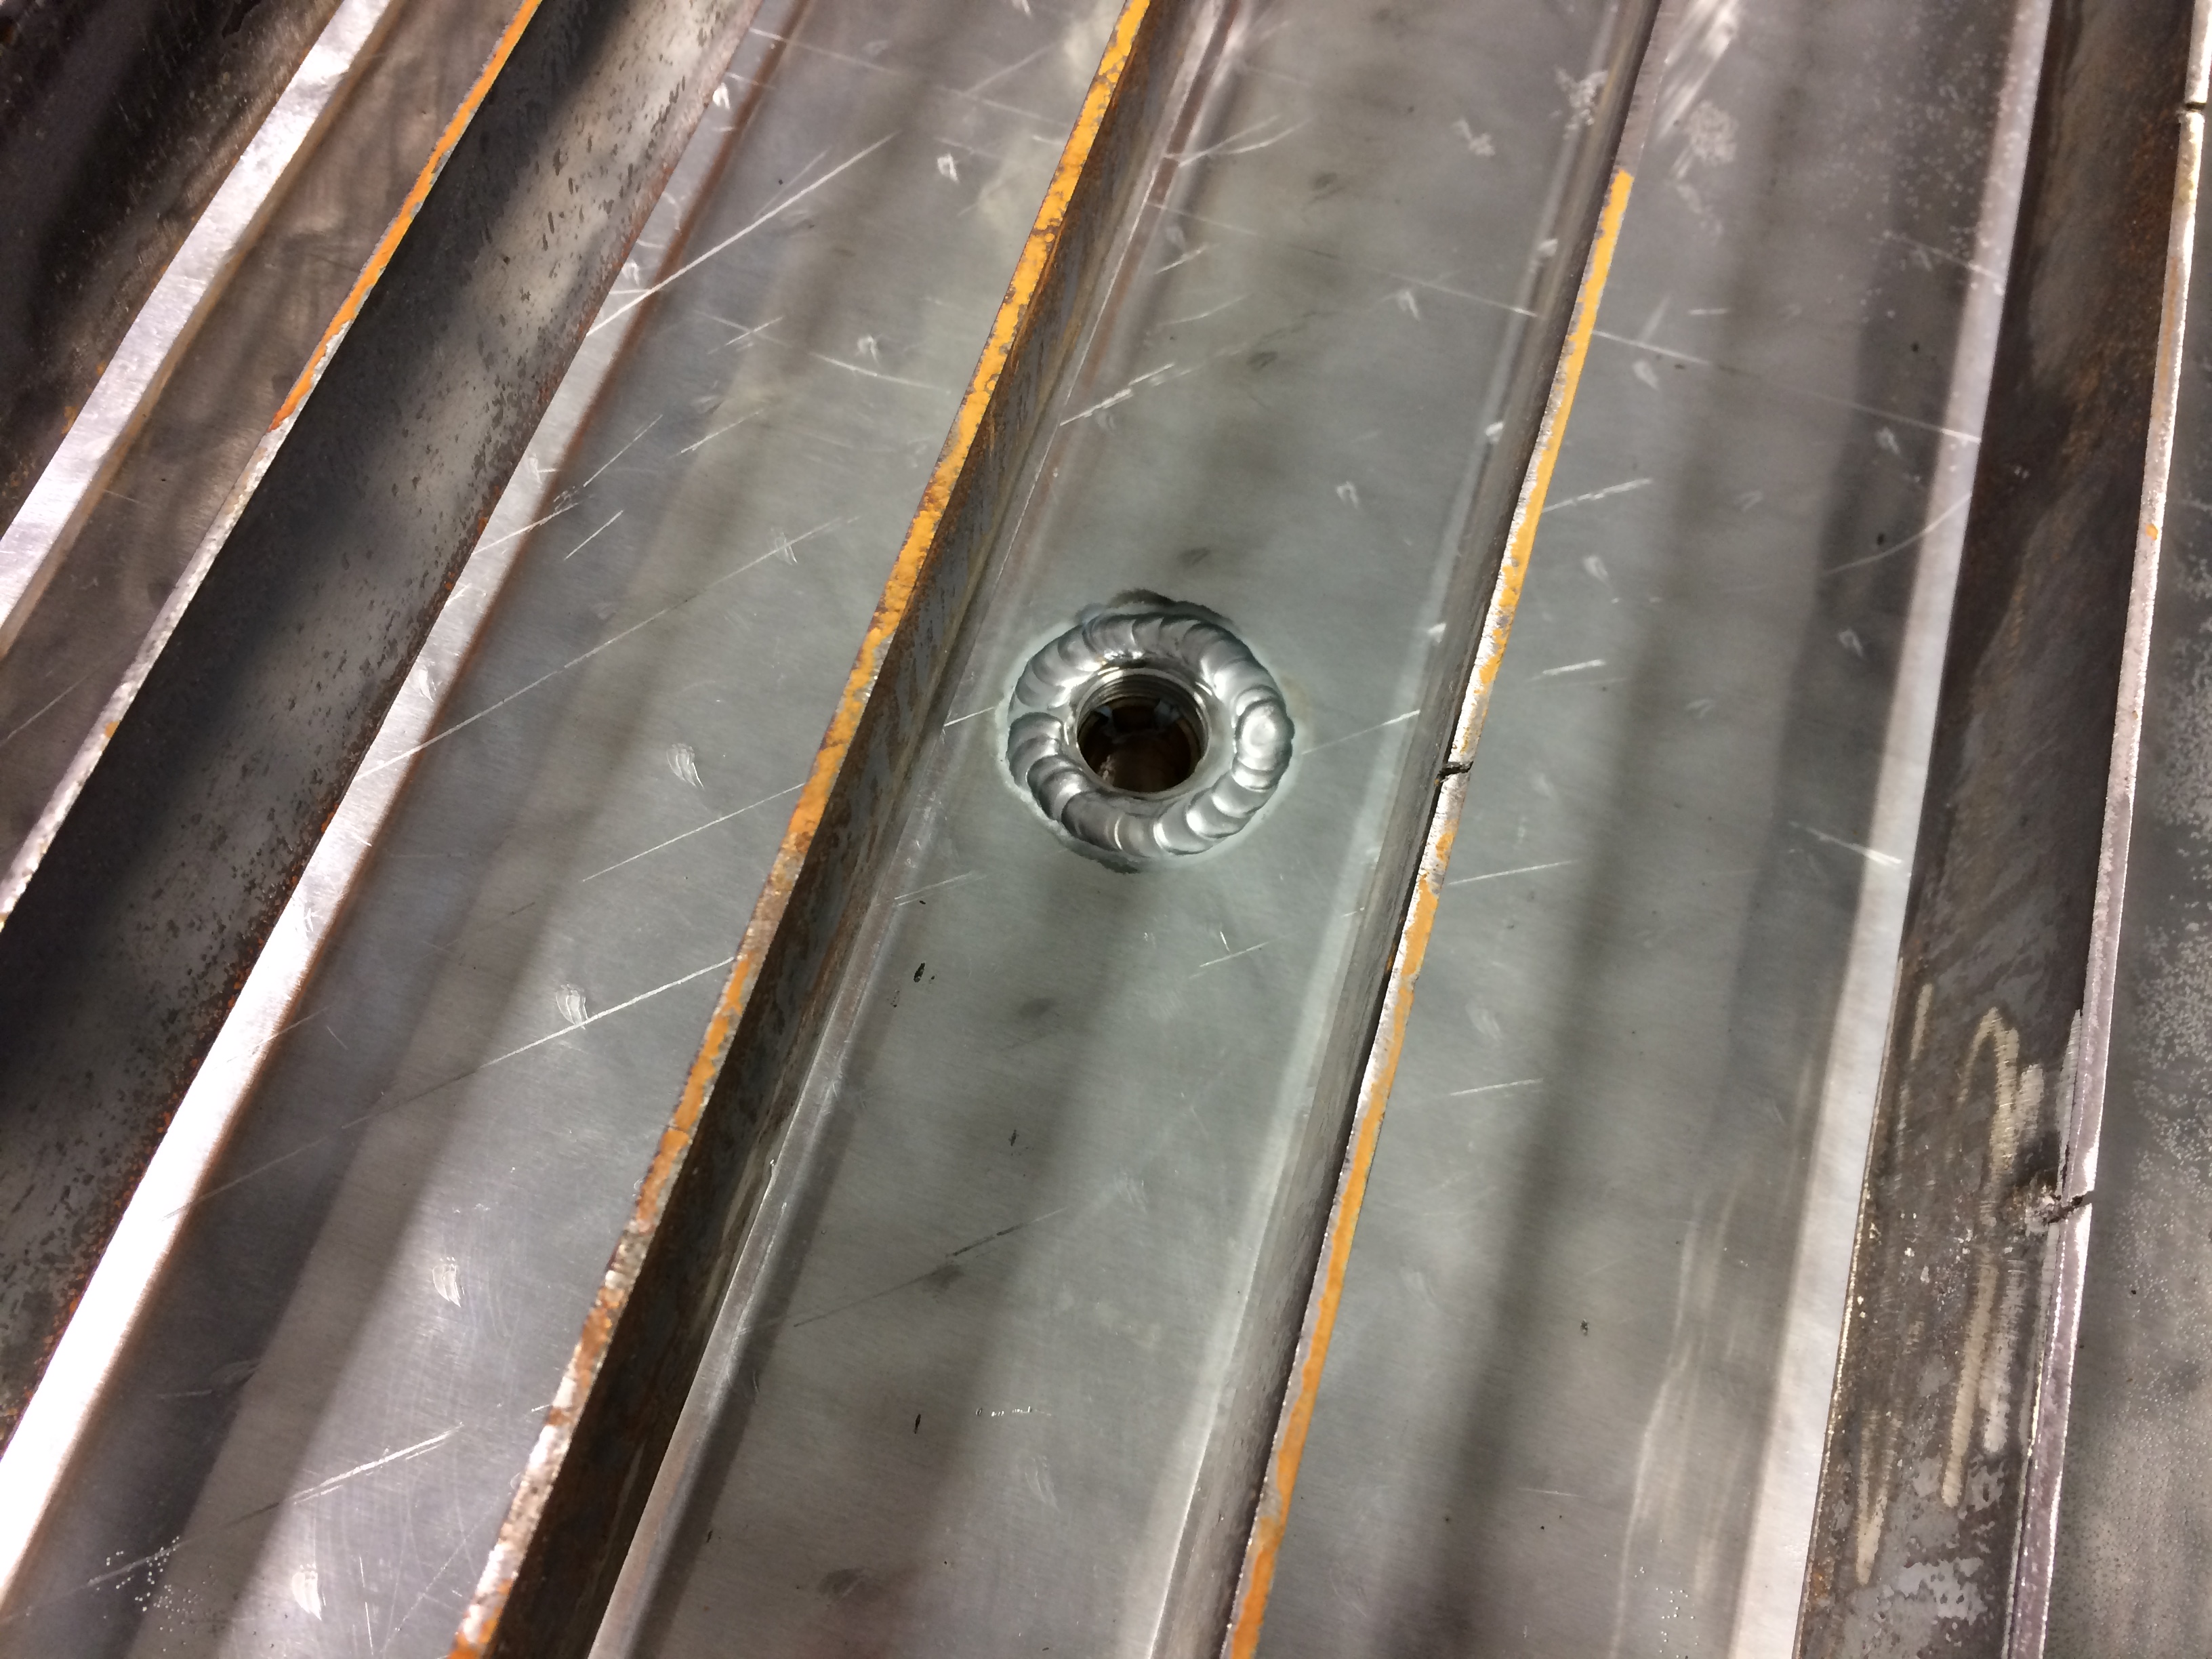
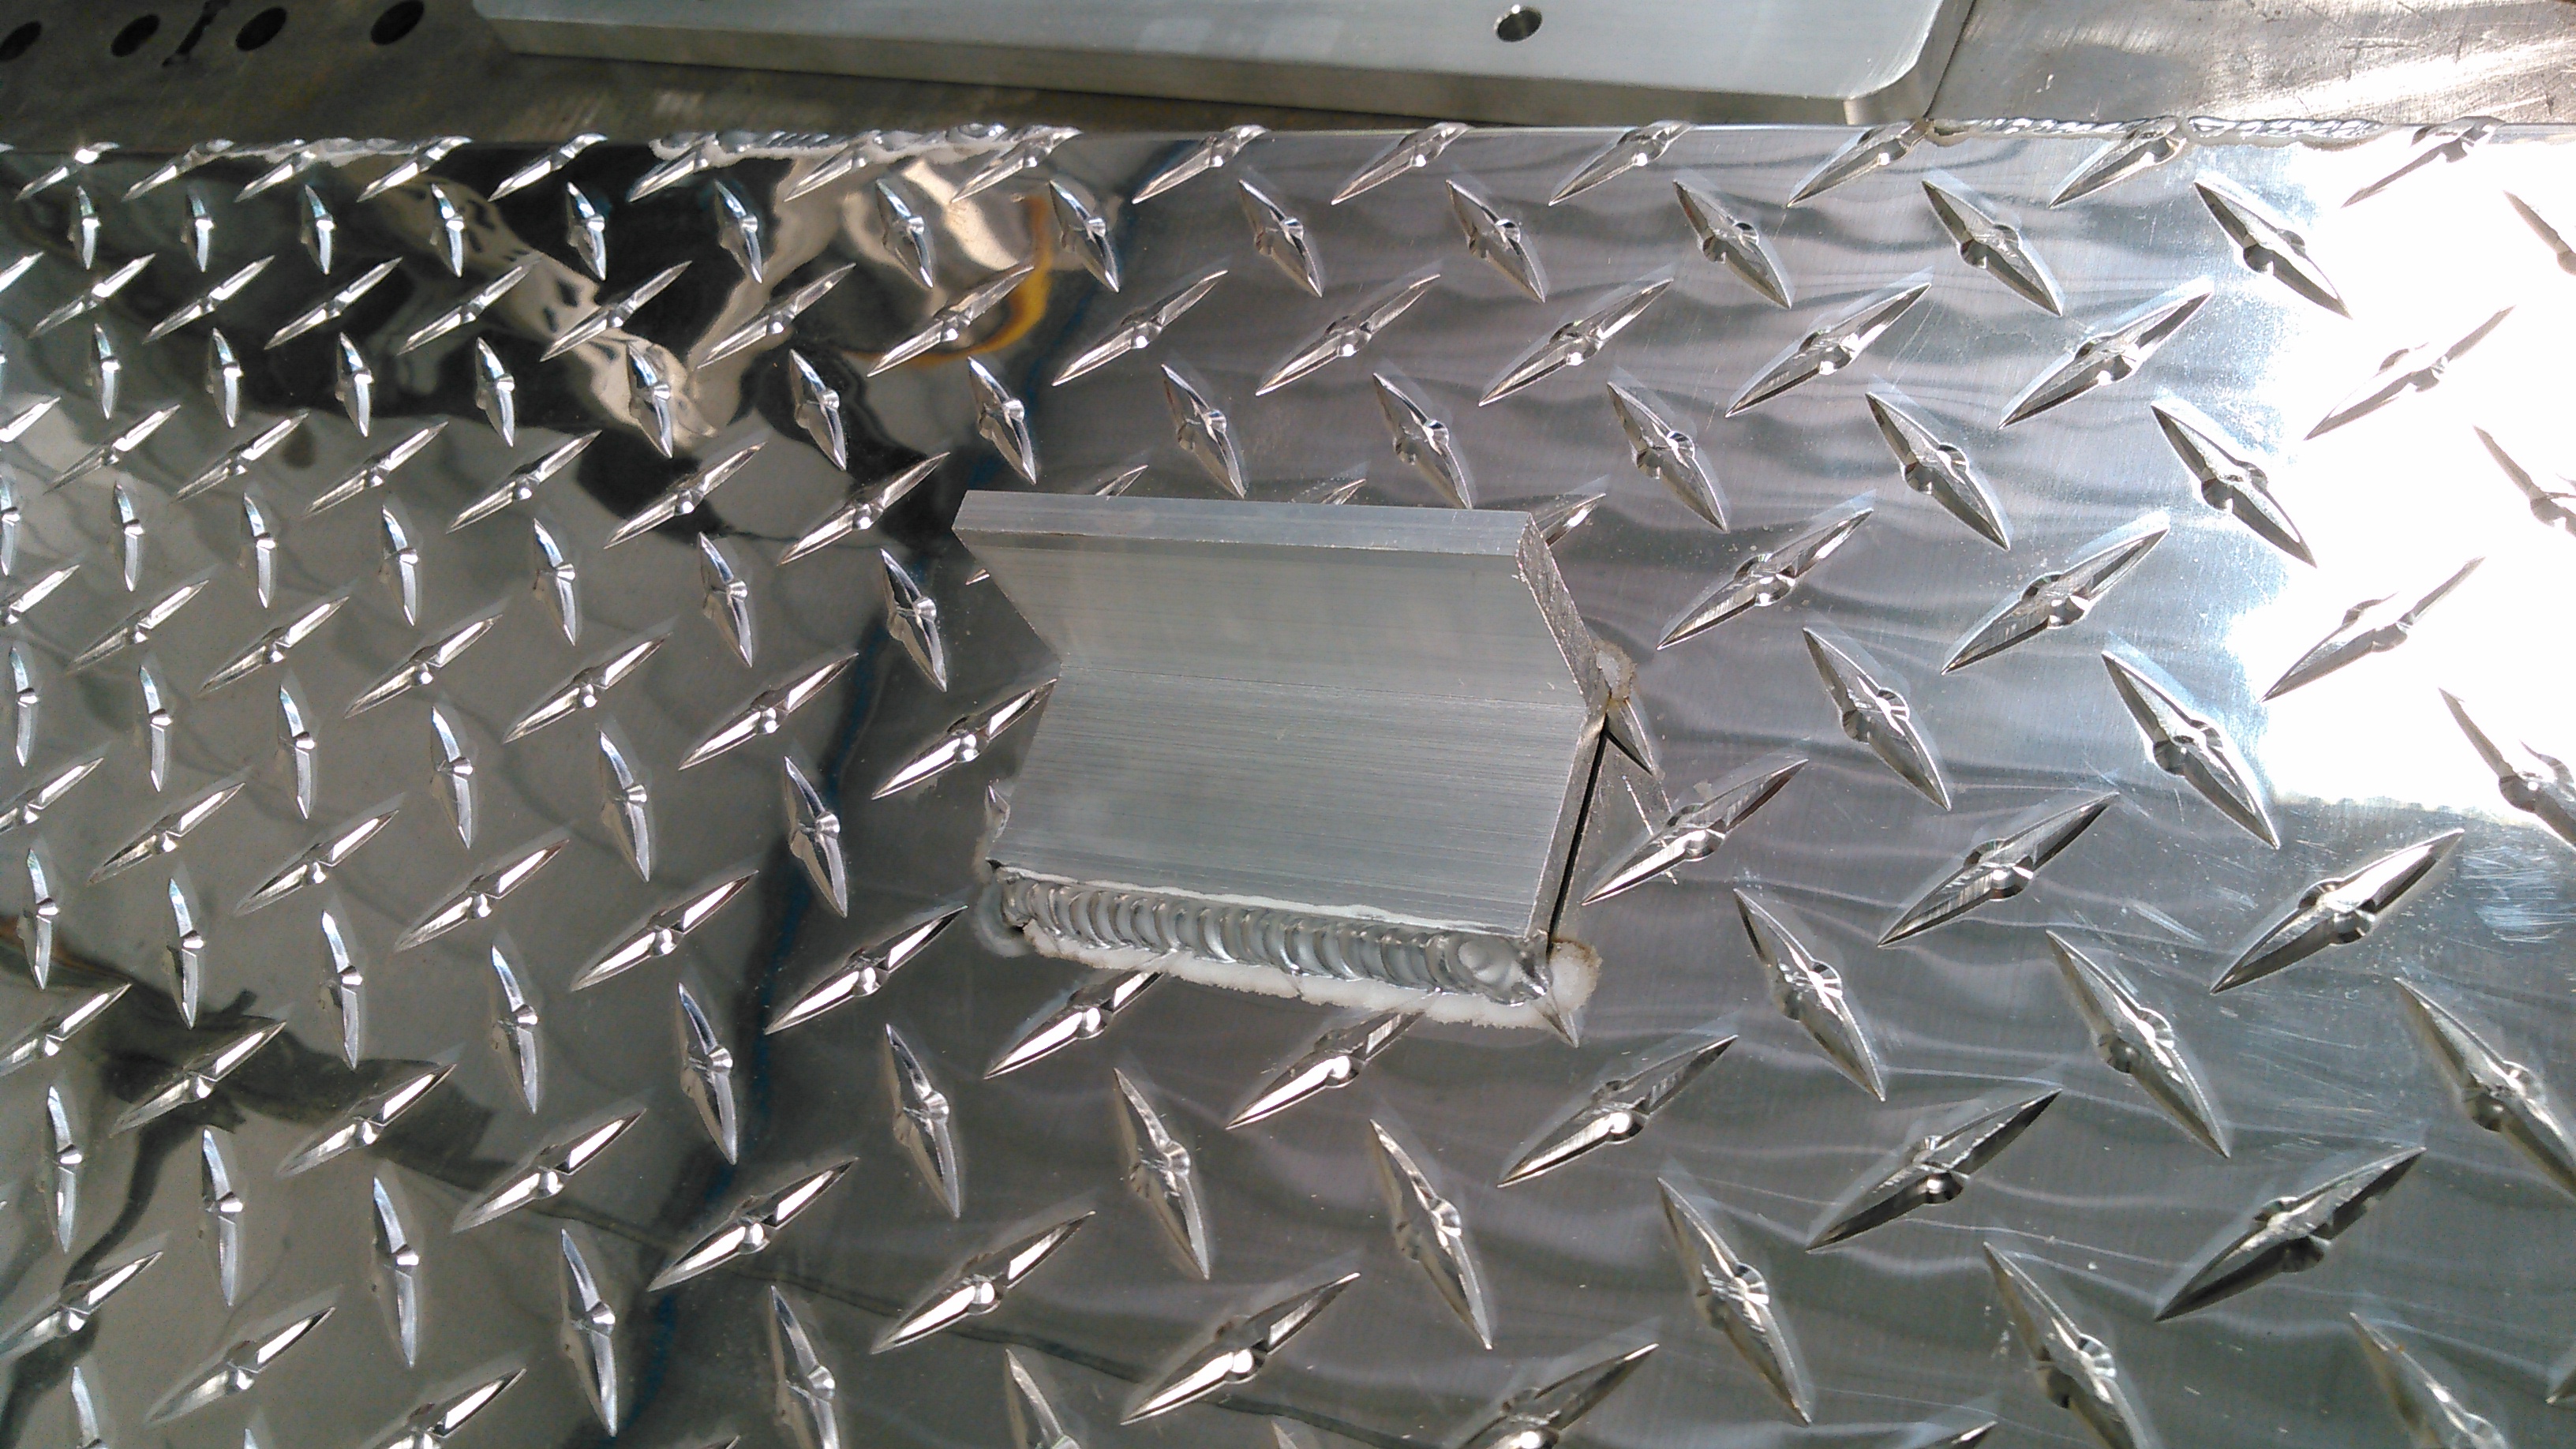
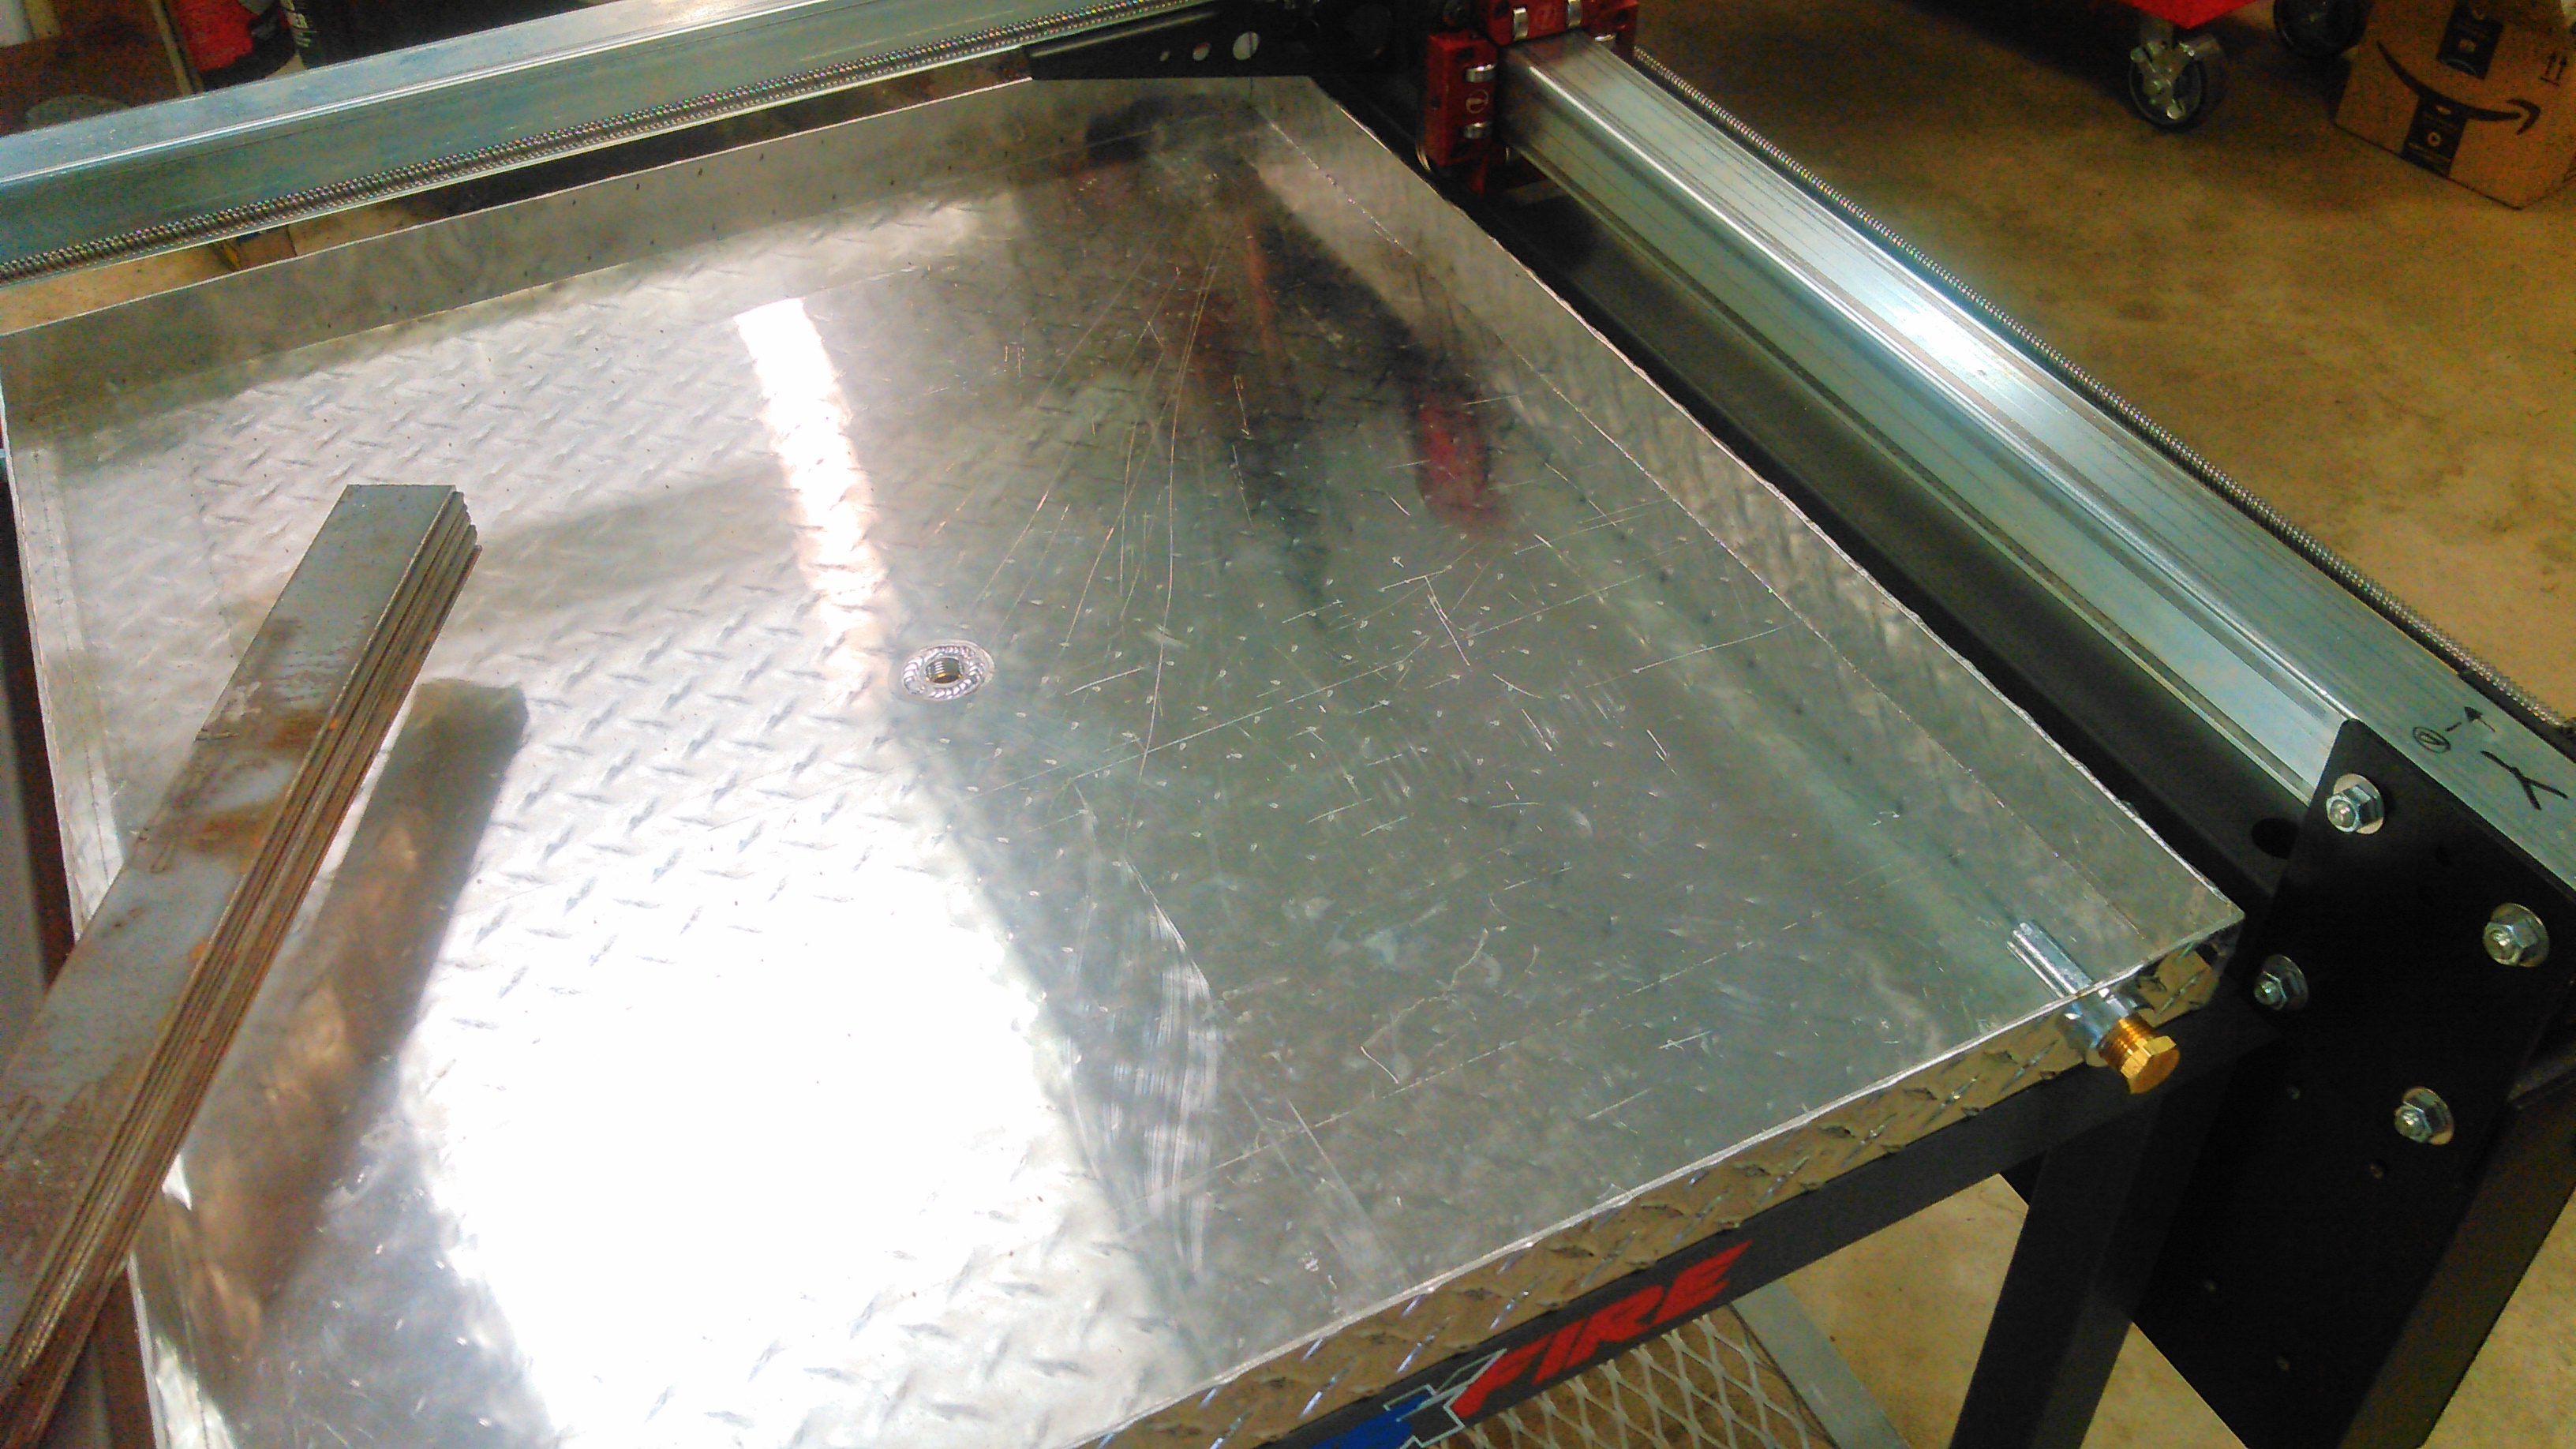
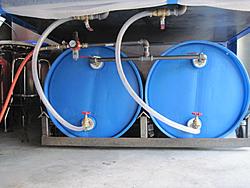
I do not own a large enough press brake for this diamond tread plate to bend, so I had to score the material first then bend it with a mallet over some wooden blocks… Crude but worked OK. Again I would NOT use diamond tread, but it is what I had laying around. This diamond tread was 0.125 nominal, and the diamond protrusions were 0.188. The aluminum bungs for the drain and anode are 1/2 pipe. I used coolmist coolant concentrate for the fluid for now.
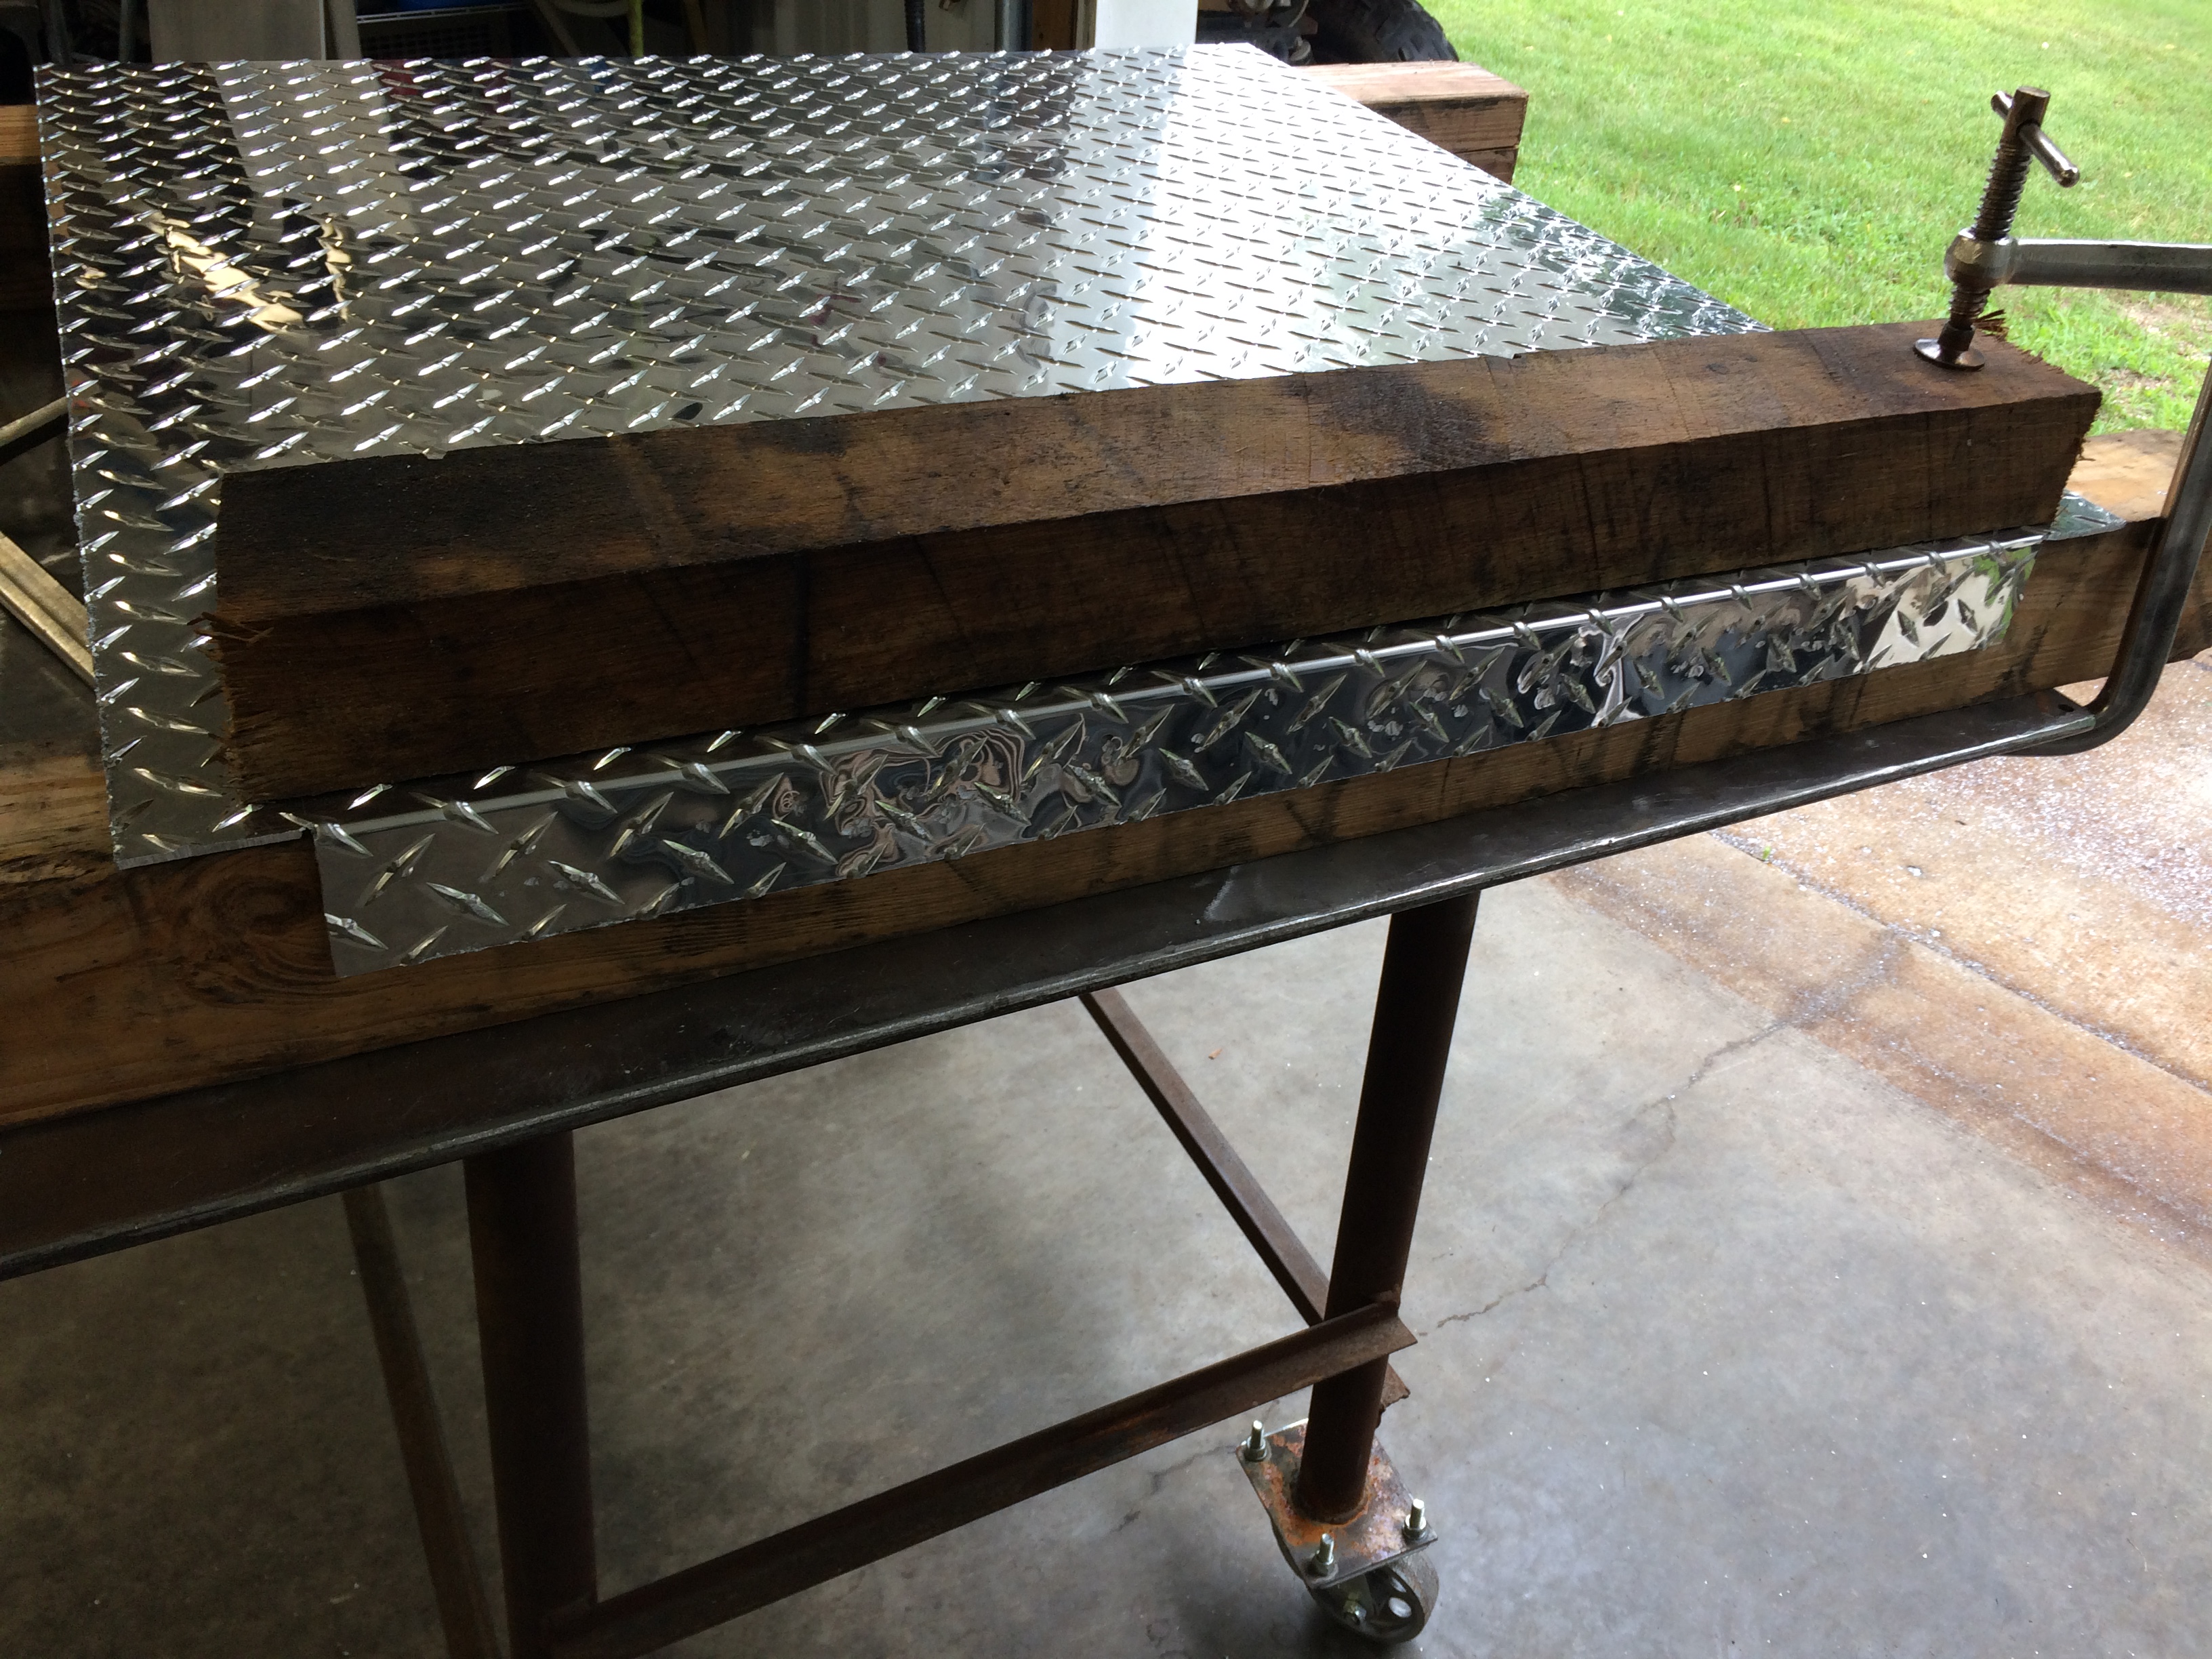
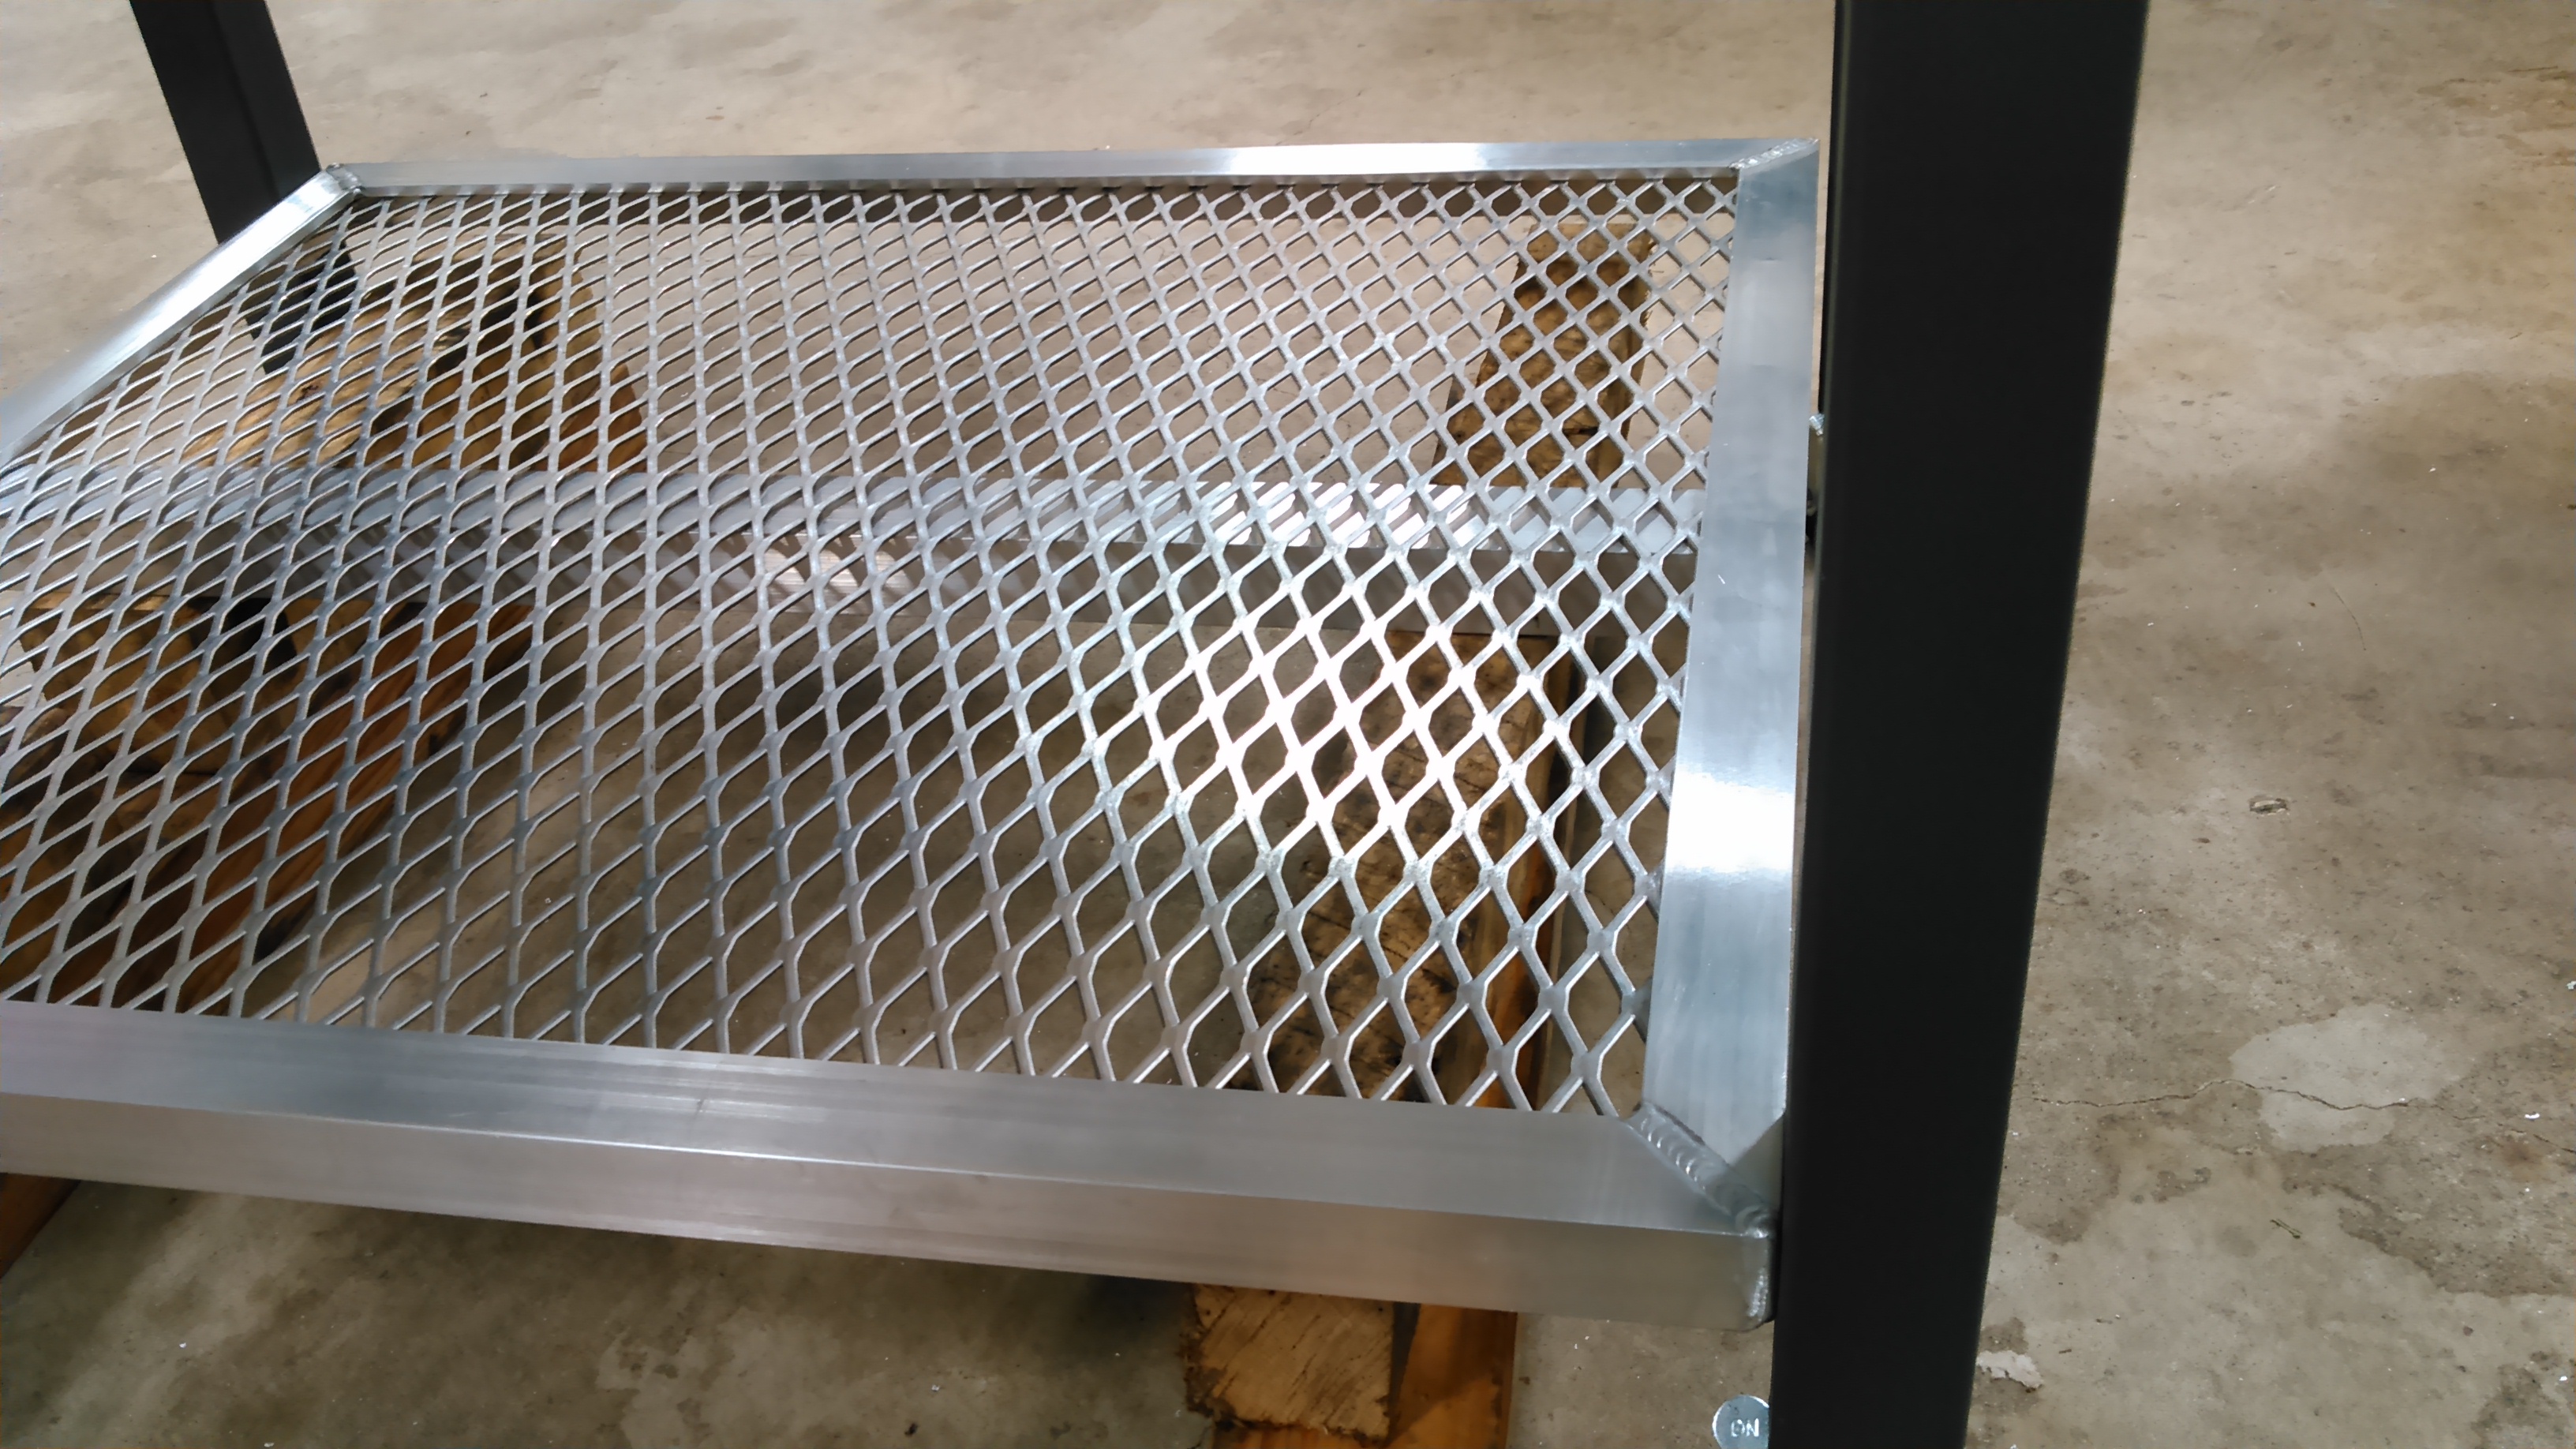
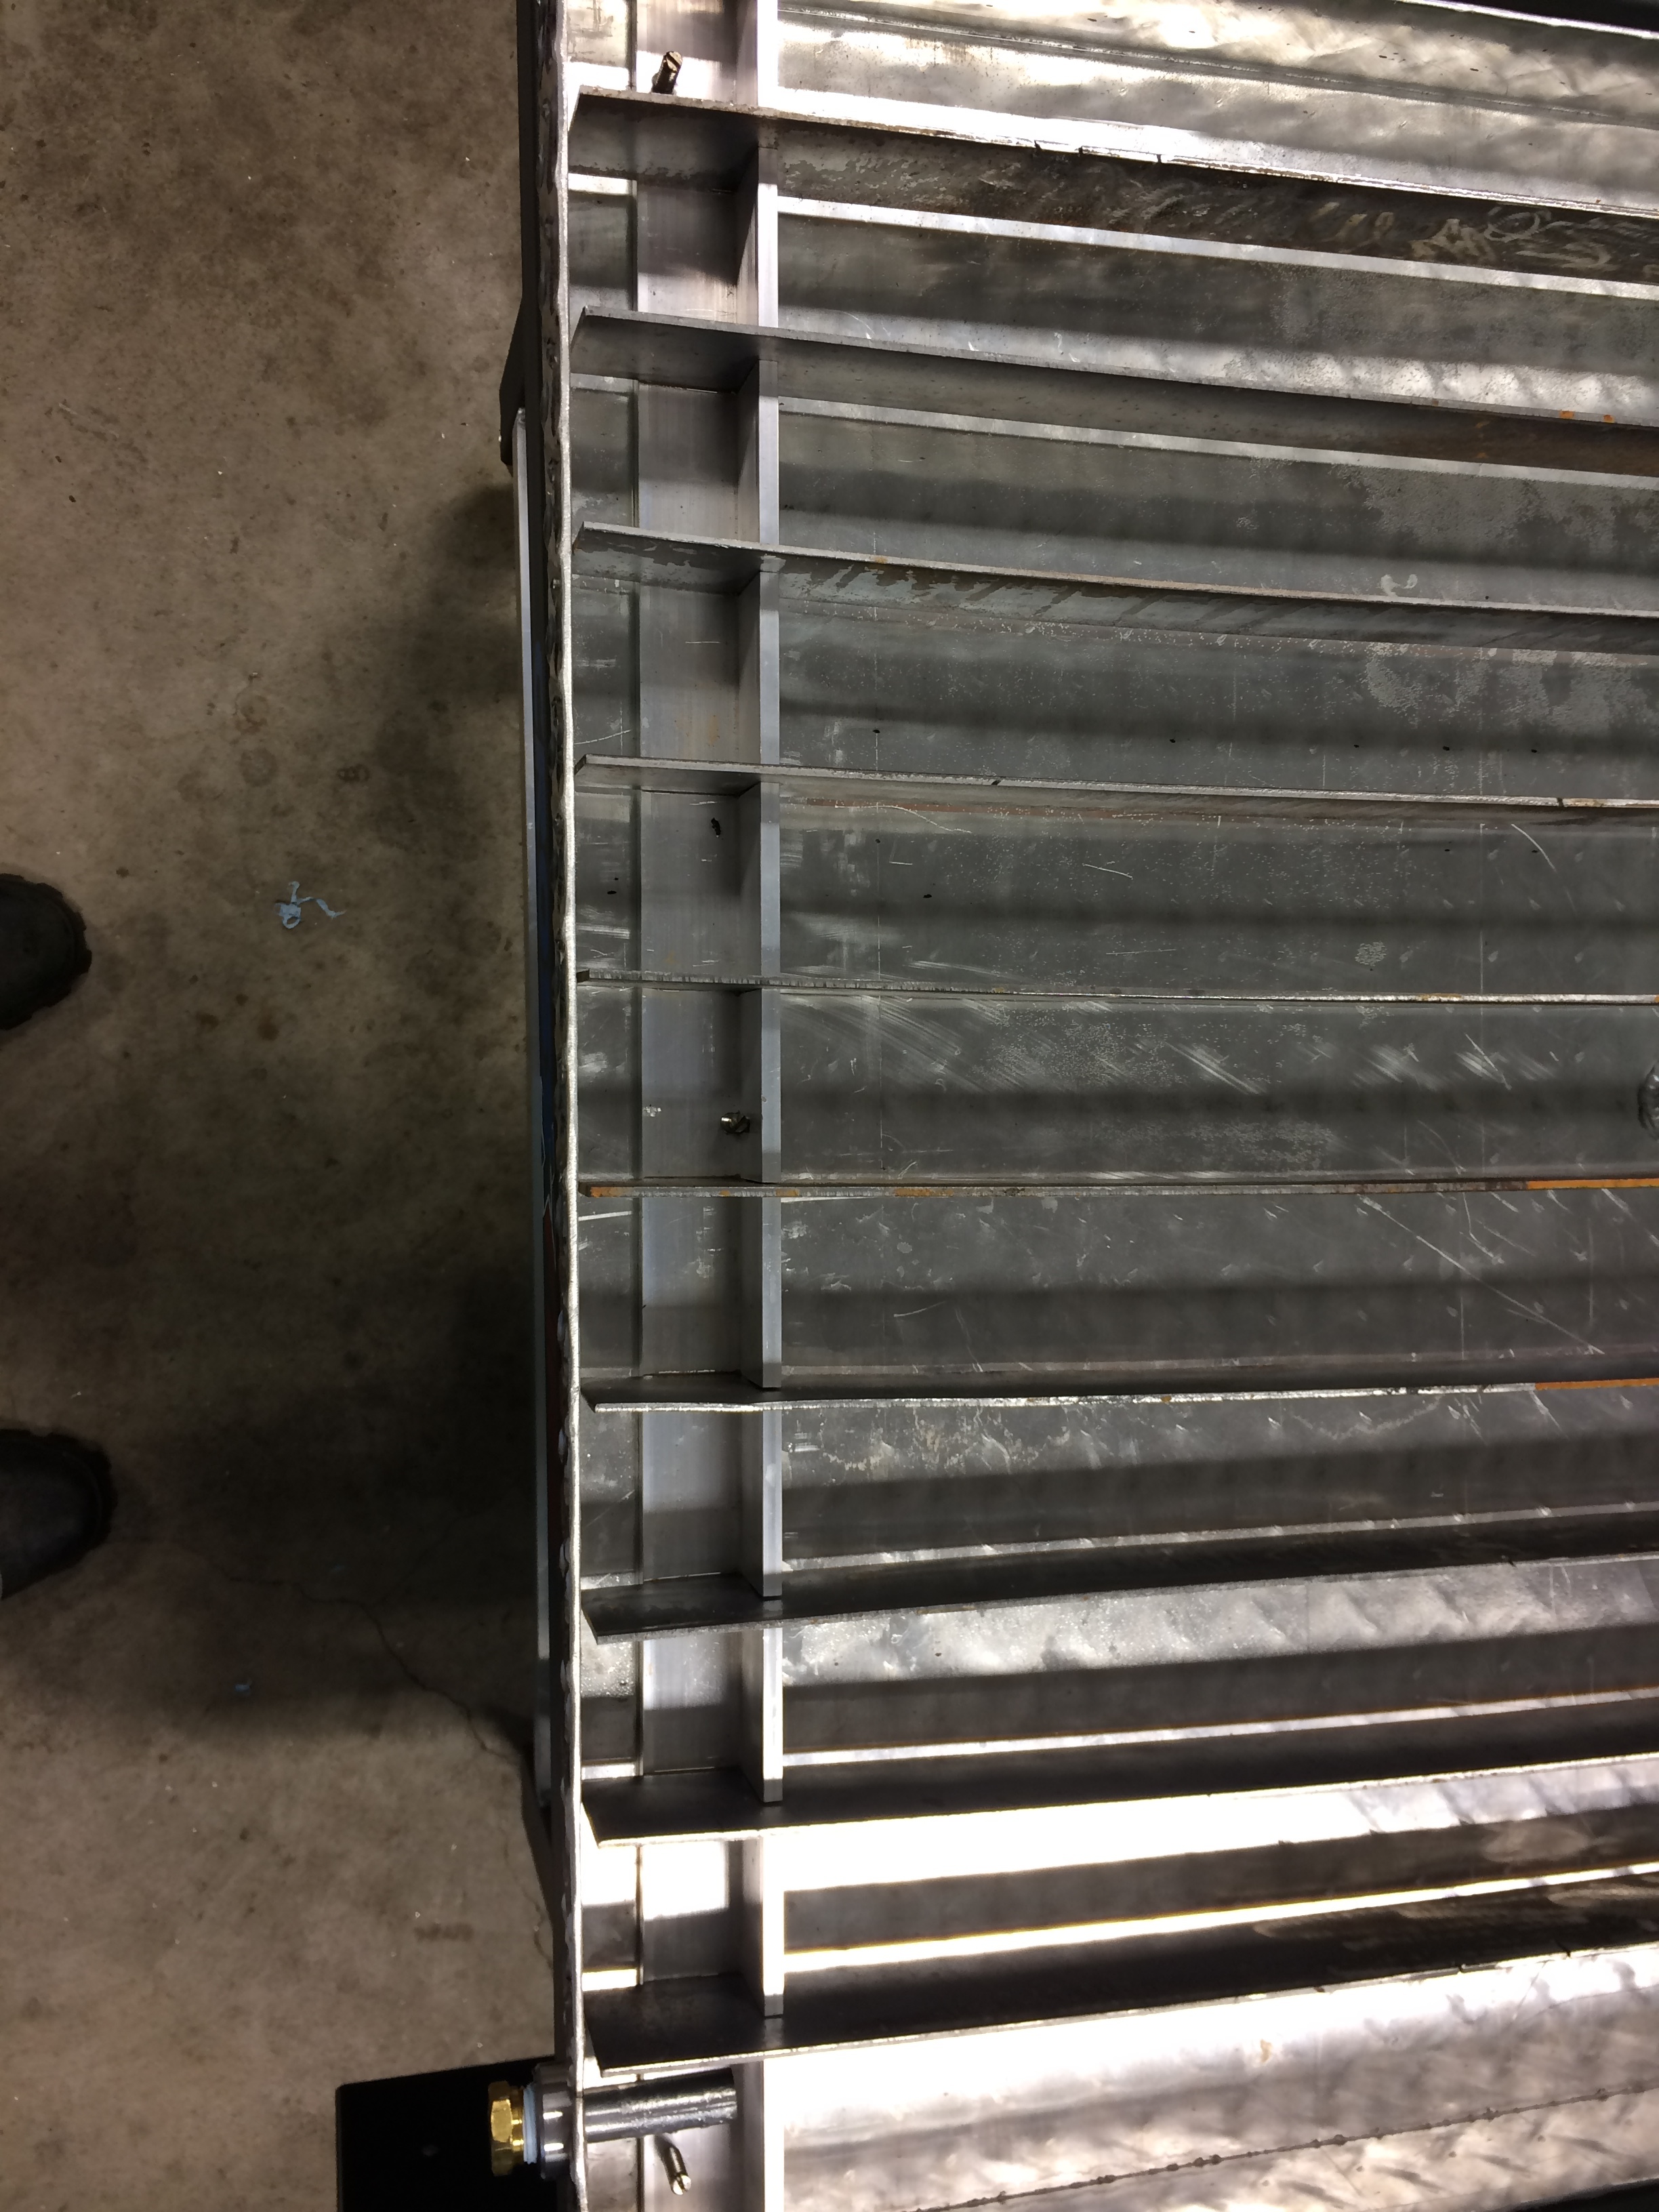
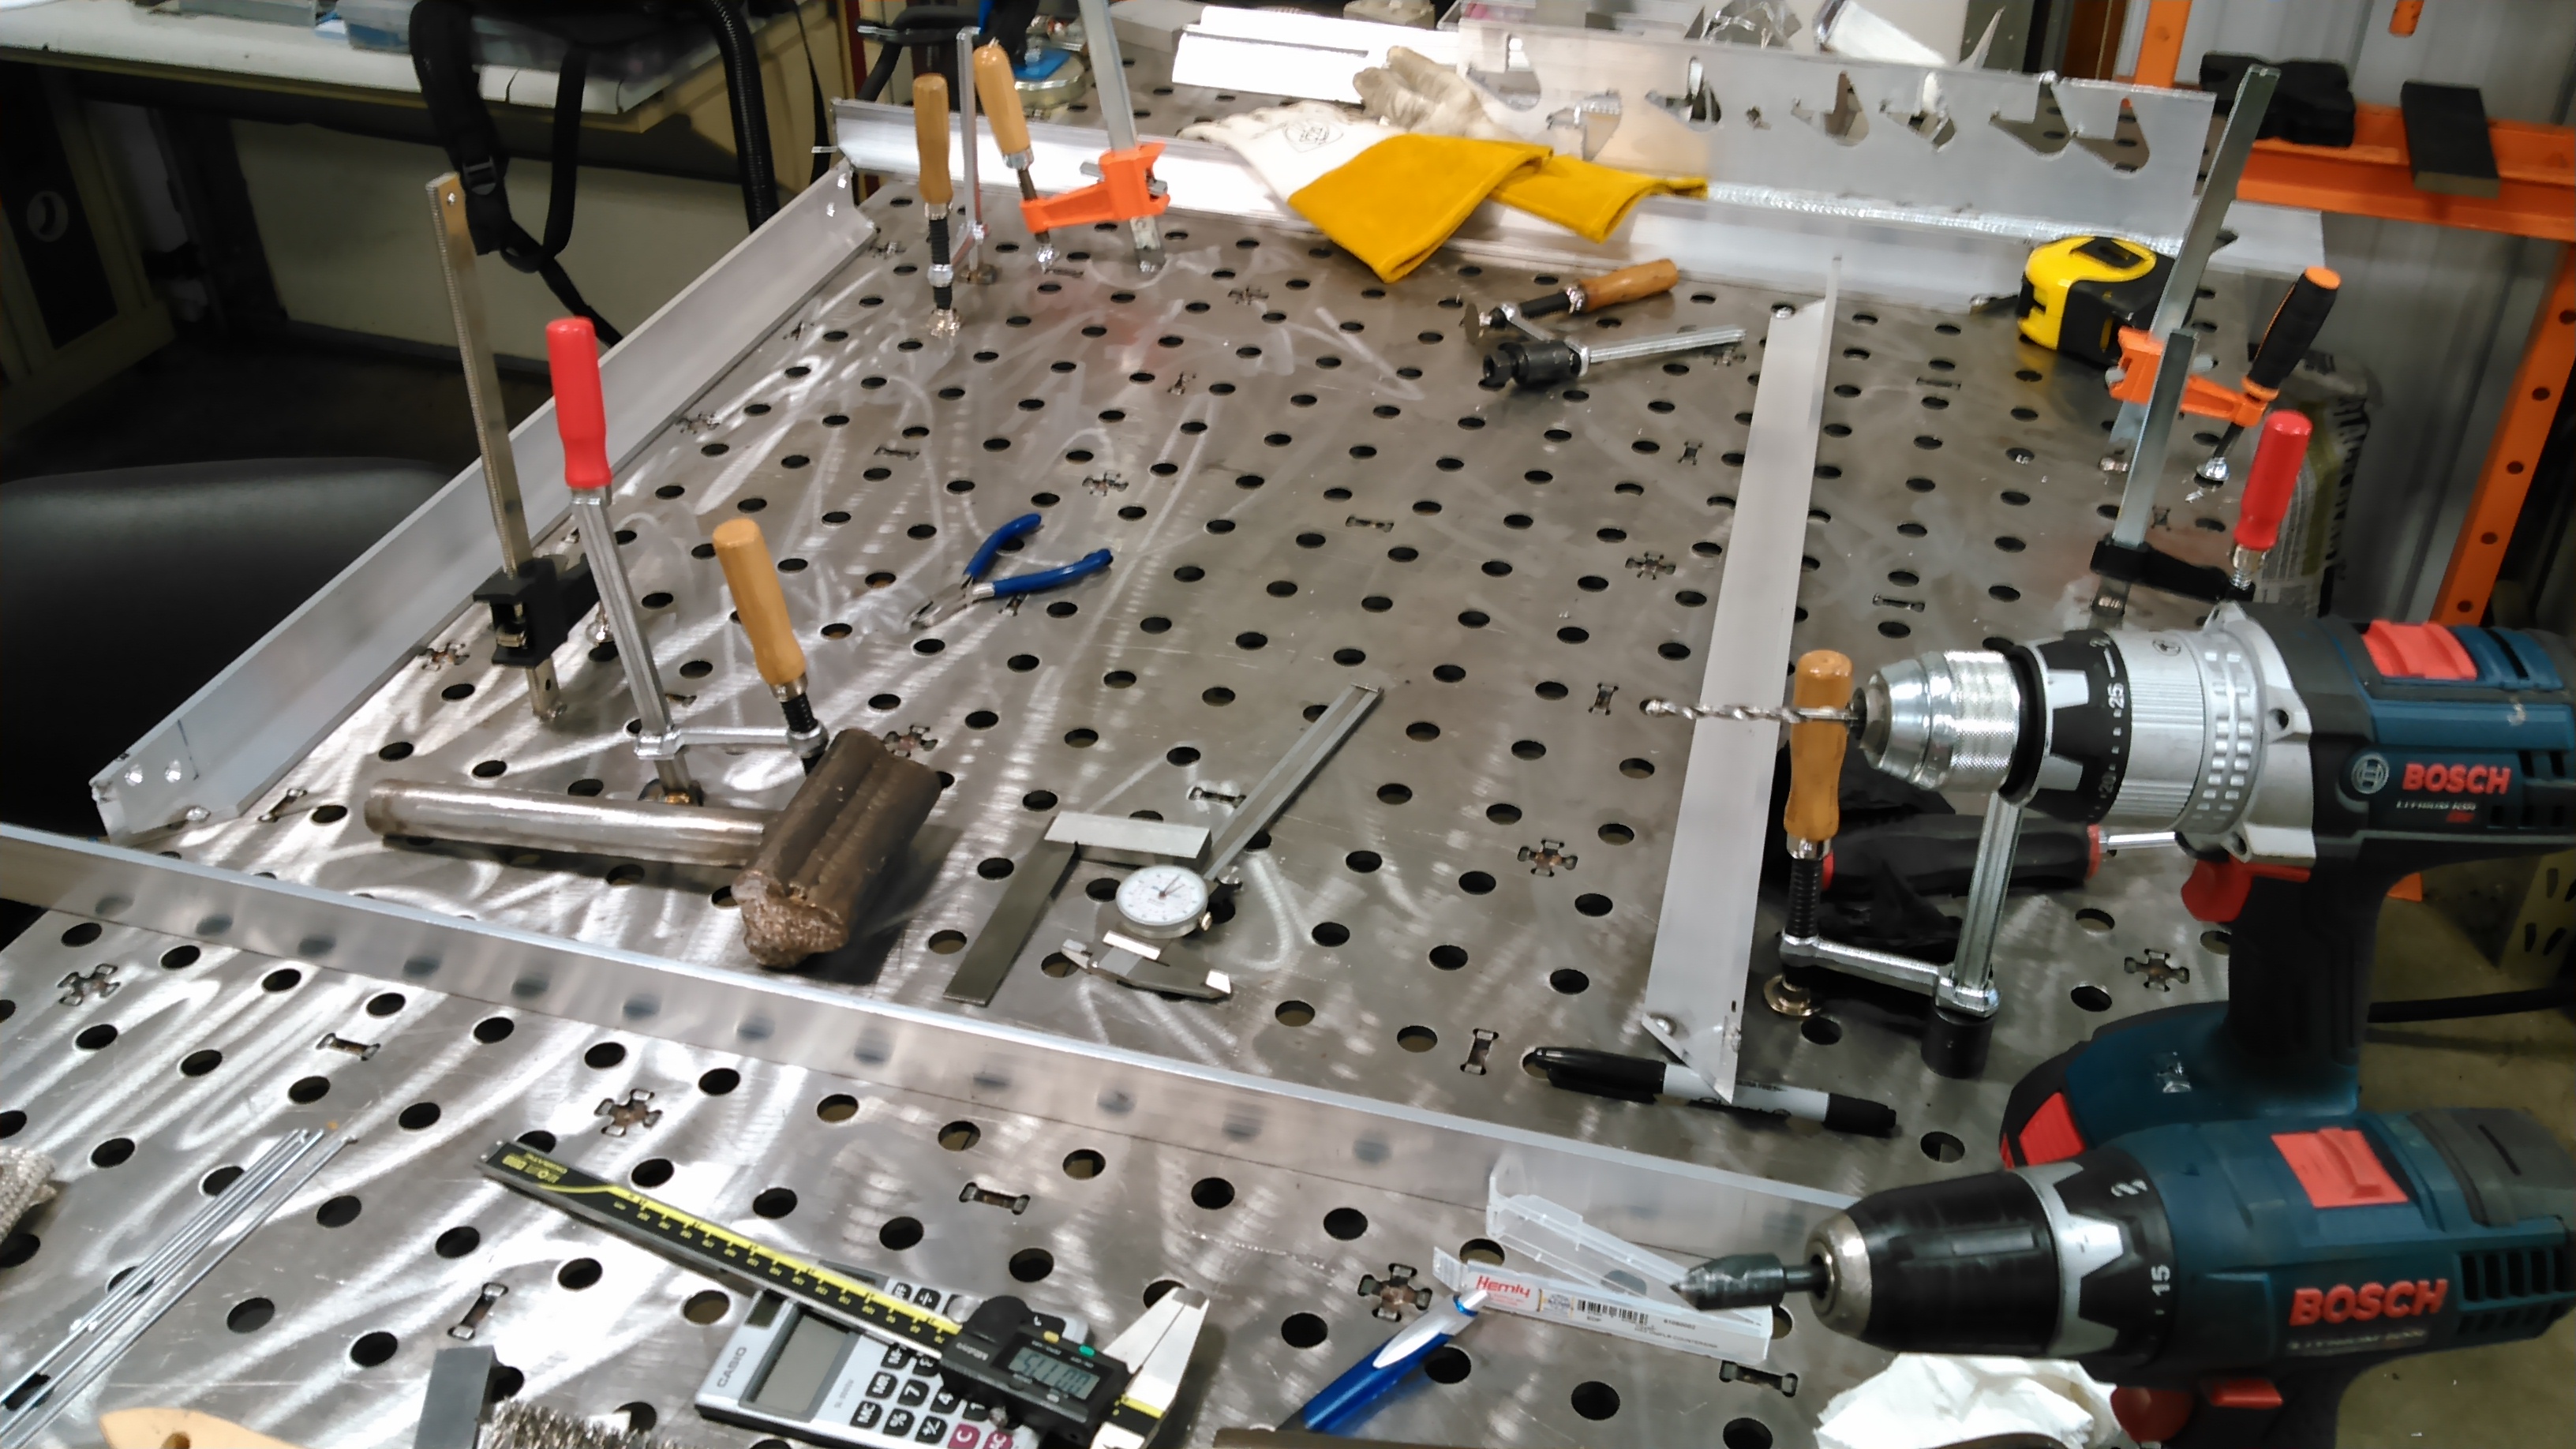
The only thing I plan on doing is getting narrower slats next time I go buy steel, so I can get the work piece closer to the water (currently about .250-.5" above. I also am going to be mounting my Everlast 205S to the expanded aluminum shelf I made to keep my setup more compact; this is assuming it will not cause grounding issues. The shelf is 1.5"x1.5"x0.250" Aluminum angle, some 1/8 expanded AL, and a center support that is 1.5"x3/16 U channel. The slat holders are just slotted 1.5x1.5x0.250 AL angle that I added 3 offset threaded holes to and used 1/4-20 304SS set screws for adjustment. This allows me to adjust my slat bed independently from the rest of the crossfire frame and my water table. It works great. Also welded on a grounding lug (last pic).
I made a video on you tube that has more information about the actual setup,
That is pretty impressive! Great work on that water table! I guess I get spoiled having a 250 ton press brake at work… it’s nice to see that people can get by with just about anything if they put their mind to it!
Thanks! Yeah I was wishing I had a nice press brake to use… I have a 4’ sheet metal one at work I can use. I just about went and bought some 0.0625 or 0.080 AL and was going to do that because this was a PITA to bend… I tried heating it, which created a nicer bend that just beating the snot out of it, but the heat, instantly made a pretzel out of this large piece of AL.
I should mention, the pipe fitting on the side that is pictured is for the anode… Thanks to @langmuir-daniel for letting me to know I needed one. I would have overlooked it.
Thanks Jeremy…couldn’t sleep all night thinking about your mod there. Lol. Wife says I was mumbling about draining and filling in seconds! Draining and filling, draining and filling, draining and filling hahaha.
@jlafata88 Yeah I used a total of 8, #10 stainless self tappers You can see the counter sunk holes in this pic. I tacked it up for locating the holes on the crossfire then pulled the shelf frame apart to properly drill and countersink the holes.
Nice setup. Curious to see how long the pump lasts with the trash that will get moved around through the system. Is 13 gallons about how much the table takes to fill?
I’m planning to make something along these lines, no pump for the stuff to go through, wonder if that tank would hold up with 4-5psi in it
Table holds 8 gallons, but I did not want to worry about pump cavitation if I filled the table plump full and run the reservoir low. I am not too worried about the pump. It has a rubber impeller similar to a outboard boat motor water pump. It came with 2. I have a 30 mesh screen on the inlet/outlet that will keep the big stuff out, this is held on with neodymium magnets, between the mesh and the magnets the water stays pretty clean. I am hoping the combo of that the pump will be fine for a couple years or so… I think depending on what kind of coolant brew I use will eat that rubber impeller up first.
I really like the air pressure design. I think could work very well also, neat design.
I had an idea for a storage tank… any thoughts or comments would be great. I was just going to fab a stainless 10 gallon tank with a fitting on the top, and about an inch up on the side. The fitting on the top would have a hose going to the drain in the water table. The fitting on the side would have a ball valve and a hose that you could place in the water table so when you apply air pressure (not too much) to the tank, it would transfer the water back to the water table. I was also going to either make the top of the tank bolt on, or put a small clean out door in the bottom. Am I crazy, or would this be an easy way to transfer water without all the extra time and money on a pump? I’m open to any constructive criticism… so let’s have it lol
Yes this will work im in the process of doing this right now. I will post pictures when complete. You will need a regulator to control the air pressure going into the tank. You will also need a bypass valve on the regulator side. This will allow trapped air to exit when draining the water back into the holding tank.