I converted some images to .DXF using lightburn software (also tried using convertio) and they have an absurd amount of points. one has about 5k and another I think had 40k points. It is so slow to try and edit them due to amount of points. I have a new computer with a 3070ti GPU, 64bg of ram so this shouldnt be the issue. Is there a better way to convert the files or open them in another software that doesnt bog down so badly? Im using F360 for design and post processing to an XR. Thanks!
Welcome to the forum.
Yes, we have all encountered things like that. One of the issues with Fusion 360 is that most of the calculations are done in a secret location across the internet connections. Yes, you have a lot of points in the drawing but you are also talking about massive internet traffic this weekend due to many people being off for the holiday, massive online shopping and just a weekend in general.
I have to pick and choose my times for some of that on Fusion 360 when I can be assured of less competition.
What were the files original type? Sometimes folks have success with opening a graphic in Inkscape and saving as an SVG. You can import SVG into Fusion 360 as well as the DXF. @jamesdhatch has said that DXF files have a broad range of differences. I am probably misquoting him as I do about most people. But I guarantee you that he knows a lot more about file types than I do.
@TinWhisperer uses https://convertio.co/ with a fair amount of success.
2 Likes
I have been having the issue for a couple weeks, so I can rule out the influx of people on the program. I used lightburn and Convertio.co to convert from JPEG to DXF, both came out with the same absurd amount of points. So its gotta be from the original designs I’d imagine. Id like to clean up the points in F360, but its so bogged down I literally can even scale, move, trim, etc without it either freezing or taking a really long time. Thanks for getting back to me so quickly Jim!
1 Like
I converted a very simple logo for my wife’s business. It took me 3 hours to clean it up. It was insanely simple so the conversion programs sometimes get confused.
Try to flatten (one layer) the image and make it have only two colors (black and white). I know you will lose a lot of detail, but that is some of the loss you will need to accept with plasma cutting. It is not going to be able to put freckles on a 1/2 inch tall face or letters that are 3/8 of an inch. I am not saying you are doing that but that is the types of things my wife wants me to do. Then she acts disappointed that I can’t make a perfect rose within a 3/8 inch circle! (She means well…don’t mention that I brought up the ‘rose’).
2 Likes
@ZWhite Welcome to the forum.
I can post the original images and the DXF s you created we maybe able to run through some different workflows.
converting to an SVG instead will help you out.
Fusion does not like the huge sketches but normally we dont need huge sketches to get our job done.
3 Likes
@ZWhite welcome to the forum. Great place for finding solid advice on all things plasma cutting.
In addition to the above advice, I’d also say use a paint or other type program to remove as much of the background that you can, if it’s not needed. There are actually “background removal” software offerings available on the net.
2 Likes
Thank you all for the advice. I’ll try to convert it to an SVG and try that route.
New1909.f3d (5.2 MB)
1 Like

When I convert to SVG it leaves out a significant amount of the picture.
fill those areas with dark paint
Disregard this message. Obviously I was not paying very good attention.
You could do a secondary sketch and isolate out all of the yellow/gold color and and cut that out of a another piece of metal and have a layered sign. Paint that layer, gold.
So I did a little bit of work on it. Like Tin suggested, you use a graphic program, pick the gold color and then flood it with a dark color. Then you convert it to an SVG.
It is still a work in progress. It filled the “A” and it was lost in the shuffle:
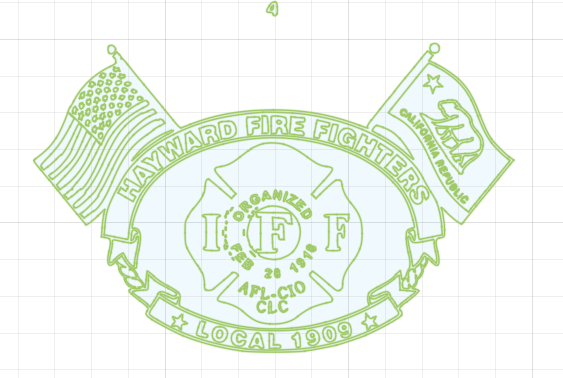
Here is the SVG if you want it, but you might want to start over with your original:

1 Like
You could do something like this: Grab the parts that did not show up at all and merge them with your image.

This would be a very quick rendition of what I just said. I actually doubled the sketch size of the blue outlines and realized that was a bit too large and then reduced the blue line sketch to 0.95. It seems to be the right proportion.
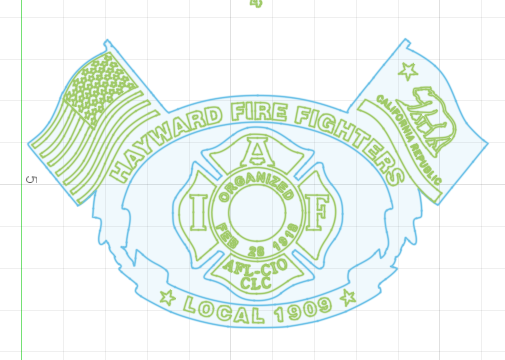
Note: This is not done. It would not cut right but it is getting closer.
I would probably remove the extra leaves in the middle:
And you need to complete the rope borders and the flag bottom of the California flag and add tops to the flag poles. You might need some bridging some where. I really didn’t check that too close.
Hayward Fire Work in progress.f3d (1.2 MB)
2 Likes
Thank you very much for all the help. I’ll take a look at it later this evening when I get some time around the computer.
Obviously, this is way to small to cut out in its present state but this gives you an idea of how to proceed.

Hayward Fire v1 Closer2Completion.f3d (3.6 MB)
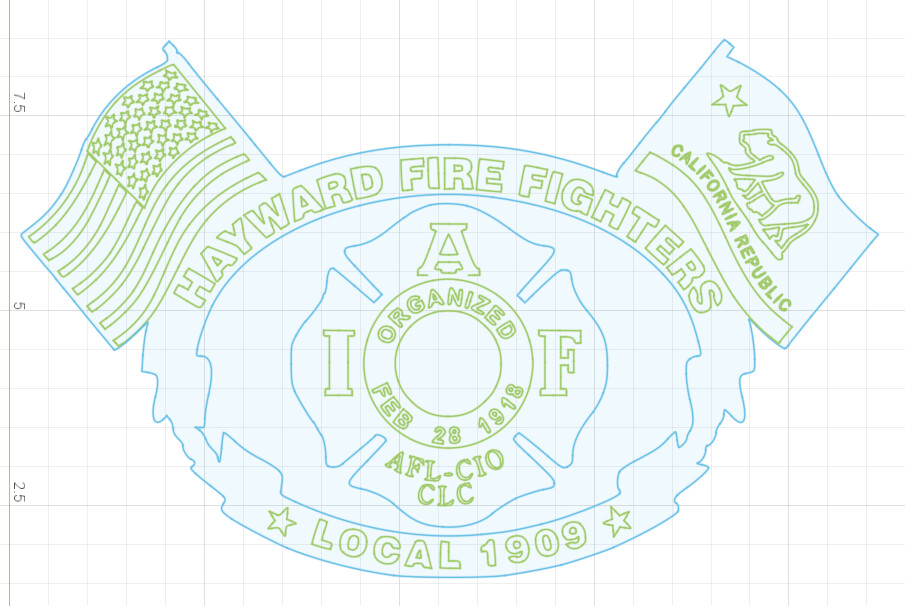
There are some significant things left to consider:
- I really took liberties of shrinking this border inside to touch the leaves in the center to make bridges. You may not like the looks of that.
- Numerous letters need bridges. The centers dropped out.
- Flag pole tops left undone.
- Bottom of flag needs completion.
3 Likes
One last suggestion. But not telling you what to do, here are some changes. The California flag and letters still need work. I am not sure of peoples opinion of the way I did the date in the middle. That is an example of making letters and not needing to bridge the centers.
Hayward Fire v2Almost there Maybe.f3d (3.2 MB)
4 Likes
I am making this more of a project than maybe it needs to be but if you look at the above body in the previous post, the “AFL-CIO CLC” is not likely to cut out correctly. It might be somewhat legible but it will be ugly.
So each letter, I used the “offset” tool in Fusion 360 and enlarged each one individually.
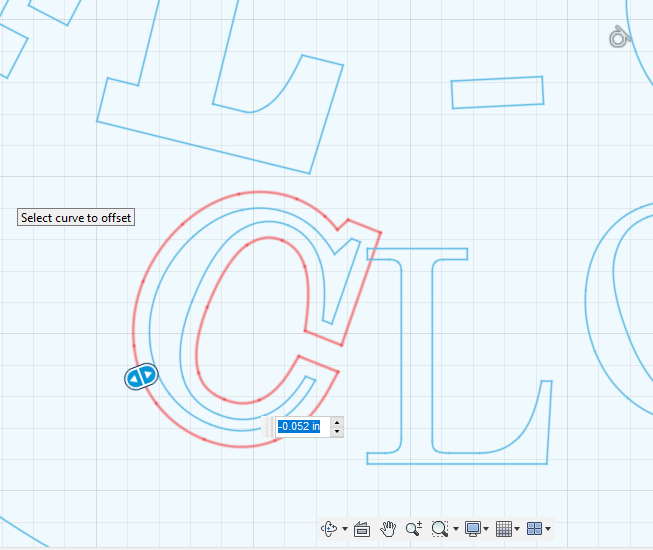
I then deleted the interior (original letter) and selected and moved the letter to a more appropriate space. Sometimes, you really need to massage these images because with art, you can have a line go a different direction than originally drawn but with letters and numbers there is an expectation of orderly appearance.
So here is what that area now looks like:
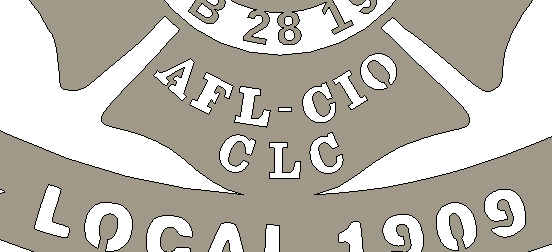
You will also see the bottom edge of each flag has been increased as that previous thin line of metal was not likely to survive. I used a combination of the offset tool and the move command to improve that feature.

Hayward Fire Letters fixed v6.f3d (3.4 MB)
Note: You know I am going to keep whittle this drawing down until you show me the completed image from your standpoint. This has now become an obsession! ![]()
2 Likes
Thank you very much for all of the help! We’ll see how it cuts.
Hayward FFs.f3d (4.4 MB)
1 Like
Are you doing classes now? Wow that is what I call helping!
3 Likes
100% went above and beyond.
1 Like
I just went through it. What you did looks superb.
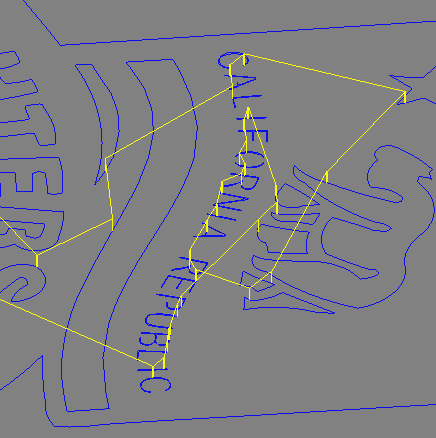
You are going to have trouble with the letters on the California flag. If you decide to increase the scale to 1.5 that will make it about 46.5 inches wide. Even then, I had to have NO lead-in/lead-out to get it to capture all of the letters. I will see if it captures them with NO Lead-in/lead-out at the size you currently have.
One thing to keep in mind if you want to scale this sketch: The letters on the flag are not fixed (they appear green - that means you will not be able to move or alter them in this state). You need “edit sketch” and then “fix” with the contraint tool by selecting everything. That will turn everything green. Do it one more time and that will turn everything blue. Now you can scale your sketch.
Here is CAM at 1.5 scale:
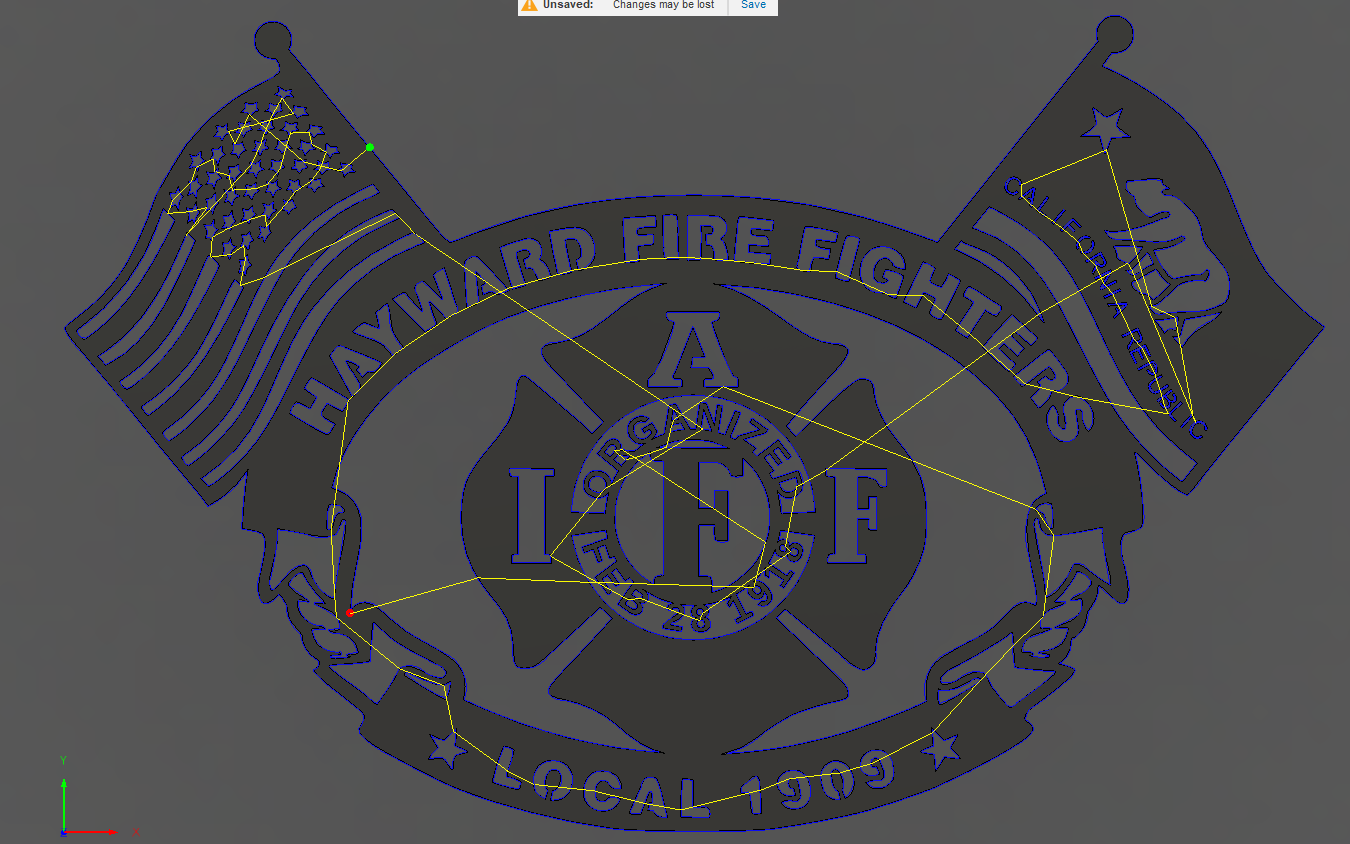
Hayward FFsChelan v1.f3d (4.9 MB)
To myself…everyday. It is how I learn how much I don’t know. ![]() It’s true
It’s true
Edit: Yes, it will capture everything without a leadin/leadout at your present size.
Great job! Maybe next time you could do a simple 3D bracket!!! I love brackets. ![]()
Edit: Final point (I think). Since it is the letters in the California Flag that are requiring the special attention, the better way to deal with it is to run one tool path that captures everything else with a small lead-in. This will make all of your plaque have a better look than without a lead-in.
Fusion will throw a yellow/orange flag at you to say that it had to discard some contours. No worries. But you want to make note of all of the contours that were skipped. Now you do another toolpath with no lead-in/lead-out. For the contour selection, you will click on each contour on the sketch that was dropped. Make sure that it cuts on the inside of the letters (zoom up and see where the red arrow is: inside or outside). Let Fusion run this scenario and it should give you a green check mark on that tool path. Now move this tool path ahead of the other tool path. You want this one to be cut first.
3 Likes