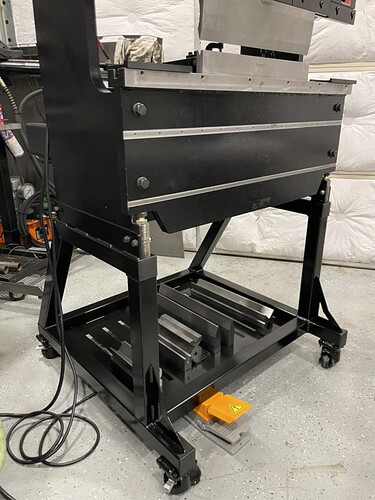
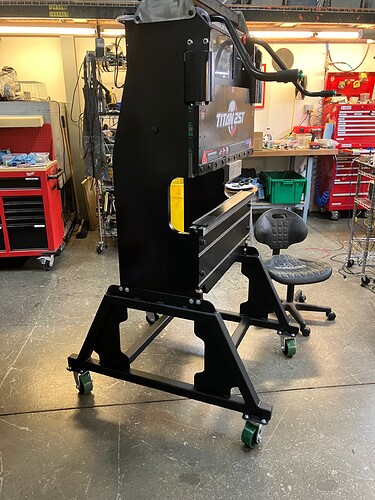
I posted a DXF for base mounts on the FB group. I have a model of my stand but its not totally complete, it is 4" taller but has the same footprint.
That looks great! Definitely seems sturdy!
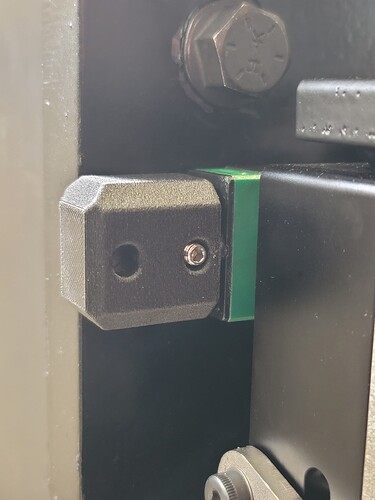
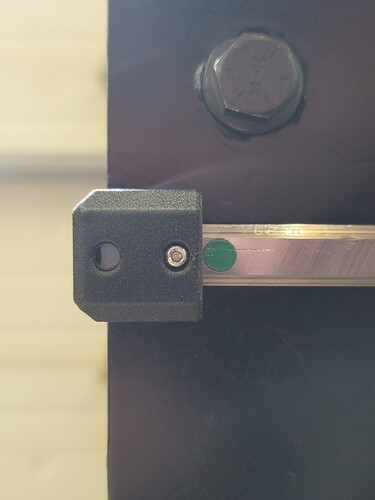
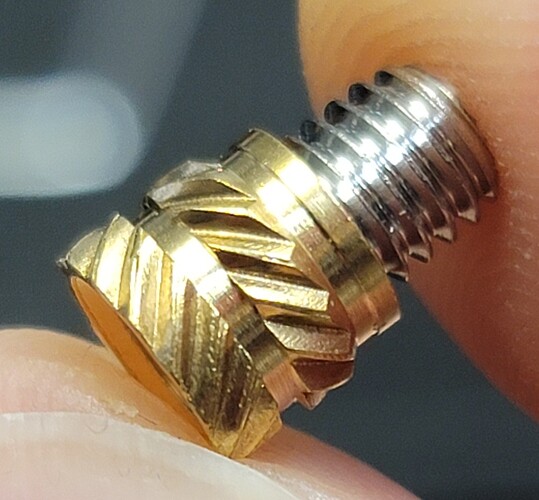
I’ve got an upgrade to share. 3D printed end stops for the material support arms. Uses 2-4 M5x6 heat set inserts and 2-4 M5 set screws 6-10mm in length. Printed in ABS-GF.
Here’s the link to all of the CAD files in case you want to print or remix it. Just no charging people money and making 10’s of dollars a decade selling them to get rich and famous. ![]()
Just downloaded the files. Thank you very much!
Some light tapping with a mallet to get them onto the end of the rail is to be expected. Make sure you set the inserts from the inside of the part so the set screws are trying to push the insert out of the front side of the part when they bear down, it should be much stronger that way. Also make sure they are set sub-flush so the edge of the brass insert doesn’t hang up on the rail.
Will do, thanks again.
Found them, thanks elevate! Exactly what I was looking for.
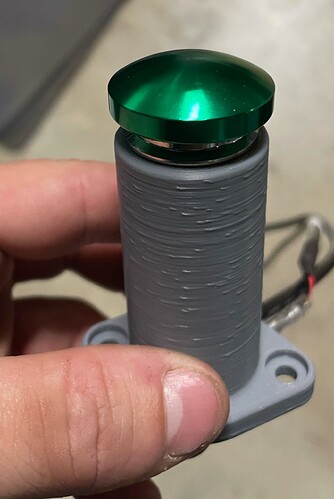
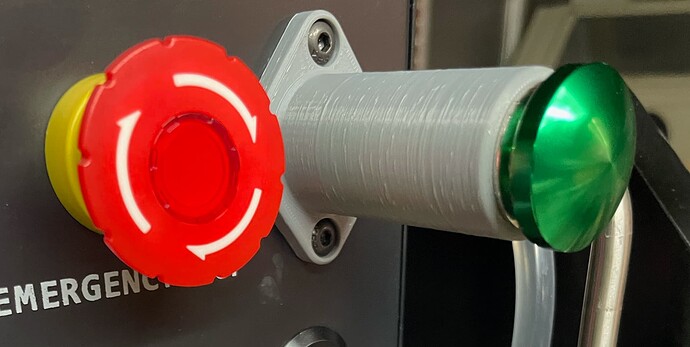
I 3d printed these to replace the arms, since I didn’t want to modify the original arms. The switches thread into the new tubes. the same idea from MrHaNkBoT with out cutting.
Slick!
You must be another guy with space to store spare parts. Lucky devil. ![]()
Some photos of a base that I made. Still pondering the storage area. Happy to share cad if interested.
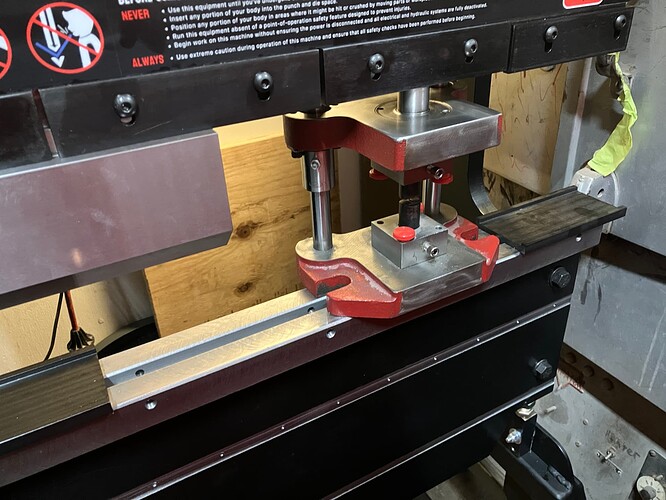
Also machined a tang on a die set that I use with my old analog press. Titan is astoundingly accurate and repeatable.
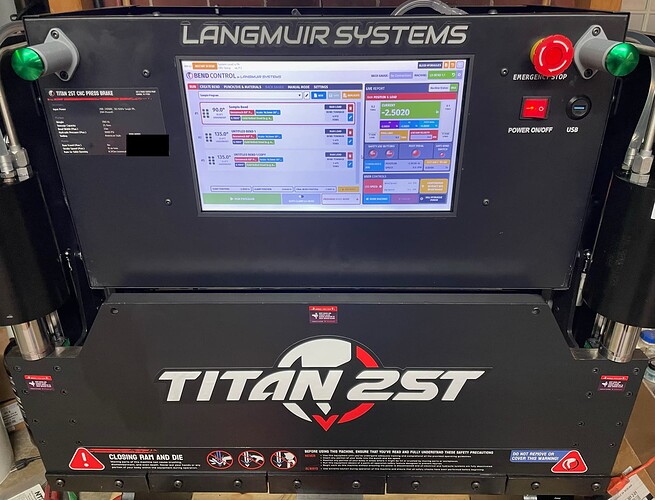
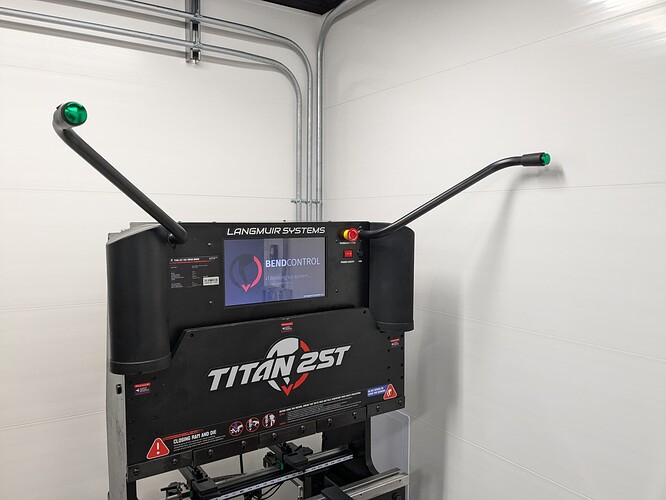
I flipped my arms upside down. It gets them high enough that I stopped hitting my head on them, and I’m tall enough that it’s still comfortable for me to hit the buttons. It gives me Loki vibes now.
That’s a decent way to resolve some of the issues with the arms without modifying them or having to have some place to store them if you replace them.
Not a bad idea. Im at the perfect height to poke my eye out if im not paying attention. I wish they were adjusable without having to modify them.
Modifications on my wishlist:
- tooling cabinet (may make the design by @custommetalmke)
- better punch clamps (1" wide? Quick release?) I don’t understand how the design as shipped will hold smaller punches securely when they’re next to other punches…
- an easier way to lock/unlock the back gage Y positions
- I will be chopping the tentacles. Those things are a menace!!!
- I will also be making stops for the material support bearings.
What are you punching with that little fixture?
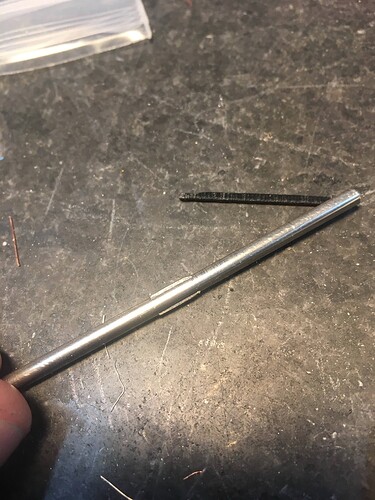
It’s a swaging tool which creates the flattened tabs on the pin in the image.
But I recently used it to create an interference fit for 6 pins that I had to press into aluminum. I was able to just crush them a few thou to get a perfect press fit - and it was shocking how well all six pins matched.
Very cool!
Dug around on both the Facebook groups and kind find a post with the dims for the support. Can you point me in the right direction?
I’m looking at pre building my stand before my machine arrives, what Is the machines frame width between your mounting brackets?
31" minimum between mounting plates. But I left a bit more for powder coat so I ended up adding a few shims during assembly.
