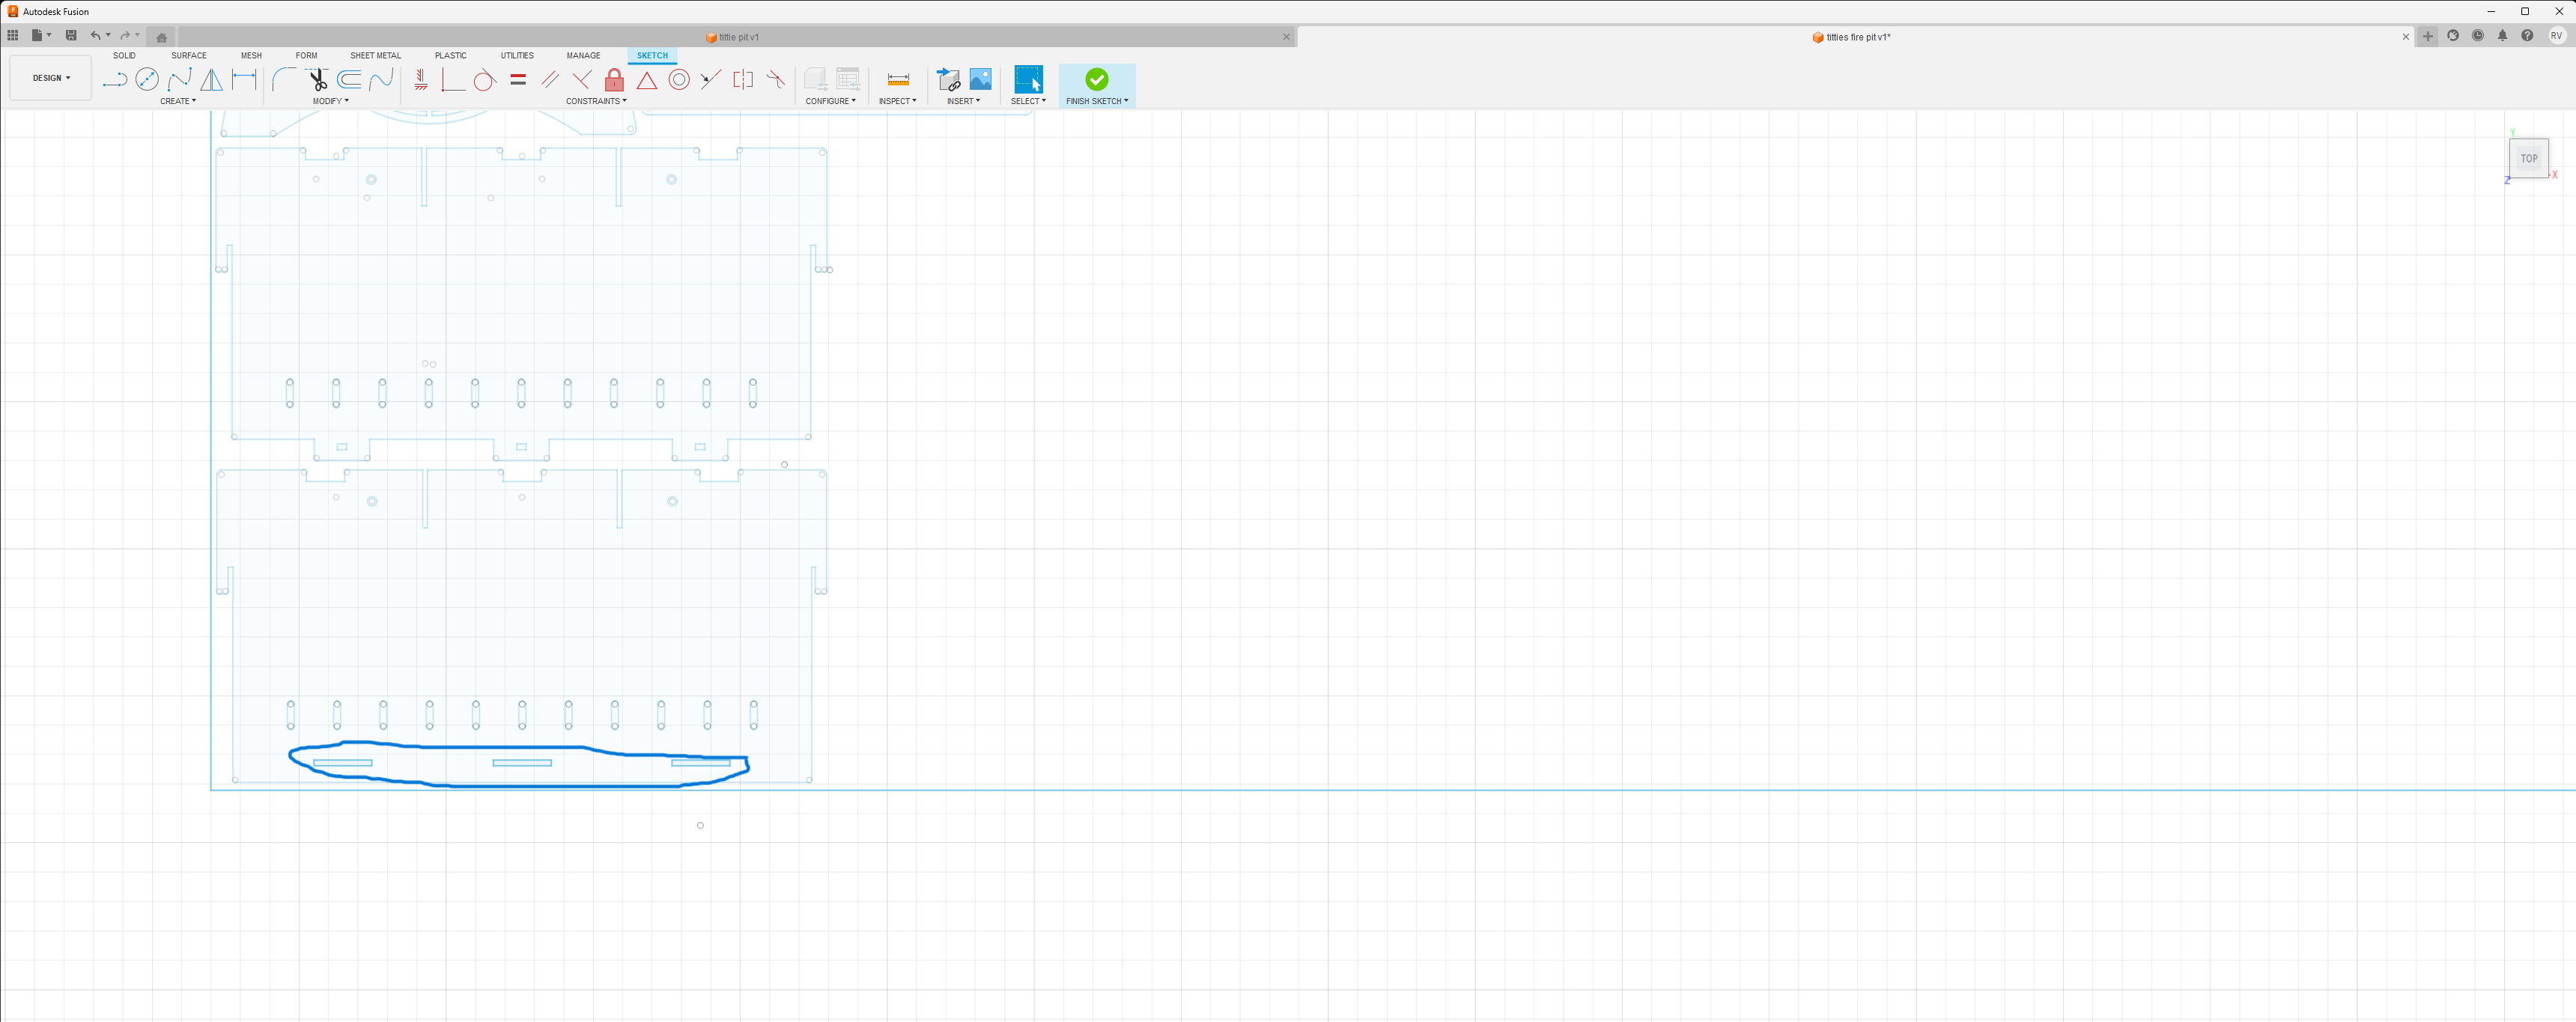
i have this almost ready but it misses the 3 holes on the bottom when i extrude it. how do i make the 3 squares holes.
Looks like these three holes are on a separate sketch so you’d have to extrude the first sketch into a body and then use these three holes as an extruded cut in a second operation.
1 Like
sorry ive got 1 day on fusion. so how do i do that because once i extrude the main body i cannot select the three squares
Are the three squares on the same sketch as the rest of the geometry?
On the left hand side of the screen they’ll be a list called the browser bar and it’ll have an item in there as sketches. The arrow to the far left can drop down menus if there’s multiple items under one heading.
1 Like
if i click the drop down on sketches it shows 2. the 3 squares and the outside square which i assume would be the “material” are on a seperate sketch from the rest. XD it was sent to me and i was told to make it work lol
Use the first sketch to make your body without the holes using the extrude tool.
Then using the extrude tool for the second time select those three rectangles. There may be a layer over top of the rectangles so if you can’t directly select them hold down left click and a menu will appear showing all the items layered underneath your cursor pointer, select that profile from the list. Now in the extrude menu switch the join function to a cut function and pull it all the way through the first body.
This video loosely goes through some of the same techniques.

3 Likes
that worked! your a life saver thankyou so much for the help. much appreciated
1 Like
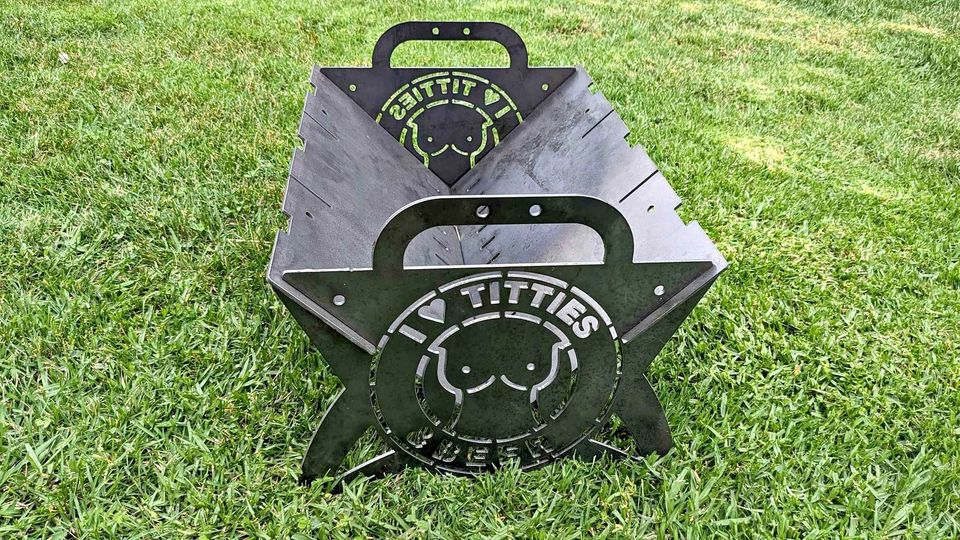
That is one classy fire pit you are building.
Did you get the stenciling figured out for the ampersand?
2 Likes

now that ive added the three holes i get a to many constraints error and it misses this part of the A
There’s a few issues going on.
One I would suppress the visibility of the sketch before you move into the manufacturing workspace it’s the little eyeball icon in the browser bar to the left.
Then make sure that using the top face contour when picking profiles in the 2D profile menu.
It looks like you’re starting also on the wrong side of the line there may be some issues with your selection in the 2D profile menu under contouring.
1 Like
i hid the sketch and used the face contour but if i deselect all outside lines it missed most of it
the lead in lengths, kerfs ( tool menu) , and other linking constraints ( last tab of the 2d profile menu ) are to long to fit into the geometry. Reduce the values of these parameters and it will start to pickup more geometry
1 Like
and this is on the side bar menu once ive selected my faces correct?
In the 2d profile menu that pop up

this?
it might as well all be in japanese for me. i have no idea what it is or what to set it as.
i do change the lead in sweep angle to 90
set the pierce clearance to zero, deselect the lead out, reduce the lead-in to .05 and hit ok . see if it picks up more items
5 Likes
Have you watched the videos on the Langmuir site that @ChelanJim posted in your introduction thread? They explain all of that there. Also if you click on @TinWhisperer avatar(scary I know but nothing will bite you ![]()
![]() ) he has some videos that go through that stuff.
) he has some videos that go through that stuff.
3 Likes
Thanks so much for the help. That worked
1 Like