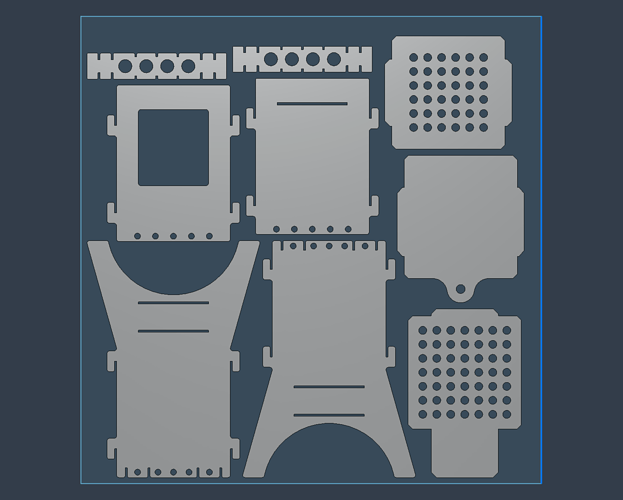
awesome i like it! quick question whats the dimensions of it roughly? height and width when assembled? i should be able to cut it out on a crossfire with xl kit if i cut some of the pieces out individually right?
@skidooorev Welcome to the forum.
This little stove is 10" tall, 5" wide and 8" deep
All the pieces can fit in a 20" x 20" blank.
It fits together but tight , I would scale up this project a few %.
If you end up making it please post some pictures. Everyone loves pictures.
That’s an excellent idea @TinWhisperer! Make another one scaled up, break down your old one, and send it to me! ![]()
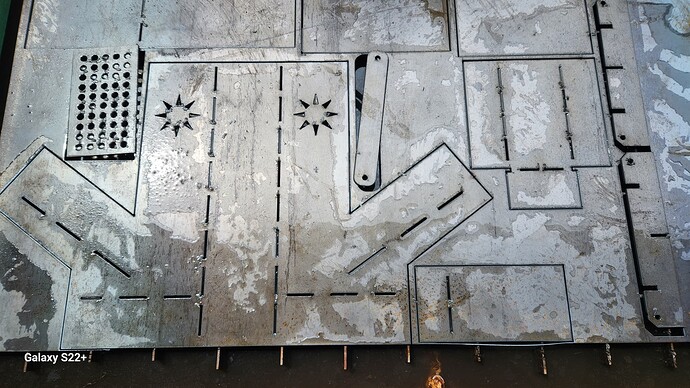
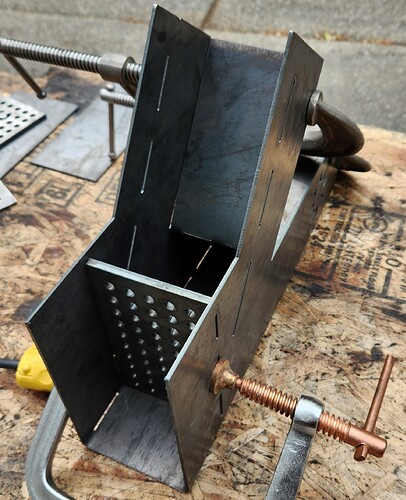
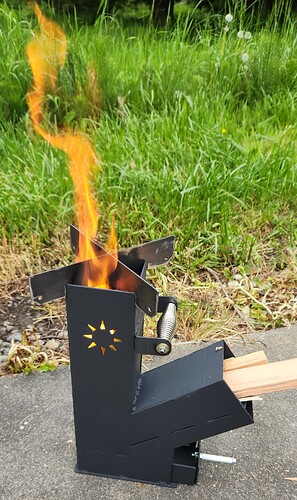
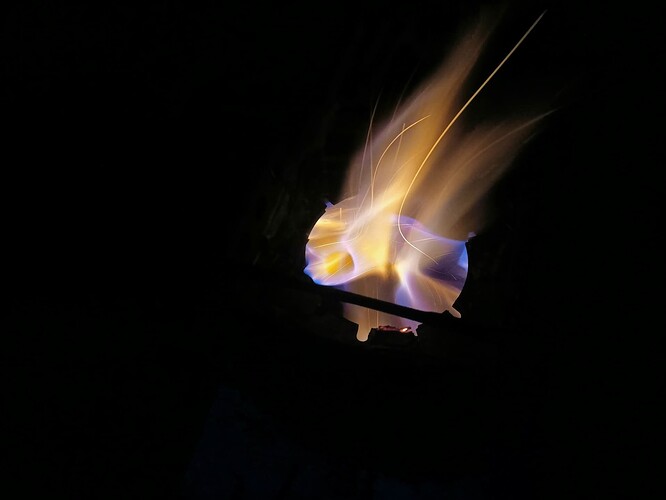
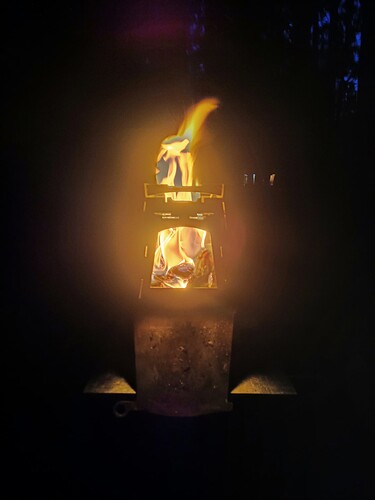
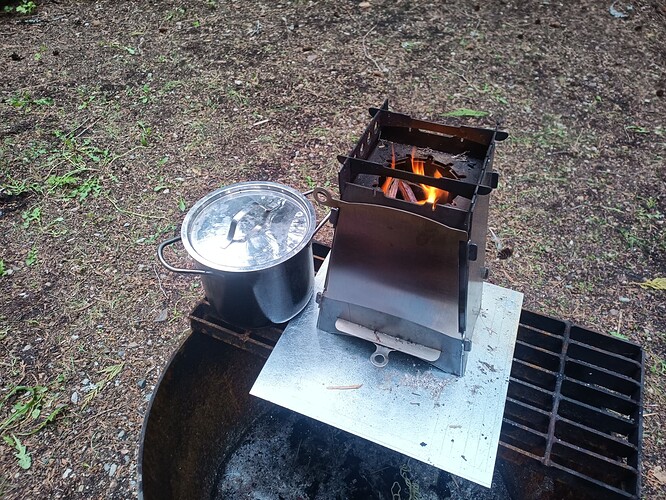
Finally!!! I got this stove cut out and it was actually a pleasure to put together. There were no surprises and the pot holder cut out perfectly with zero modifications to fit on the top of the stove.
Several issues were encountered:
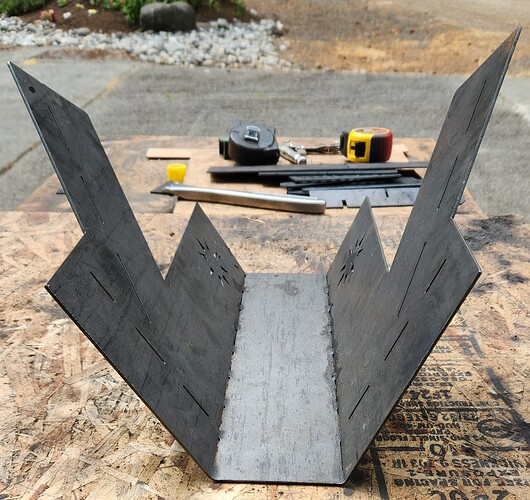
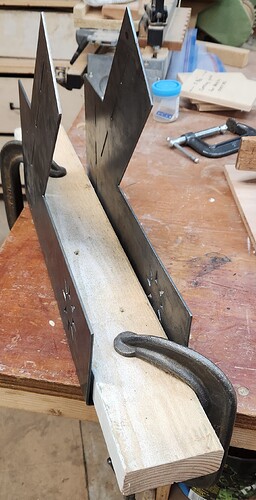
- 12 gauge, even with all of those relief cuts, was not going to be persuaded by hand. And, my Harborfreight press with the Off Road Swag brake could only get it started.
But there was a bright spot: The size allowed a 2x4 to be clamped to something solid and since the bend was already started, I could finish it by hand.
-
I decided a 12 gauge ash grate was not sufficient so I cut out a separate 1/4 inch plate for the ash grate.
-
I did not need the slots in the loading chute as you can do stitch welding from the under side. I allowed the slots to provide more air flow since I was crowding the air intake with my bent wood ramp.
-
I would make one change: give more space between the stove body and the handle which would mean making the strap about 1-1/2 inches longer. It is workable as is.
Results:
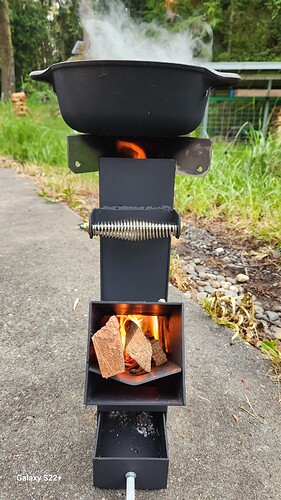
It burns perfectly. The ash tray needed some subtle fitting for the face/door of the tray to slide completely in but I had hoped it was tight as I planned for it to control some of the air.
If you decide to make it, use the v3 file, not the one in FireShare.
rocket stove sun burst PotHolder v3.f3d (1.5 MB)
(But remember: I would recommended making the handle strap longer and use 1/4 inch plate for the ash grate.)
Nice work Jim!!
Thank you. I was so happy it went together as designed. It was a fun project.
What are we having for supper?? Or is it just for show?
I have been waiting to add mine to fireshare until I cat it to make sure it will go together as intended… but the end of the month is getting close… I’ll probably just have to submit the design with a warning. I need to re square my table and am waiting till I’m able to finish my rolling platform I’m working on. I get 1 night a week to work on it…. Tonight would have been my night but my sister in-law had a crisis. She has some shelves in her garage that were hung from the truss bottom chord with a single grabber screw each connection… some places they were into only Sheetrock or ducting covered by sheet rock… needless to say when she loaded them with hundreds of pounds of totes they started falling down. I’m surprised they lasted as long as they did… ![]()
![]()
Spent the night re-building them in trade for baby sitting. ![]()
That is a cute pot that happens to be something we came across but we have never trusted it as safe for any cooking purposes.
You guessed it: just for show, kind of. I put 4 cups of cold water and was going to time how quick it came to boil. I got distracted and let the fire calm down so I think I it was about 15 minutes. I know Tin likes objective details.
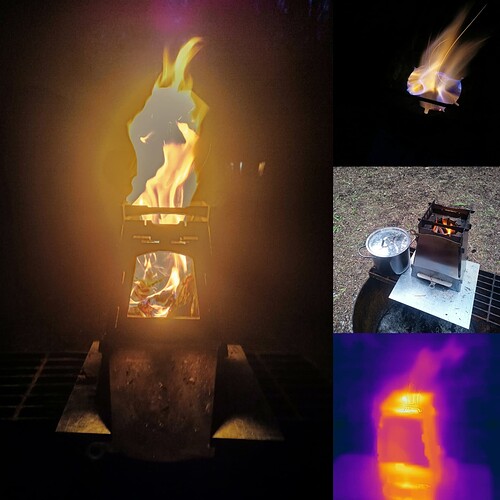
Was able to try out the third version of this stove again it’s the same one from up above but I made the standoff for the pot just slightly taller and wow does it work better.
Makes me excited about version 4.
Made dinner and several teas with it
Camping trip. You just made me jealous!!!
If I pay you to make that stove, will I get that view with it?
What guage would you all recommend for this design? I made one with 3/16" but wanted to know if there was a suitable lighter gauge. Each side is 40" by about 12" on the high side then tapers off.
I believe 10 gauge would be sturdy enough but with the heat, 12 gauge would be flexing/warping too much.
3/16 sounds like it would last the test of time.
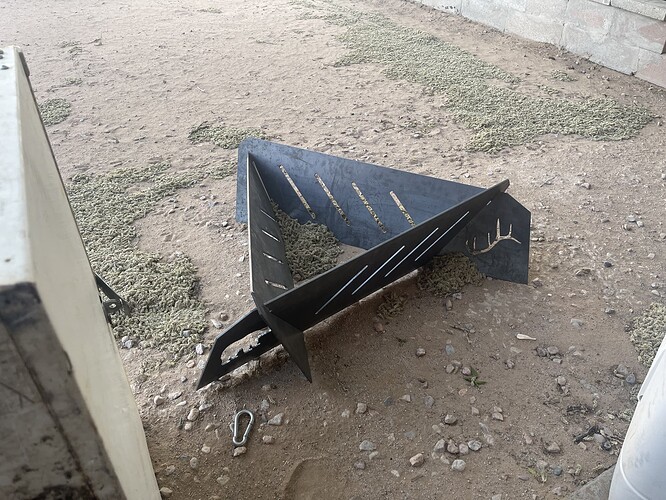
That is a great fire pit design. I looked up the patent and also built my own design of that same fire pit.
3/16 I would say is the minimum for a fire pit made out of big flat panels like that.
@DesertDesign thanks for submitting a design if you want I could edit your post above and put the actual pictures in it so people can see it without having to download it.
@TinWhisperer Sure if you can make the images visible thanks! I didn’t make a triangular grill like they did because I didn’t think it was necessary and the holes they added would have allowed the ashes to fall to the ground or surface below anyhow.
I bought a sheet of 10ga and 11ga to see how they work. Metal prices have gone up since I bought the 3/16” sheet unfortunately.
You could do a compromise with the 10 gauge for the bottom and it might give you an example of how it handles the heat.
Edit: My mistake. The “bottom” piece that I was referring to was on the Etsy version. It appears yours does not have that piece. I am going to have to go with 3/16" now.
These are a work in progress… wanted to post them before the end of the month. ![]()
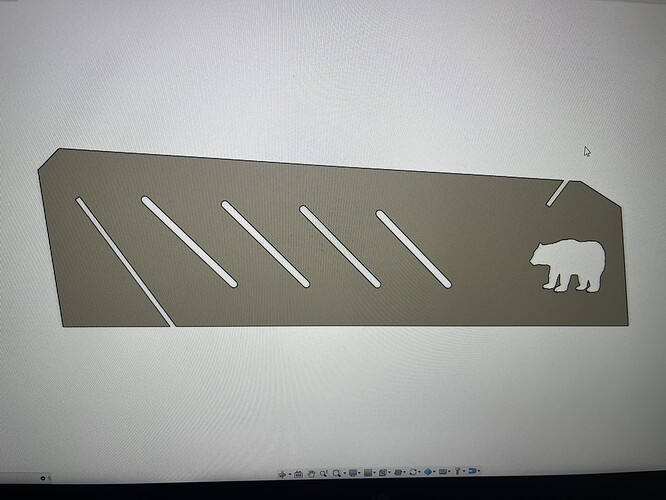
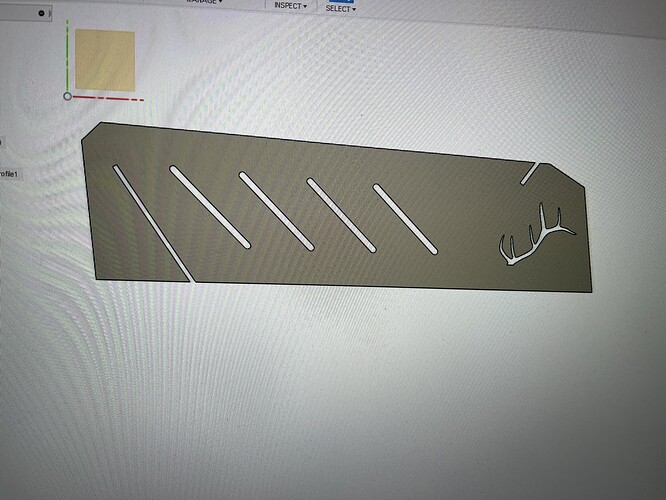
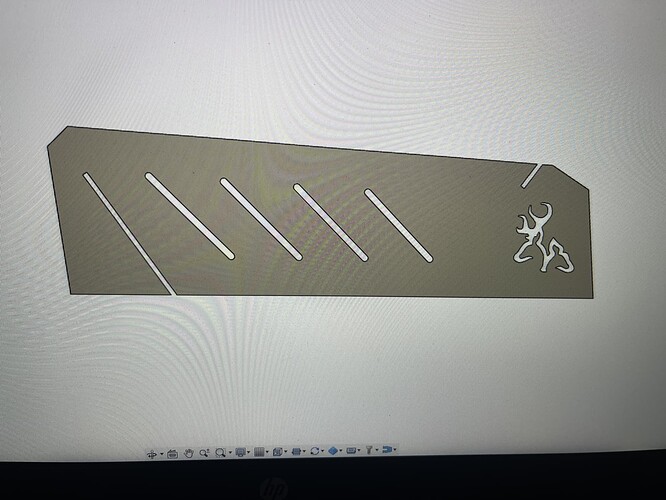
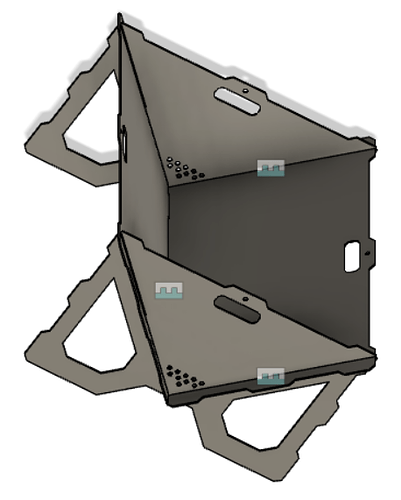
You can put your custom design on the ends. I did the assemble in fusion 360 but have not cut them yet so user beware. I was waiting to post them till I was able to cut them to make sure they worked and so I could post some pics but I won’t be able to get to if for a bit.
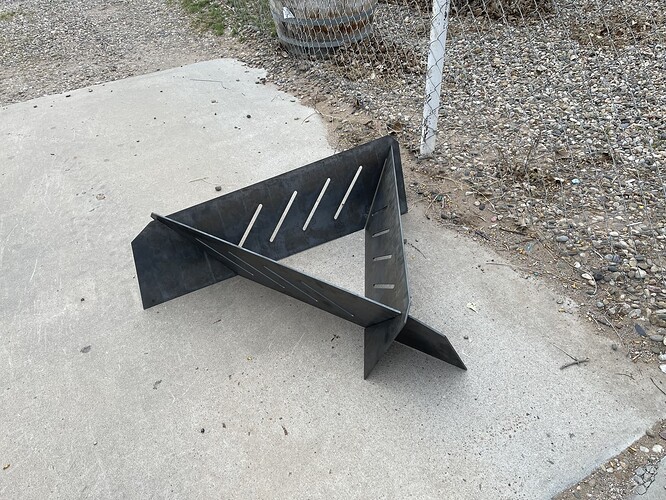
Collapsible fire pit. You need to cut 2 ends and both side 1 and 2
Fire Pit End 3_16.dxf (5.5 KB)
Fire Pit Side 1 3_16.dxf (14.1 KB)
Fire Pit Side 2 3_16.dxf (6.0 KB)
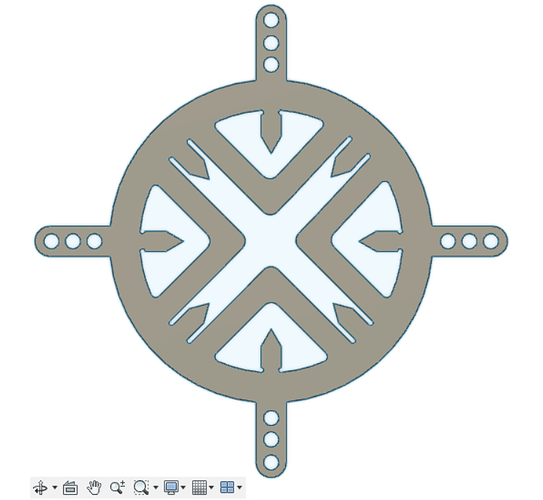
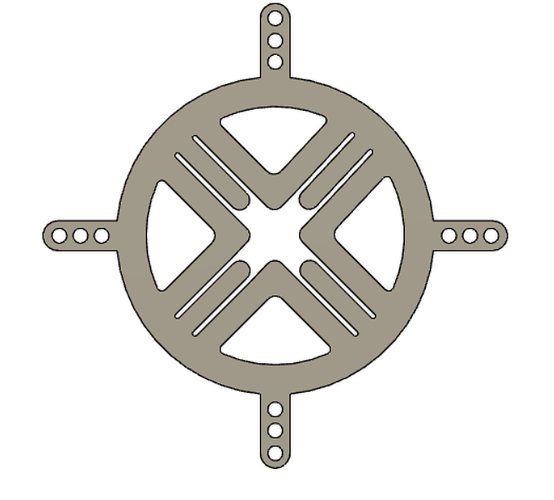
I have always enjoyed cooking on a Swedish fire torch and/or log rocket stove. In the past I have used grille I made of rebar. Thought it would be fun to design and cut some. I have held off on posting these as I wanted to post with pics but haven’t had the time to cut them yet.
For the rocket stove you will need to bend the 8 spikes over to hold the grill up above the top of the log to give the fire some breathing room.
Swedish Log Rocket Stove Grill.dxf (23.3 KB)
For the Swedish Torch you fold the 4 tabs down to create the space between the log wedges. split a round into 4 pieces and wire them together. The holes are for 12" spikes to hold the log pieces together.
Swedish Log Torch Grill.dxf (10.5 KB)
