Spring 2023 Firepit design "contest"

As we head into the warmer months, I wanted to invite all of our talented CNC table users to join in a friendly competition to design your own fire pits* to be cut your Langmuir Systems plasma cutting CNC table. The goal of this contest is to encourage creativity and share our designs with each other.

Here’s how it works:

  1. Design and create your own unique fire pit* design to be cut using your Langmuir Systems CNC table or remix and improve an existing design. Submit as many designs as you like.

  2. Upload a picture of your design to our “Fire Share” site along with a description of your project.
    FireShare - Download and Share Free 2D Projects | Langmuir Systems
    Also post your design below in the comments section!

  3. Encourage your fellow members by “liking” thier posts.

  4. The contest will run until the end of May.

There won’t be any official winners, but we will all win by having access to a wide range of designs and ideas that we can use for inspiration.

If you decide to build any of the designs that are posted, please share pictures of your final projects with the community. We’d love to see what you come up with.

Let’s get creative and have some fun with this! If you have any questions or suggestions, please feel free to share them in the comments section below.

*( Anything that burns wood is OK to submit. )

7 Likes

I thought about making this topic after there is so much interest in the recent fire pit topic.

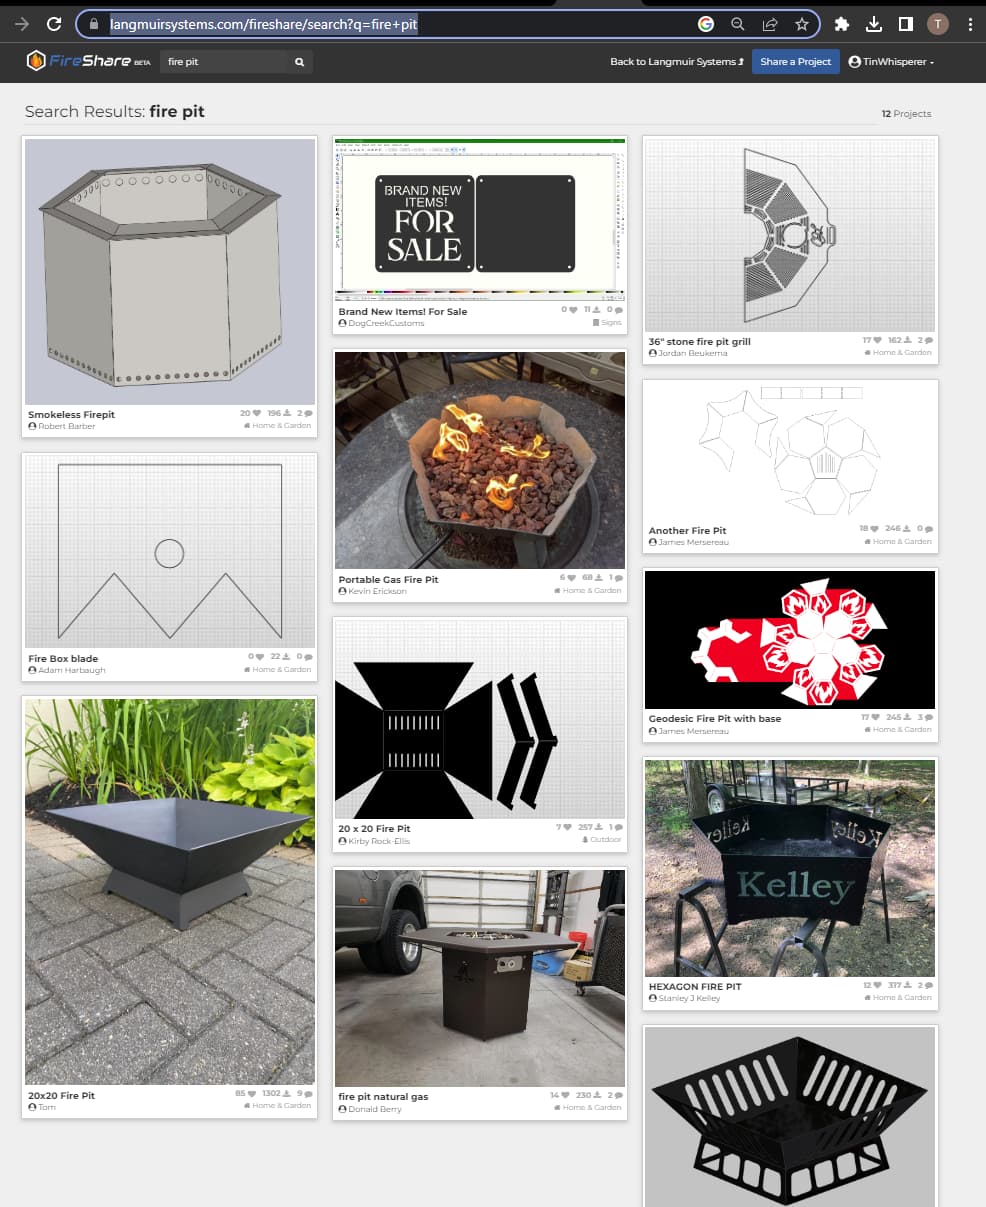
There is currently 12 fire pit designs on fireshare.

https://www.langmuirsystems.com/fireshare/search?q=fire+pit

1 Like

I have 5 ideas in my head already. I guess I need to pick one soon to design now. I made this jeep a few months ago for a flower planter for my yard. Only design i ever paid for because i had to see how it was made. I made a lot of bend mistakes but still came out looking like a jeep. This is not my submission but get people thinking of cool things. I can’t post design since i didn’t make it…sorry


4 Likes

And I want to see all of them! I encourage you or anyone else to submit multiple designs if possible ,that would be awesome.

1 Like

I’ve been wanting to do a firepit for my dad. Ill try to get one designed and submitted to fireshare. I’m also planning to submit that shelf you helped me with once I get it done. Hoping for some warmer weather to get out and enjoy the unheated shop… coldest wettest March I can remember with no end in sight.

2 Likes

Just remember, “There is no climate change, and Science is a Hoax.”

2 Likes

Mister @TinWhisperer /contest chairman:
Would rocket stoves be eligible for this contest?

2 Likes

All types on stoves are OK :+1:t2: :+1:t2: :+1:t2:

If it can burn wood , it counts .

I’ll edit the rules

2 Likes

Going to live stream a quick design session we will reworking and relabeling a Folding Firebox Stove design I found on a free site.

I searched the term " fire " on this free vector website

You searched for - Free Vector

More Firepits v5

I hope to start in a few minutes

REMIX LS folding Firebox Stove March 2023 Forum.dxf (545.2 KB)

FireSHARE LINK :arrow_down:
https://www.langmuirsystems.com/fireshare/folding-firebox-stove-remix-for-the-march-2023-firepit-contest

I think I’ll revisit this stove and remix it further in the next couple days.

Some of the modifications I’ll make

adjusted it from 16 gauge to 14 gauge. Which doesn’t seem like much but it’s almost a 25% increase in size of the whole model.

I’ll change out the hole patterns to something I like a little better.

Increase the leg height slightly

Extend the sill at the loading door out a little bit more.

Maybe even coming up with a whole another version that’s weld together?

If you can think of anything else I should change post a comment and let me know.

5 Likes

Cost of steel is getting out of control. Called today $185 for 4x8 sheet of 11 gauge. $64 for 16 gauge. They said get it today because tomorrow it sounds like it’s going up even more.

2 Likes

Yeah, just bought 8 sheets the other day which were about 20% higher than 45 days prior. Hopefully short term.

EDIT- No idea why it replied to this post. Yah Science!

2 Likes

I remixed this folding firebox box again and made several changes.

More Firepits 14 ga mod v6


14 ga folding firebox stove spring firepit 2023.dxf (375.2 KB)

https://www.langmuirsystems.com/fireshare/spring-2023-firepit-contest-folding-firebox-stove-remix-2-14-ga

Downloader Beware I have not made this for real yet.

3 Likes

I was motivated to learn the sheet metal aspect of Fusion 360 after seeing a few demonstrations on this forum from the likes of @TinWhisperer and @Erock89x. I originally made this stove out of 10 gauge (all pieces were separate) and made another 12 gauge version with metal that I guessed on the dimension for folding a few pieces.

Here I have designed this for 12 gauge and am supplying my Fusion 360 file. I am unsure, once I separate all the pieces for the flat panel design to creat the DXF file, that I will be able to assemble the stove again for you to see the 3D version. My hope is that this will be easy to assemble without the concern of trying to get edges to meet up. Perhaps Tin could give me input on making the DXF file for this in an easier way and then I will put this on FireShare. I am not trying to force people to use Fusion 360.

Two features not shown is the plan to weld a 3/8" nut on the base on either side so a bolt could be installed to add more lateral stability. I also plan to add a 3/8" bolt or handle to the “clean out tray.” I will leave that up to you for your design.

Features:

  1. My original design burns well and is quite stable due to its weight. I suspect this will be similar.
  2. The ash grate is planned to be made of 1/4 inch thick material and held in place by welding through the slots in the side of the stove. Now that the primary body of the stove is sheet metal design, there are a number of ways when and how you may want to install this grate.
  3. The primary wood loading shoot serves both as the air inlet. The wood tray panel is slightly oversized in width so it can be bent length-wise providing more room for wood but also centering the self-feeding of wood. It is held in place by welding through the slots.
  4. Many designs on the internet, do not protect against sparks and ash falling on the ground. This is enclosed and the scoop/tray also serves to regulate the air. When fully installed, it restricts much of the air flow. When wanting more heat, simply pull the tray out some.
  5. The primary handle, for the stove, can be completed with a 1/4" by 5 inch long bolt and a wooden handle or a spring handle. I made the inside dimension of the bracket 4-1/4" to accomodate the spring handle I bought online.
  6. For a fun idea, I added the wood stove fan to my prototype that you can see in the video. It is really more of a gimmick because you are not going to feel much additional heat than just the radiant heat from the sides of the stove.
  7. Hopefully the design will allow for a close enough fit that you do not need to weld the entire seam. As you know, I am in the classification of more of a “grinder” than and “welder.” So I built this with my skills in mind.
  8. My wife insisted that I put some decoration on it, so she is why there is the “starburst.”
    Rocket Stove Starburst.f3d (2.0 MB)


Edit: Now in FireShare:

Spring 2023 Fire Pit Contest - Sunburst Rocket Stove

https://www.langmuirsystems.com/fireshare/spring-2023-fire-pit-contest-sunburst-rocket-stove
Edit#4: Sorry for all the edits. The submission in FireShare lacks an updated PotHolder. This file shows the updated PotHolder. Still not tested out but it will fit snug and may need to be modified slightly after cutting. The original file has a pot holder where the slots just might be spaced way too far out. (Note: even if the notches are huge, it is still stable for use with pots it just does not look good and will likely slop around. They will still fit level. (Sorry, it is just a Fusion file right now.)
rocket stove sun burst PotHolder v3.f3d (1.5 MB)

3 Likes

I’ll try to take a look at it here in the next 30 minutes or so.

1 Like

Thank you! I originally entitled my Rocket Stove as Rocket Stove Practice and it morphed into the actual project that you see. Not really thinking that I was going to be successful yet, to learn the sheet metal application. I will need to do better with the component structure.

Did you happen to capture/create the flat panel DXF you created (before you bored holes through all the pieces :joy:)?

2 Likes

Maybe, but this is a important question about how the history bar works.


sunburst stove flats v2.f3z (1.5 MB)

If you need some tips for navigating the F3Z file type let me know.

Knowing how a F3Z file works is a must for people that want to learn to do multi flat pattern designs in sheet metal.

2 Likes

Super project. Love the simplicity & effectiveness of rocket stoves. This looks great!

2 Likes

Thank you. When I built my first stove, I used a 3" square tube with 3/16 inch wall. Too much mass to warm up to ever get a good draw. I actually tried 4 times and never got a fire to burn. Then I cut pieces out of 10 gauge steel and carefully welded each piece checking for being aligned and squared. That is the one in the photo with the fire. I had made a 12 gauge one a few months ago with a few pieces designed to bend hoping it would improve the ease of assembly but never finished my “grinding” otherwise known as “welding” to the professionals. :upside_down_face: But, the real thing that I had hoped for was for the primary body, during construction, to maintain the alignment and keep square. I am hopeful this “sheet metal - flange design” solves a significant portion of that.

I may not get a chance to cut it out for a few more weeks. So I might warn people to use the current design at their own risk. I already know the pot holder pieces may not be designed correctly but that is minor pieces of metal. It would be nice if we could edit our entries in FireShare for this reason but I guess I need to be more cautious before posting.

2 Likes

I’m back on designing my firepit. I see we have a couple already submitted and they look awesome!

My design goals are the following in order…

  • Under $100 (greatly depend on choice of steel) 4x8ft - 16ga = $62 & 14gais $115 & 11 ga = $185
  • Easy to put together
  • at least 28" x 32" size
  • Last 2-3 seasons (16-gauge steel sides with maybe double sheet bottom)
  • Cool design that looks good

With steel prices going crazy most people just don’t want to pay the money for a firepit that lasts forever which would be 11-gauge. Many of the cheap firepits are made of 18-gauge steel but I wouldn’t go less than 16 myself. 14-gauge seem like a great option but double the cost. I may consider using 14-gauge bottom and 16-gauge sides. I use my current firepit about 5-8 times a year only. Has anyone made a firepit using 16 gauge?

3 Likes

I’ve made a bunch from 14ga and they need bracing to keep them from warping from heat. I added a fold to make a frame around the top to keep the sides from warping.

5 Likes