We have dry air, however all we cut are “artsy” things. We have a sign and home decor business. So it sounds like that may be why we are having to change out parts so frequently. Thank you for the response.
Ok, thank you for the response.
Throwing this out there: If you’re cutting predominantly thin material (16ga or less), you may want to consider getting a set of 30A (Thin Cut) consumables from @mechanic416. I’ve been using these with a RW45 to cut decorative panels out of 18ga. I’m averaging over 800 pierces per set. Of course there may be variables in your / my setup to change this, but it provides a good alternative to the standard 45A consumables.
1 Like
Thank you, that is a great idea. 80% of what we cut is 16g. We do some 14g and 11g, but maybe we should look into the thin cut consumables for the 16g. Thanks!
1 Like
Great suggestion Terrance @Simsworx ! If you haven’t already tried it, you can cut your amperage down and slow your feed rate with the standard consumables and realize some finer details will survive.
Normally I have my Hypertherm 45 XP set at 45 amps for 16 gauge and cut at a feed rate of 249 IPM. I was trying to do something I had no business trying.

I trimmed the design as much as I could and I was still blasting much of the detail away. Finally, I changed to 30 amp and 150 IPM and this was the result:

(Note: The settings were posted by @Cletus. I just went on blind faith that it worked on my machine as I was running out of time for this project: This was my first attempt at that setting. That is the beauty of Hypertherm and their consistency from one machine to another.)
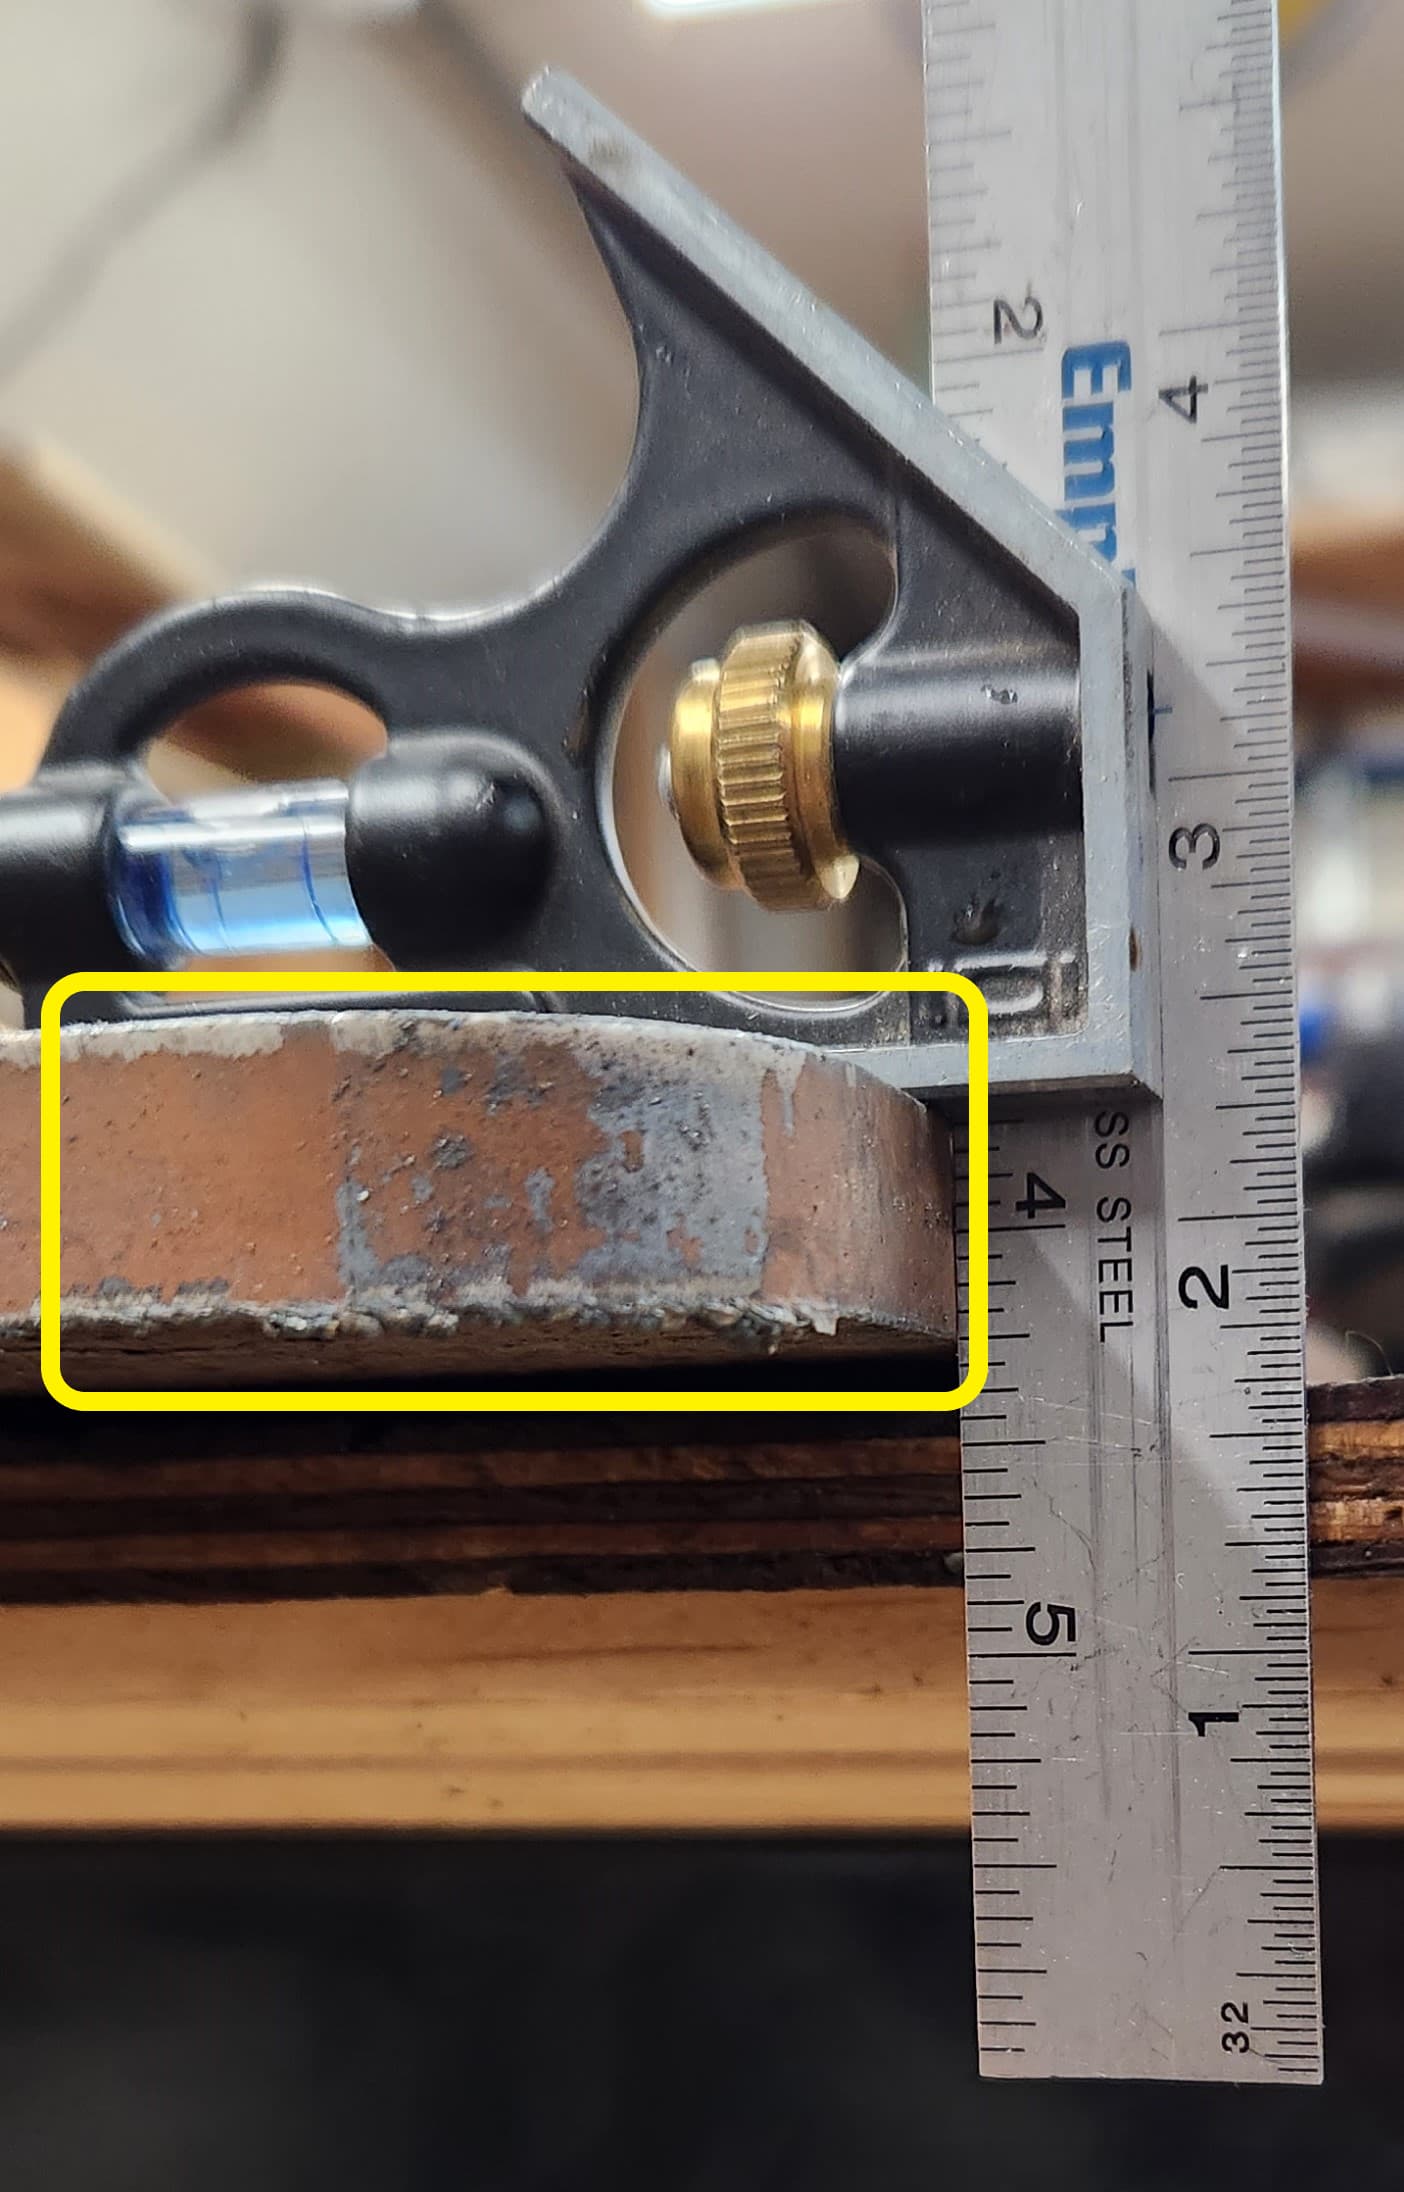
It is approximately 2.5 inches by 5 inches.
But the fine-cut would be worth trying. I just have not tried them yet.
2 Likes
Wow! That looks great. We have been cutting our 16g artsy designs at 30A 120 IPM. I tried upping the IPM, but kept finding it wasn’t consistently cutting in random places all the way through. 120 seemed to be the sweet spot. Again, maybe this is why our consumables haven’t been lasting and we get quite a bit of dross to clean up on the back-side. I am 100% self taught with zero background in metal work, so this entire thing has been trial and error, and I continue to learn something new every day. I appreciate you all and this forum/community more than you know!
3 Likes
You probably already know this but if you are having quite a bit of dross and a bevel, it could be the cut height. Interrupt the cut by pressing the space bar (assuming you are using FireControl) and then measure the torch to metal distance. I spent an afternoon inspecting and correcting my CAM settings to where I now have very little dross.
Once you know your cut height is right, on artsy projects you might consider not using the compensation to slow down on tight curves. You will get more bevel but less dross. I slow down on all parts that I really need there to be no bevel and just expect there will be more dross.
This is some 1/2 inch plate I cut and you see the little bit of dross but no bevel. On the straight edges where it did not slow down, minuscule amounts of dross.
Just some of my experience: which is probably way less time on the table than what you have had so take it for just something to consider or something that does not pertain to your situation.
2 Likes