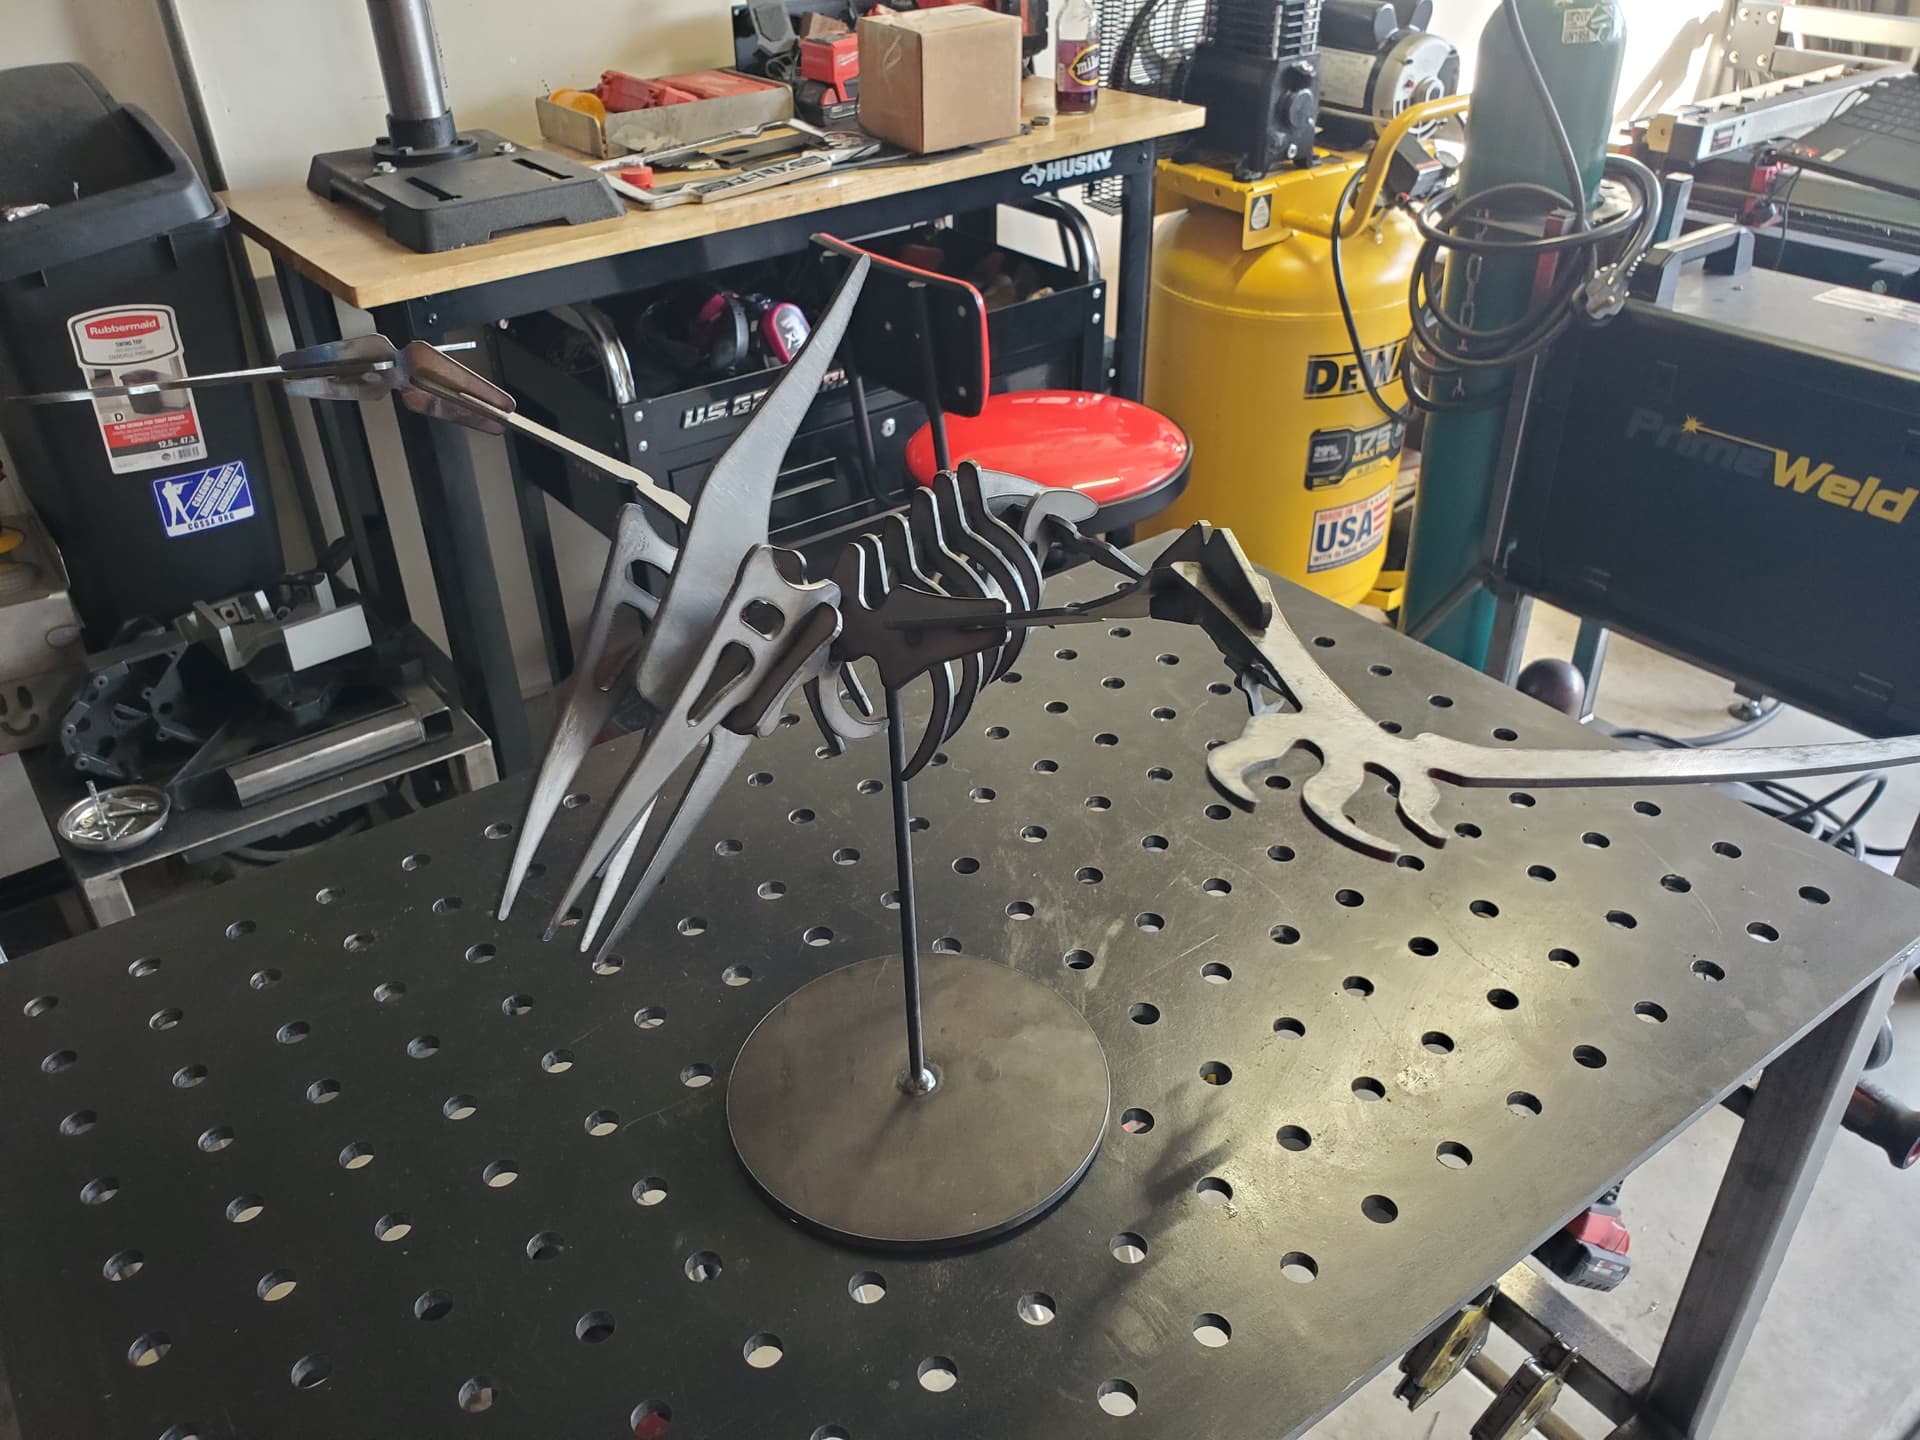
Here’s a simple Pterodactyl design you can cut and weld yourself!
Pterodactyl Nested.zip (63.7 KB)
As a disclaimer, I must state the zip file containing the DXF is not sized for any particular gauge metal. You will have to adjust the nesting and dimensions based on your own cut settings and desired thickness.
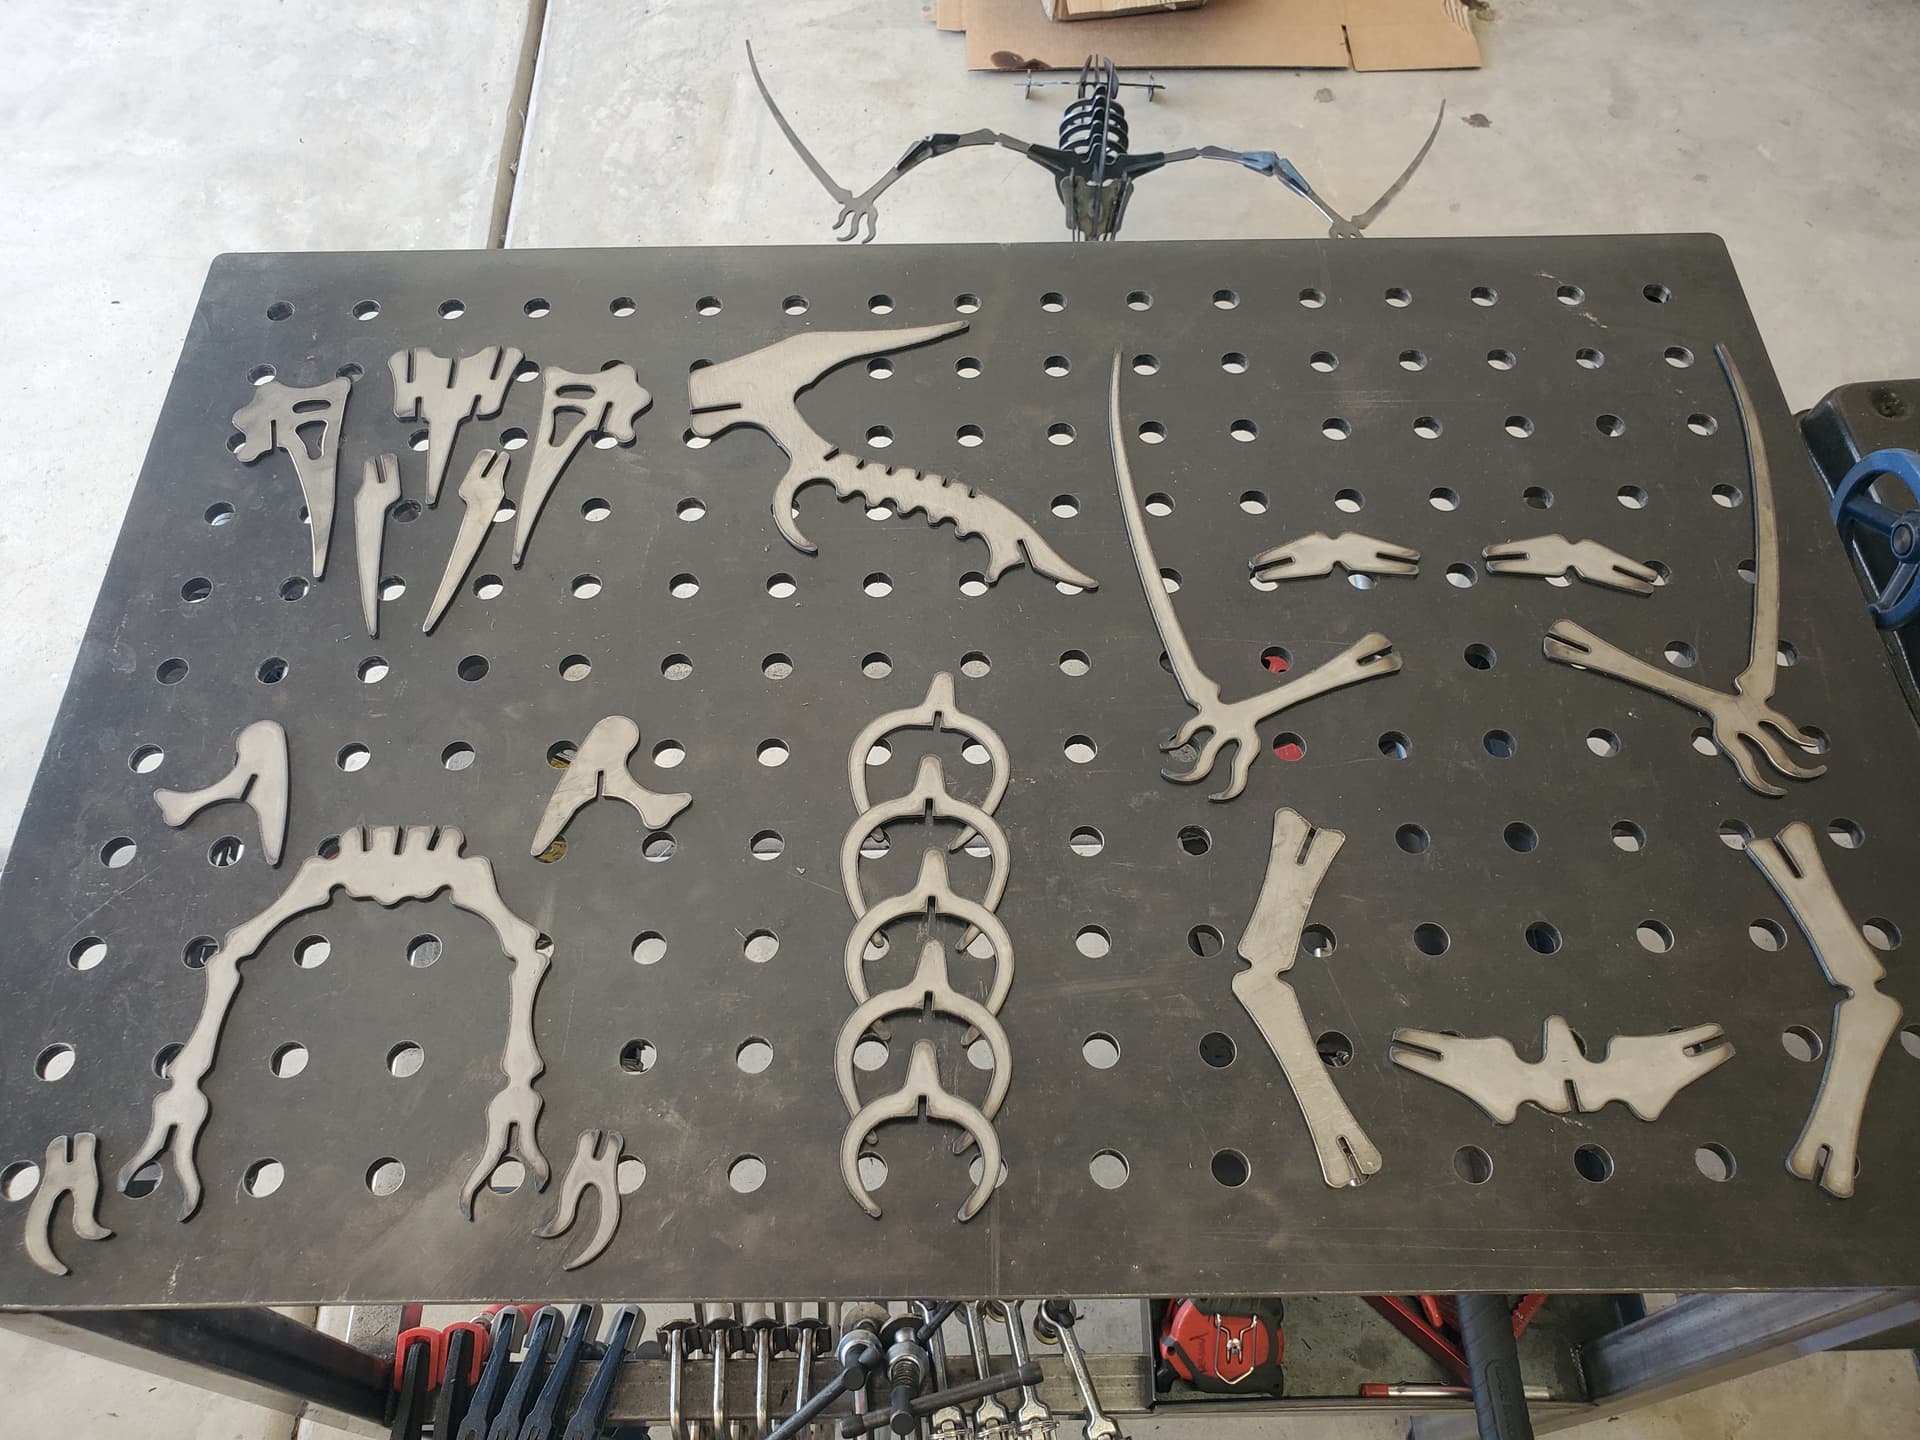
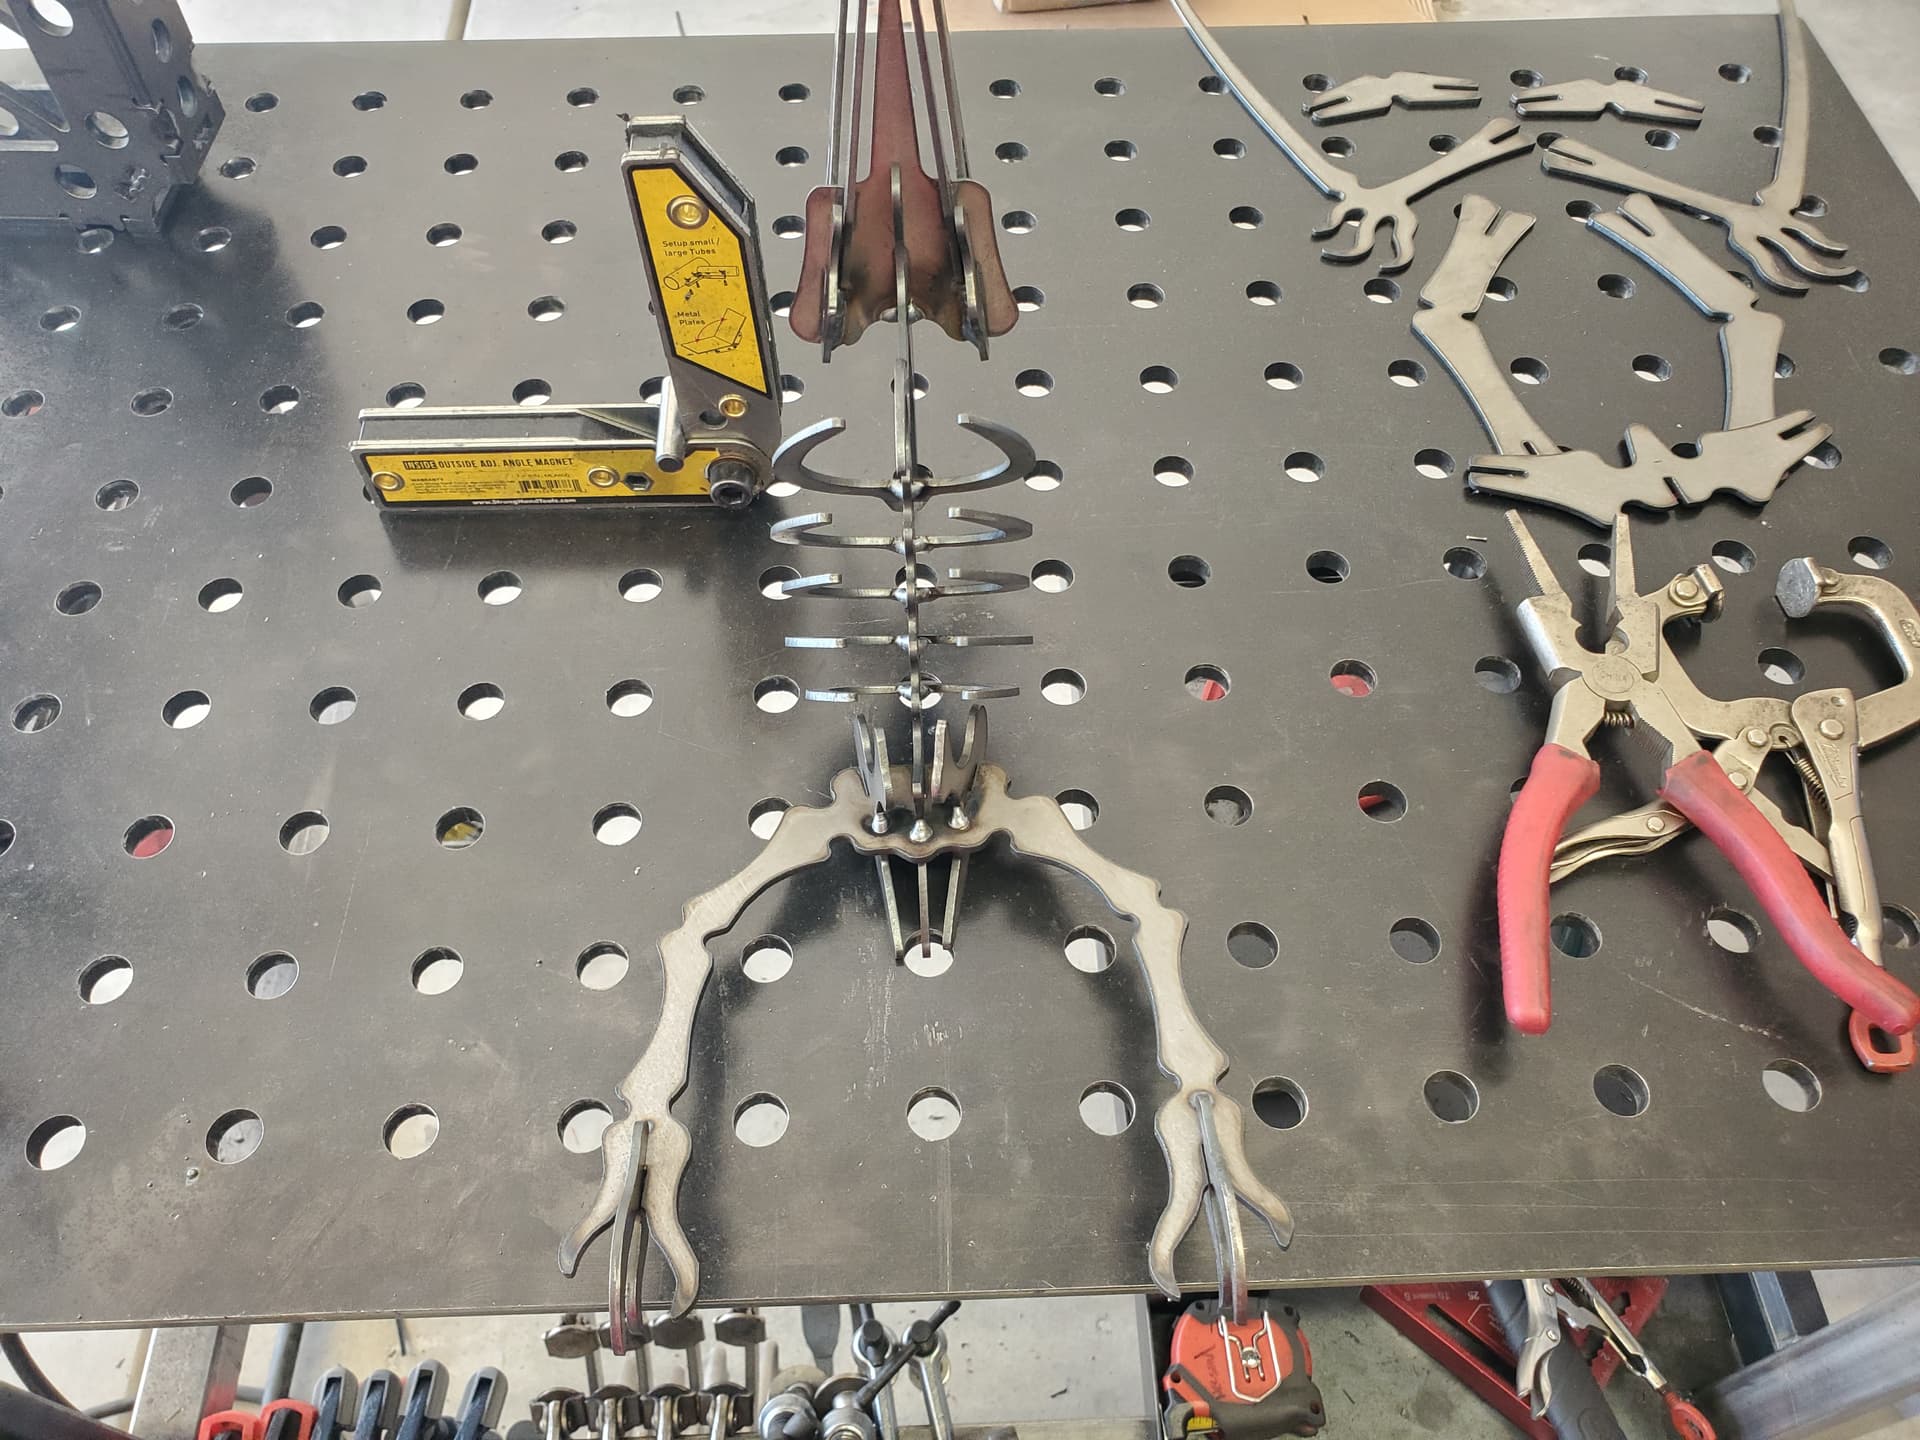
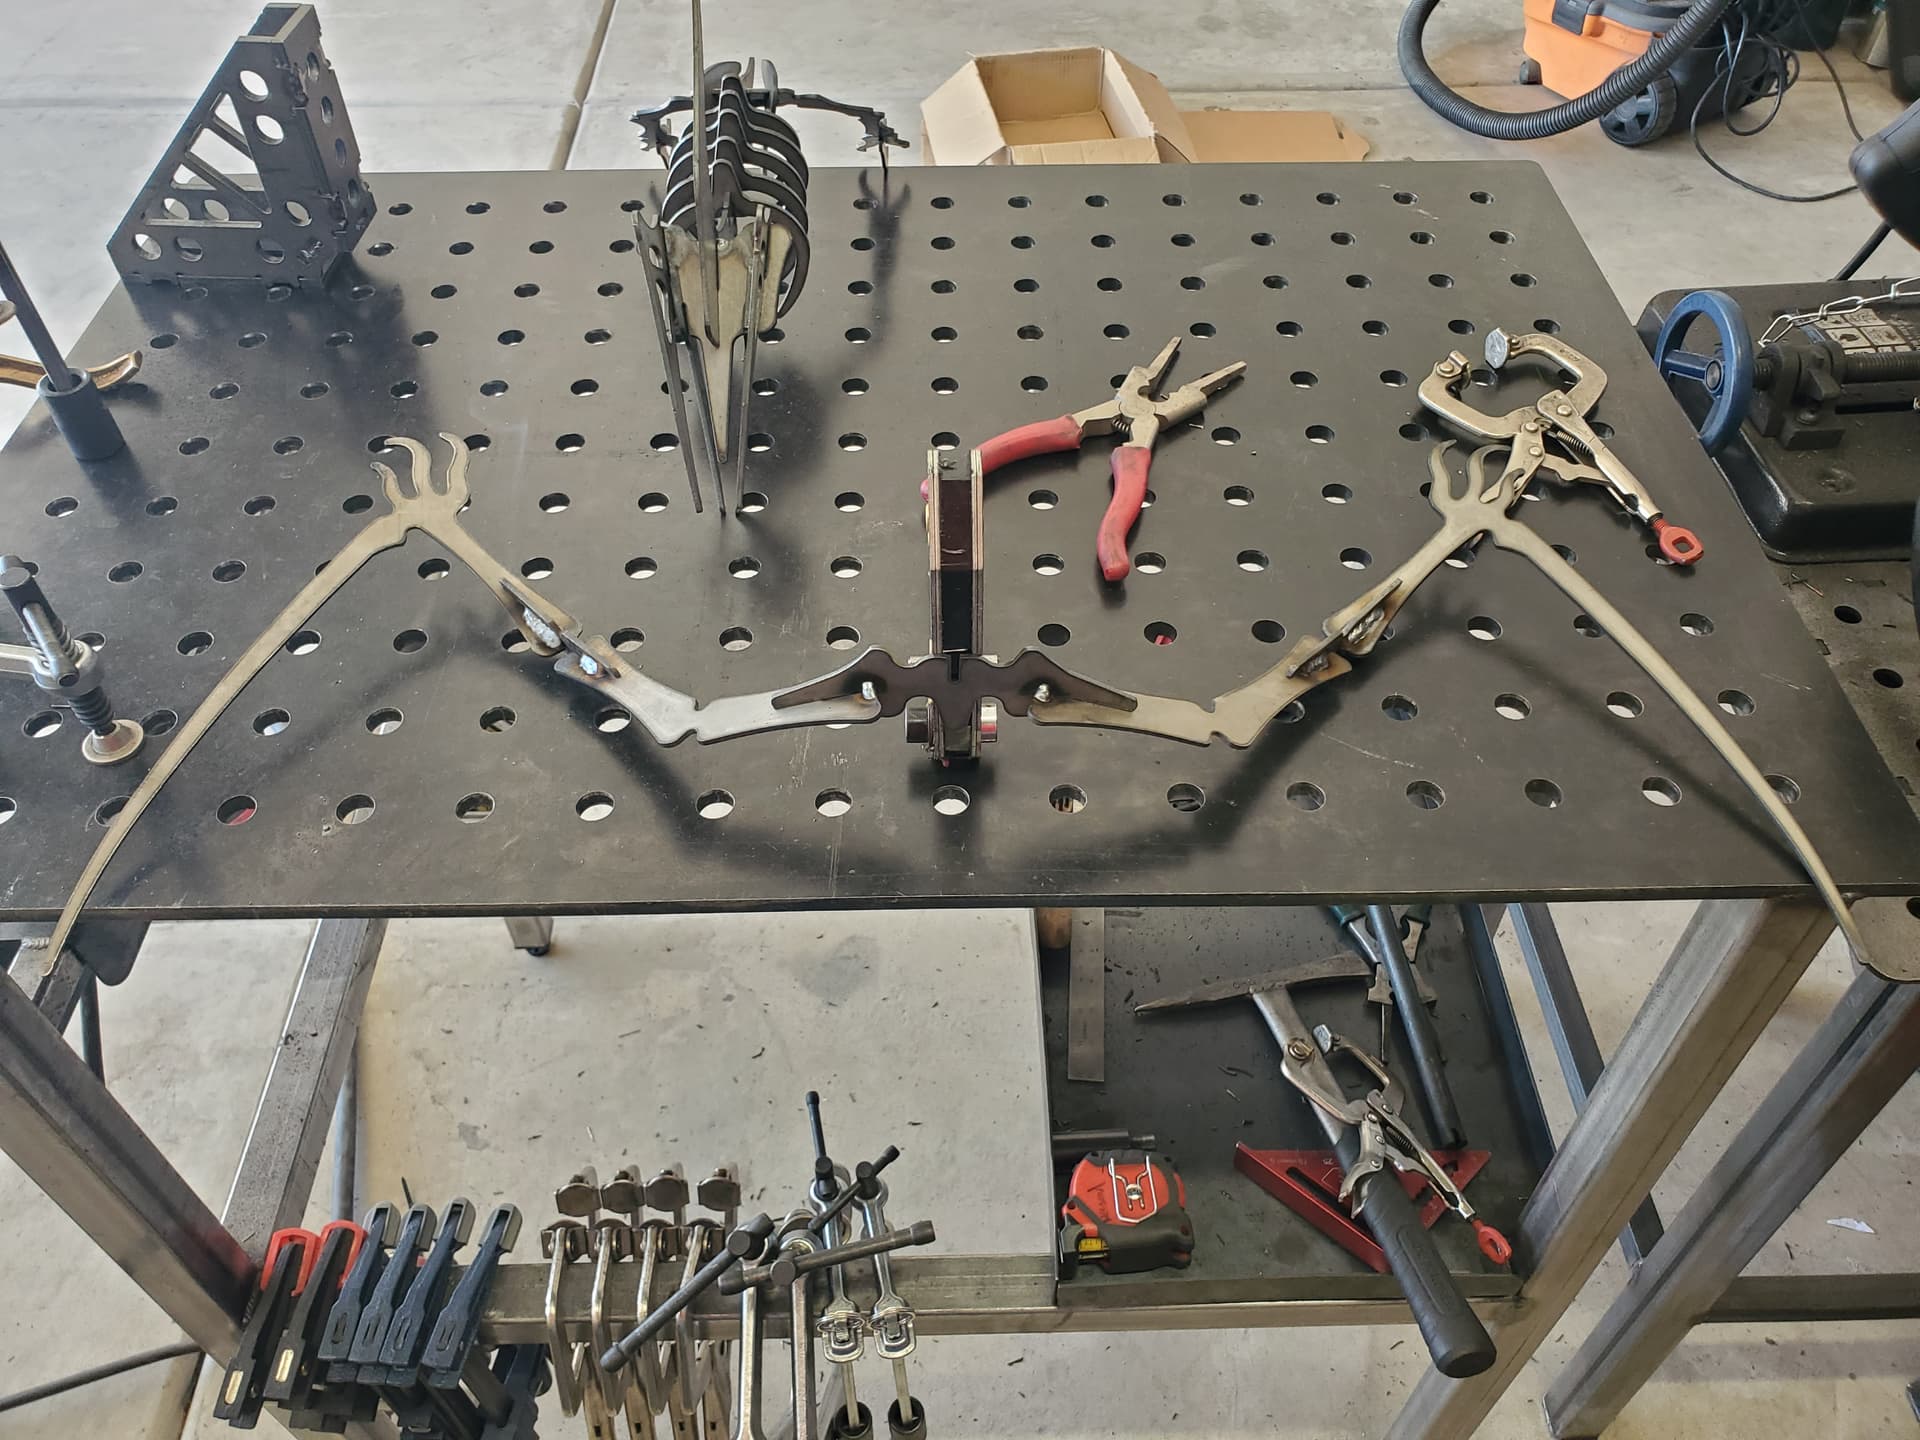
With that out of the way, here’s the ‘kit’ once it’s all cut out! The instruction below is simply an easy method for getting everything tack welded together in a manner where you can avoid being in a position where one might find it hard to place a tack weld.
Simply start by separating into groups as shown below -
Here’s the skull, slotted in the manner shown. Go ahead and tack weld it on the back or underside -
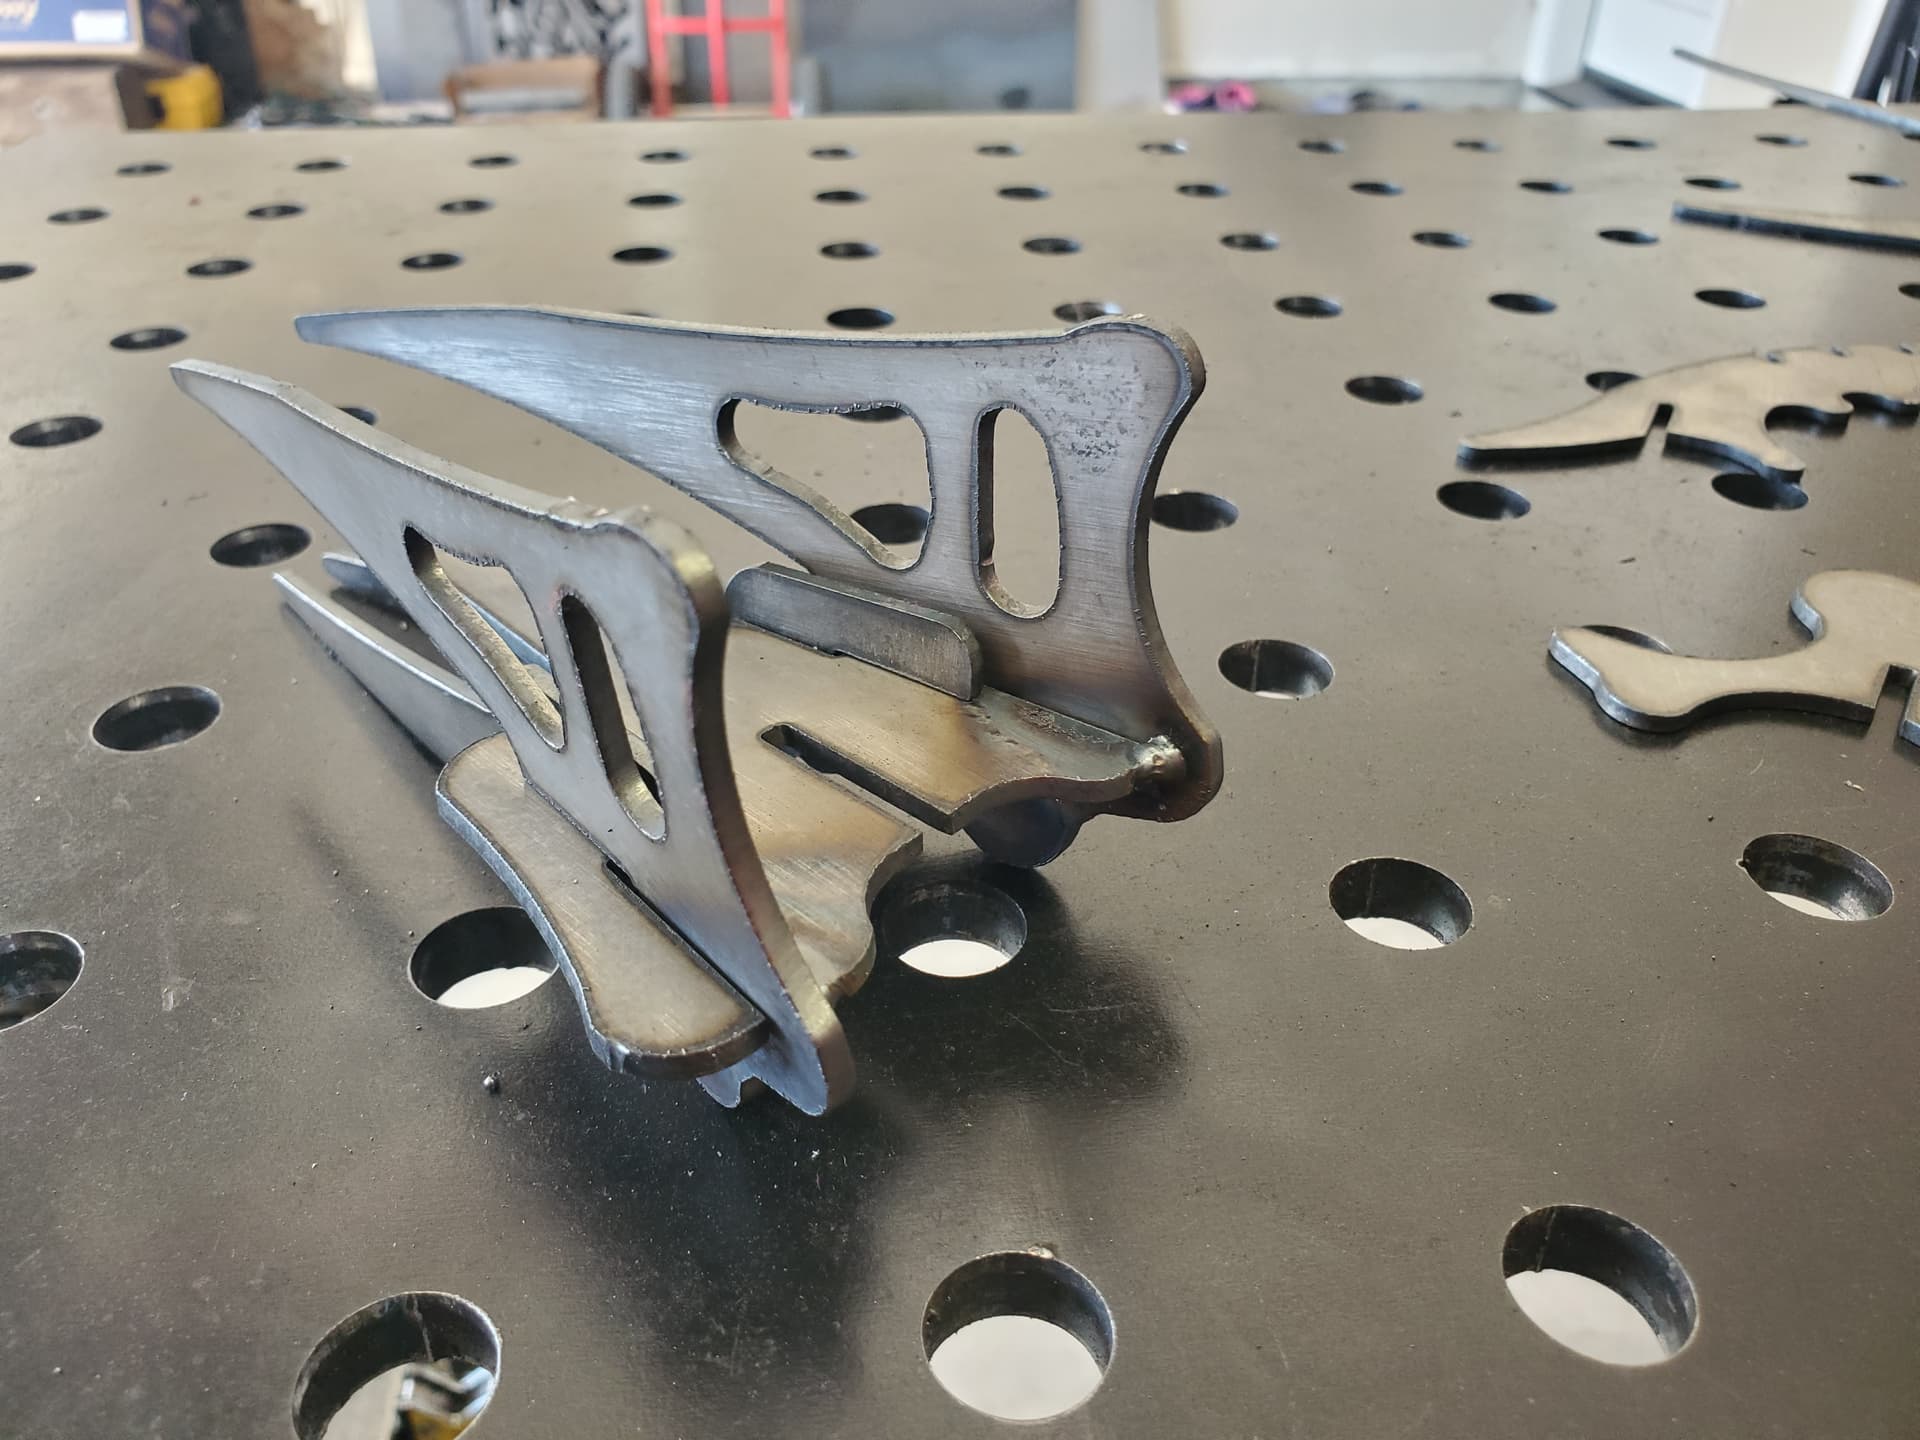
Now you can tack weld the skull it to the spine -
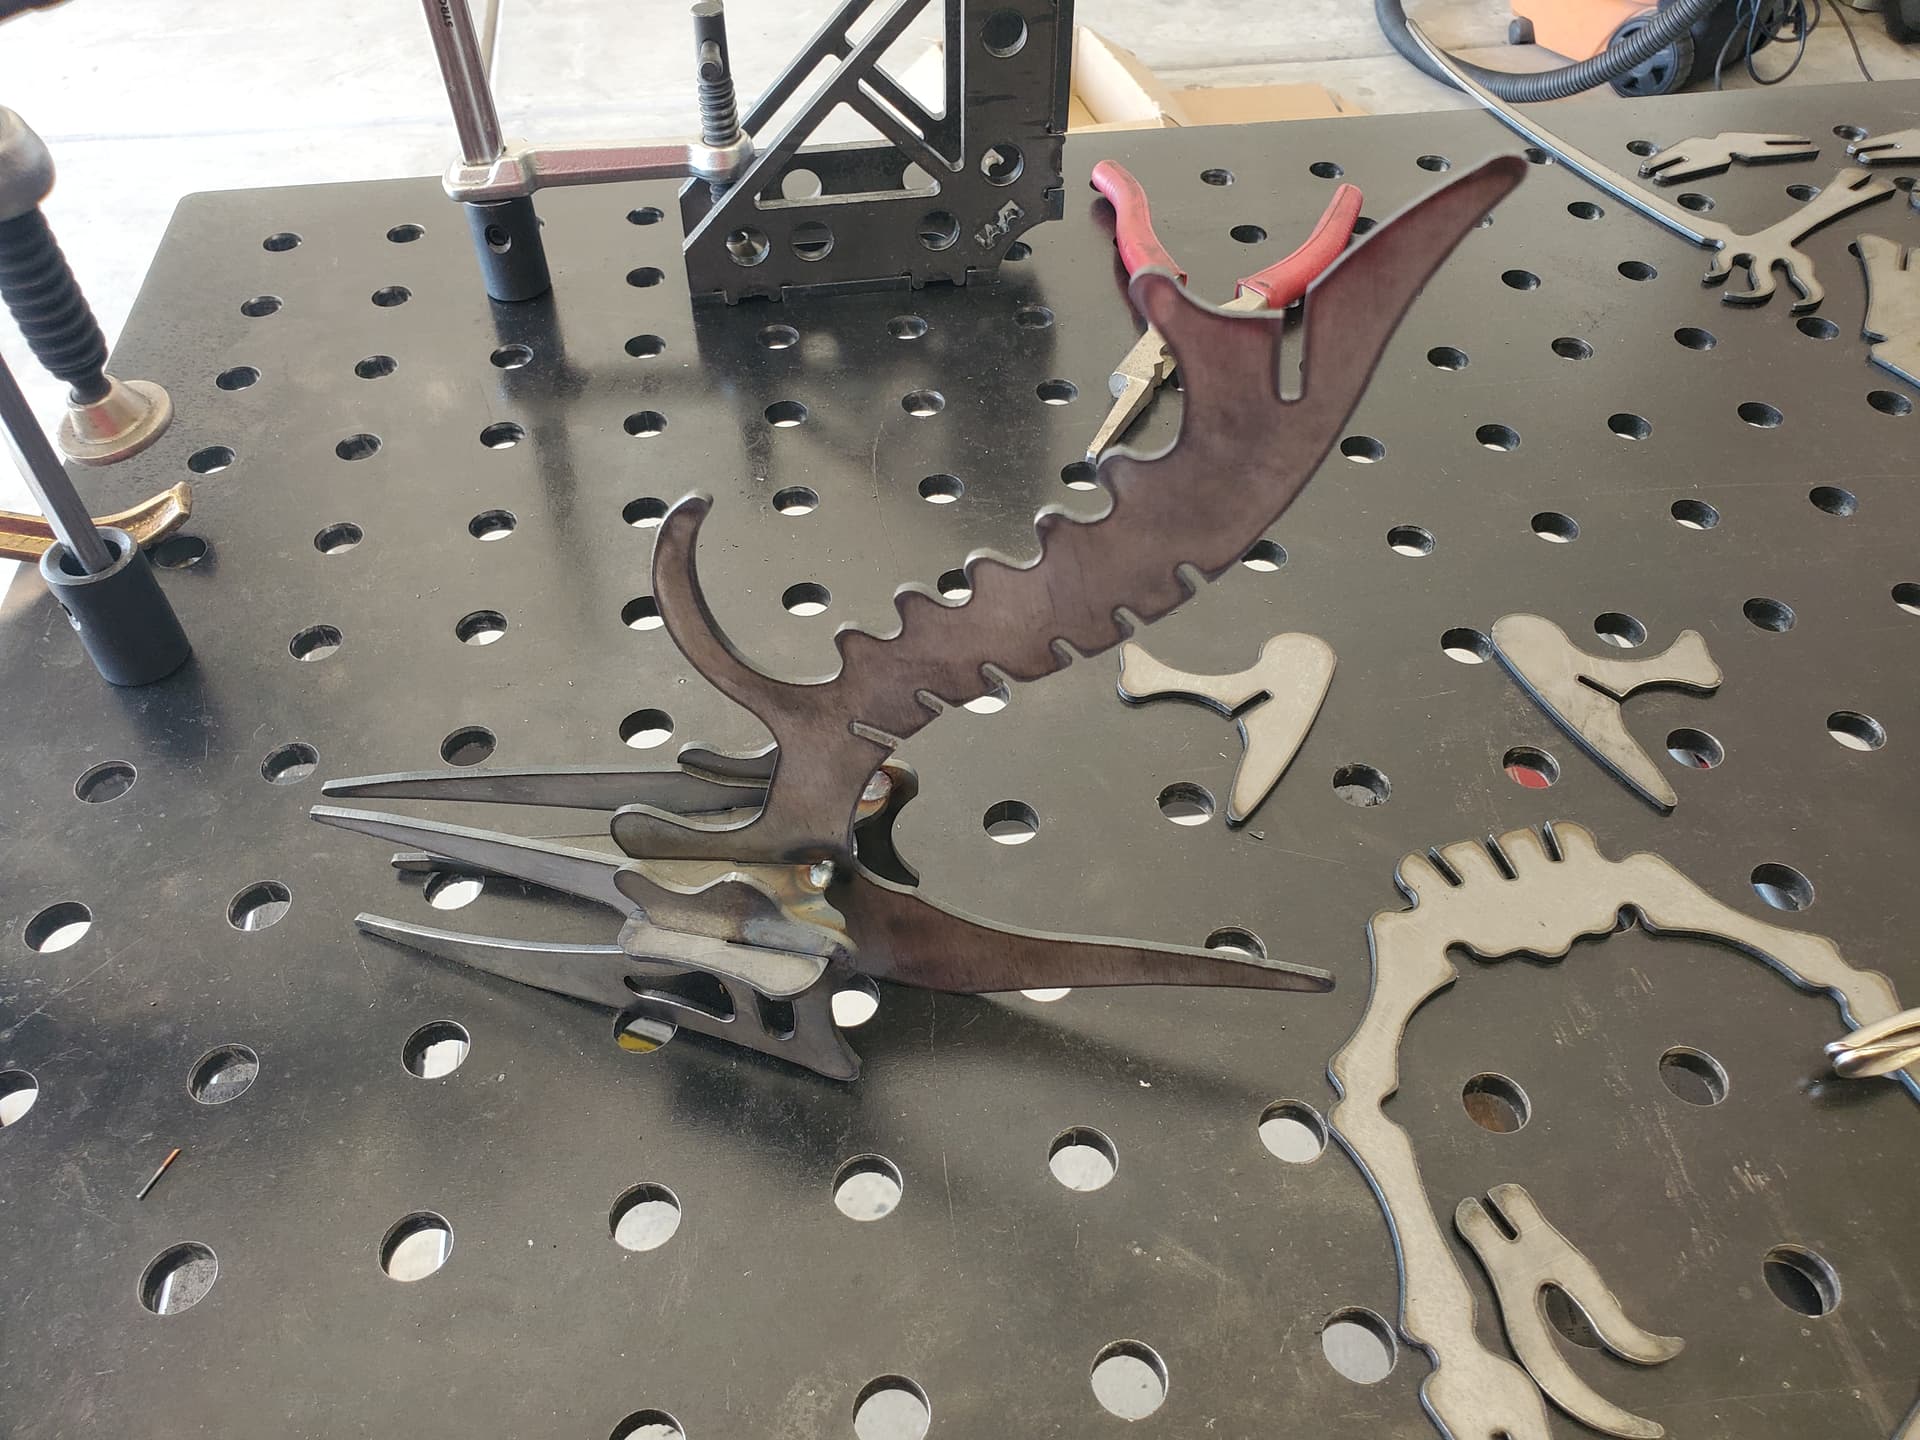
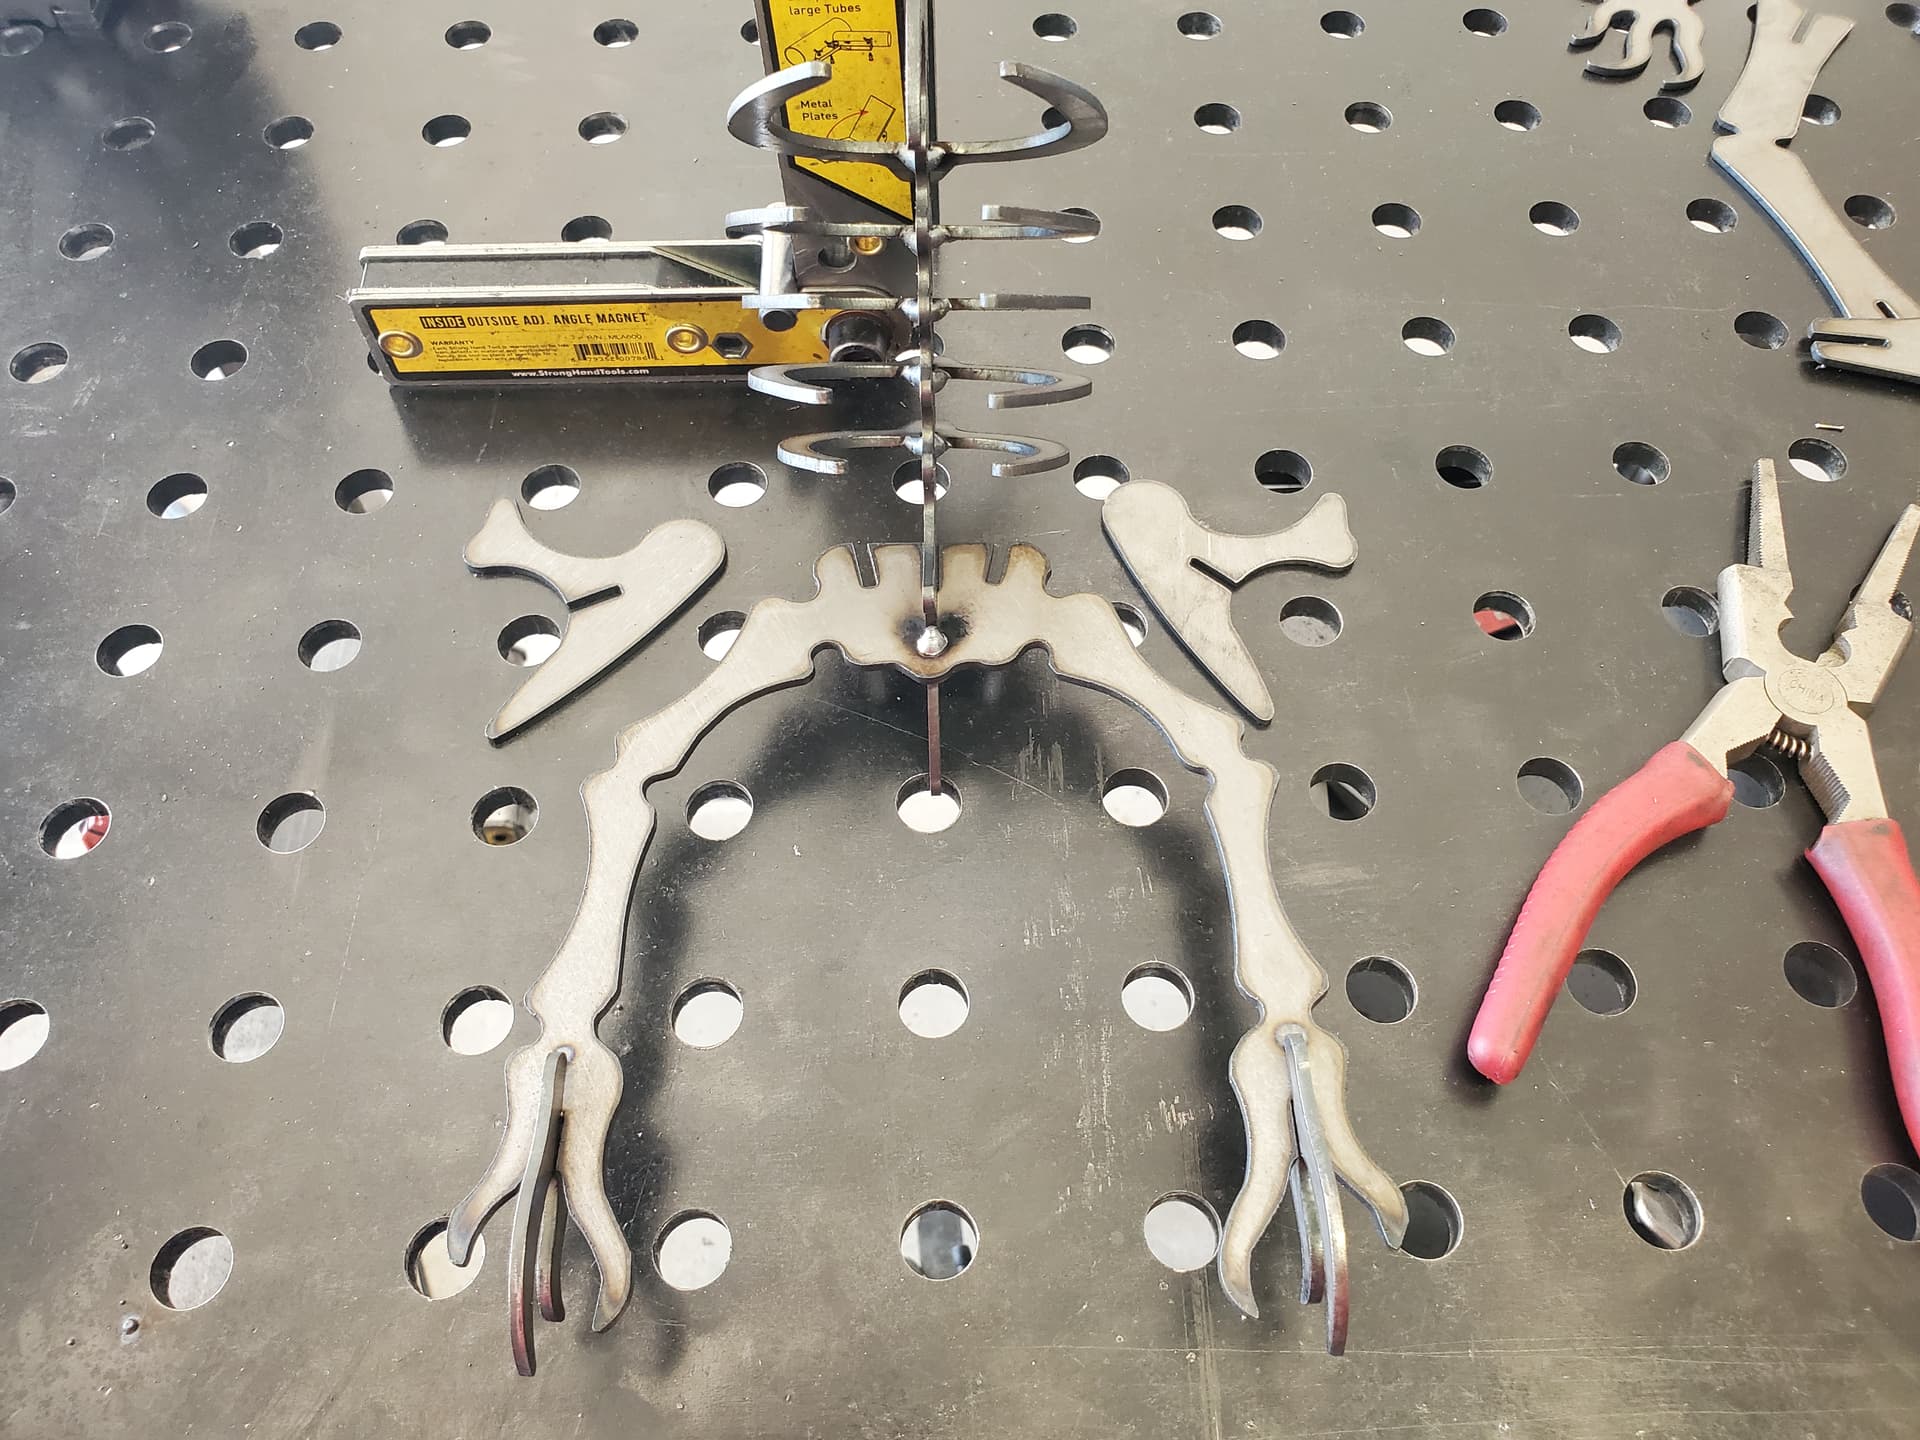
The ribs go from largest to smallest, beginning at the second slot from front to back -
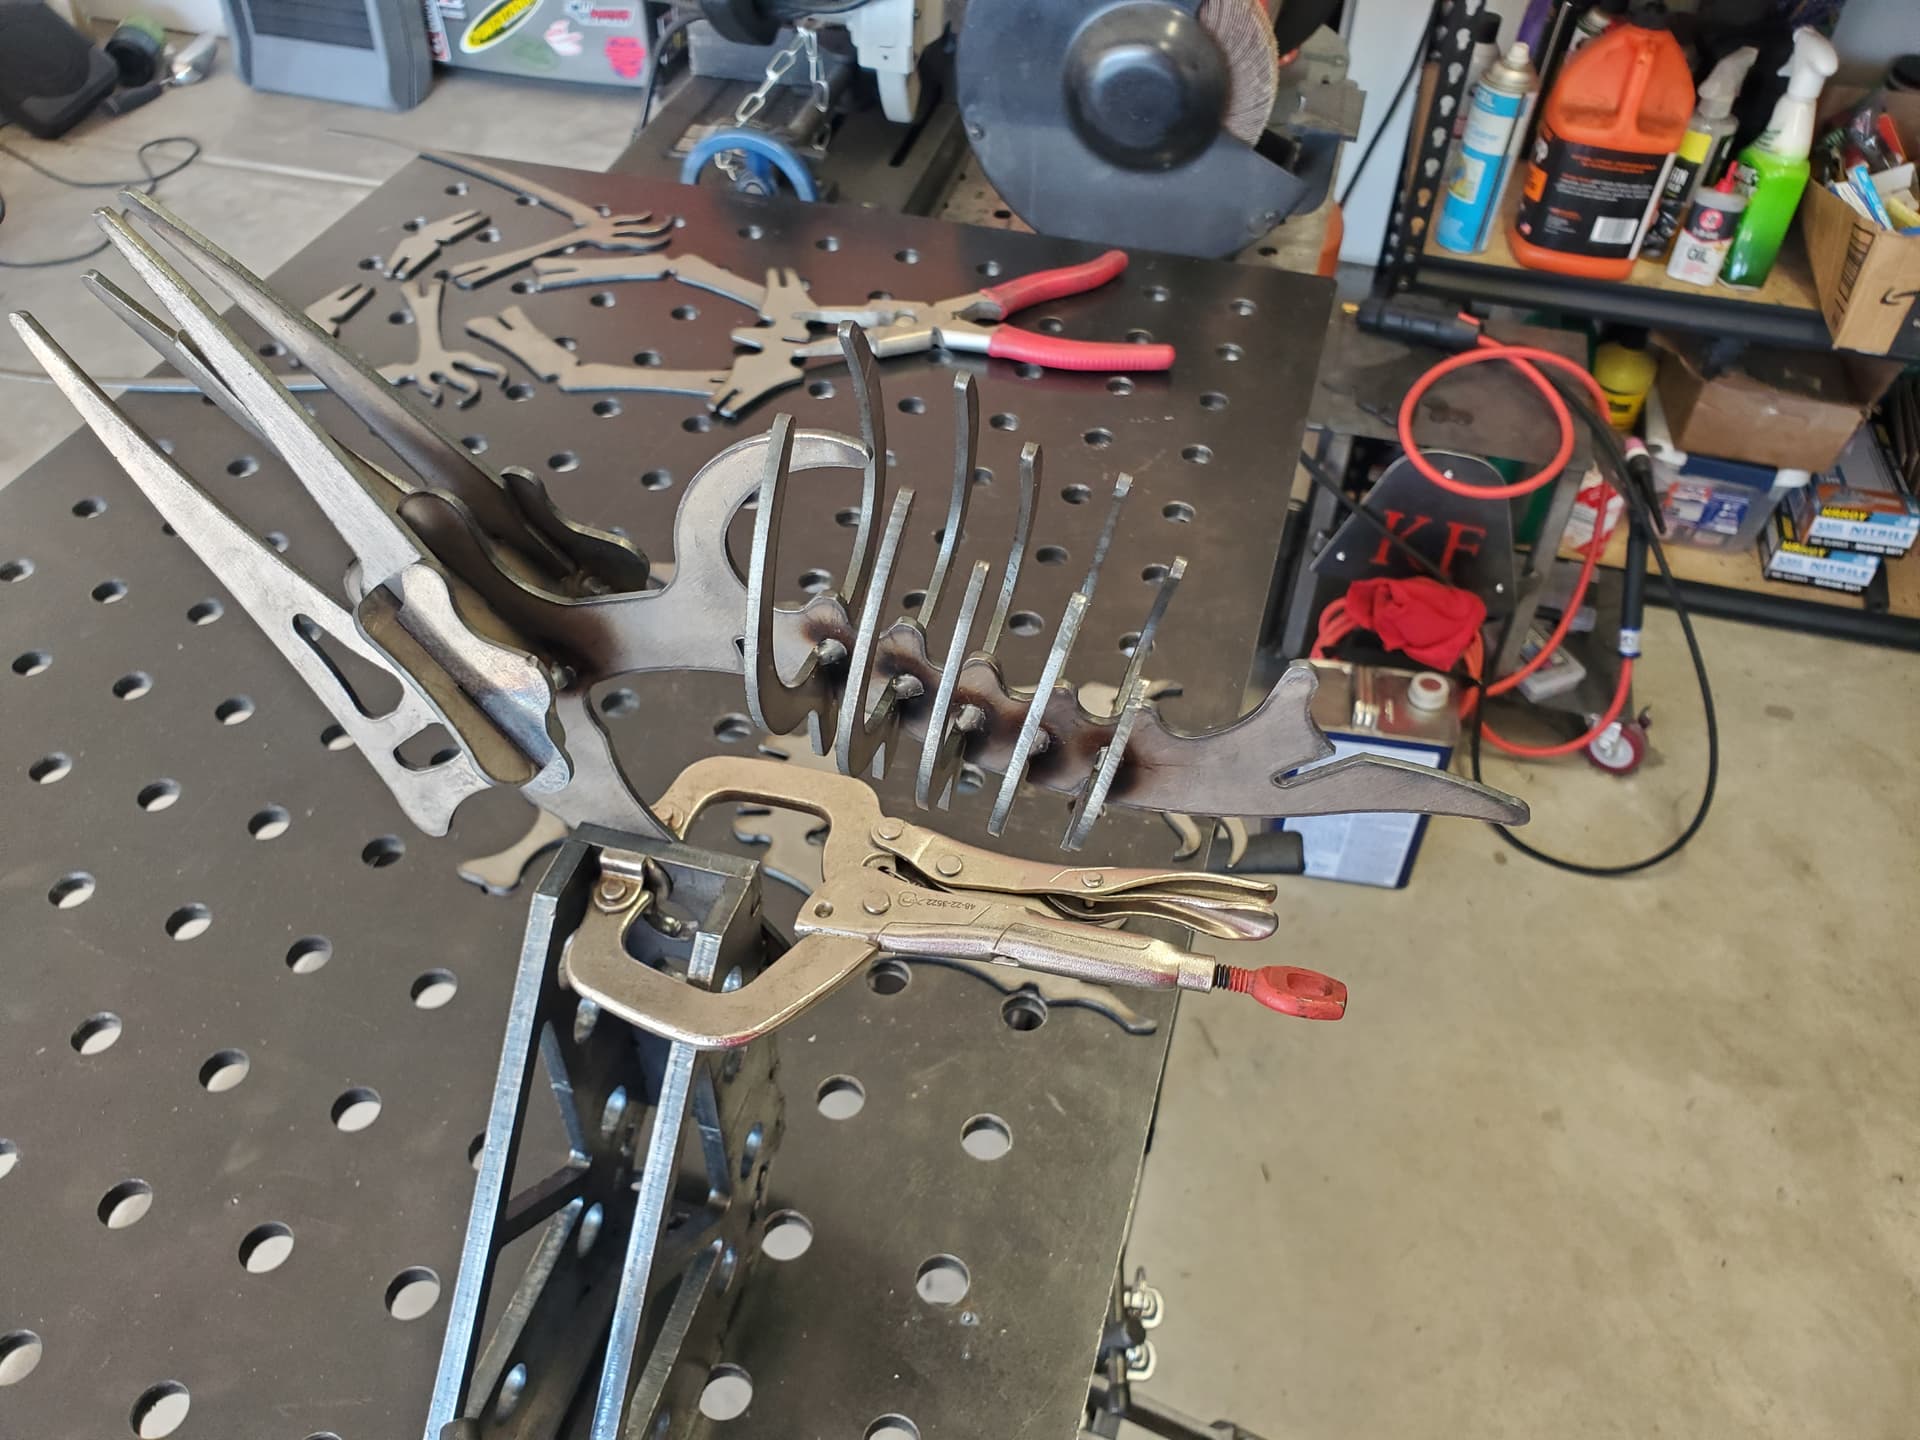
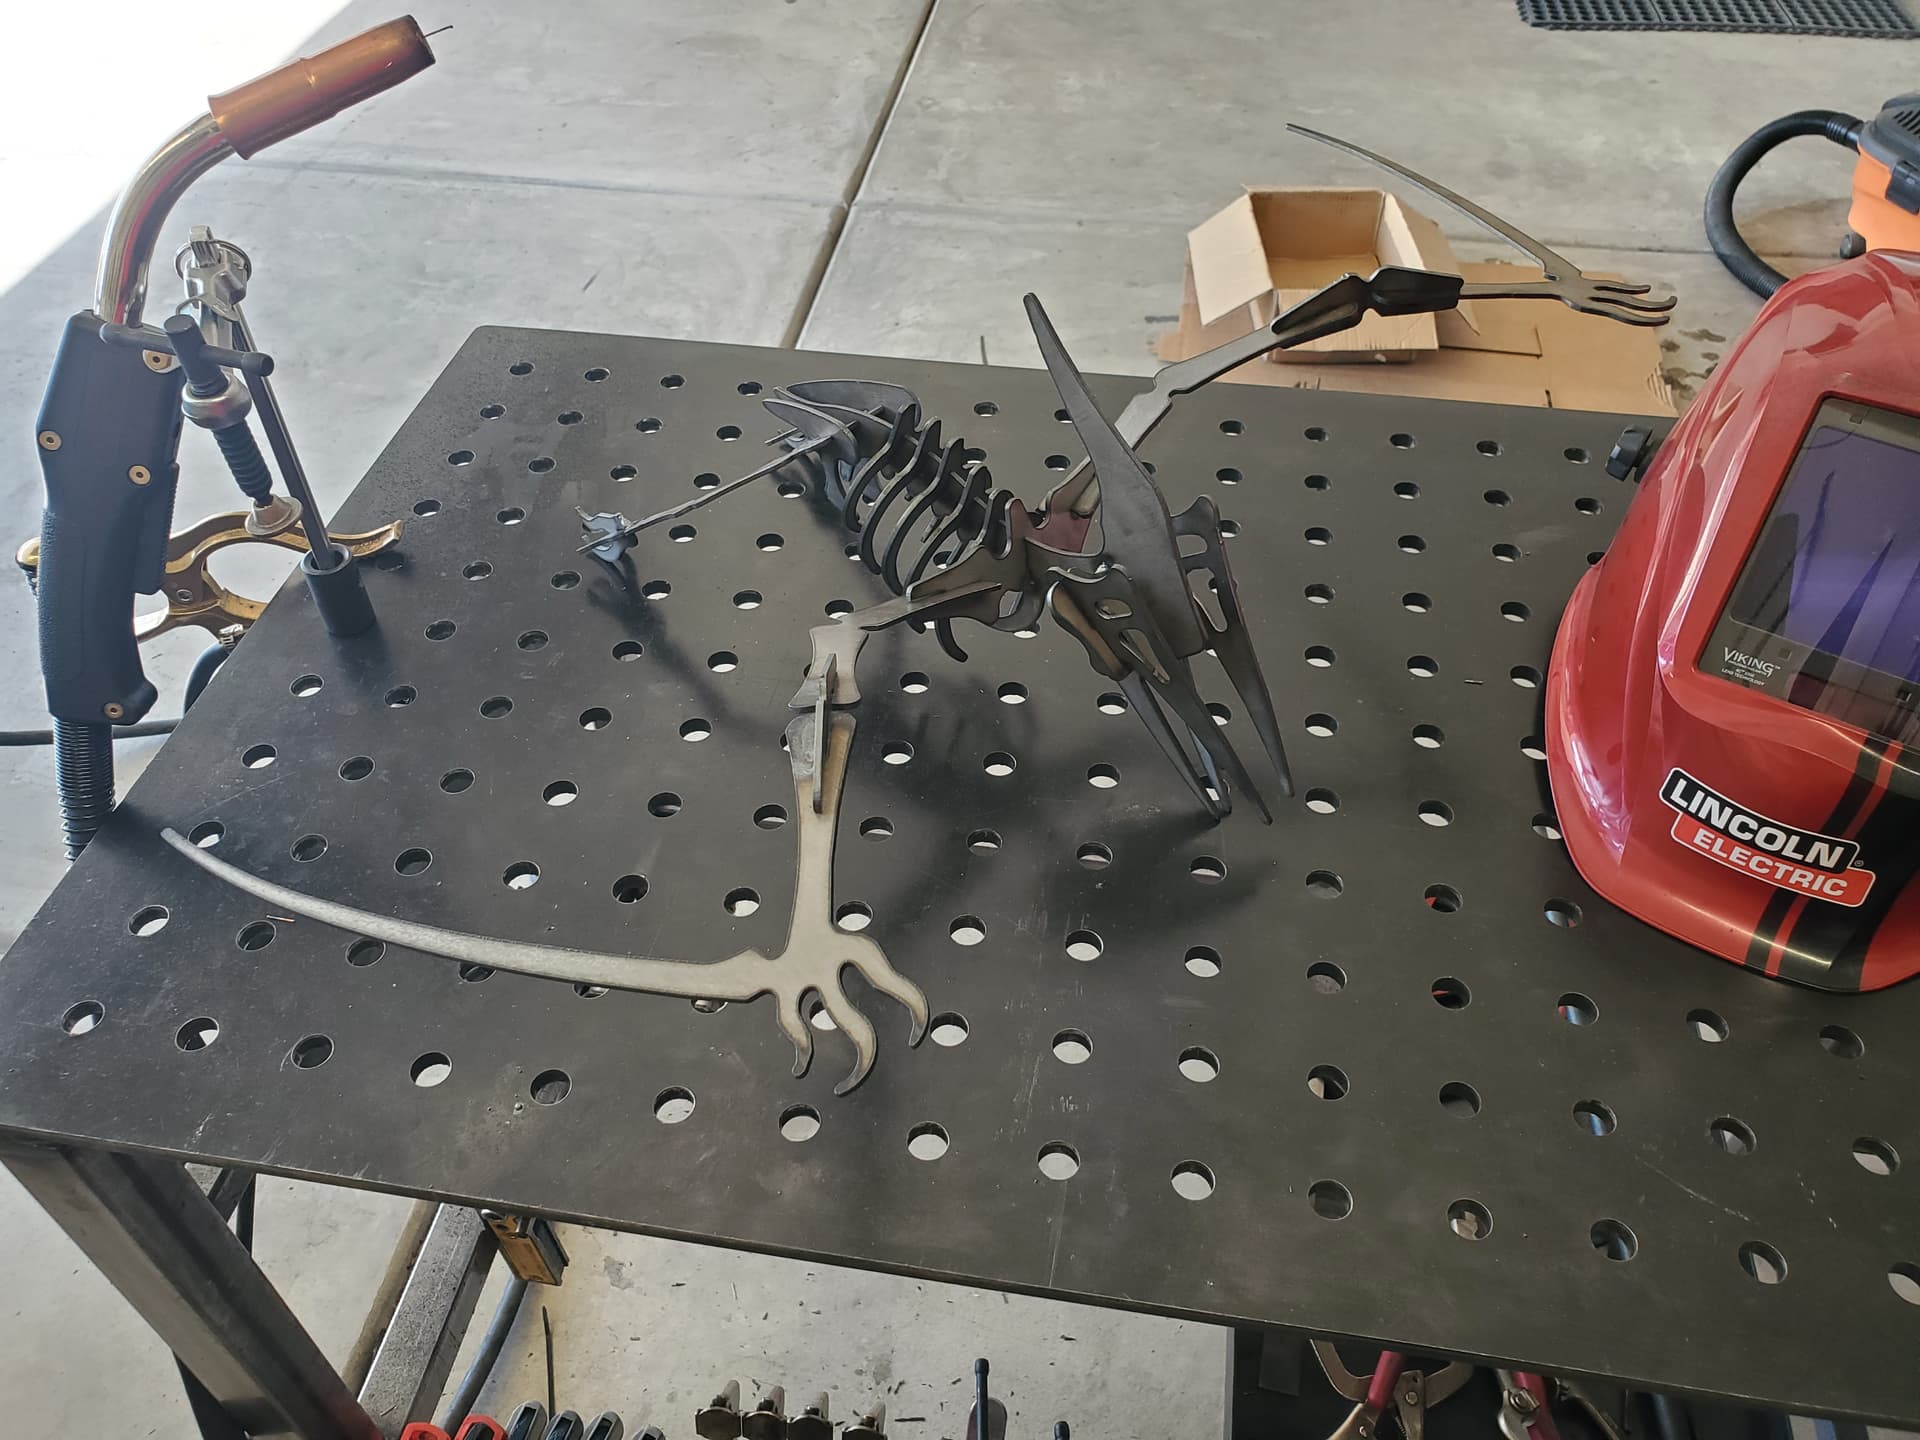
Set the assembly aside and start working on the claws by tacking them to the leg assembly -
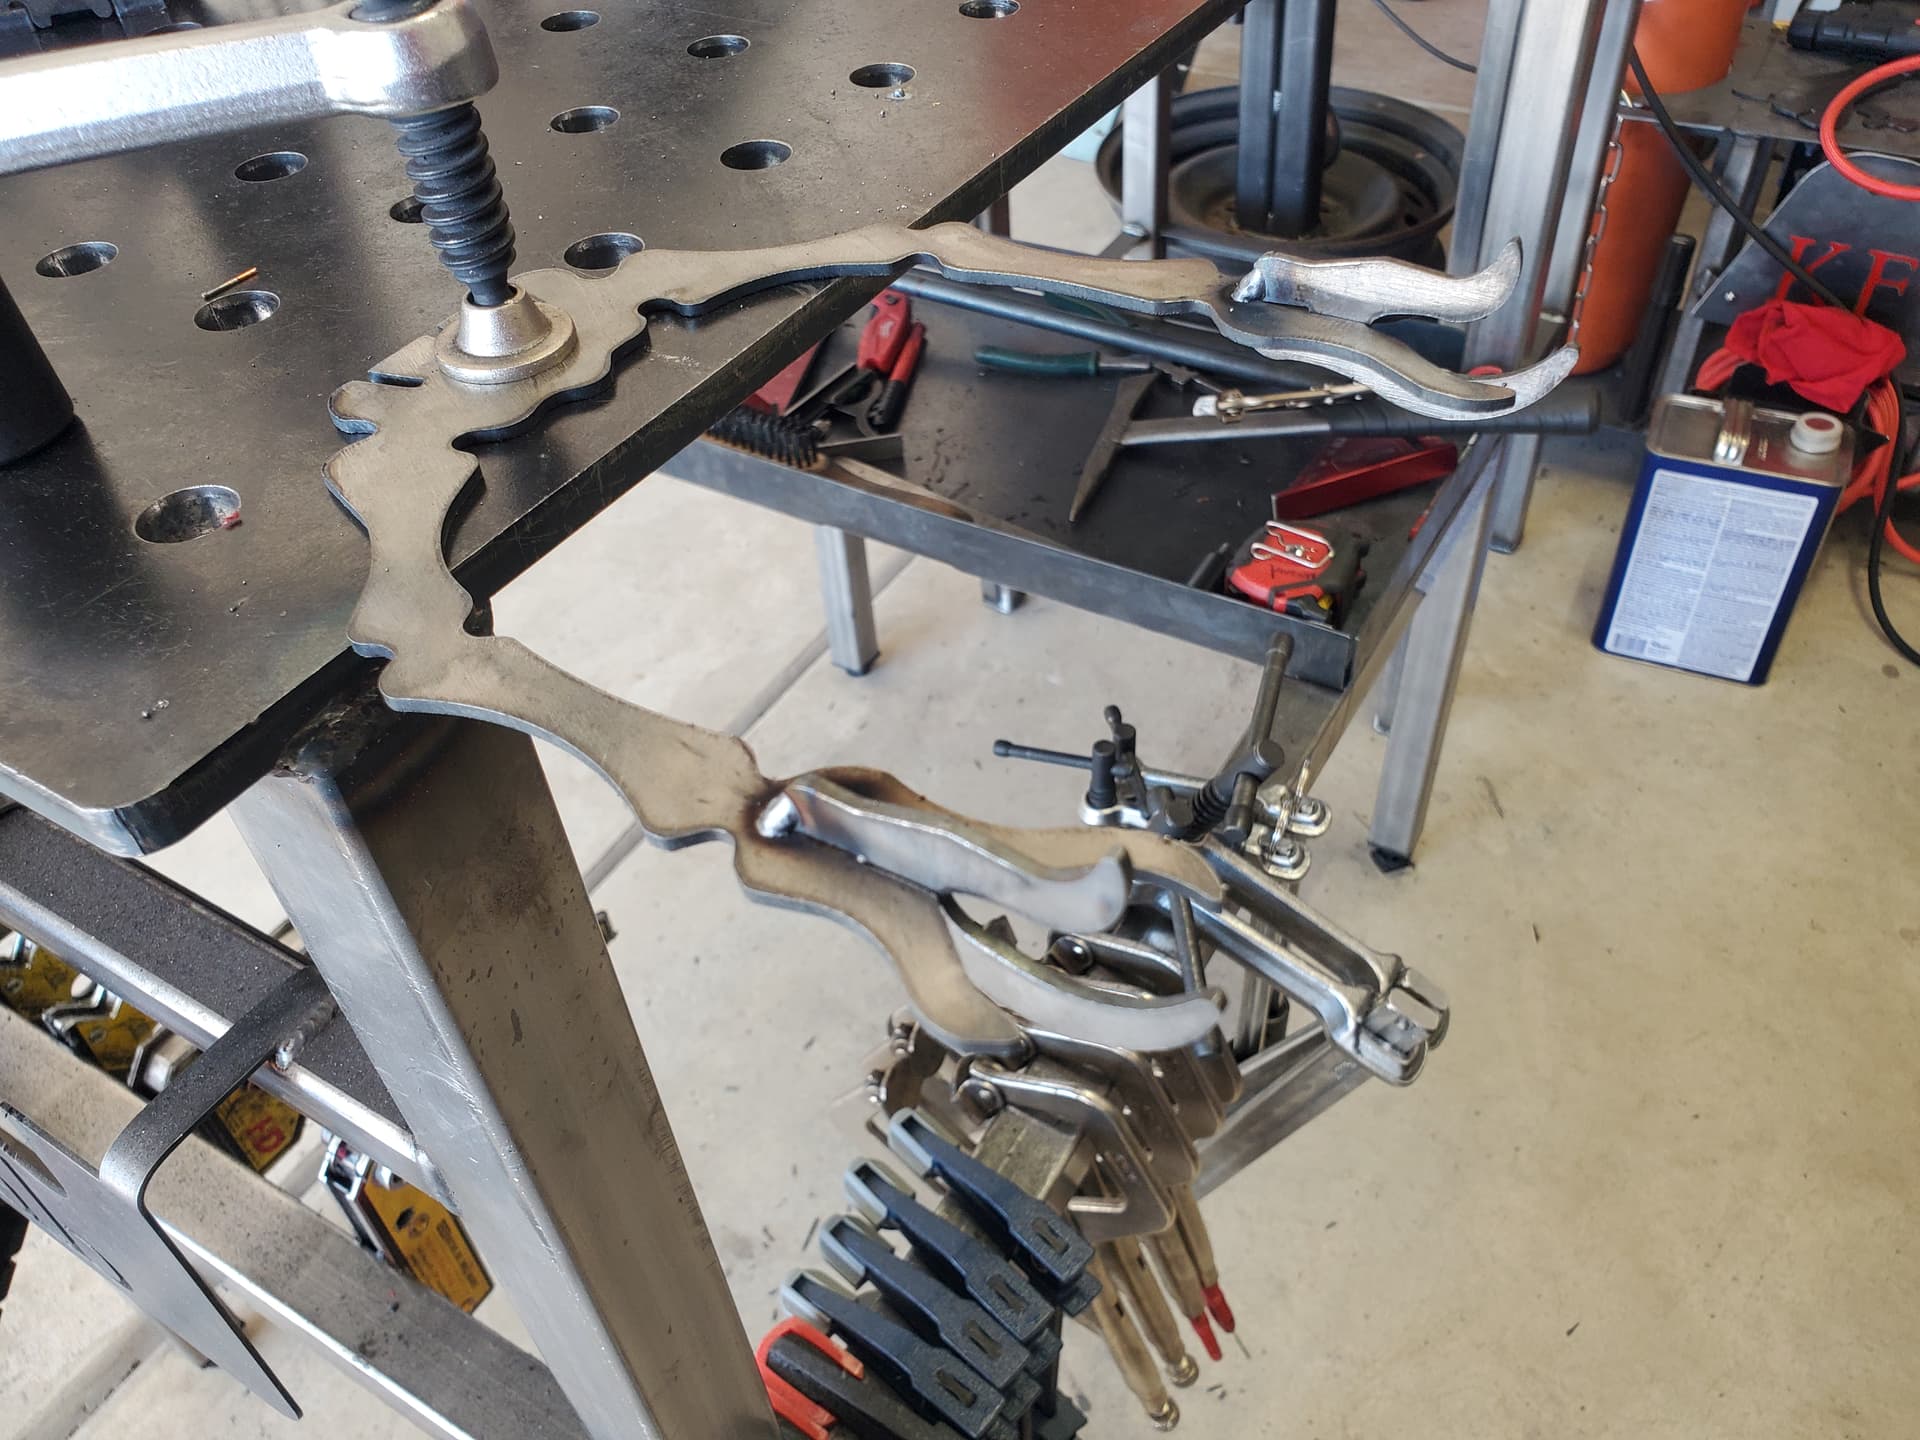
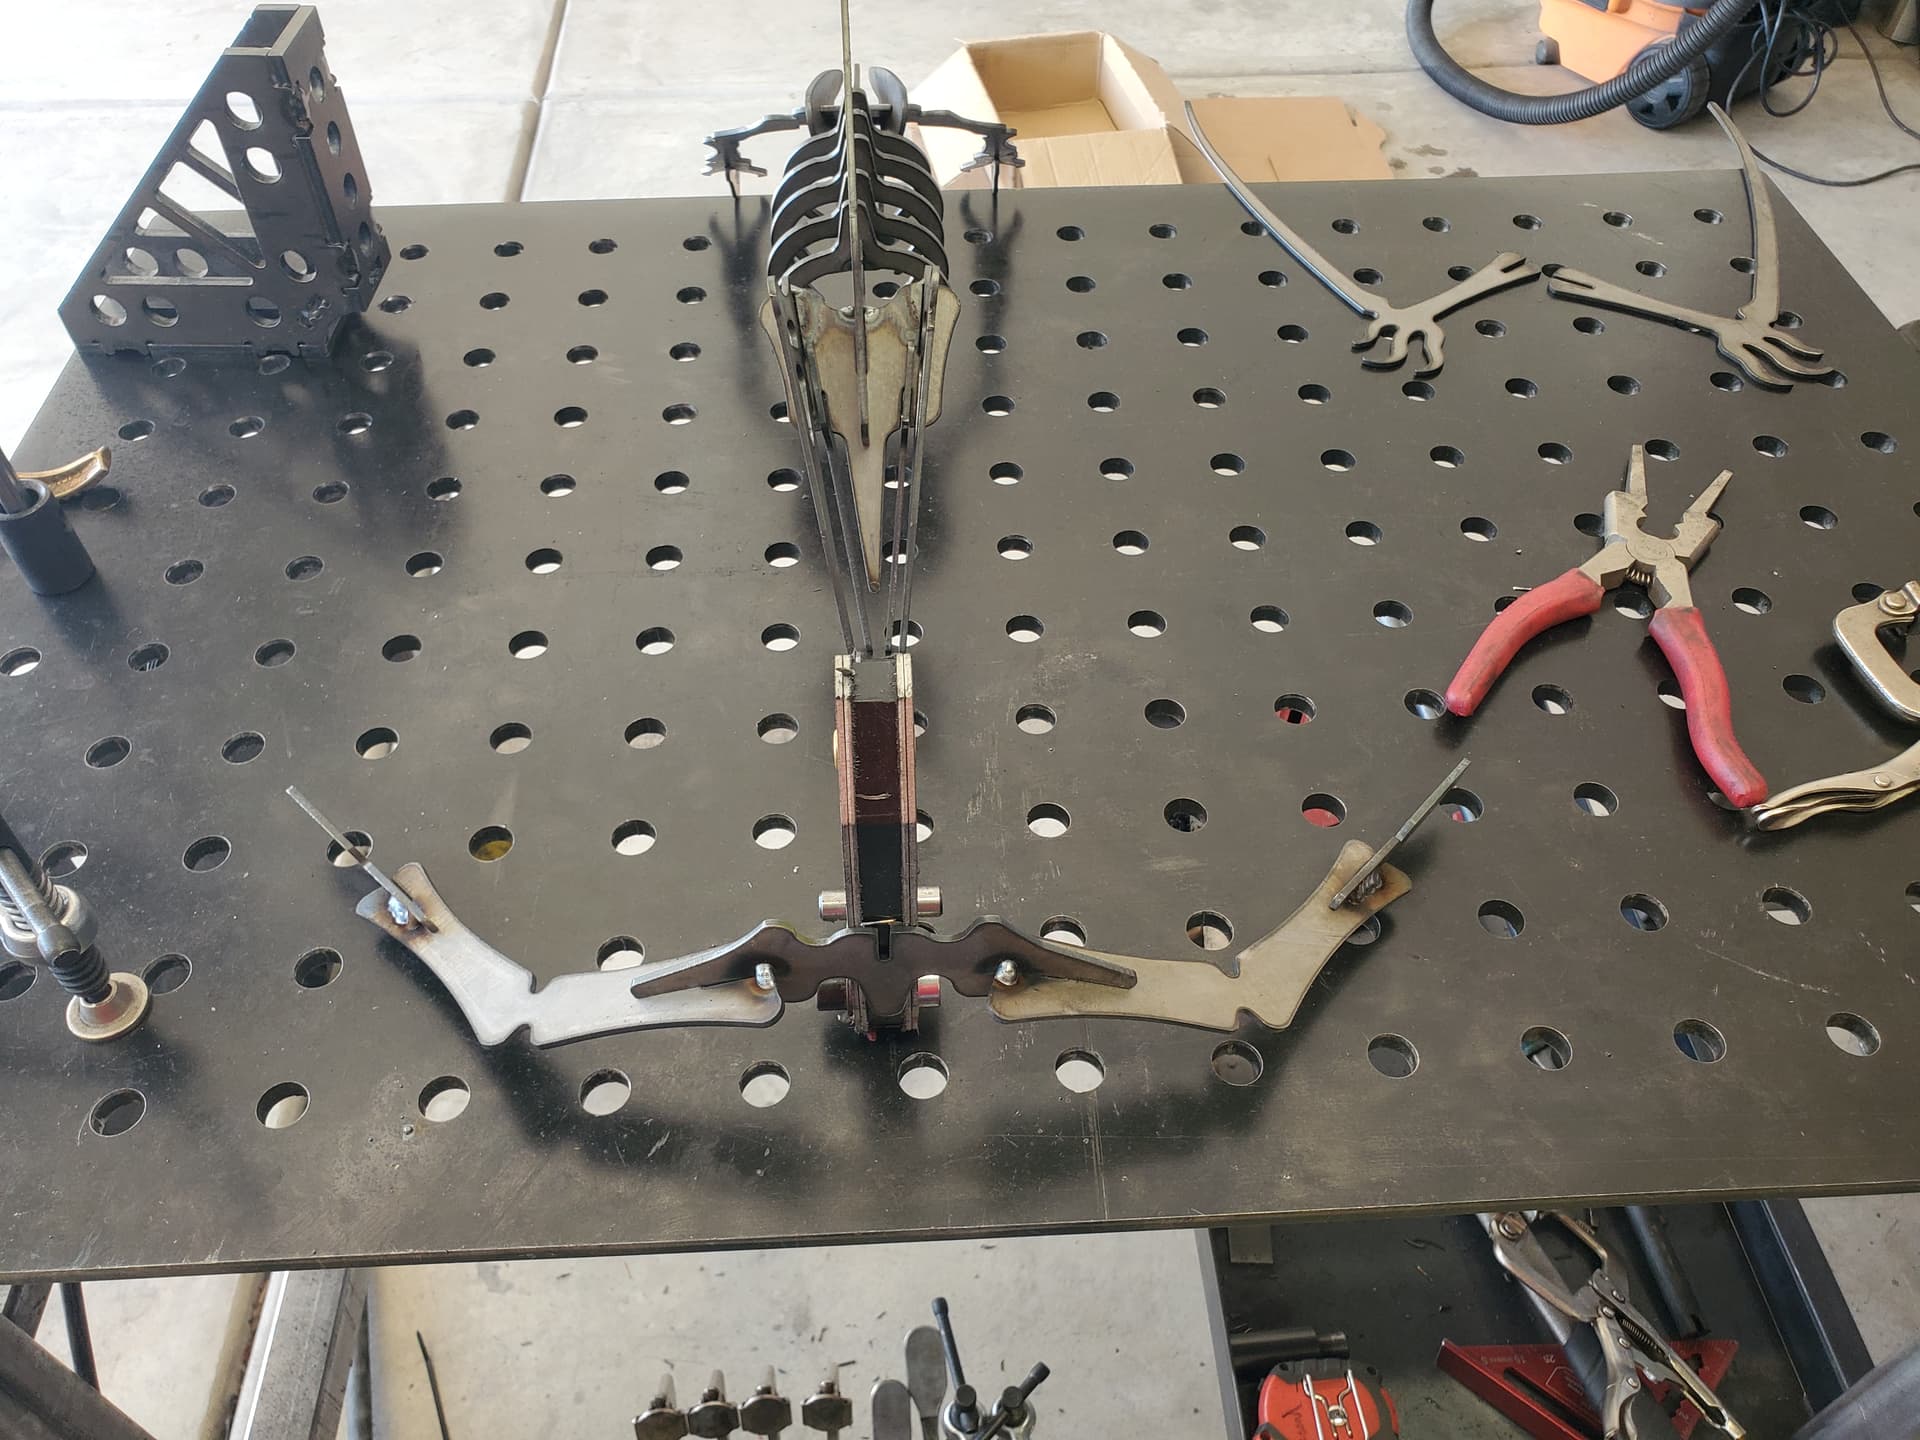
The spine assembly you set aside can now be tack welded to the leg assembly -
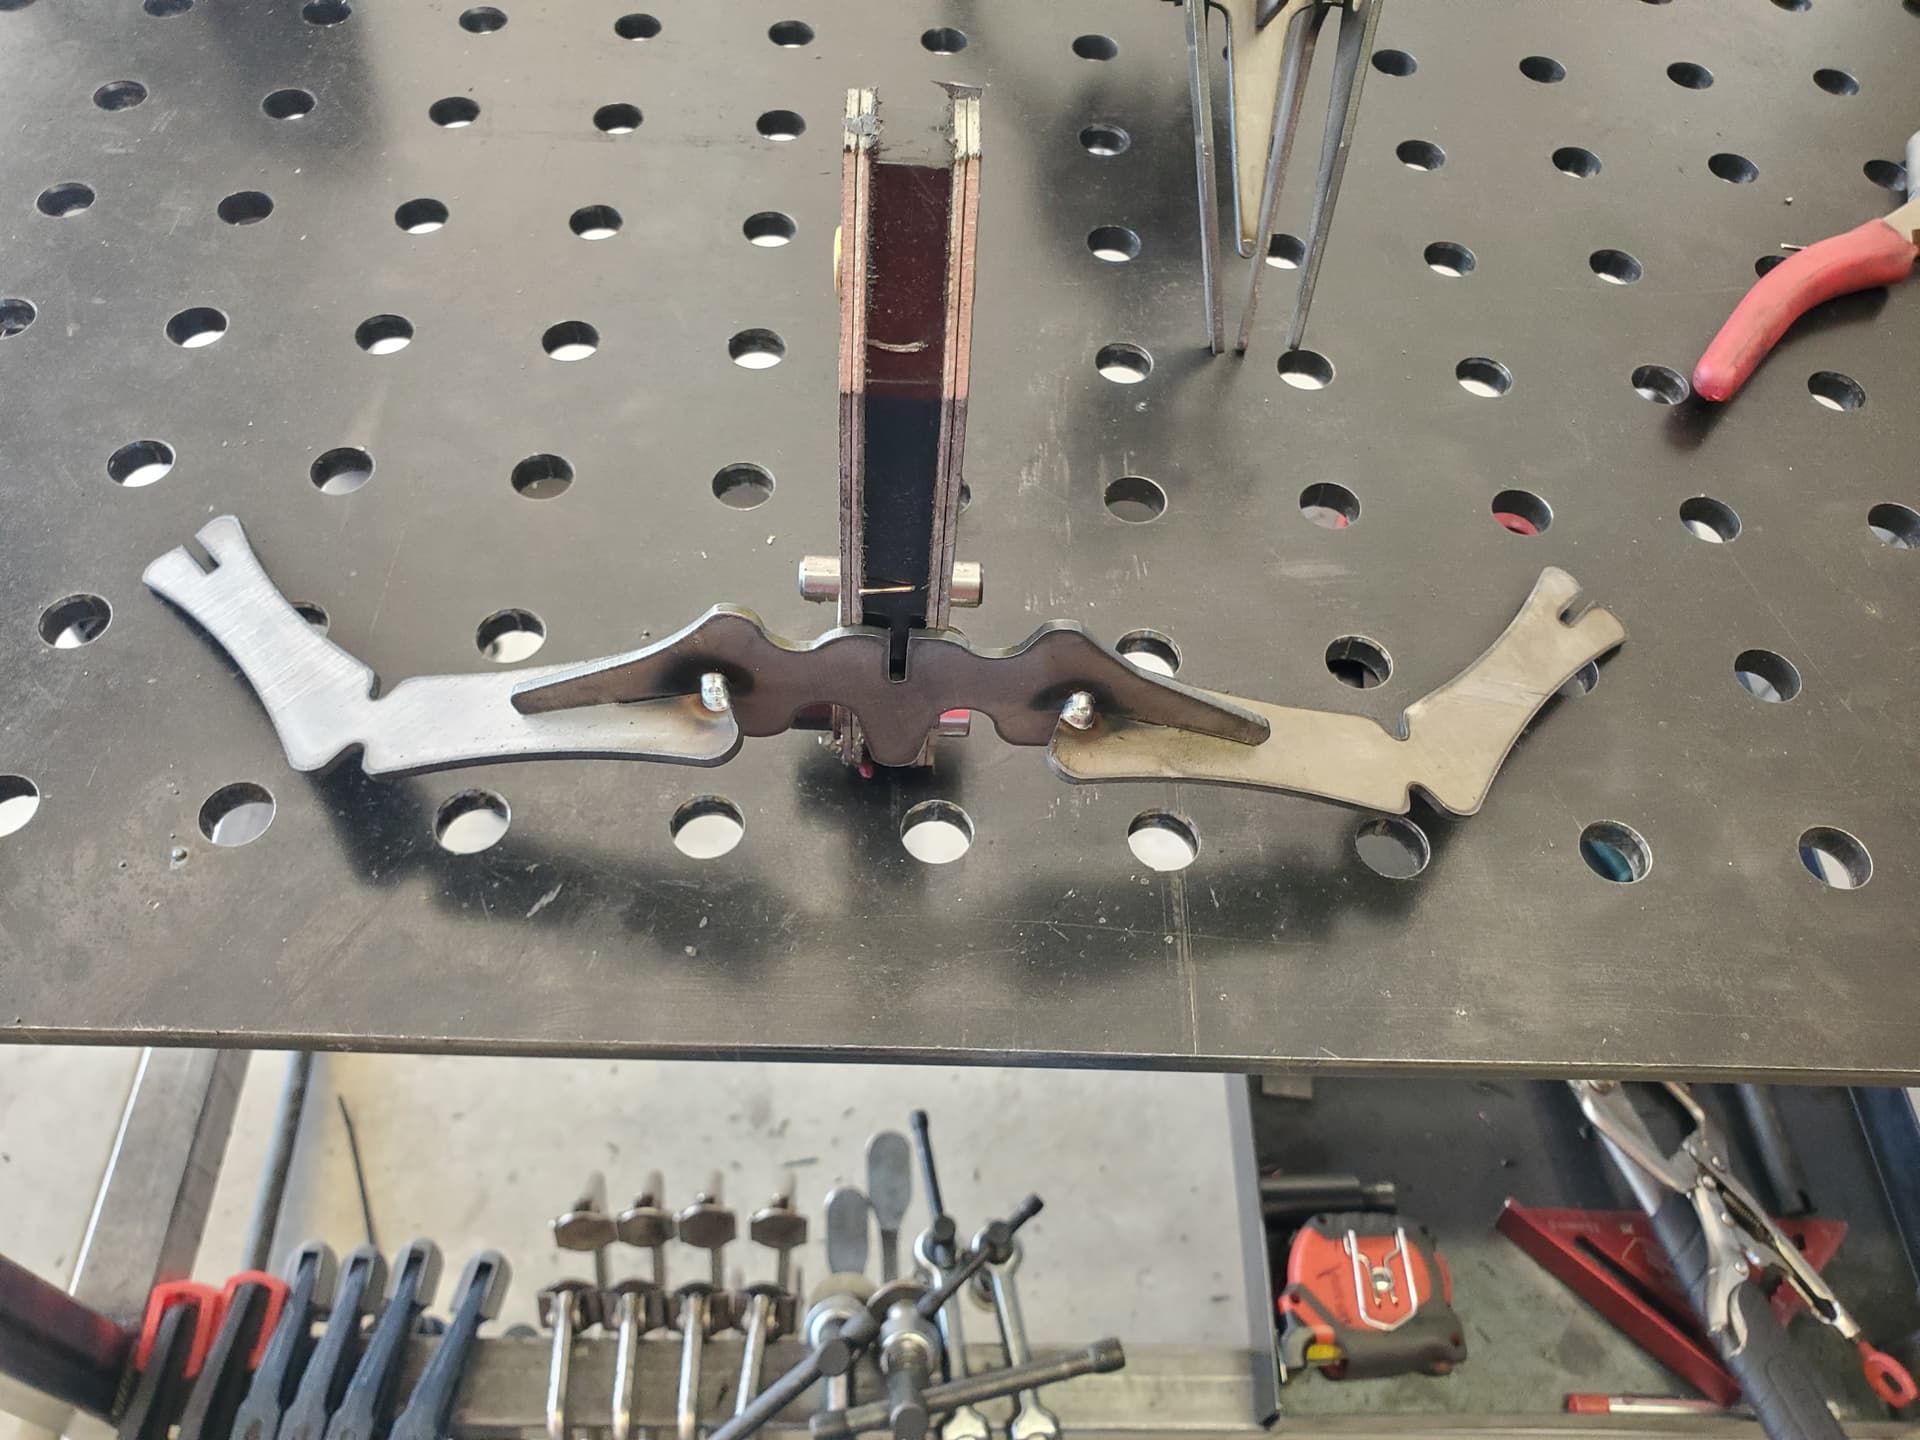
Next up, the remainder pieces for the pelvis go on -
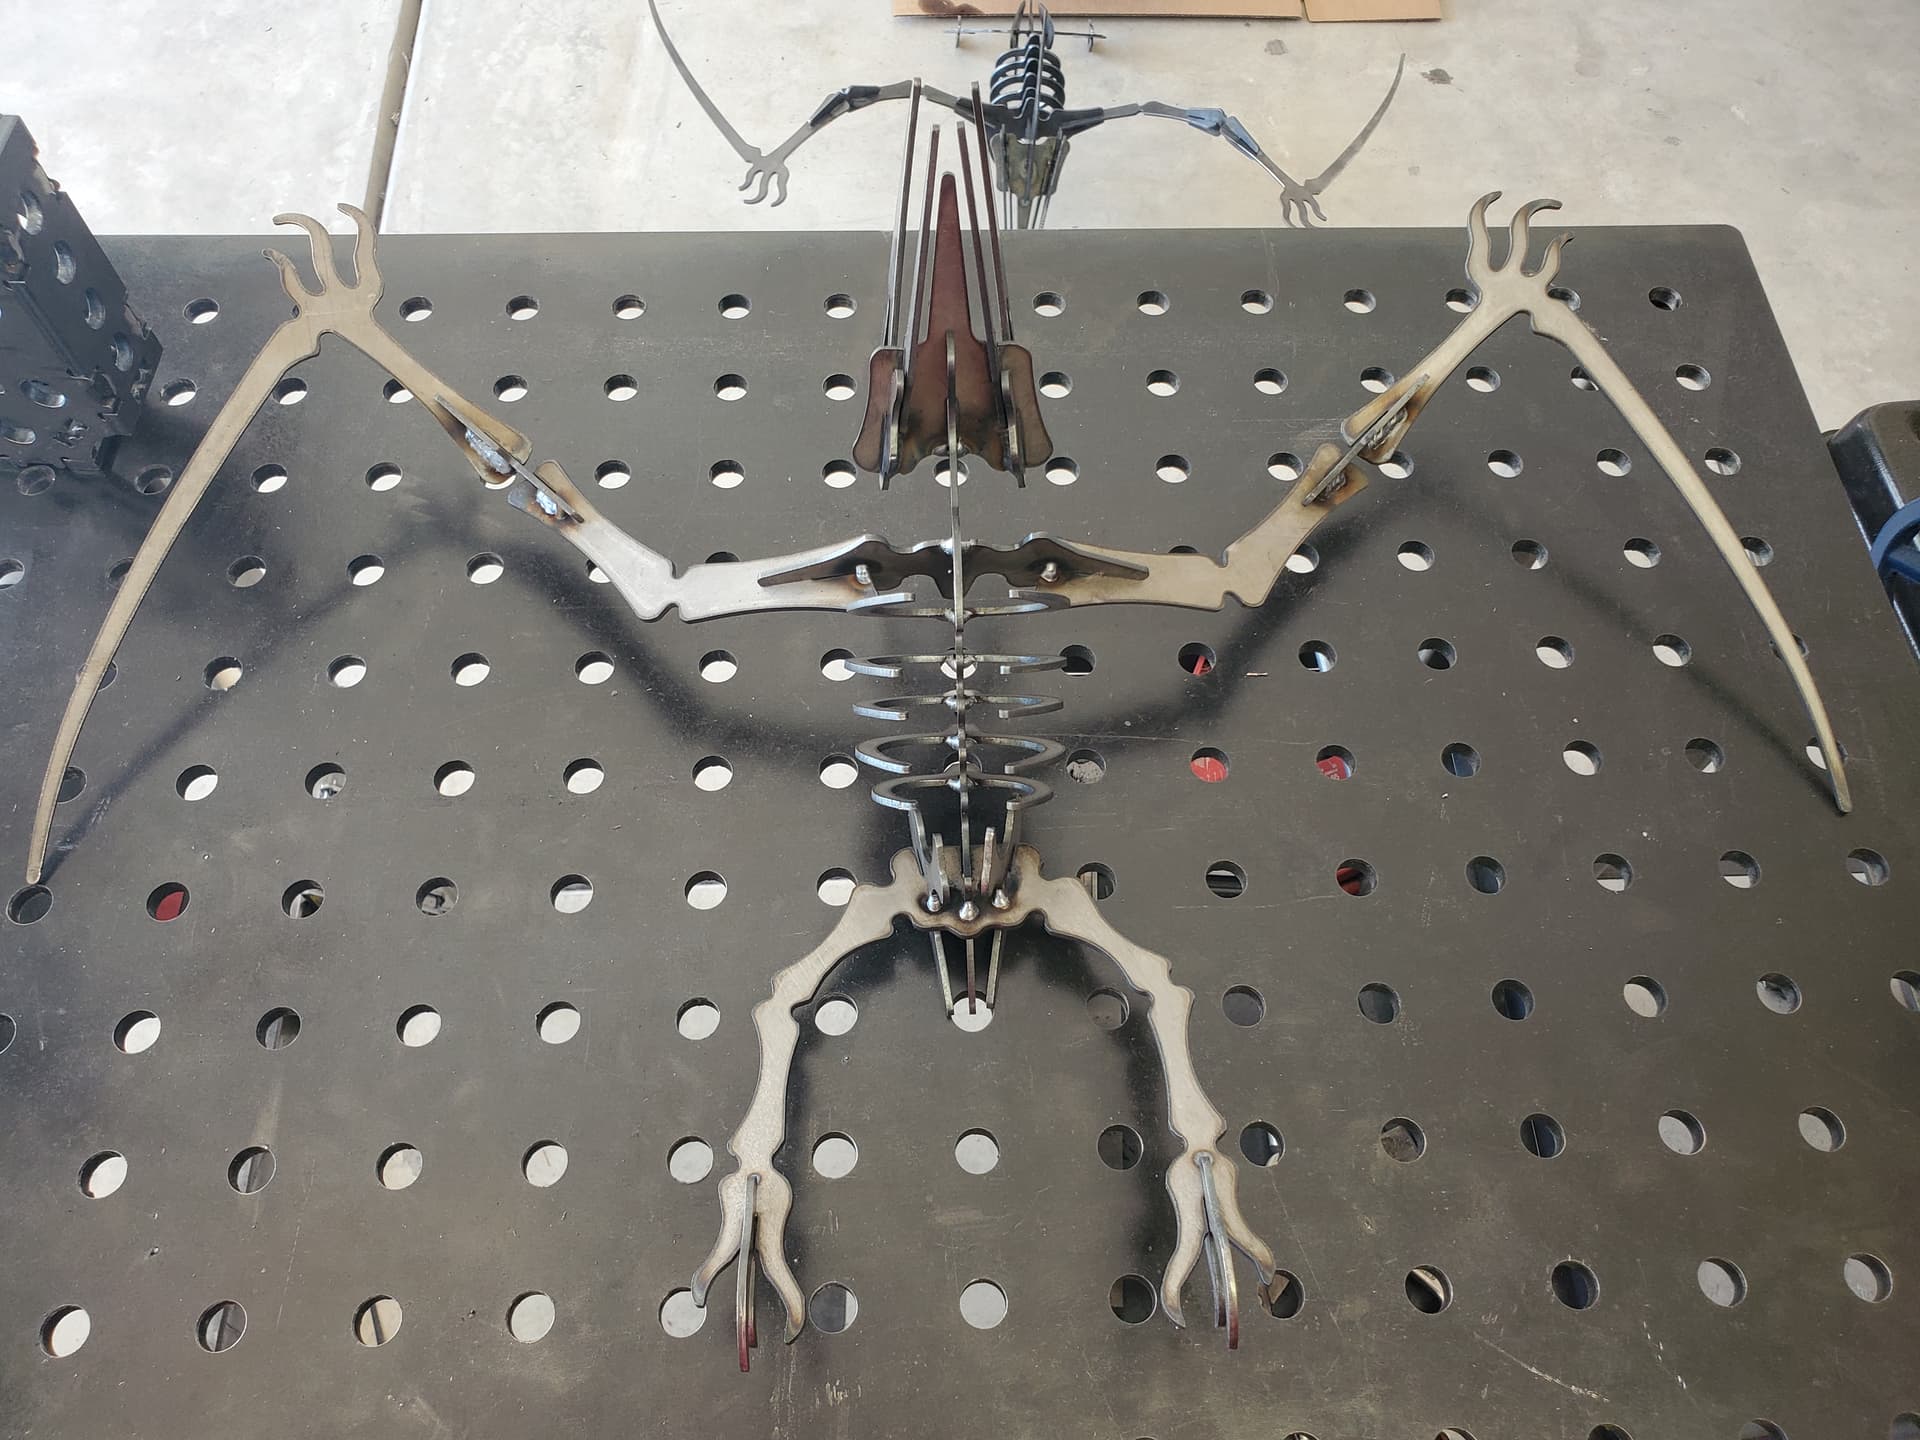
Time for the wings; I like to assemble things then flip them over for my tack welds -
The joints go next -
And finally the remainder of the wings -
That first slot we saved on the spine? That’s for the wing assembly -
All in all a 5 minute job anyone can do easily!
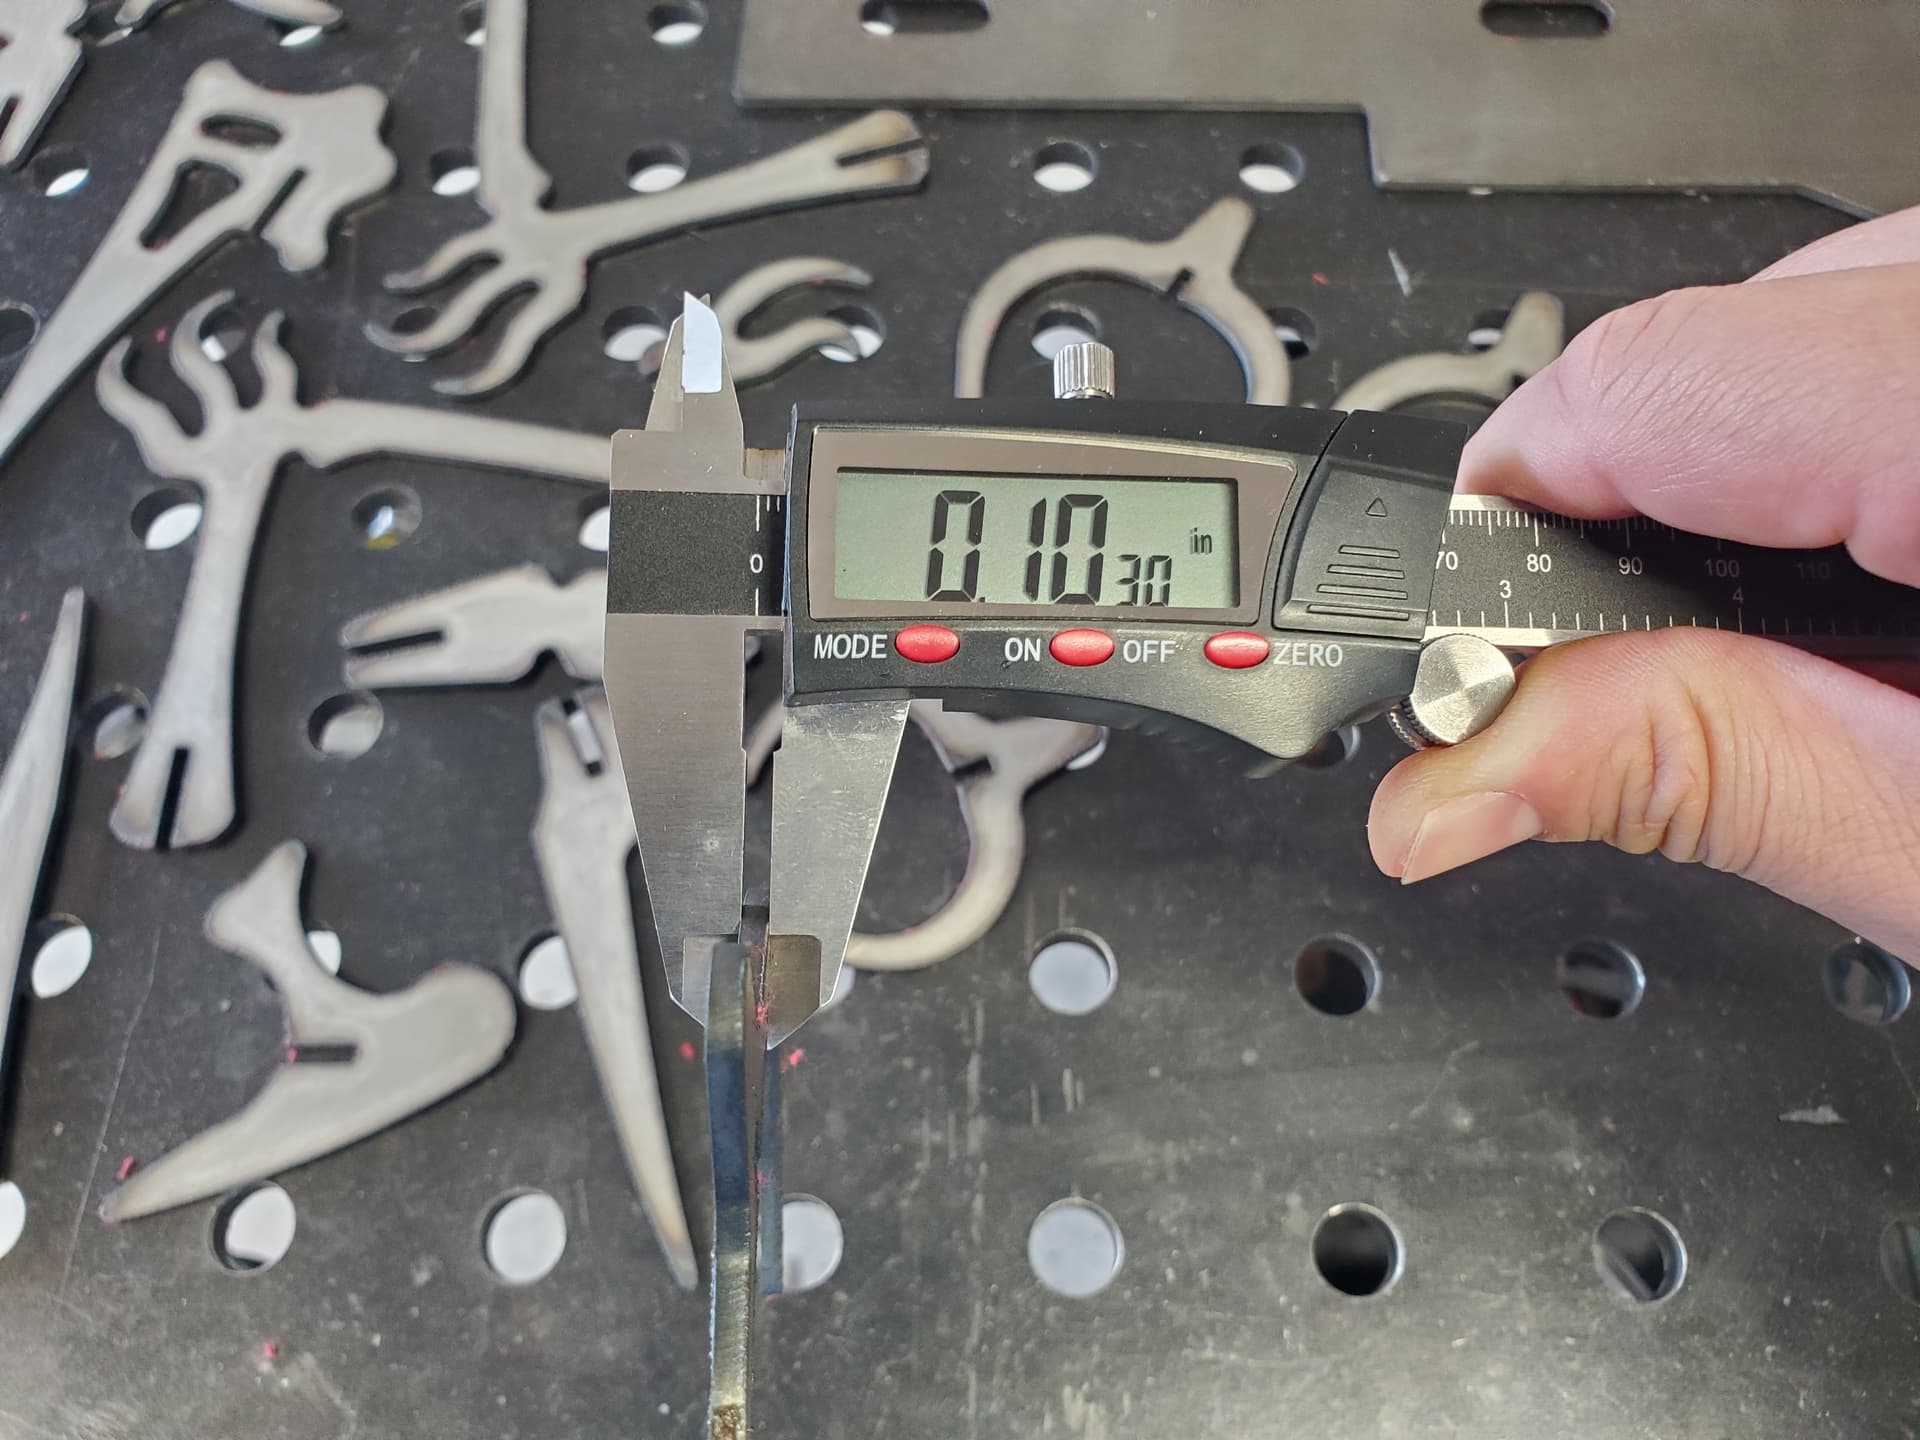
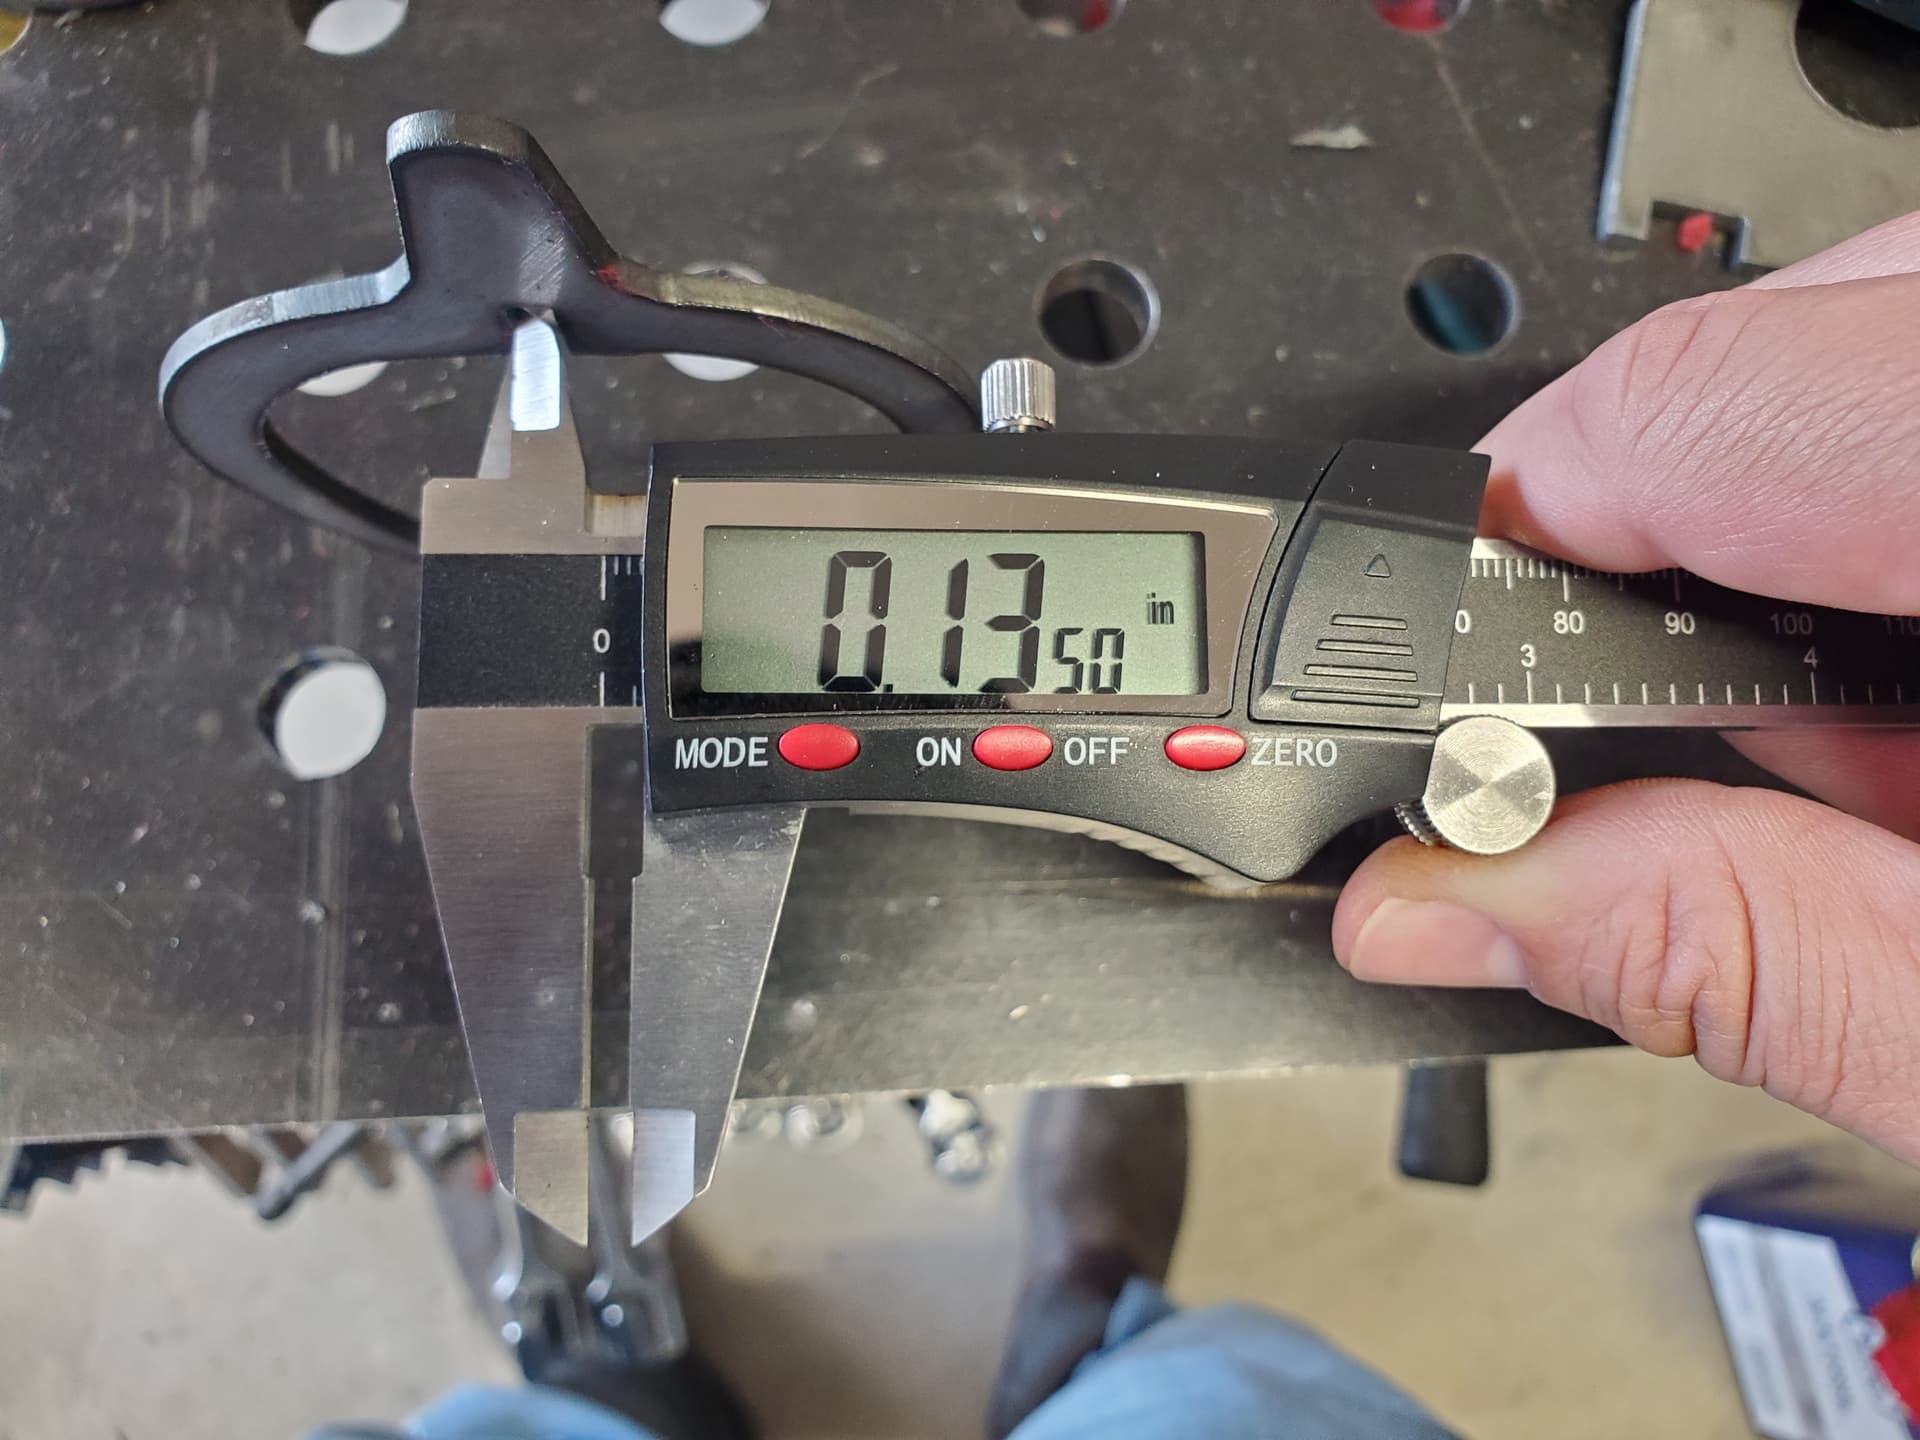
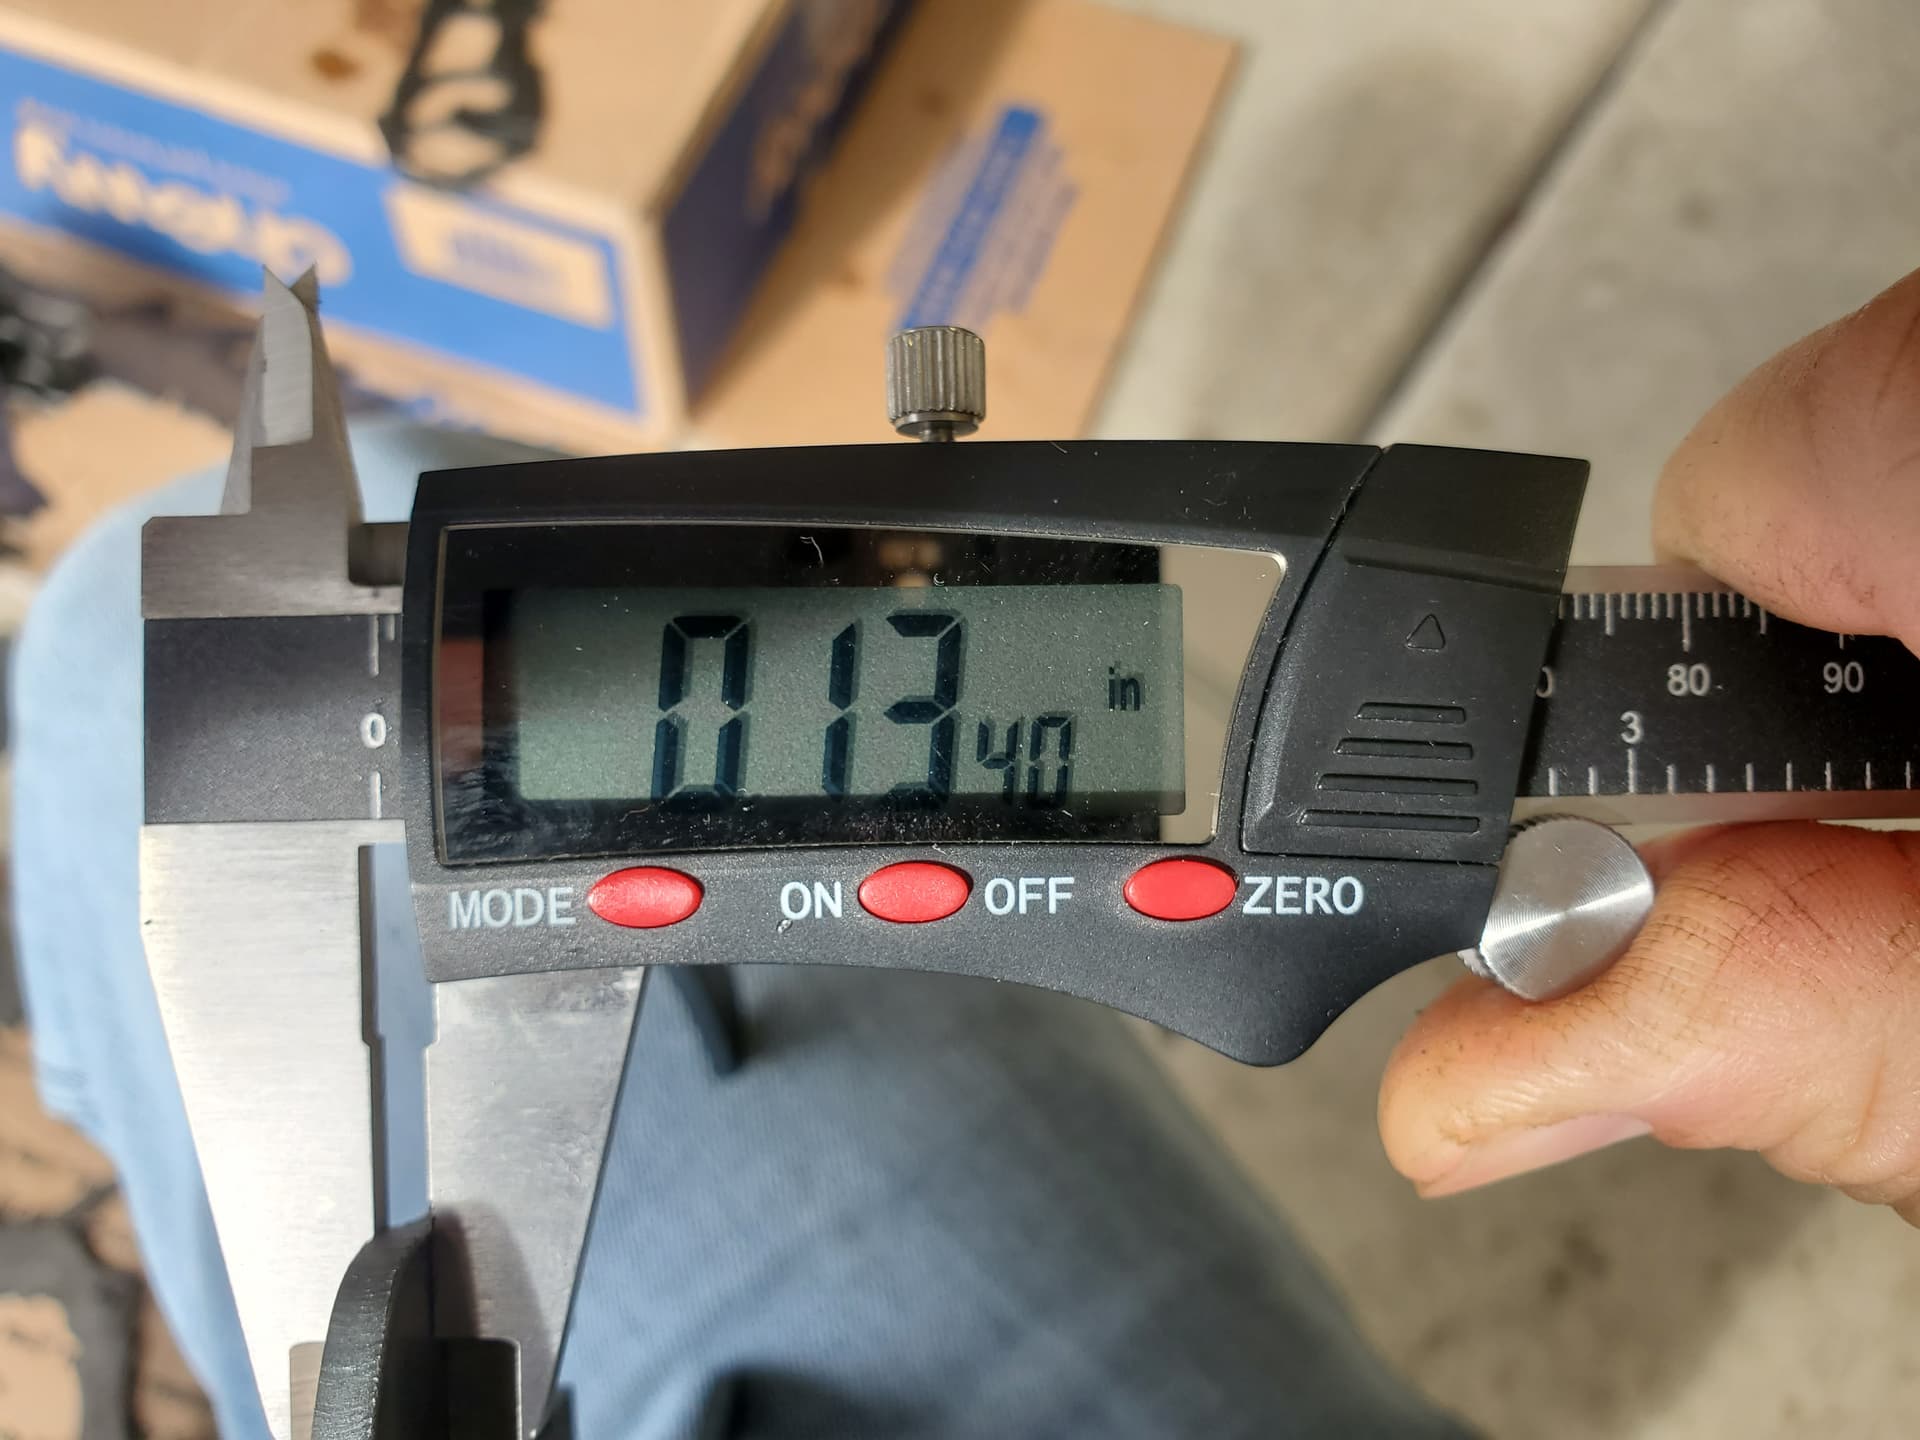
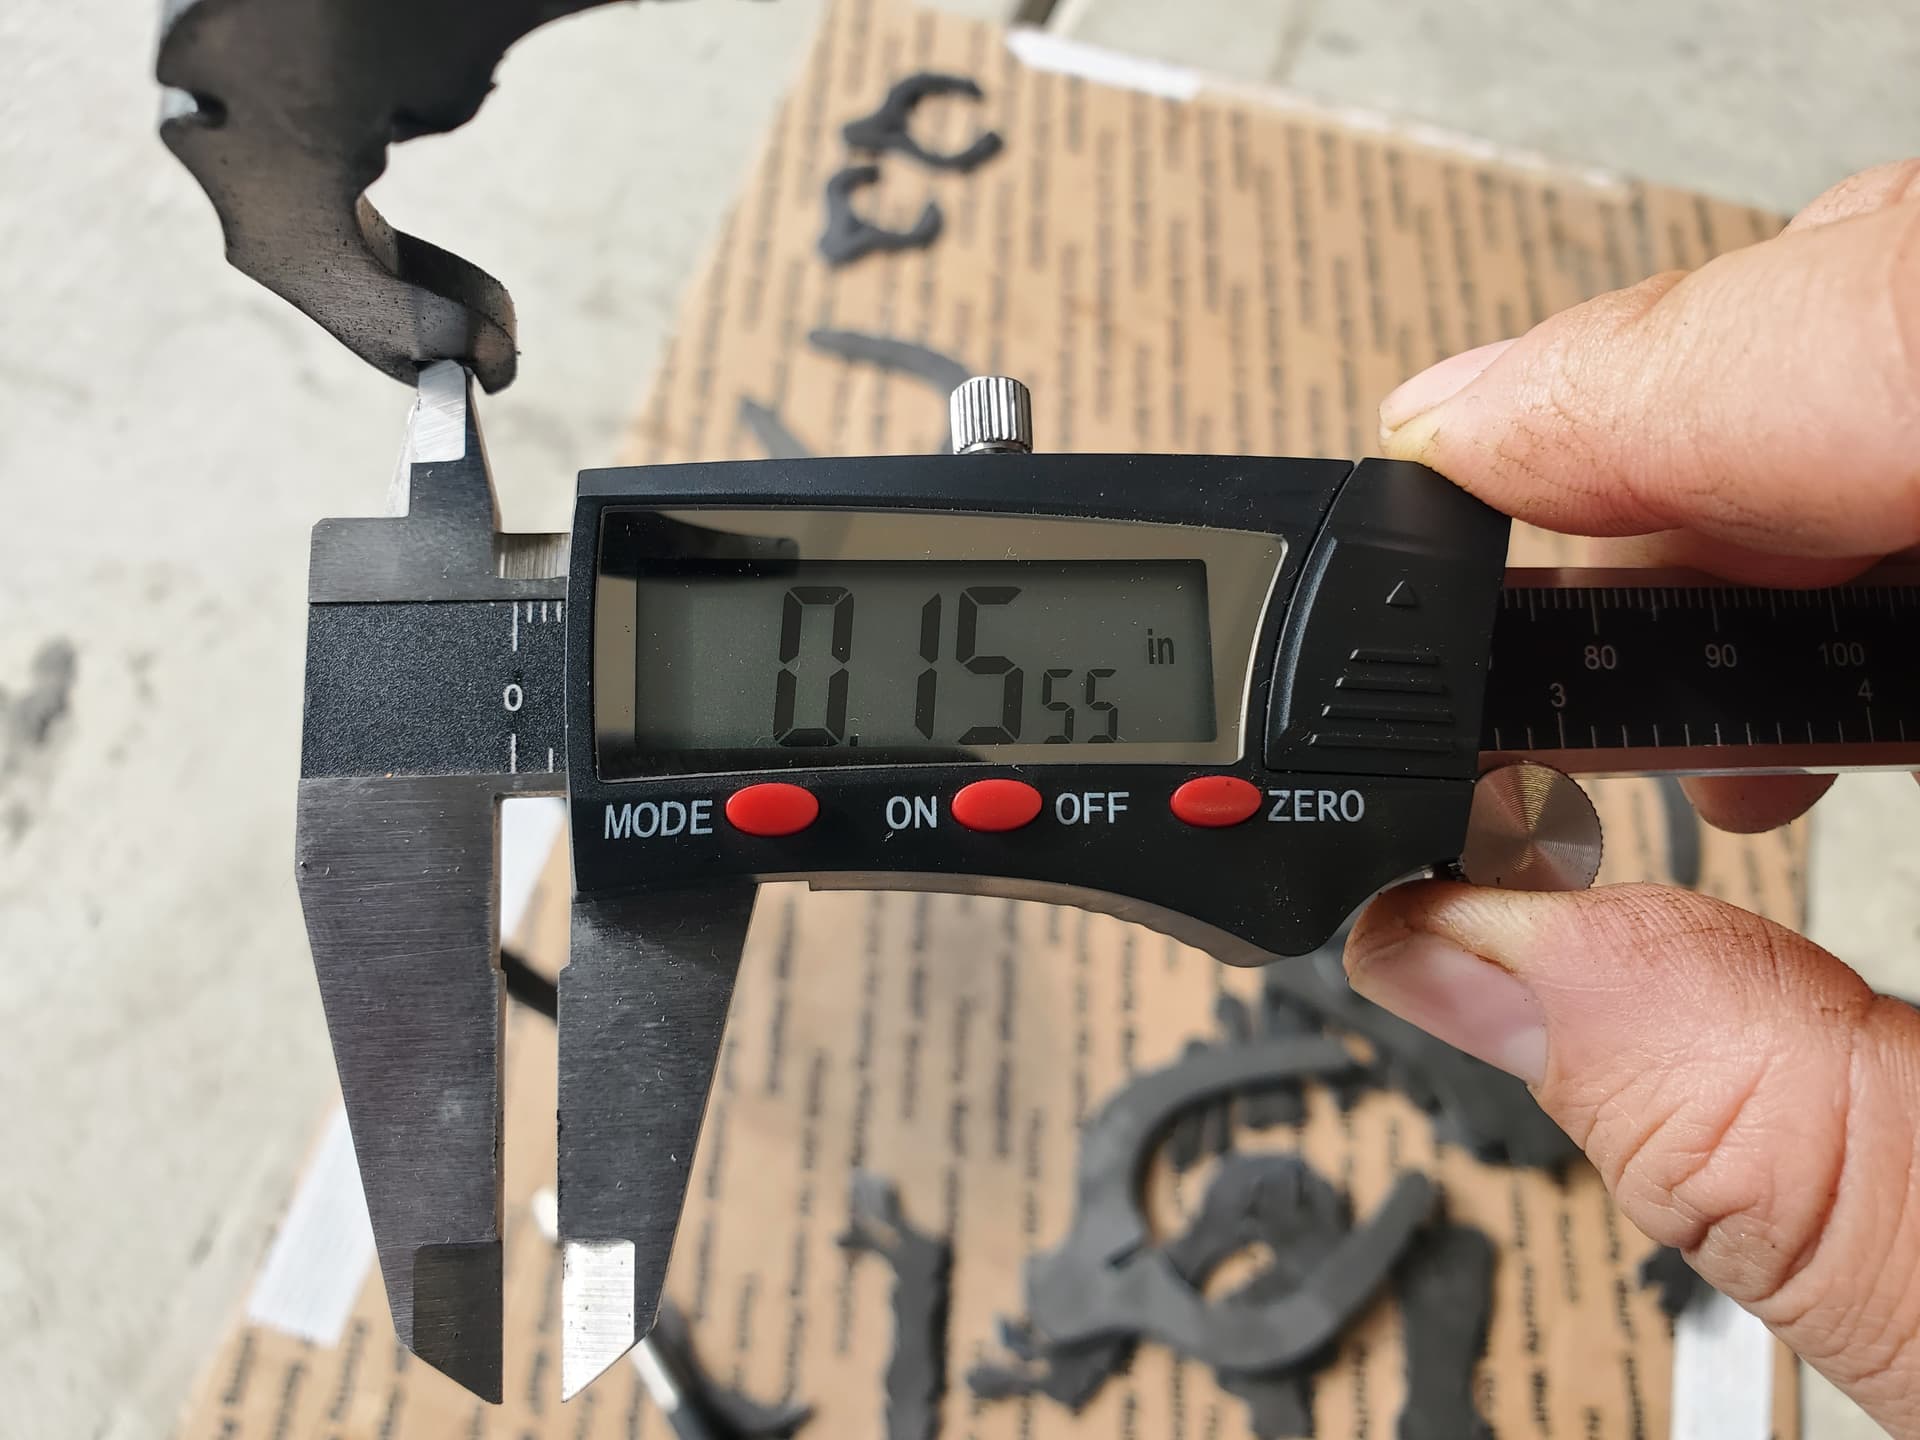
If you do not have experience in tab and slot design, or are new to CNC, I highly recommend ensuring your table is fully square, and you have dialed in your cut parameters. Beveling caused by incorrect torch mounting or cut height, tight or sloppy fitment caused by incorrect tool library settings, and more will result in poor quality.
I have my table dialed in to provide .02" tolerance whether it’s 3/16", 10 gauge, or even 12 gauge and I suggest you do the same!